Hello Everyone,
Welcome to my blog. Every other Monday I share my project that I have used as my entry for the Inspire.Create challenge.
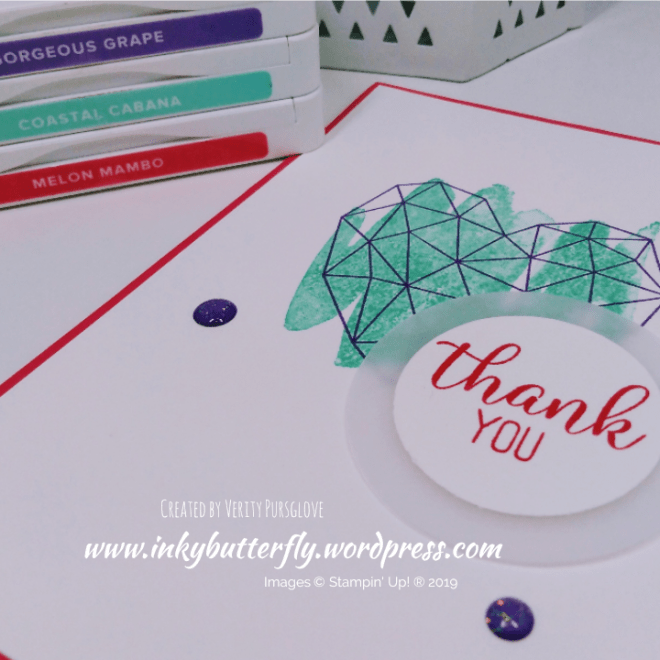
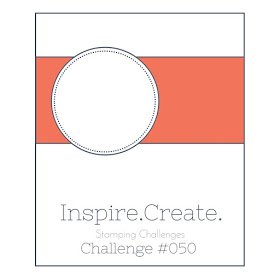
This time it’s a colour challenge. The design team have made some wonderful samples as inspiration. You can see them here.

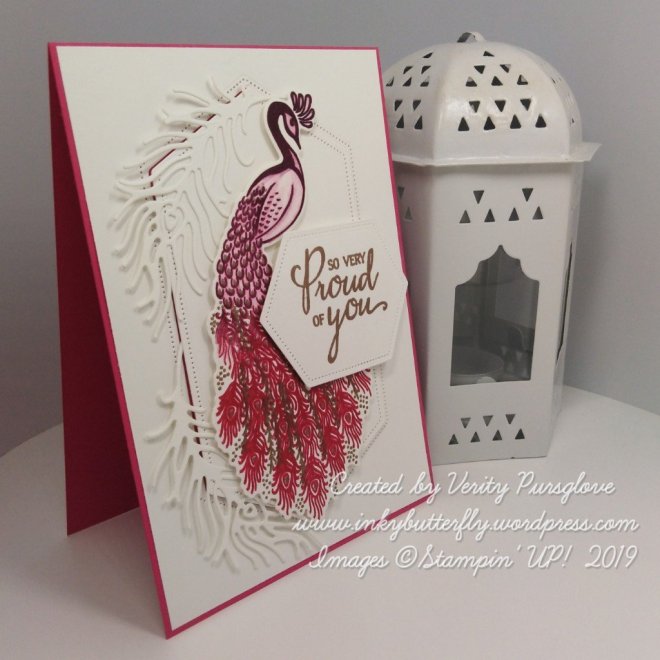
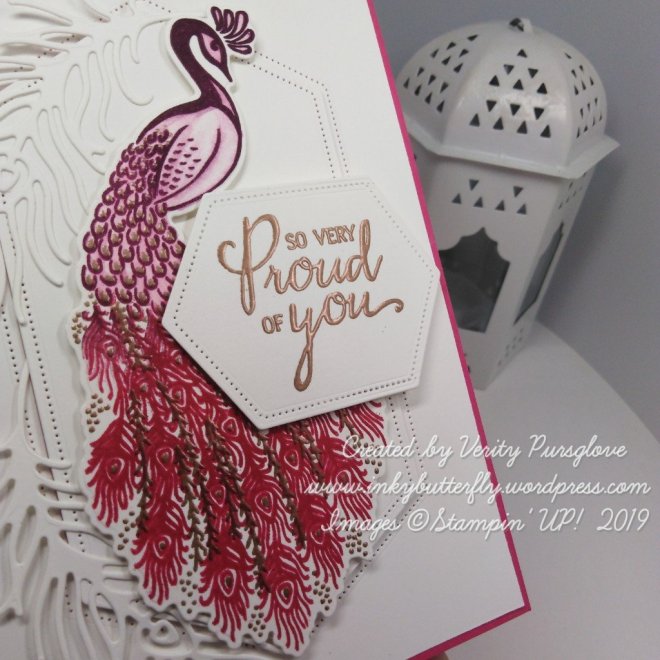
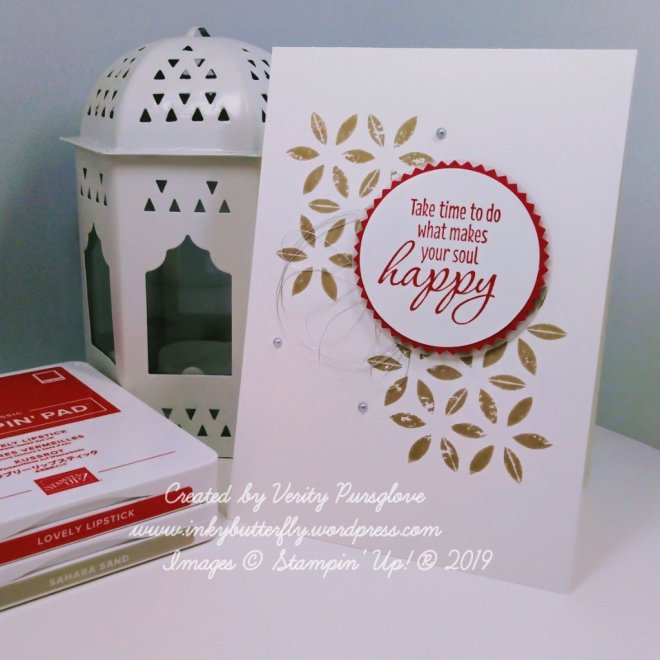
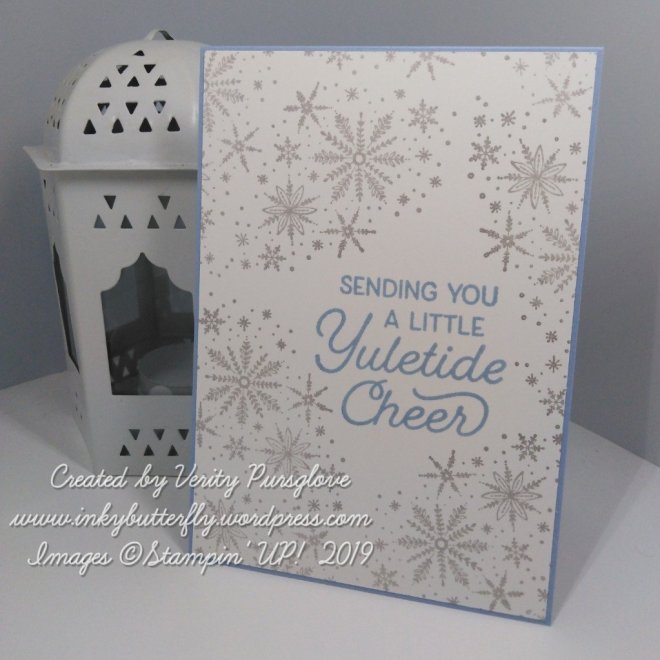
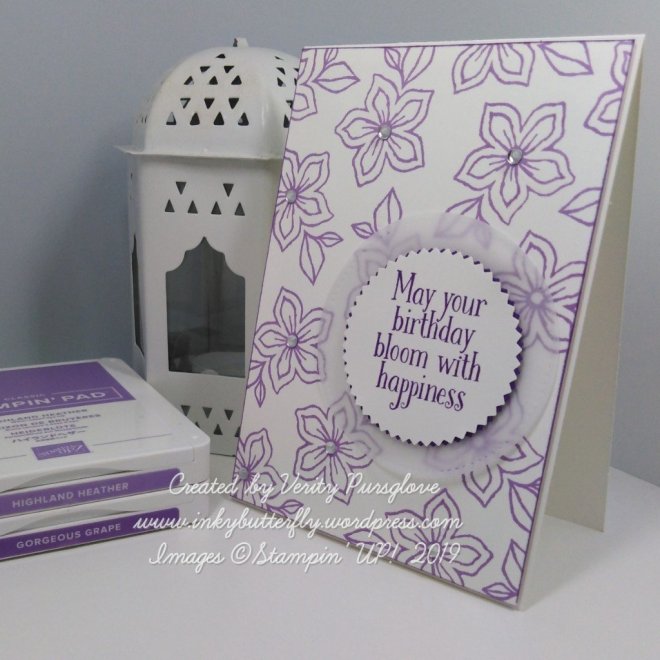
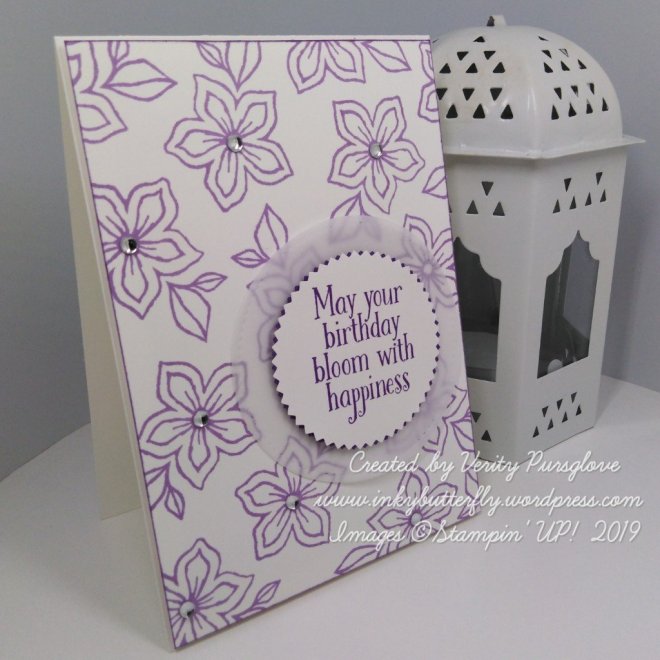
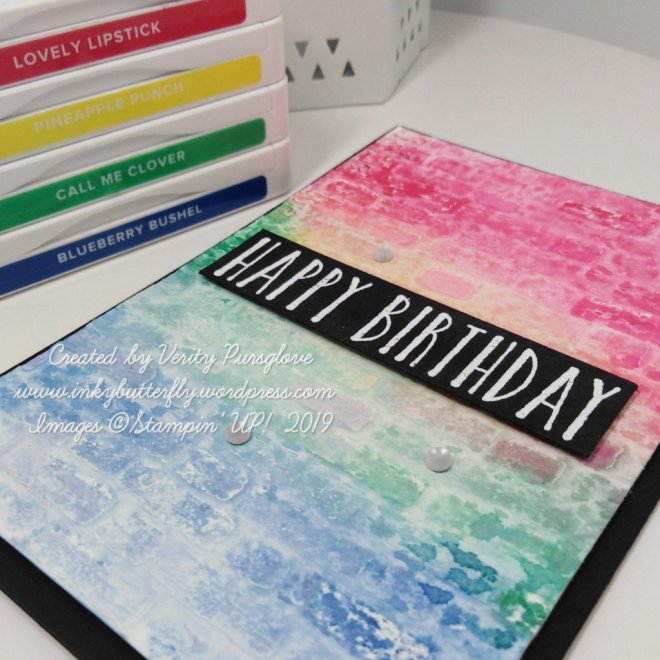
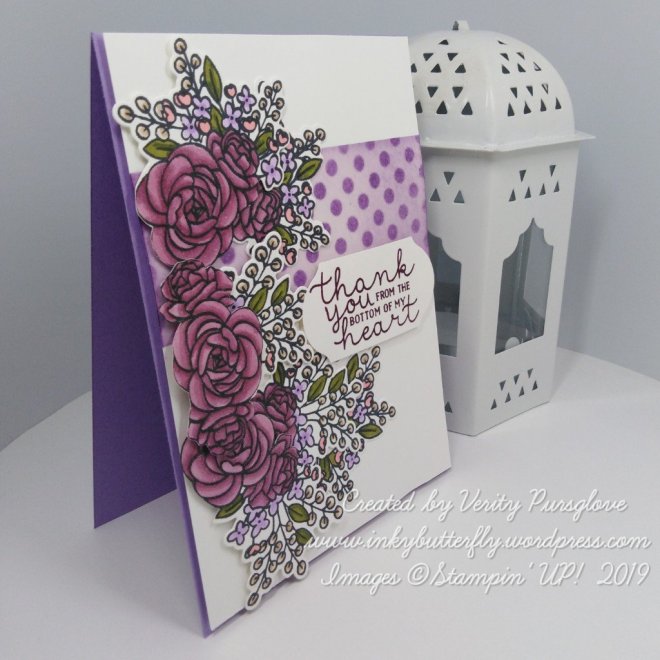
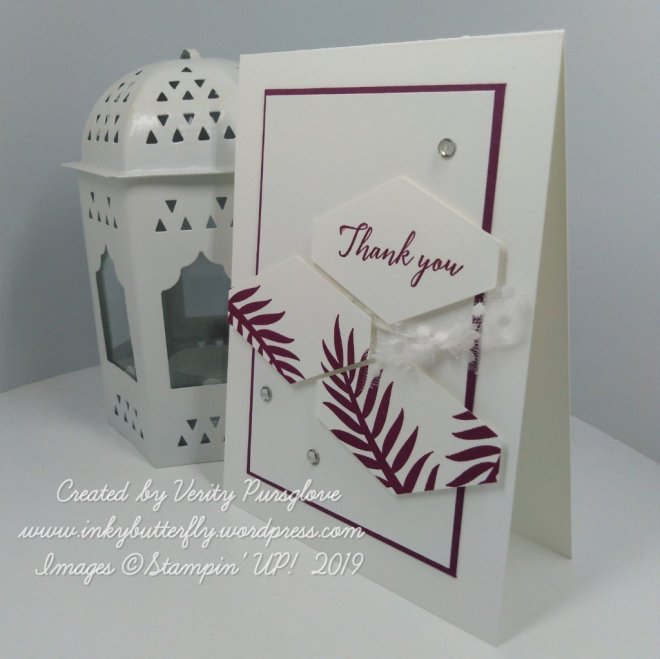
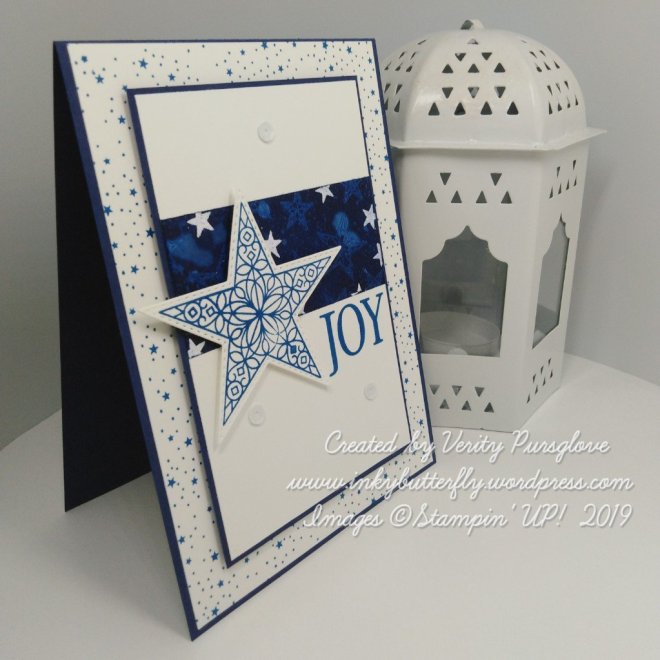
And this is what I created!

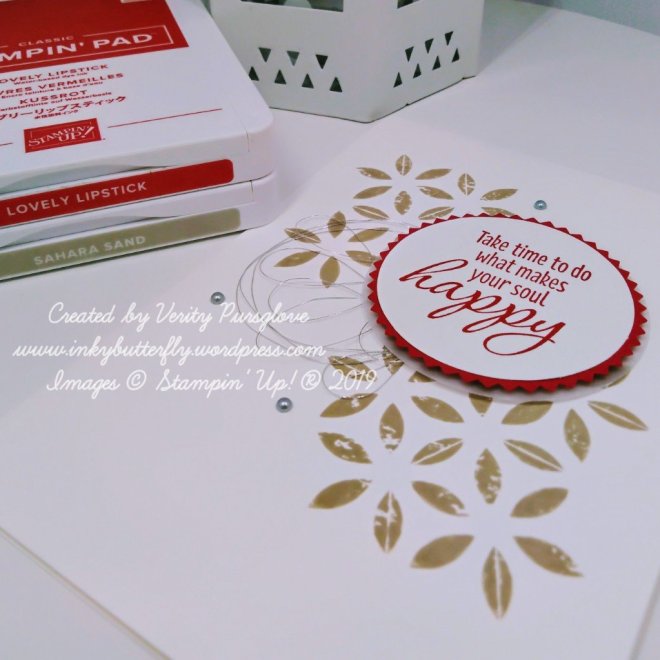
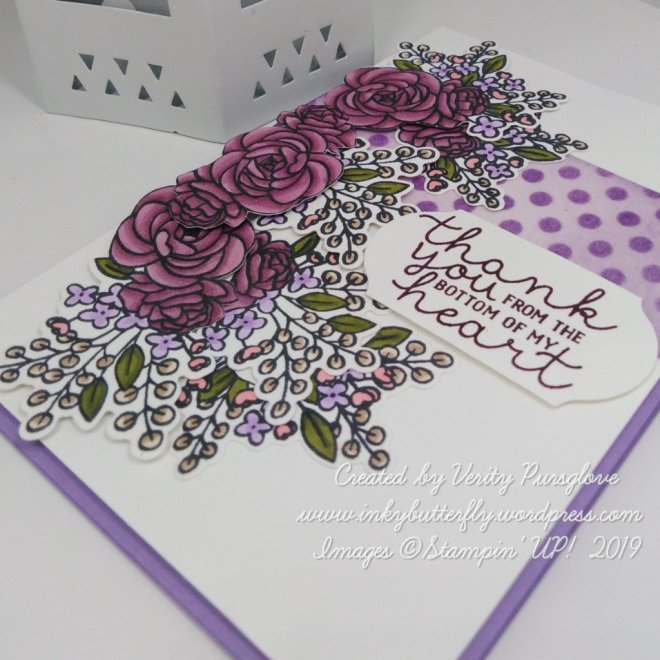
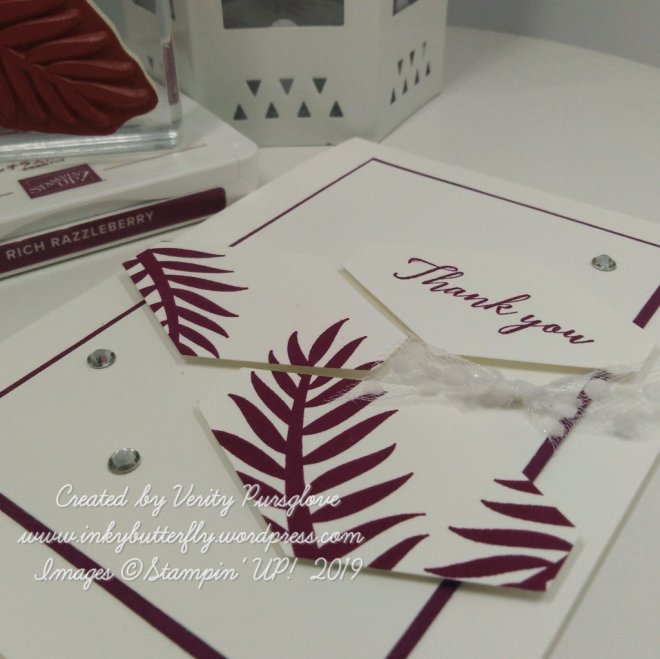
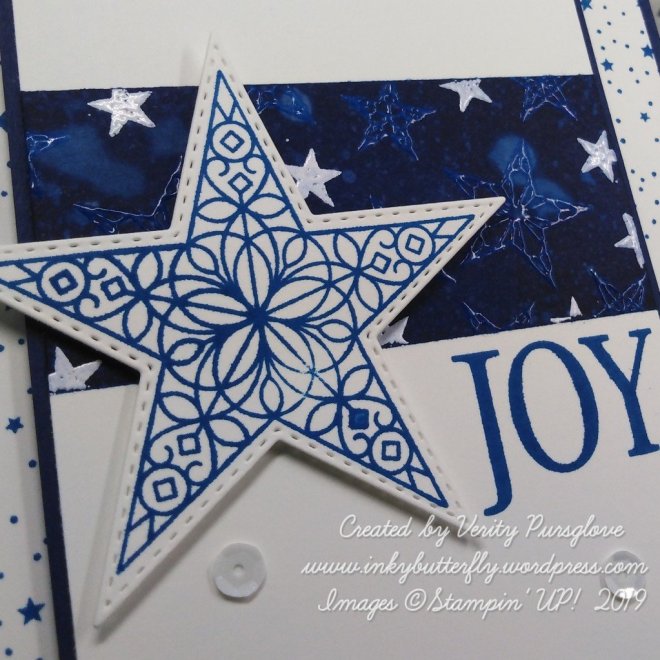
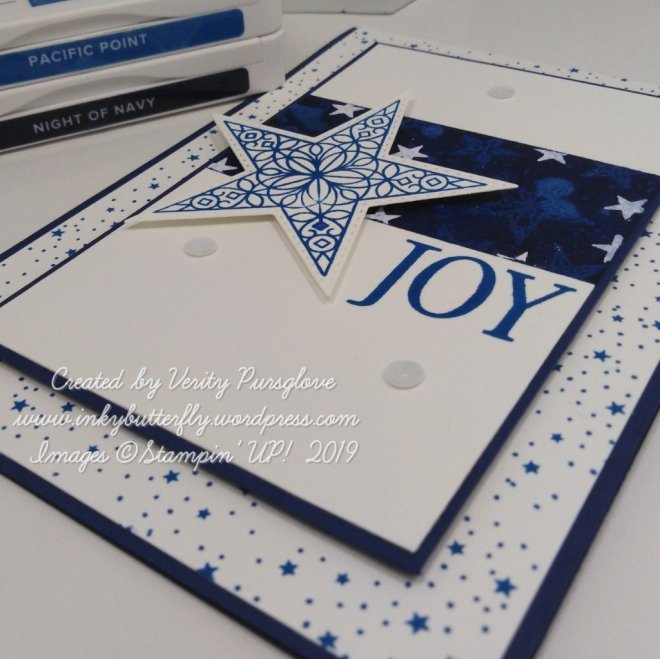
I used the Modern Heart stamp set for my design, Stamping the outline with Gorgeous Grape and adding colour with Coastal Cabana. The panel was added to a Melon Mambo card base.

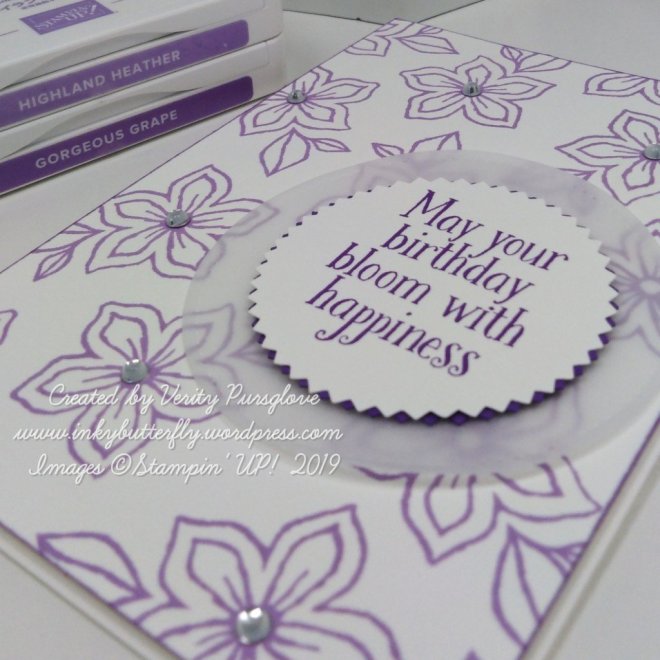
Melon Mambo Ink was used to stamp the sentiment which was cut with a 1-1/2 inch circle punch.
This was adhered to a 2″ circle of vellum and then to the card with dimensionals.
Gorgeous Grape glitter enamel dots completed the card.
I hope you enjoyed this project. The supplies used are listed and linked to the online store below.
I would love to be your demonstrator.
Thanks for stopping by today and happy Stampin’!
Verity xx
Product List

|

|

|

|
|
|

|

|

|


")


")


")


")