Hello Everyone,
Welcome to the Project Share!
Today I am sharing a project made by my lovely friends, Vickie, Heather and Jayne!
Please click the links, like and subscribe!
***************
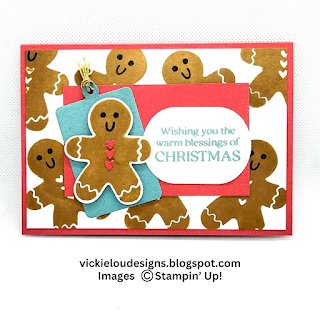
Vickie’s card this week is good enough to eat with the adorable gingerbread men!
Visits Vickie’s blog here
***************
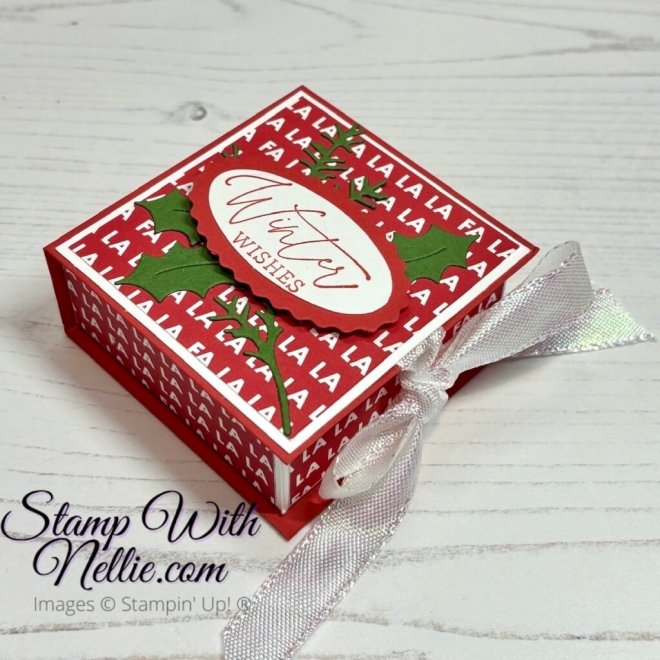
Heather has made a beautiful gift box. It’s perfectly sized for some Christmas treats!
Visit Heather’s blog here
***************
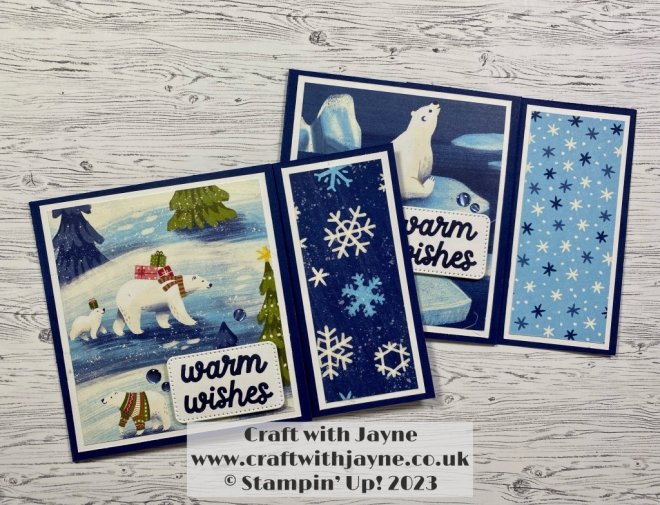
Jayne has made a lovely gift card holder which fits into a standard envelope!
Visit Jayne’s blog here
***************
I hope you enjoyed these projects.
I would love to be your demonstrator.
Thanks for stopping by today and happy Stampin’!
Verity xx
Product List
")
")
")

")


")


")


")
")


")


")
")


")


")
")

")


")


")


 Metallic Ribbon")

")


")


")