Good Morning Everybody,
Welcome to this month’s Project Share Project blog hop. Our theme this month is Embossing!
See the other projects by using the links below, or use the “Next” button at the bottom of this post!
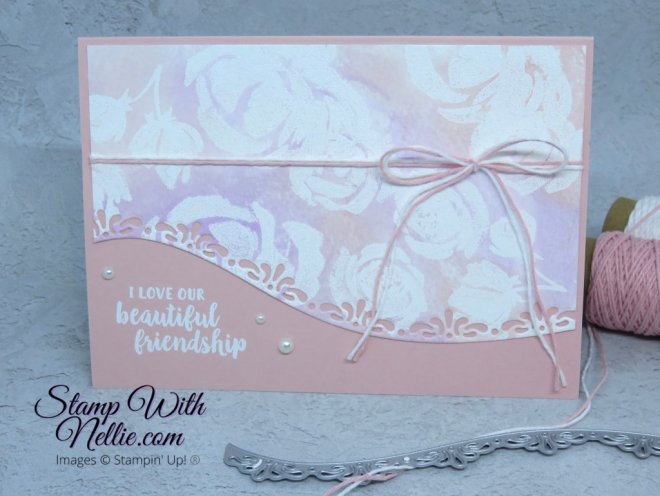
Heather Forgan – Stamp With Nellie
Victoria Littlewood – Vickie Lou Designs
Jayne Frank – Craft with Jayne
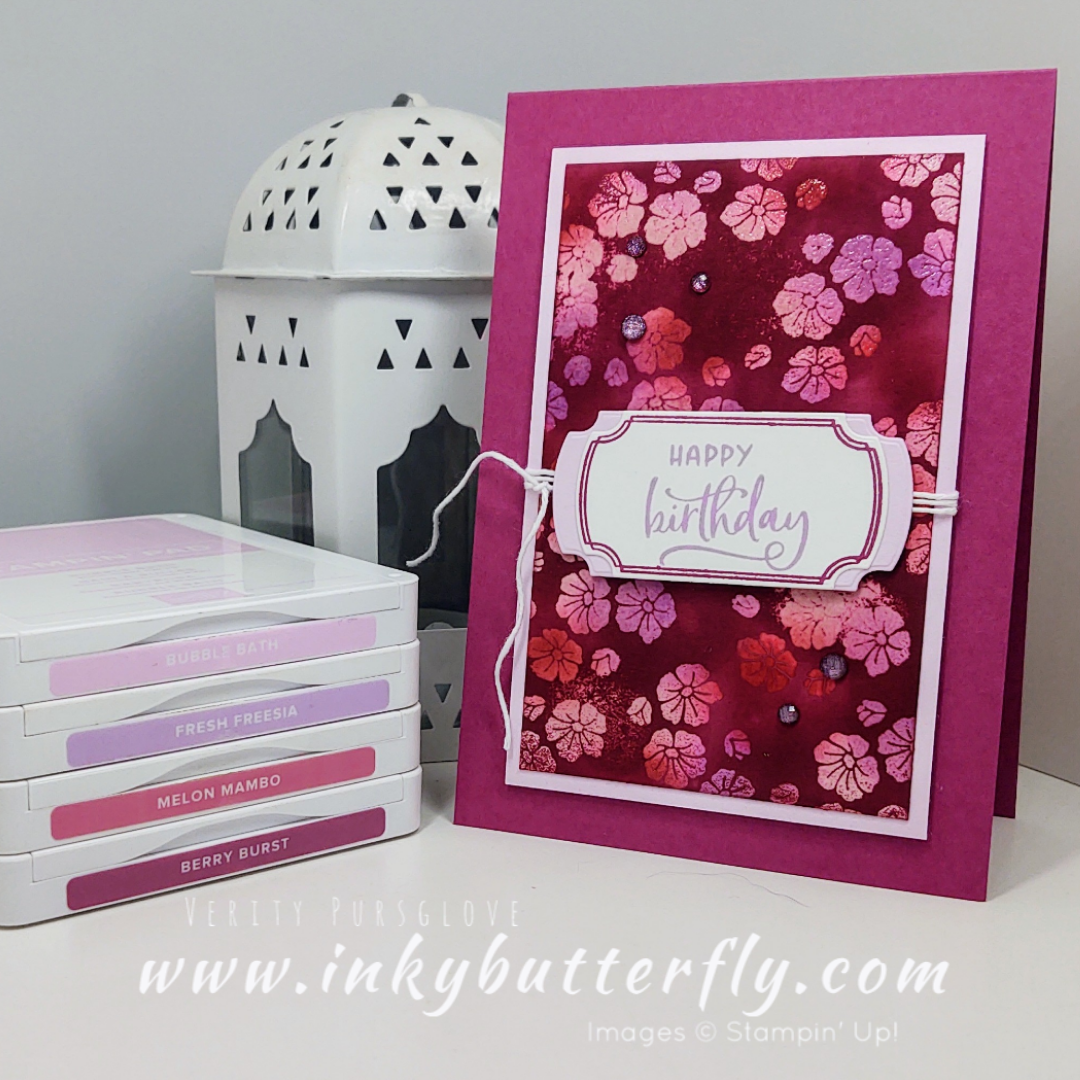
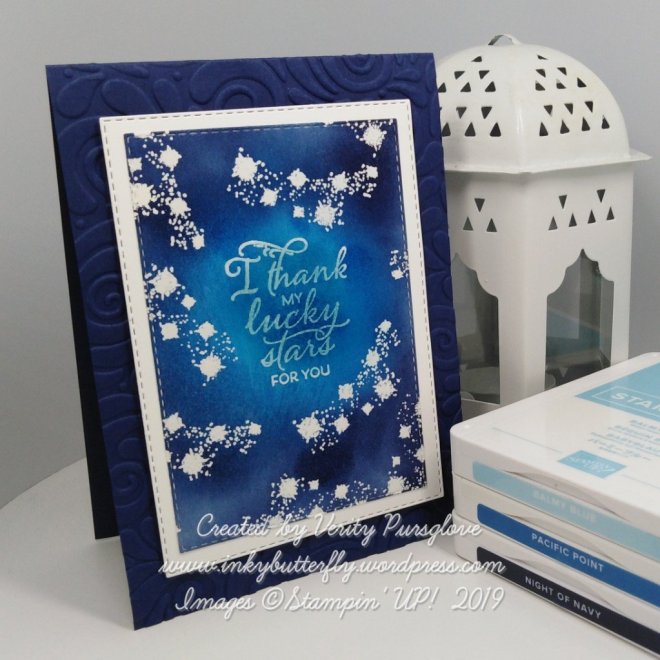
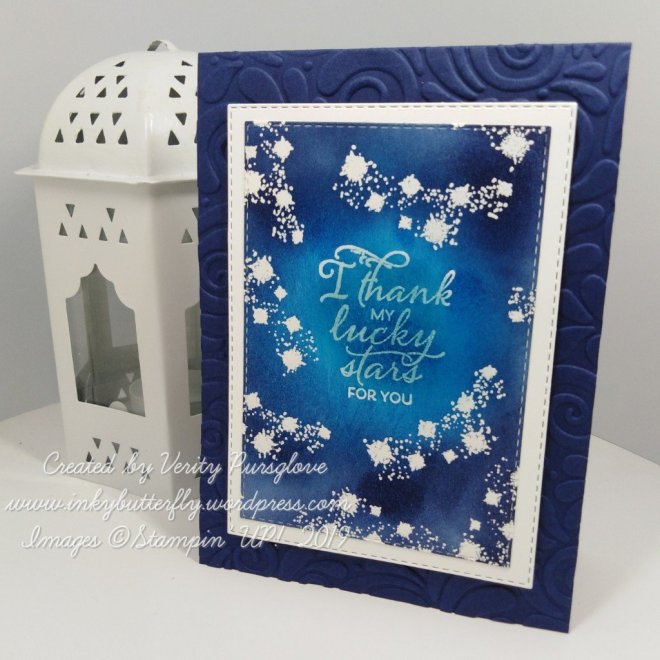
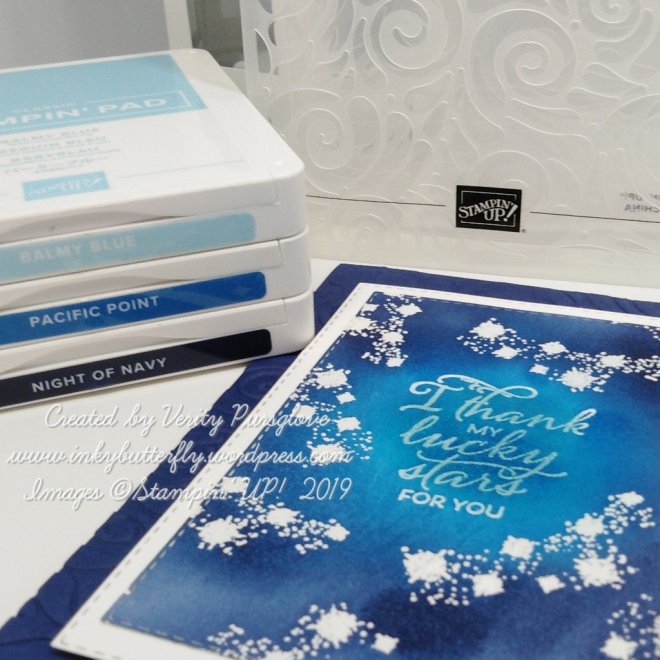
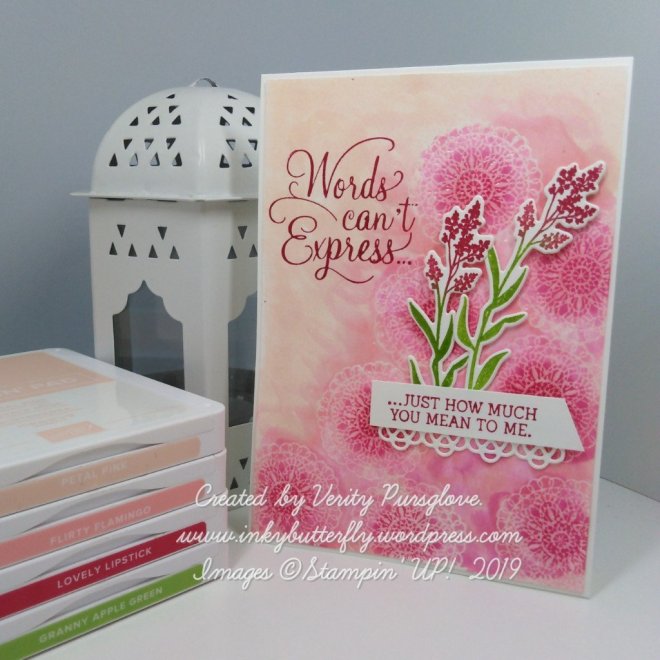
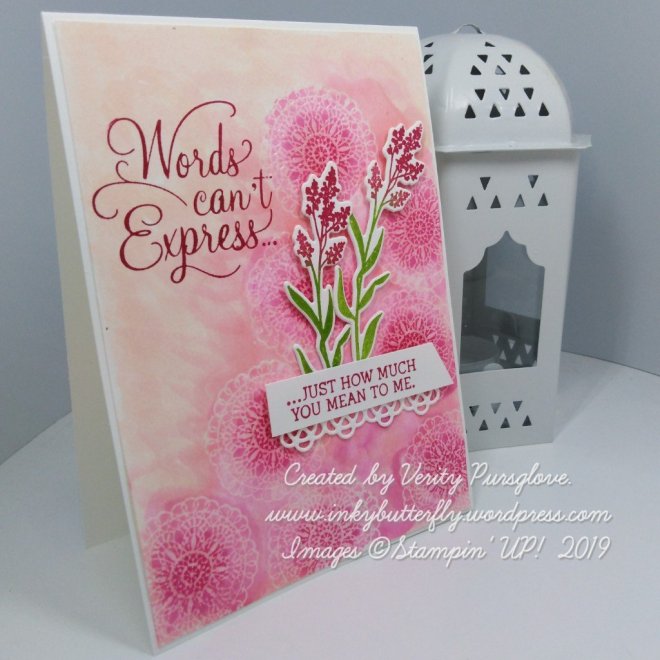
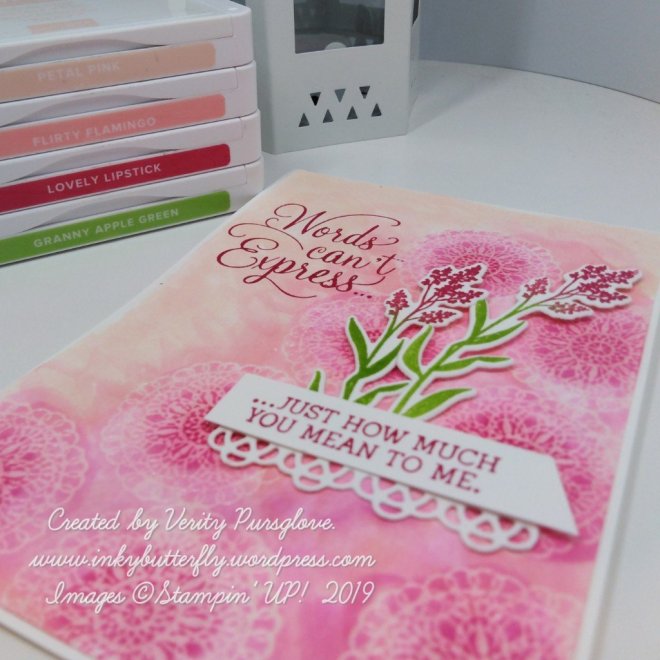
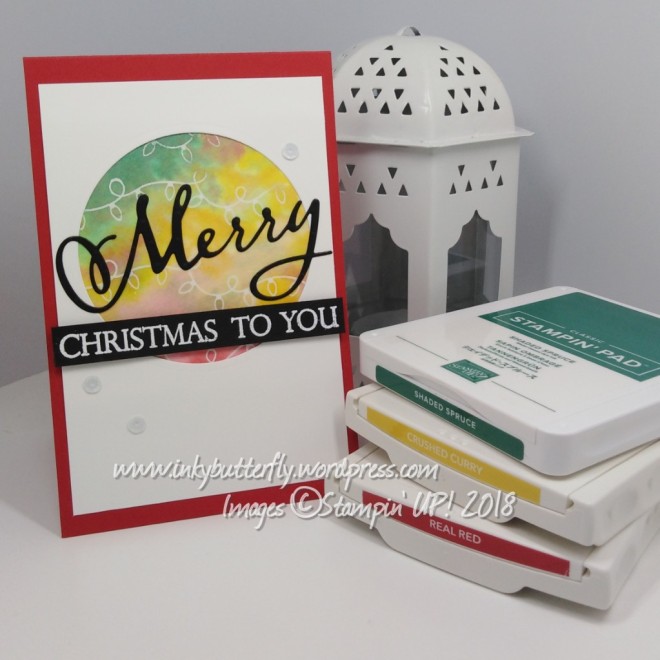
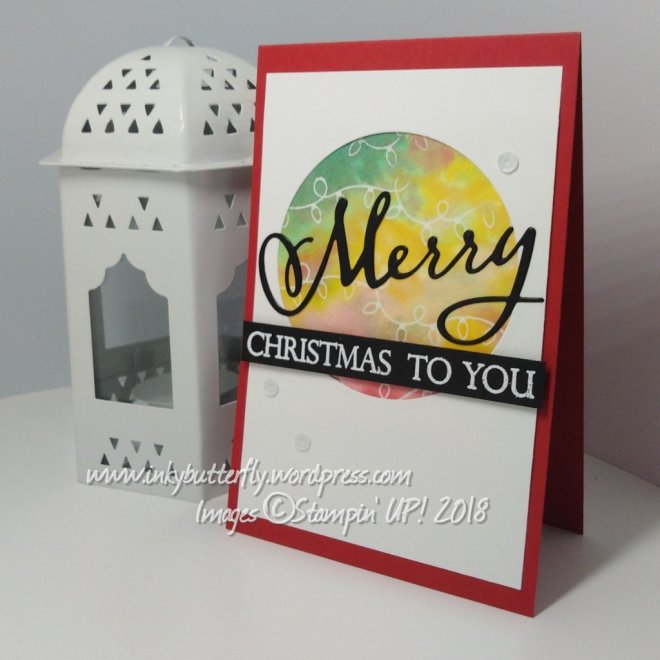
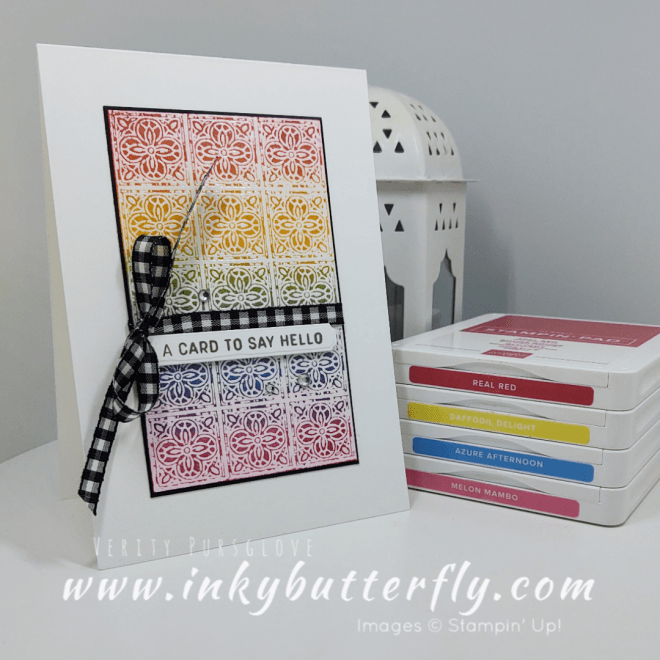
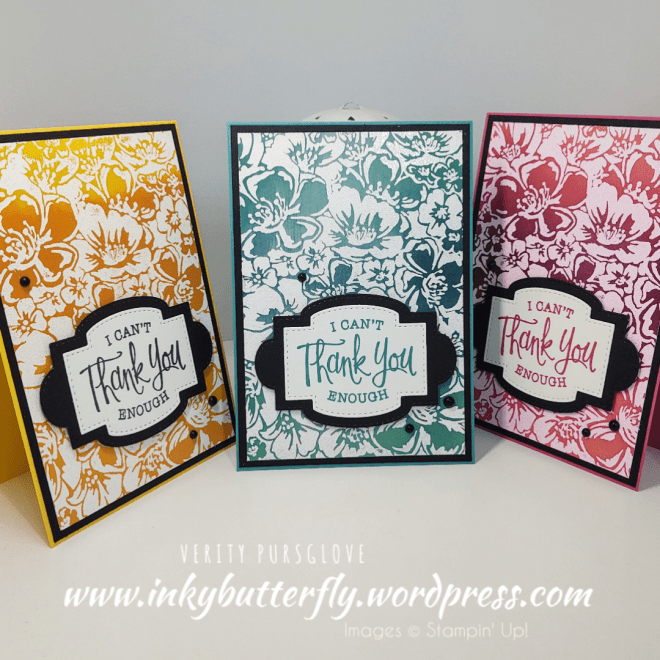
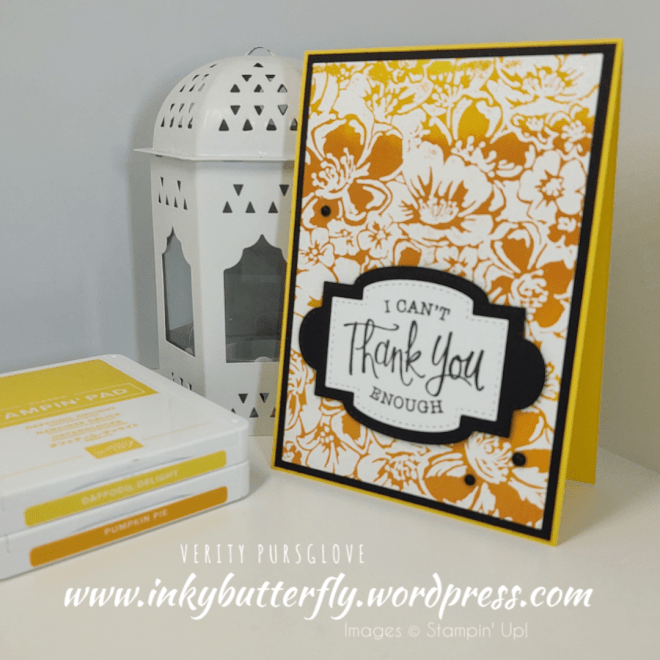
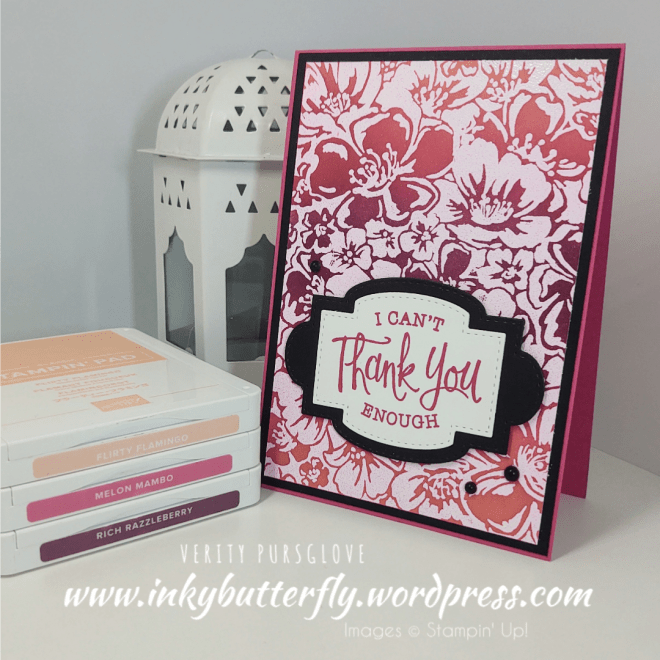
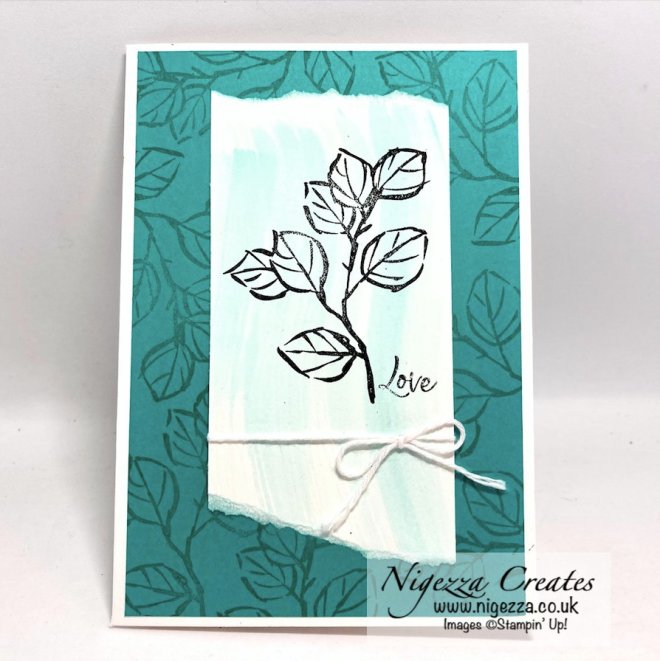
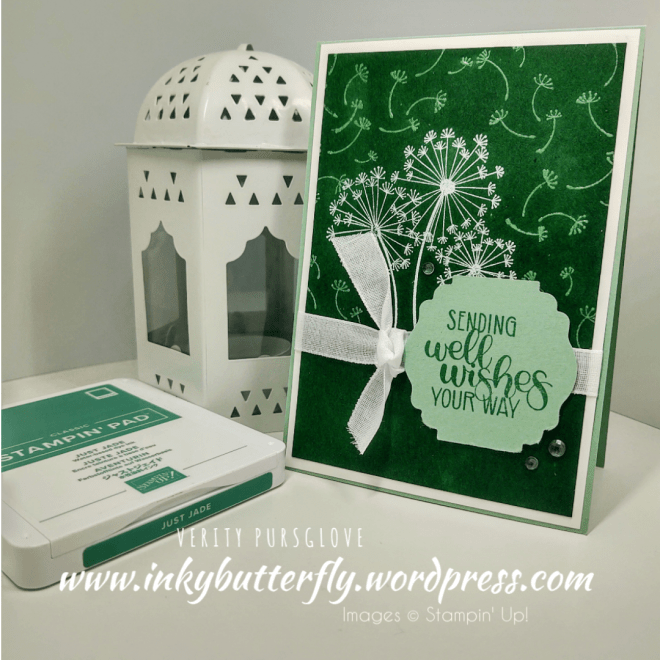
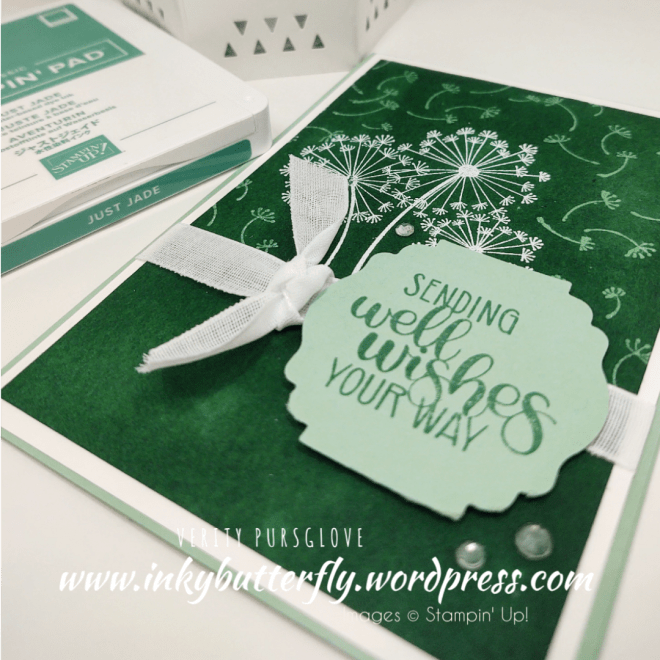
I’ve been experimenting with variations of the Joseph’s Coat technique.
For this one, I used pinks and purples to colour the some Basic White cardstock.
The flowers from the Labelled with Love stamp set wre used to stamp over the background with versamark ink. These were then heat embossed with clear powder.
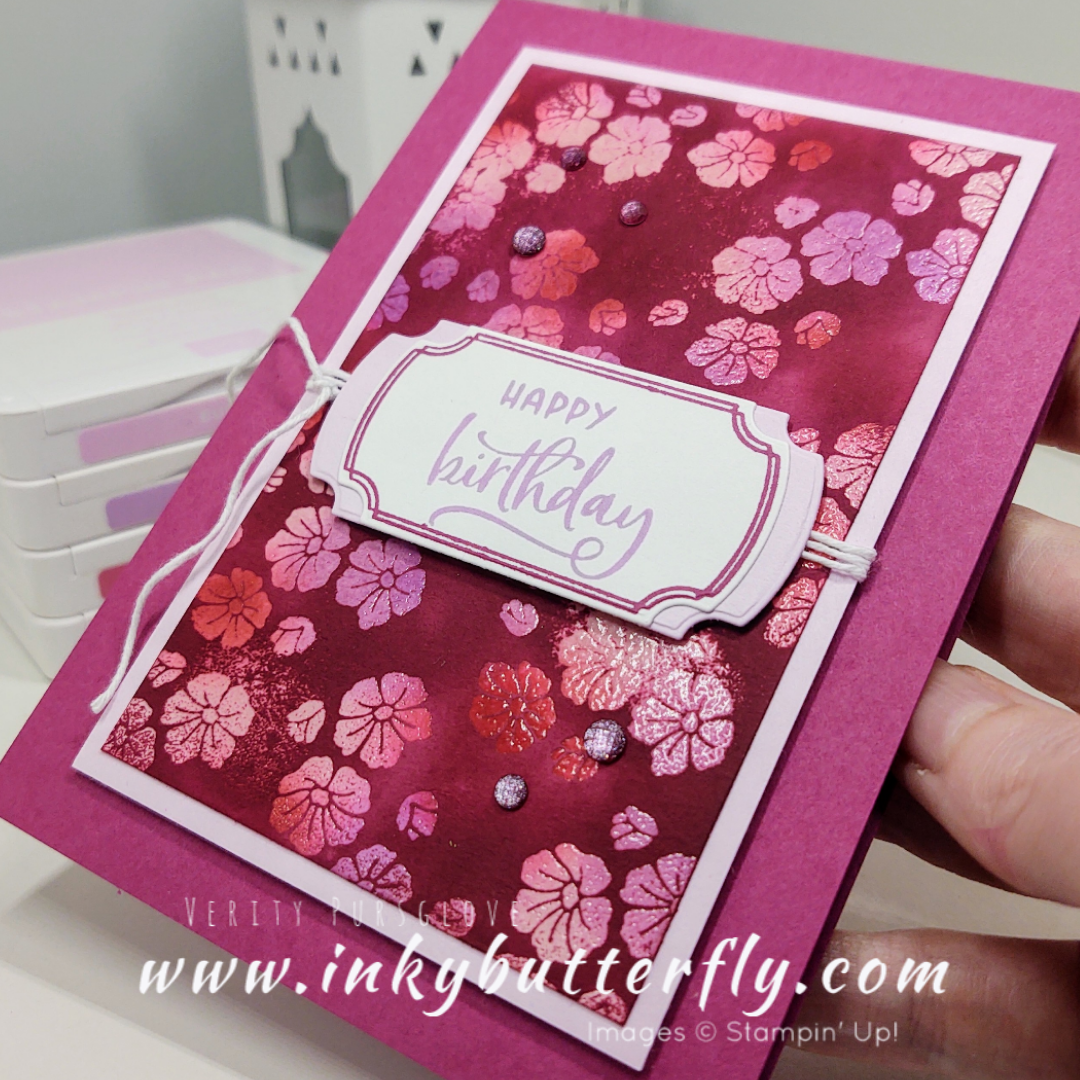
Berry Burst ink was added over the top of the embossing allowing the background colours to show through.
You can see how I made this card in my video tutorial…
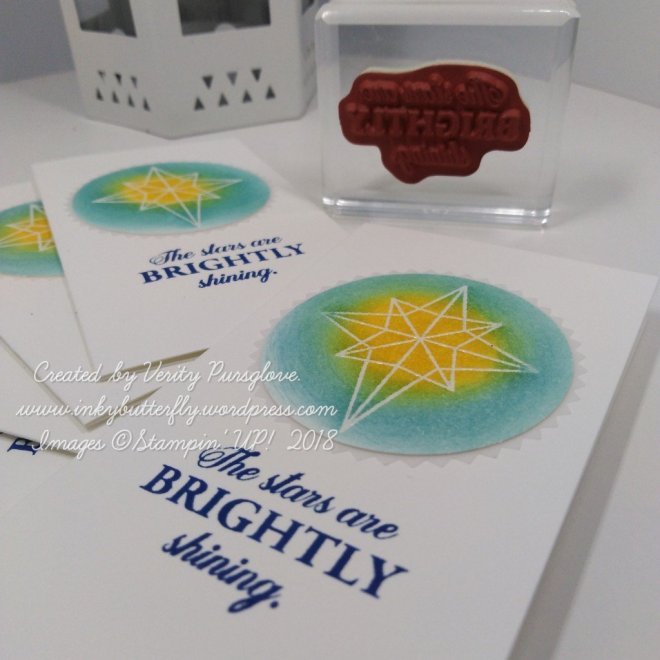
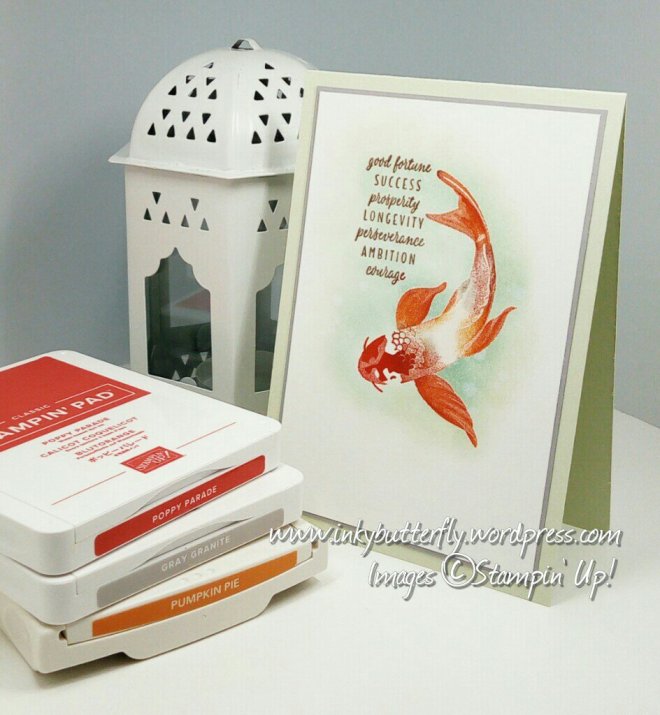
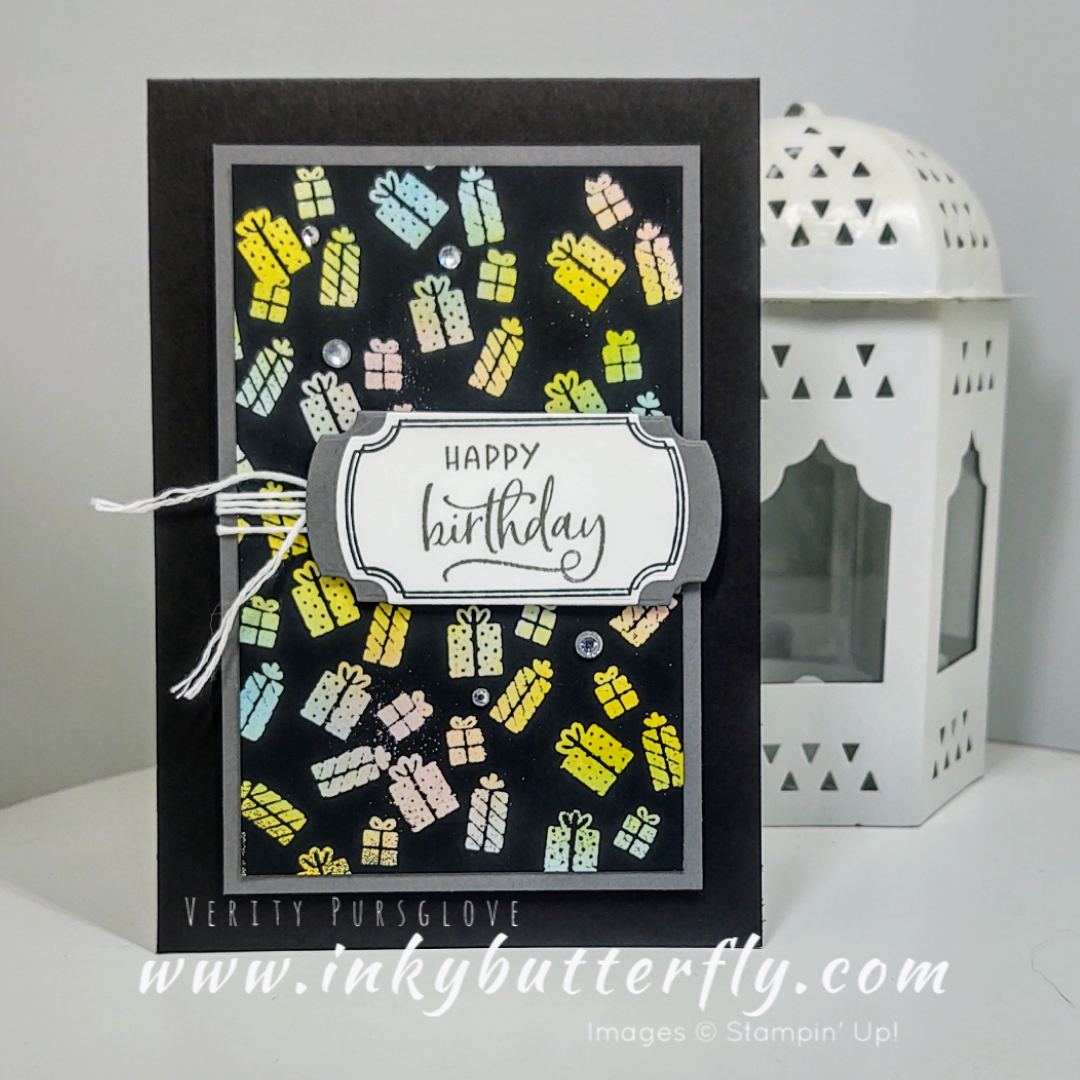
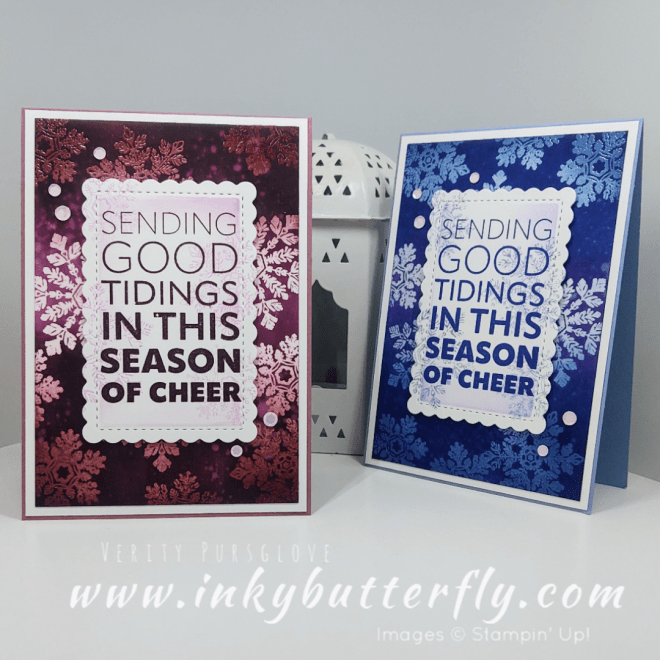
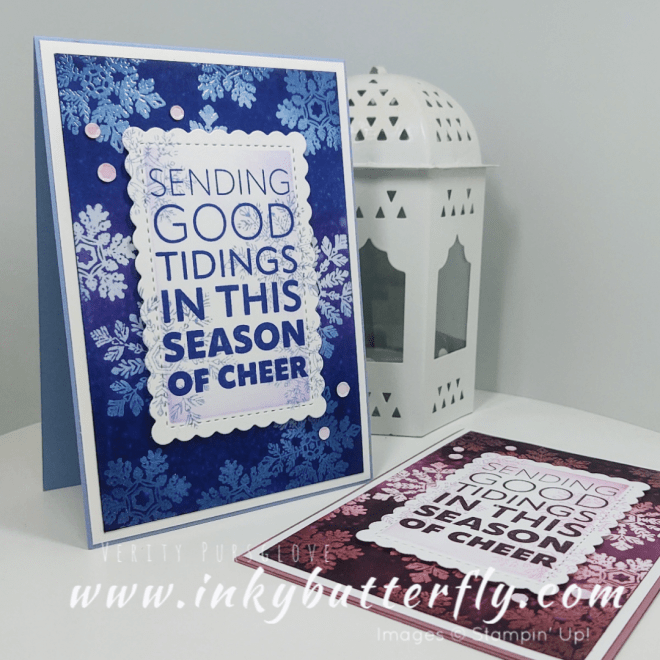
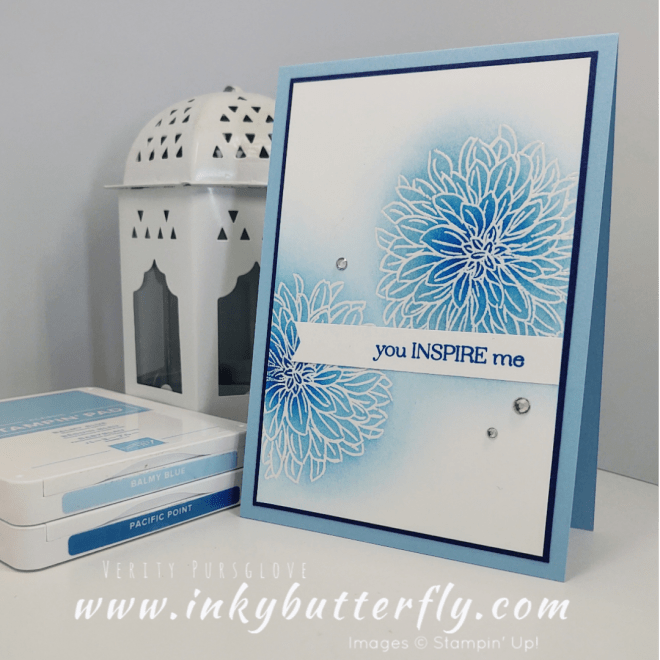
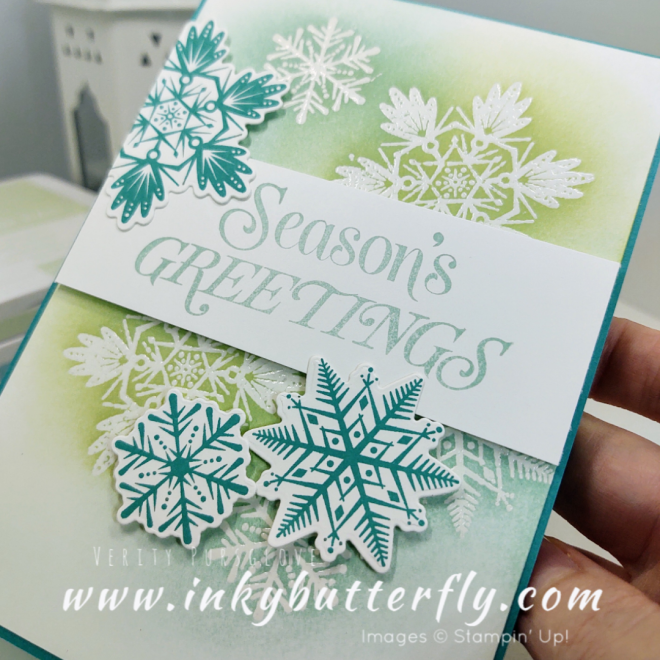
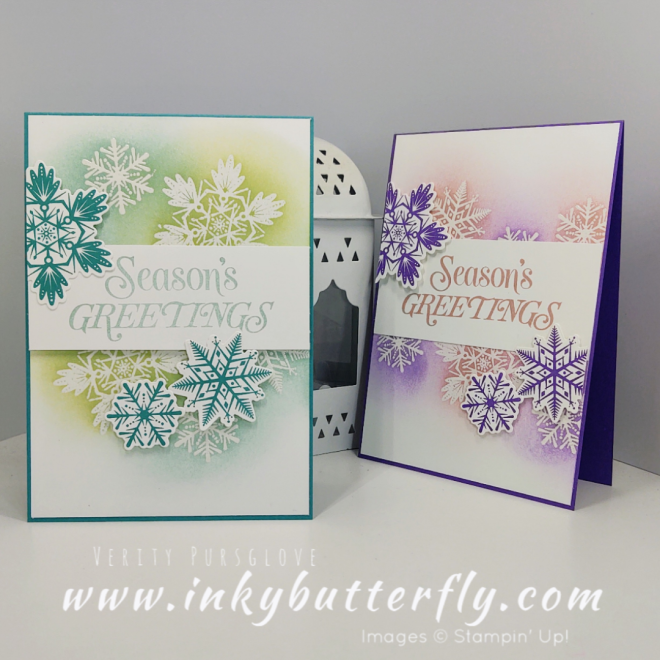
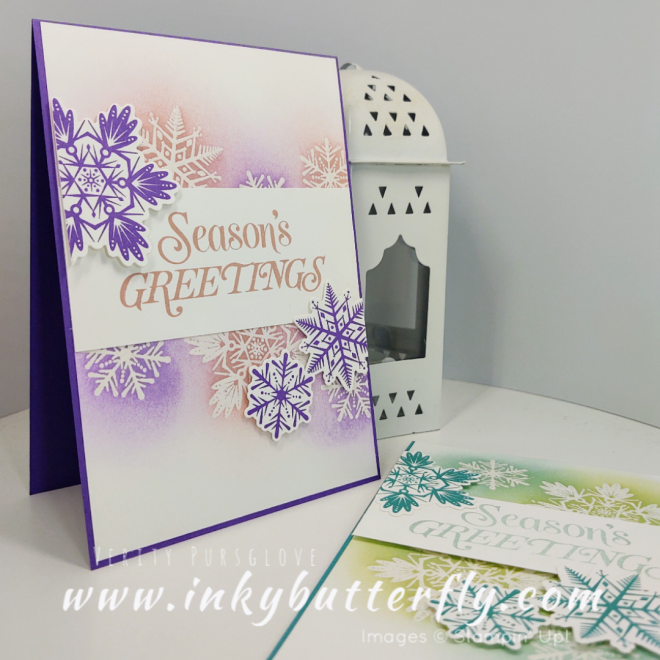
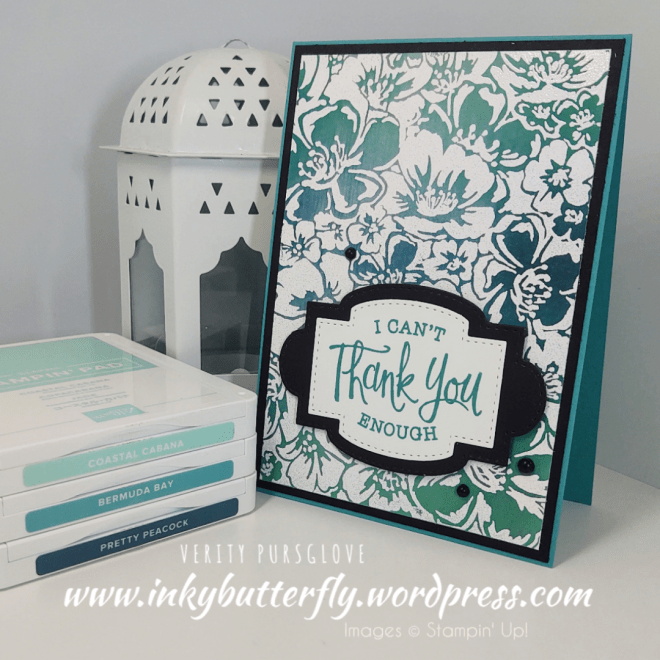
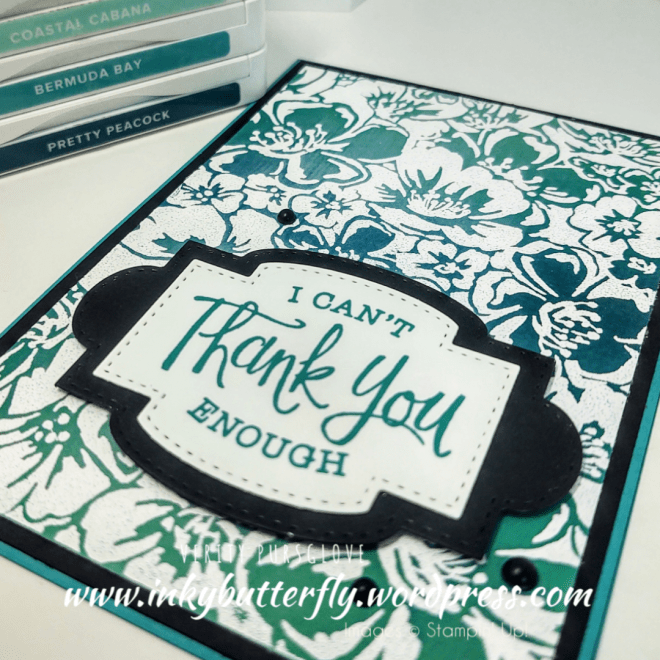
This version is more traditional, in that it uses black ink to create the resist. The background was coloured with subtles inks.
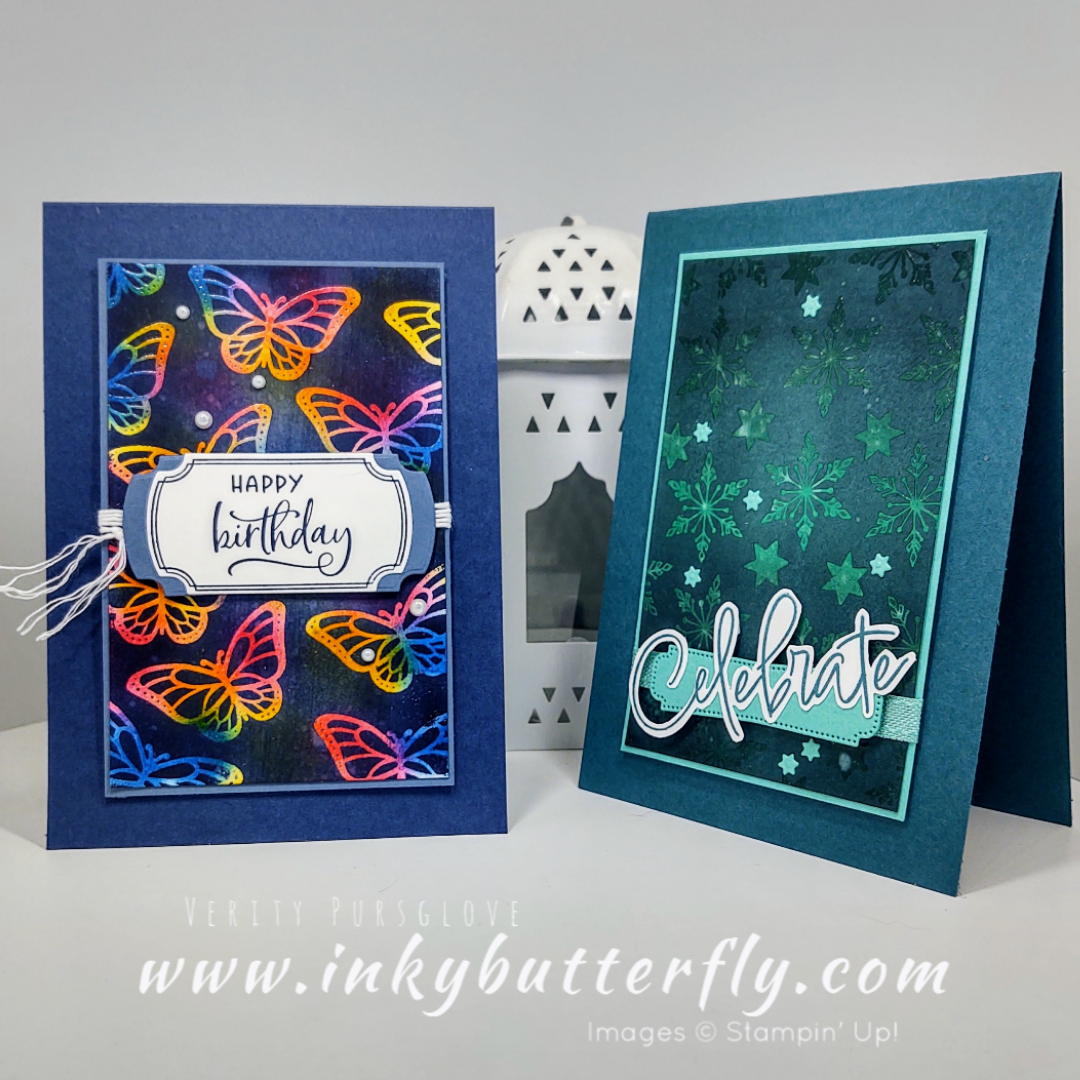
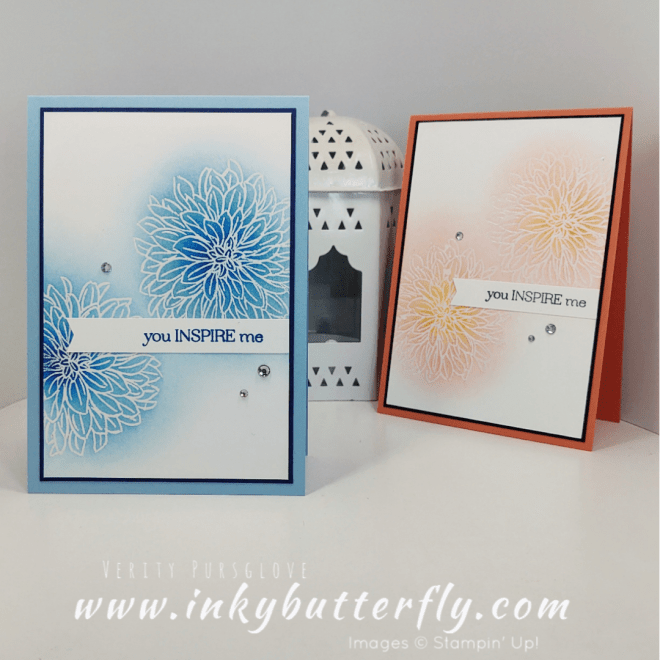
And for these….
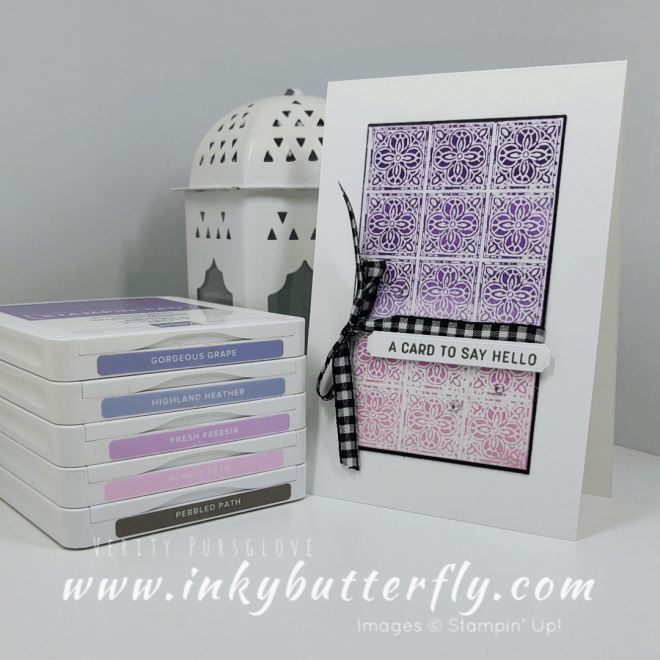
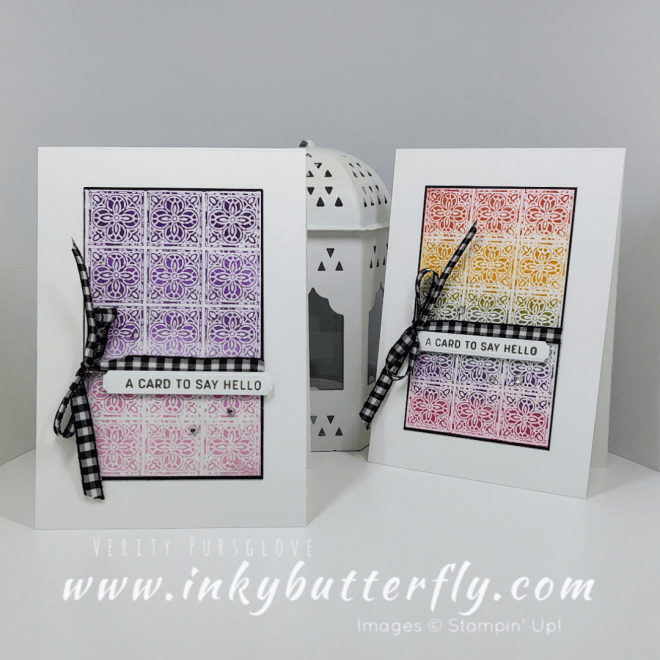
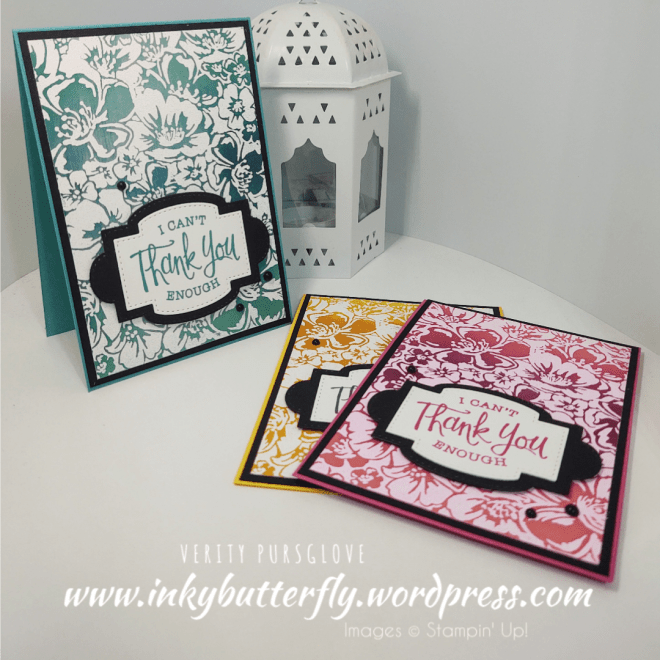
I used the brights inks with the butterflies, and added Night of Navy.
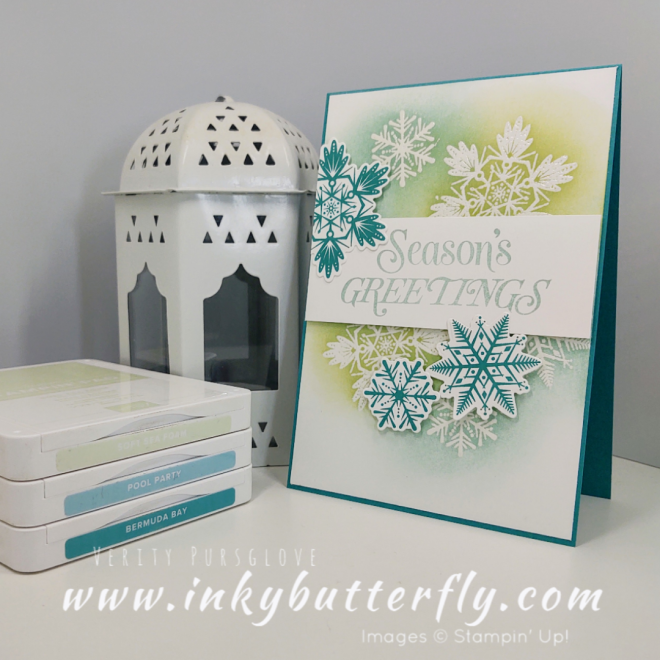
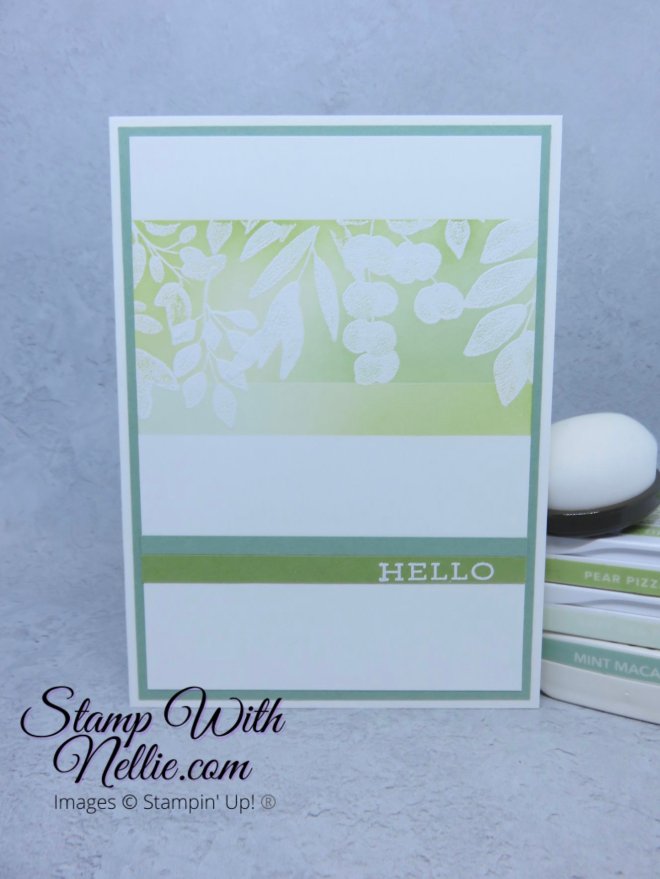
For something completely different, I went for an ombre background of Coastal Cabana, Lost Lagoon and Pretty Peacock!
Click below to move on to Heather’s project!

I hope you enjoyed this project.
The supplies used are listed and linked to the online store below.
I would love to be your demonstrator.
Thanks for stopping by today and happy Stampin’!
Verity xx
Product List
")


")
")


")
")


")


")
")


")

")
")


")


")


")