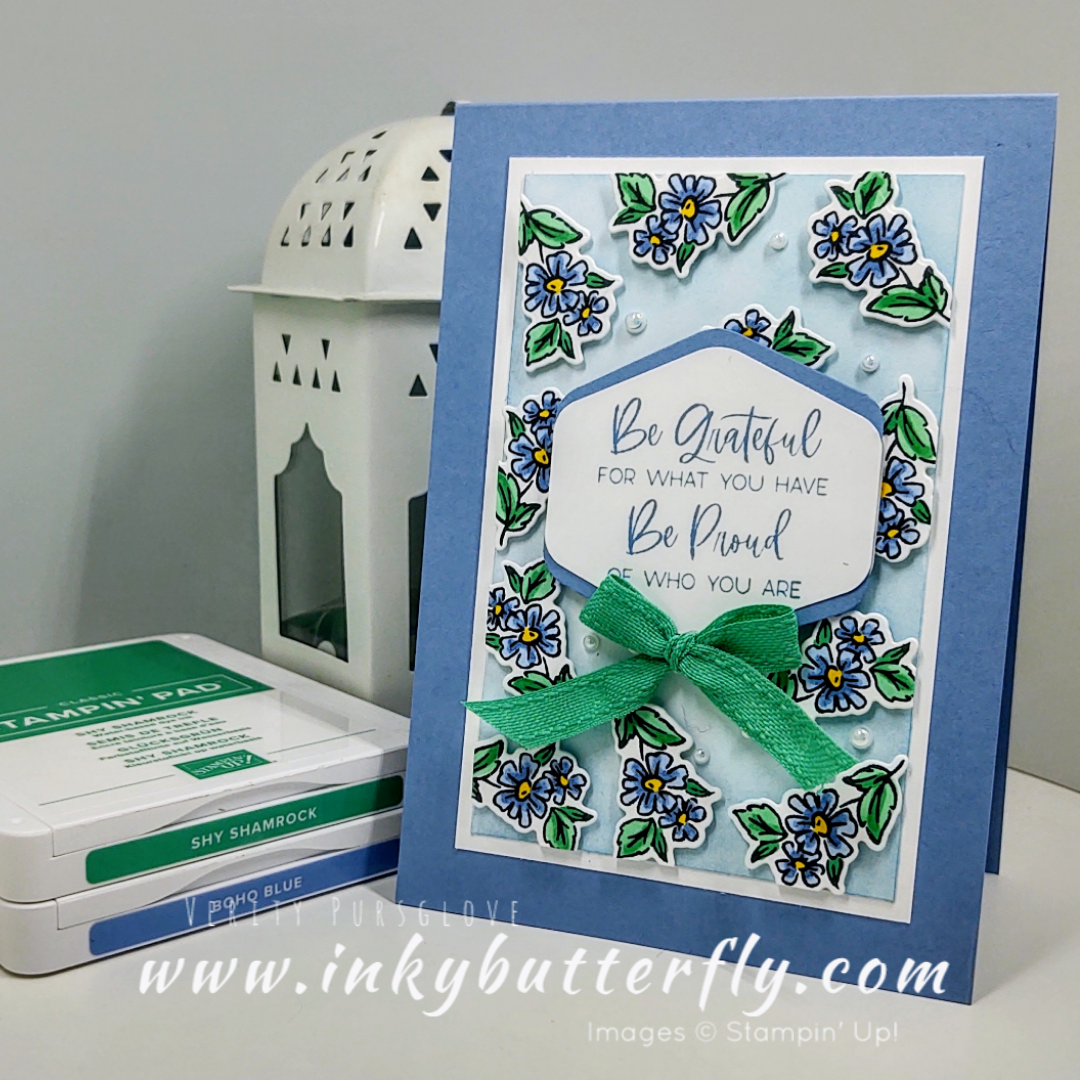
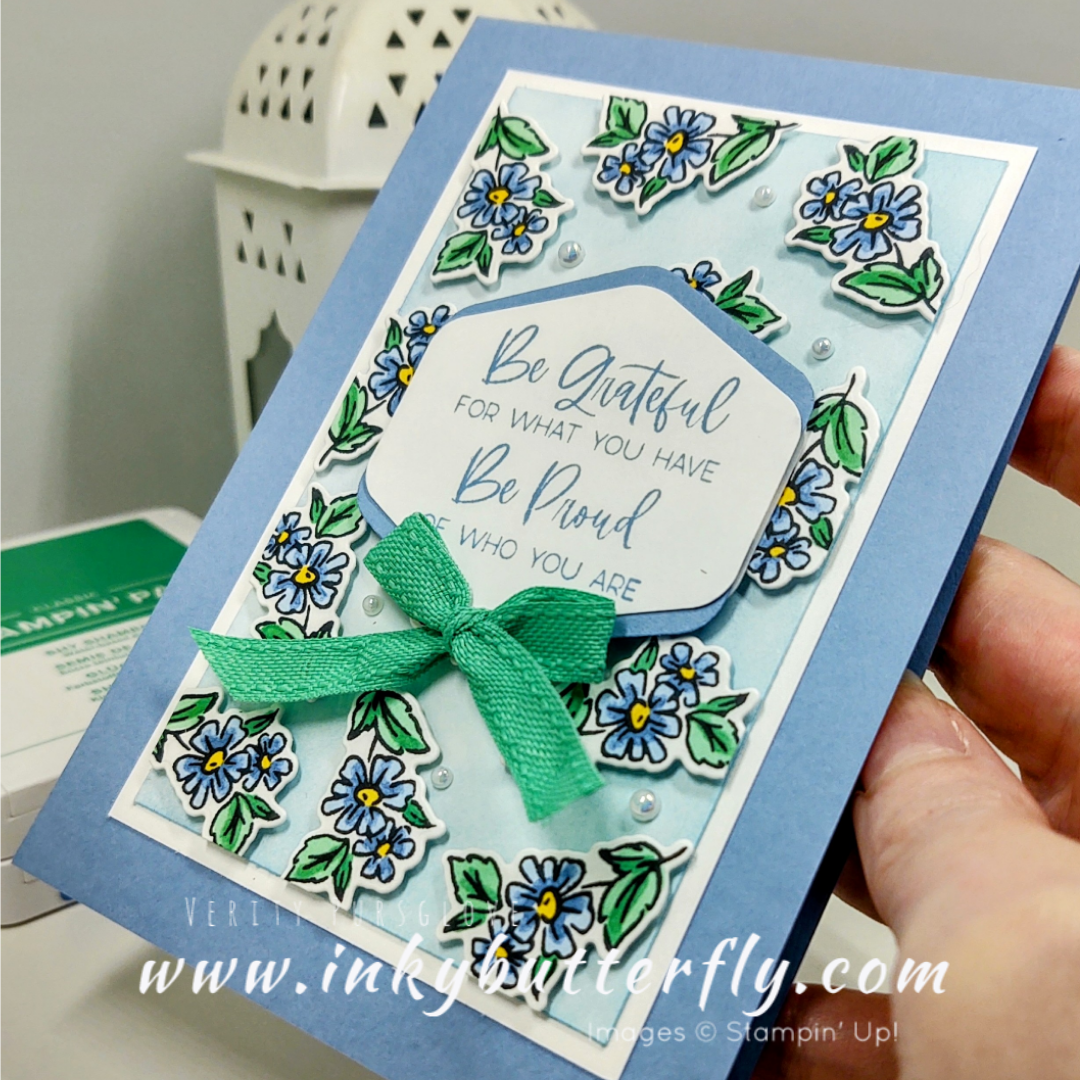
I love making my own backgrounds, and today I’m adding dimension too!
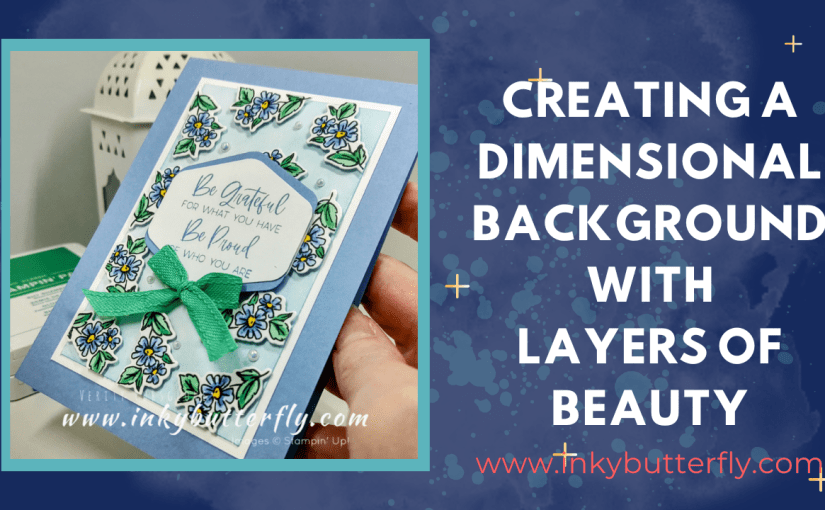
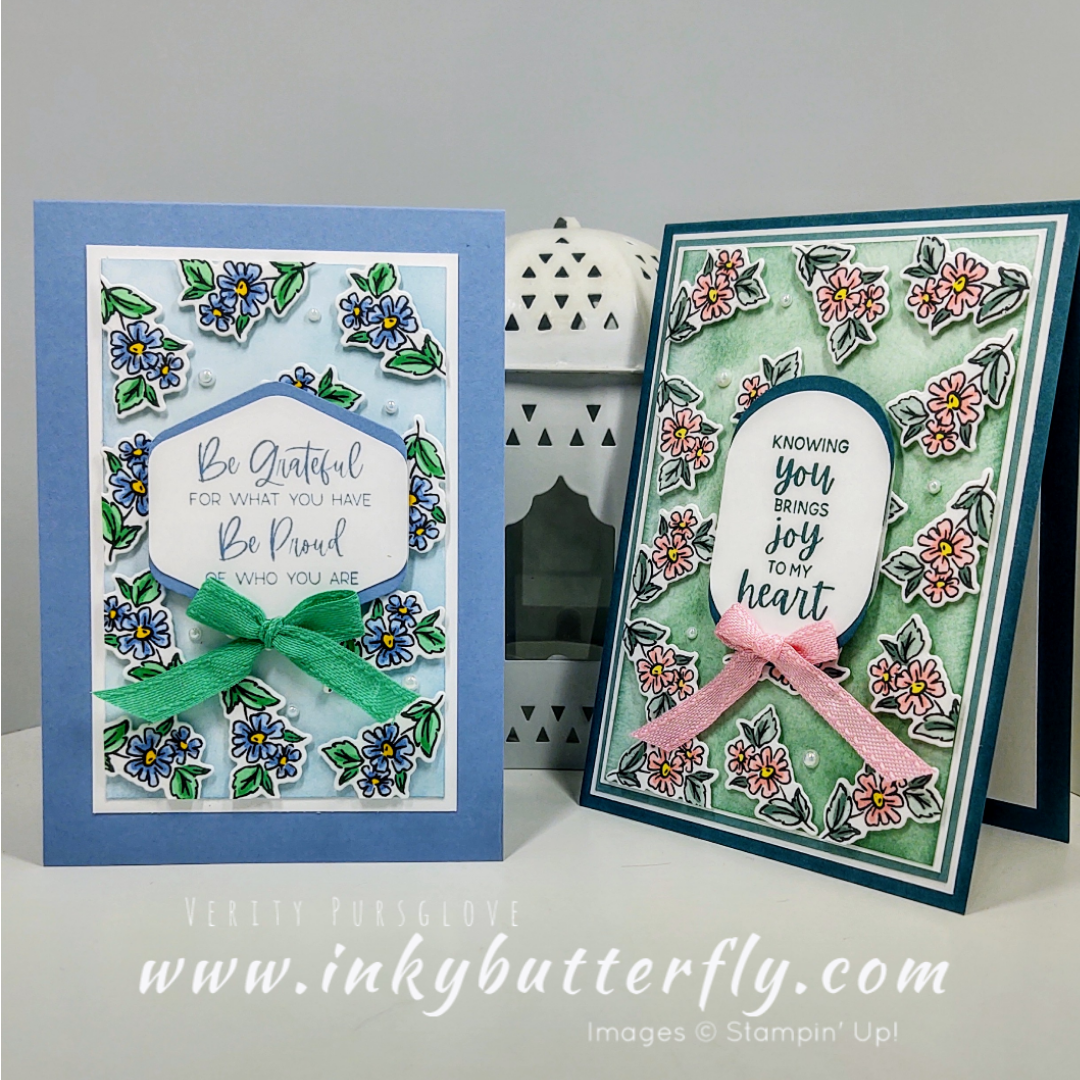
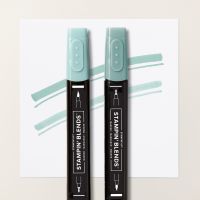
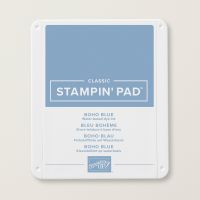
I’m working with Boho Blue and Shy Shamrock, In Colours from both collections – they worked together better than I thought they would!
You can see how I made this card in my video tutorial….
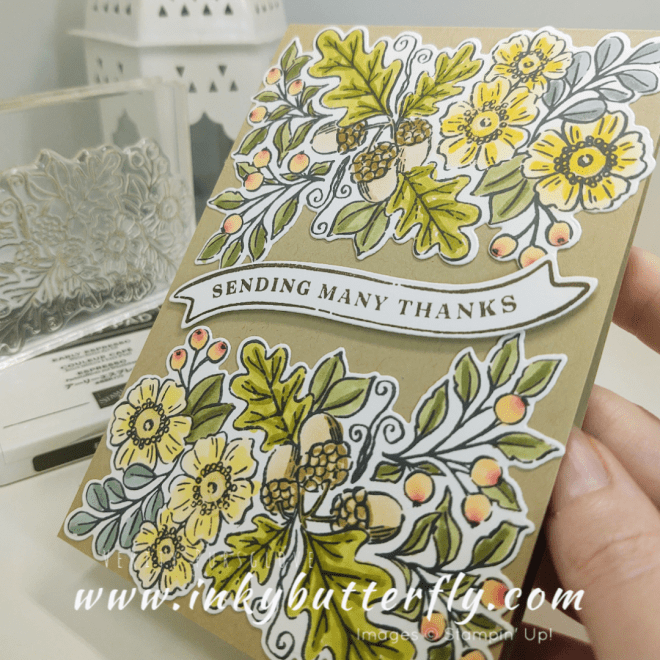
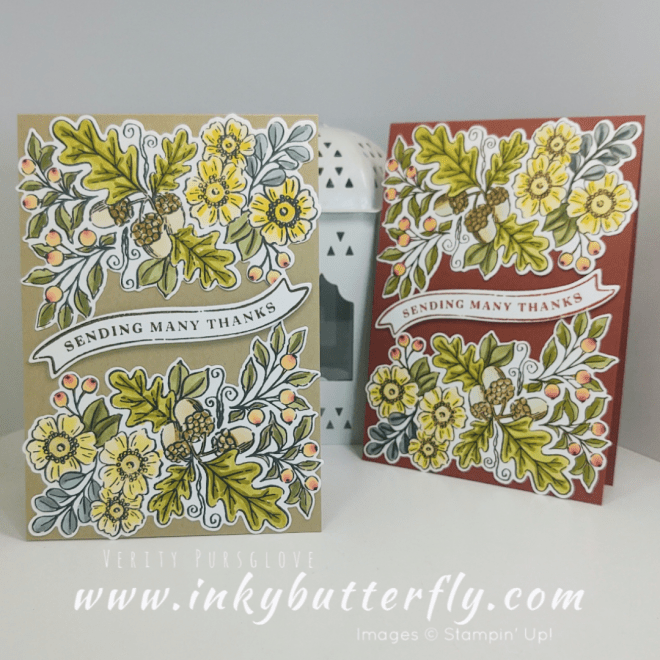
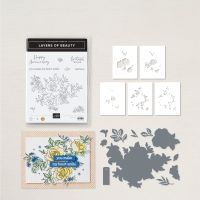
The small image from the Layers of Beauty stamp set was was stamped, coloured and die cut…. I used 12 in the end…. Then added them to the card panel with dimensionals.
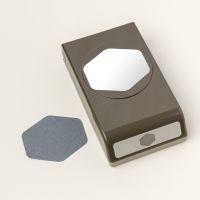
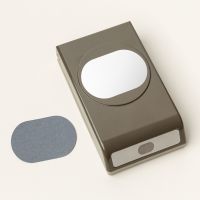
Punched pieces were layered together to create the sentiment feature and embellished with Bordered Ribbon and Iridescent Pearls.
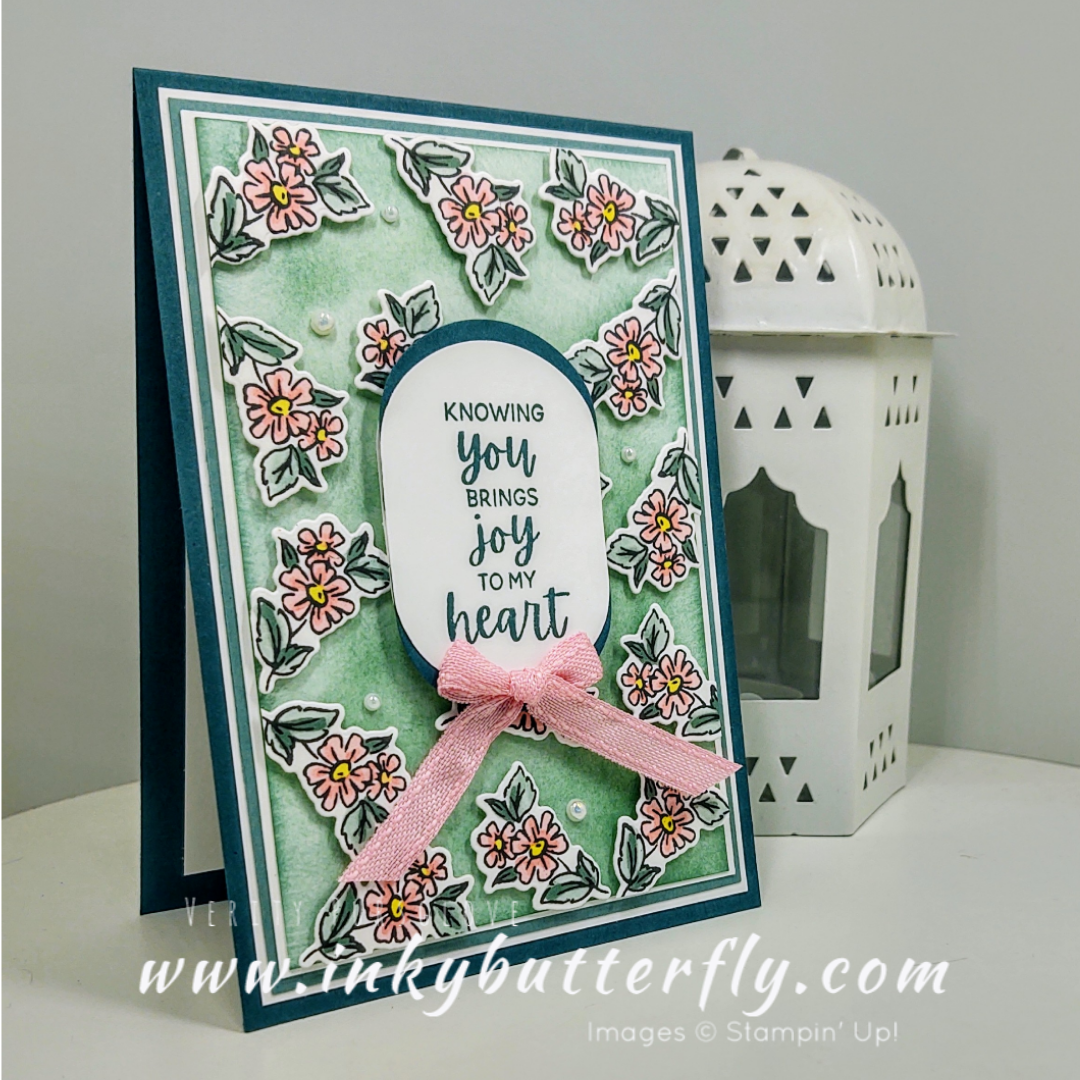
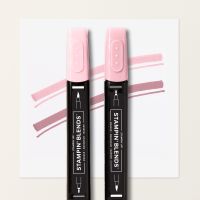
Here’s another version using Pretty in Pink, Lost Lagoon and Pretty Peacock!
The supplies used are listed and linked to the online store below.
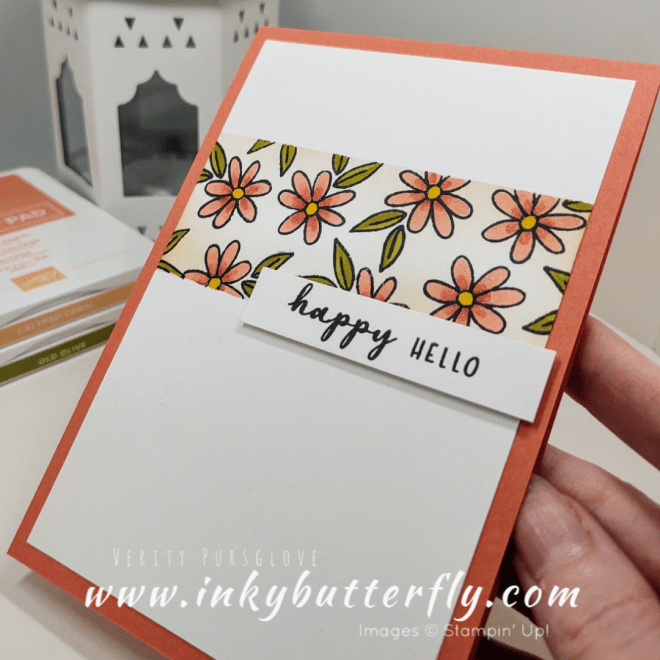
Sometimes less is more! So today’s card features a easy technique that still so pretty!
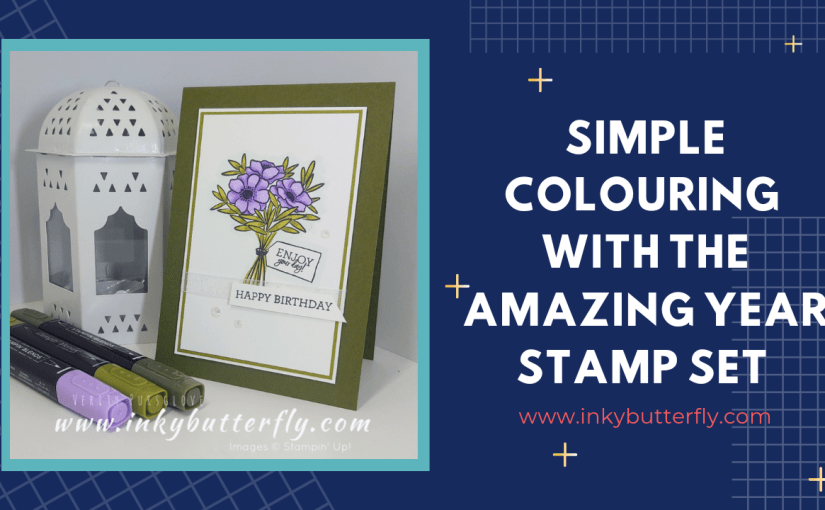
The Choose Happy stamp set has cute images and tiny mix and match sentiments, these would be great for planners and journals too!
You can see how I made this card in my video tutorial….
I masked off the Basic White card panel with some sticky notes. A touch of residual brown ink from a blending brush defines the section from the background.
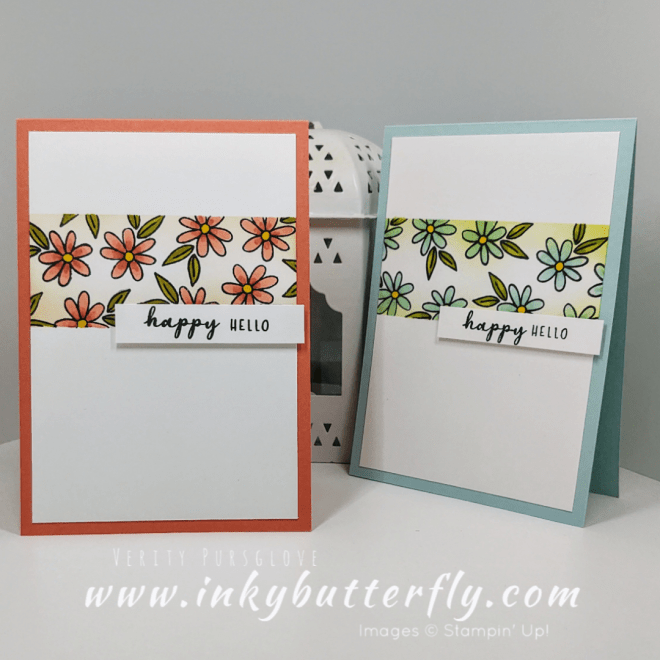
The flowers were added next using Memento ink so they could be coloured with Stampin’ Blends. I used Calypso Coral and Old Olive!
The sentiment was stamped on to a simple strip popped up on dimensionals.
Here’s an alternative colourway using Pool Party and Granny Apple Green.
The supplies used are listed and linked to the online store below.
I have been wanting to make a Christmas wreath with the Joy of Noel bundle for ages… And here it is!
I have picked a nontraditional colour scheme to get a frosty look to the card. The foliage uses a mixture of Lost Lagoon, Pool Party and Soft Sea Foam with Moody Mauve berries.
With a different sentiment, this would make a beautiful winter wedding card too.
You can see how I made this card in my video tutorial
The card base and sentiment are in Gray Granite accented with some vellum, Sheer ribbon and Neutral Adhesive Sequins.
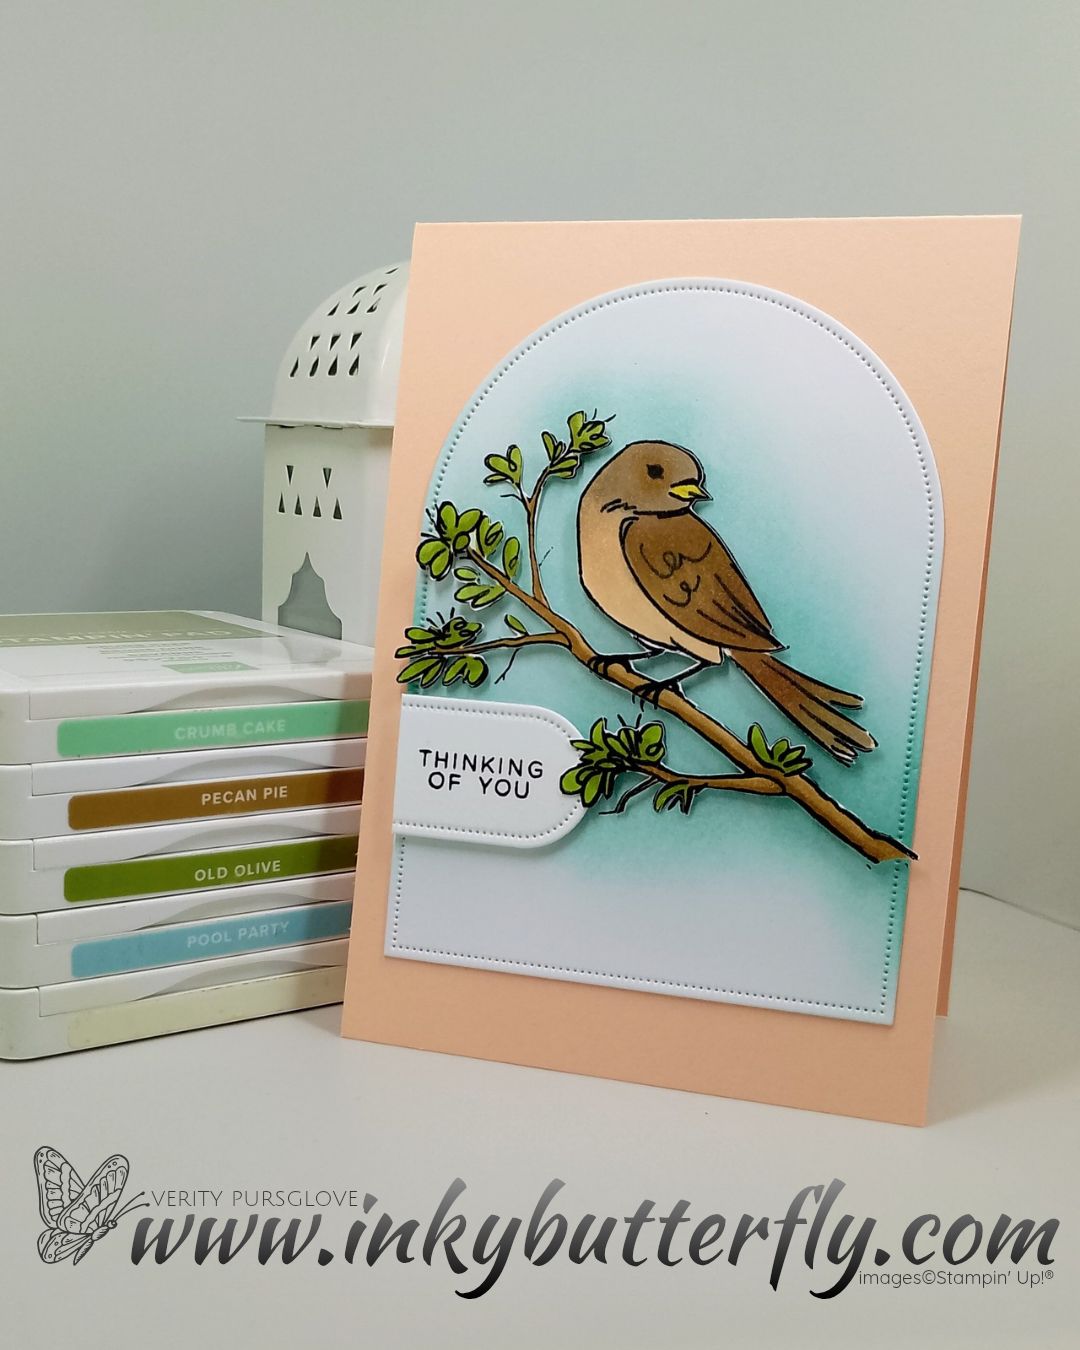
This version uses warmer tones of Pecan Pie and Crumb Cake, with Mossy Meadow, Old Olive and Cherry Cobbler.
I hope you enjoyed this project.
The supplies used are listed and linked to the online store below.
I thought I’d give this technique a try today using some scraps from my desk! I’ve seen this a few times, most recently by Jill at Paper Daisy Crafting….
You can see how I made this card in my video tutorial….
I don’t use a lot of DSP but I saw some amazing samples from Craft with Jayne and bought some. This technique is great for using scraps!
I think this one in blue is my favourite!
I hope you enjoyed this project.
The supplies used are listed and linked to the online store below.
I had the best weekend with 40 other demonstrators at our team retreat put together by my upline Sam!
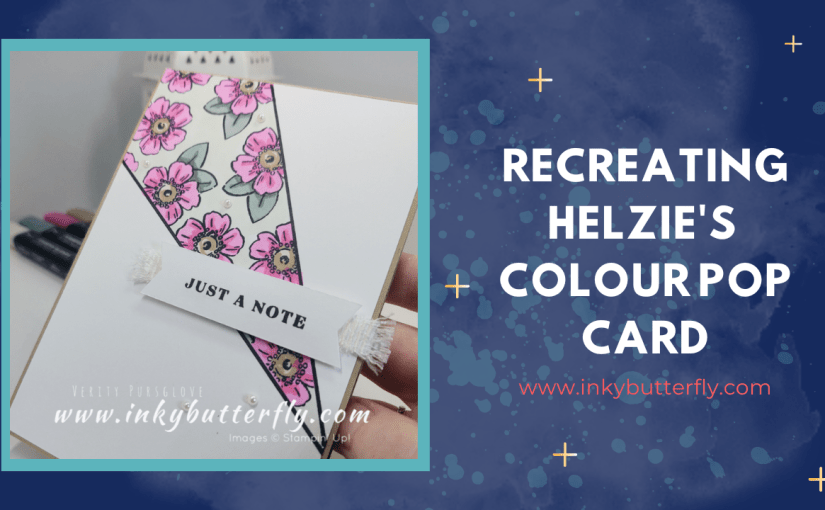
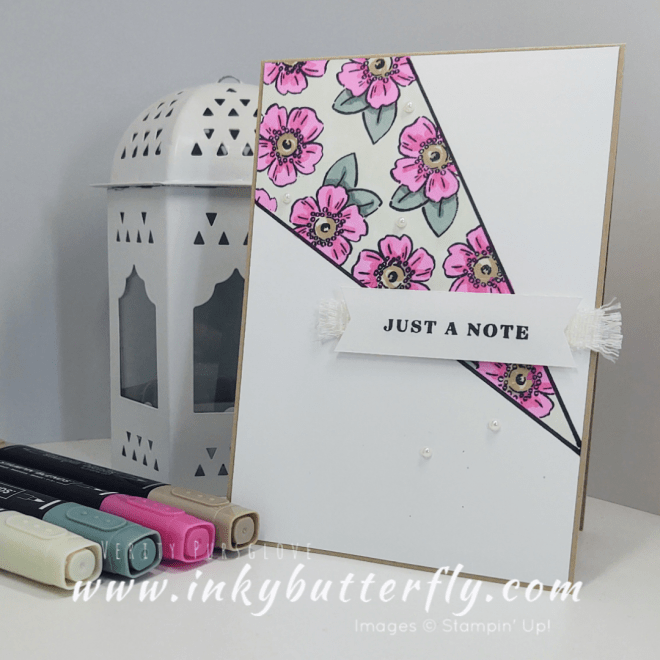
Part of the fun was learning to make projects designed by others. This card is inspired by Helzie’s make and take project. You can find her on Social Media as Slimm and Stylish
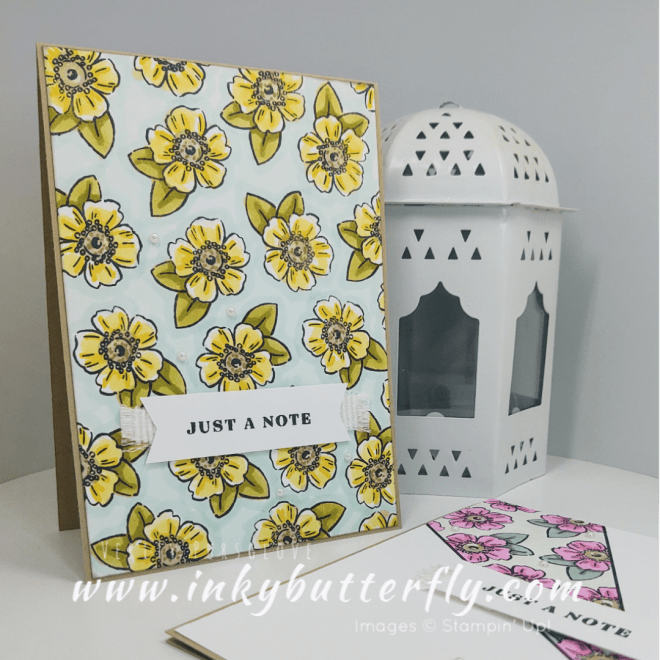
I twisted my original card sample to include this colour pop technique.
You can see how I made this card in my video tutorial….
My colour combo was Crumb Cake, Polished Pink, Soft Succulent and Soft Sea Foam…
I added the sentiment banner and some White Frayed Ribbon and finished it all off with Basic Pearls.
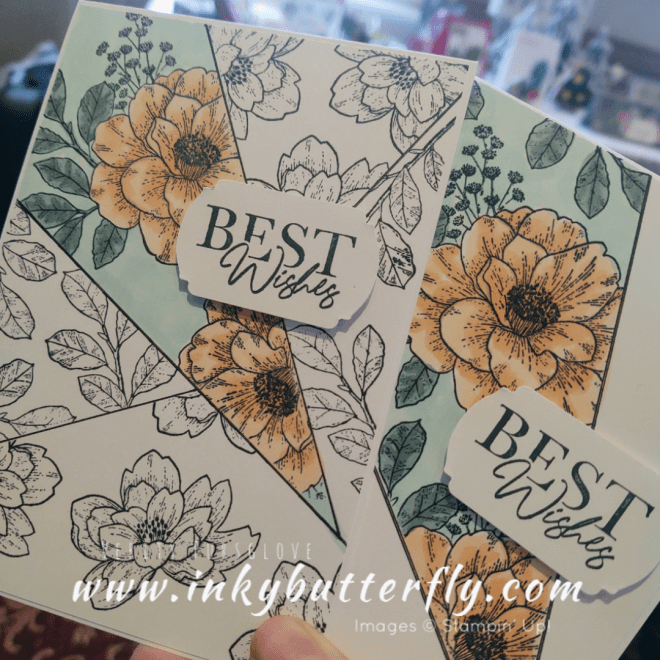
Here are the cards I made at the retreat!
I hope you enjoyed this project.
The supplies used are listed and linked to the online store below.
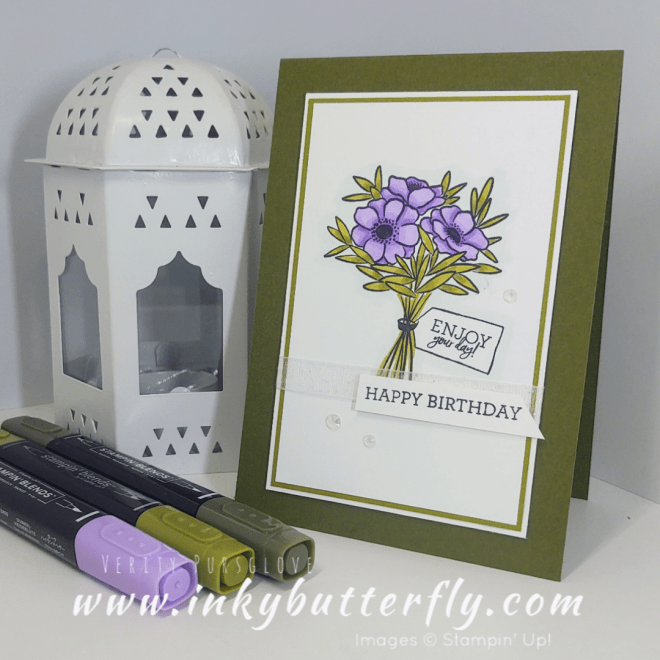
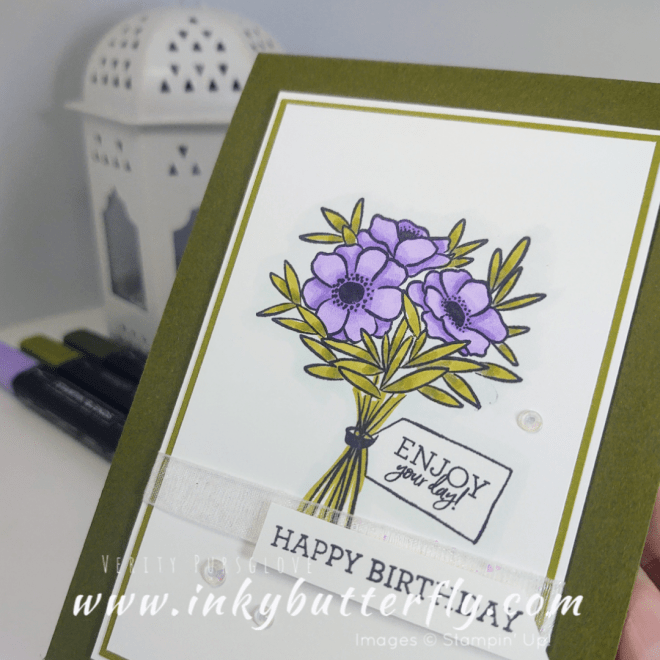
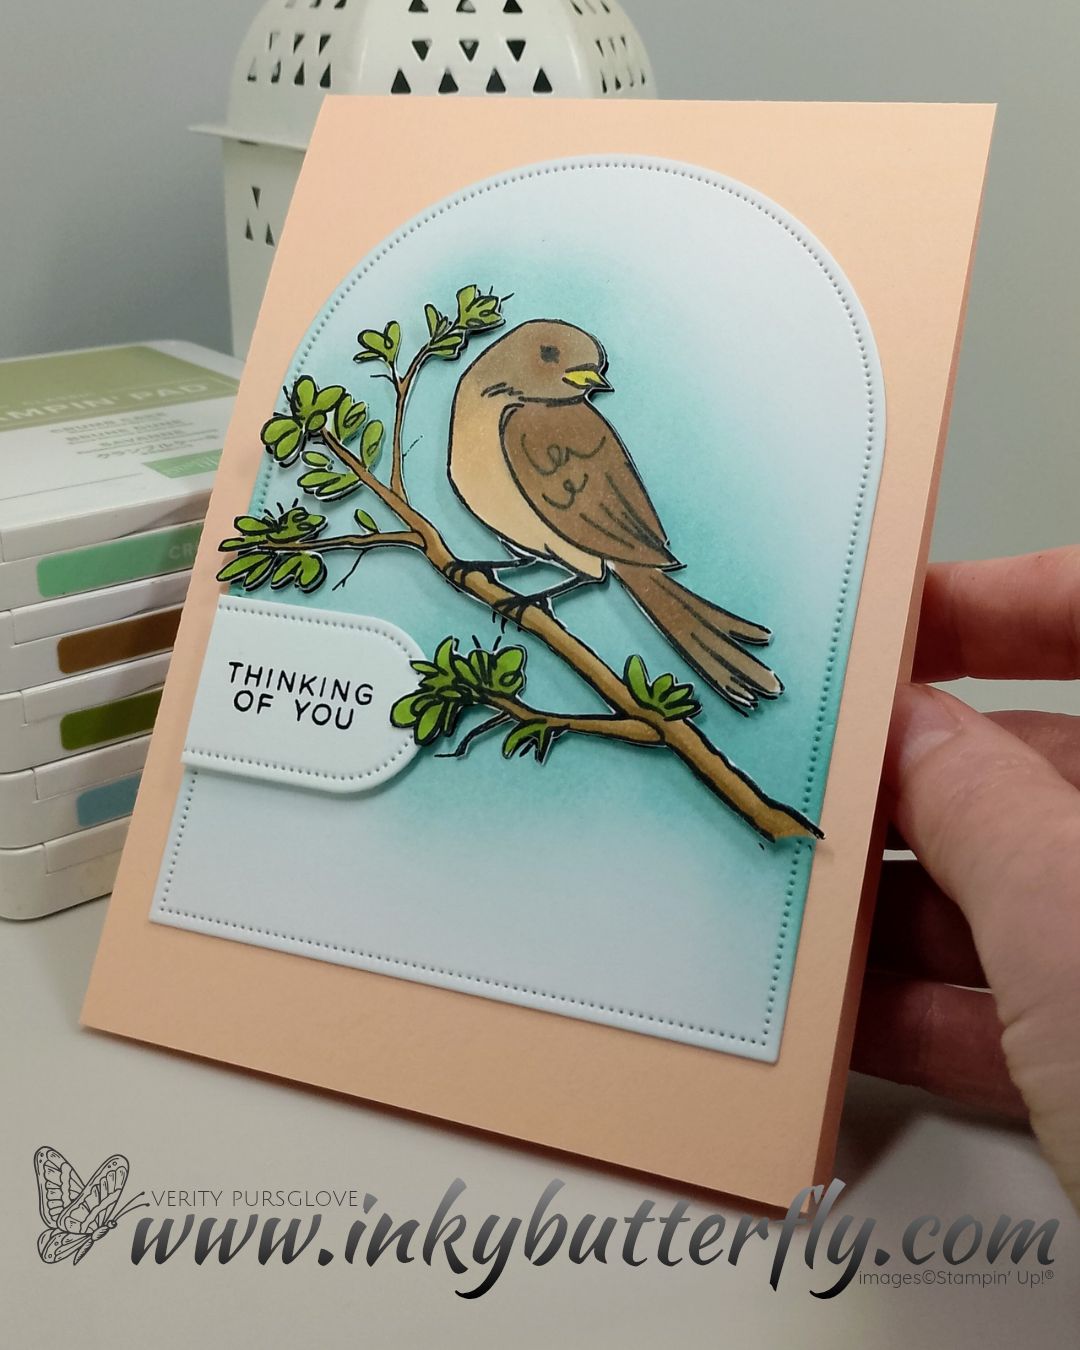
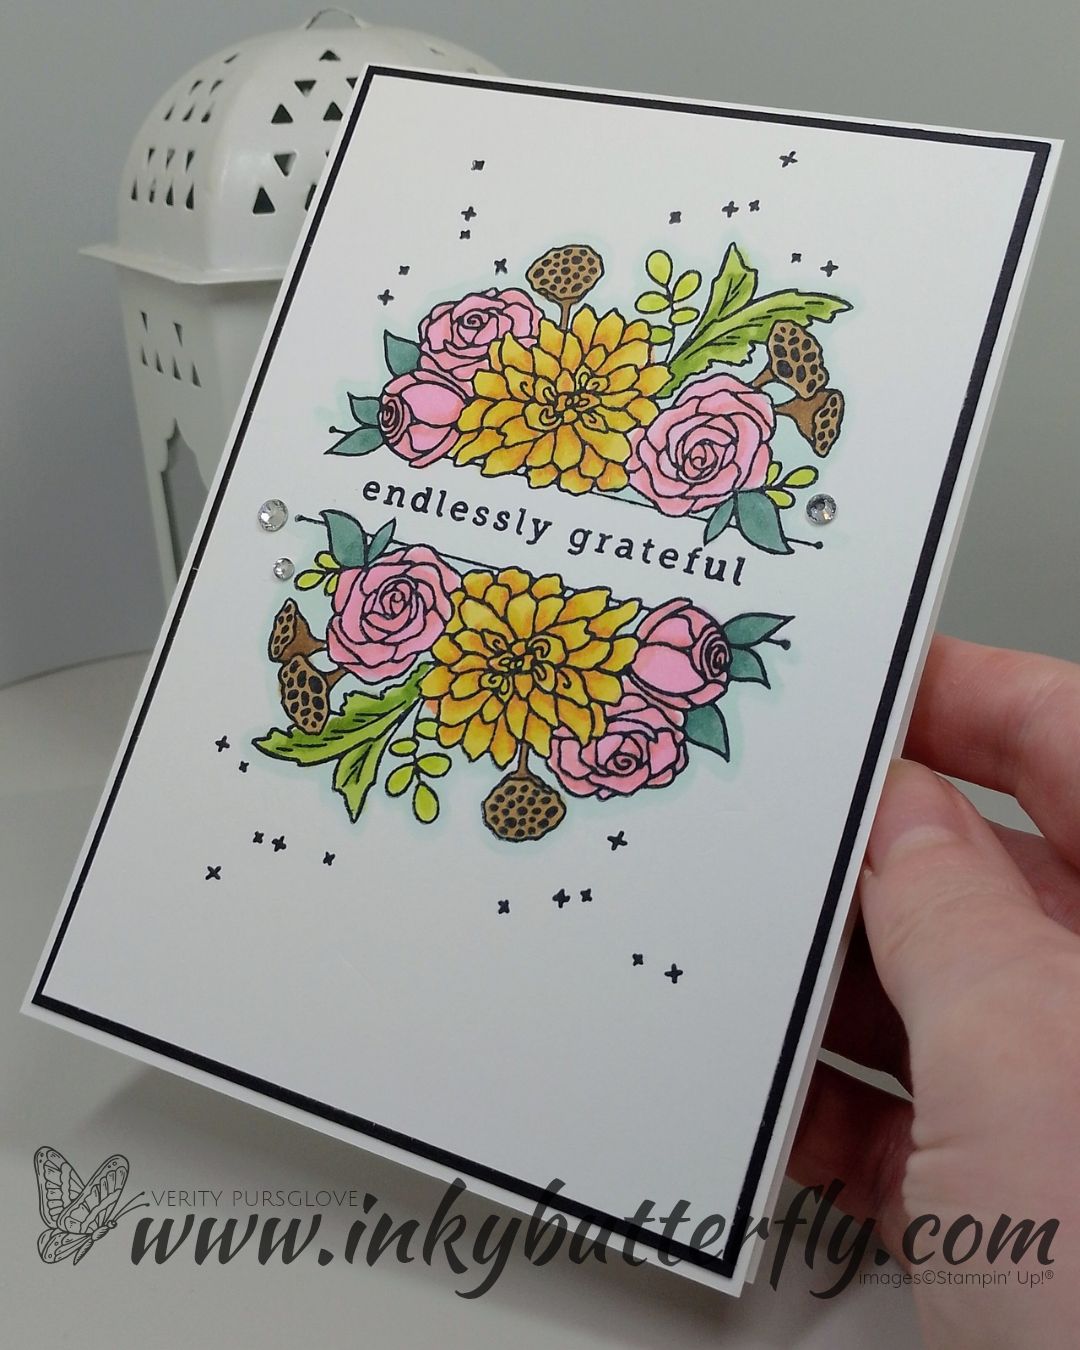
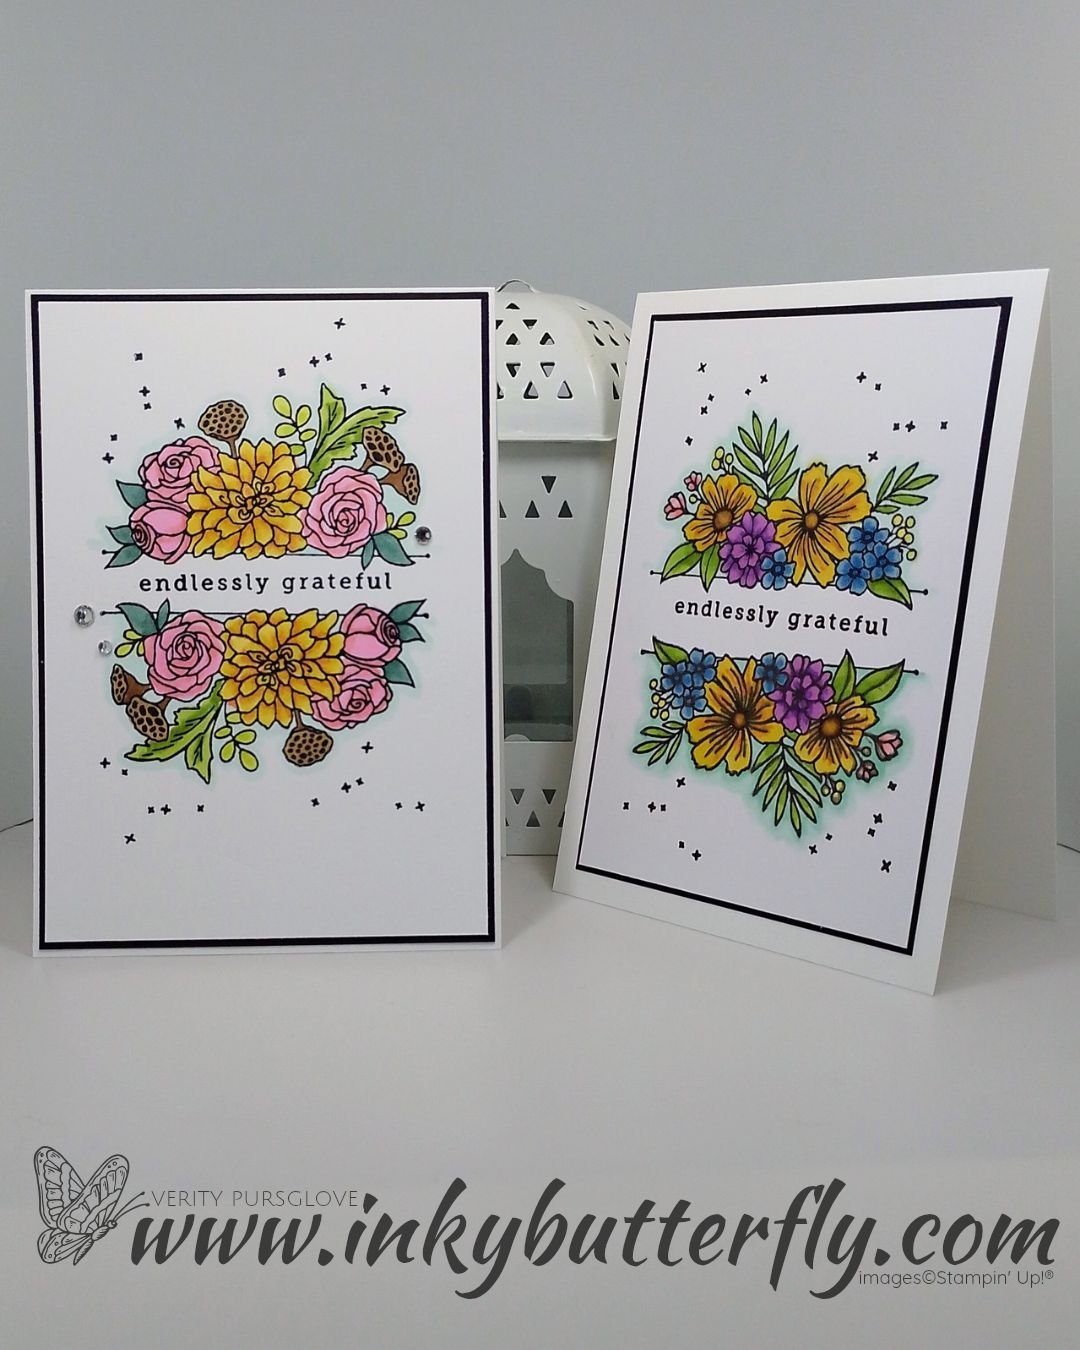
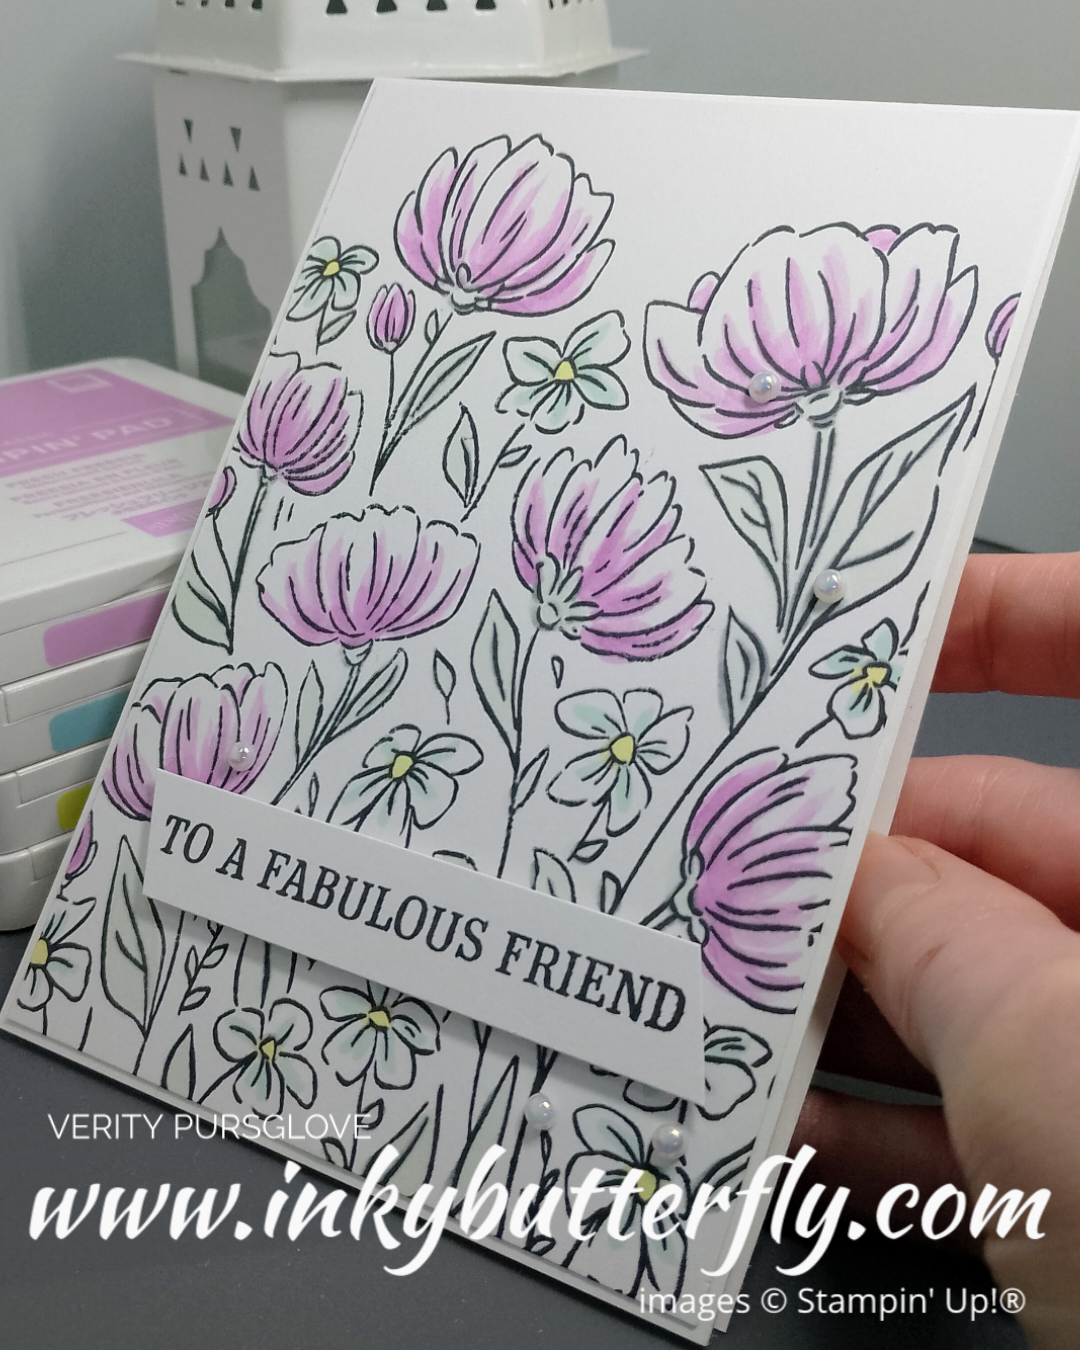
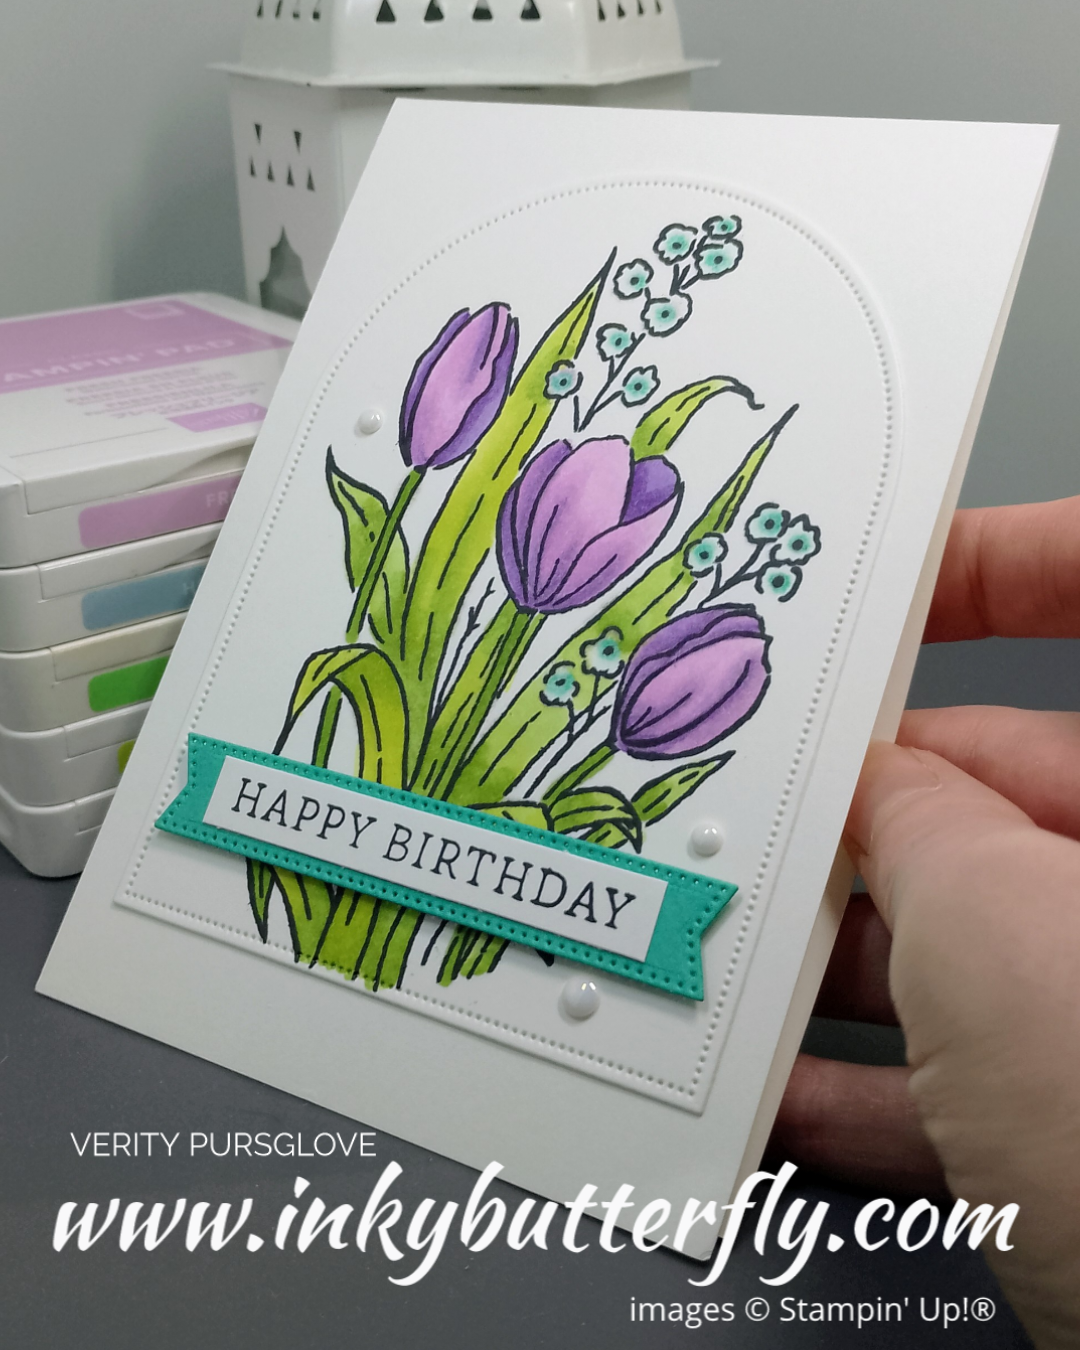
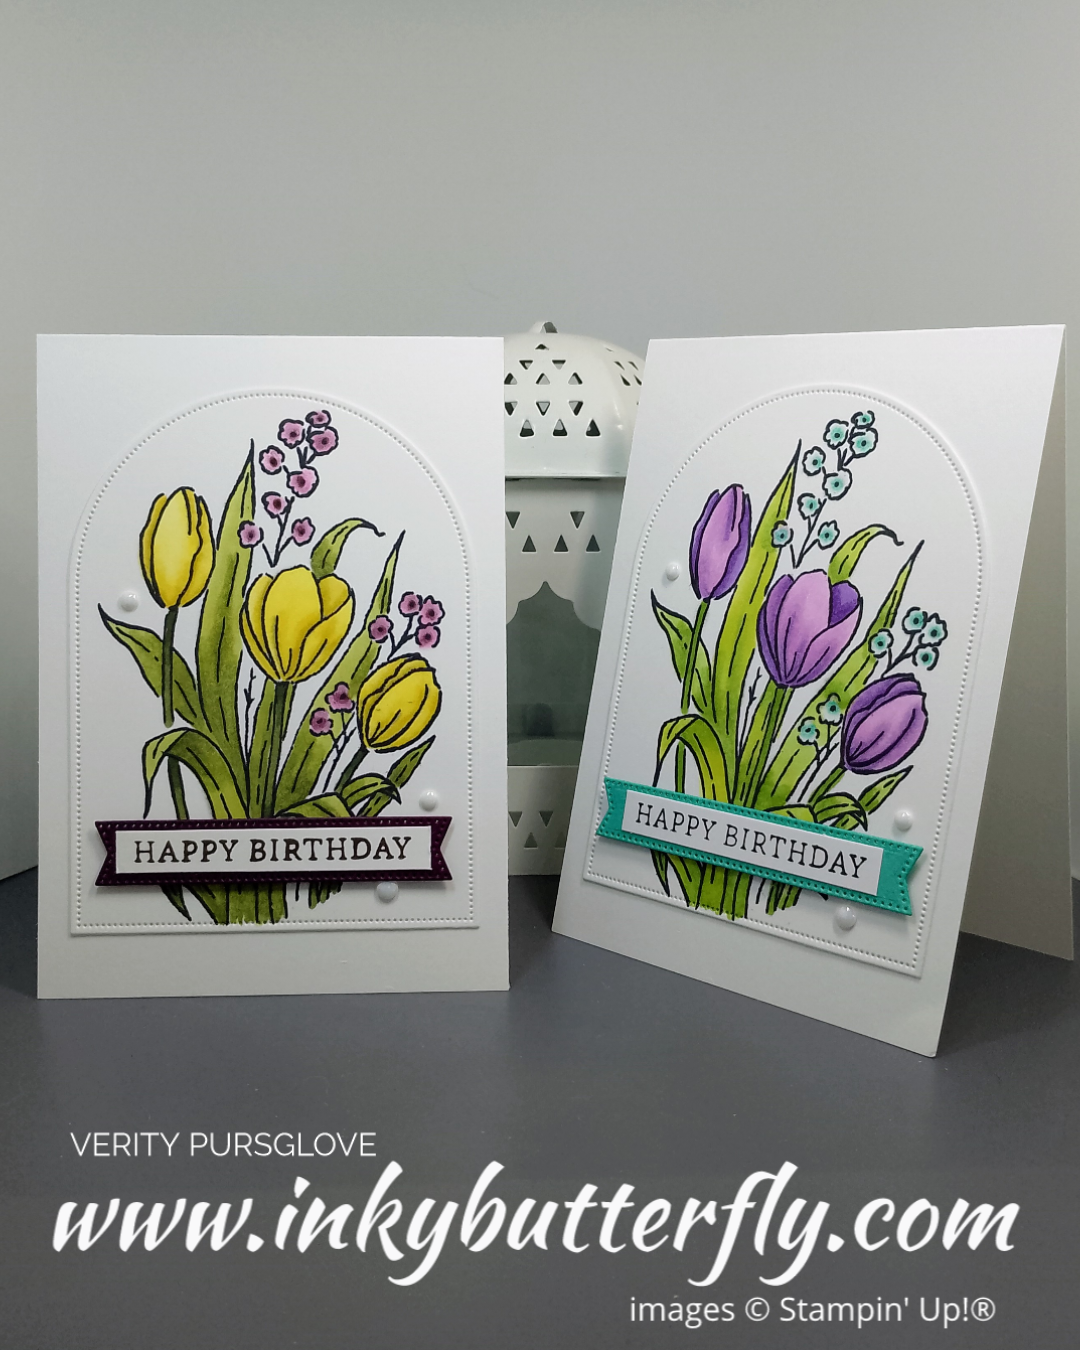
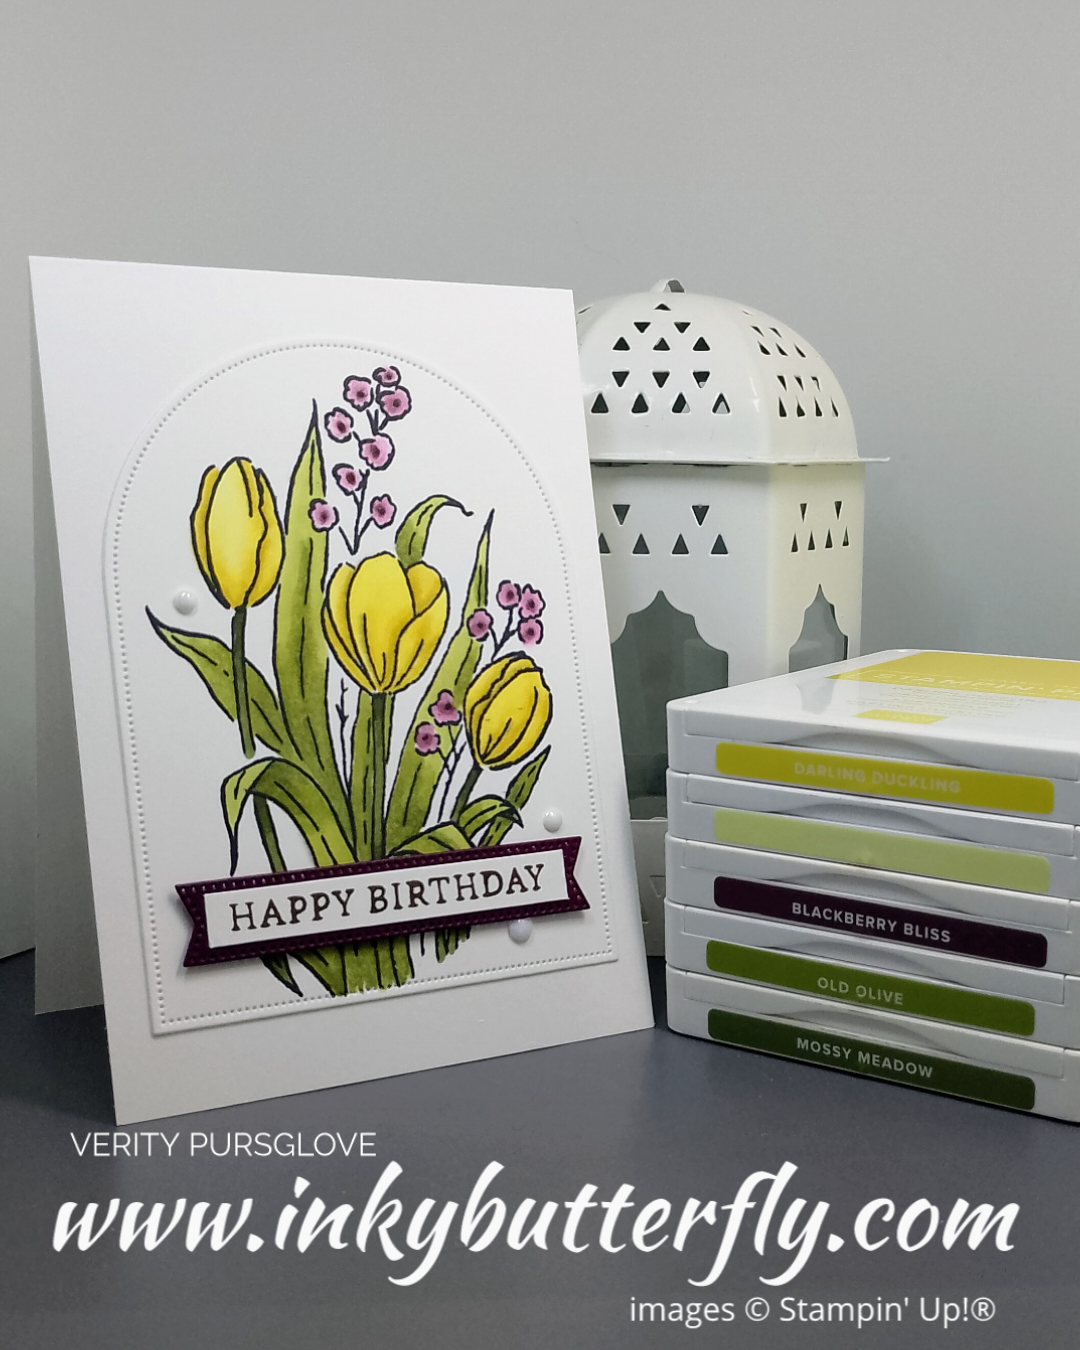
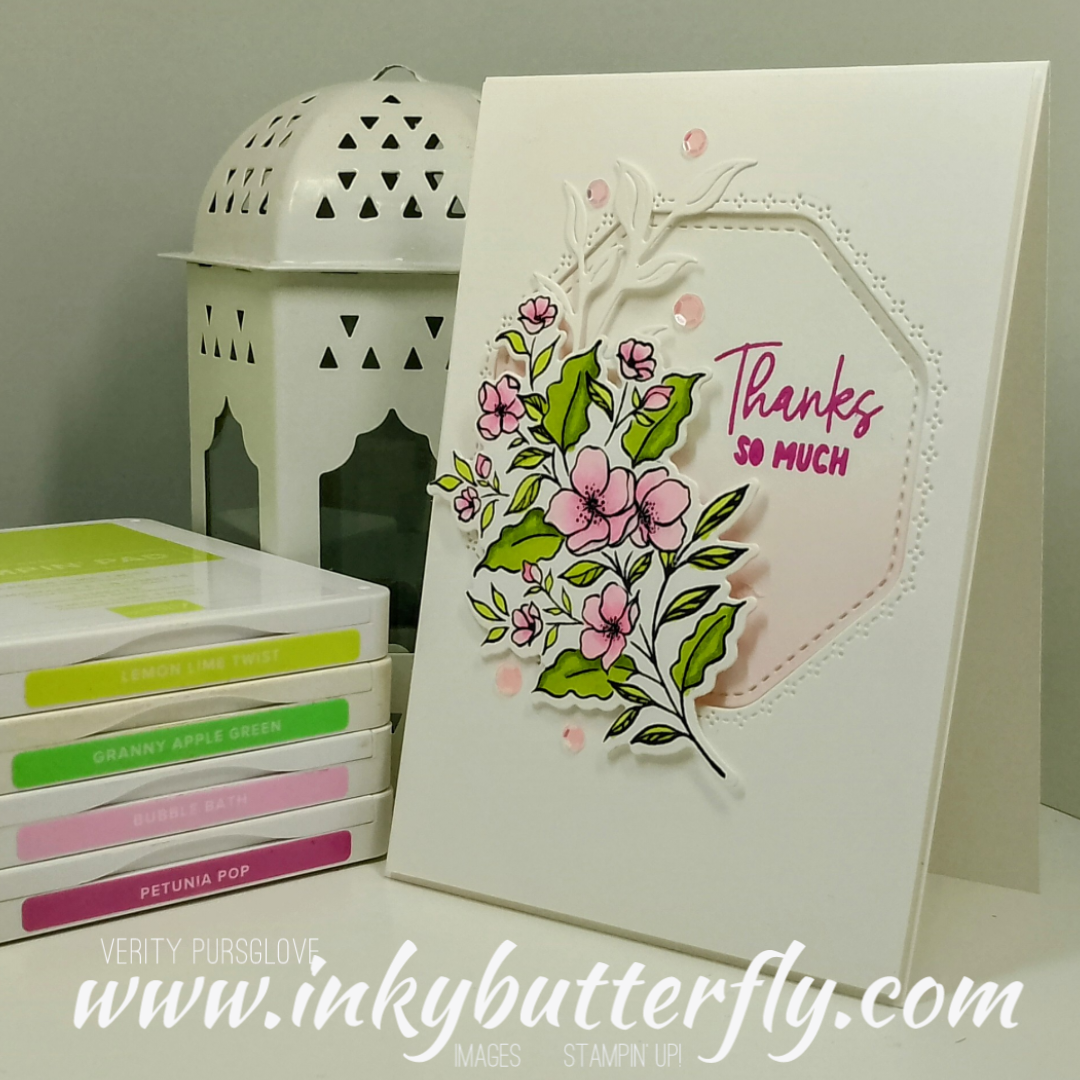
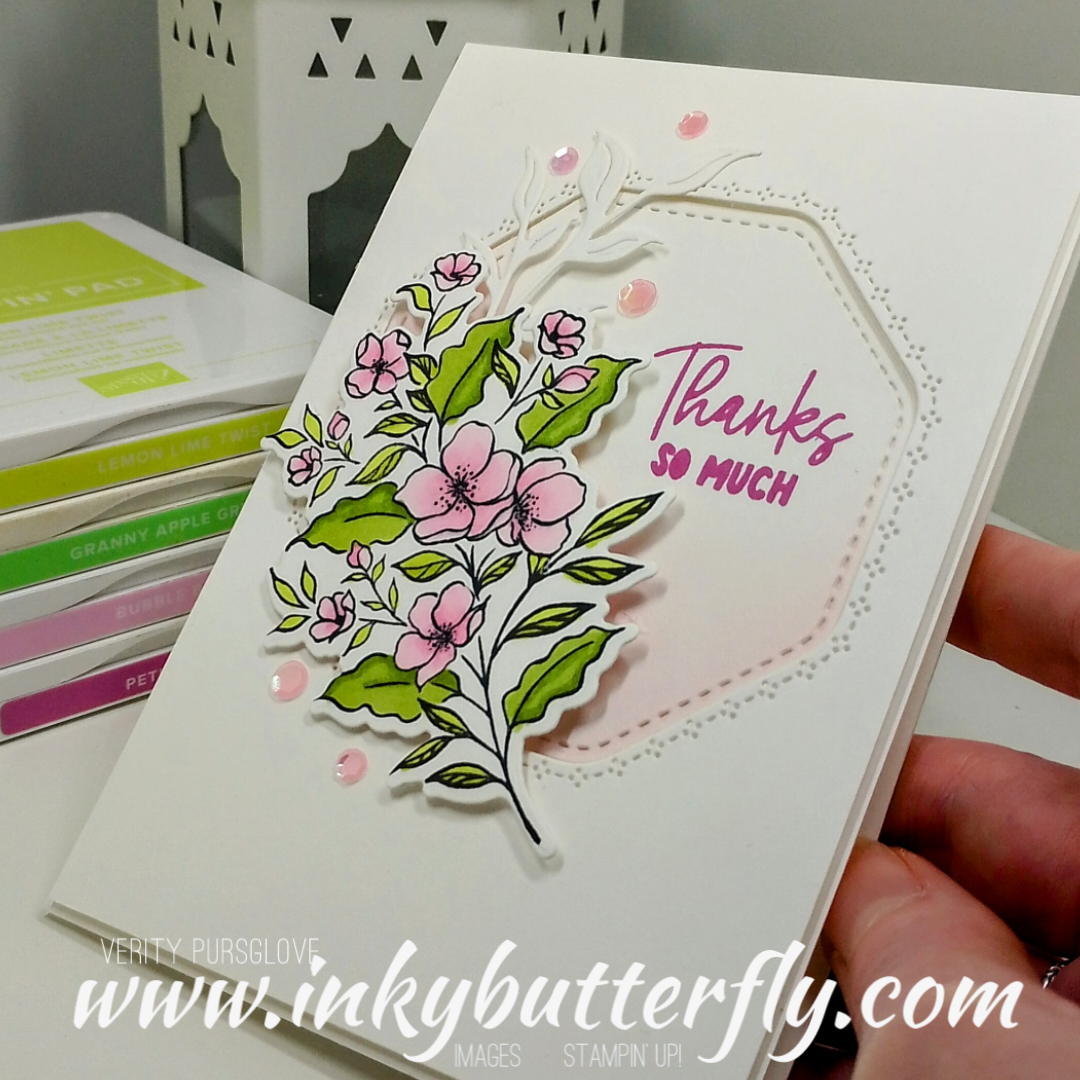
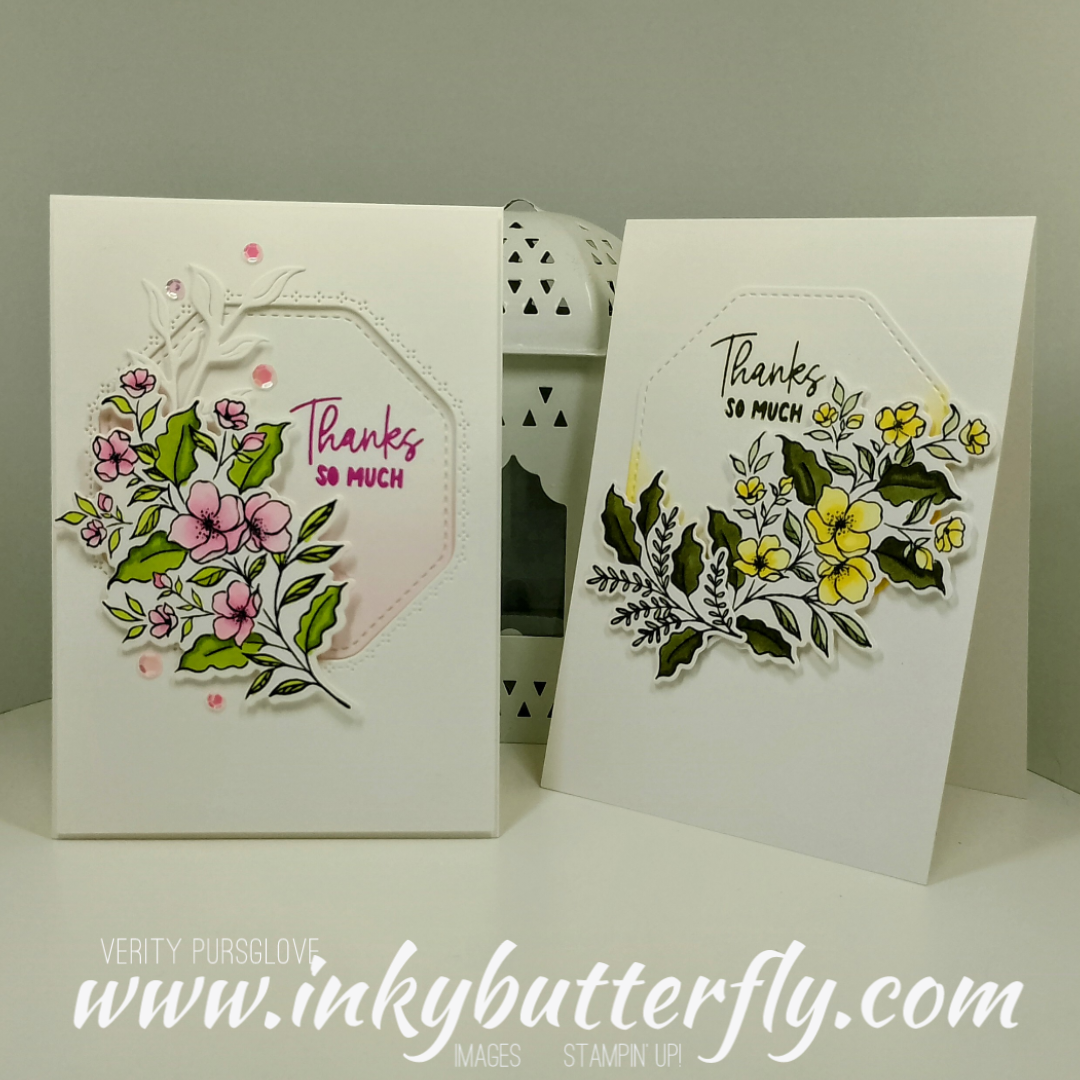
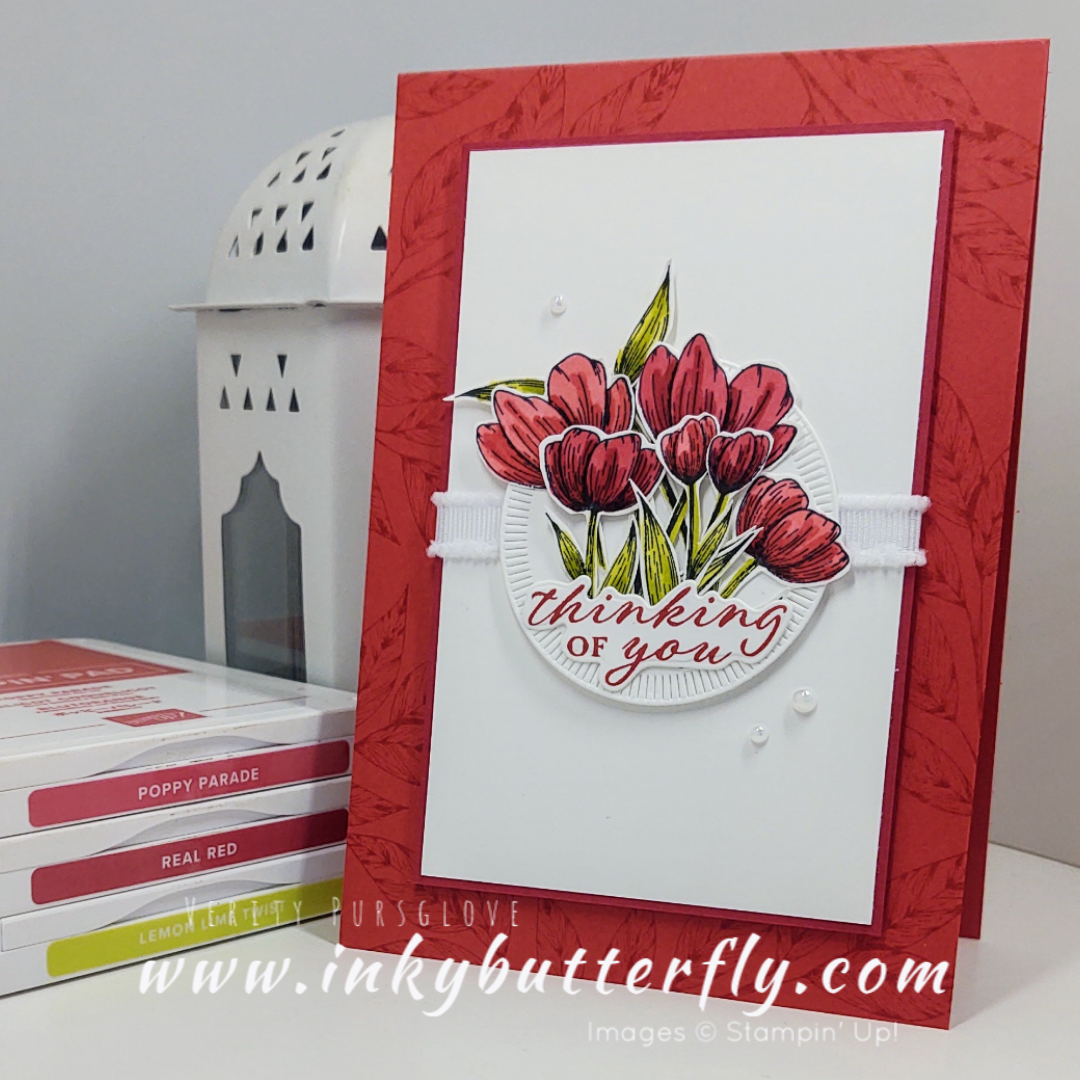
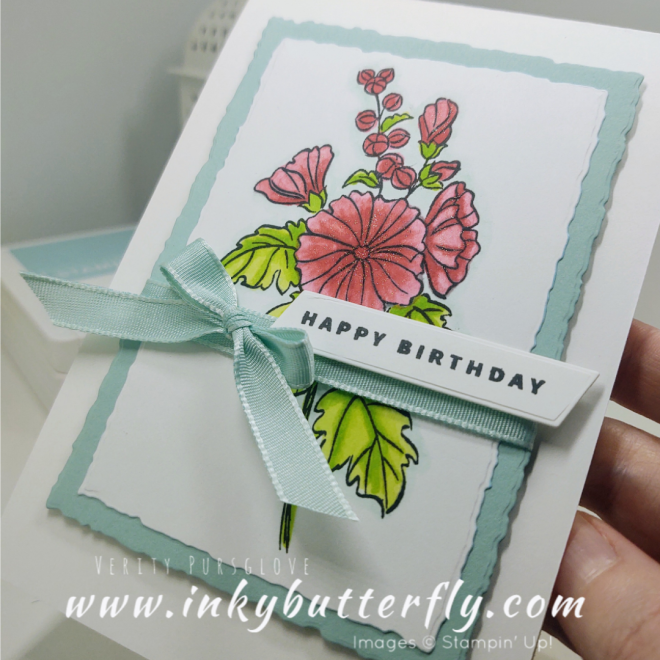
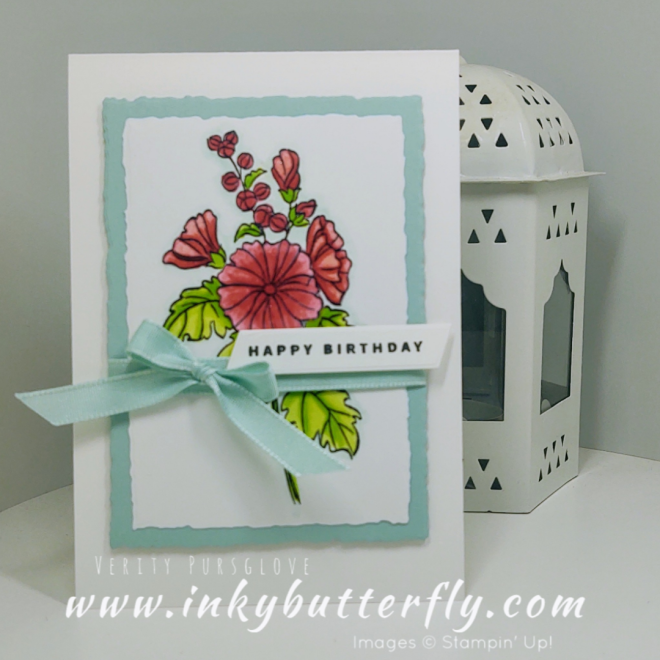
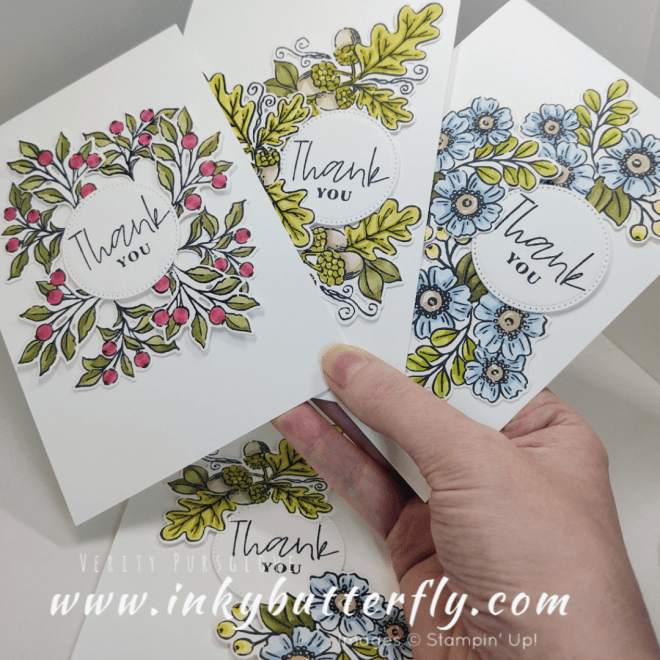
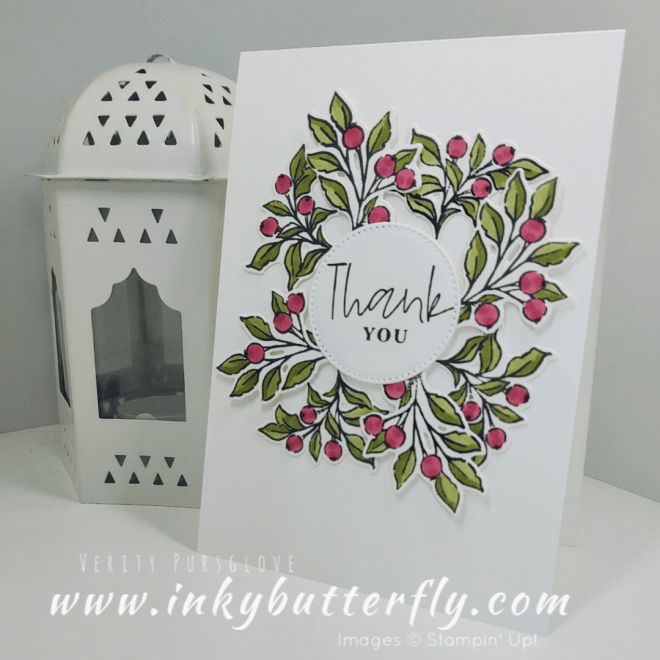
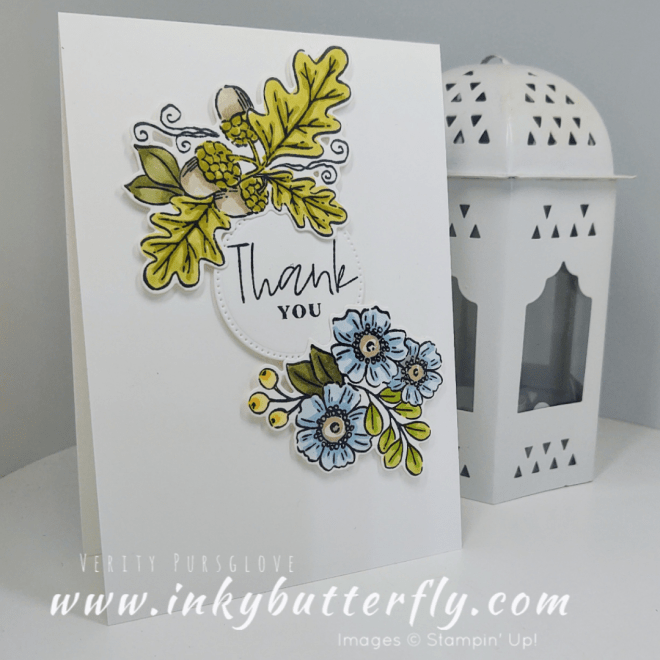
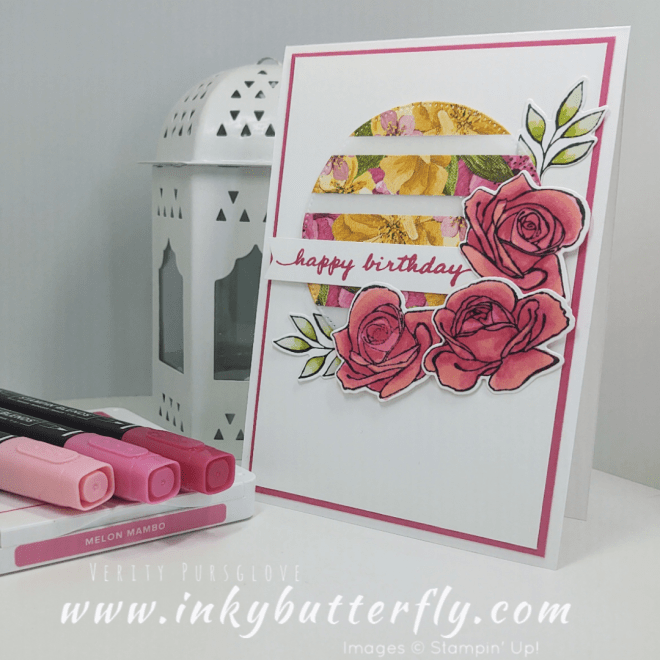
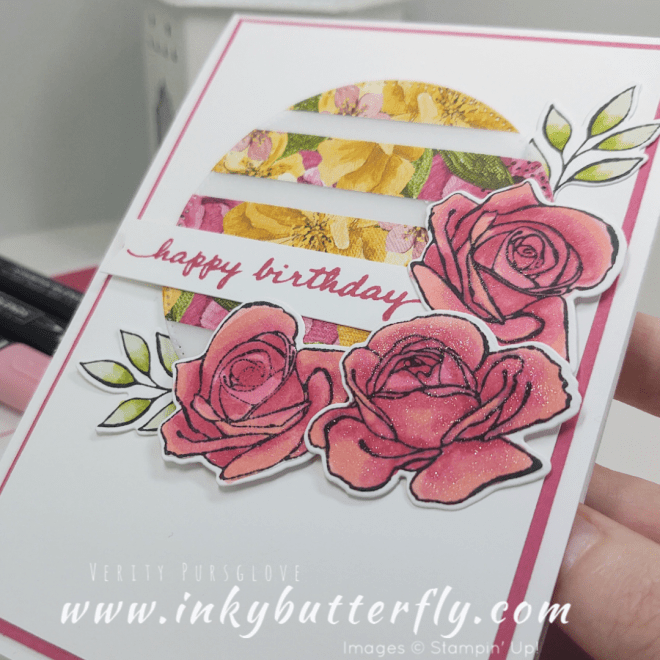
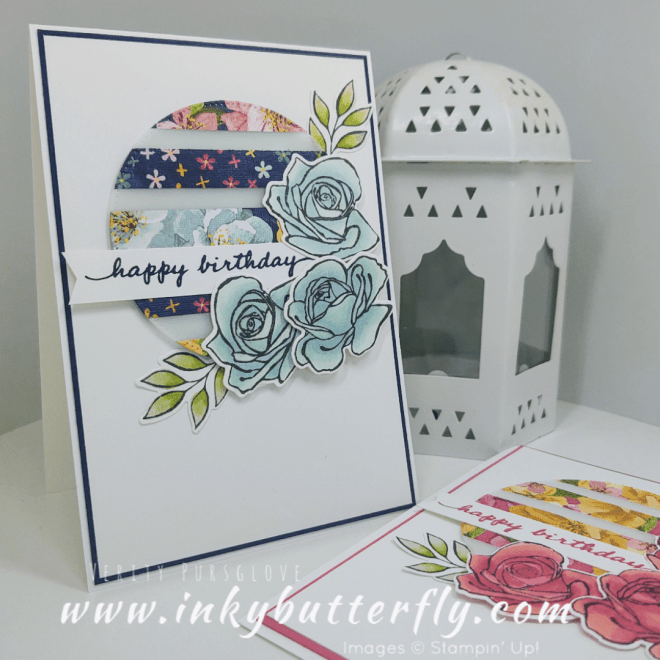
Hello Everyone,I’m so thrilled that Stampin’ Up! have released some new die to coordinate with the Fresh Cut Flowers stamp set.This is one of 6 new sets in the Perfect Partners promotion. See more when you shop with me on my website.The Fresh Cut Flowers images are beautiful to colour with the medium of your choice. I’ve used Stampin’ Blends on this occasion.You can see how I made this card in my video tutorial…..https://youtu.be/ZJvswnXu2hESome matching ink was brushed over the background to make the die cuts pop!I am also loving the Charming Sentiments bundle…. No need to fussy cut!Iridescent rhinestones were the perfect thing to finish off both cards.I hope you enjoyed this project.The supplies used are listed and linked to the online store below.I would love to be your demonstrator.Thanks for stopping by today and happy Stampin’!Verity xx
![Under My Wing Photopolymer Stamp Set (English) [ 168349 ]](https://assets1.tamsnetwork.com/images/EC042017NF/168349s.jpg "Under My Wing Photopolymer Stamp Set (English) [ 168349 ]")
![Everyday Arches Dies [ 164629 ]](https://assets1.tamsnetwork.com/images/EC042017NF/164629s.jpg "Everyday Arches Dies [ 164629 ]")
![Stampin' Cut & Emboss Machine [ 149653 ]](https://assets1.tamsnetwork.com/images/EC042017NF/149653s.jpg "Stampin' Cut & Emboss Machine [ 149653 ]")
![Petal Pink A4 Cardstock [ 147009 ]](https://assets1.tamsnetwork.com/images/EC042017NF/147009s.jpg "Petal Pink A4 Cardstock [ 147009 ]")
![Detail Scissors [ 170902 ]](https://assets1.tamsnetwork.com/images/EC042017NF/170902s.jpg "Detail Scissors [ 170902 ]")
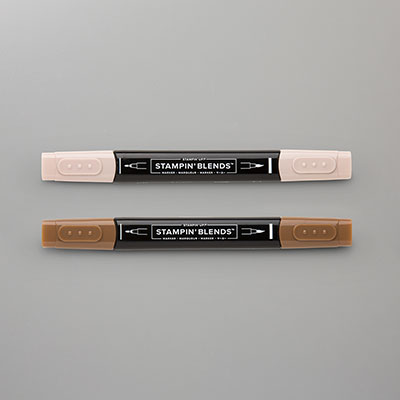
![Pecan Pie Stampin’ Blends Combo Pack [ 161674 ]](https://assets1.tamsnetwork.com/images/EC042017NF/161674s.jpg "Pecan Pie Stampin’ Blends Combo Pack [ 161674 ]")
![Crumb Cake Stampin' Blends Combo Pack [ 154882 ]](https://assets1.tamsnetwork.com/images/EC042017NF/154882s.jpg "Crumb Cake Stampin' Blends Combo Pack [ 154882 ]")
![Old Olive Stampin' Blends Combo Pack [ 154892 ]](https://assets1.tamsnetwork.com/images/EC042017NF/154892s.jpg "Old Olive Stampin' Blends Combo Pack [ 154892 ]")
![Balmy Blue Classic Stampin' Pad [ 147105 ]](https://assets1.tamsnetwork.com/images/EC042017NF/147105s.jpg "Balmy Blue Classic Stampin' Pad [ 147105 ]")
![Blending Brushes [ 153611 ]](https://assets1.tamsnetwork.com/images/EC042017NF/153611s.jpg "Blending Brushes [ 153611 ]")
![Mini Stampin' Dimensionals [ 144108 ]](https://assets1.tamsnetwork.com/images/EC042017NF/144108s.jpg "Mini Stampin' Dimensionals [ 144108 ]")

![Everlasting Thanks Photopolymer Stamp Set (English) [ 168558 ]](https://assets1.tamsnetwork.com/images/EC042017NF/168558s.jpg "Everlasting Thanks Photopolymer Stamp Set (English) [ 168558 ]")
![Paper Trimmer [ 152392 ]](https://assets1.tamsnetwork.com/images/EC042017NF/152392s.jpg "Paper Trimmer [ 152392 ]")
![Rhinestone Basic Jewels [ 144220 ]](https://assets1.tamsnetwork.com/images/EC042017NF/144220s.jpg "Rhinestone Basic Jewels [ 144220 ]")
![Basic White A4 Cardstock [ 166781 ]](https://assets1.tamsnetwork.com/images/EC042017NF/166781s.jpg "Basic White A4 Cardstock [ 166781 ]")
![Stampin' Seal [ 152813 ]](https://assets1.tamsnetwork.com/images/EC042017NF/152813s.jpg "Stampin' Seal [ 152813 ]")

![Fabulous Sayings Photopolymer Stamp Set (English) [ 167972 ]](https://assets1.tamsnetwork.com/images/EC042017NF/167972s.jpg "Fabulous Sayings Photopolymer Stamp Set (English) [ 167972 ]")
![Basic White A4 Thick Cardstock [ 159230 ]](https://assets1.tamsnetwork.com/images/EC042017NF/159230s.jpg "Basic White A4 Thick Cardstock [ 159230 ]")
![Tuxedo Black Memento Ink Pad [ 132708 ]](https://assets1.tamsnetwork.com/images/EC042017NF/132708s.jpg "Tuxedo Black Memento Ink Pad [ 132708 ]")
![Soft Sea Foam Stampin' Blends Combo Pack [ 154902 ]](https://assets1.tamsnetwork.com/images/EC042017NF/154902s.jpg "Soft Sea Foam Stampin' Blends Combo Pack [ 154902 ]")
![Lemon Lolly Stampin’ Blends Combo Pack [ 161673 ]](https://assets1.tamsnetwork.com/images/EC042017NF/161673s.jpg "Lemon Lolly Stampin’ Blends Combo Pack [ 161673 ]")
![Pool Party Stampin' Blends Combo Pack [ 154894 ]](https://assets1.tamsnetwork.com/images/EC042017NF/154894s.jpg "Pool Party Stampin' Blends Combo Pack [ 154894 ]")
![Fresh Freesia Stampin' Blends Combo Pack [ 155518 ]](https://assets1.tamsnetwork.com/images/EC042017NF/155518s.jpg "Fresh Freesia Stampin' Blends Combo Pack [ 155518 ]")
![Petal Pink Stampin' Blends Combo Pack [ 154893 ]](https://assets1.tamsnetwork.com/images/EC042017NF/154893s.jpg "Petal Pink Stampin' Blends Combo Pack [ 154893 ]")
![Stampin' Dimensionals [ 104430 ]](https://assets1.tamsnetwork.com/images/EC042017NF/104430s.jpg "Stampin' Dimensionals [ 104430 ]")
![Iridescent Pearl Basic Jewels [ 158987 ]](https://assets1.tamsnetwork.com/images/EC042017NF/158987s.jpg "Iridescent Pearl Basic Jewels [ 158987 ]")



![Mixed Florals Photopolymer Stamp Set [ 164639 ]](https://assets1.tamsnetwork.com/images/EC042017NF/164639s.jpg "Mixed Florals Photopolymer Stamp Set [ 164639 ]")
![Simply Said Mix & Match Photopolymer Stamp Set (English) [ 163756 ]](https://assets1.tamsnetwork.com/images/EC042017NF/163756s.jpg "Simply Said Mix & Match Photopolymer Stamp Set (English) [ 163756 ]")
![Stylish Shapes Dies [ 159183 ]](https://assets1.tamsnetwork.com/images/EC042017NF/159183s.jpg "Stylish Shapes Dies [ 159183 ]")
![Summer Splash A4 Cardstock [ 163798 ]](https://assets1.tamsnetwork.com/images/EC042017NF/163798s.jpg "Summer Splash A4 Cardstock [ 163798 ]")
![Blackberry Bliss A4 Cardstock [ 133682 ]](https://assets1.tamsnetwork.com/images/EC042017NF/133682s.jpg "Blackberry Bliss A4 Cardstock [ 133682 ]")
![Highland Heather Stampin' Blends Combo Pack [ 154887 ]](https://assets1.tamsnetwork.com/images/EC042017NF/154887s.jpg "Highland Heather Stampin' Blends Combo Pack [ 154887 ]")
![Granny Apple Green Stampin' Blends Combo Pack [ 154885 ]](https://assets1.tamsnetwork.com/images/EC042017NF/154885s.jpg "Granny Apple Green Stampin' Blends Combo Pack [ 154885 ]")
![Lemon Lime Twist Stampin’ Blends Combo Pack [ 161682 ]](https://assets1.tamsnetwork.com/images/EC042017NF/161682s.jpg "Lemon Lime Twist Stampin’ Blends Combo Pack [ 161682 ]")
![Summer Splash Stampin’ Blends Combo Pack [ 163826 ]](https://assets1.tamsnetwork.com/images/EC042017NF/163826s.jpg "Summer Splash Stampin’ Blends Combo Pack [ 163826 ]")
![Stampin' Blends Color Lifter [ 144608 ]](https://assets1.tamsnetwork.com/images/EC042017NF/144608s.jpg "Stampin' Blends Color Lifter [ 144608 ]")
![Darling Duckling Stampin’ Blends Combo Pack [ 165288 ]](https://assets1.tamsnetwork.com/images/EC042017NF/165288s.jpg "Darling Duckling Stampin’ Blends Combo Pack [ 165288 ]")
![Mossy Meadow Stampin' Blends Combo Pack [ 154890 ]](https://assets1.tamsnetwork.com/images/EC042017NF/154890s.jpg "Mossy Meadow Stampin' Blends Combo Pack [ 154890 ]")
![Blackberry Bliss Stampin' Blends Combo Pack [ 154877 ]](https://assets1.tamsnetwork.com/images/EC042017NF/154877s.jpg "Blackberry Bliss Stampin' Blends Combo Pack [ 154877 ]")
![Pearls Of Beauty [ 167098 ]](https://assets1.tamsnetwork.com/images/EC042017NF/167098s.jpg "Pearls Of Beauty [ 167098 ]")




![Memorable Blooms Bundle (English) [ 164826 ]](https://assets1.tamsnetwork.com/images/EC042017NF/164826s.jpg "Memorable Blooms Bundle (English) [ 164826 ]")
![Petunia Pop Classic Stampin Pad [ 163811 ]](https://assets1.tamsnetwork.com/images/EC042017NF/163811s.jpg "Petunia Pop Classic Stampin Pad [ 163811 ]")
![Bubble Bath Classic Stampin' Pad [ 161664 ]](https://assets1.tamsnetwork.com/images/EC042017NF/161664s.jpg "Bubble Bath Classic Stampin' Pad [ 161664 ]")
![Bubble Bath Stampin’ Blends Combo Pack [ 161675 ]](https://assets1.tamsnetwork.com/images/EC042017NF/161675s.jpg "Bubble Bath Stampin’ Blends Combo Pack [ 161675 ]")
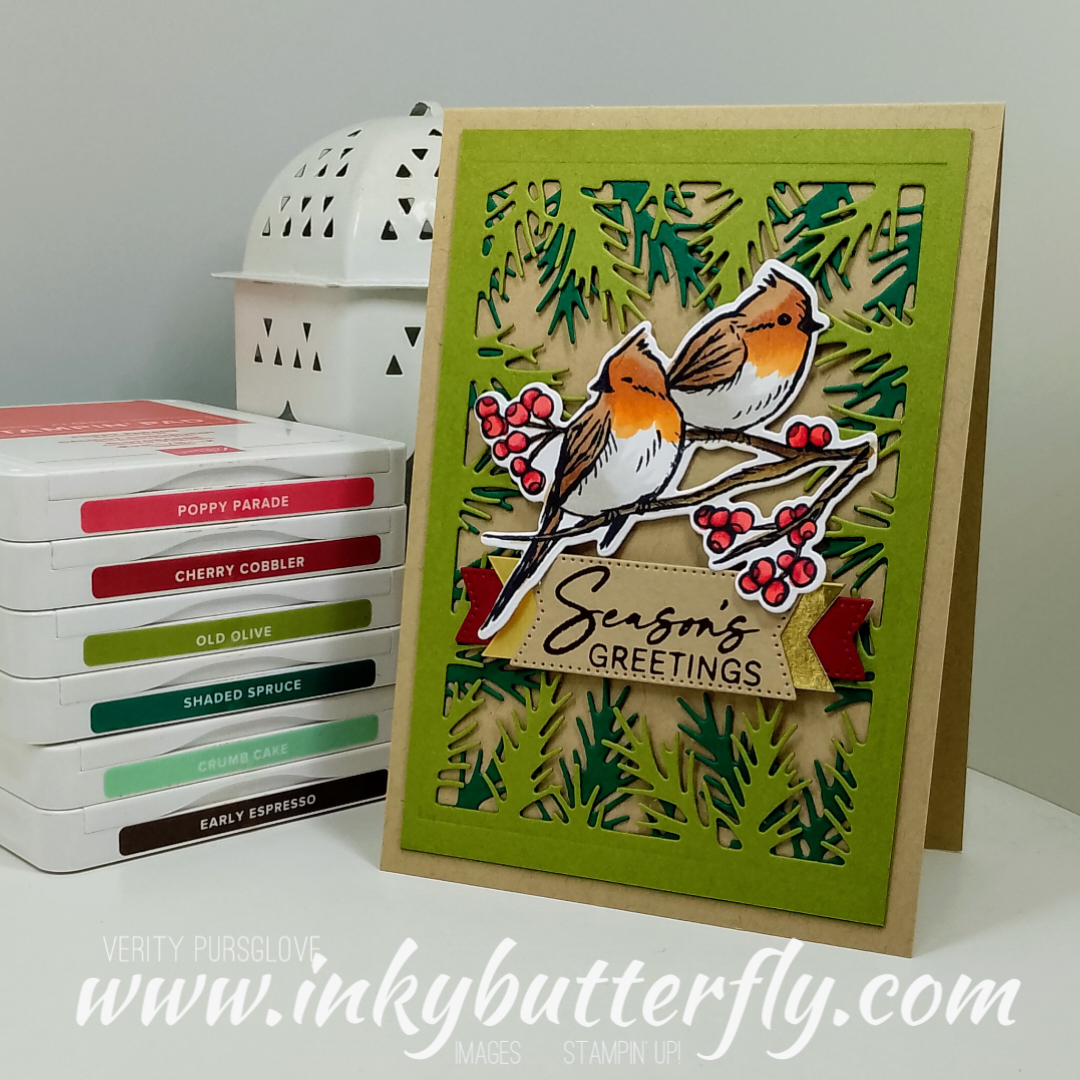
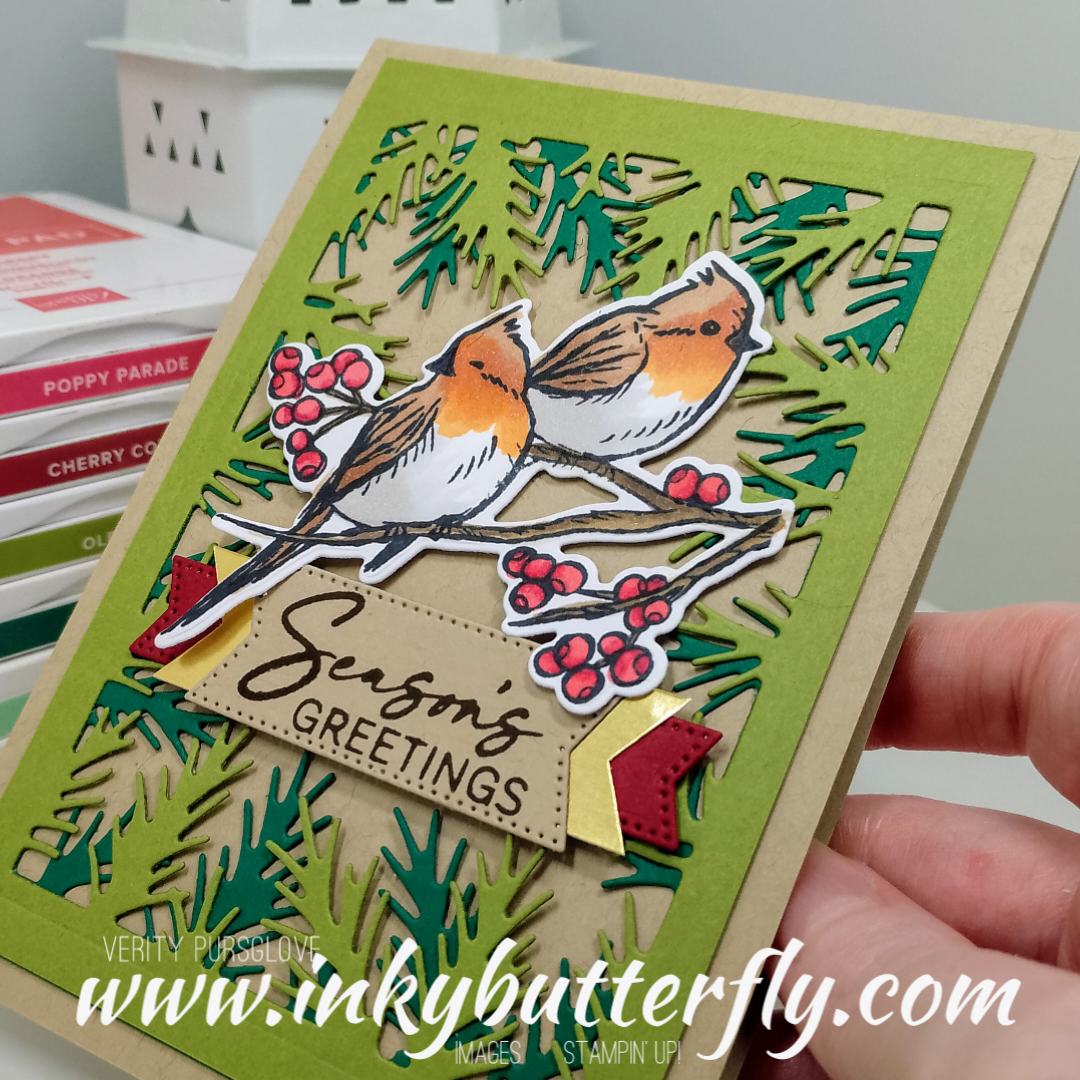
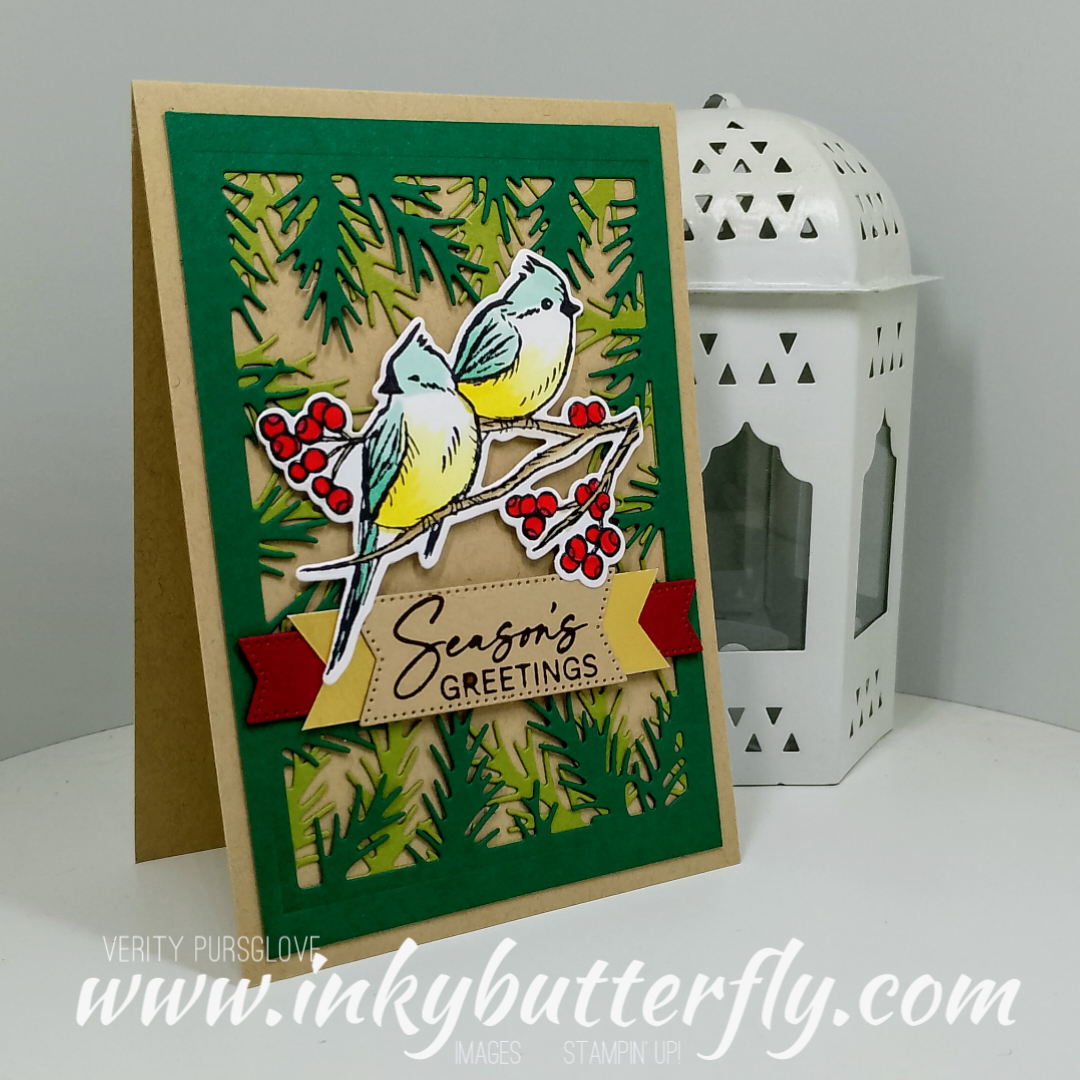


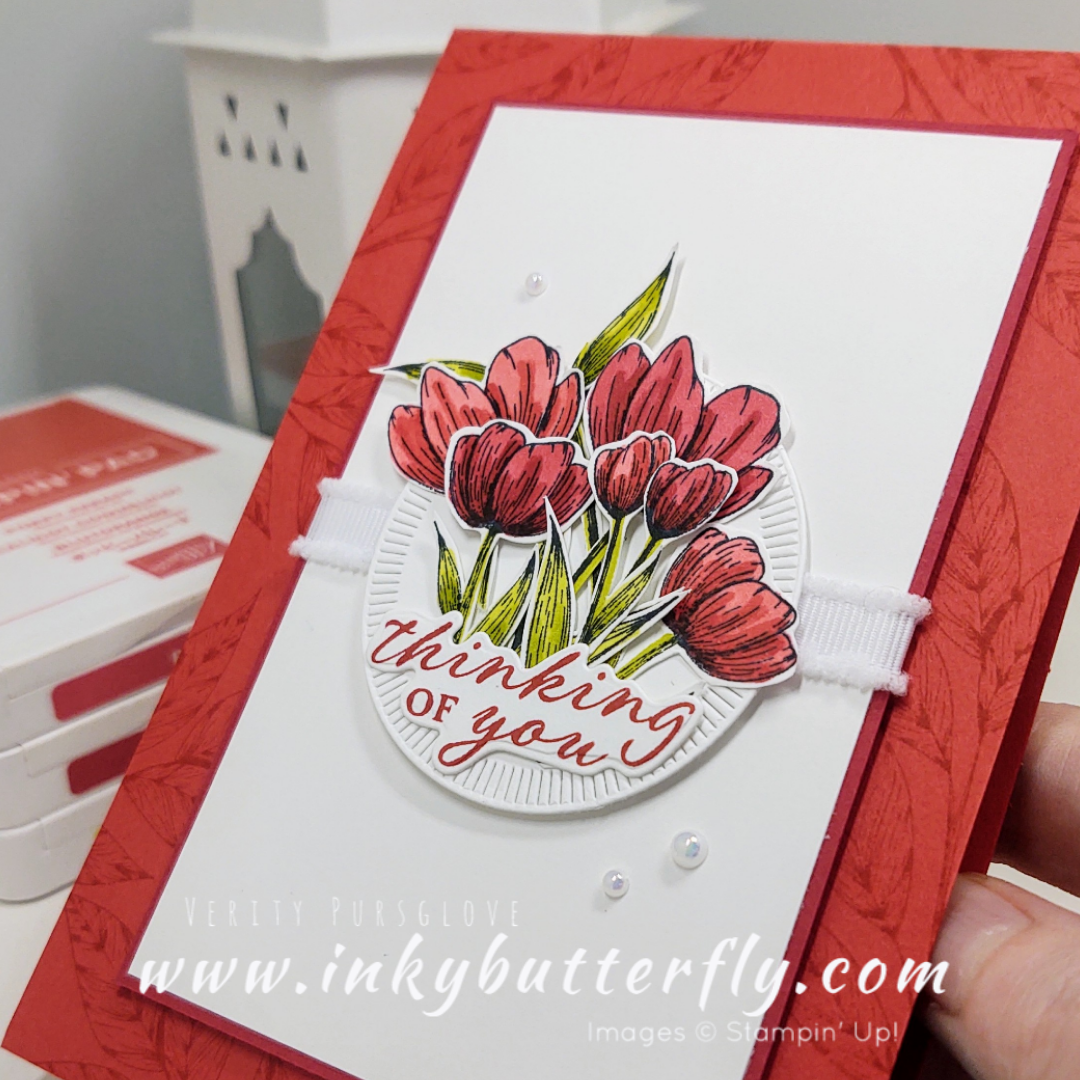
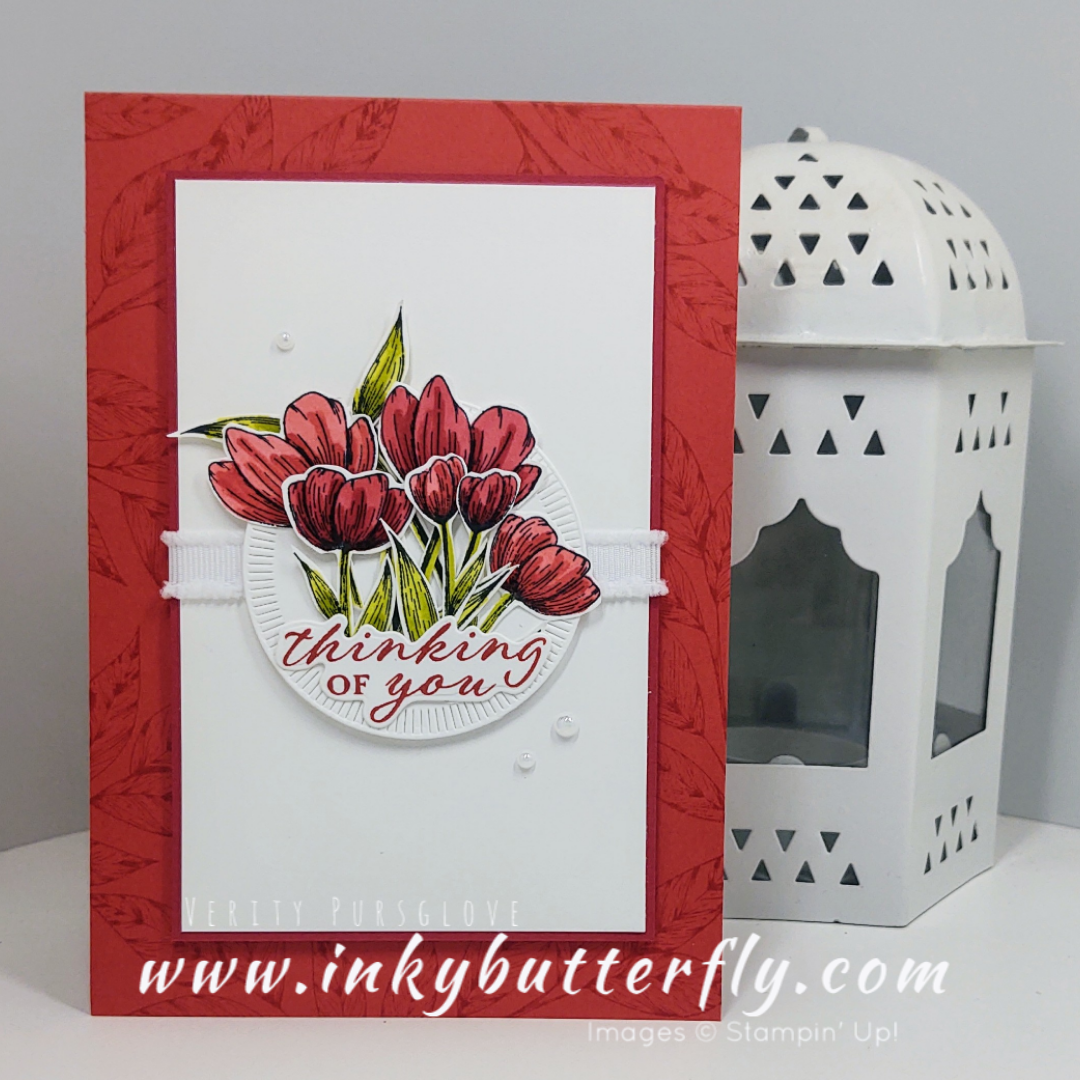




























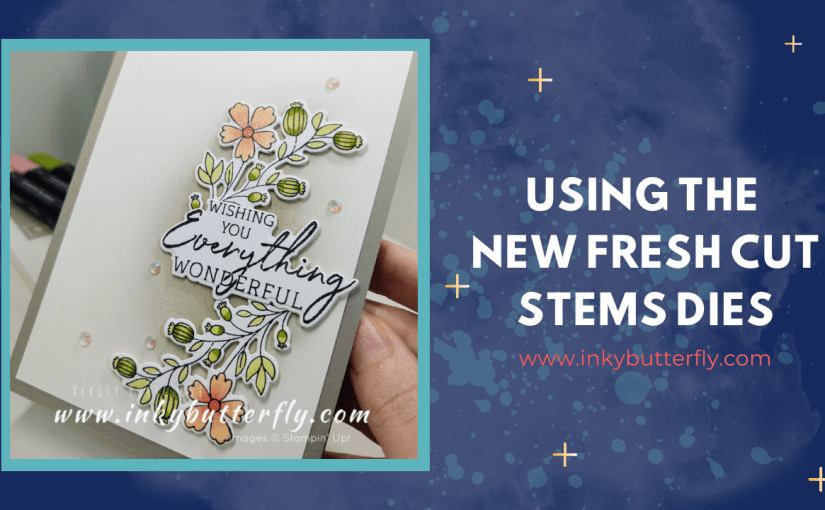
 Hello Everyone,I’m so thrilled that Stampin’ Up! have released some new die to coordinate with the Fresh Cut Flowers stamp set.This is one of 6 new sets in the Perfect Partners promotion. See more when you
  The Fresh Cut Flowers images are beautiful to colour with the medium of your choice. I’ve used Stampin’ Blends on this occasion.You can see how I made this card in my video tutorial…..
 I am also loving the Charming Sentiments bundle…. No need to fussy cut!Iridescent rhinestones were the perfect thing to finish off both cards.
 I hope you enjoyed this project.The supplies used are listed and linked to the online store below.I would love to be your demonstrator.Thanks for stopping by today and happy Stampin’!Verity xx