Cardmaking with the Friendly Flamingo bundle

Hello Everyone,

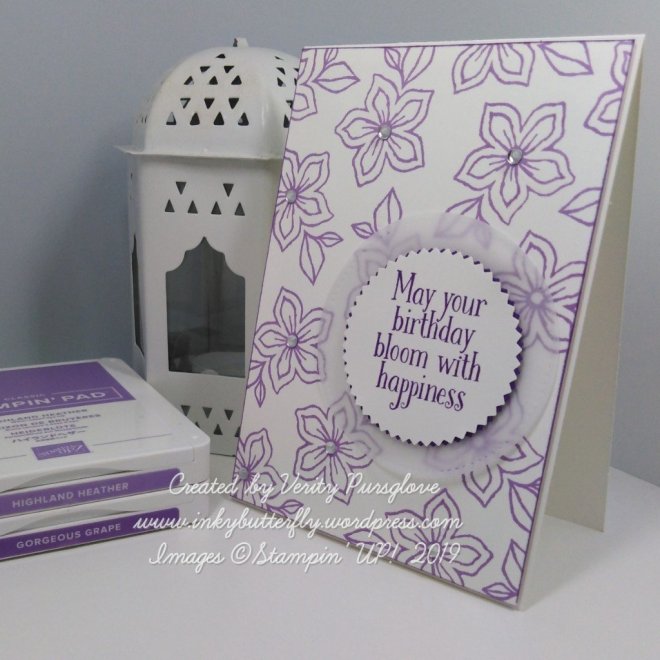
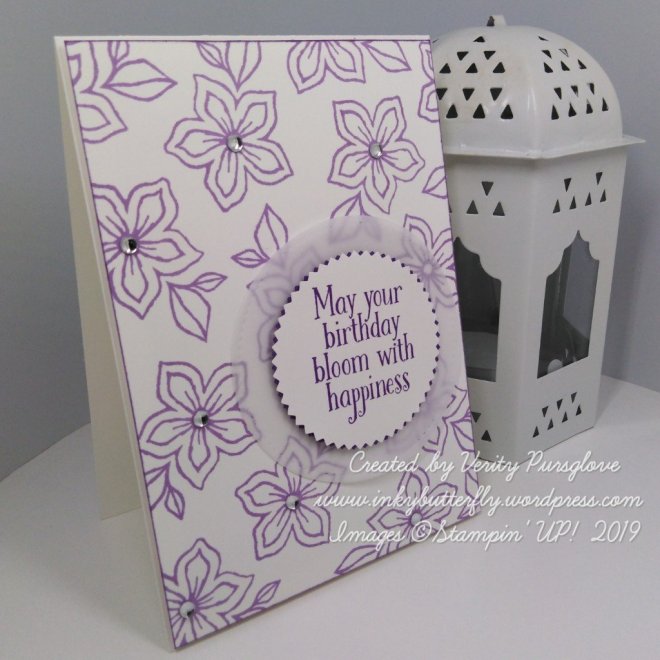
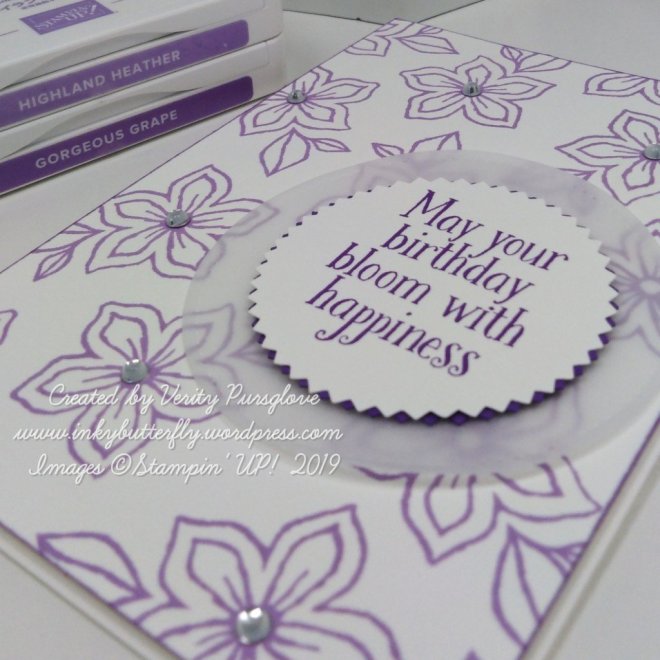
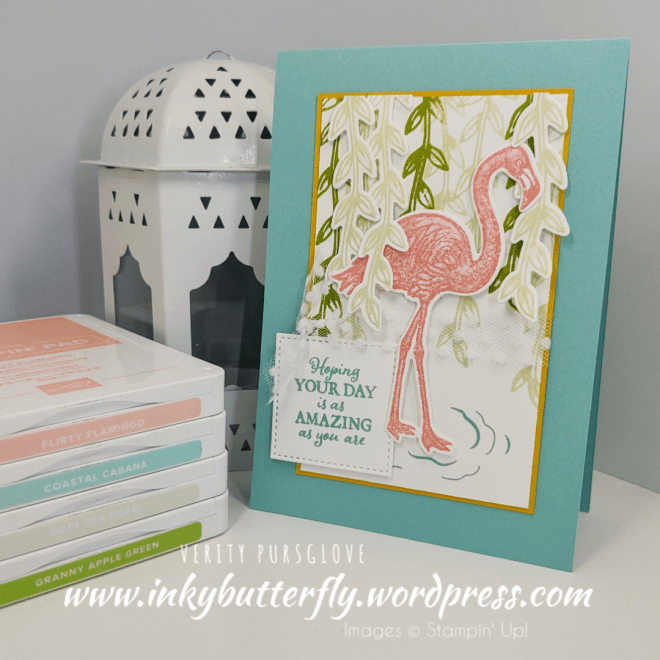
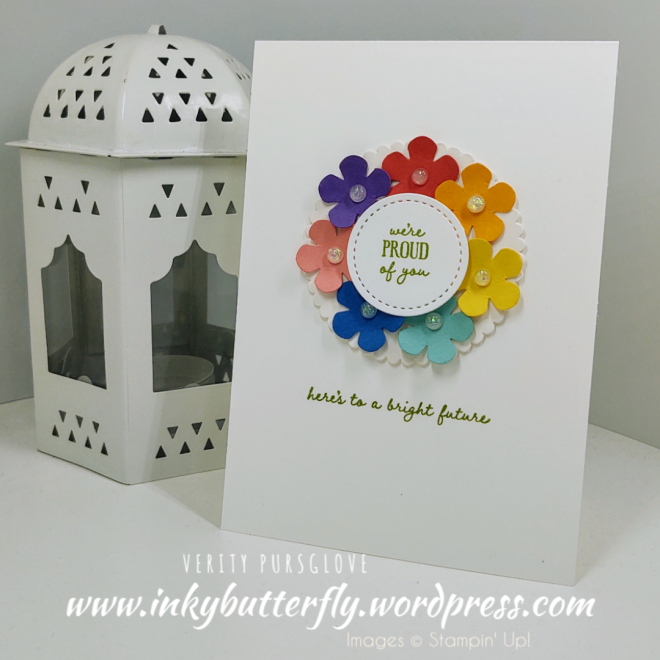
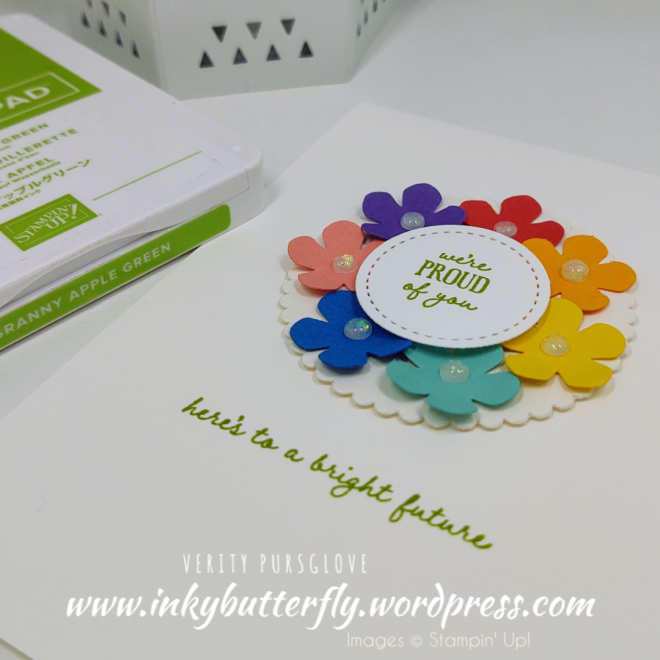
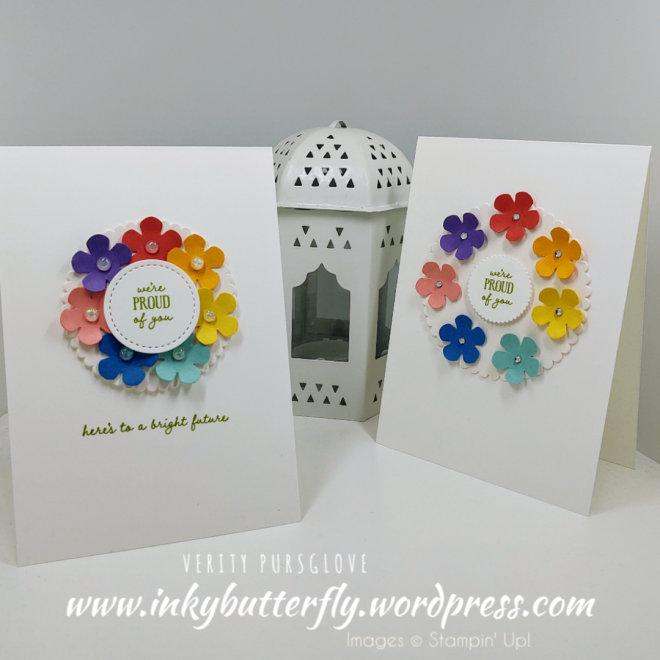
I’m going for a tropical feel with today’s project.

The featured stamp set is Friendly Flamingo which you can find in the January to June Mini catalogue!

There are coordinating dies too… Buy the bundle and save 10%.

See how I made this card in my video tutorial….

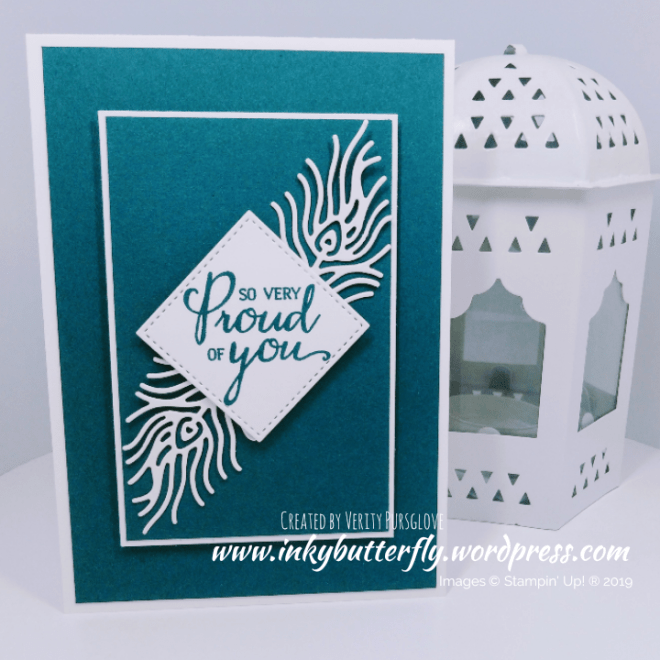
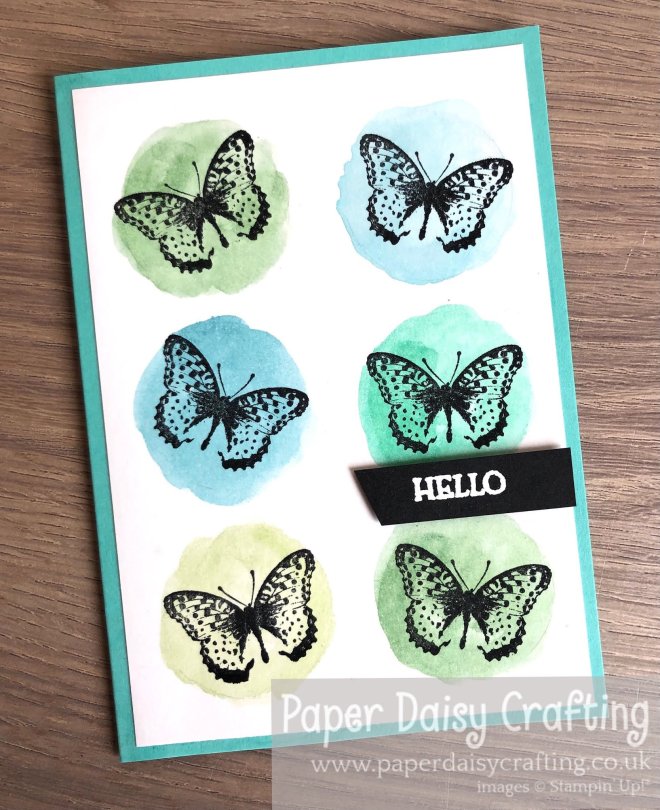
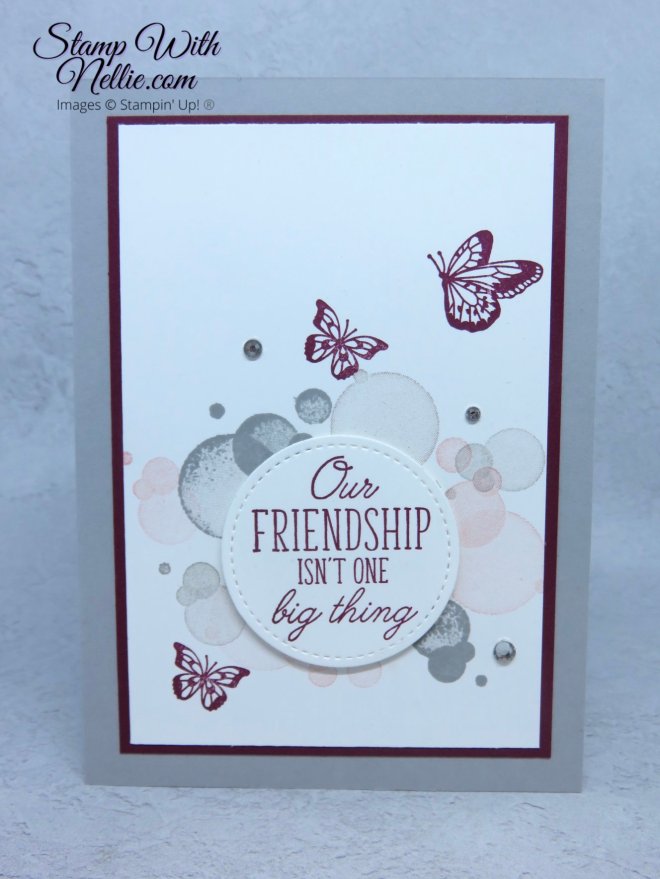
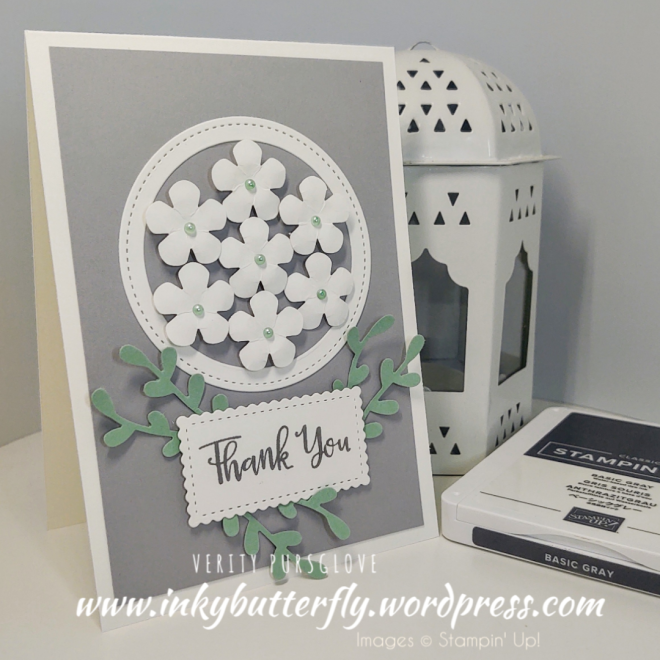
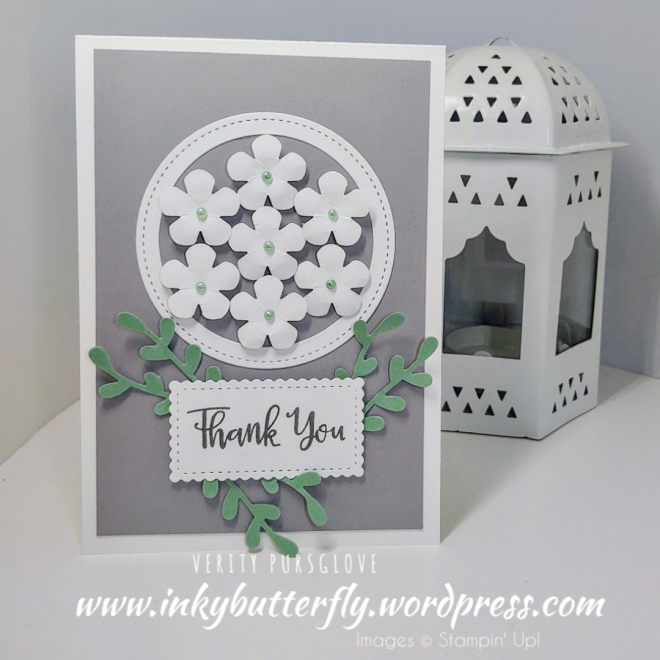
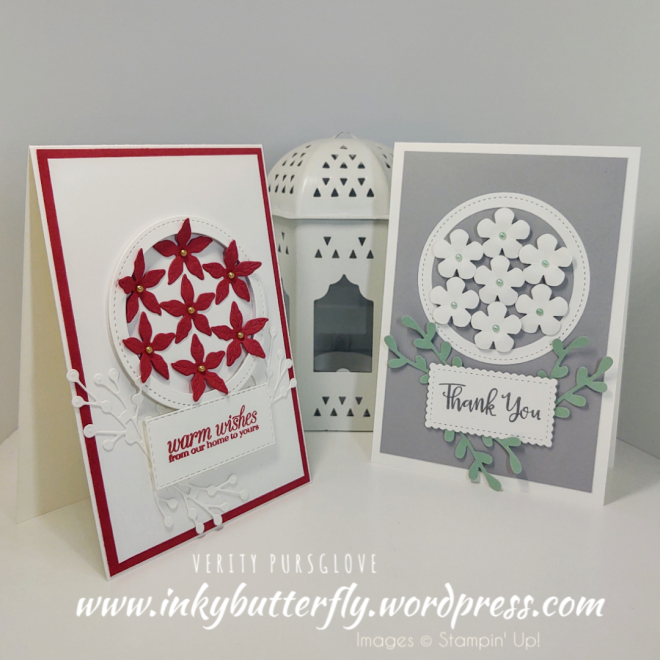
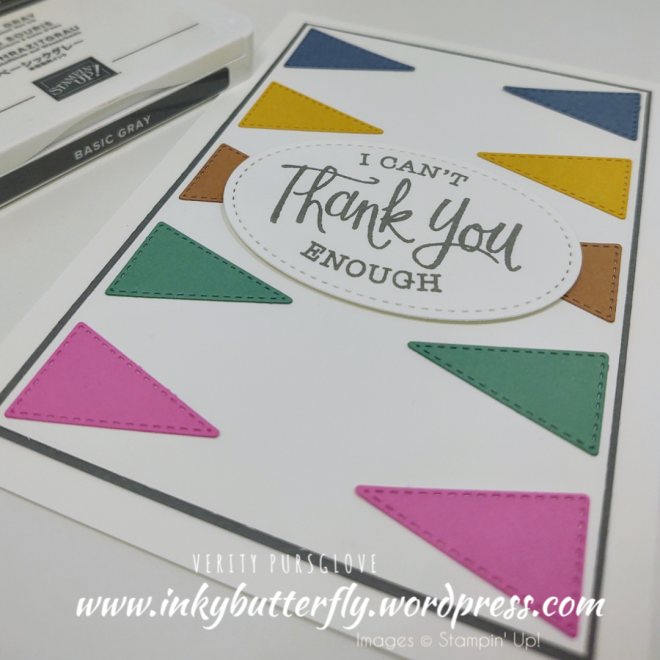
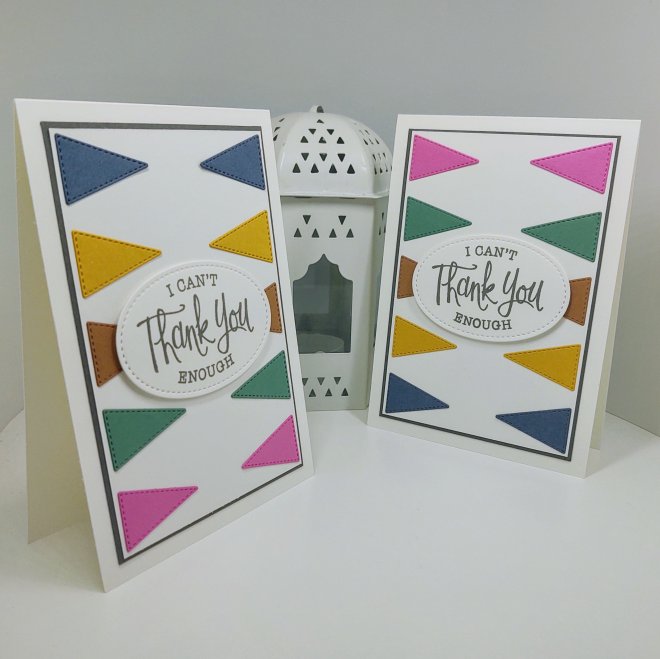
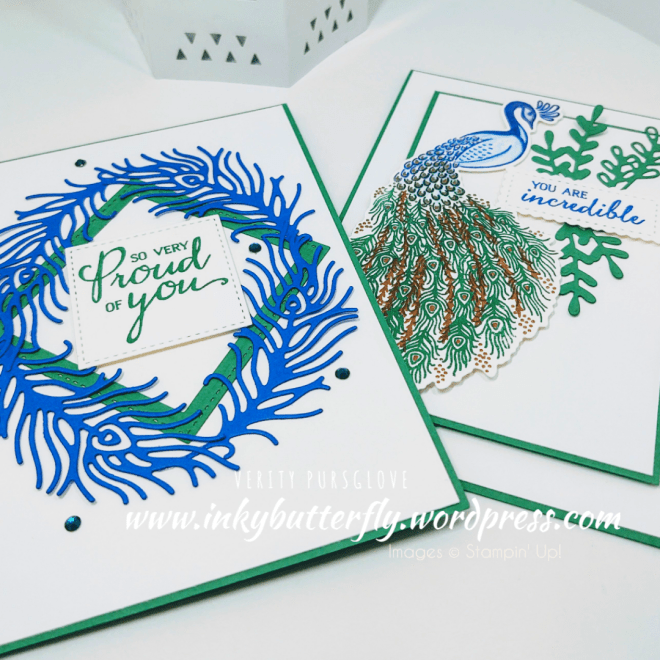
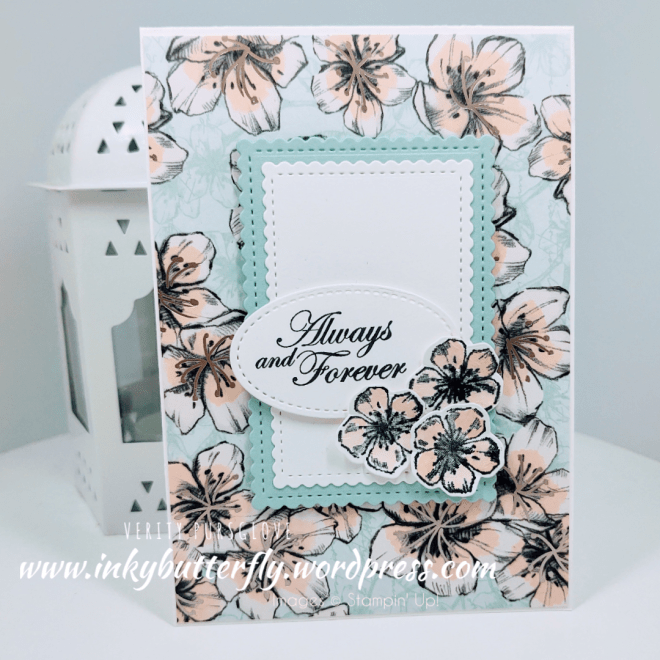
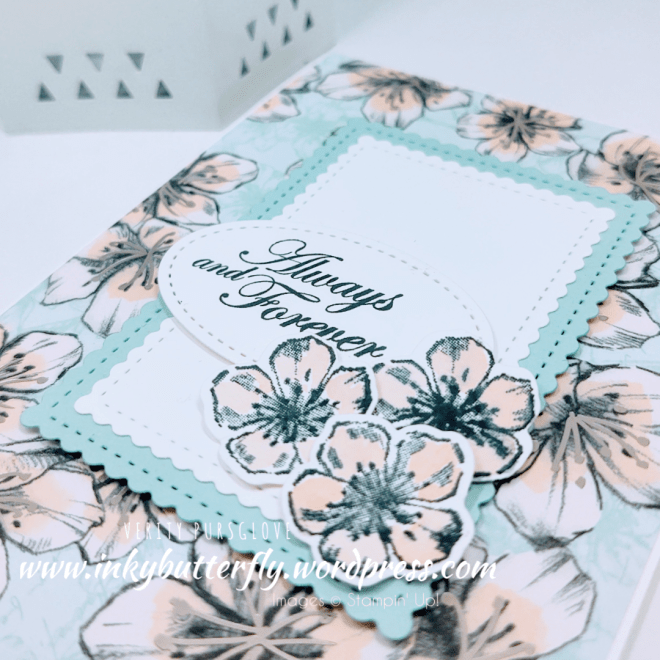
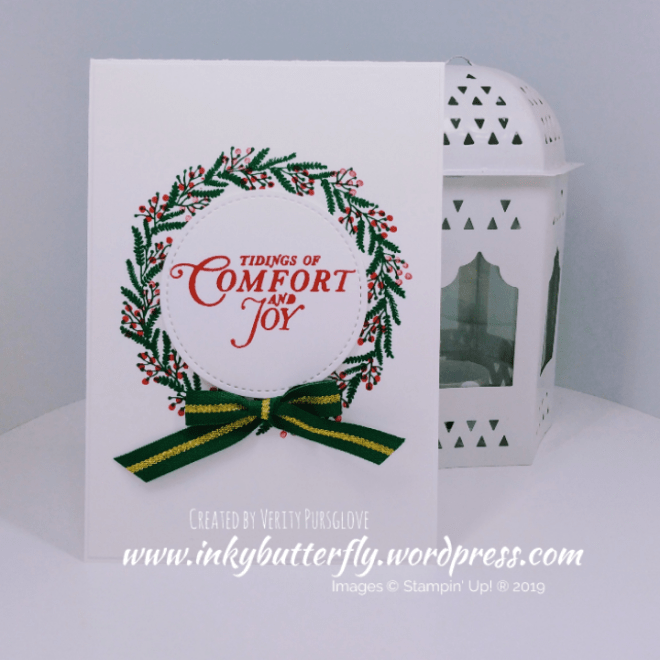
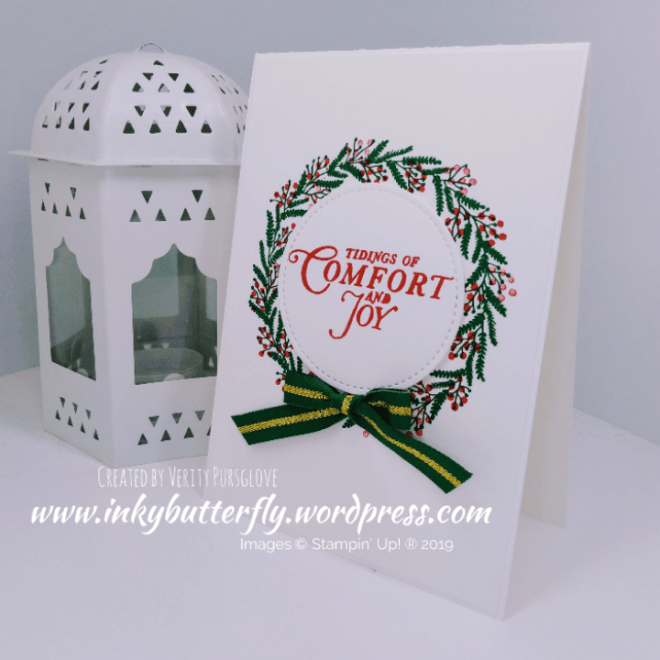
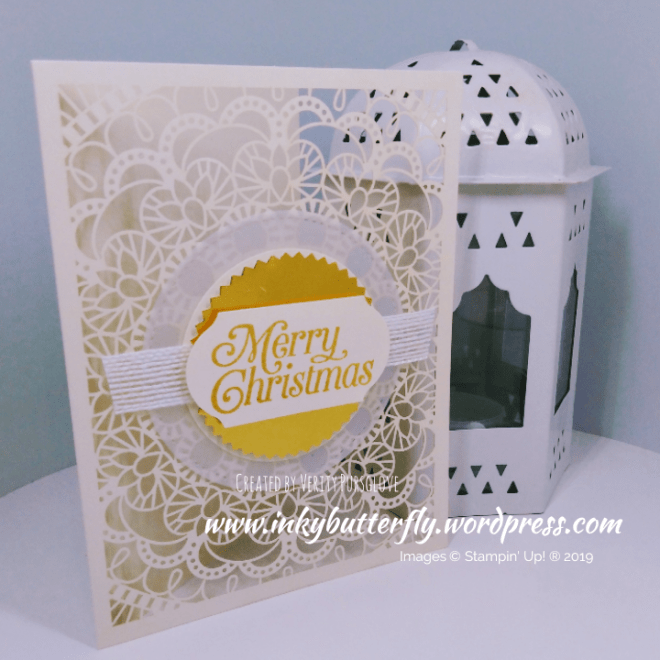
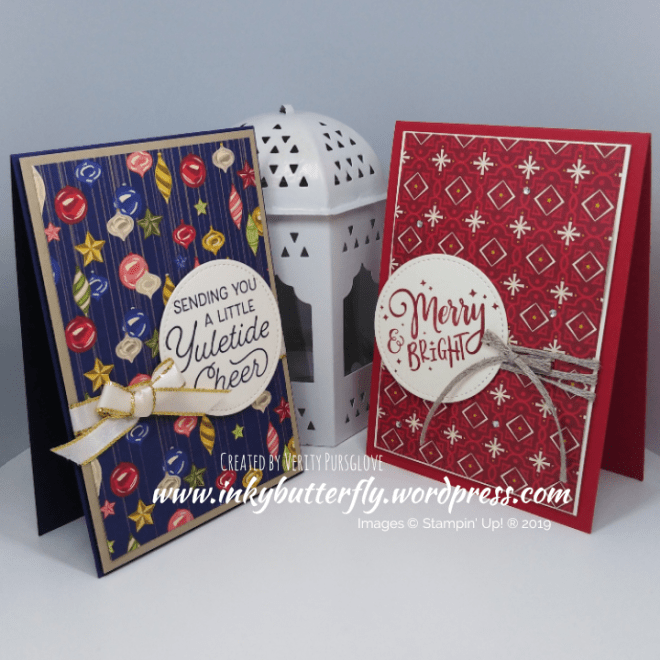
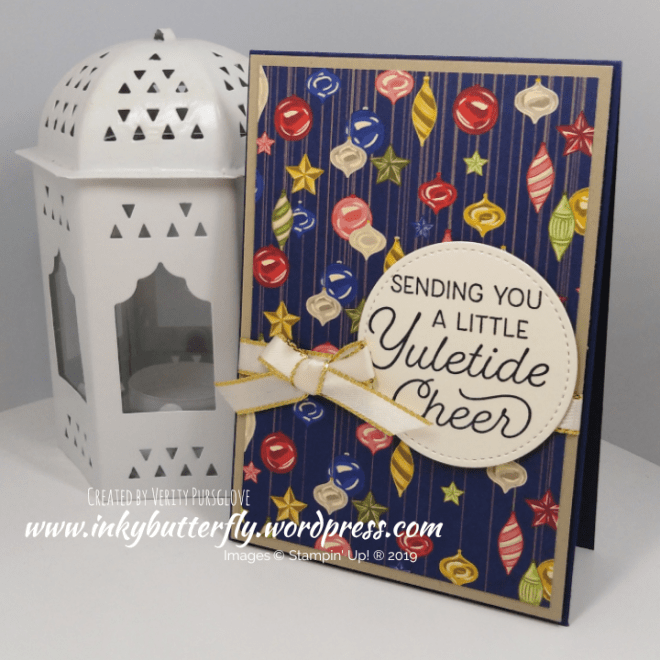
So which card do you like best?

I hope you enjoyed this project.

The supplies used are listed and linked to the online store below.

If your order is less than £150, use the Hostess Code UYZ33U2J when placing your order to get an extra gift from me!

I would love to be your demonstrator.

Thanks for stopping by today and happy Stampin’!

Verity xx

Product List

Project Share Project

Hello Everyone,

Welcome to this week’s Project Share. As always my friends have created some lovely work. Please use the links to visit their blogs and read more about their projects.

Jill has continued her series aimed at new or beginner stampers! I love this card… There are some alternative colour combinations on her blog…

Visit Jill’s blog here

Heather has created her kind with one of my favourite stamp sets…. The bubbles are so versatile and can be used with lots of other stamp sets and card layouts….

Visit Heather’s blog here

Gez is using a colour challenge to inspire her card design… And there are more butterflies… Lifting the wings on the punched shapes brings them to life…

Visit Gez’s blog here

I hope you enjoyed these projects. The supplies used are listed and linked to the online store below.

I would love to be your demonstrator.

Thanks for stopping by today and happy Stampin’!

Verity xx

Product List

Rainbow Bloom Wreath

Hello Everyone,

I thought I would make something fun and bright today, so I pulled out the Brights cardstock and started punching!

I used the Small Bloom punch in the annual catalogue for my flowers which I layered on to a die cut scalloped circle!

See how I made this card in my video tutorial…..

I definitely prefer this layout to the original.

Look out for the Opal Rounds in the new Mini Catalogue coming on 5th January.

If you need a catalogue, live in the UK and don’t already shop with a demonstrator, I’d be happy to send one out to you!

Sale items are selling out fast!

Coming soon…..

I hope you enjoyed this project.

The supplies used are listed and linked to the online store below.

If your order is less than £150, use the Hostess Code W7ZJNXEV when placing your order to get an extra gift from me!

I would love to be your demonstrator.

Thanks for stopping by today and happy Stampin’!

Verity xx

Product List

Pretty Floral Thank You Card

Hello Everyone,

This card was inspired by a card I saw on Instagram by @annenkortit

I thought the layout of her card was really pretty, I hope I have done it justice!

You can see how I made this card in my video tutorial….

I love the grey and green colour combination! What do you think?

My original interpretation had a more festive feel, using Poinsettia dies instead of the small bloom punch.

I hope you enjoyed this project.

The supplies used are listed and linked to the online store below.

If your order is less than £150, use the Hostess Code FYP3NJFR when placing your order to get an extra gift from me!

I would love to be your demonstrator.

Thanks for stopping by today and happy Stampin’!

Verity xx

Product List

#StampAroundUK Video Hop – November Geometric Theme Challenge

Hello Everyone,

Thanks for stopping by… This post partners a video hop on You Tube.

It would be great if you could follow the links in my video to see all the other wonderful projects that have been created!

Here are some close up photos of the finished card….

There are lots of colour options that could be used for this…

It just occurred to me that I could have used a triangle for the sentiment too!

I hope you enjoyed this project.

The supplies used are listed and linked to the online store below.

If your order is less than £150, use the Hostess Code FYP3NJFR when placing your order to get an extra gift from me!

I would love to be your demonstrator.

Thanks for stopping by today and happy Stampin’!

Verity xx

Product List

Paper Trimmer

[152392]

£23.00

Masculine Birthday featuring the Rustic Retreat stamp set

Hello Everyone,

This lovely stamp set doesn’t get much attention in the catalogue, but I think it is really beautiful.

Whilst I had the guys in mind with my design, there’s no reason this could be made for a female recipient too!

See how I made this card in my video tutorial….

Doesn’t that stag look majestic!

I hope you enjoyed this project.

The supplies used are listed and linked to the online store below.

If your order is less than £150, use the Hostess Code FYP3NJFR when placing your order to get an extra gift from me!

I would love to be your demonstrator.

Thanks for stopping by today and happy Stampin’!

Verity xx

Product List

Project Share Project

Hello Everyone,Welcome to this week’s Project Share. As always my friends have created some lovely work. Please use the links to visit their blogs and read more about their projects.

Jill’s clean and simple style is perfect with this stamp bundle. Beautiful summery colours!

Visit Jill’s blog here for more information.

Heather has gone monochrome! The heat embossing looks amazing!

Visit Heather’s blog here for more details.

Gez is exploring the new in colour designer series papers using all the patterns to create her card!

Visit Gez’s blog here for more.

I hope you enjoyed these projects.

The supplies used are listed and linked to the online store below.

I would love to be your demonstrator.

Thanks for stopping by today and happy Stampin’!

Verity xx

Product List

Peacock Duo

Hello Everyone,

This week I’m doubling up! Two cards each day with the same or similar products!

Today, it’s the Royal Peacock stamp set and matching dies with Call Me Clover and Blueberry Bushel retiring In Colours.

For the first card, the peacock was stamped with the assistance of the Stamparatus, first with Blueberry Bushel for the head and body and Call Me Clover for the tail.

The details were heat embossed with copper powder, (also retiring), and then die cut.

Some additional feathers were die cut to embellish the sentiment. This was stamped with Blueberry Bushel ink and cut with the Stitched So Sweetly dies.

The second card is completely different!

Four large feathers were die cut from Blueberry Bushel card stock and adhered together to form an oval-ish shape.

Stitched Square dies were used to cut the green frame and the stamped sentiment.

A few rhinestones added some extra interest to the background.

I hope you enjoyed this project. The supplies used are listed and linked to the online store below.

I would love to be your demonstrator.

Thanks for stopping by today and happy Stampin’!

Verity xx

Product List

Always and Forever

Hello Everyone,

Today’s project features the Parisian Blossoms Designer Series Paper. This is very pretty with Petal Pink, Pool Party and Champagne foil.

The paper compliments the Forever Blossoms bundle. Even better, purchasing this bundle will qualify for a FREE Sale-a-bration item!

The topper was made with the Stitched So Sweetly dies, layering Pool Party and Whisper White and raising this with dimensionals.

The sentiment was cut with a Stitched Oval die and also adhered with dimensionals.

Some extra blossoms were stamped, coloured and die cut as embellishments.

I hope you enjoyed this project. The supplies used are listed and linked to the online store below.

I would love to be your demonstrator.

Thanks for stopping by today and happy Stampin’!

Verity xx

Product List


Spruce Wreath

Hello Everyone,

This stamp set has to be one of my favourites from the Autumn Winter catalogue.

Shaded Spruce ink was used to stamp the wreath on to a white card base. The “berries” were added using Real Red ink.

The sentiment was stamped with Real Red ink and cut with Stitched Circle die. This was adhered in the centre of the wreath with dimensionals.

A bow was tied from Shaded Spruce Gold striped ribbon and added to the bottom.

I hope you enjoyed this project. The supplies used are listed and linked to the online store below.

I would love to be your demonstrator.

Thanks for stopping by today and happy Stampin’!

Verity xx

Product List

Warm Wishes

Hello Everyone,

I have had this idea in my head for a while, finally it is made a reality.

The card uses the Rustic Retreat stamp set which I fear has been a little overlooked but I love it.

My card base was made with Crumb Cake card stock. The pine bough image was used to embellish the background using Early Espresso ink.

The topper panel was stamped with the treeline image with Shaded Spruce, Old Olive and Pear Pizzazz inks. This was layered on to Poppy Parade card stock.

The cabin and sentiment were stamped with Early Espresso and Poppy Parade inks respectively.

Watercolour Pencils were used to add a hint of colour to the cabin before Die Cutting with a Stitched Oval die.

I hope you enjoyed this project. The supplies used are listed and linked to the online store below.

I would love to be your demonstrator.

Thanks for stopping by today and happy Stampin’!

Verity xx

Product List

Paper Trimmer

[152392]

£23.00

Laser Cut Merry Christmas

Hello Everyone,

For today’s card I wanted to use the transparency of the laser cut cards as a feature.

It is not shown in the photos, but I started by adhering a 2 inch punched circle on the inside of the card to hide glue used on the front.

The layers for the topper added as follows;

  • Vellum cut with a Stitched Circle Die,
  • White Flax ribbon,
  • Very Vanilla card stock cut with 2-1/4 inch circle punch,
  • Gold foil card stock cut with the Starburst Punch,
  • Very Vanilla ard stock cut with the Timeless Label punch prestamped with Golden Glitz Delicata ink.

I hope you enjoyed this project. The supplies used are listed and linked to the online store below.

I would love to be your demonstrator.

Thanks for stopping by today and happy Stampin’!

Verity xx

Product List

Night Before Christmas

Hello Everyone,

Designer Series Paper is your best friend for making lots of cards fast!

The Night Before Christmas pack has designs to suit different tastes.

This is what I would consider to be quite traditional. I matted this with Crumb Cake card stock and added to a Night of Navy card base.

The metallic edge ribbon adds some bling and texture.

The sentiment from Frosted Foliage was stamped with Night Of Navy ink and die cut, (you could also use a punch).

For this less traditional design I used Very Vanilla layers and Real Red card stock and ink.

The ribbon was substituted for the Braided Linen Trim.

The sentiment was from the Everything Festive stamp set.

I hope you enjoyed this project. The supplies used are listed and linked to the online store below.

I would love to be your demonstrator.

Thanks for stopping by today and happy Stampin’!

Verity xx

Product List

Project Share Project

Hello Everyone,

Welcome to this week’s Project Share. As always my friends have created some lovely work. Please use the links to visit their blogs and read more about their projects.

Jill’s card shows how even the smallest scraps of Designer Series Paper can be used to make a really pretty card!

Visit Jill’s blog here to see more on how this was made.

Heather has made this adorable little handbag style mini bag. It’s small but perfectly formed to hold a treat!

Visit Heather’s blog here to see what she used it for.

Gez made this card for a team swap. These trees look great heat embossed in copper. I am sure everyone loved receiving them.

Visit Gez’s blog here to see how this card was put together.

I hope you enjoyed these projects. The supplies used are listed and linked to the online store below.

I would love to be your demonstrator.

Thanks for stopping by today and happy Stampin’!

Verity xx

Product List

Pretty Peacock Layers

Hello Everyone,

I tried something a little different for today’s project.

You will know I like to use a lot of white card stock so I sort of turned this one inside out, using coloured card layers instead.

I have used Pretty Peacock for my card layers. The smaller panel was adhered with dimensionals.

Feathers from the Royal Peacock die set were added to the topper.

I used a sentiment from the coordinating stamp set and cut this with a Stitched Square die.

I hope you enjoyed this project. The supplies used are listed and linked to the online store below.

I would love to be your demonstrator.

Thanks for stopping by today and happy Stampin’!

Verity xx

Product List

Bloom with Happiness

Hello Everyone,

I just love this card! It’s the first time I have used Pocketful of Happiness… I think there will be more to come!

The flower and leaf are a single stamp. This was randomly stamped with Highland Heather Ink over a Whisper White card layer.

Some Wink of Stella Glitter was added to the outside edge of each flower.

The edge of the card stock was very gently touched on to the ink pad before adding to a white card base.

The sentiment was stamped with Gorgeous Grape ink and cut with the Starburst Punch. A piece of Gorgeous Grape card stock was punched too and the two were layered together.

For added interest I adhered a Stitched circle cut from vellum to the card first, then added the sentiment with dimensionals.

The final touch were some epoxy drops added to the flower centres.

I hope you enjoyed this project. The supplies used are listed and linked to the online store below.

I would love to be your demonstrator.

Thanks for stopping by today and happy Stampin’!

Verity xx

Product List

Inspire.Create #046

Hello Everyone,

Welcome to my blog. Every other Monday I share my project that I have used as my entry for the Inspire.Create challenge.

This time it’s a colour challenge. The design team have made some wonderful samples as inspiration. You can see them here.

And this is what I created!

If I’m honest I wasn’t sure what I wanted to create to begin with, I don’t have all the ink colours. But I have the card stock! I already had these Stitched Rectangles left over from another project.

For some added interest, though it is not clear on the photos, I stamped the script image from the Very Versaille stamp set with versamark and heat embossed with clear powder.

The coloured rectangle was added towards the right hand side of the card with dimensionals.

I wanted a bold sentiment, I picked this one from Rooted in Nature.

This was stamped with Memento ink and die cut with a Stitched Circle. Each circle was mounted on to a Pearlized Doily.

I hope you enjoyed this project. The supplies used are listed and linked to the online store below.

I would love to be your demonstrator.

Thanks for stopping by today and happy Stampin’!

Verity xx

Product List