Good Morning Everybody,
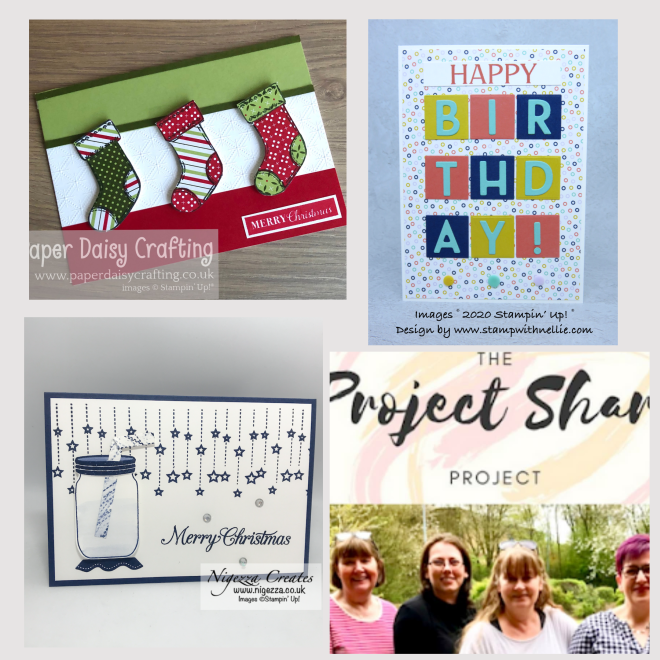
Welcome to this month’s Project Share Project blog hop.
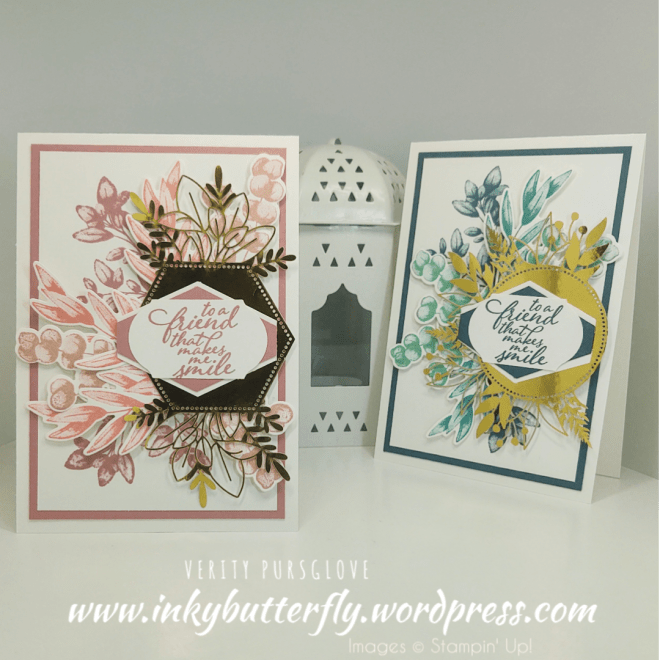
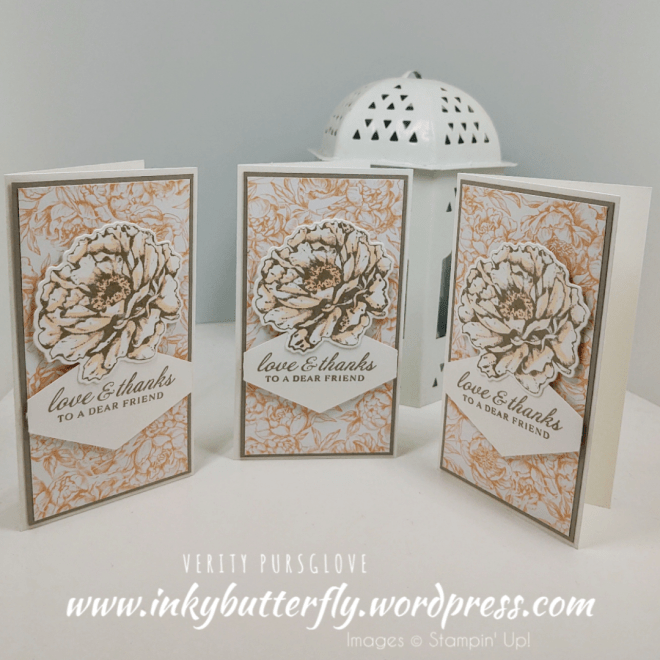
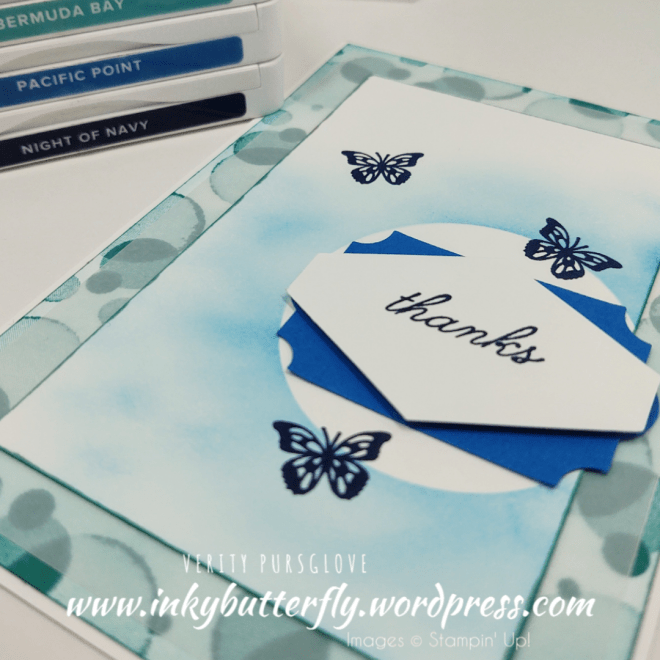
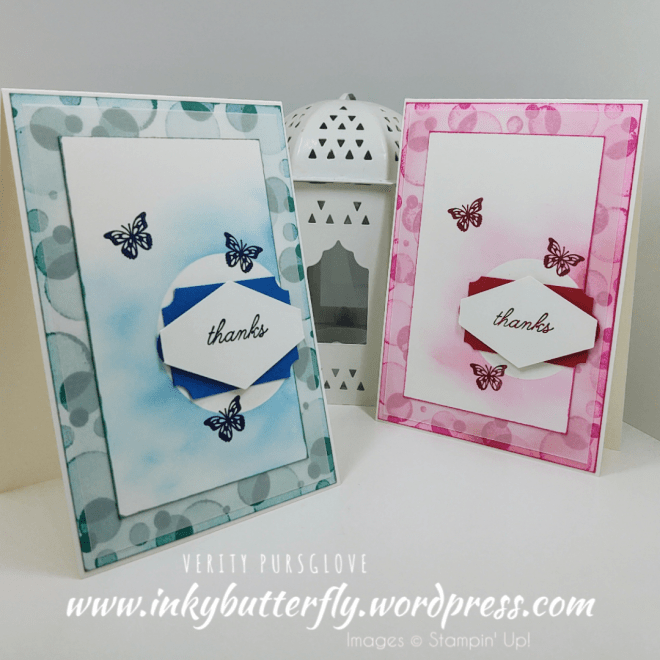
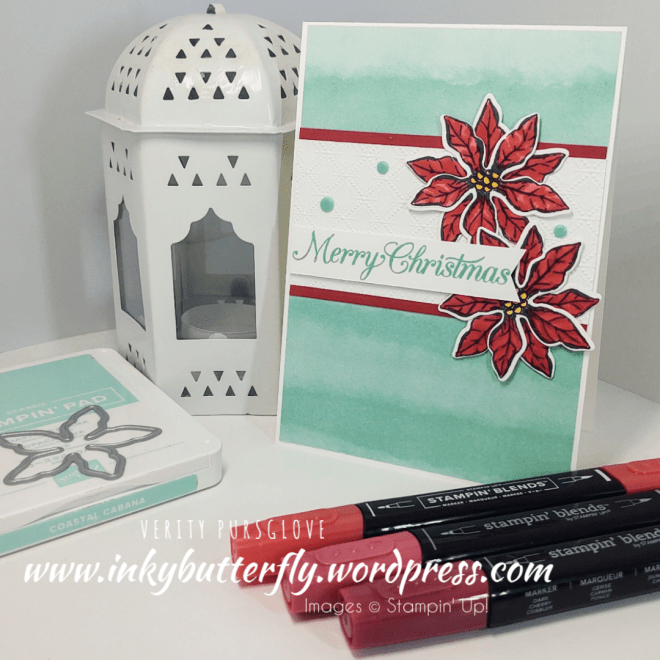
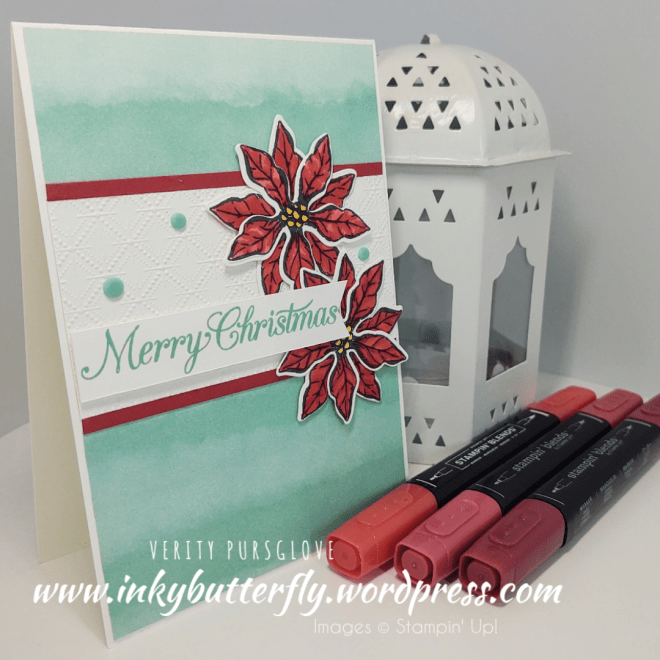
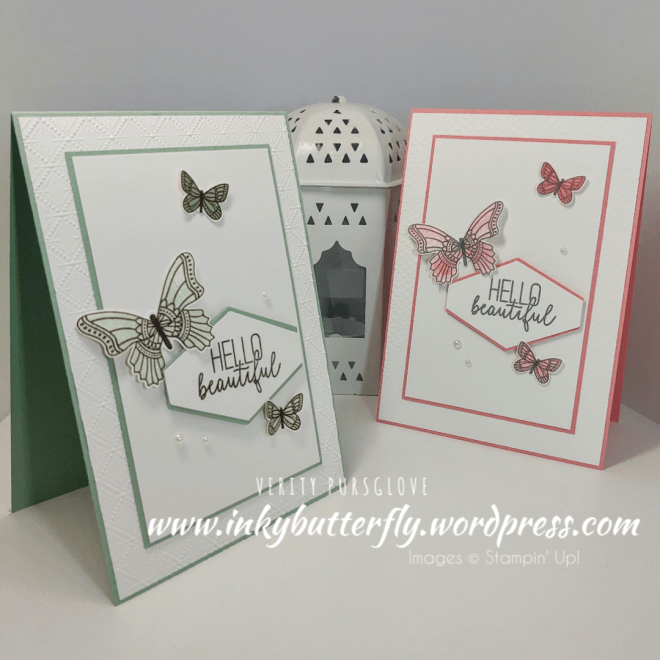
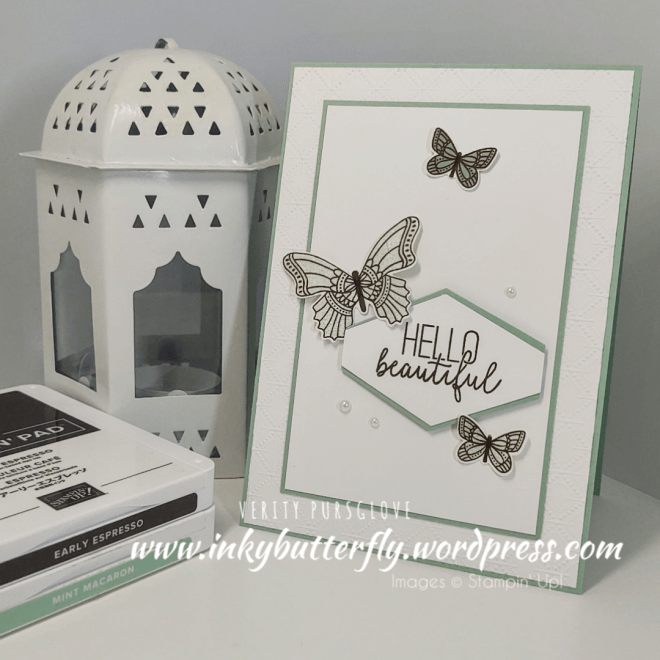
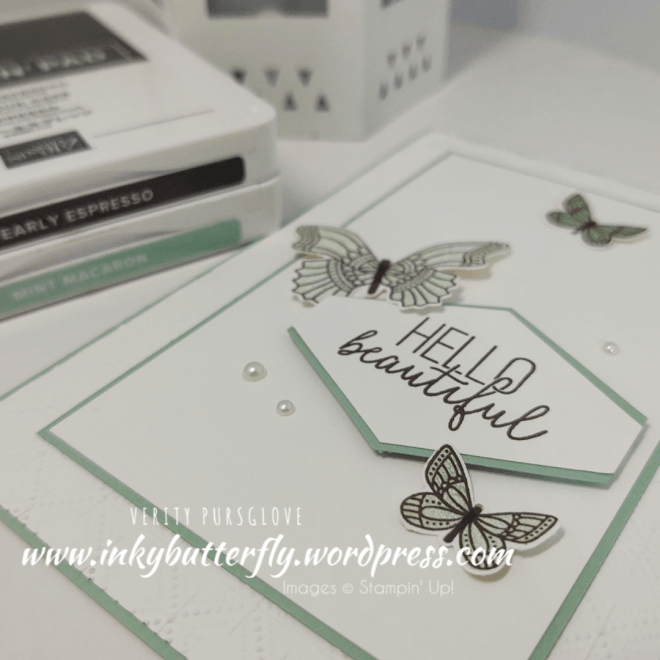
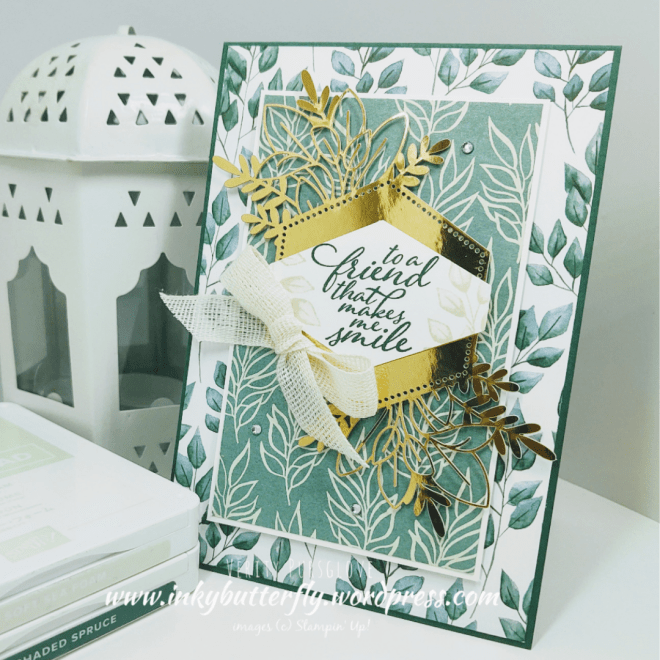
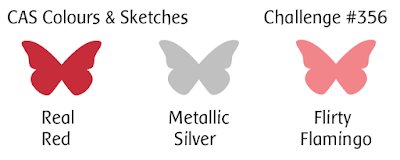
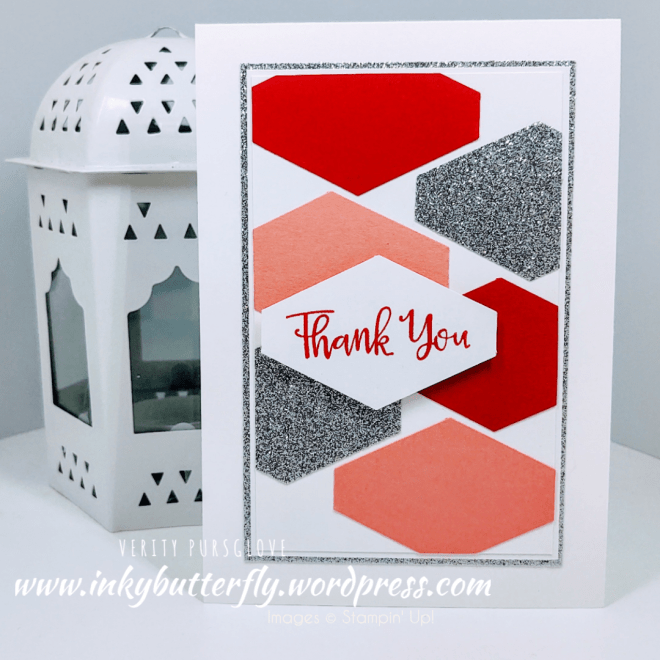
This time we are sharing projects made with our retiring favourites. We hope you love them too!
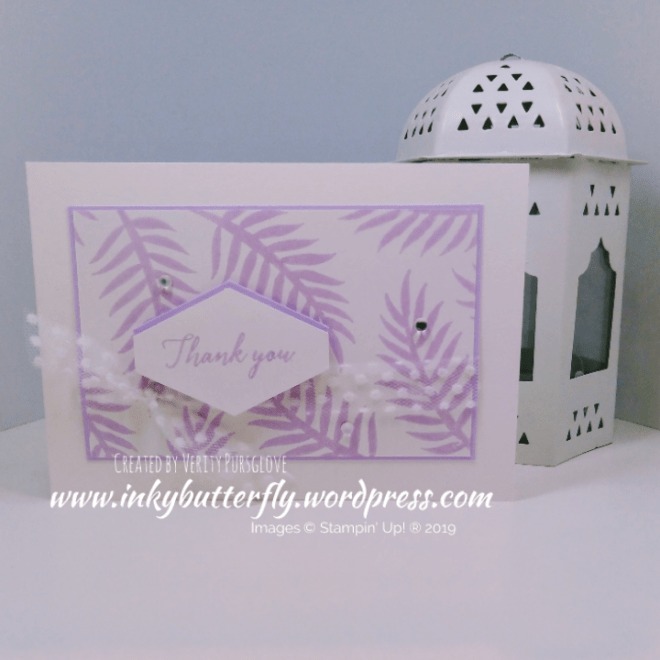
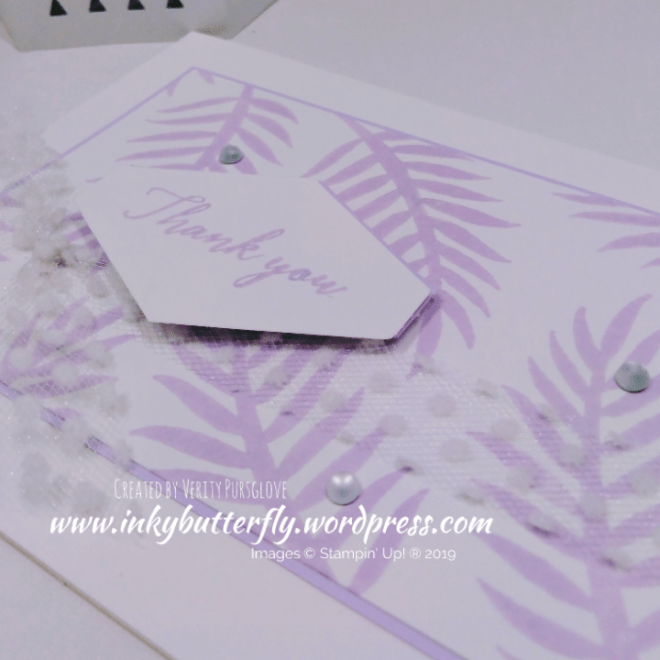
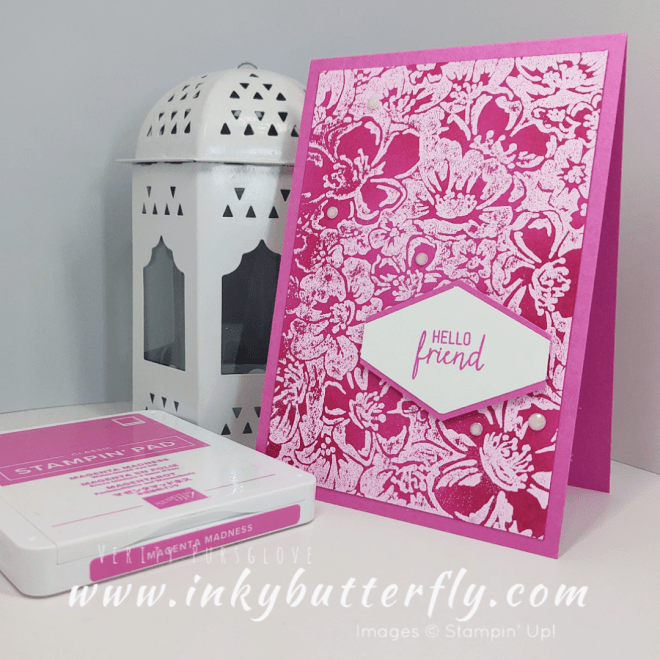
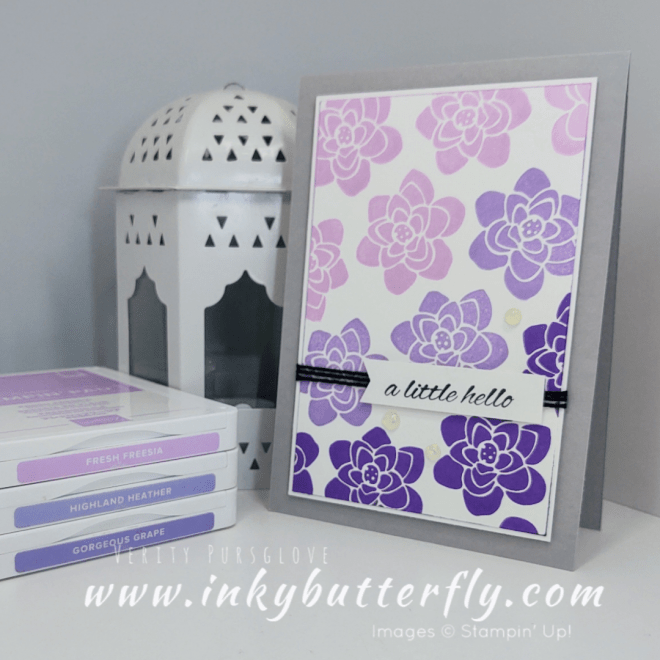
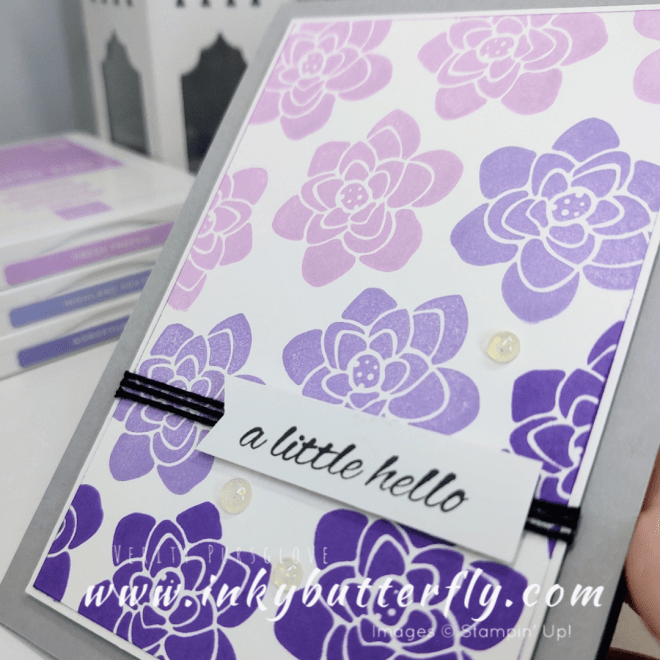
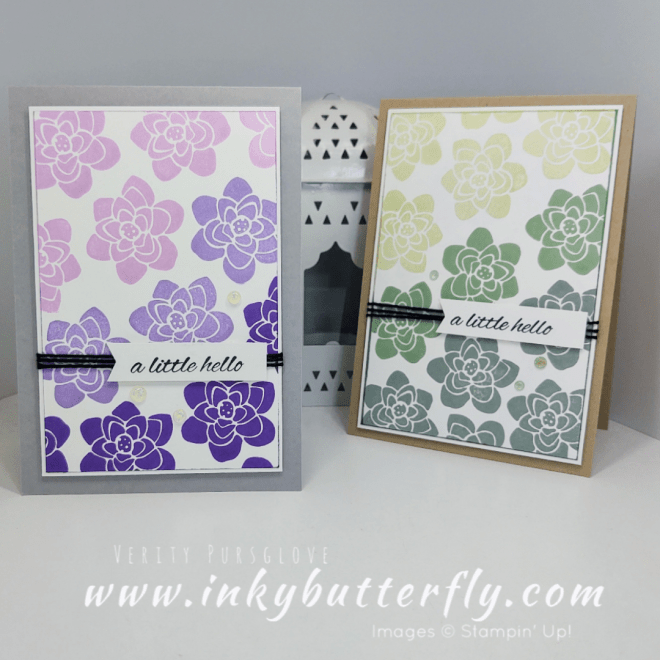
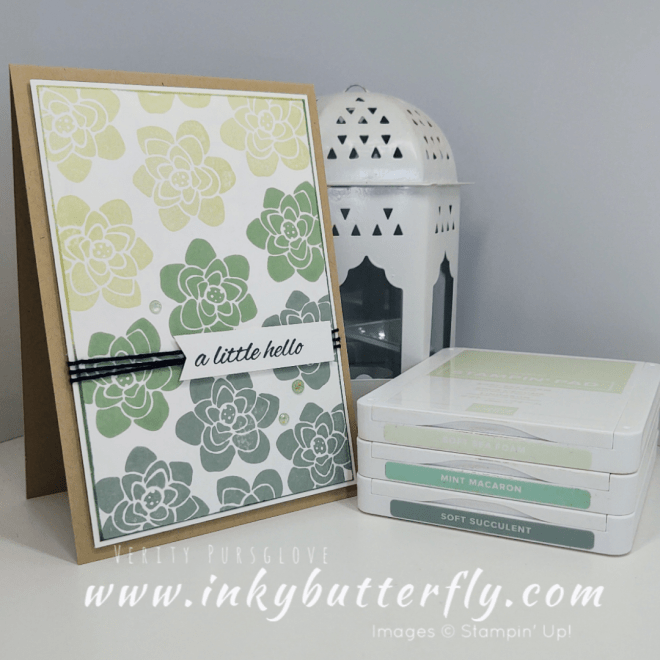
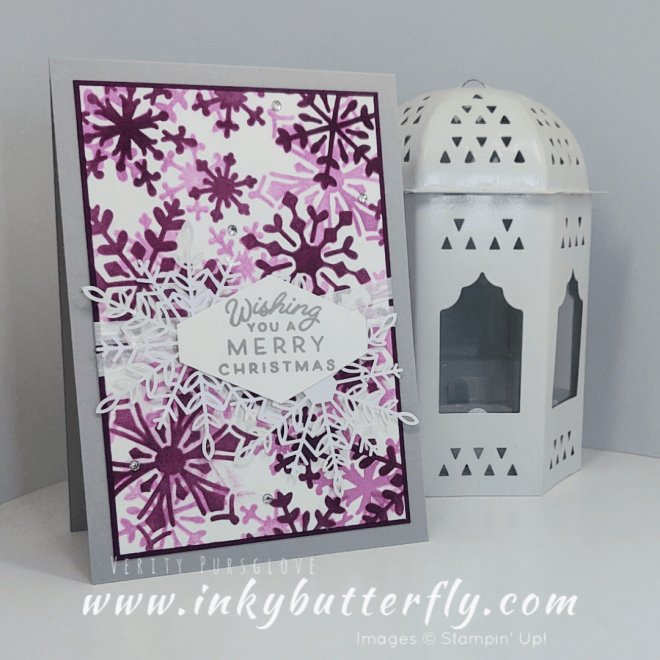
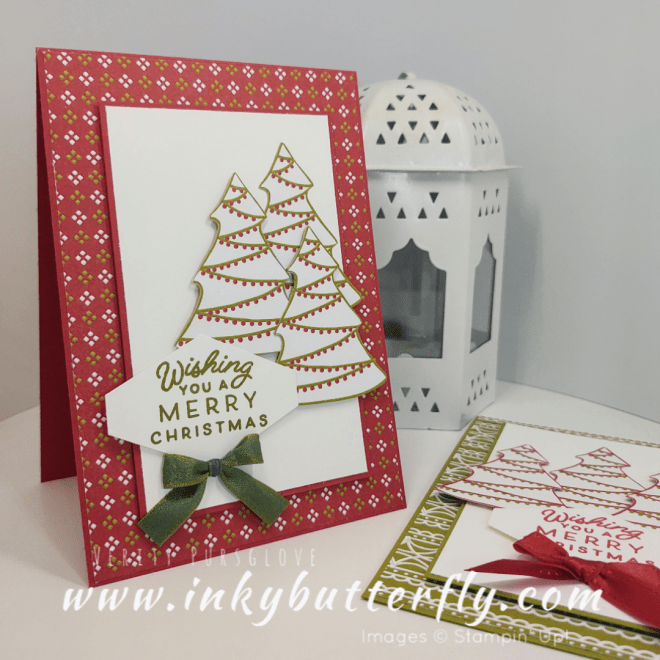
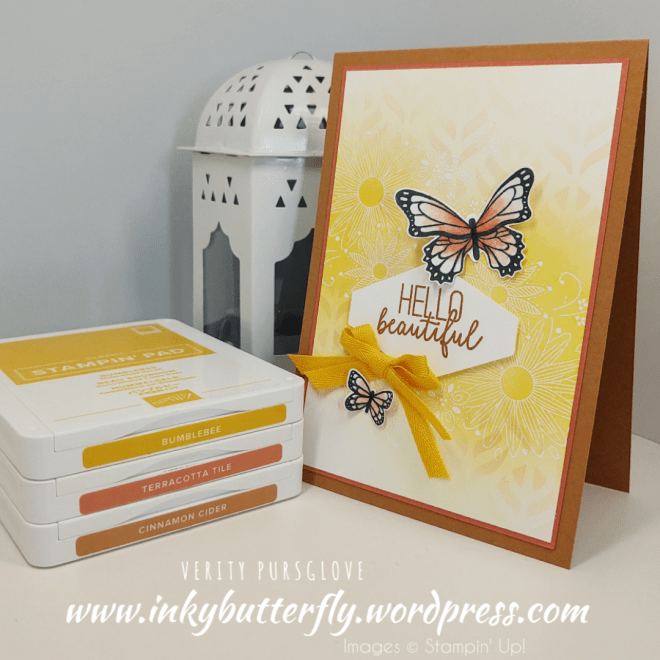
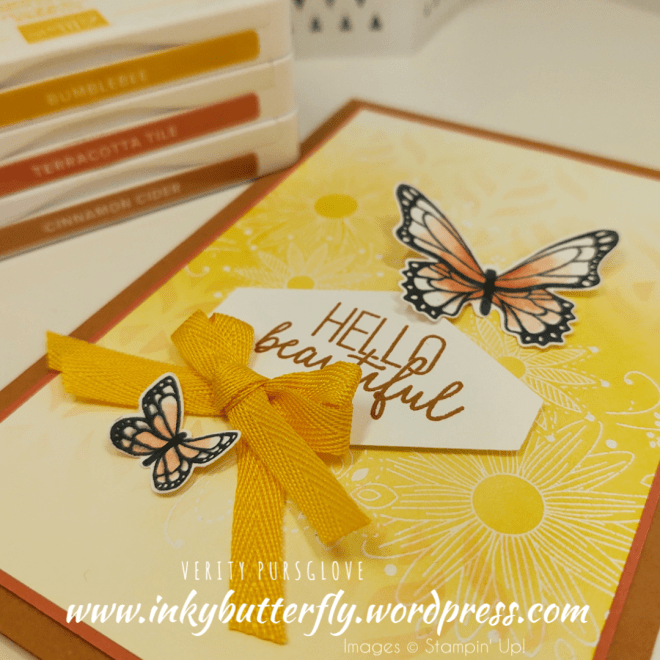
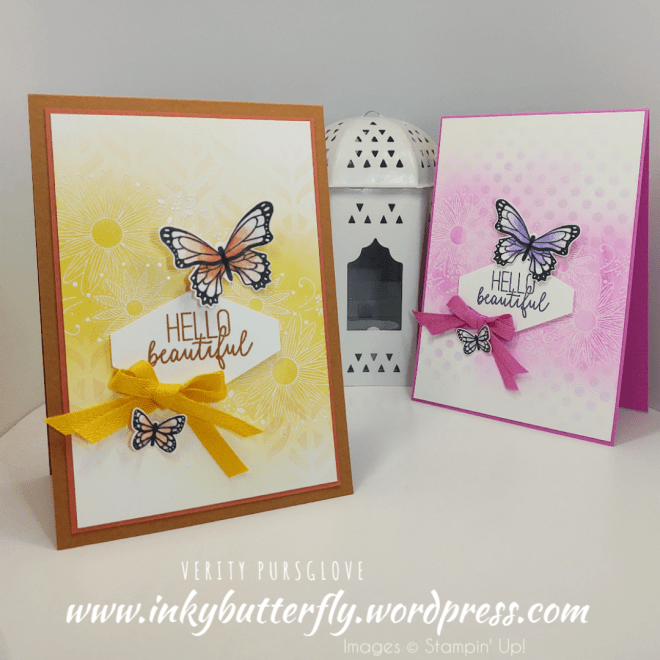
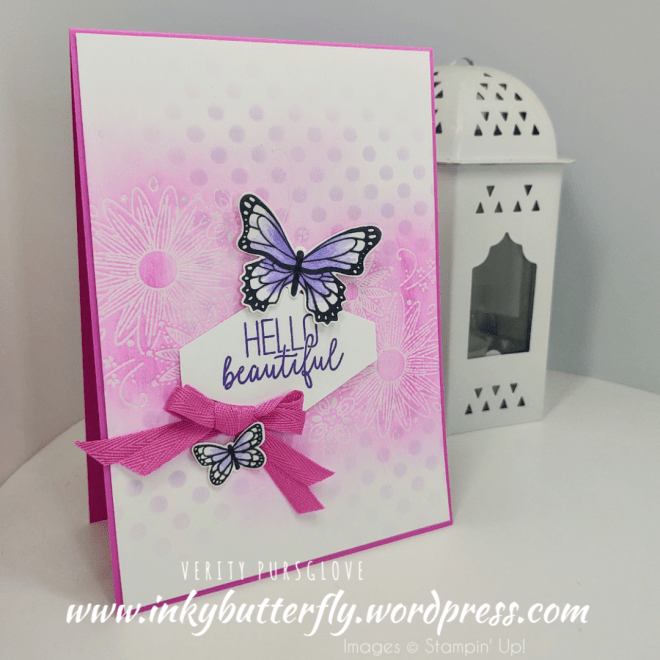
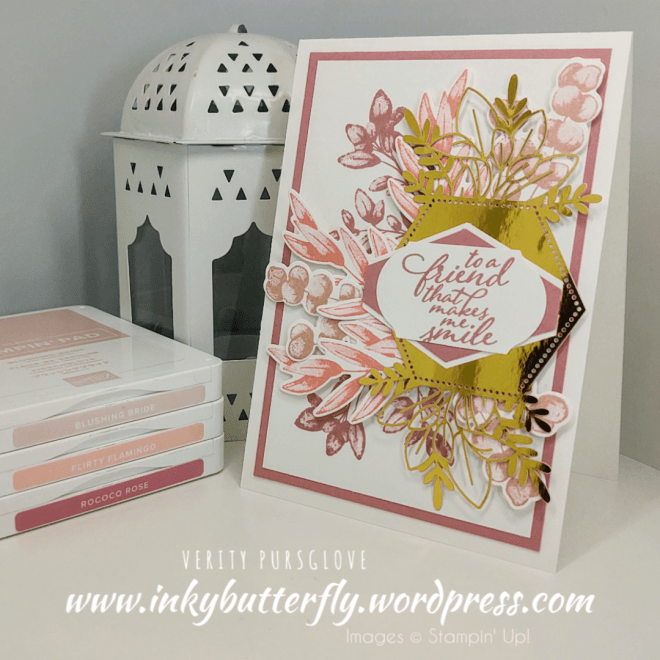
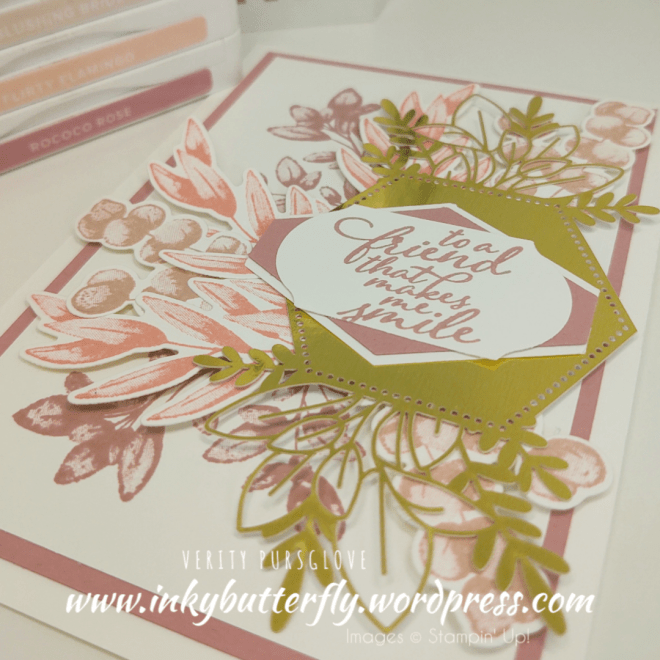
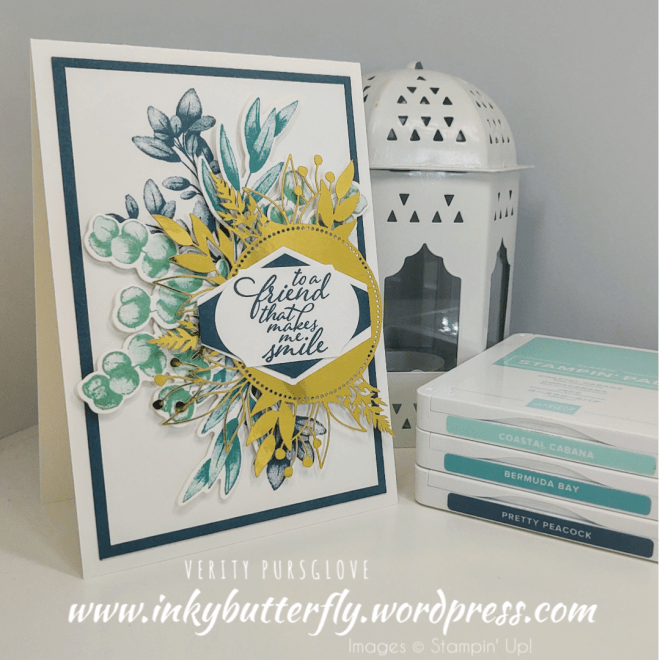
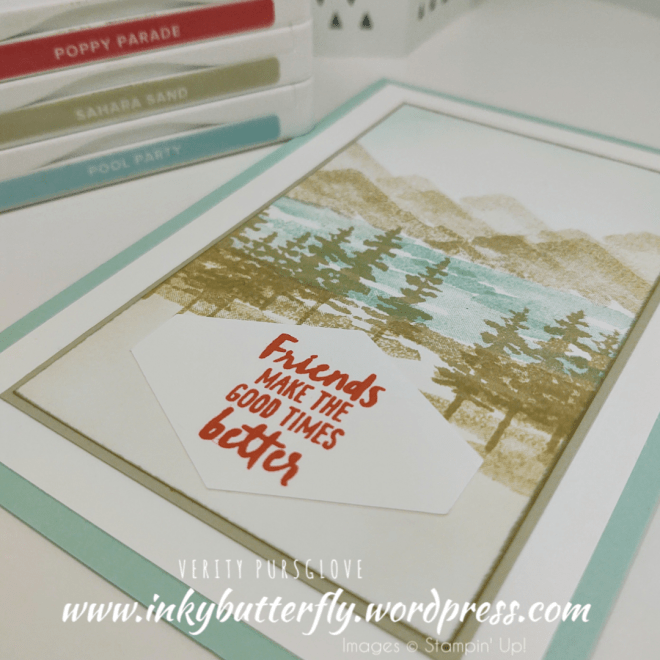
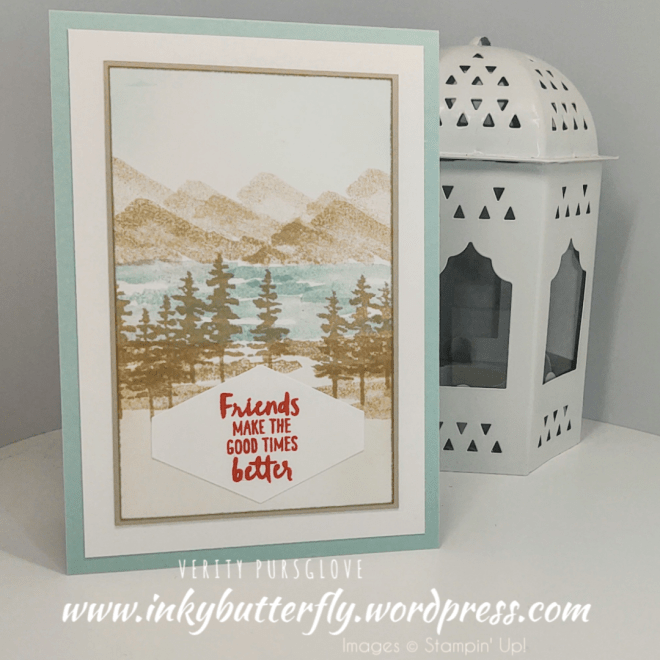
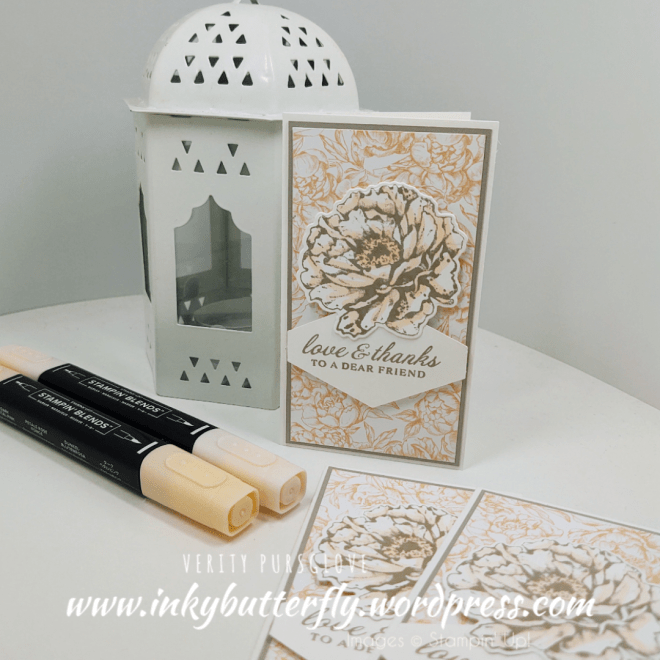
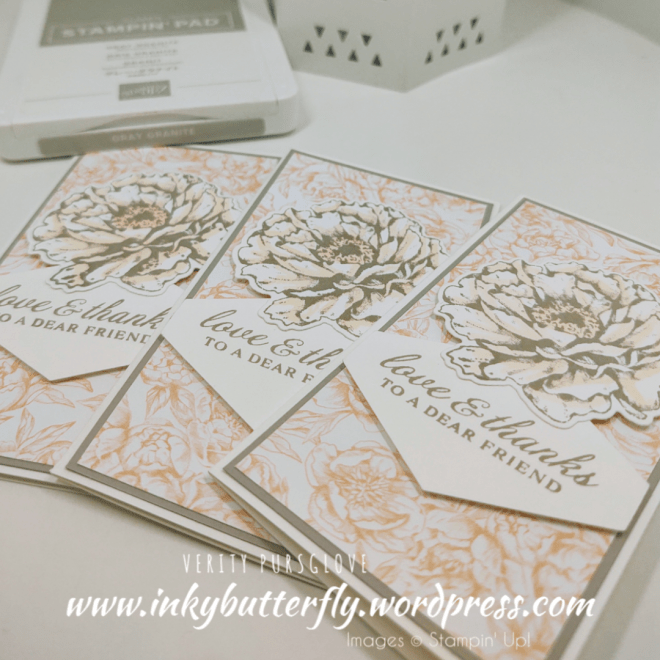
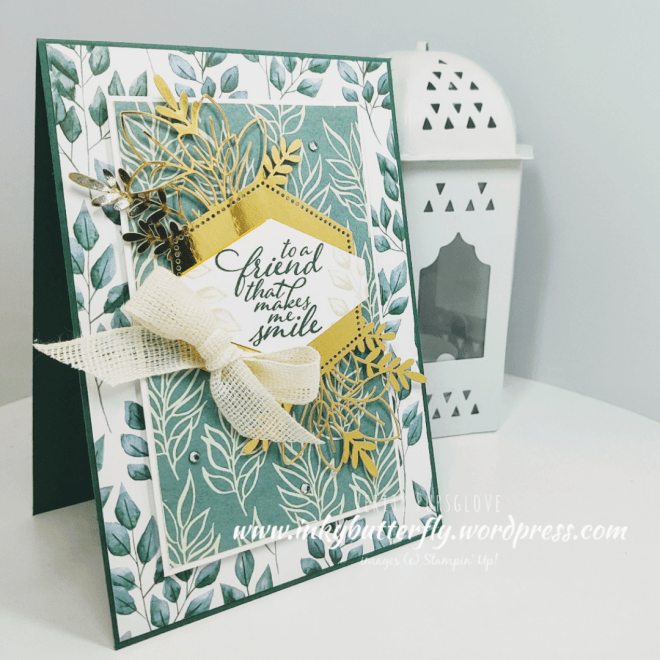
I picked the Wild Roses background stamp to work with….
You can see all the other projects in the hop using the following links, or click “next” at the bottom of this post!
Gez – Nigezza Creates
Heather – Stamp With Nellie
Jill – Paper Daisy Crafting
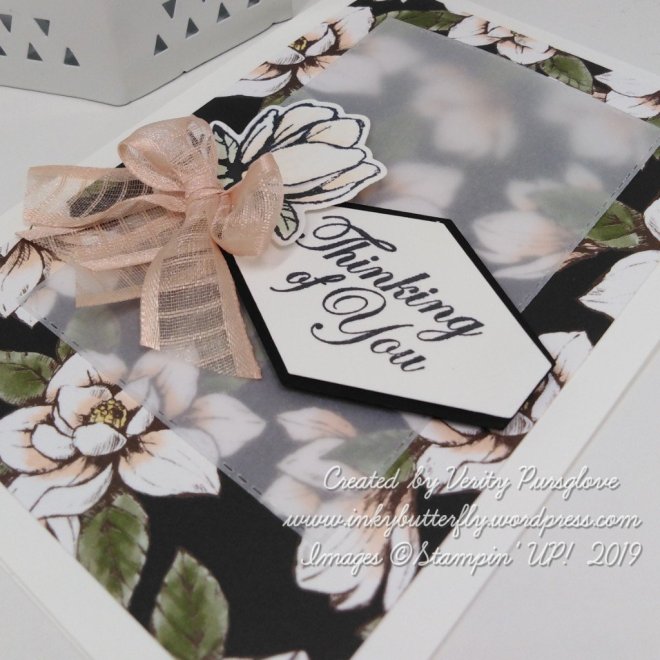
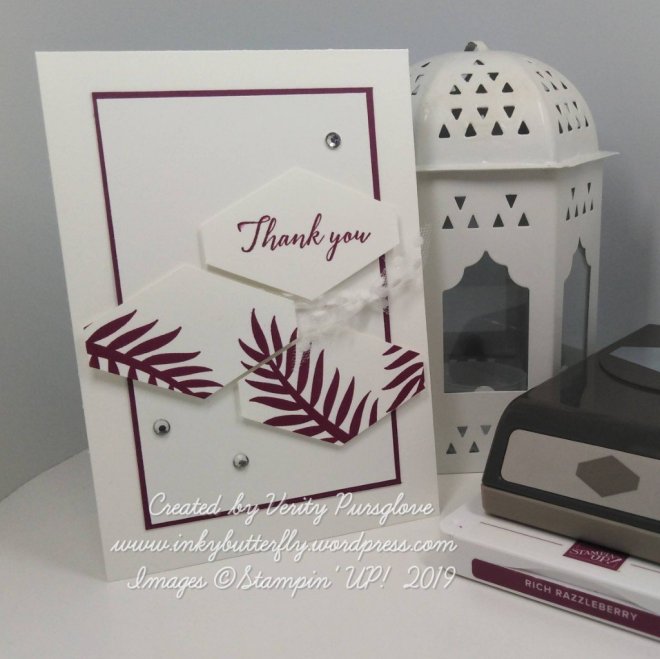
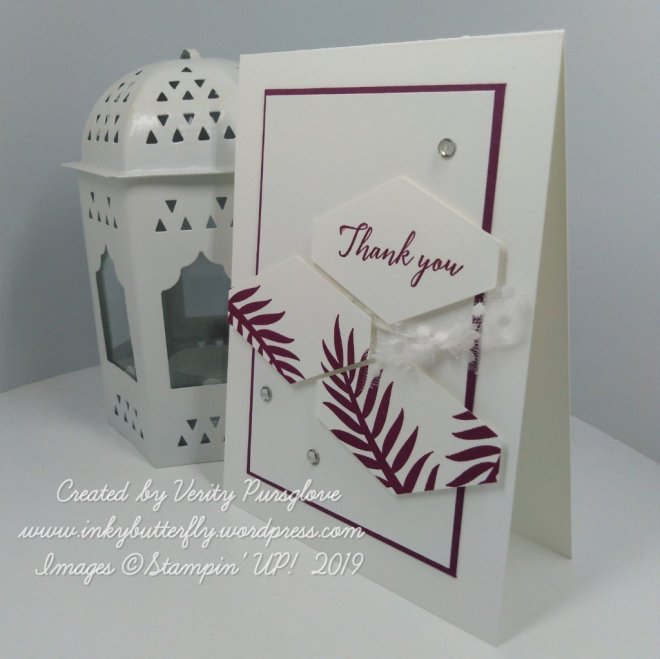
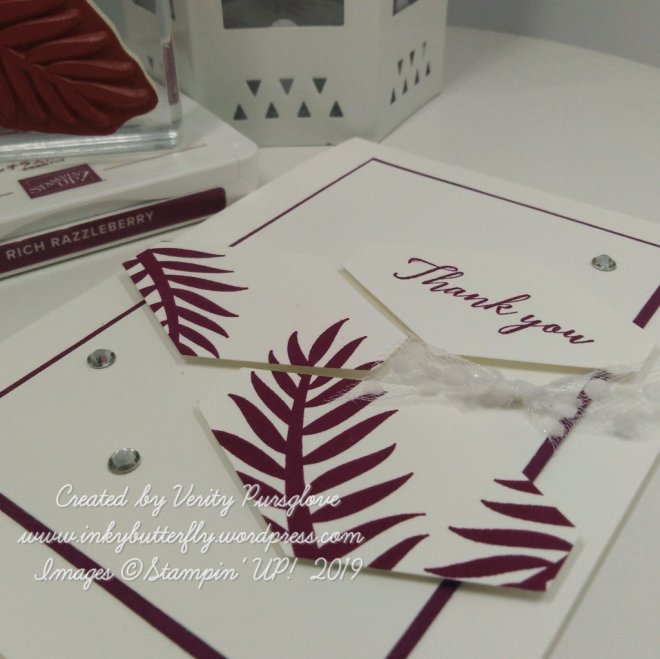
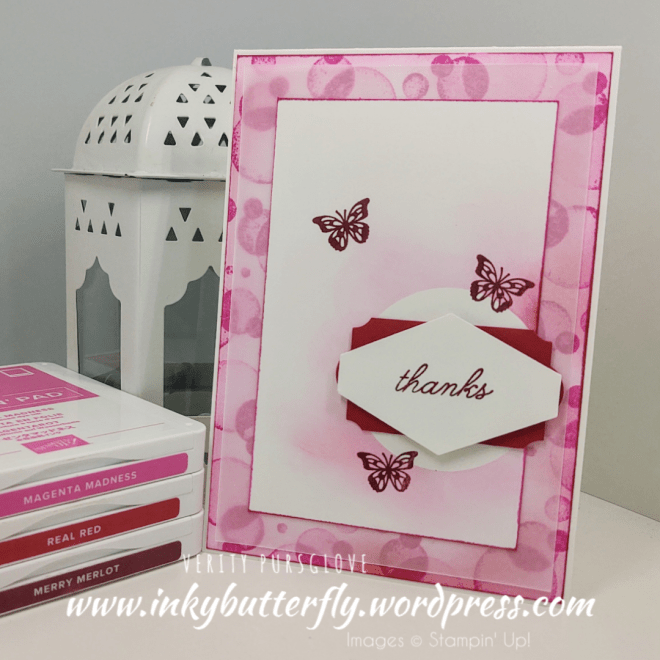
I teamed the background with the super vibrant Magenta Madness cardstock and ink. This colour also retires, but don’t worry more new colours are on their way!
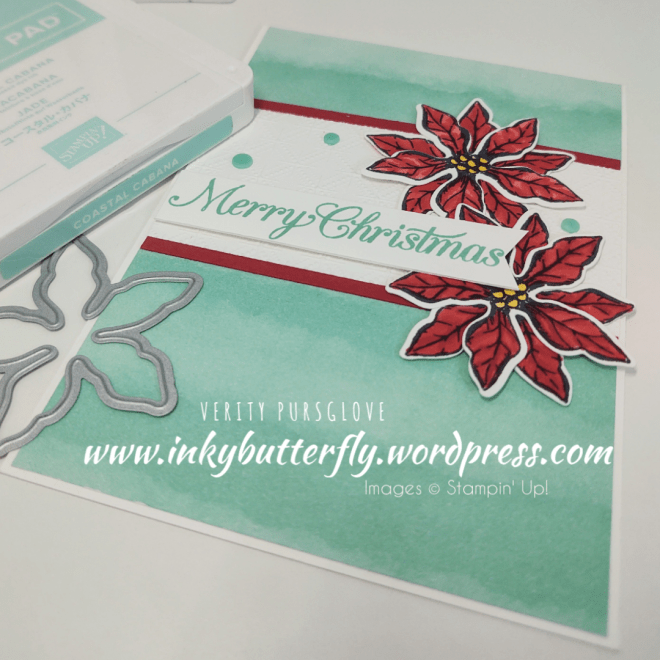
You can see how I made this card in my video tutorial….
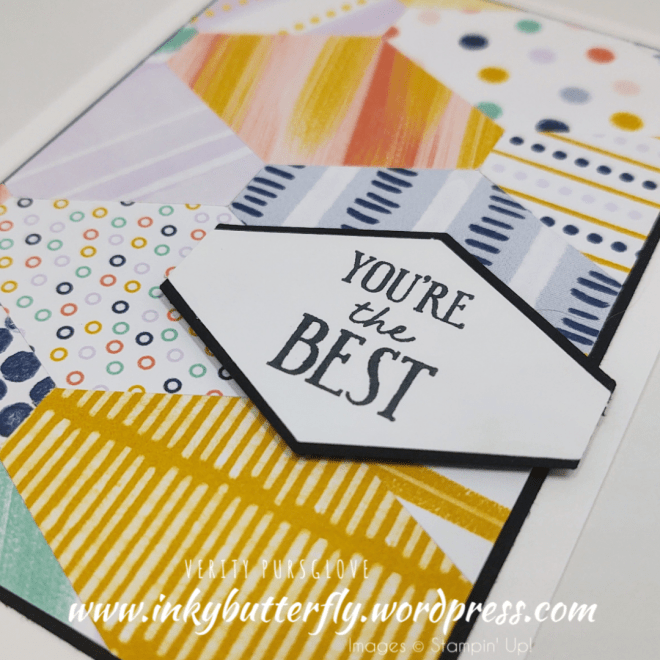
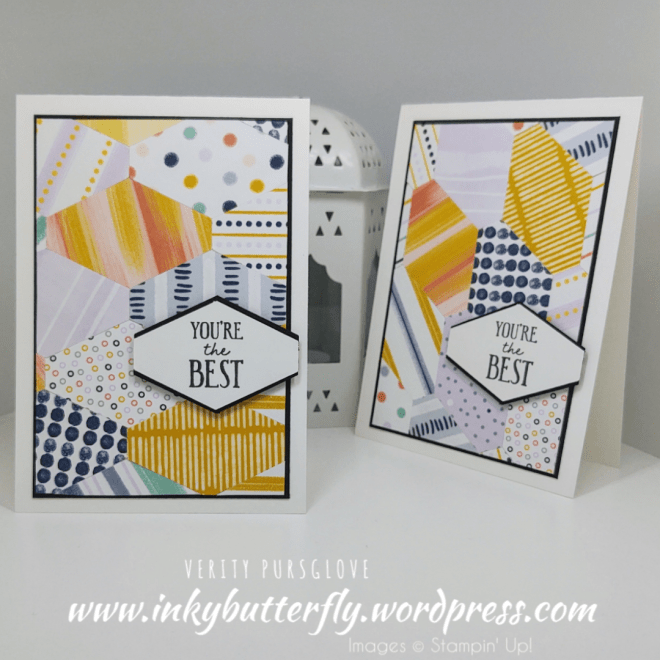
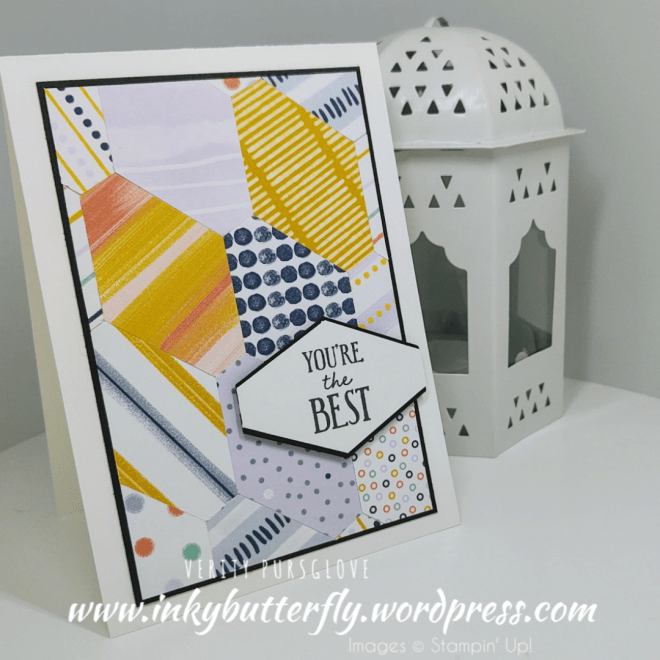
The sentiment is from Queen Anne’s Lace and cut with the Tailored Tag punch, which are also retiring products!

Click below to move on to Jill’s blog to see her wonderful project!

I hope you enjoyed this project.
The supplies used are listed and linked to the online store below.
I would love to be your demonstrator.
Thanks for stopping by today and happy Stampin’!
Verity xx
Product List

")


")


")


")


")


")


")


")