![]()
Hello Everyone,
Welcome to my blog. Today I am sharing my project for this week’s CAS Colours and Sketches challenge.
This time it’s a sketch challenge. The design team have made some wonderful samples as inspiration. You can see them here
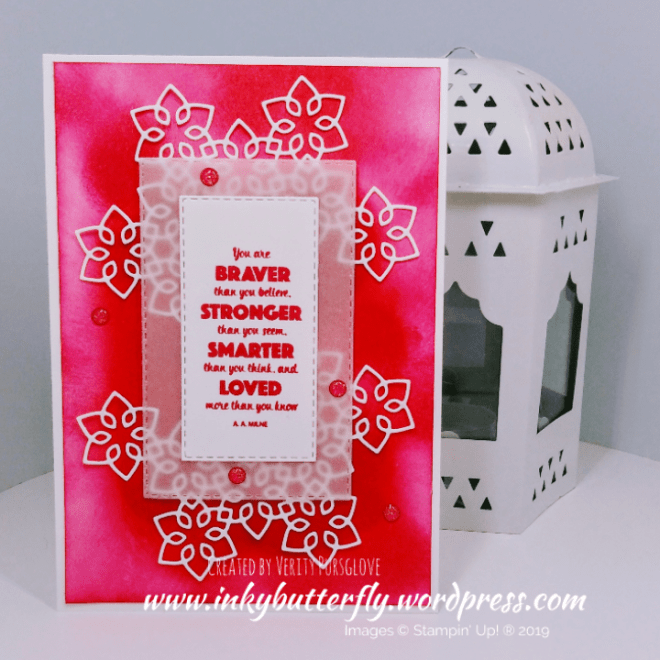
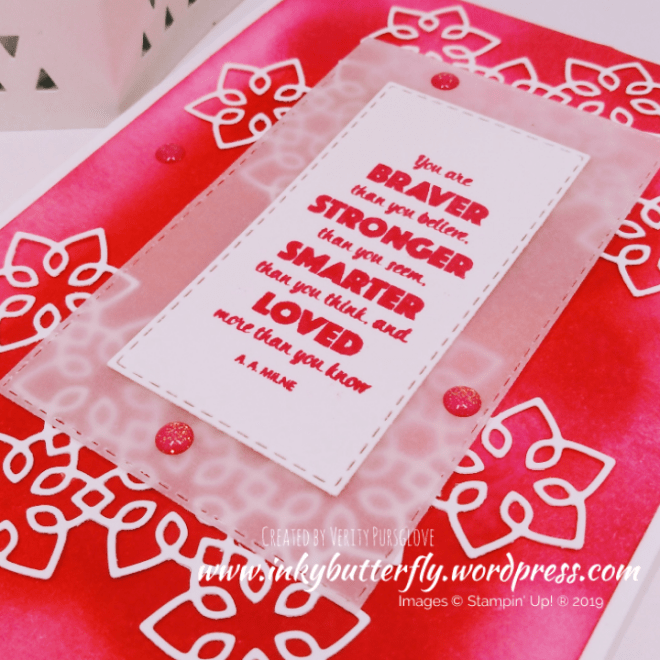
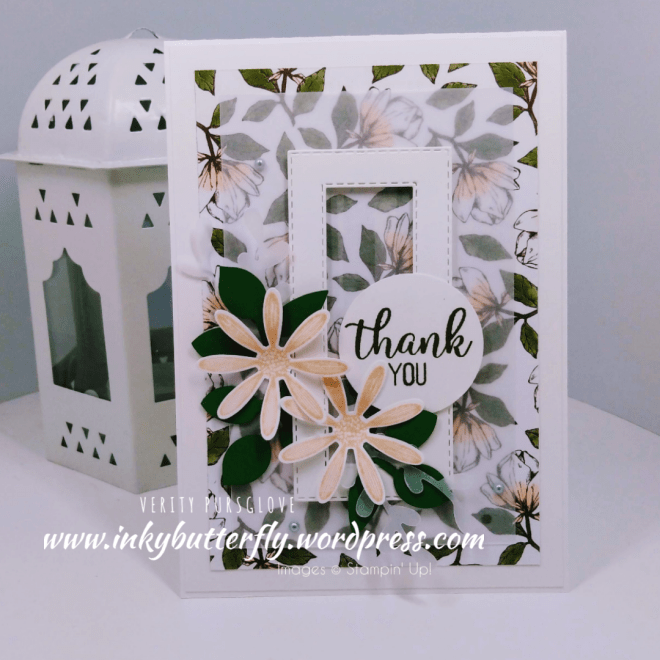
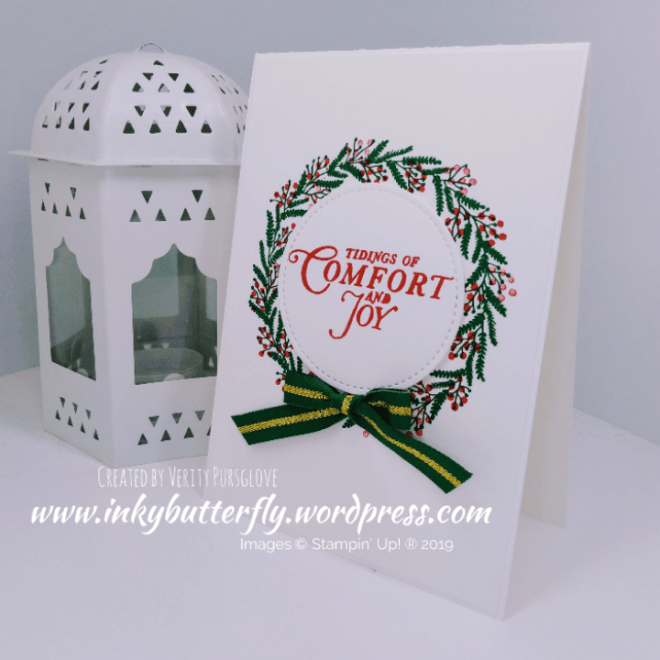
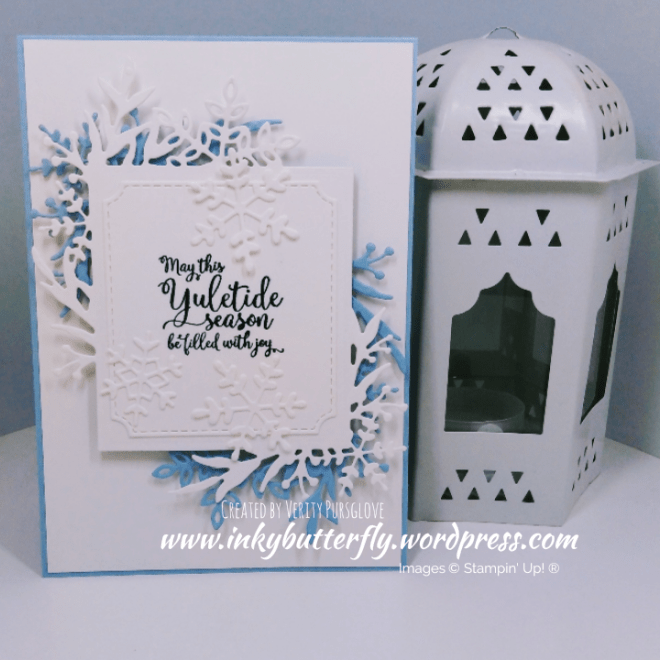
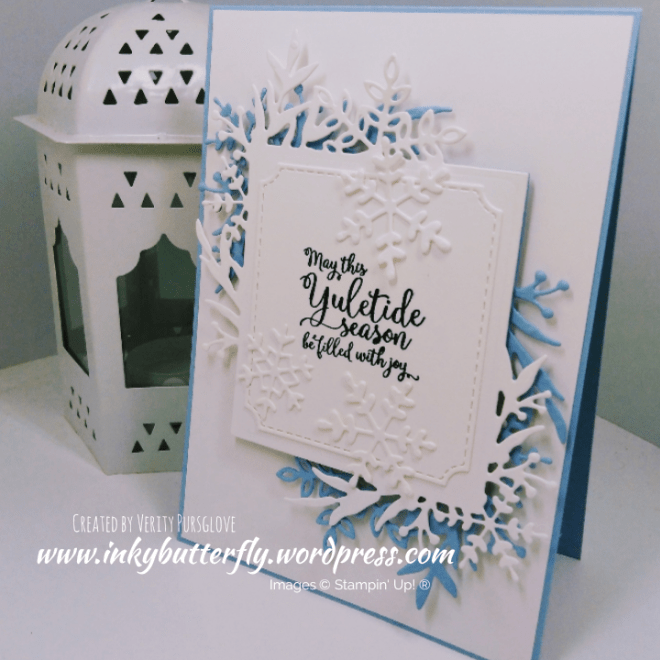
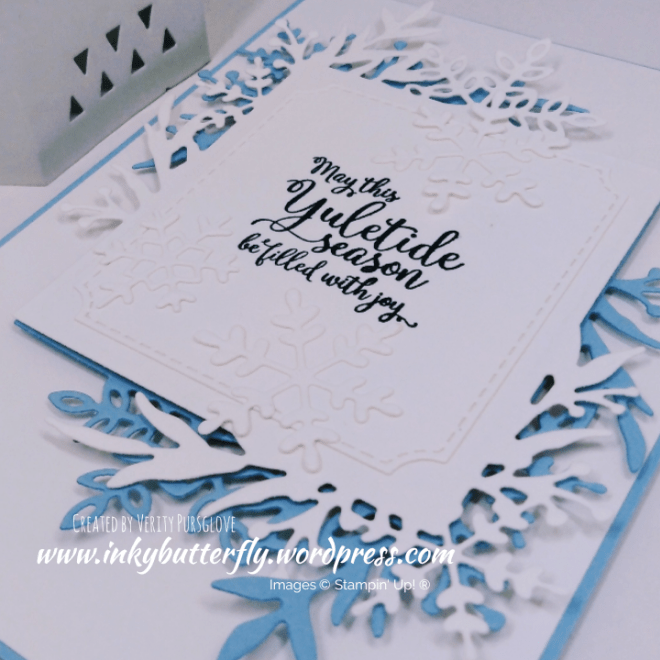
And this is what I created!
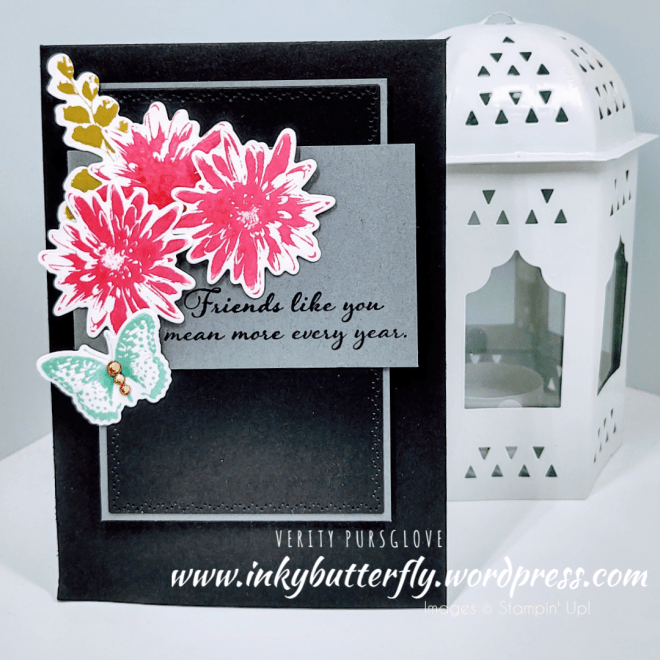
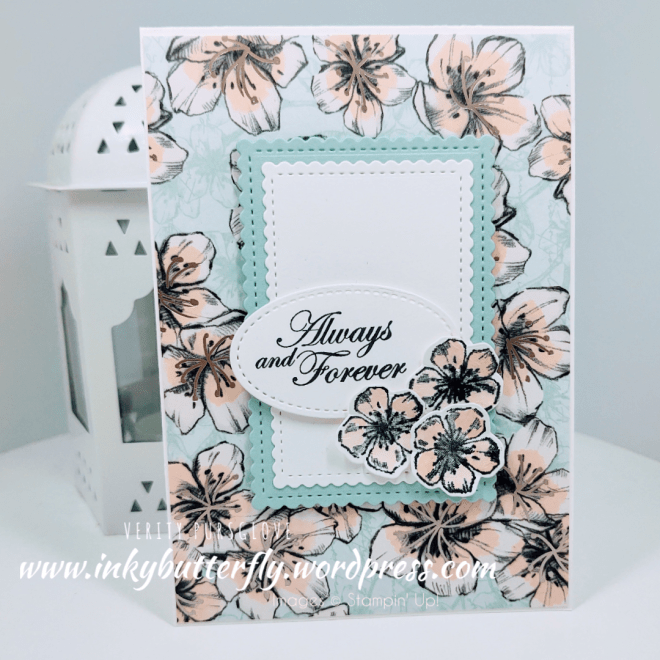
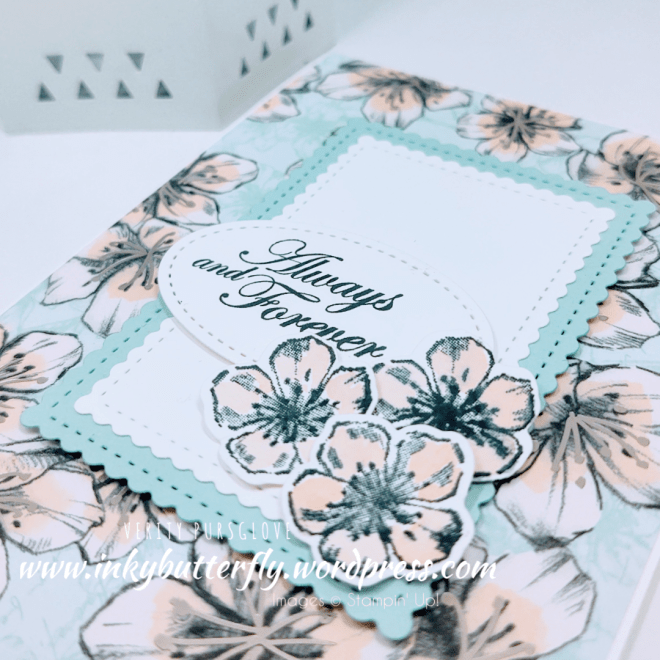
This is quite different from my usual makes, but I am very pleased with how it turned out.
The base was made with Basic Black card stock. The Nature’s Thoughts dies were used to cut more black card which was layered with Basic Grey card before adding with dimensionals.

For the topper Basic Grey card stock was cut to size. The sentiment from the Positive Thoughts stamp set was added in black ink.
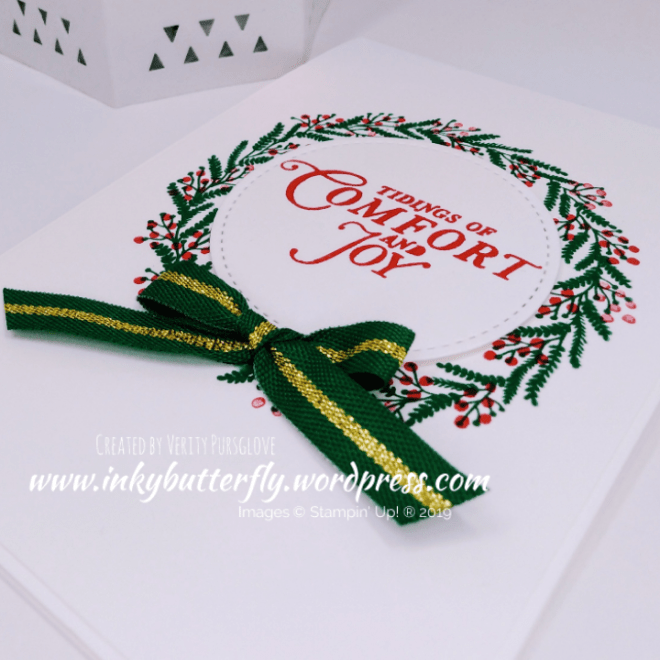
Other elements from the set were stamped on to Whisper White card stock and die cut.
The pieces were adhered to the card with glue and dimensionals.
Some champagne rhinestones were added to the butterfly for some extra sparkle.

I hope you enjoyed this project. The supplies used are listed and linked to the online store below.
I would love to be your demonstrator.
Thanks for stopping by today and happy Stampin’!
Verity xx
Product List
|
|
|
|
|
|
|
|
|
|
|


")


")


")


")
")

")


")


")


")


")


")