More Yuletide Cheer

Hello Everyone,

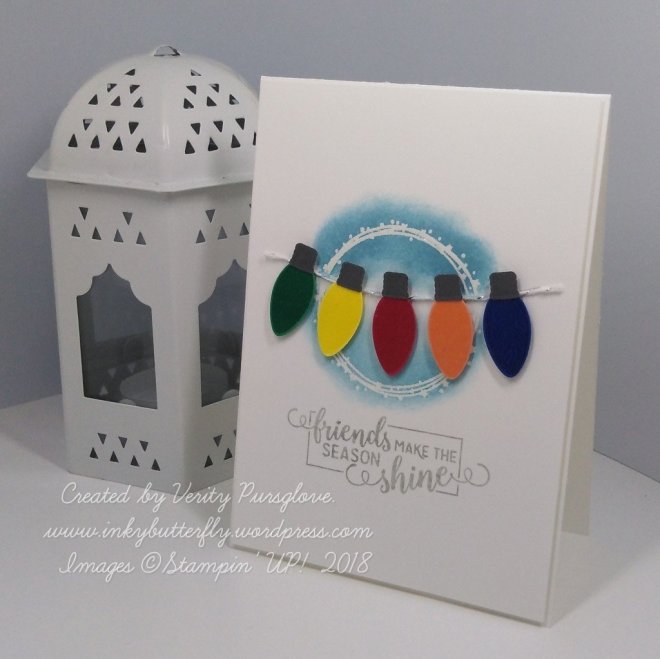
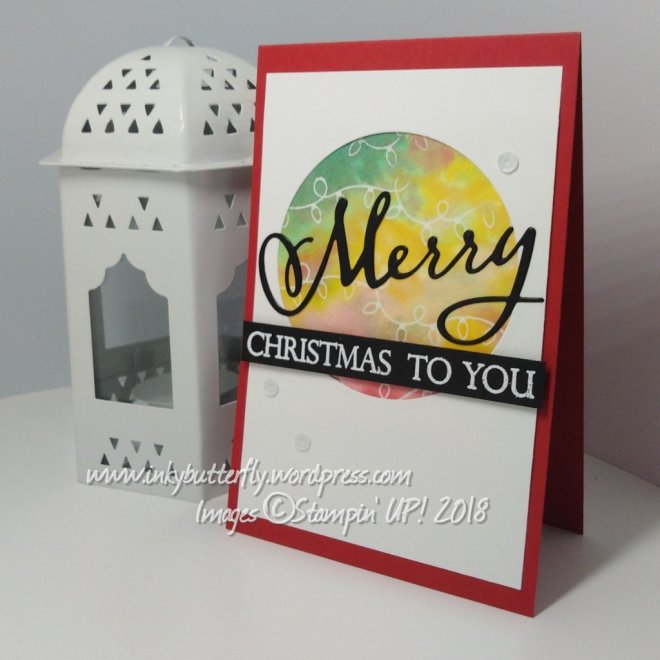
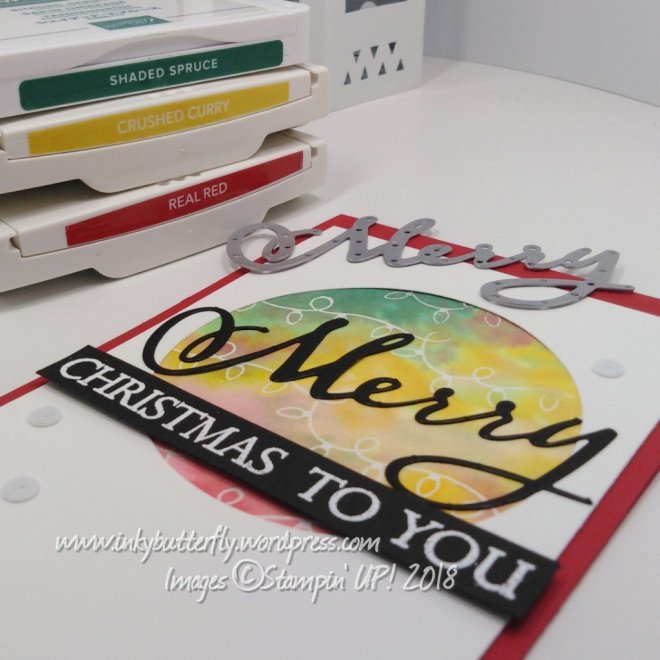
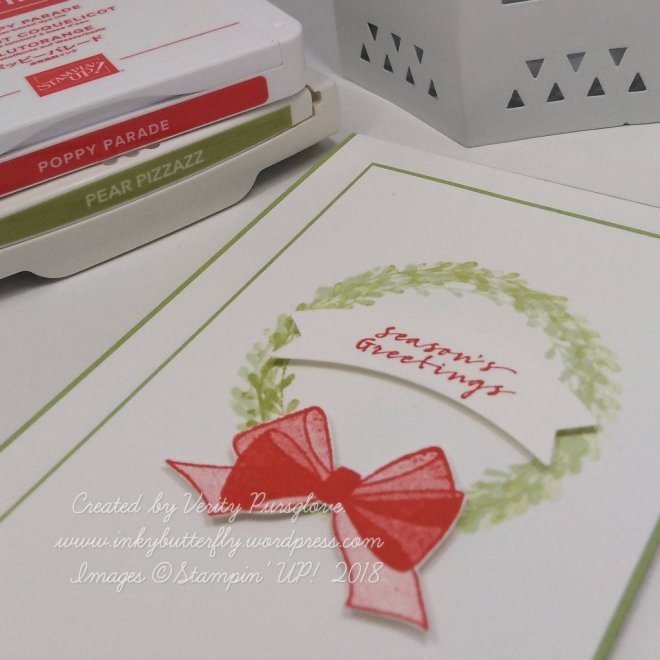
This card was made completely spontaneously using supplies I had with me whilst crafting with my team.

I wouldn’t normally use so many stamp sets on one project but look how lovely it is!

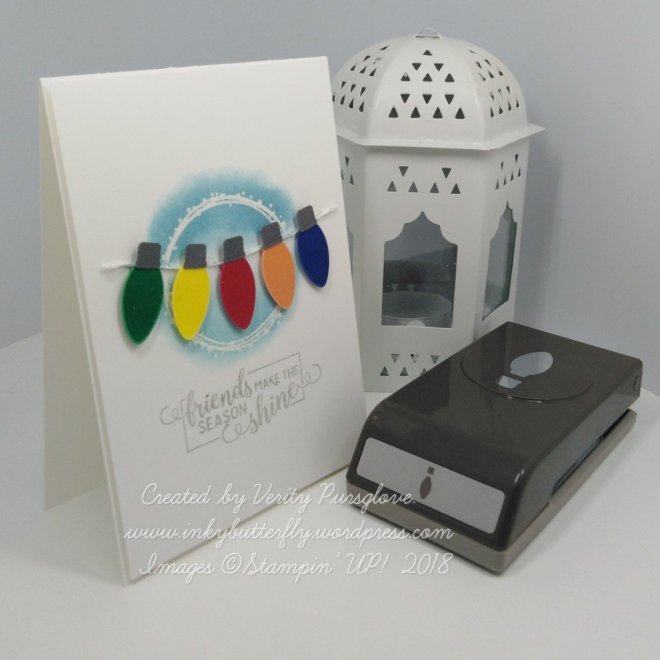
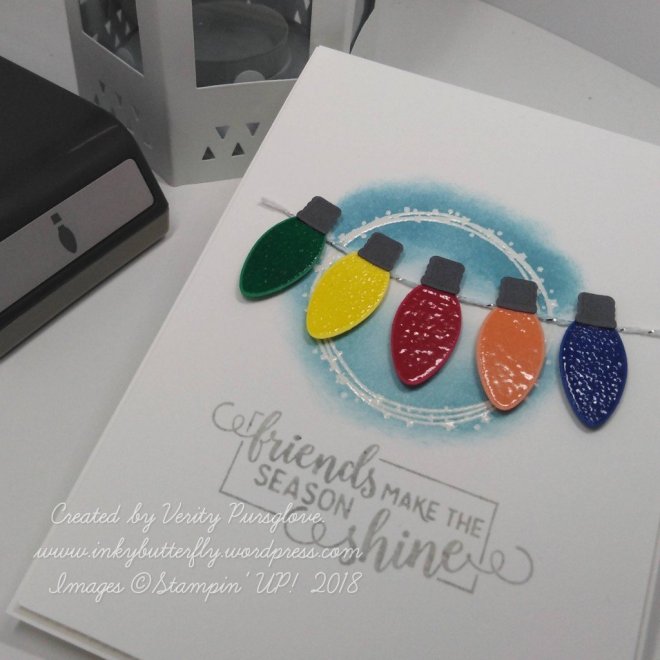
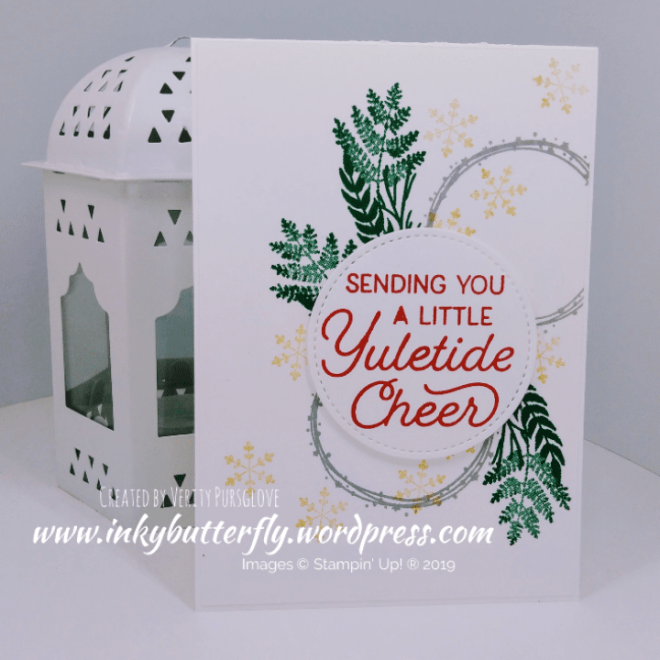
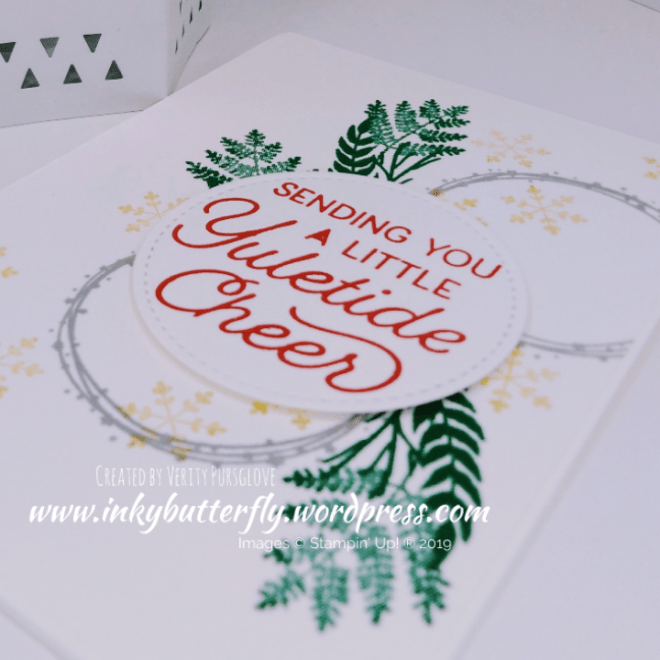
The card design is reasonably self explanatory, building the background with the images as shown in the photo. The gold snowflakes were a late addition but really help tie the layout together.

A Stitched circle die was used the cut the sentiment which adhered with dimensionals.

I hope you enjoyed this project. The supplies used are listed and linked to the online store below.

I would love to be your demonstrator.

Thanks for stopping by today and happy Stampin’!

Verity xx

Product List

Shine

Hi Everyone,

For today’s project I thought I would use the Making Christmas Bright stamp & punch bundle.

On a Whisper White card layer I stamped the circular motif with versamark and heat embossed with white powder. Balmy Blue ink was sponged over the top.

The sentiment was added with Smoky Slate ink. The layer was mounted on to a white card base with dimensionals.

The bulbs were stamped on to each of the 2018 in colour card stocks with versamark, embossed with clear powder and punch out. The fixings were punched from Basic Gray card stock.

Silver baker’s twine was adhered to the card base with Multipurpose glue. The light bulbs were added with dimensionals.

I hope you enjoyed this project. The supplies used are listed and linked to the online store below.

I would love to be your demonstrator.

Thanks for stopping by today and happy Stampin’!

Verity xx

Product List

Merry Christmas To You

Good Morning Everybody,

Today’s card is a C. A. S. E of a card from The Creative Watermelon. You can see her original design here.

I really liked the watercoloured circle of Kaylee’s card. For my version, I used the Emboss resist technique.

The light bulbs from the Making Christmas Bright stamp set was stamped with clear versamark ink and heat embossed with clear powder.

Ink was pressed on to an acrylic block and added over the top of the embossing.

A white card layer Die cut with a layering circle die. The watercoloured piece was adhered behind the aperture and added to a Real Red card base.

Black card stock was die cut with an adhesive sheet on the back. The word could then be adhered straight on to the card.

The rest of the sentiment was heat embossed in white and then adhered with dimensionals.

I hope you enjoyed this project. The supplies used are listed and linked to the online store below.

I would love to be your demonstrator.

Thanks for stopping by today and happy Stampin’!

Verity xx

Product List

Seasonal Wreath

Hi Folks,

Here is a super simple card for today.

The Wishing You Well stamp set is so easy to use.

I prepared a card base from Pear Pizzazz card stock and added a Whisper White card layer.

On a separate piece of card, I stamped the wreath with Soft Sea Foam and Pear Pizzazz inks.

This was Layered onto more Pear Pizzazz card stock.

The bow and sentiment were stamped with Poppy Parade Ink. The bow was fussy cut while the sentiment was cut with the Duet Banner punch.

I hope you enjoyed this project. The supplies used are listed and linked to the online store below.

I would love to be your demonstrator.

Thanks for stopping by today and happy Stampin’!

Verity xx

Product List