Hello Everyone,
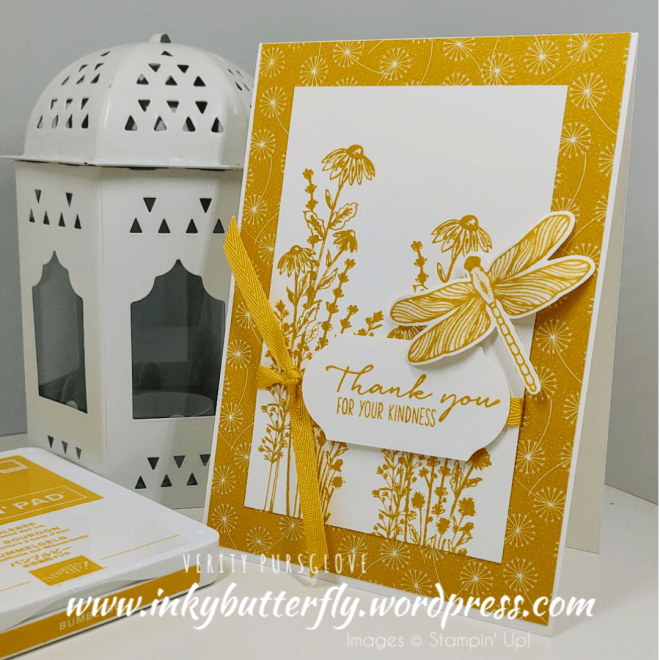
Here’s a first look at the Dragonfly Garden bundle and Dandy Garden Designer Series Paper!
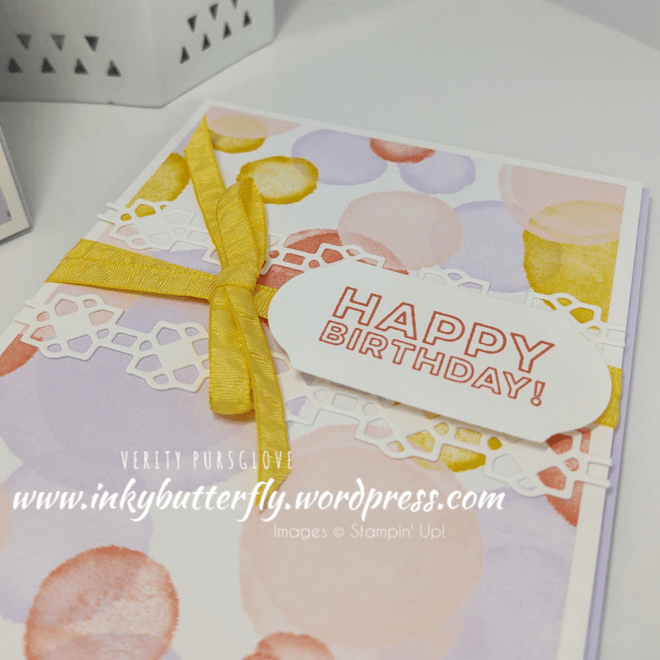
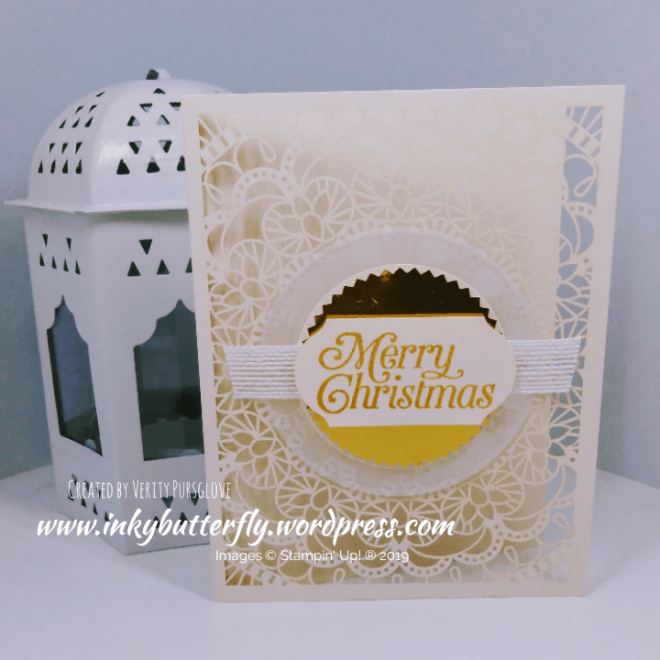
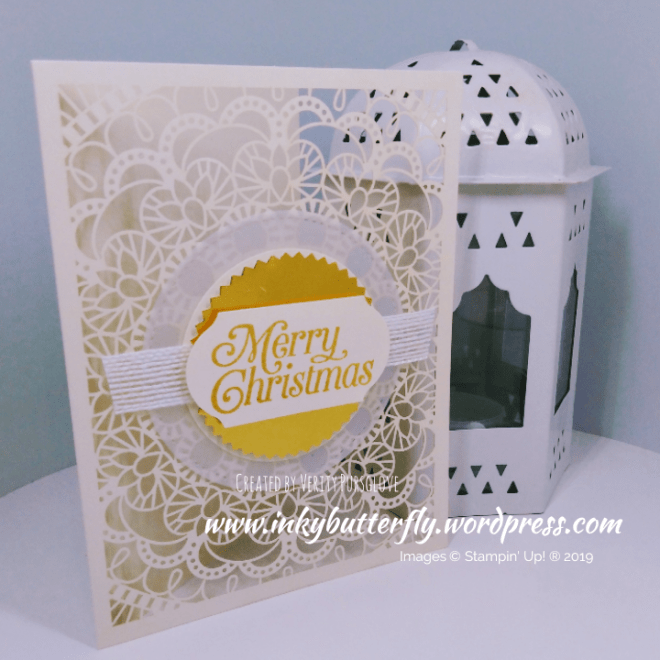
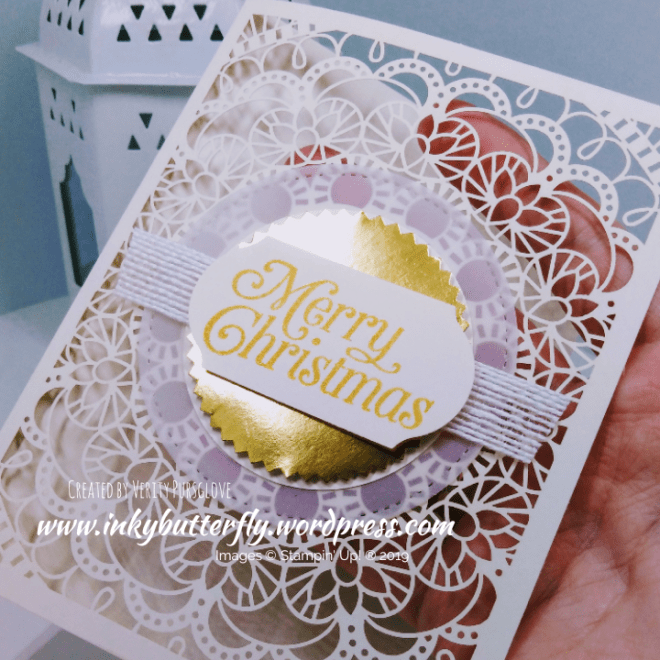
I really love the colours in this paper… I picked out this cute Dandelion design in Bumblebee for the demonstration
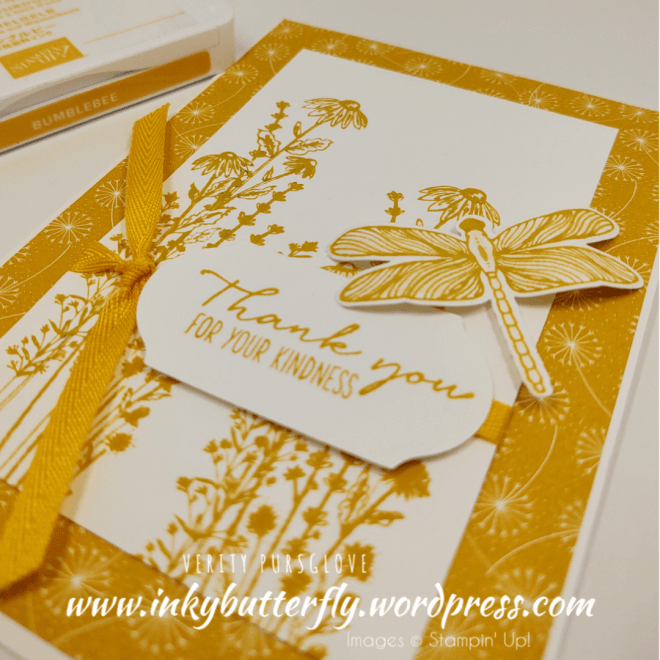
See how I made this card in my video tutorial….
The original sample used Misty Moonlight. I really like the inclusion of the In Colours in this paper pack!

Have you shopped the sale yet?

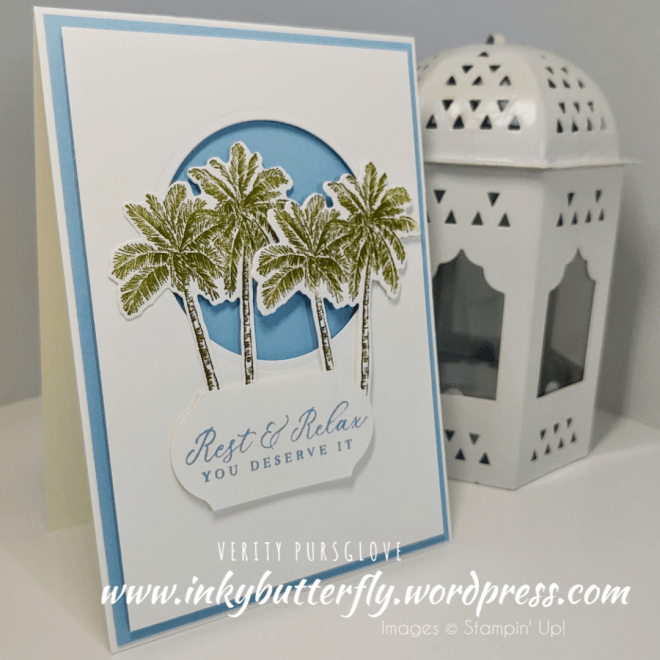
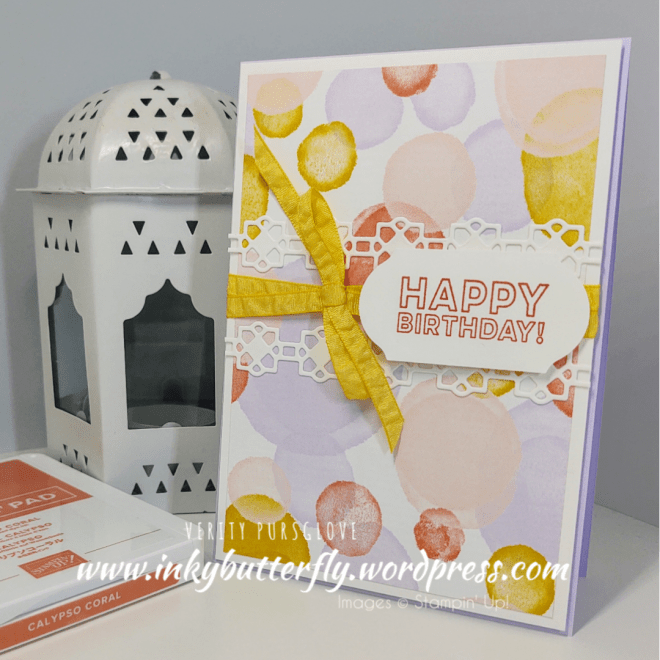
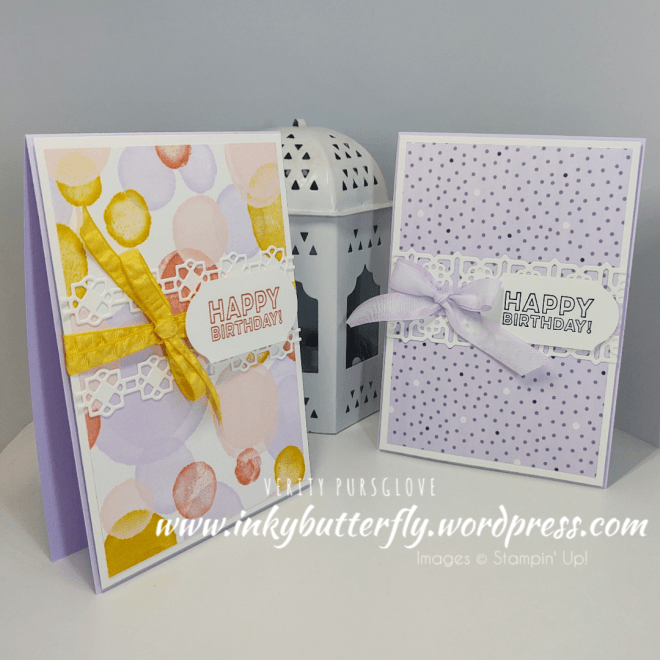
I hope you enjoyed this project.
The supplies used are listed and linked to the online store below.
If your order is less than £150, use the Hostess Code W7ZJNXEV when placing your order to get an extra gift from me!
I would love to be your demonstrator.
Thanks for stopping by today and happy Stampin’!
Verity xx
Product List


")


")
")


")


")


")


")


")