Project Share Project

Hello Everyone,

Welcome to this week’s Project Share. As always my friends have created some lovely work. Please use the links to visit their blogs and read more about their projects.

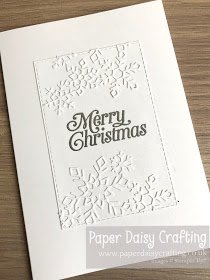
Jill has made this stunning white on white layered card. I think this gives a great faux embossed look.

Visit Jill’s blog here for more details.

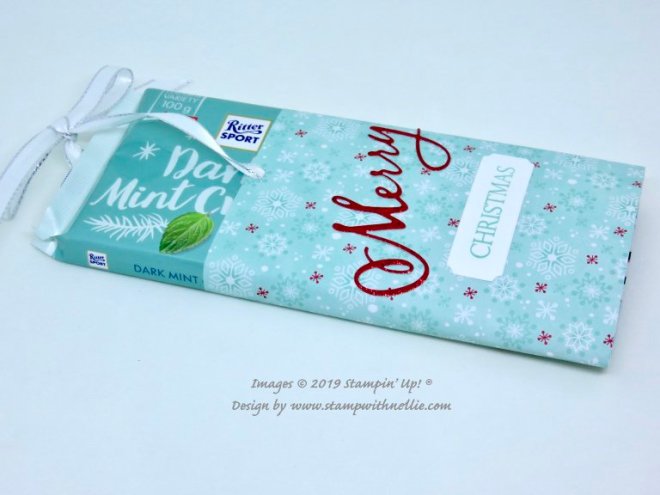
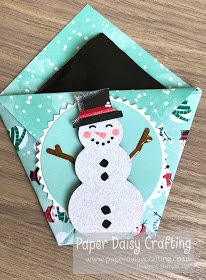
Heather has made this cute chocolate slider, a really fun way to give a sweet treat as a gift.

Visit Heather’s blog here to see how to make one yourself.

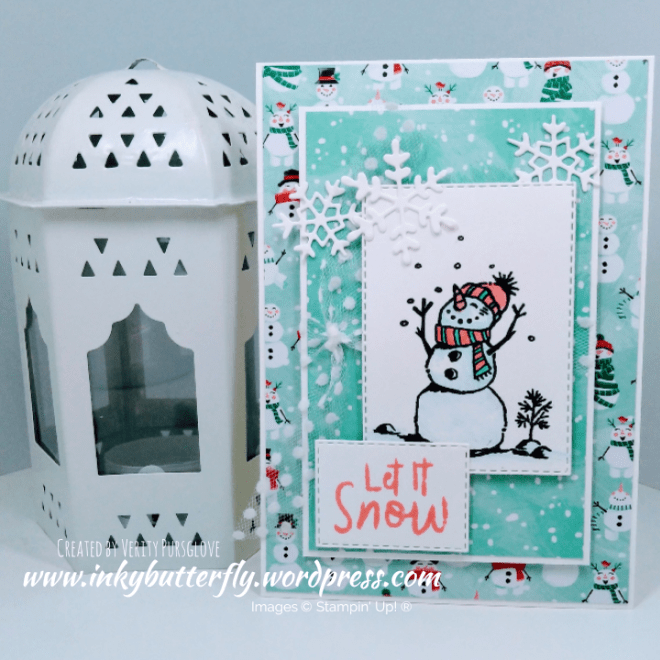
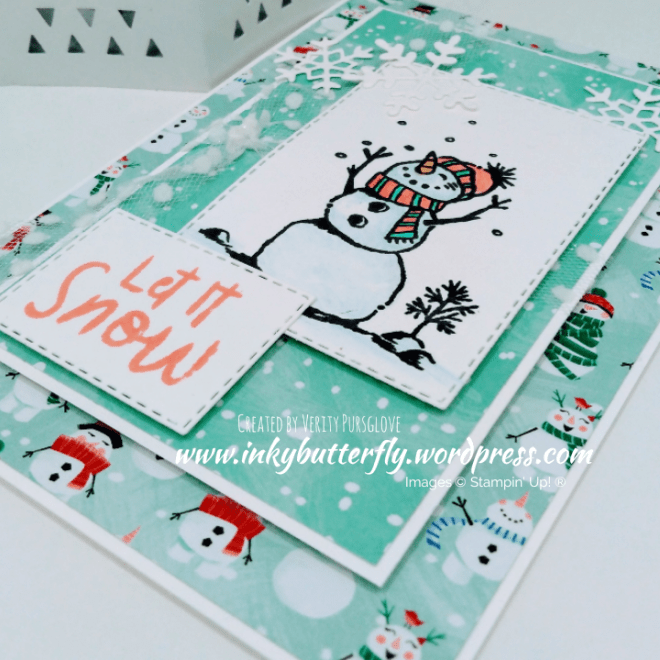
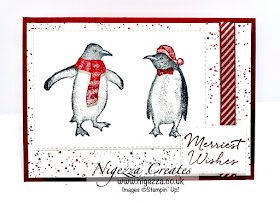
Gez’s playful penguins are looking cosy in their hats and scarves in this layered card.

Visit Gez’s blog here to see more about this project.

I hope you enjoyed these projects. The supplies used are listed and linked to the online store below.

I would love to be your demonstrator.

Thanks for stopping by today and happy Stampin’!

Verity xx

Product List

Project Share Project

Hello Everyone,

Welcome to this week’s Project Share. As always my friends have created some lovely work. Please use the links to visit their blogs and read more about their projects.

Jill

Visit Jill’s blog here

Heather

Visit Heather’s blog here

Gez

Visit Gez’s blog here

I hope you enjoyed these projects. The supplies used are listed and linked to the online store below.

I would love to be your demonstrator.

Thanks for stopping by today and happy Stampin’!

Verity xx

Product List

Project Share Project

Hello Everyone,

Welcome to this week’s Project Share. As always my friends have created some lovely work. Please use the links to visit their blogs and read more about their projects.

This week features gifts & treats! I am so jealous of these ladies being able to make these 3D projects! I always get in a muddle with these.

Jill has revisited a treat pouch perfect for an after dinner mint. Why not make these part of your Christmas place settings this year?

Visit Jill’s blog here for the full instructions.

Heather has been thinking about other medium which can be stamped. Stazon Ink allows for greater scope when choosing materials. These would be a wonderful First Christmas gift.

Visit Heather’s blog here to see more about this project.

Gez has stepped away from the Christmas theme for her sweet treat box. Switch up the colours and sentiment for different occasions, even wedding favours!

Visit Gez’s blog here to see how to put this box together.

I hope you enjoyed these projects. The supplies used are listed and linked to the online store below.

I would love to be your demonstrator.

Thanks for stopping by today and happy Stampin’!

Verity xx

Product List

Simply Scored

[122334]

£28.00

Paper Trimmer

[152392]

£23.00

Layered Let It Snow

Hello Everyone,

More Christmas crafting today with the Snowman Season stamp set and the adorable Let it Snow Speciality Designer Series Paper.

The Designer Series Paper was adhered to a white card base.

The flip side then used to make a smaller topper panel. Tulle ribbon was tied around the panel before adding to the prepared card base.

The snowman was stamped in Memento black ink and coloured using a combination of watercolour pencils and Stampin’ Blends Markers. The image was cut with a Stitched Rectangle die.

Flirty Flamingo ink was used for the sentiment which was also die cut.

Layers were assembled using dimensionals. Some snowflakes which were left over from yesterday’s project finished the card.

I hope you enjoyed this project. The supplies used are listed and linked to the online store below.

I would love to be your demonstrator.

Thanks for stopping by today and happy Stampin’!

Verity xx

Product List

Snowy Merry Christmas

Hello Everyone,

Look at this cute snowman! He’s so happy it’s Christmas!

A white card base was prepared by layering some Speciality Designer Series Paper on to the front.

Vellum was trimmed to 3 by 4-3/4 and secured to the centre of the card.

The snowman was stamped with Memento Ink and coloured with watercolour pencils. The coordinating punch was used to cut the image. His hat and arms were coloured with Stampin’ Blends.

I mounted the snowman onto some Designer Series Paper and White card stock before adhering to the card.

The sentiment was stamped with Flirty Flamingo ink and added with dimensionals.

I hope you enjoyed this project. The supplies used are listed and linked to the online store below.

I would love to be your demonstrator.

Thanks for stopping by today and happy Stampin’!

Verity xx

Product List