![]()
Hello Everyone,
Welcome to my blog. Today I am sharing my project for the CAS Colours and Sketches challenge.
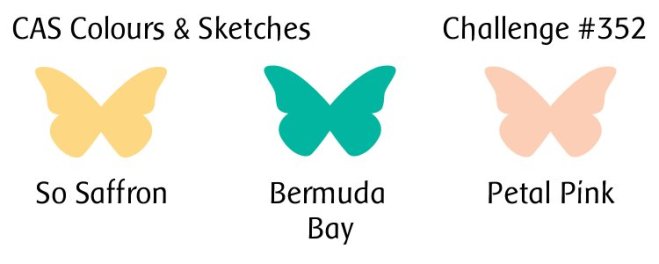
This time it’s a colour challenge. The design team have made some wonderful samples as inspiration. You can see them here.
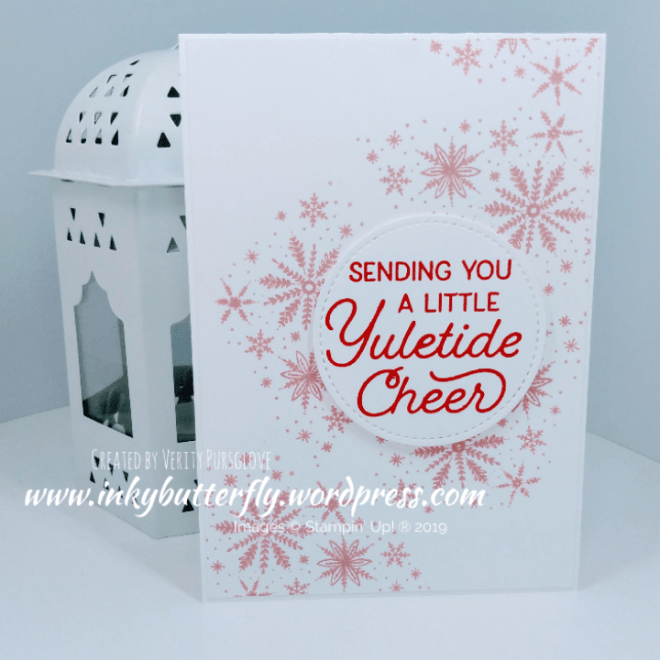
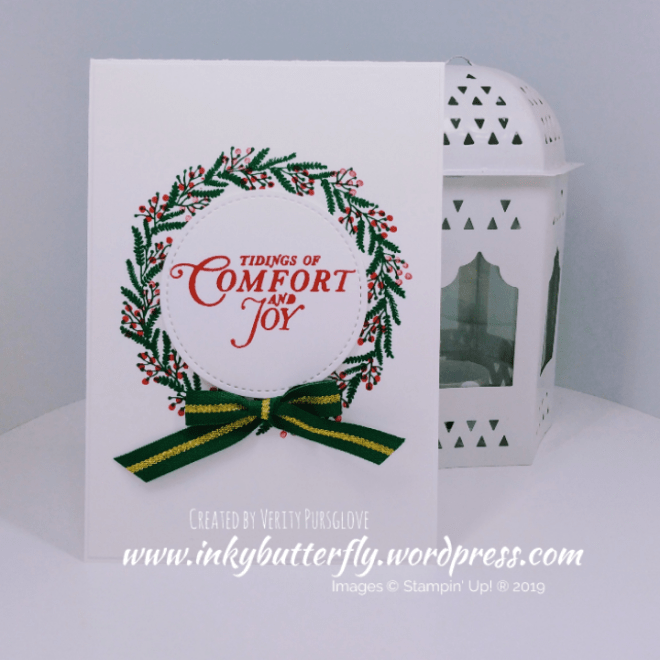
And this is what I created!

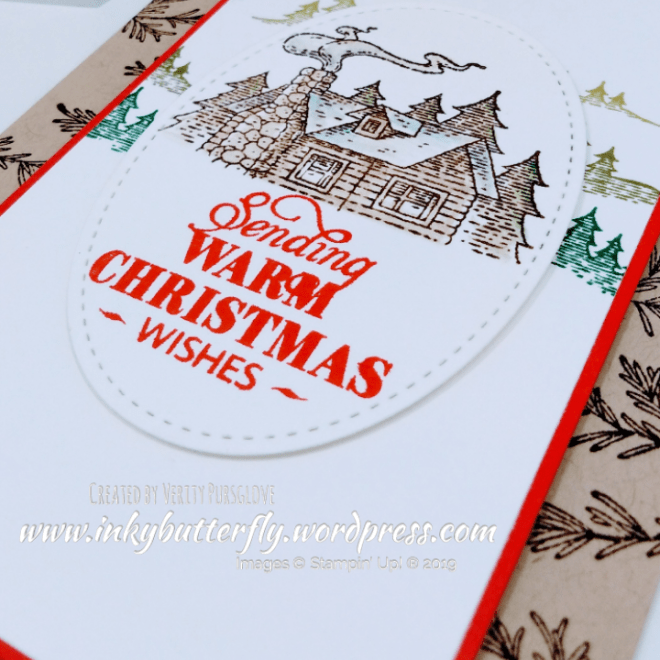
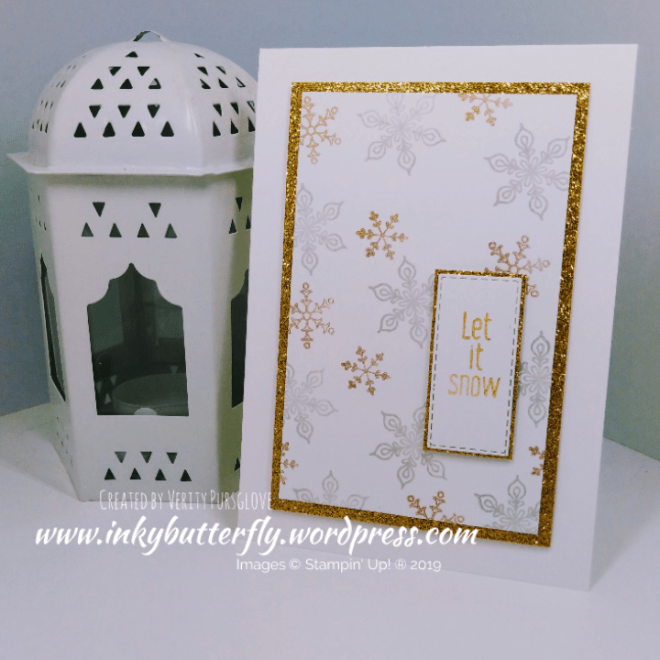
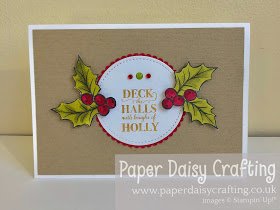
The card features the Thoughtful Blooms stamp set and coordinating Small Bloom Punch available during Sale-a-bration.
To make the card I used Bermuda Bay and Petal Pink inks to create the background. This was layered on to So Saffron card stock and then to a Bermuda Bay card base with dimensionals.

Blooms were stamped with So Saffron ink and punched out. Each was shaped with a ball stylus and adhered to the card. A clear Epoxy dot was added to the centres.
The sentiment was die cut with the smallest shape from the Stitched So Sweetly set.
A Petal Pink bow completed the card.

I hope you enjoyed this project. The supplies used are listed and linked to the online store below.
I would love to be your demonstrator.
Thanks for stopping by today and happy Stampin’!
Verity xx
Product List
|
|
|
|
|
|
|
|
|
|
|
")


")
")

")


")


")


")


")


")


")


")
")