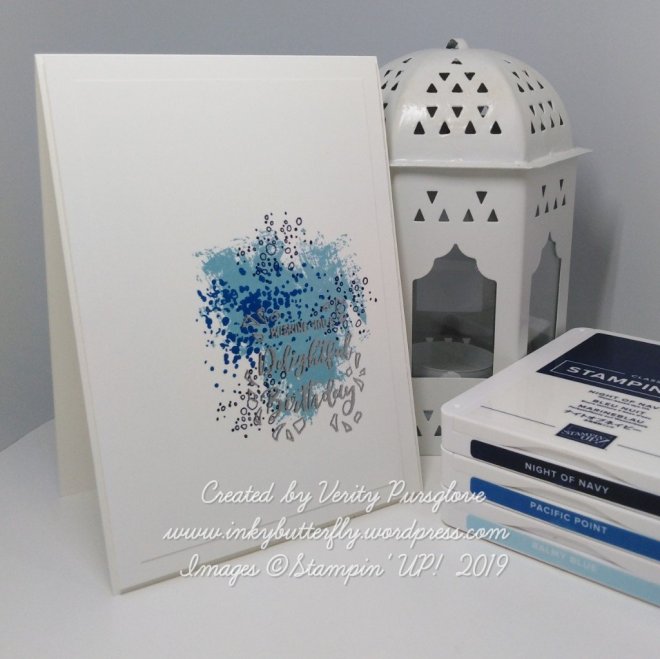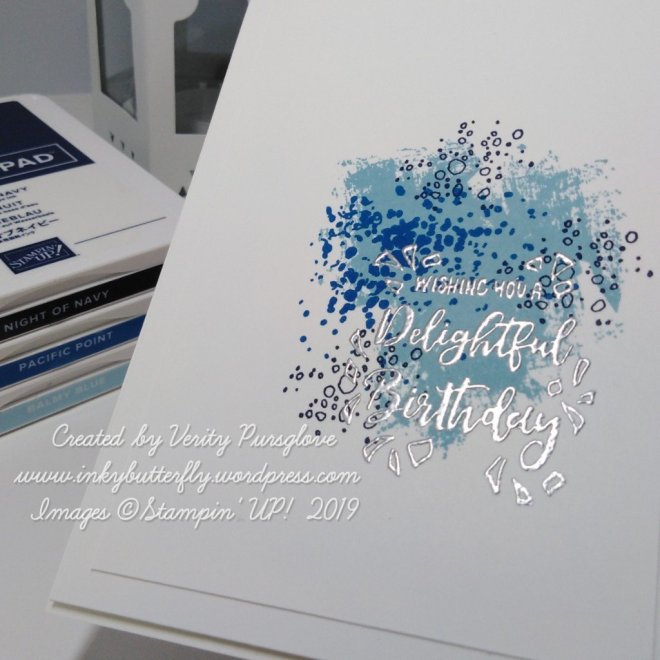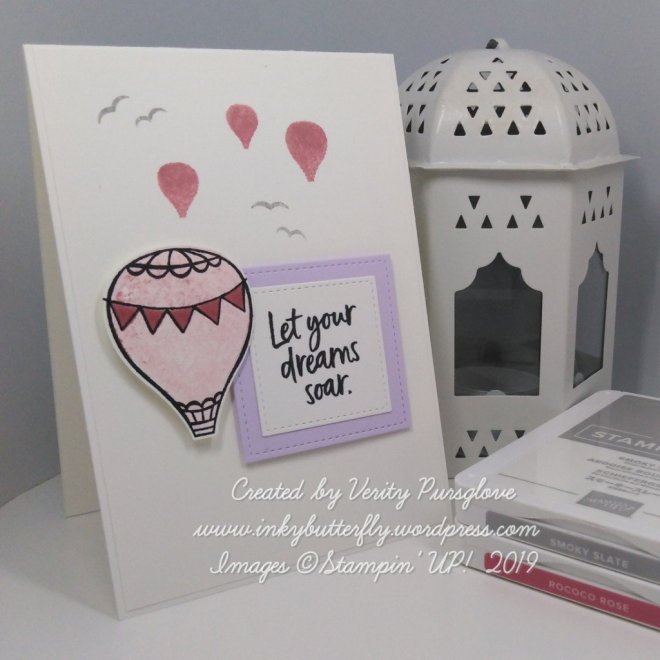
Hello Everyone,
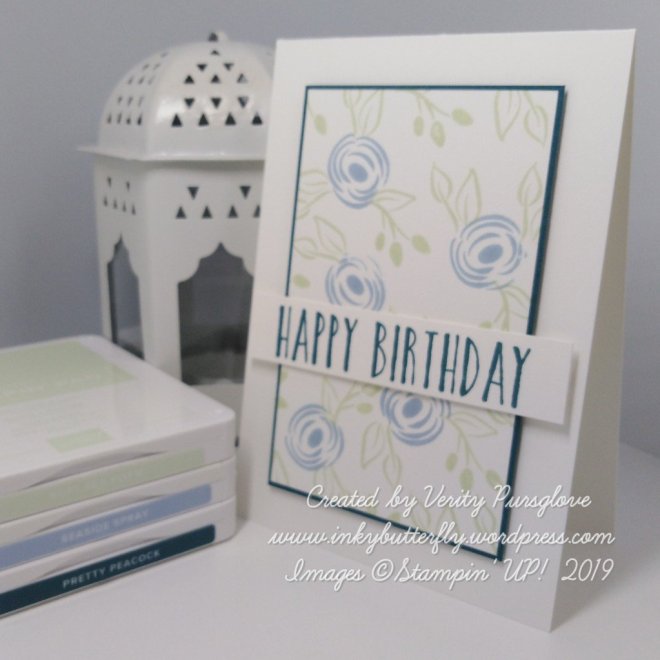
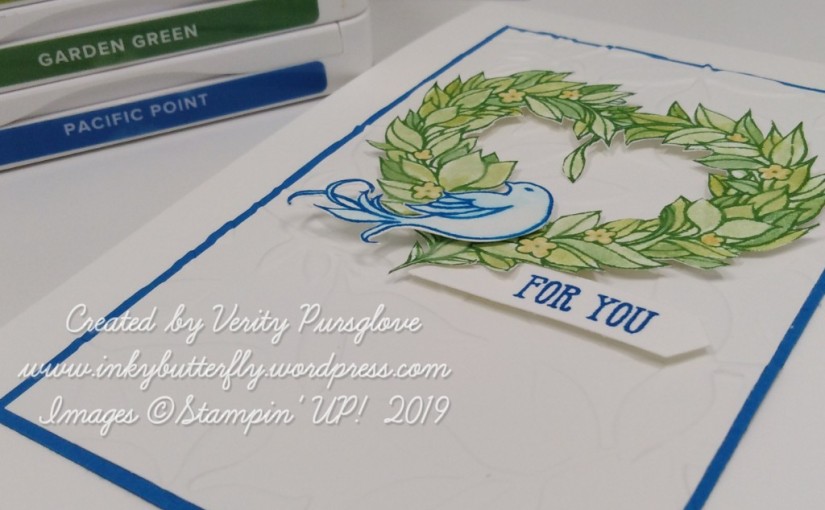
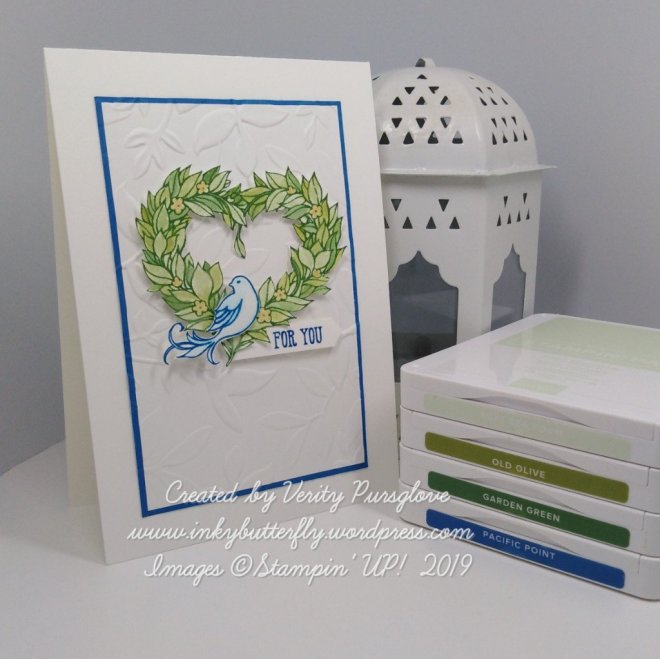
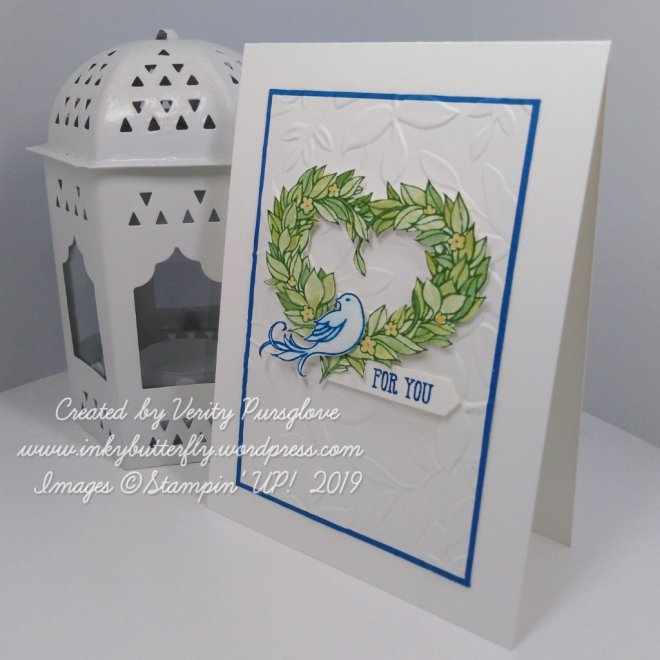
How do you like this colour combination? This was quite accidental but think it looks great.
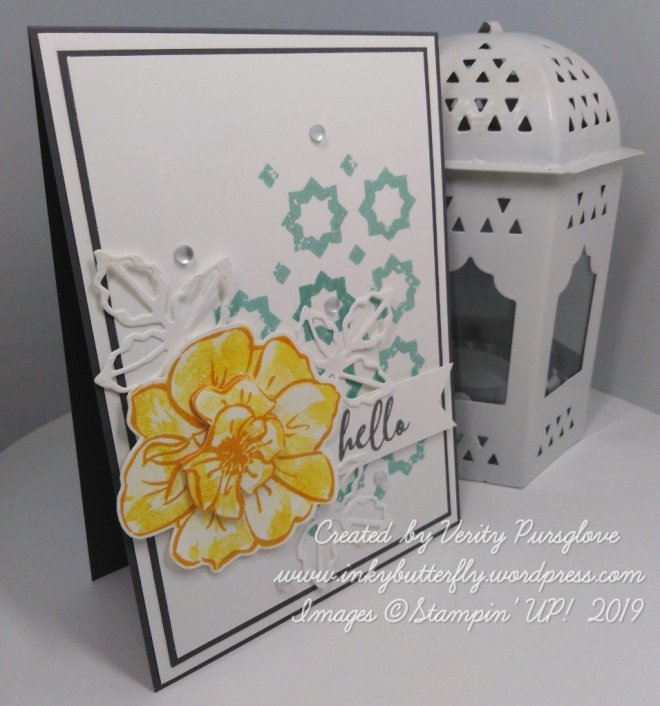
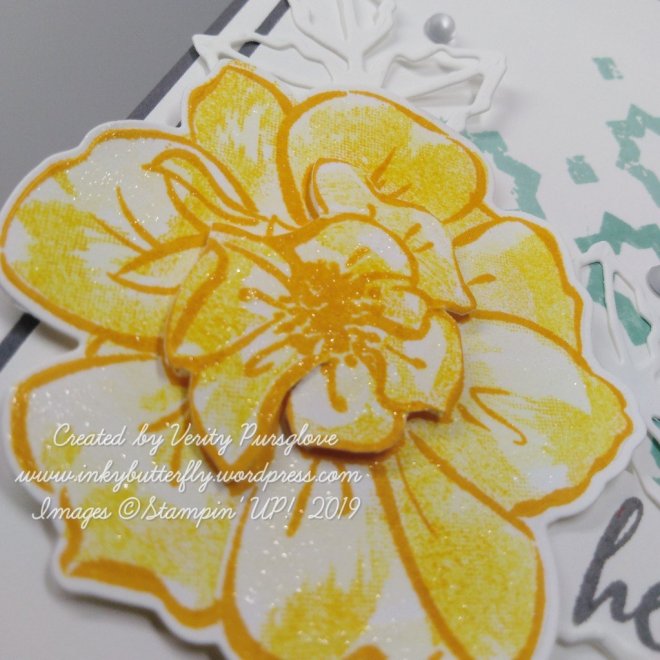
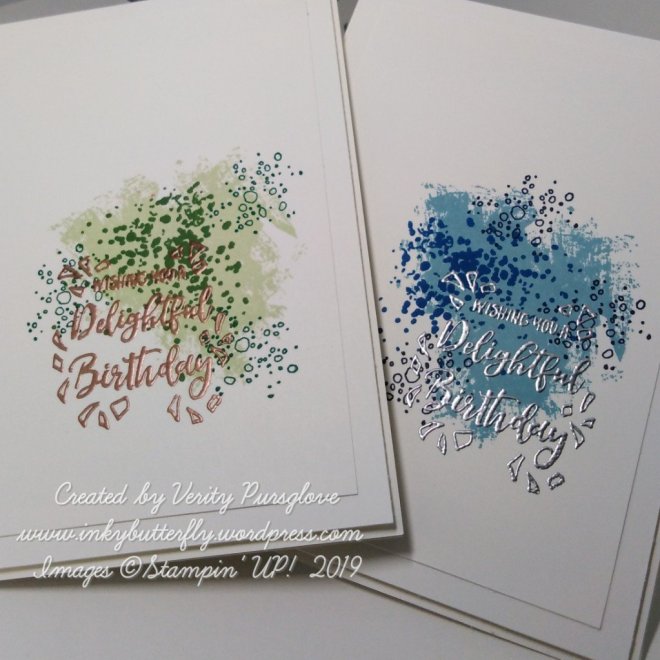
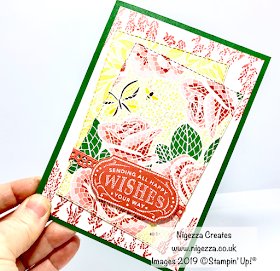
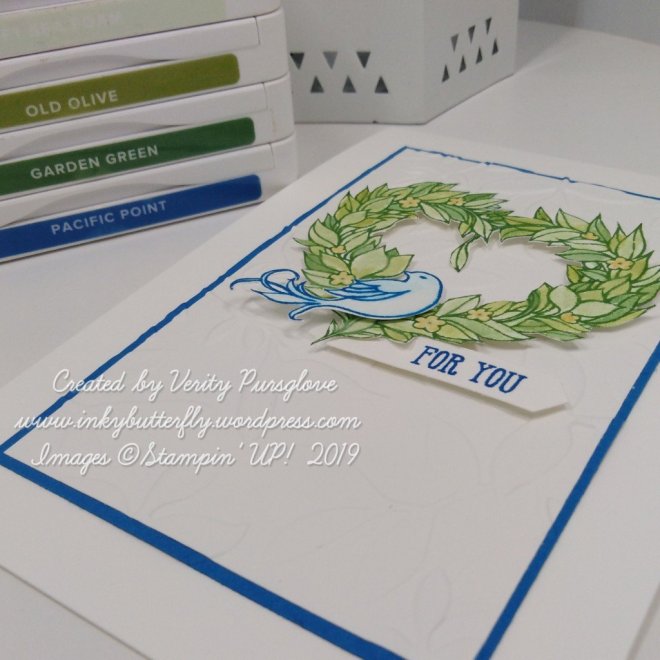
The process started with the wreath which was stamped with Garden Green ink. The leaves were watercoloured using Sof Sea Foam and Old Olive ink.
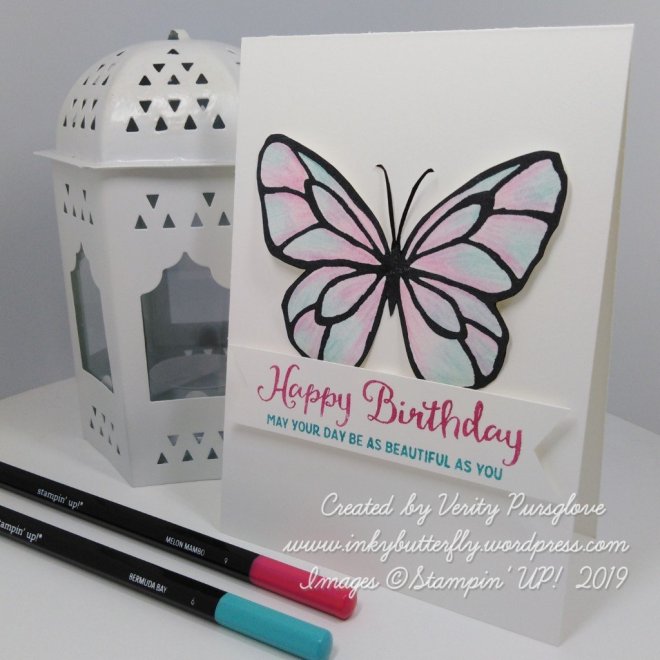
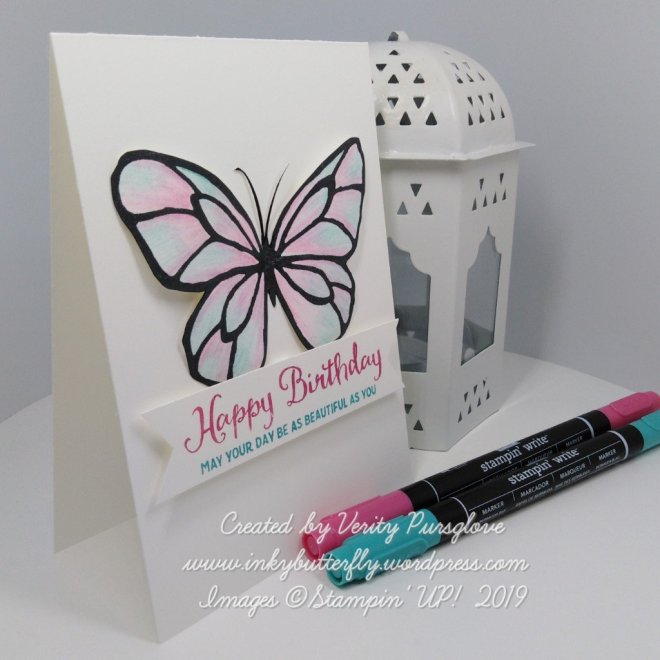
The bidr was stamped with Pacific Point ink. A Wink of Stella Glitter brush pen pulled the colour from the outline to colour the image.
Both were allowed to dry before fussy cutting them out.
The background panel was layered with Pacific Point card stock and embossed with the Layered Leaves folder.
The fussy cut pieces were added with dimensionals with a tiny sentiment tag tucked in underneath.
I hope you enjoyed this project. The supplies used are listed and linked to the online store below.
I would love to be your demonstrator.
Thanks for stopping by today and happy Stampin’!
Verity xx
Product List

|
|

|
|

|
|

|

|

|

|