
![]()
Hello Everyone,
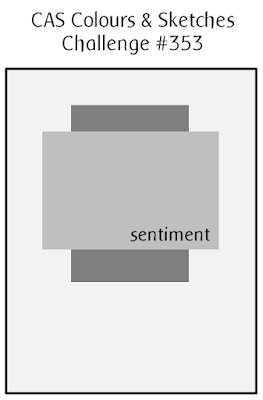
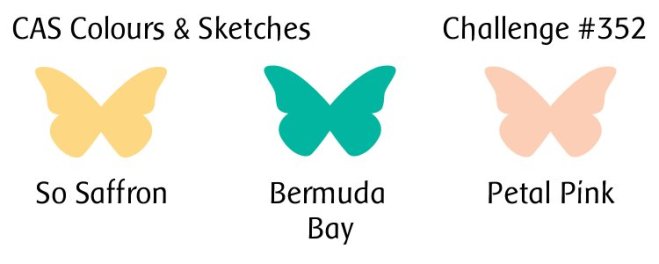
Welcome to my blog. Today I am sharing my project for the CAS Colours and Sketches challenge.
This time it’s a colour challenge. The design team have made some wonderful samples as inspiration. You can see them here
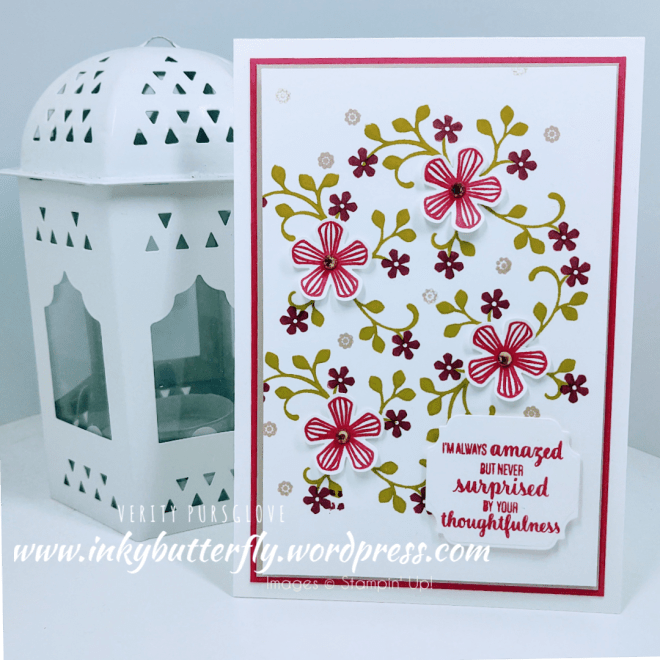
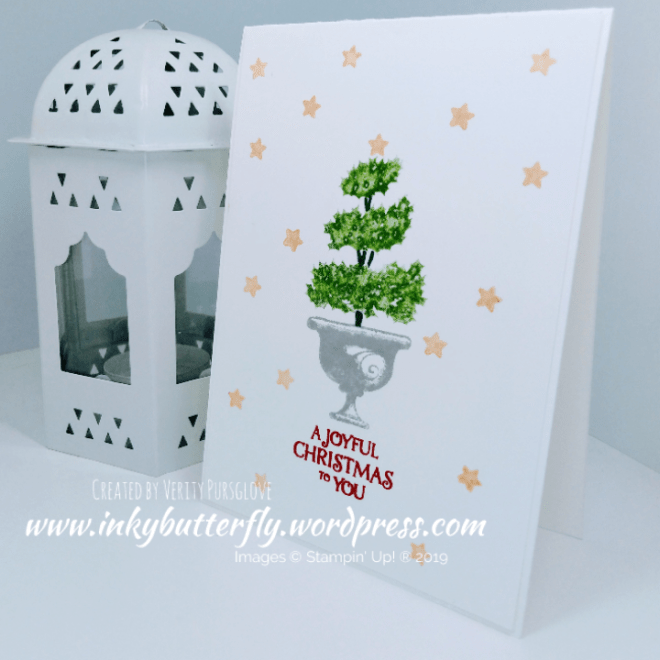
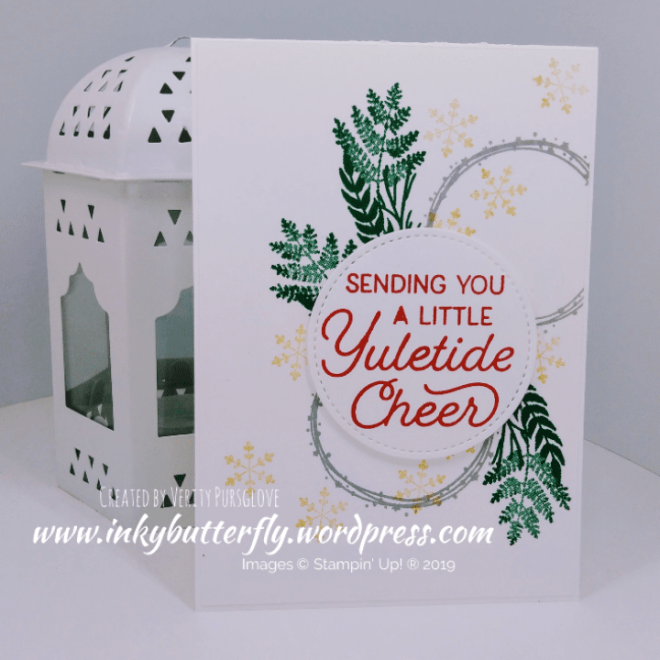
I wanted to create something different…. And this is it!
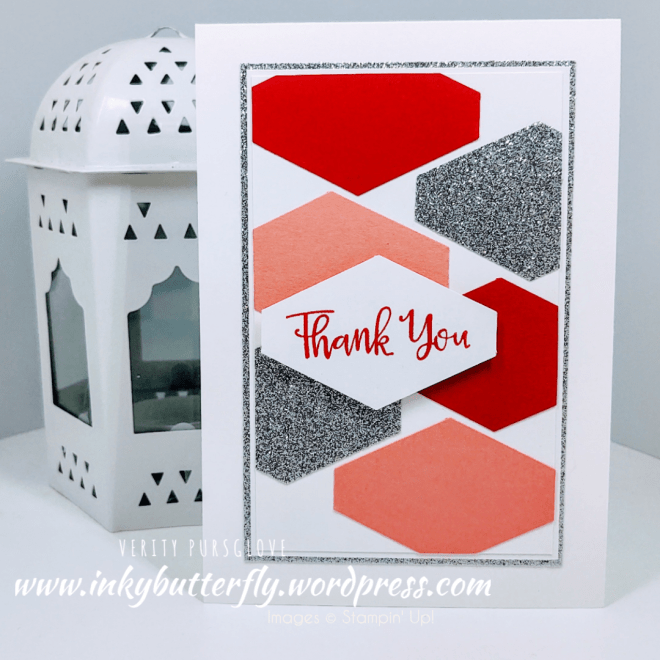
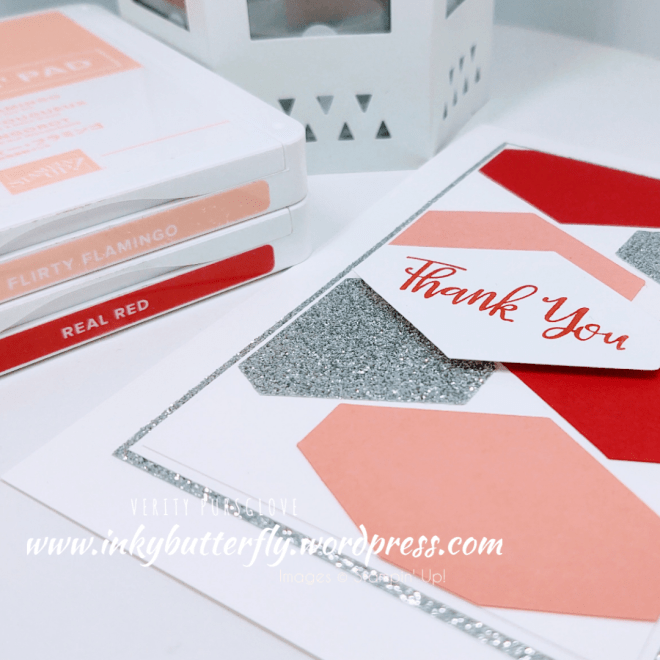
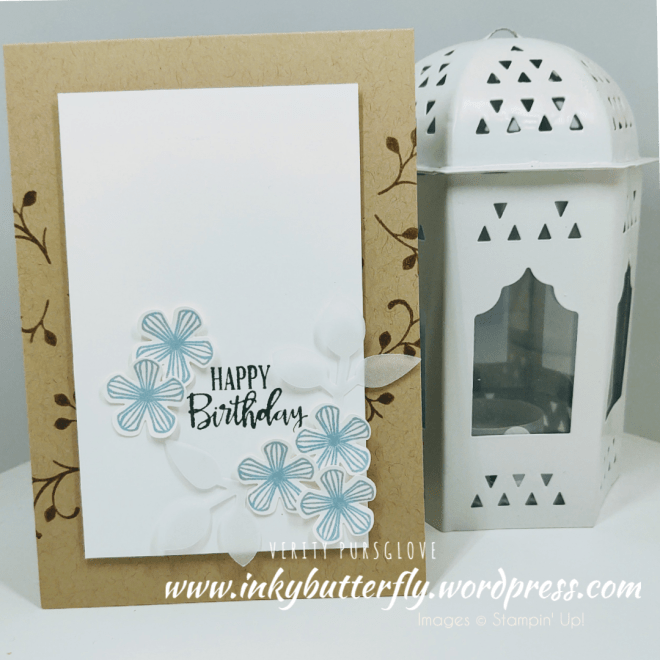
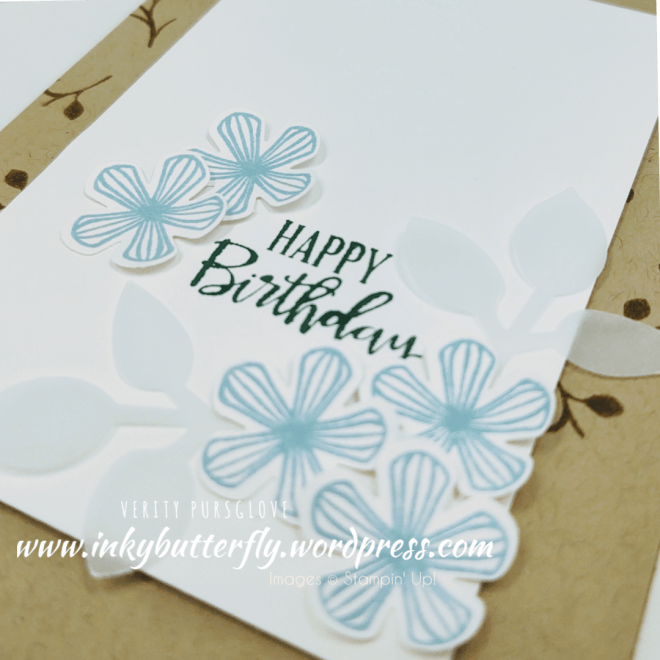
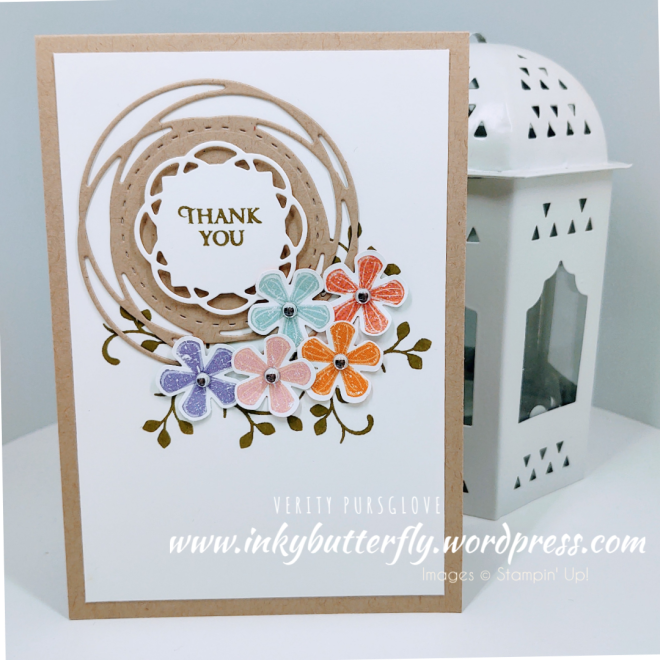
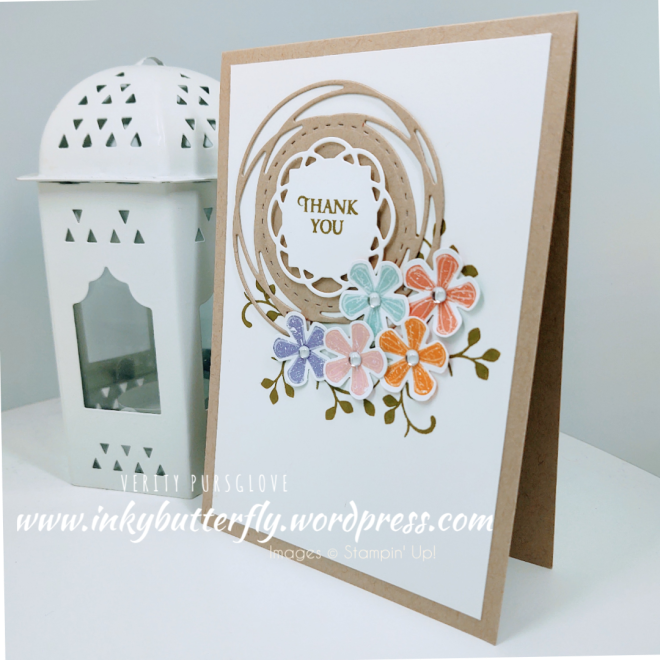
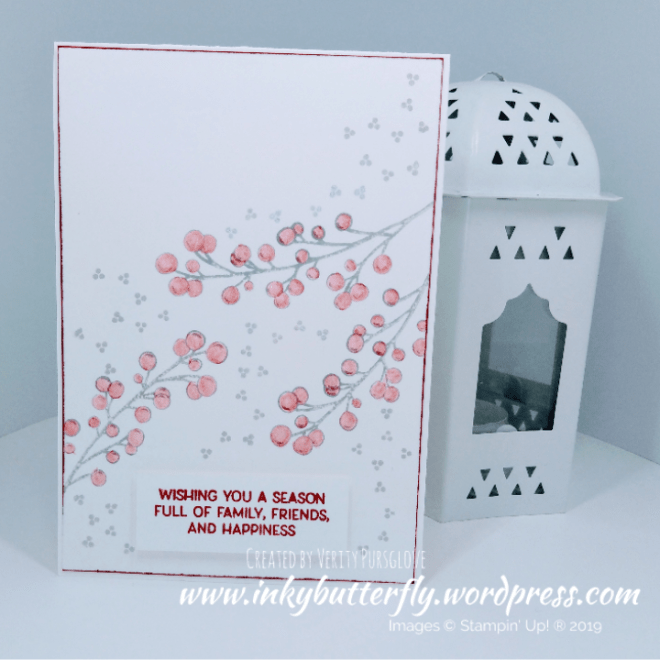
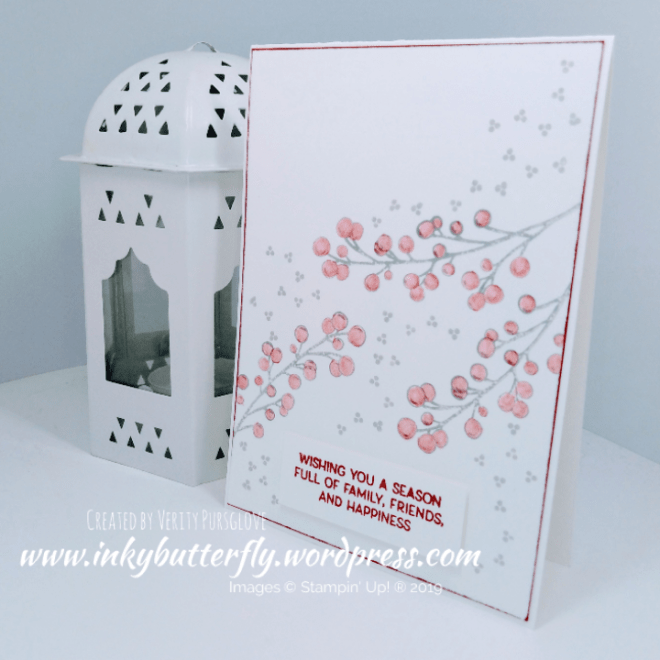
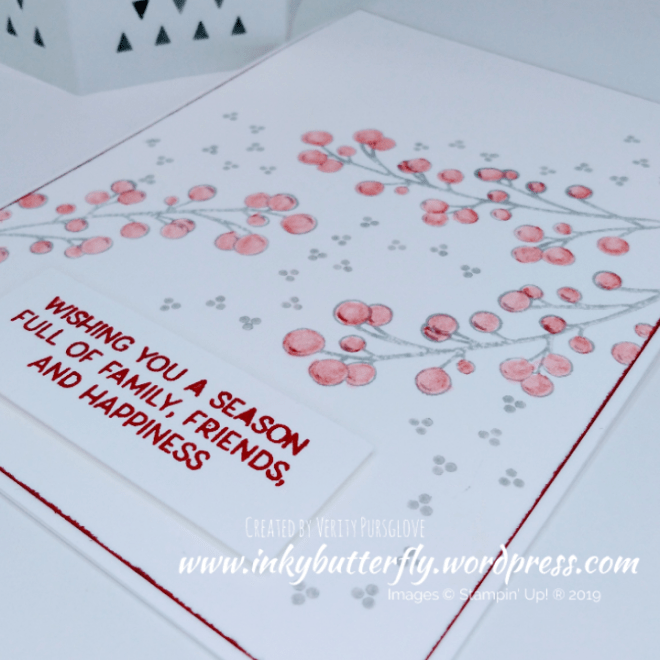
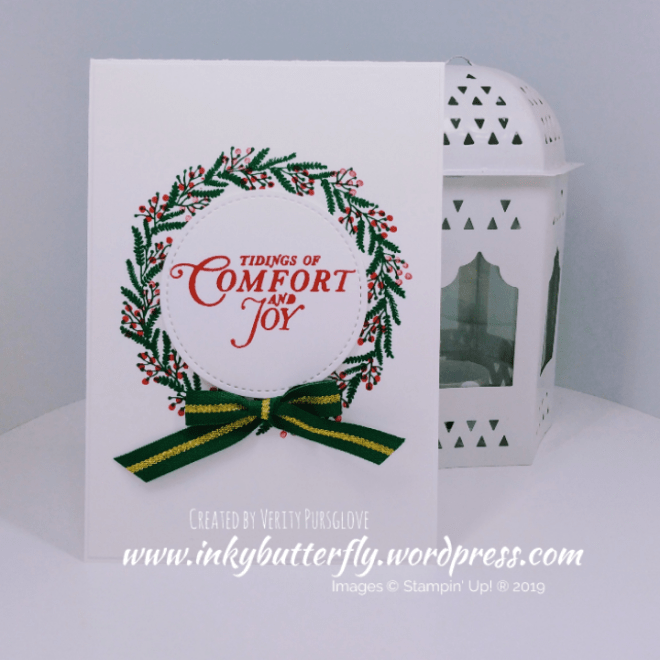
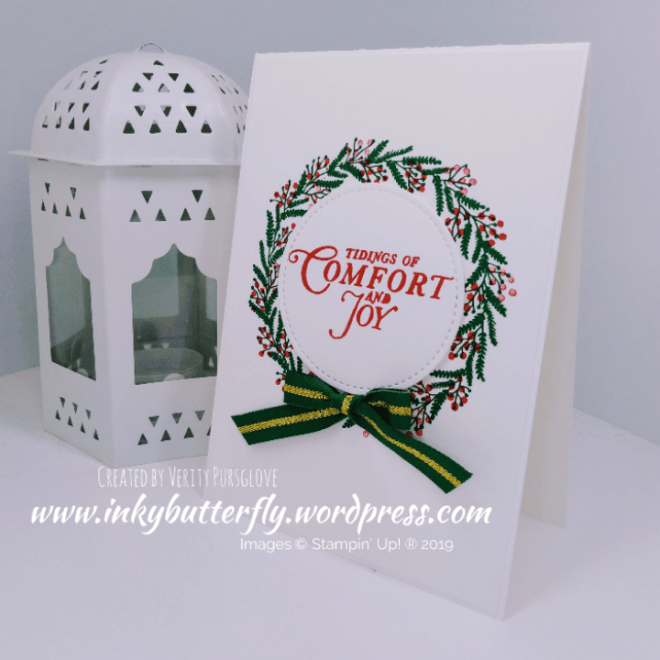
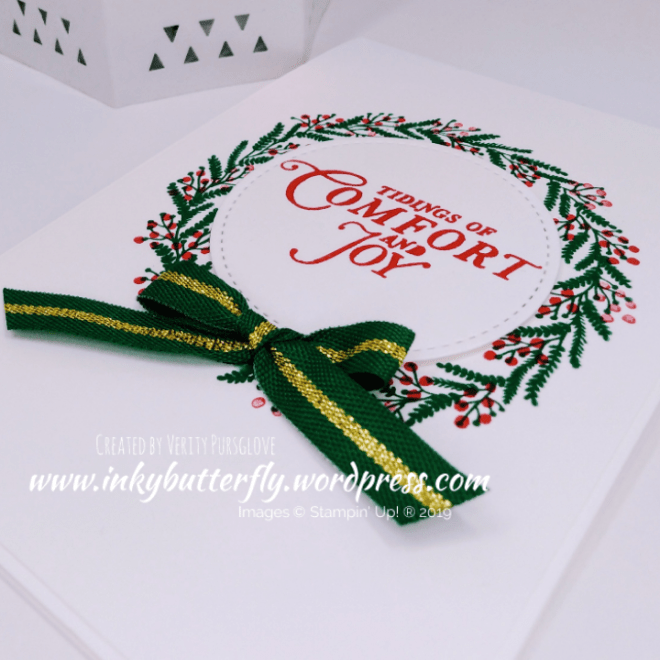
I used the Tailored Tag punch to cut shapes from Real Red, Flirty Flamingo and Silver Glimmer card stock. These were adhered to a piece of white card stock.
The excess was trimmed away and layered with more glimmer paper before adding to a white card base.
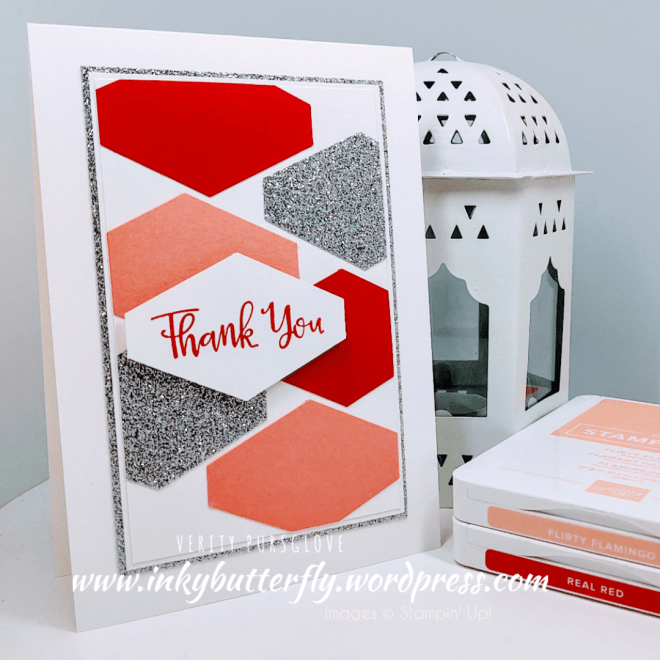
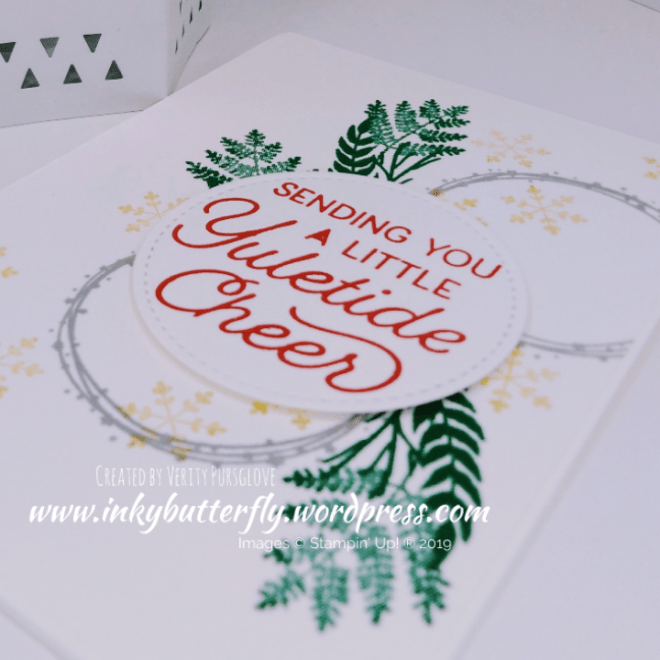
Real Red ink was used to stamp the sentiment which was also cut with the Tailored Tag punch. This was adhered with dimensionals.
I hope you enjoyed this project. The supplies used are listed and linked to the online store below.
I would love to be your demonstrator.
Thanks for stopping by today and happy Stampin’!
Verity xx
Product List
|
|
|
|
|
|
|
|
|
|
|
|
")


")


")


")
")

")


")


")

