Hello Everyone,
Welcome to this week’s Project Share. As always my friends have created some lovely work. Please use the links to visit their blogs and read more about their projects.
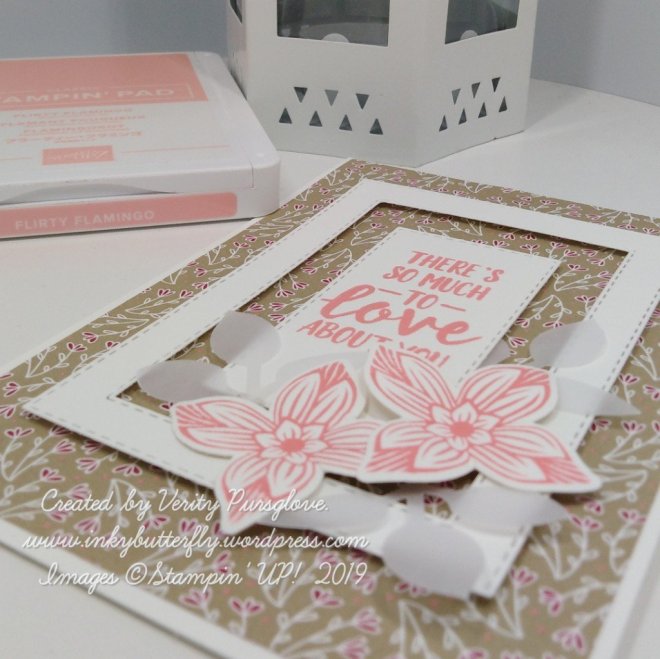
Jill has reproduced this tea and biscuit holder which we all learned at our recent team retreat.
Visit Jill’s blog here

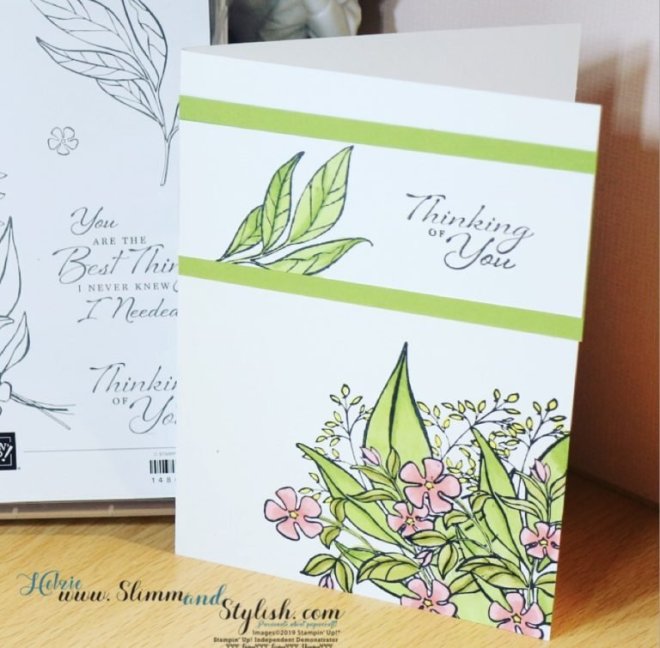
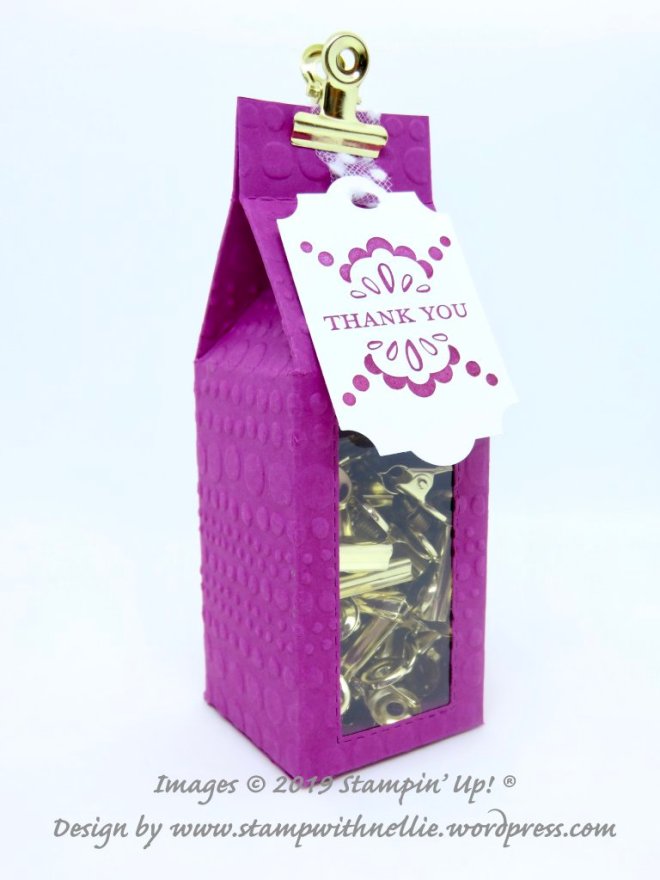
Heather needed some somewhere to keep her library clips and made this carton with a window.
Visit Heather’s blog here
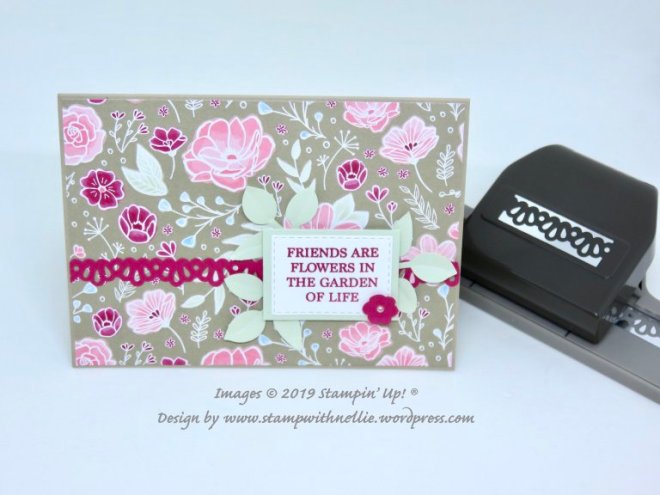
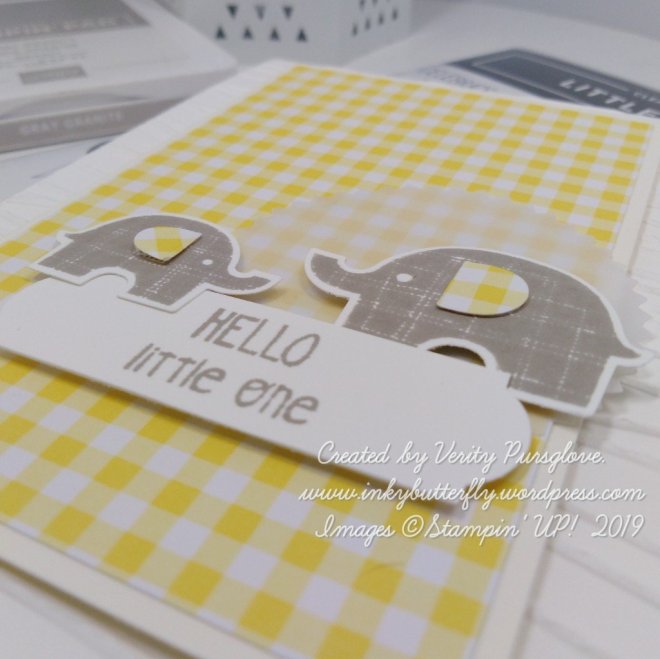
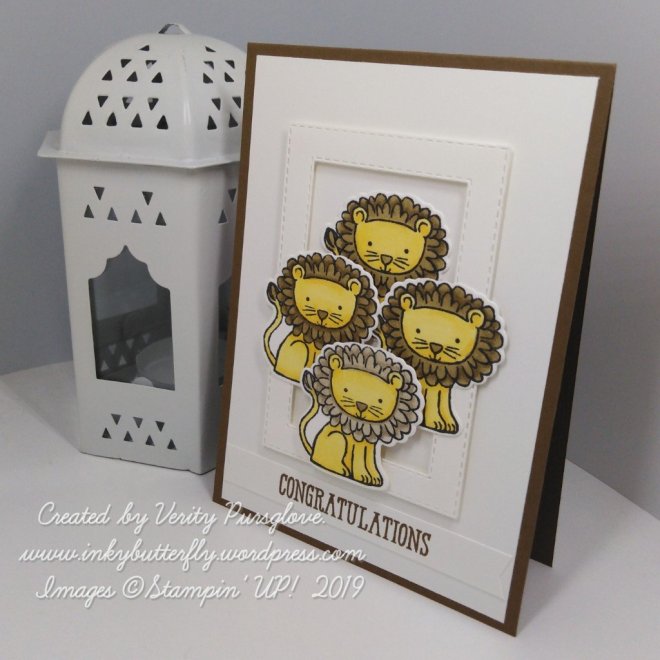
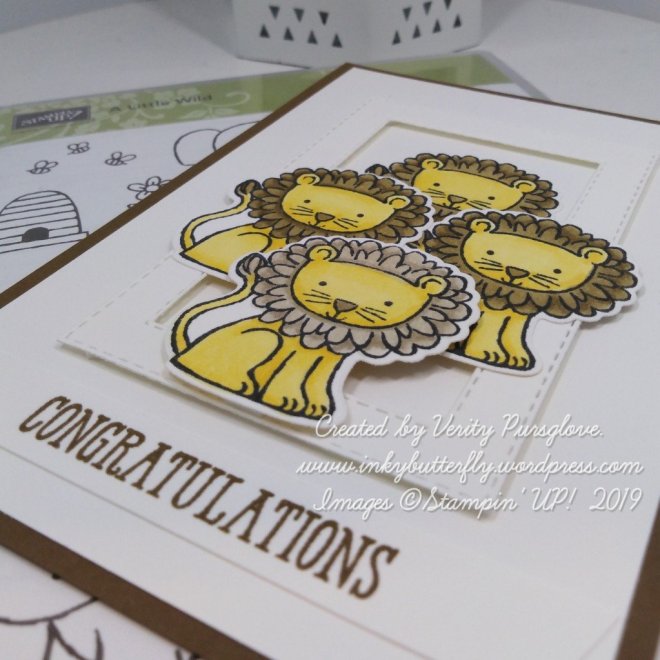
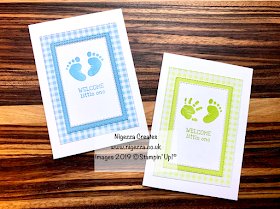
Gez has been busy making baby cards for some design challenges. The Gingham Gala papers are perfect.
Visit Gez’s blog here
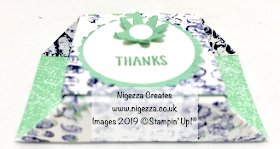
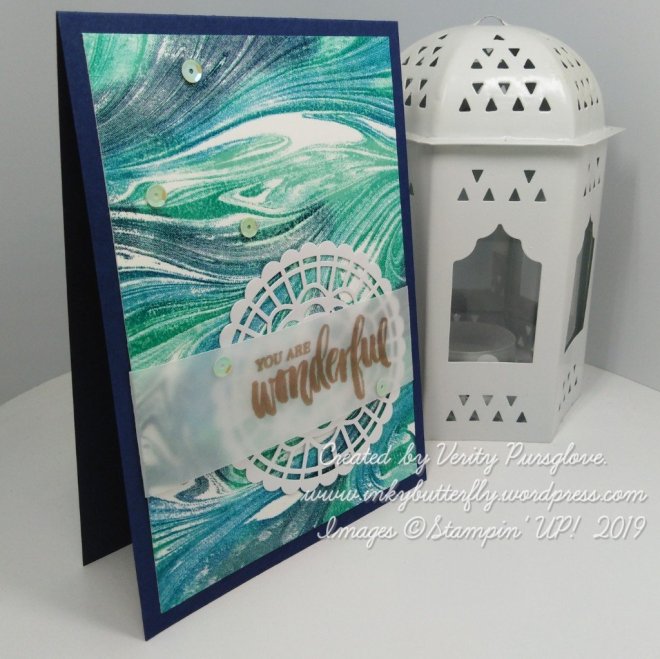
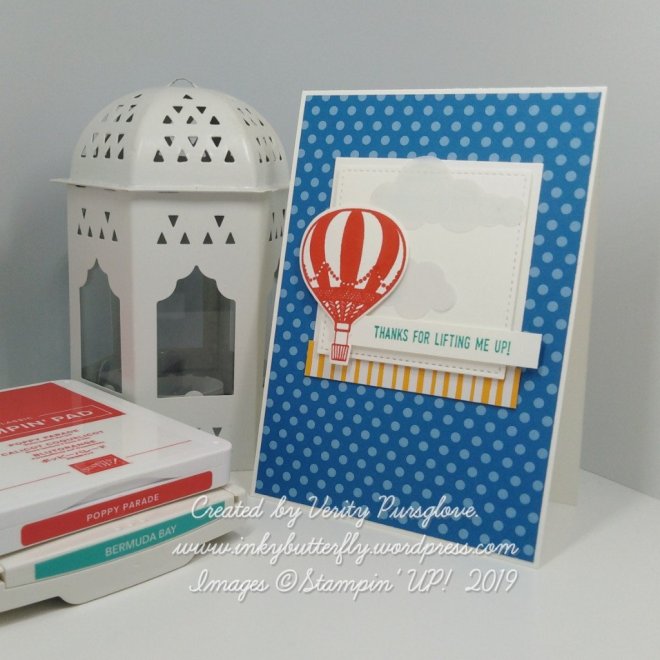
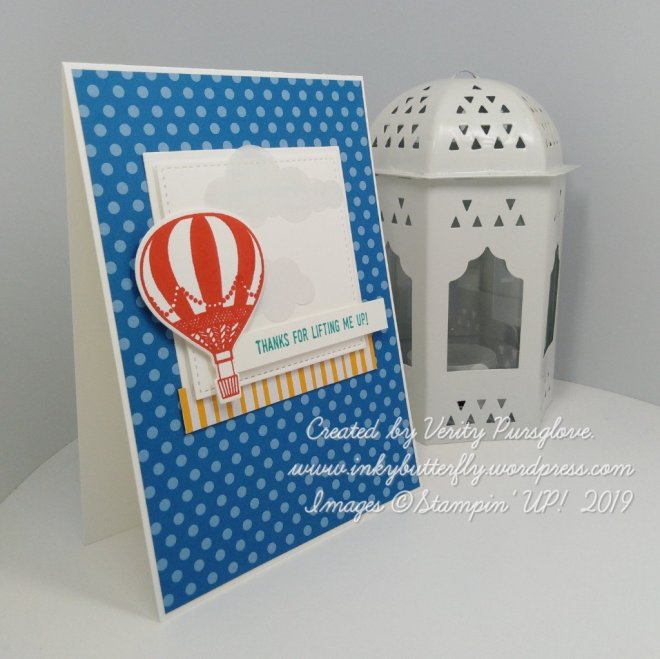
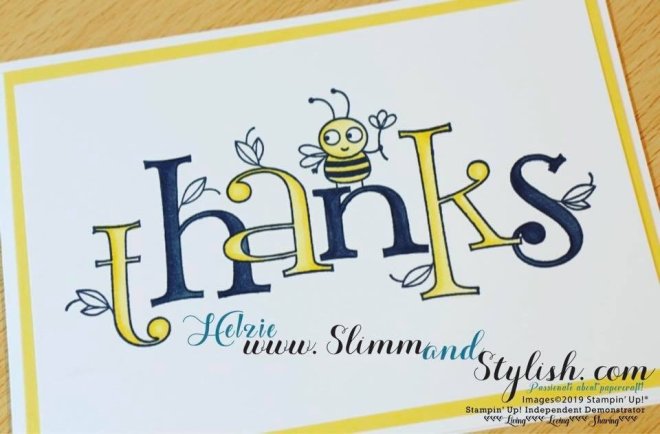
Helzie wants to say thanks! and has used this cute image to say it in style! I think she may have used her Stampin’ Blends too?
Visit Helzie’s blog here
I hope you enjoyed these projects. The supplies used are listed and linked to the online store below.
I would love to be your demonstrator.
Thanks for stopping by today and happy Stampin’!
Verity xx
Product List

|

|

|

|