Hello Friend

Hello Everyone,

Today’s project features the Wood Words stamp set which is due to retire at the end of May.

I chose to use Rich Razzleberry and gold to make my card.

I used lots of layers to make up the card.

The uppermost layer was stamped top and bottom with the large image from the set.

Some polka dot tulle was tied around this panel and then adhered with dimensionals.

The greeting was heat embossed with gold powder. I cut this to a banner and layer this on to gold foil.

I hope you enjoyed this project. The supplies used are listed and linked to the online store below.

I would love to be your demonstrator.

Don’t miss out on these last chance items…. When they’re gone, they’re gone!

Thanks for stopping by today and happy Stampin’!

Verity xx

Product List

Project Share Project

Hello Everyone,

Welcome to this week’s Project Share. As always my friends have created some lovely work. Please use the links to visit their blogs and read more about their projects.

Helzie has utilised some of the tiny stamps from the Needle and Thread set…. Its amazing what can be achieved with the right technique.

See more about this project on Helzie’s blog here

Heather has used her stamps to make her own DSP! This is a great way to get more from the products and adds flexibility.

See more about this project on Heather’s blog here

Jill has made this monochrome thank you card. This shows beautifully how great cards can be made with very few materials.

See more about this project on Jill’s blog here

I hope you enjoyed these projects. The stamp sets used are listed below.

Thanks for stopping by today and happy Stampin’!

Verity xx

Product List

Project Share Project

Hello Everyone,

Welcome to this week’s Project Share. As always my friends have created some lovely work. Please use the links to visit their blogs and read more about their projects.

This week all the projects have a romance theme.

Jill’s card says it all. Simple and understated design that could be given to anyone to let them know they are loved.

See more about this project on Jill’s blog here

Heather has used one of my favourite stamp sets to create her card. Aren’t the colours exquisite.

Read more at Heather’s blog here

Helzie has had fun Colouring in these cute little critters! I just love the background too.

See more over on Helzie’s blog here

I hope you enjoyed these projects. The supplies used are listed below.

Thanks for stopping by today and happy Stampin’!

Verity xx

Product List

Stamparatus

[148187]

£46.00

Team Retreat Swaps – Part 1

Hi Everyone,

I had an amazing weekend crafting with my Stampin’ Sisters at our annual team retreat. We had some marvellous make & takes too which I will be sharing soon.

Part of the fun is making “swaps”; little gifts we exchange to share creative inspiration.

This was my swap… I made 50 in total, 10 each in the five 2018 In Colours. They hold these cute little bubbles.

I don’t make many 3D projects, so these needed to be simple.

Start with a 1-1/2 inch strip of card stock cut from the short edge of an A4 sheet.

Score the strip on the long side at

  • 4-3/4
  • 5-3/8
  • 7-1/8
  • 7-3/4

For those using 8-1/2 by 11 card stock, the scoring will still work, but will create a larger piece at the end for gluing.

Fold and burnish the score lines.

Cut a 4-3/4 by 1-1/2 inch piece of coordinating In Colour DSP and adhere this to the end of the card stock. Use the Tag Topper punch to shape the end.

Flip over the card stock strip and add more DSP to the 1-3/4 by 1-1/2 section.

Punch 1/2 inch holes in the last but one section of the strip.

Fold the card stock and glue in to place.

I used a sentiment from Wood Words and punched this out.

Don’t they look great all together like this!

I hope you enjoyed this project. The supplies used are listed and linked to the online store below.

I would love to be your demonstrator.

Would you like to be part of the next retreat? Why not join my team? Just click the link below.

Thanks for stopping by today and happy Stampin’!

Verity xx

Product List

Fresh Treats #GDP147

Hi Everyone,

It’s Wednesday which means Global Design Project entry time.

The theme this week is….

You can see what the design team have created here

I have kept this card very neutral in tone, choosing Very Vanilla as a base. Wood Textures designer series paper was adhered to the front.

A smaller panel of card stock was embossed using the subtle embossing folder.

A combination of circle punches and the Everyday Label punch were used to build the topper.

Linen Thread loops added a natural texture.

I hope you enjoyed this project. The supplies used are listed below.

Thanks for stopping by today and happy Stampin’!

Verity x

Product List

Linen Thread

[104199]

£4.25

Wood Words Gift Set

Good Morning,

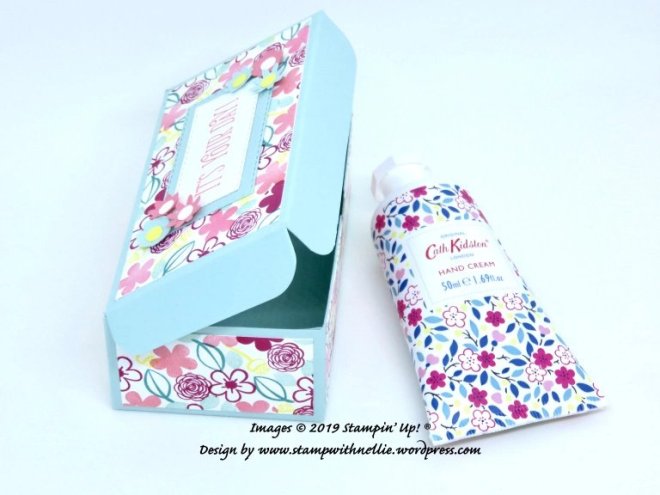
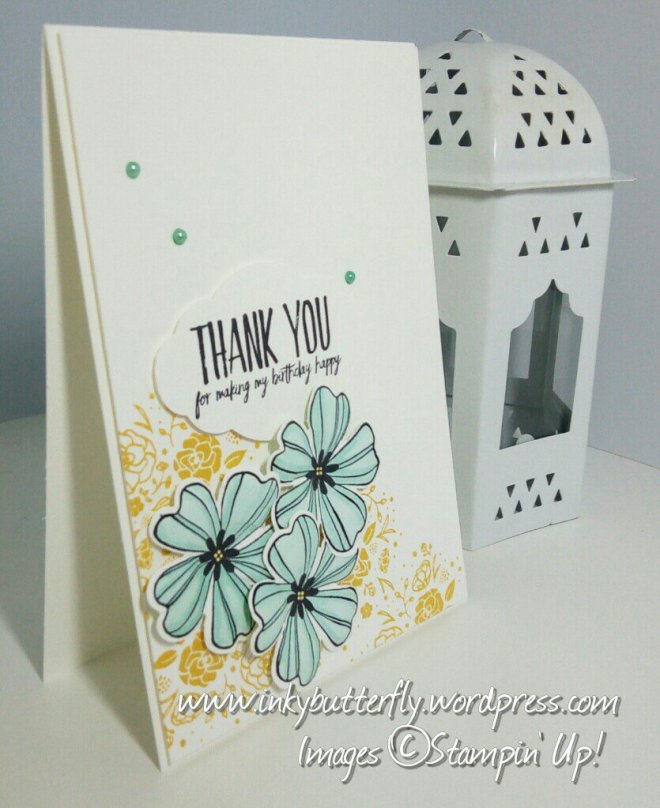
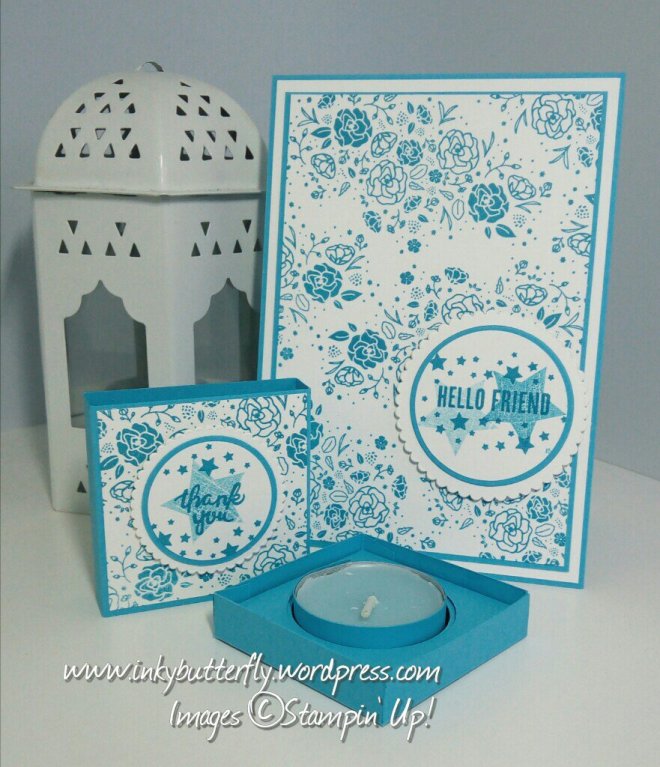
Those of you who follow my blog will know I am most definitely a card maker, but today I have stretched myself and made this simple matchbox to hold a tea light.

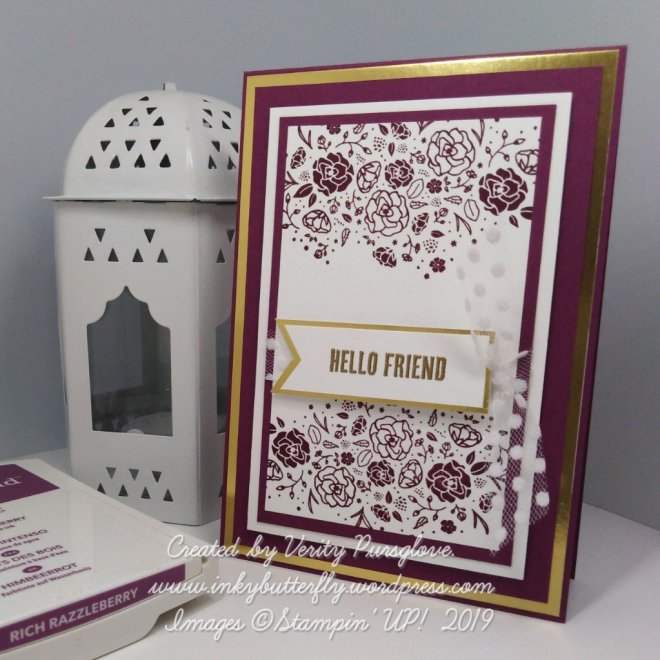
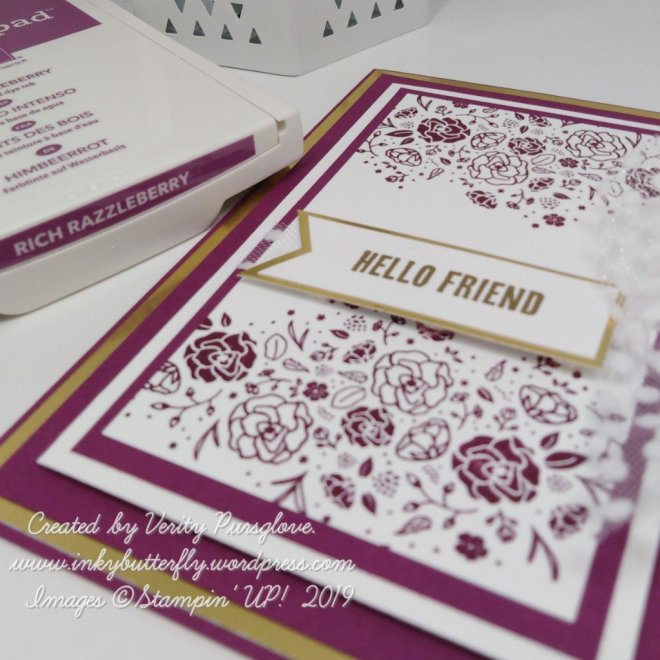
I have used Tempting Turquoise as the colour theme. This is a retiring colour. Of course, this can be made in whatever colour you wish… There are plenty to choose from in the Stampin’ Up! catalogue.

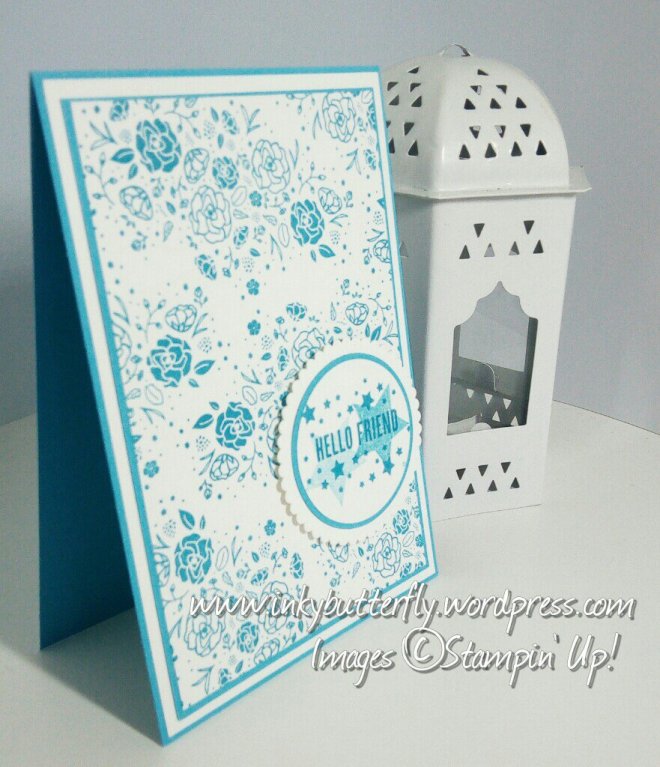
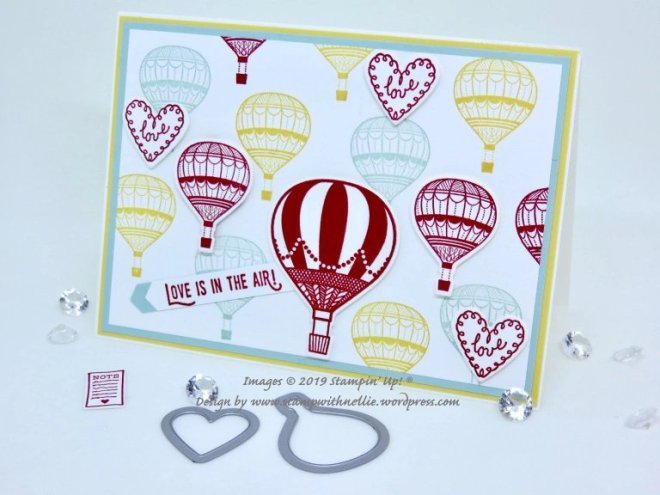
I used the large floral image was stamped to create a background.

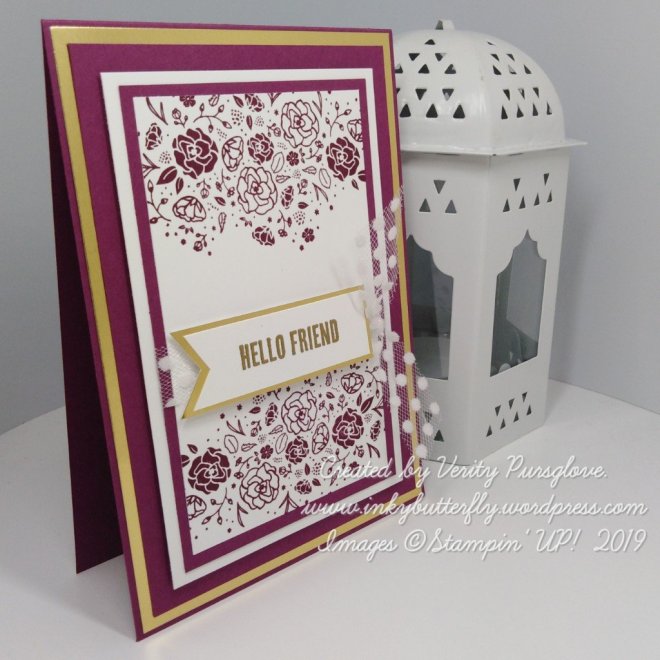
The topper was made with a combination of circle punches and layering circles dies.

The sentiment was stamped first, adding the stars over the top with second and third generation ink.

The final piece was added to the card with dimensionals.

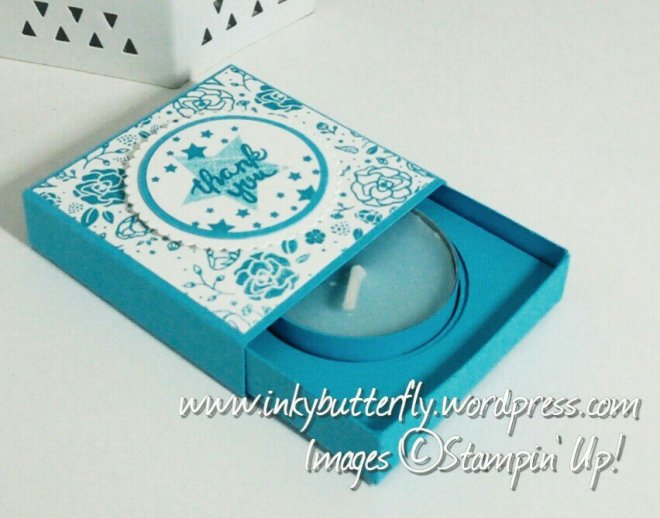
To make the gift box, I began by constructing the insert for the tea light.

A piece if card stock was cut to 3-1/4 inches square and scored on all sides at 1/4 inch. A die was used to cut the aperture.

The tray was made next. Card stock was cut to 3-3/4 inches square and scored on each side at a fraction under 1/2 inch. The insert was secure in place with a little multipurpose glue.

To make the sleeve, a strip of card stock 2-13/16 inch wide was cut from the full length of an A4 sheet. This was scored at 2-13/16. The next score was made 9/16 from the first. Continue until three squares have been created and cut away the excess.

The centre square was decorated in the same way as the card.

The end squares were adhered together with fast fuse to form the sleeve.

I hope you enjoyed this project. The supplies used are listed and linked to the online store below.

I would love to be your demonstrator! Be sure to check the latest deals on the clearance rack and the list of retiring products…. When they are gone they are gone!!

There is also an exciting early release bundle which is truly stunning. See below.

Thanks for stopping by today and Happy Stampin’!

Verity x

Product List

Blue Florals #GDP132

Hi Everybody,

Its time to Case the Designer at the Global Design Project this week.

The beautiful inspiration card is from Stesha Bloodhart.

You can see what the design team created here!

This is my design.

I have kept the floral thank you theme and the colour combination.

Pedal Palette has been substituted for the Flower Shop stamp set. The flowers have been stamped with Memento ink and coloured with Pool Party Stampin’ Blends. These were cut with the coordinating Pansy Punch.

The floral element from the Wood Words stamp set were added to the the lower left corner of a Whisper White card layer using Daffodil Delight ink.

The blue flowers were added with glue dots.

The sentiment is from the All Things Thanks stamp set. This was but with the Pretty Label punch and adhered with dimensionals.

The white was finally attached to a Whisper White card base. Pearls coloured with Stampin’ Blend marker were added to complete the card.

I hope you enjoyed this project. The supplies used are listed below.

Thanks for stopping by and Happy Stampin’!

Verity x

Product List

Pansy Punch

[130698]

£14.50

Glue Dots

[103683]

£4.75

Colour Your World – September

Good Morning,

Today’s project is my my take on the Colour Your World challenge. You can see what the design team made by visiting the blog hop starting here

The colours this month are:

This is what I came up with.

I have used the Wood Words stamp set.

The card base is made with Berry Burst card stock. I used the distressed circle from the set to stamp over the background.

A piece of Whisper White was cut to 3 1/2 by 4 3/4 inches. The floral stamp was used to decorate the bottom half of the card with Tangerine Tango ink. A piece of Tranquil Tide ribbon was attached across the middle.

The white layer was matted on to a piece a So Saffron card stock. I added this to the card base with dimensionals.

The sentiment was stamped in Berry Burst ink and cut in some pennant ends. I attached this to a matching So Saffron banner. I added this with dimensionals.

To finish, I tied a knot of extra ribbon.

I hope you enjoyed this project. The supplies used are listed below.

Thanks for stopping by and Happy Stampin’!

Verity x

Product List

Elegant Friend

Good Morning everyone,

Today I have used the Wood Words stamp set to make this lovely card.

The card base is made from Elegant Eggplant card stock.

The large floral was stamped in Elegant Eggplant ink on to a Whisper White card layer.

Metallic Edge ribbon was tied to a bow. This ribbon is beautiful to work with.

The sentiment is also from the set. The Triple Banner punch was used to cut the ends. This was adhered to a Pretty Label, cut from Perfect Plum card stock.

I hope you enjoyed this project. The supplies used are listed and linked below.

Thanks for stopping by and happy stampin’!

Verity x

Product List