Hello Everyone,
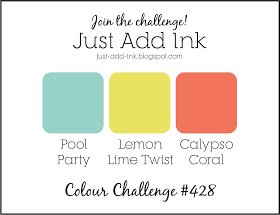
There’s a new Inspire.Create challenge going on right now…. Look at these colours!

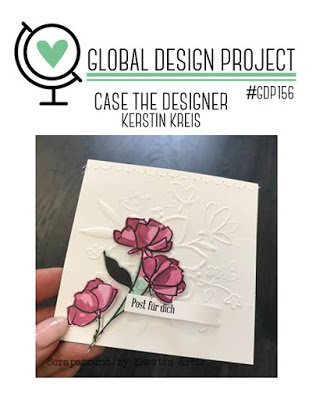
As always the design team have pulled out all the stops with their samples. You can see them here.
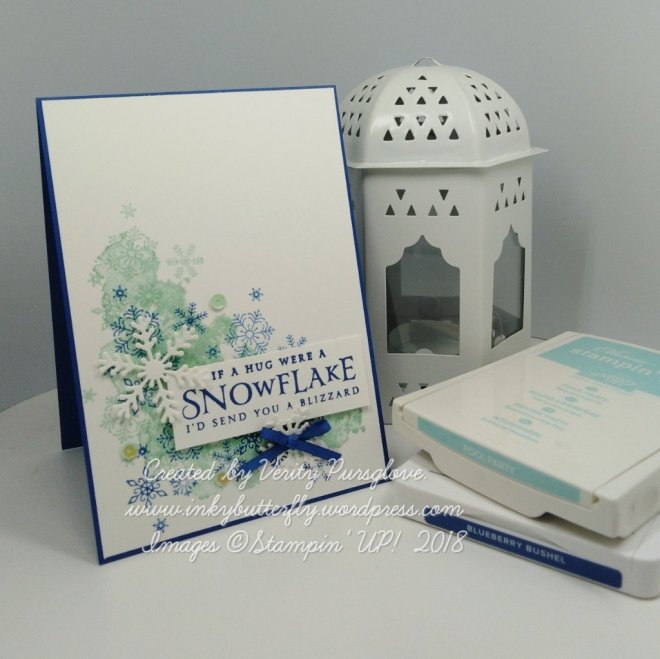
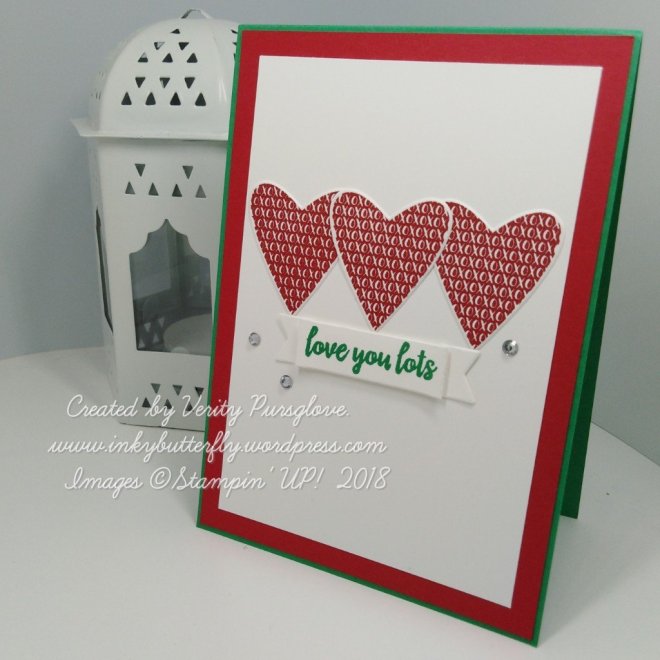
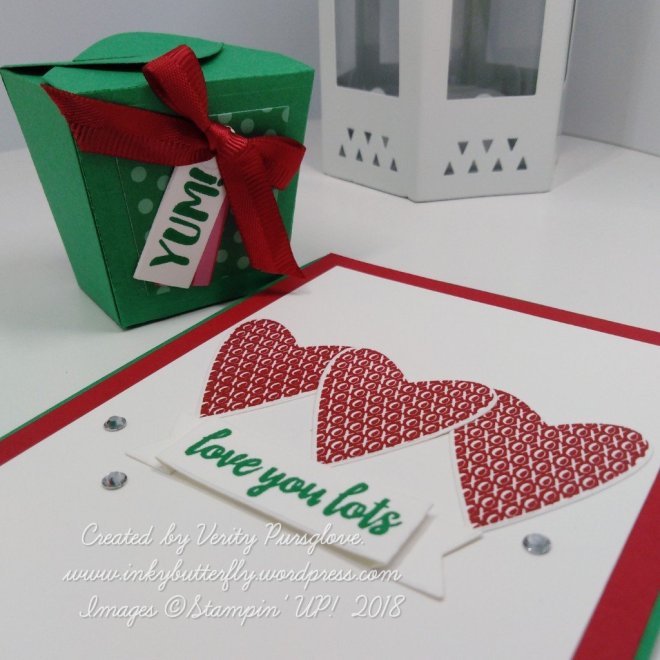
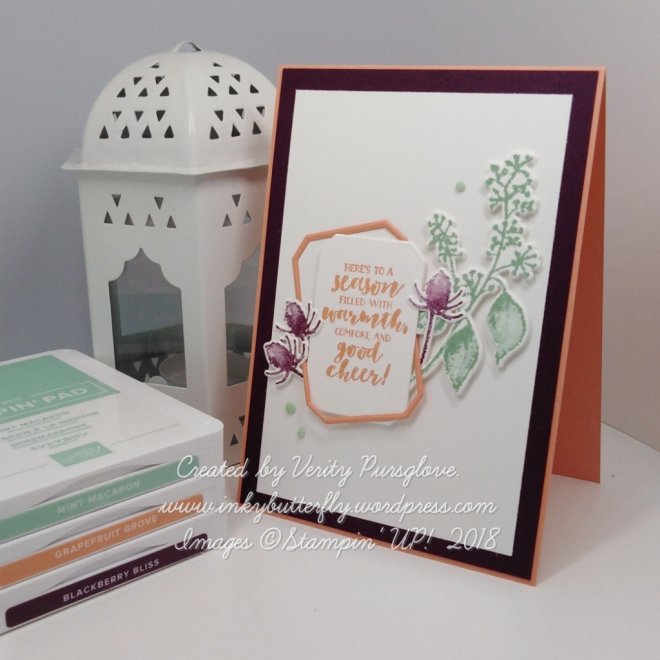
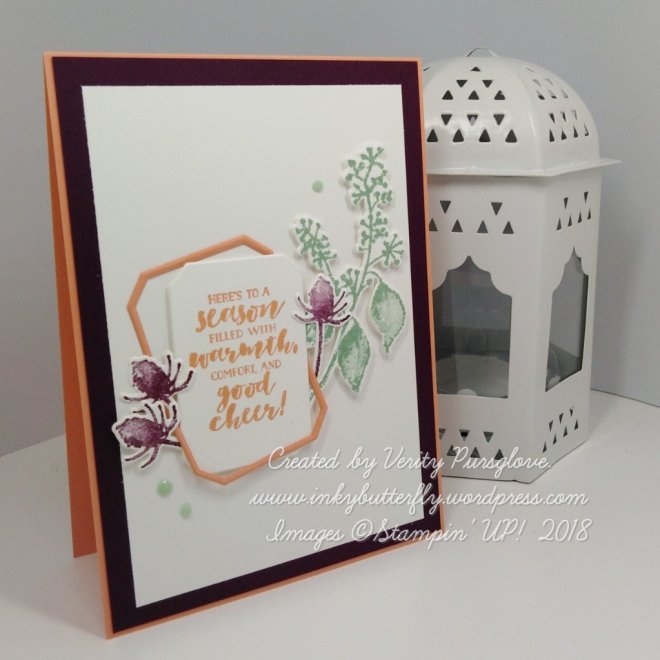
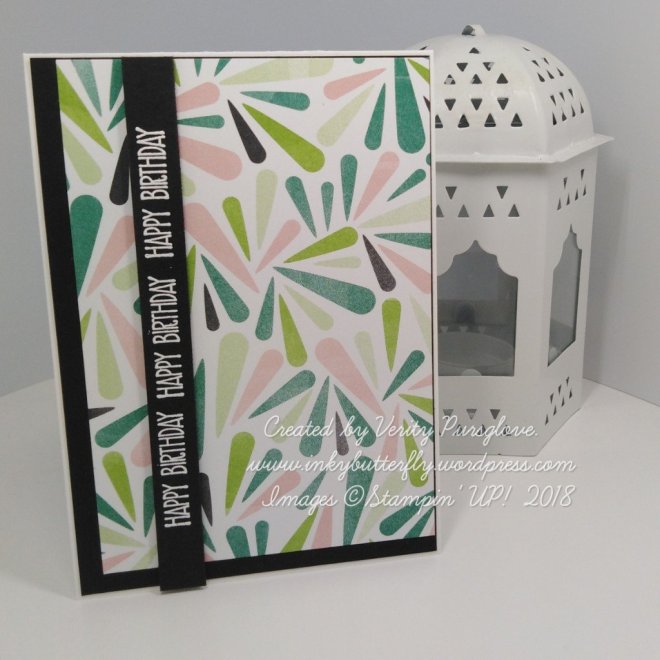
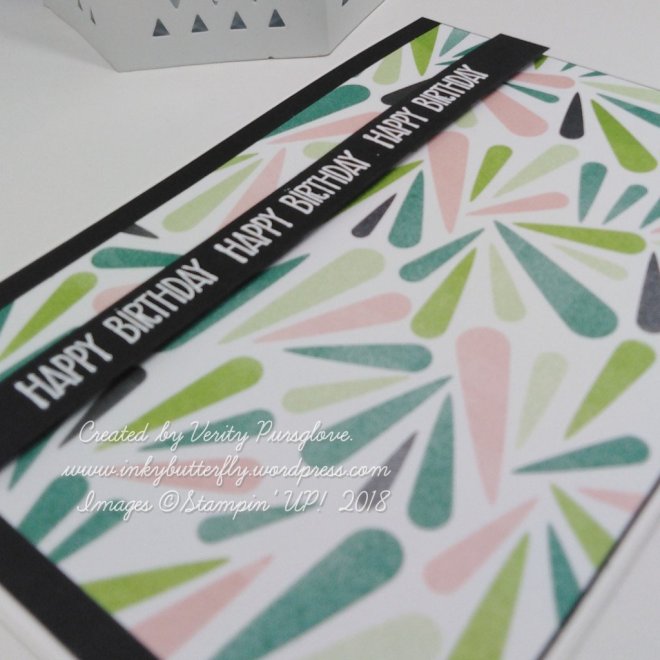
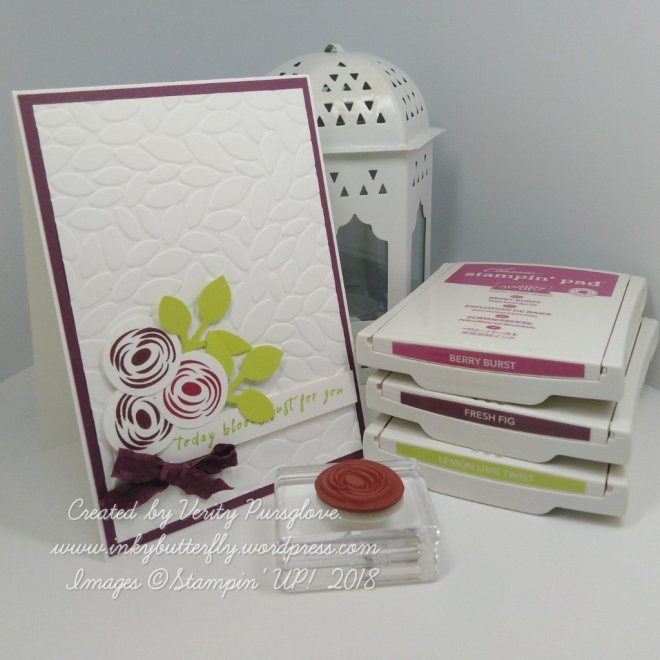
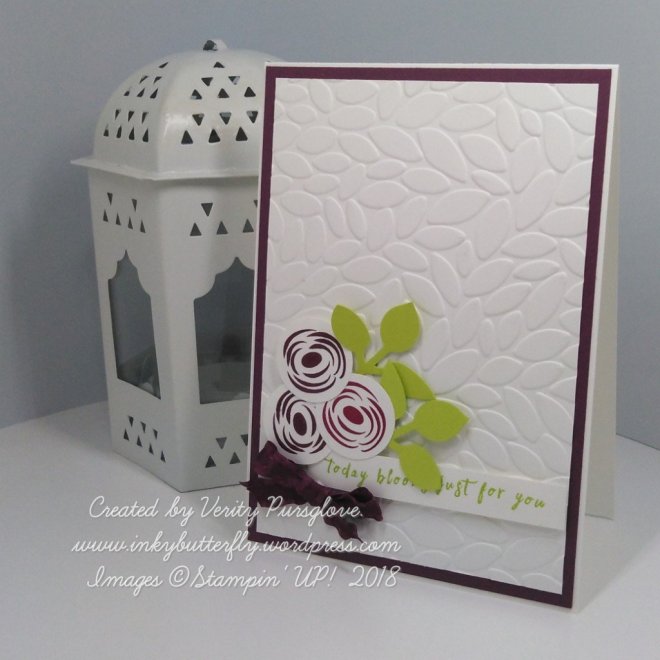
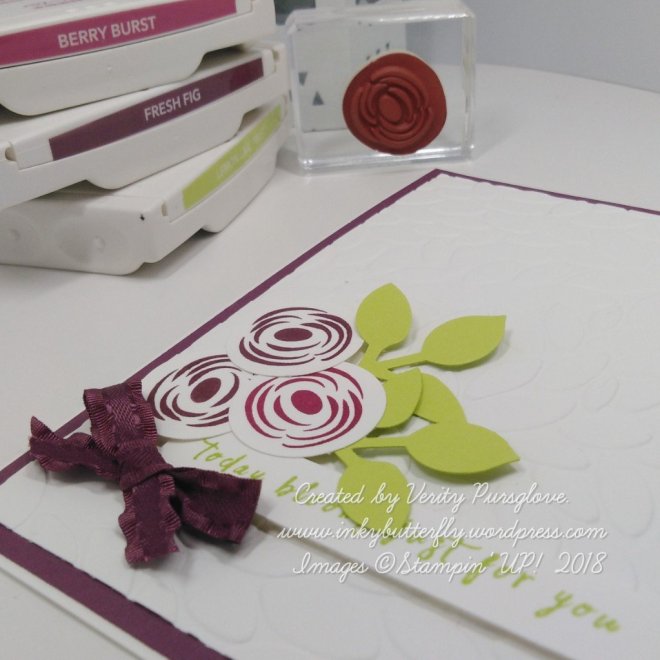
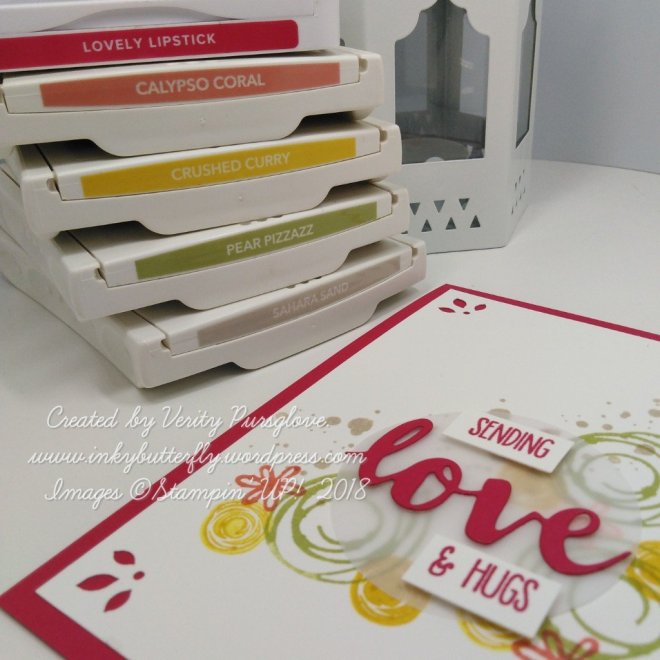
For my design, I wanted to use a stamp set with lots of complementary elements. I ended up choosing Swirly Bird.
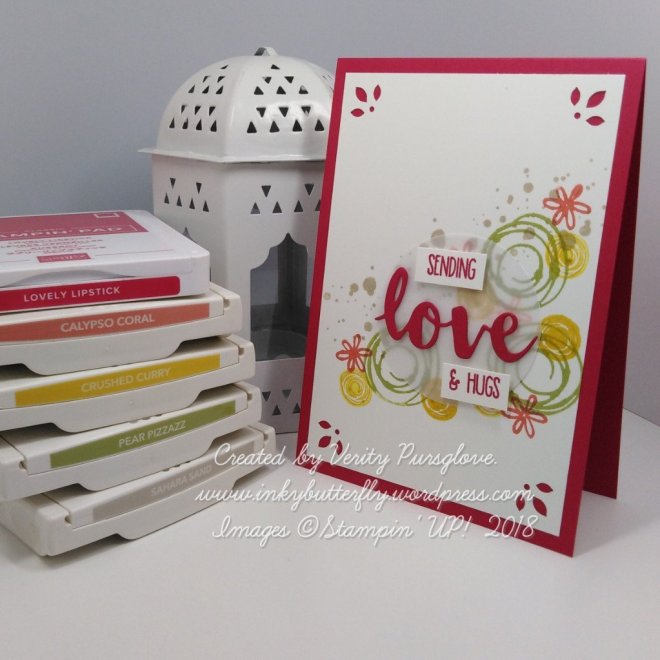
The card itself was really easy to put together. First, I decided which stamps I would pair with each colour, (except Lovely Lipstick). I then built up the design, keeping in mind the “rule of threes”.
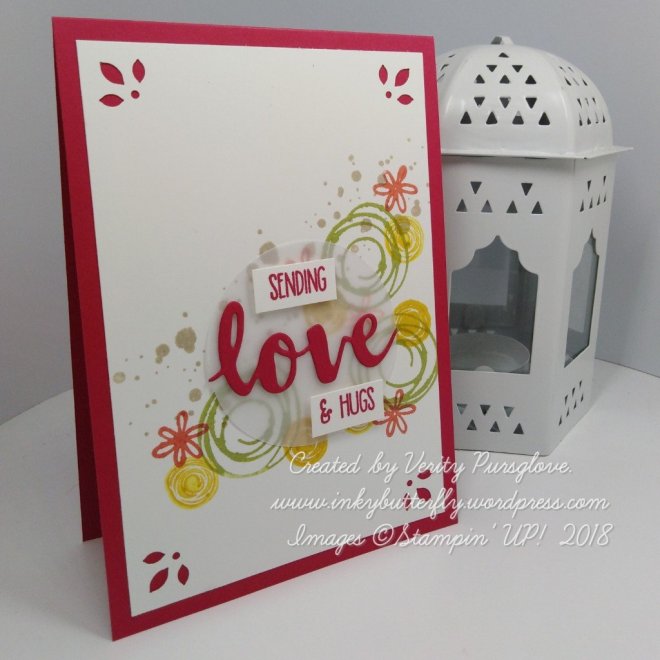
The corners were punched with the Detailed Trio Punch and adhered to a Lovely Lipstick card base.
I also used Lovely Lipstick card stock to die cut the word ‘love’ which I adhered to a Vellum circle.
The additional sentiments were stamped on to strips of white card stock. These were also added to the Vellum, this time with dimensionals.
The vellum was then adhered to the card with dimensionals, hiding them behind the other elements.
I hope you enjoyed this project. The supplies used are listed below.
Thanks for stopping by today and happy Stampin’!
Verity xx
Product List

|

|
|

|
||

|

|

|
|
|

|

|