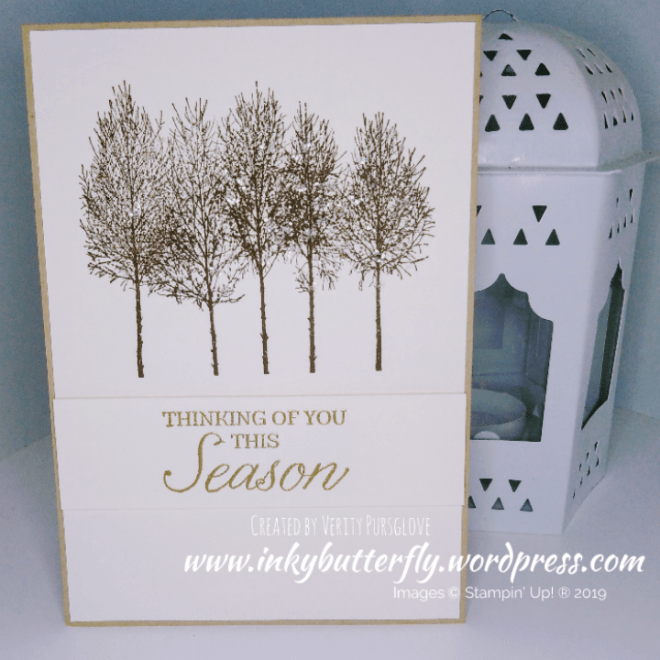
Glittered Winter Woods

Hello Everyone,

I thought I would revisit the festive stamp sets in the Annual catalogue for today’s project.
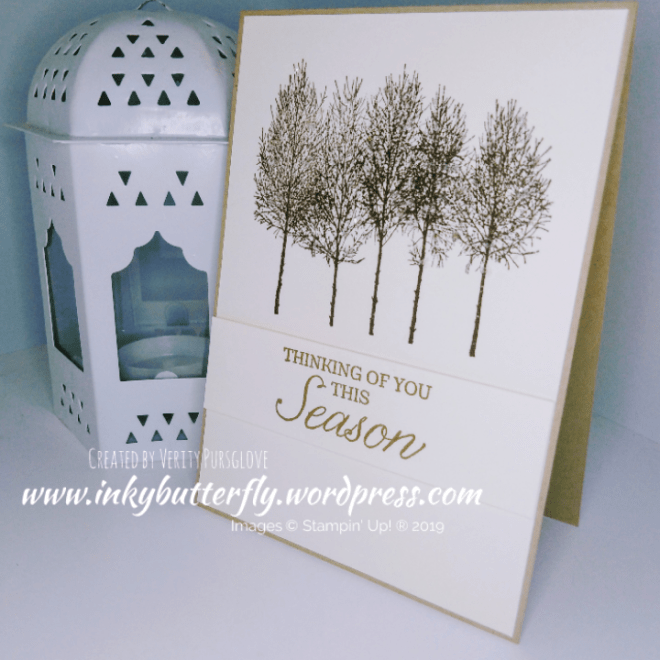
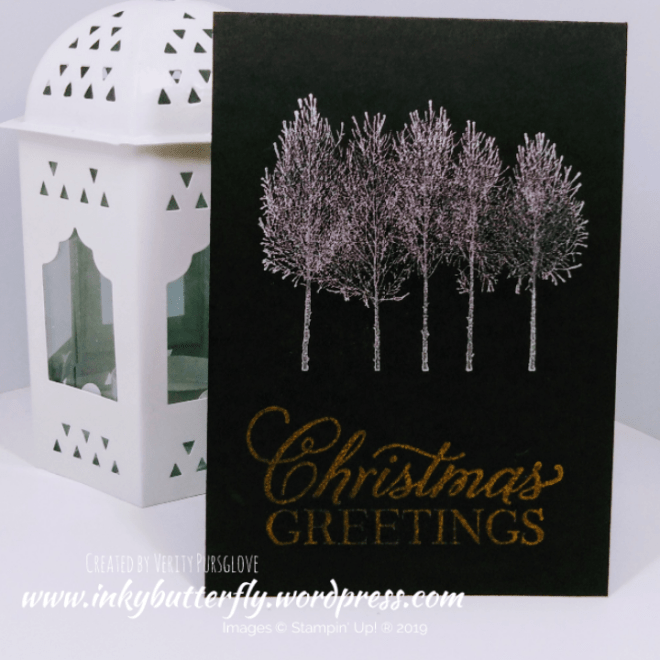
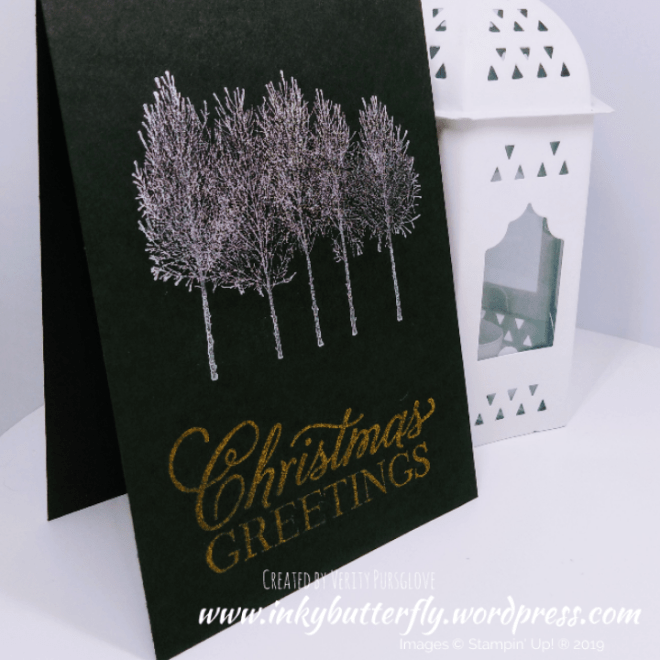
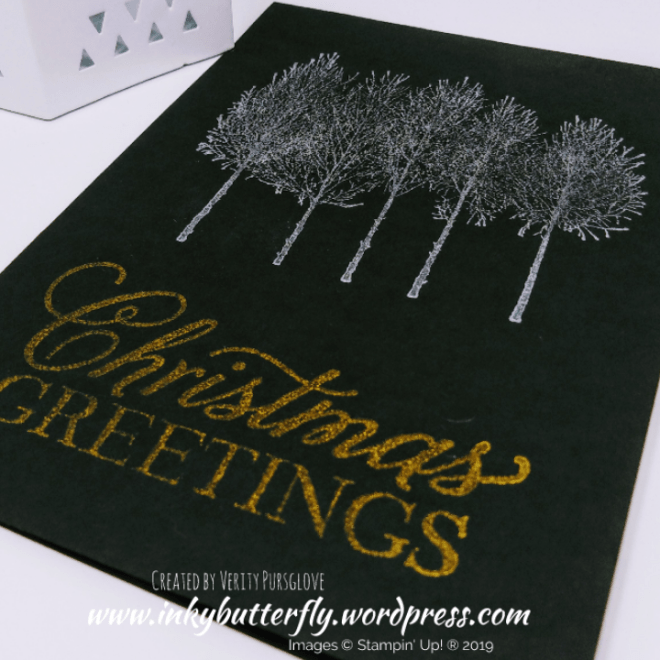
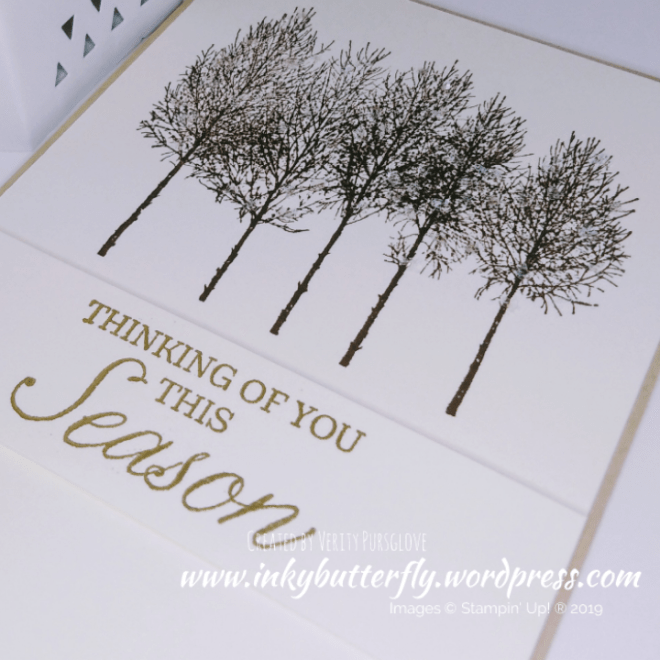
The trees were stamped with Early Espresso Ink onto a Very Vanilla card layer.

Dabs of glue were added to the image which were covered with Ice Glitter. The excess was was tapped off and allowed to dry before adhering to a Crumb Cake card base.

The sentiment was heat embossed with gold powder and added below the trees with dimensionals.
I hope you enjoyed this project. The supplies used are listed and linked to the online store below.

I would love to be your demonstrator.

Thanks for stopping by today and happy Stampin’!

Verity xx

Product List

Toile Tidings

Hello Everyone,

It seems that we are already hurtling through November so during this busy period quick cards are the order of the day.

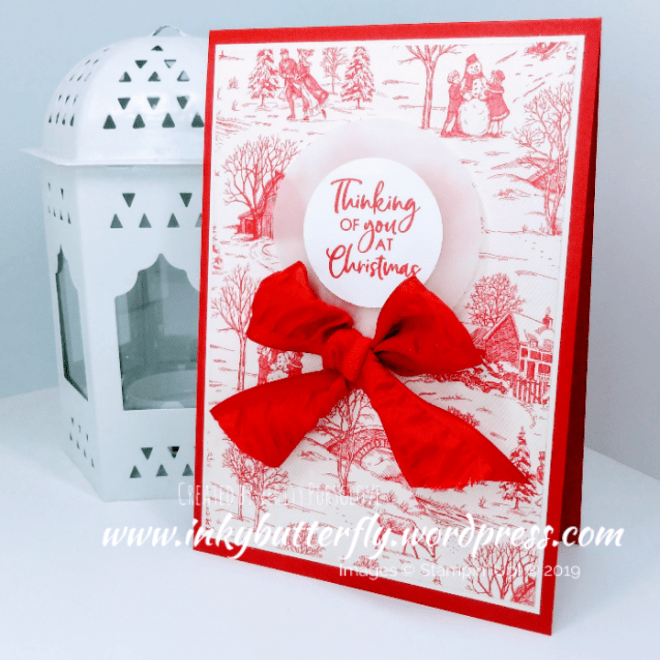
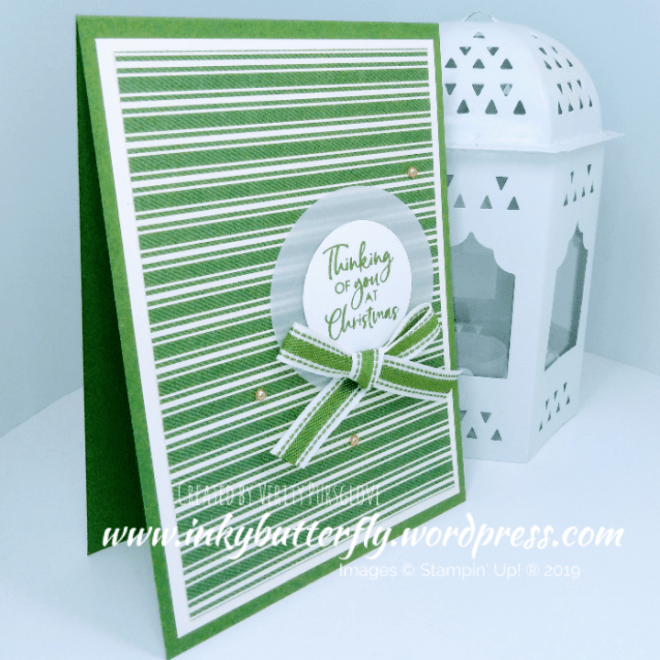
These feature the Toile Tidings papers in traditional Real Red and, Garden Green.

The card base was made the coordinating card stock colour.

The Designer Series Paper was layered on to a Very Vanilla card layer and then to the card base with snail adhesive.

I picked out a, sentiment from the Itty Bitty Christmas stamp set. Matching ink was used to stamp on to Whisper White card stock in contrast to the Vanilla.

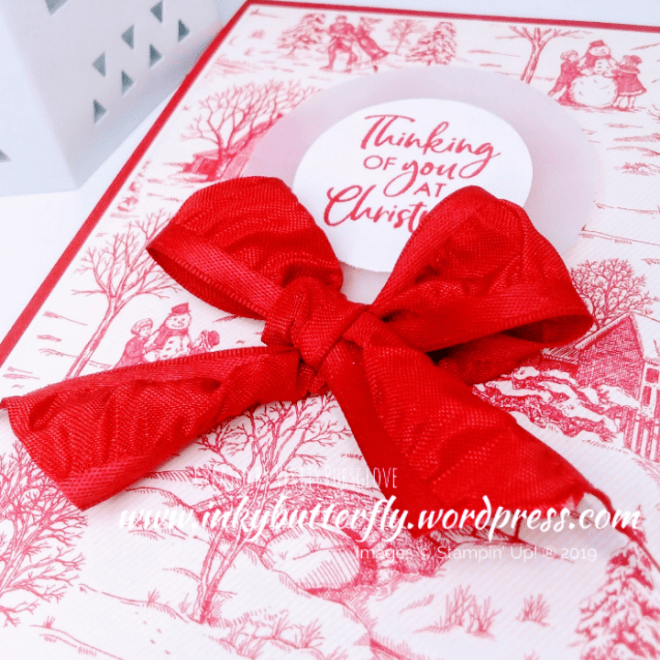
The sentiment was cut with a 1-1/2 inch circle punch and adhered to a 2-1/4 inch circle of vellum. This was added to the card with dimensionals.

A bow was tied from matching ribbon and secured with glue dots.

This is the Garden Green version. On this card I moved the sentiment to the side and added some metallic pearls.

I hope you enjoyed this project. The supplies used are listed and linked to the online store below.

I would love to be your demonstrator.

Thanks for stopping by today and happy Stampin’!

Verity xx

Product List

Silhouette Deer

Hello Everyone,

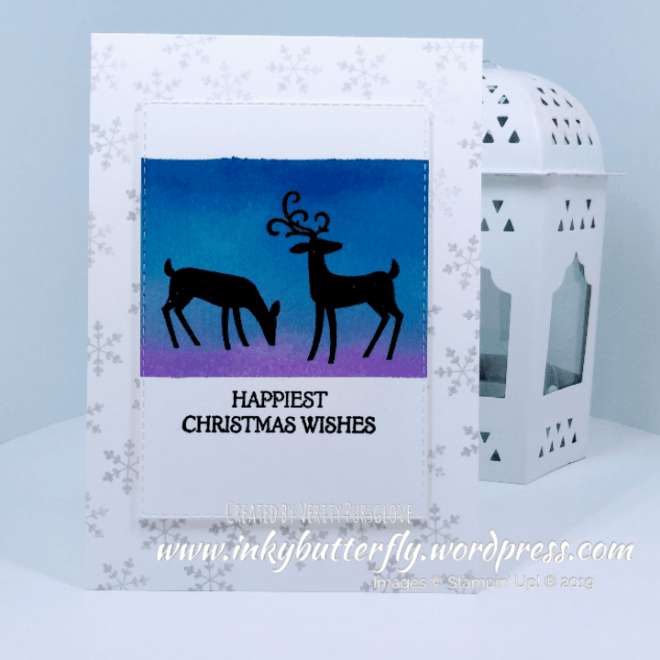
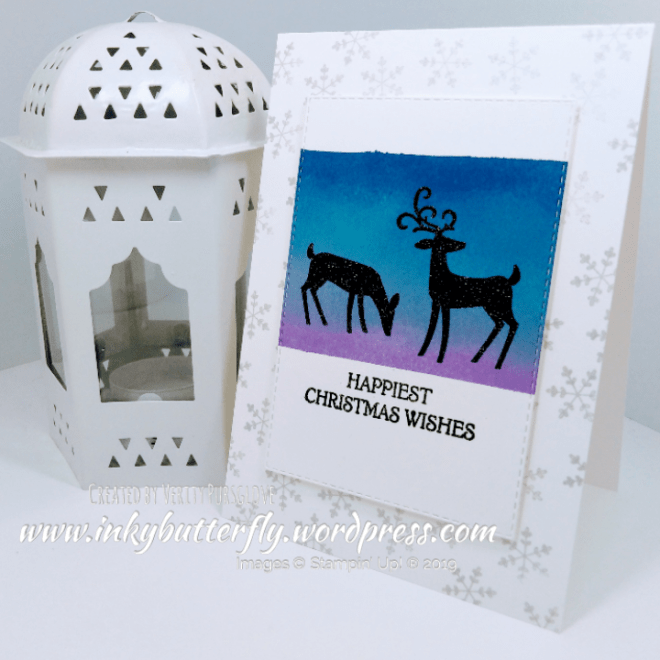
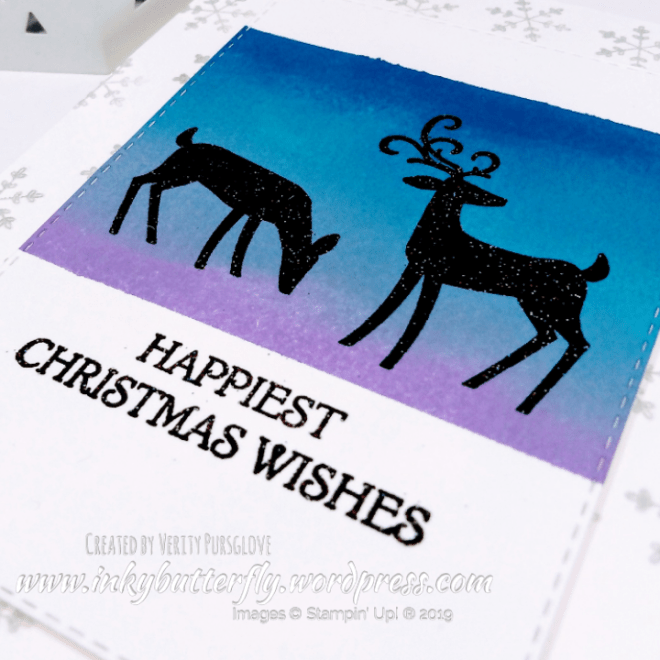
For today’s card I used a combination of mask and ink blending to create a background.

Using post-it notes, I masked off a section of card stock.

With sponge daubers I applied ink starting with Balmy Blue.

Pacific Point was added next along the top, then Highland Heather along the bottom.

The deer and sentiment were stamped with versamark ink and heat embossed with Shimmer Black powder.

A Stitched Rectangle Die was used to cut the panel. This, was adhered to a card base that had been stamped with snowflakes in Silvery Shimmer Ink.

I hope you enjoyed this project. The supplies used are listed and linked to the online store below.

I would love to be your demonstrator.

Thanks for stopping by today and happy Stampin’!

Verity xx

Product List

Project Share Project

Hello Everyone,

Welcome to this week’s Project Share. As always my friends have created some lovely work. Please use the links to visit their blogs and read more about their projects.

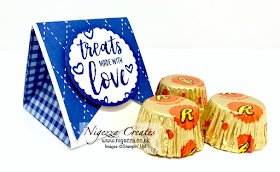
This week features gifts & treats! I am so jealous of these ladies being able to make these 3D projects! I always get in a muddle with these.

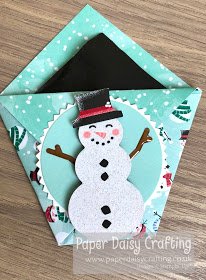
Jill has revisited a treat pouch perfect for an after dinner mint. Why not make these part of your Christmas place settings this year?

Visit Jill’s blog here for the full instructions.

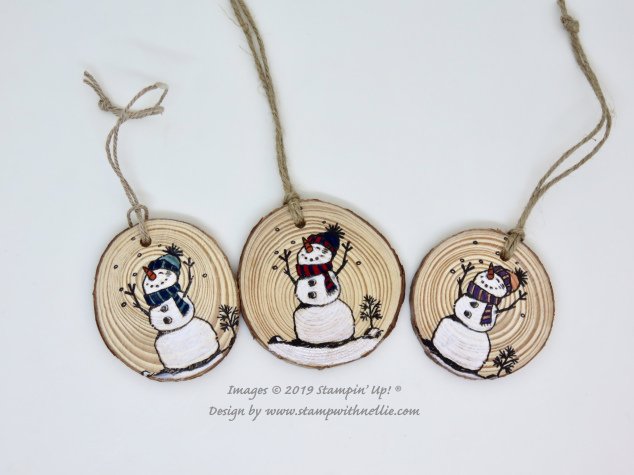
Heather has been thinking about other medium which can be stamped. Stazon Ink allows for greater scope when choosing materials. These would be a wonderful First Christmas gift.

Visit Heather’s blog here to see more about this project.

Gez has stepped away from the Christmas theme for her sweet treat box. Switch up the colours and sentiment for different occasions, even wedding favours!

Visit Gez’s blog here to see how to put this box together.

I hope you enjoyed these projects. The supplies used are listed and linked to the online store below.

I would love to be your demonstrator.

Thanks for stopping by today and happy Stampin’!

Verity xx

Product List

Simply Scored

[122334]

£28.00

Paper Trimmer

[152392]

£23.00

Layered Let It Snow

Hello Everyone,

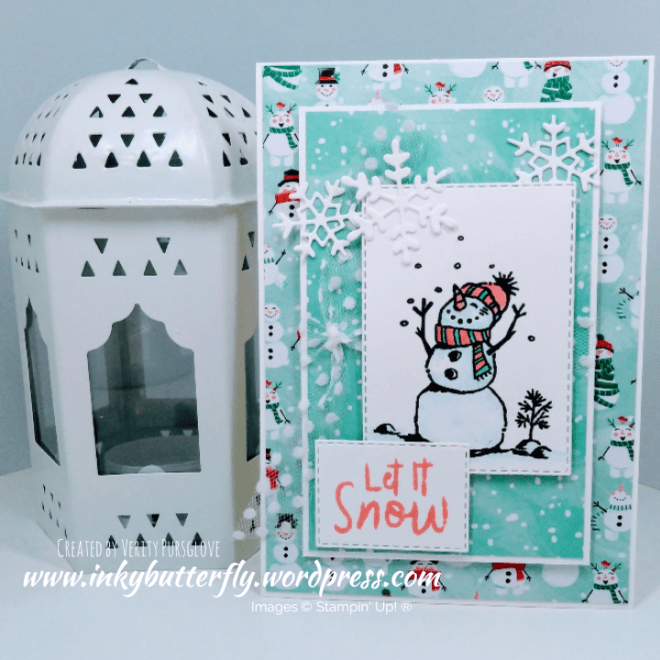
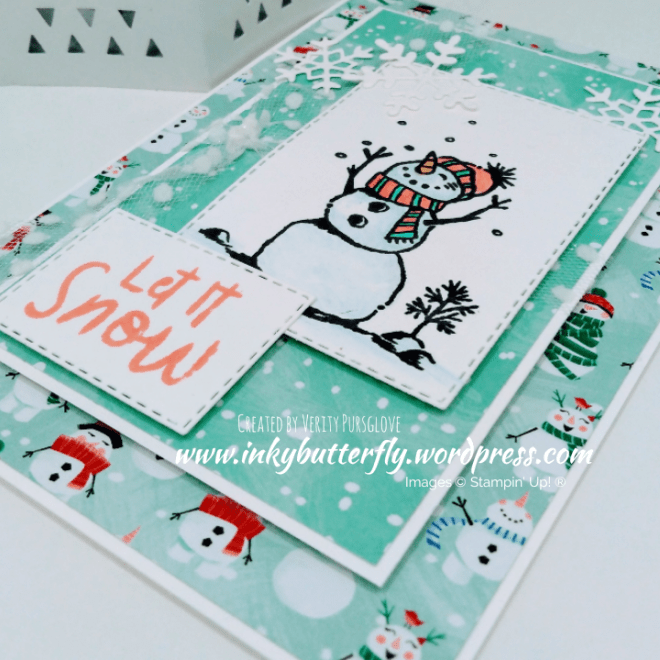
More Christmas crafting today with the Snowman Season stamp set and the adorable Let it Snow Speciality Designer Series Paper.

The Designer Series Paper was adhered to a white card base.

The flip side then used to make a smaller topper panel. Tulle ribbon was tied around the panel before adding to the prepared card base.

The snowman was stamped in Memento black ink and coloured using a combination of watercolour pencils and Stampin’ Blends Markers. The image was cut with a Stitched Rectangle die.

Flirty Flamingo ink was used for the sentiment which was also die cut.

Layers were assembled using dimensionals. Some snowflakes which were left over from yesterday’s project finished the card.

I hope you enjoyed this project. The supplies used are listed and linked to the online store below.

I would love to be your demonstrator.

Thanks for stopping by today and happy Stampin’!

Verity xx

Product List

InspireINK Blog Hop – Back to Basics!

Good Morning Everybody,

Welcome to this month’s InspireINK blog hop. This time we have a theme challenge to play with.

“Back to Basics”

  • One stamp set
  • One Ink pad & card colour
  • One punch or die set
  • Optional ribbon & gems

Please be sure to click through all the projects in the hop by clicking on the link below.

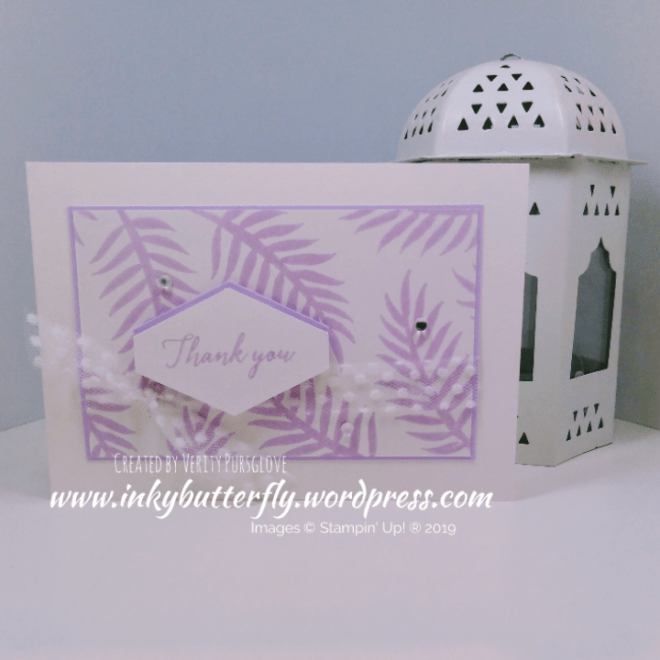
I chose one of my favourite stamp sets for this challenge, I find it so versatile.

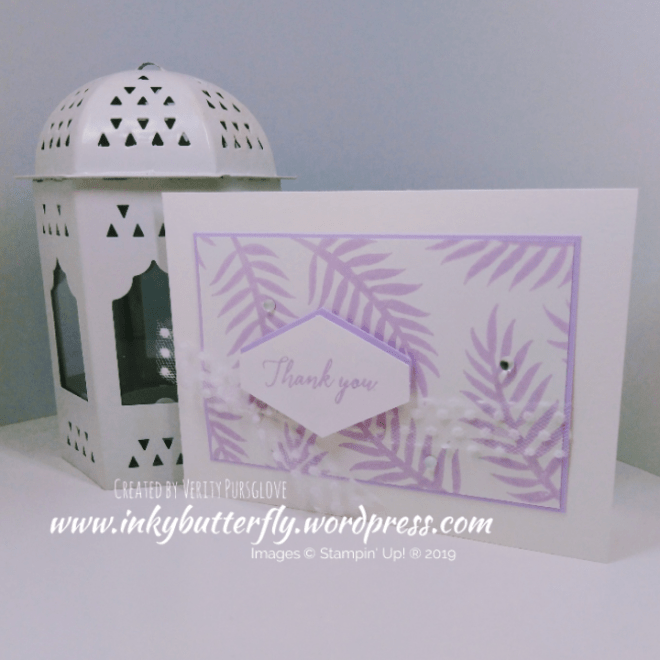
So Tropical Chic with a Purple Posy colour theme.

The card stock panel was randomly stamped using Purple Posy ink. This was layered on to matching card stock.

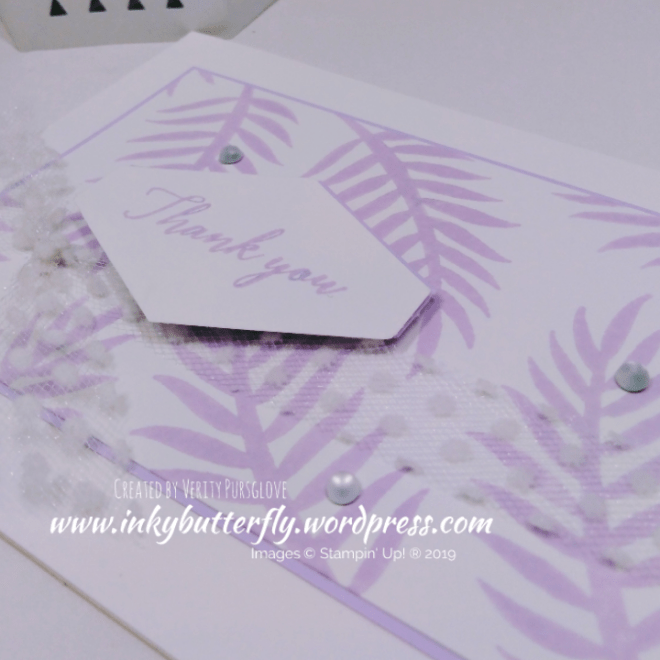
Some Polka Dot Tulle was tied around the panel before adhering to the card base.

The sentiment was cut using the Tailored Tag Punch. Some Purple Posy card stock was also punched and layered together with dimensionals.

Finally, some frosted Epoxy dots completed the card.

Click here for the other projects in the hop!

You are invited to the Inlinkz link party!

Click here to see the other projects

I hope you enjoyed this project. The supplies used are listed below.

Thanks for stopping by today and happy Stampin’!

Verity xx

Product List

Project Share Project

Hello Everyone,

Welcome to this week’s Project Share. As always my friends have created some lovely work. Please use the links to visit their blogs and read more about their projects.

This week Everyone has been creative with Designer Series Paper!

Jill’s card uses the Garden Impressions paper. This retired from the catalogue but is now available on the clearance rack! Once it’s gone, it’s gone!

Visit Jill’s blog here for even more ideas on using this paper.

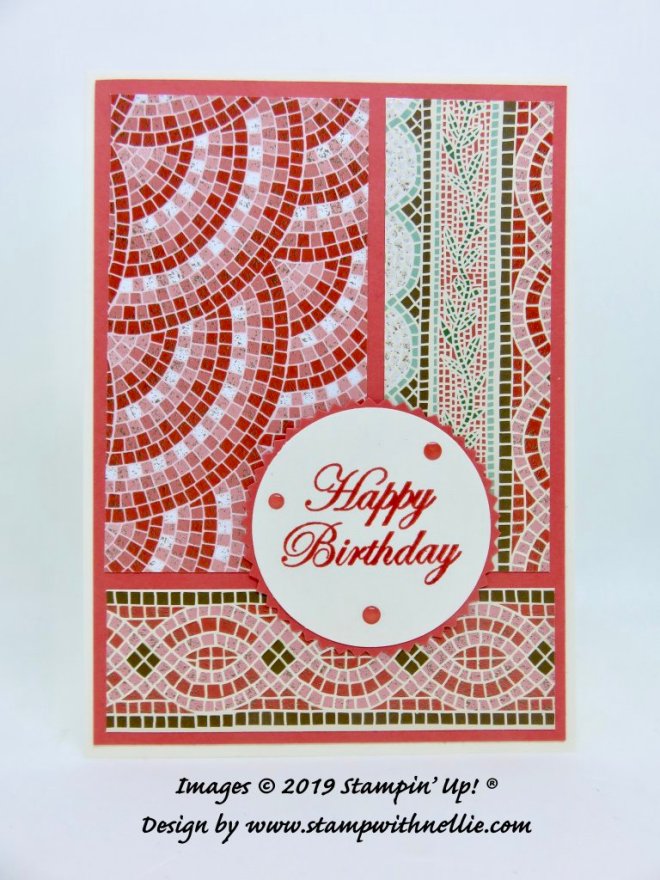
Heather is using Mosaic Mood paper. These are great papers that can be used for any occasion and any recipient!

Visit Heather’s blog here to see the card sketch she used for her design.

Gez is making the most of her papers using the negative space as well for a completely different look.

Visit Gez’s blog here where there are even more ideas!

I hope you enjoyed these projects. The supplies used are listed and linked to the online store below.

I would love to be your demonstrator.

Thanks for stopping by today and happy Stampin’!

Verity xx

Product List

Garden Impressions 6

Garden Impressions 6″ X 6″ (15.2 X 15.2 Cm) Designer Series Paper

[146289]

£10.25

Glimmer Snowflakes

Hello Everyone,

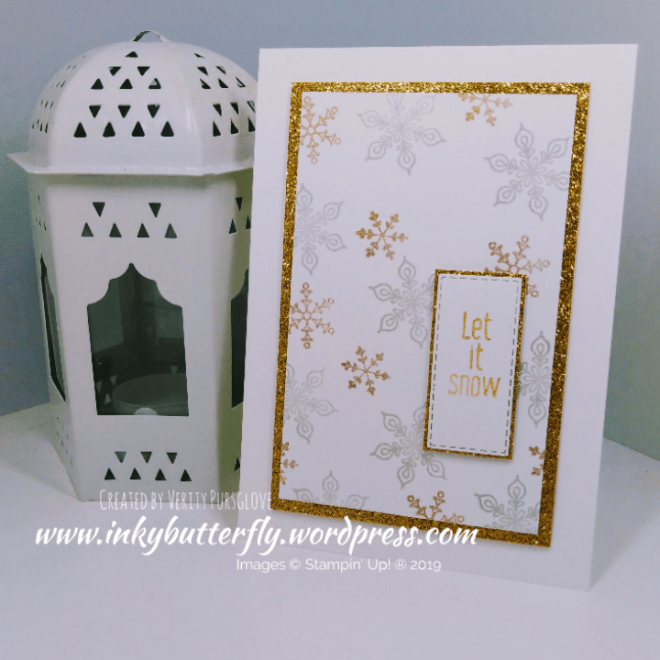
I just can’t stop using the metallic pigment inks. All three feature on this card!

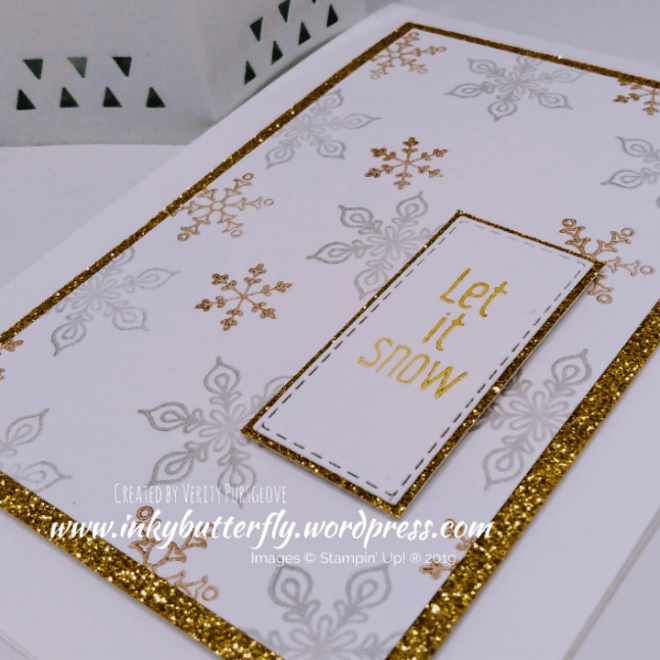
I started by using Silvery Shimmer and Celestial Copper to stamp snowflakes on to a card layer.

This was adhered to some Gold Glimmer paper and added to the card base with dimensionals.

The sentiment was stamped with Golden Glitz ink and cut with a Stitched Rectangle die. This was also layered with Gold Glimmer paper and added with dimensionals.

I hope you enjoyed this project. The supplies used are listed and linked to the online store below.

I would love to be your demonstrator.

Thanks for stopping by today and happy Stampin’!

Verity xx

Product List

Inspire.Create #054

Hello Everyone,

Welcome to my blog. Every other Monday I share my project that I have used as my entry for the Inspire.Create challenge.

This time it’s a theme challenge. The design team have made some wonderful samples as inspiration. You can see them here.

And this is what I created!

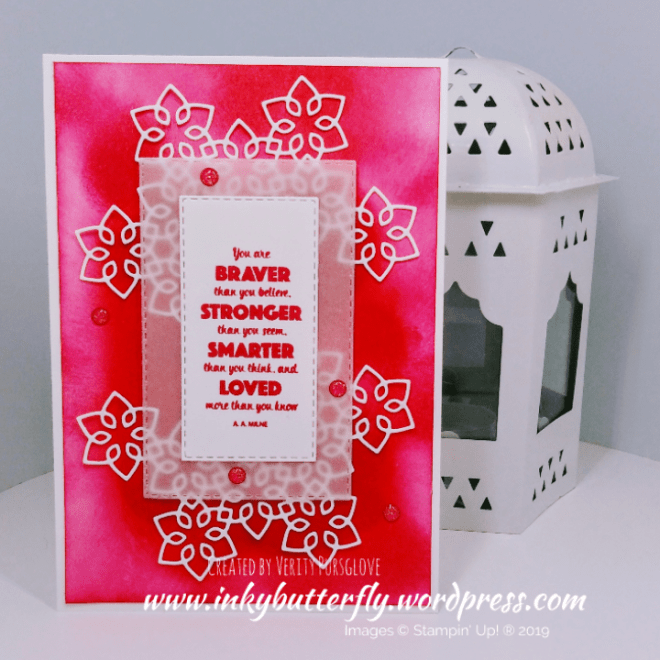
This challenge was the perfect excuse to use the Christmas Layers Die.

I originally thought I would use white on white but the detail didn’t shine as much as I wanted.

Instead I chose a super bright background and sponged the card stock with Melon Mambo ink.

The sentiment was also stamped with Melon Mambo Ink.

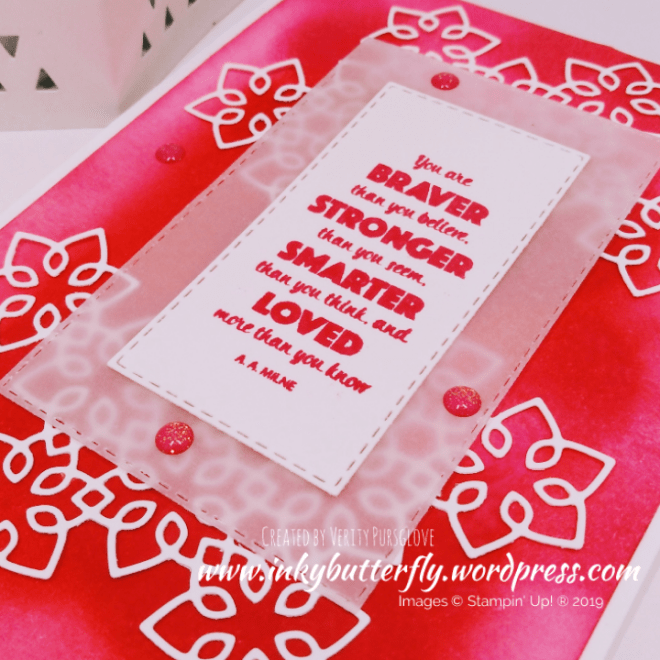
Stitched Rectangles dies were used to cut the sentiment and some vellum.

These were adhered with dimensionals and embellished with Melon Mambo glitter enamel dots.

I hope you enjoyed this project. The supplies used are listed and linked to the online store below.

I would love to be your demonstrator.

Thanks for stopping by today and happy Stampin’!

Verity xx

Product List

Plaid Pines

Hello Everyone,

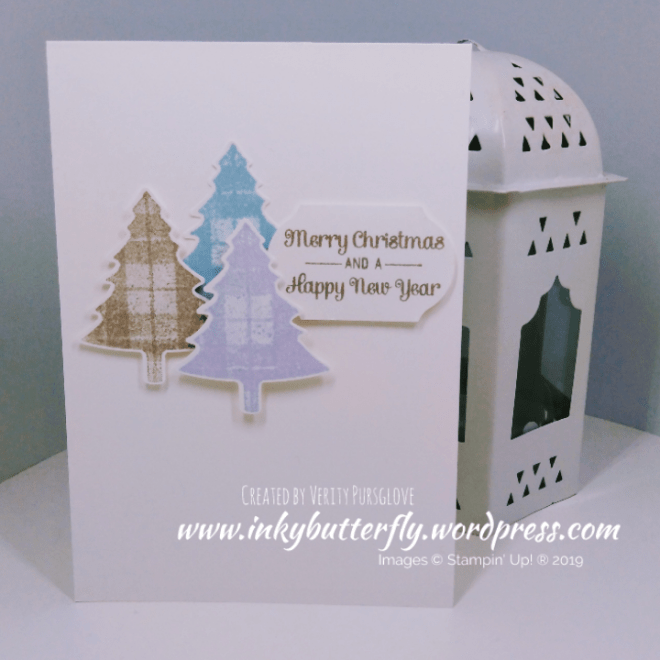
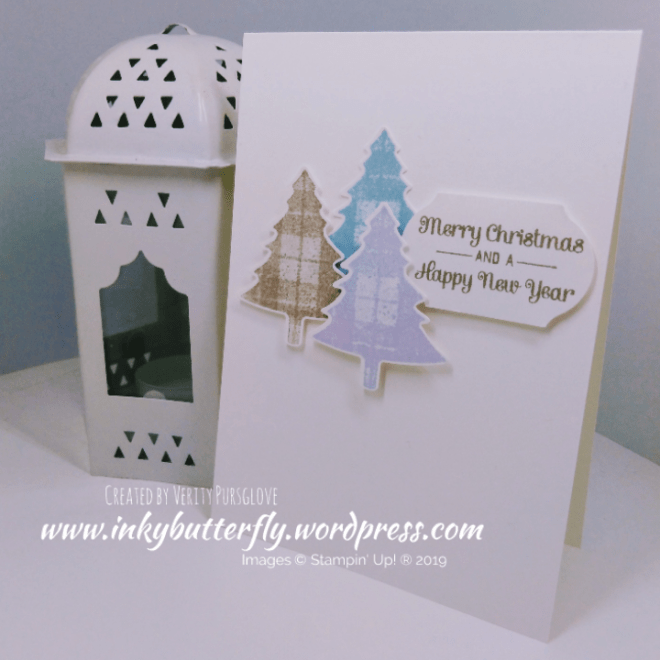
For today’s card I have used some different wintry colours including Purple Posy!

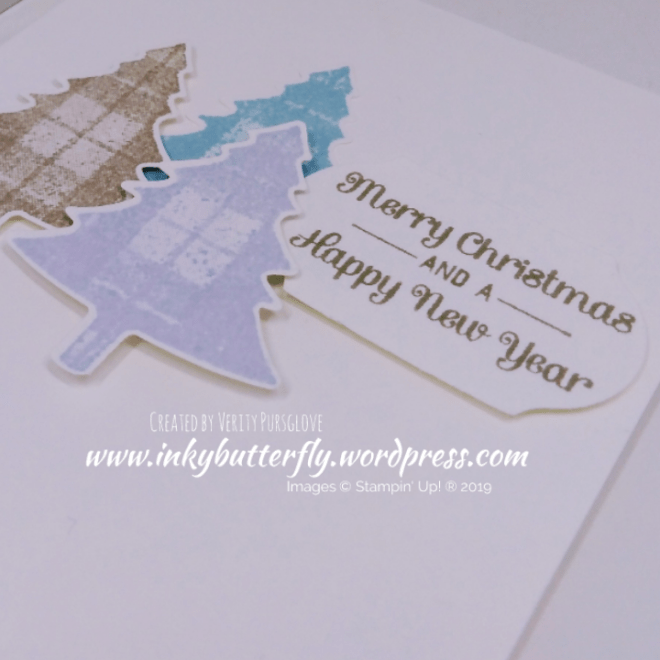
The pine trees were stamped on to Whisper White card stock with Seaside Spray, Gray Granite and Purple Posy inks.

The coordinating punch was used to cut the images out.

A combination of Snail and dimensional adhesive was used to secure the trees to a white card base.

The sentiment was stamped with Gray Granite ink and cut with the Timeless Label punch.

I hope you enjoyed this project. The supplies used are listed and linked to the online store below.

I would love to be your demonstrator.

Thanks for stopping by today and happy Stampin’!

Verity xx

Product List

Project Share Project

Hello Everyone,

Welcome to this week’s Project Share. As always my friends have created some lovely work. Please use the links to visit their blogs and read more about their projects.

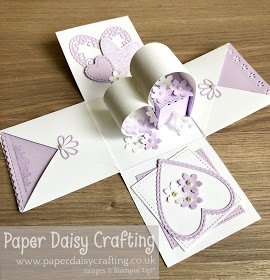
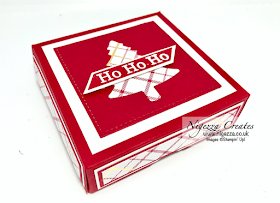
Jill has recreated this delightful exploding box. We learned to make these at our recent team retreat. I love Purple Posy!

Visit Jill’s blog here for the directions and credits.

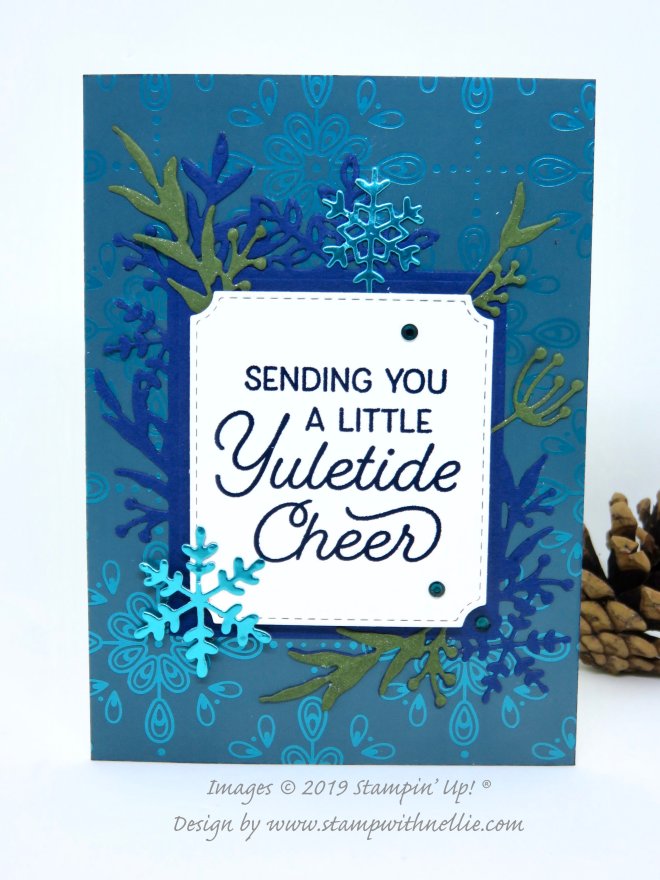
Heather has combined these beautiful Christmas dies with the stunning Speciality Designer Series Paper in the annual catalogue. The colours work so well for this Yuletide project.

Visit Heather’s blog here to see how this card was created.

Gez has spruced up one of the pizza boxes to make a cute craft fair item; they are the perfect size for coordinating 3×3 cards.

Visit Gez’s blog here for all the measurements you need!

I hope you enjoyed these projects. The supplies used are listed and linked to the online store below.

I would love to be your demonstrator.

Thanks for stopping by today and happy Stampin’!

Verity xx

Product List

At Christmas Time

Hello Everyone,

Here we go with another super simple Christmas card.

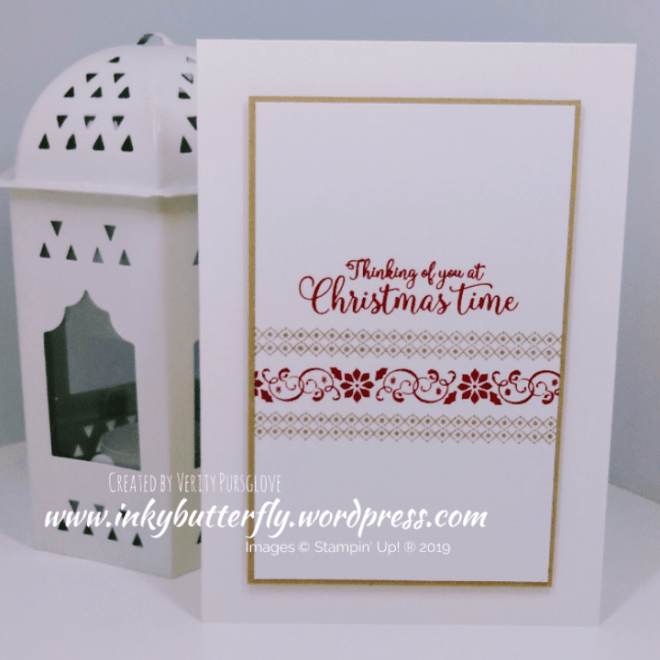
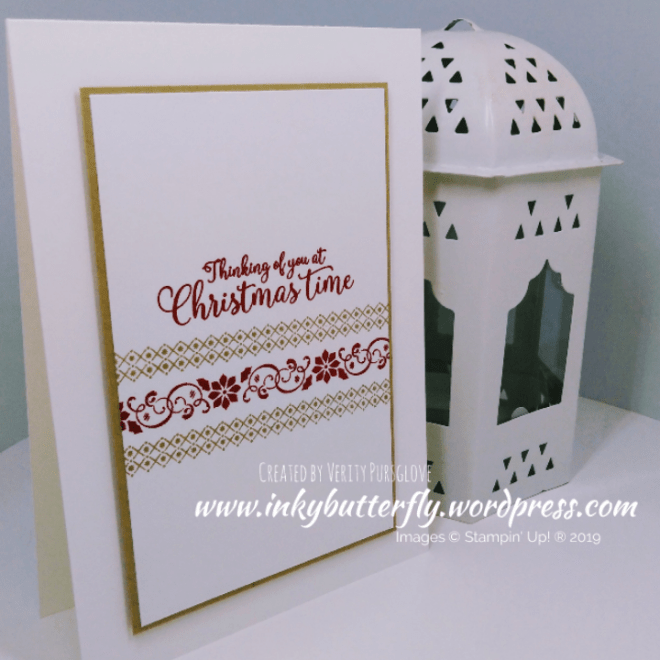
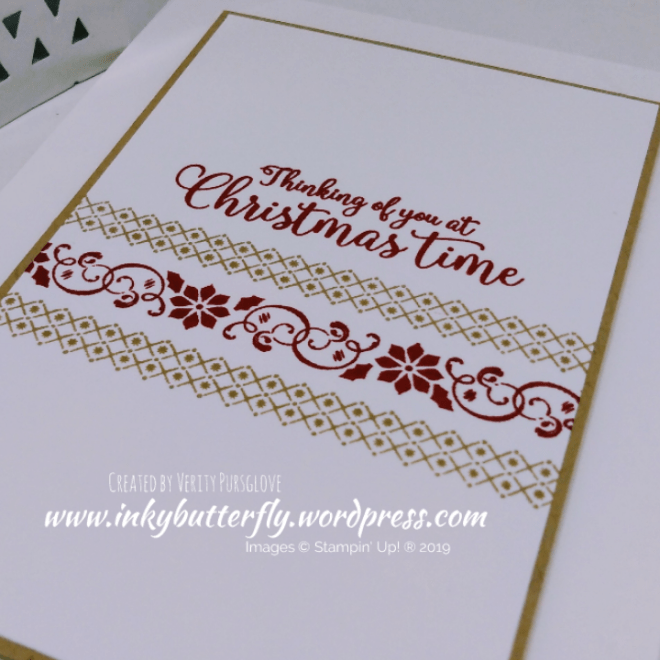
The border stamps from the Christmas Countdown set were stamped across a Whisper White card layer using Crumb Cake and Cherry Cobbler inks. A grid mat helps to keep everything straight.

The sentiment from the host stamp set, Greatest Part of Christmas, was added with Cherry Cobbler ink.

The layer was adhered to Crumb Cake card stock and then added to a Whisper White card base.

I hope you enjoyed this project. The supplies used are listed and linked to the online store below.

I would love to be your demonstrator.

Thanks for stopping by today and happy Stampin’!

Verity xx

Product List

Mixed Metallics

Hello Everyone,

Something non traditional for Christmas…. What about this? And it couldn’t be easier to make.

No card layers were used for this one, so I used the Stamparatus just in case the images didn’t stamp well the first time.

I actually positioned the sentiment first, inking this with Golden Glitz pigment ink.

The trees were stamped with Silvery Shimmer pigment ink – this definately benefitted from a second layer of ink.

And that is it! Nothing else added… Of course, that doesn’t stop you adding whatever embellishments you like!

I hope you enjoyed this project. The supplies used are listed and linked to the online store below.

I would love to be your demonstrator.

Thanks for stopping by today and happy Stampin’!

Verity xx

Product List

Stamparatus

[148187]

£46.00

Starry Seasons Greetings

Hello Everyone,

This week I’ll be sharing some super simple cards that can be made quickly and easily.

For this card, the star is the most complicated element, but this can sped up using the Stamparatus if required.

For the two tone look, the decorative image was stamped first with Real Red ink.

The outline was stamped next with versamark and then heat embossed with gold powder.

The coordinating dies were used to cut the image.

The sentiment was added to a white card base with Real Red ink and the star adhered with dimensionals.

I hope you enjoyed this project. The supplies used are listed and linked to the online store below.

I would love to be your demonstrator.

Thanks for stopping by today and happy Stampin’!

Verity xx

Product List

Snowy Merry Christmas

Hello Everyone,

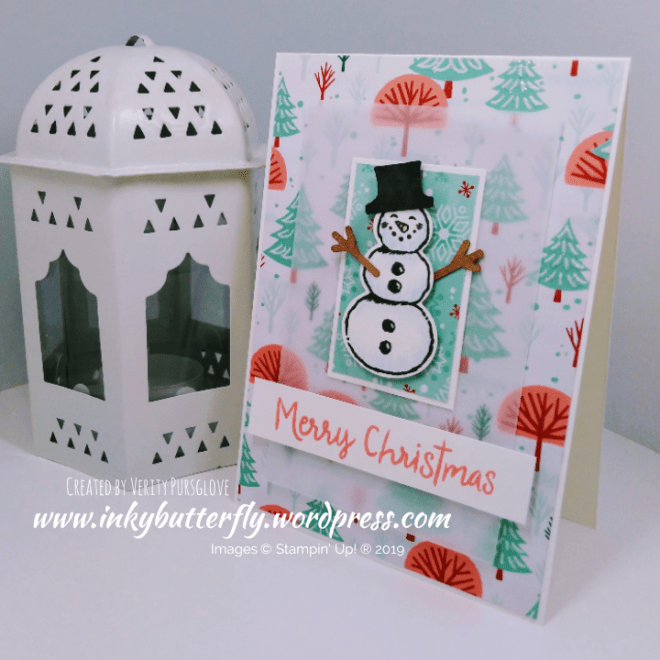
Look at this cute snowman! He’s so happy it’s Christmas!

A white card base was prepared by layering some Speciality Designer Series Paper on to the front.

Vellum was trimmed to 3 by 4-3/4 and secured to the centre of the card.

The snowman was stamped with Memento Ink and coloured with watercolour pencils. The coordinating punch was used to cut the image. His hat and arms were coloured with Stampin’ Blends.

I mounted the snowman onto some Designer Series Paper and White card stock before adhering to the card.

The sentiment was stamped with Flirty Flamingo ink and added with dimensionals.

I hope you enjoyed this project. The supplies used are listed and linked to the online store below.

I would love to be your demonstrator.

Thanks for stopping by today and happy Stampin’!

Verity xx

Product List

Project Share Project

Hello Everyone,

Welcome to this week’s Project Share. As always my friends have created some lovely work. Please use the links to visit their blogs and read more about their projects.

Jill’s card shows the versatility of stamp sets. Sometimes it’s the smaller accent images that make the prettiest projects.

Visit Jill’s blog here to see how this card was put together.

Heather has a whole series using the Most Wonderful Time product medley. Aren’t these place settings cute!

Visit Heather’s blog here to see how to make your own.

Gez is sharing some of her hints and tips for hiding little ink mishaps.

Visit Gez’s blog here to see how this card evolved.

I hope you enjoyed these projects. The supplies used are listed and linked to the online store below.

I would love to be your demonstrator.

Thanks for stopping by today and happy Stampin’!

Verity xx

Product List

Comfort and Joy

Hello Everyone,

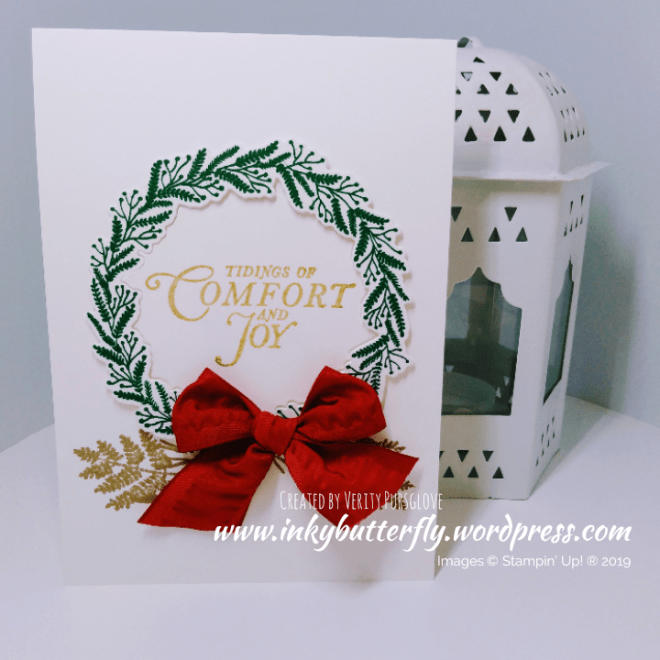
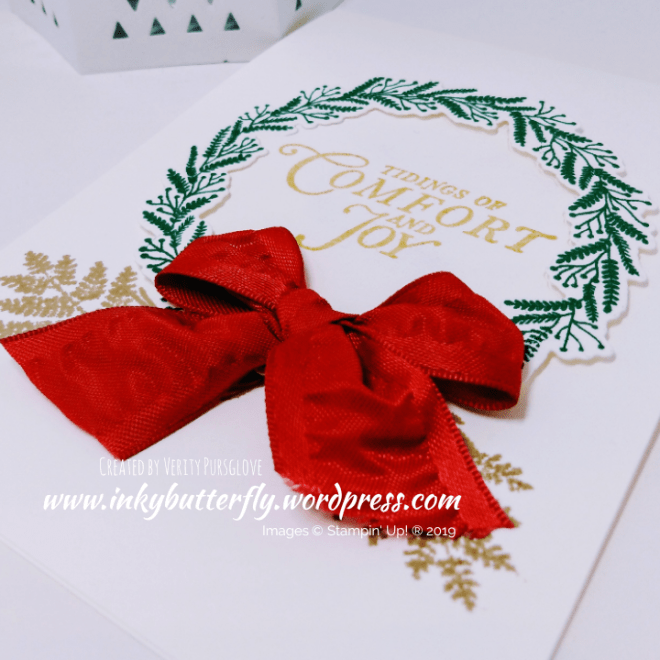
Here’s another card using this stunning wreath from the Tidings All Around stamp set.

Shaded Spruce Ink was used to stamp the wreath which was then die cut.

Before adhering the wreath to the card, two of the additional sprigs were stamped with Crumb Cake Ink.

Golden Glitz ink was used to add the sentiment.

Every wreath needs a bow, so I used the Real Red Ruched Ribbon to tie a bow which was secured with a glue dot.

I hope you enjoyed this project. The supplies used are listed and linked to the online store below.

I would love to be your demonstrator.

Thanks for stopping by today and happy Stampin’!

Verity xx

Product List

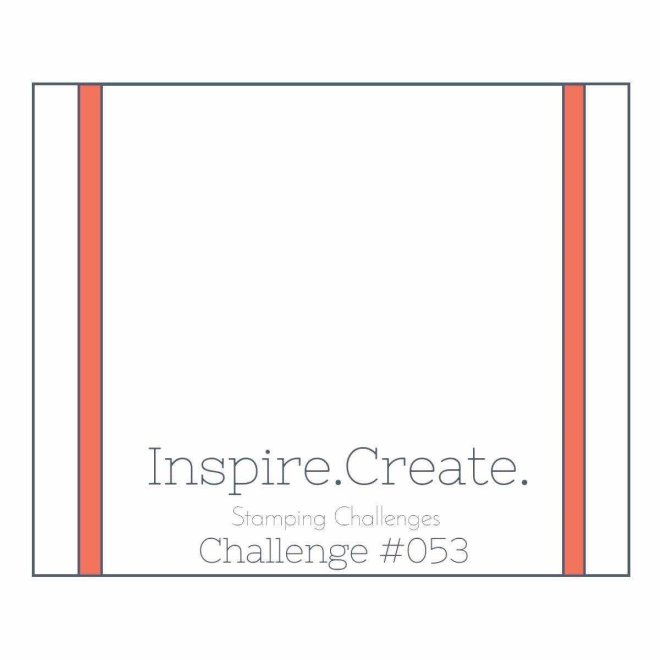
Inspire.Create #053

Hello Everyone,

Welcome to my blog. Today I am sharing my Inspire.Create challenge entry.

This time it’s a sketch challenge. The design team have made some wonderful samples as inspiration. You can see them here.

And this is what I created!

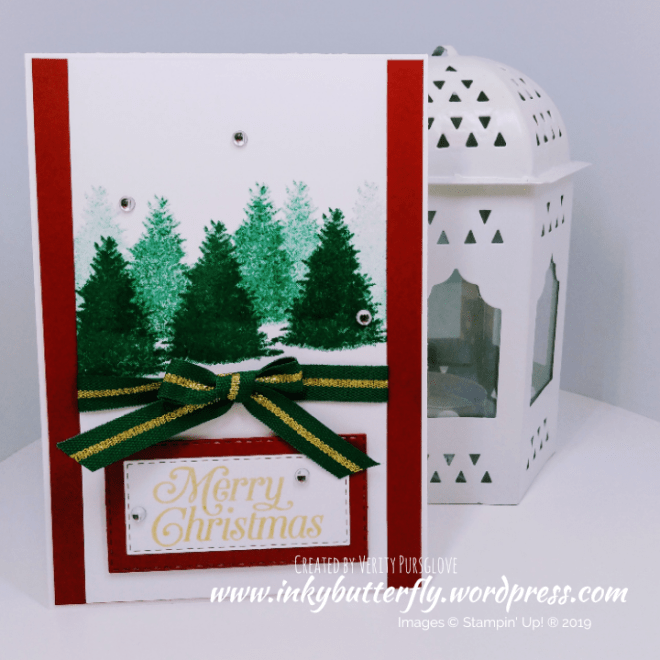
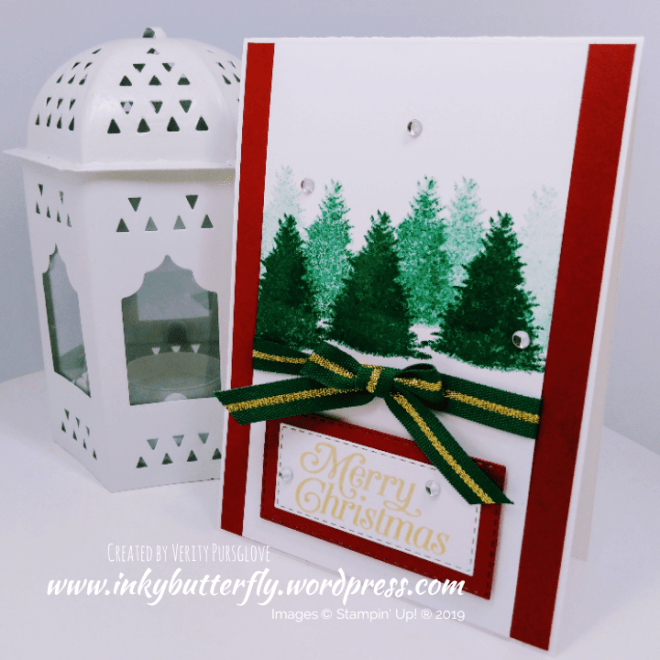
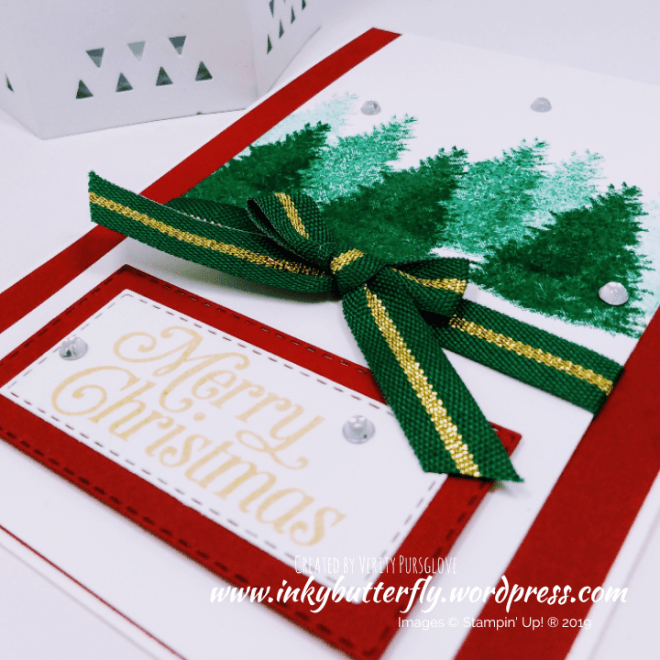
I used Shaded Spruce ink to stamp the pine trees. Several generations of ink created depth.

I added some ribbon and adhered this to some Cherry Cobbler card stock.

The sentiment was stamped with gold ink and die cut with a Stitched Rectangle Die, which was then added with dimensionals.

Some epoxy dots completed the card.

I hope you enjoyed this project. The supplies used are listed and linked to the online store below.

I would love to be your demonstrator.

Thanks for stopping by today and happy Stampin’!

Verity xx

Product List

No Sentiment Required

Hello Everyone,

Beauty & Joy is a stamp set that is easily overlooked in the Autumn Winter catalogue. I love this set!

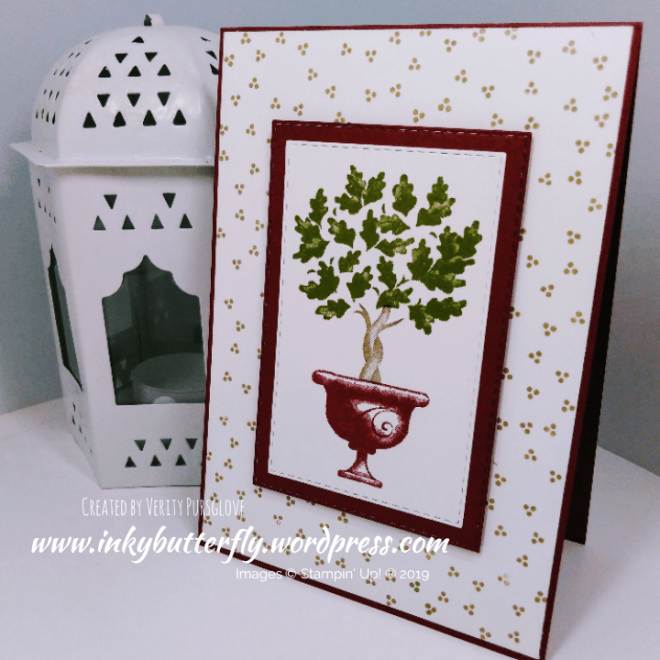
I kept the card simple. The tree was stamped on to Whisper White card stock starting with the pot using Merry Merlot, Crumb Cake and Garden Green inks.

The image was die cut with a Stitched Rectangle and layered on to a Merry Merlot Stitched Rectangle.

A card base was made with Merry Merlot card stock. A Whisper White card layer was stamped with the tiny dots in the set using Crumb Cake ink.

The topper was added with dimensionals. I decided not to add a sentiment, so the image remained the focal point of the card.

I hope you enjoyed this project. The supplies used are listed and linked to the online store below.

I would love to be your demonstrator.

Thanks for stopping by today and happy Stampin’!

Verity xx

Product List

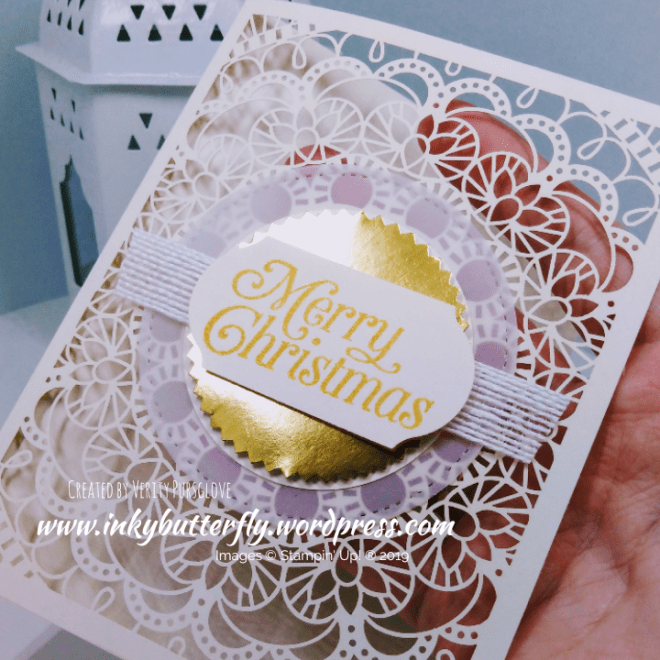
Laser Cut Merry Christmas

Hello Everyone,

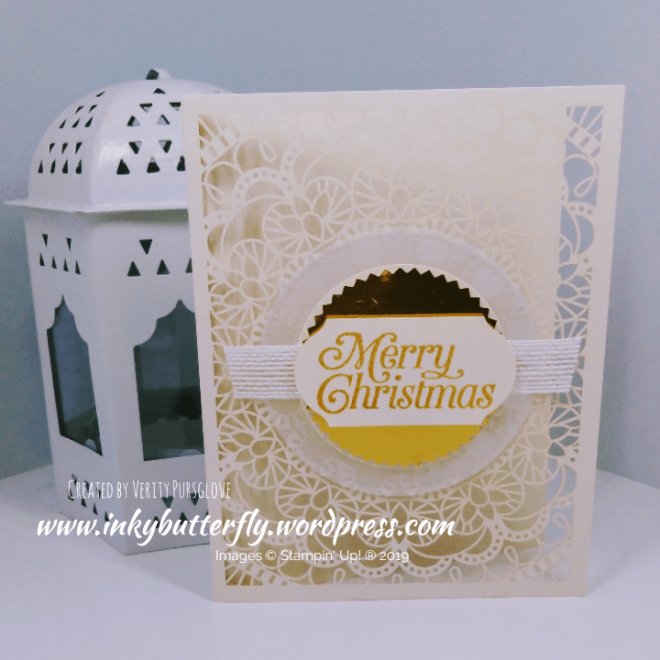
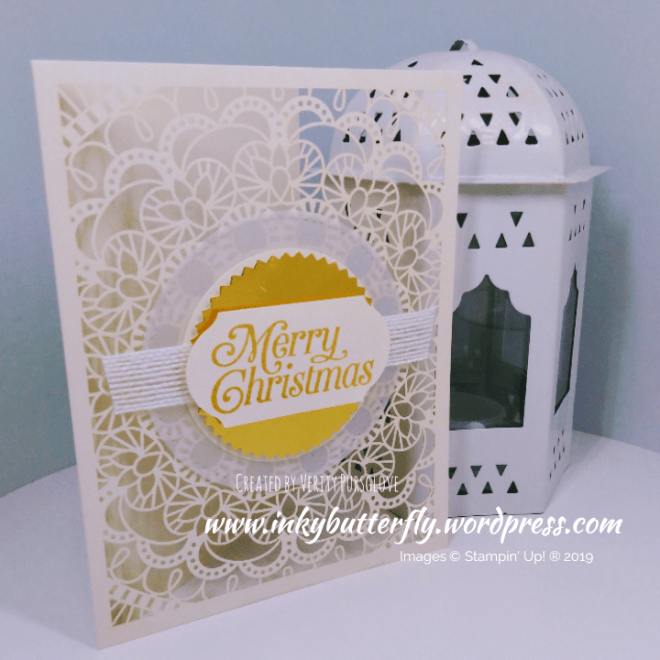
For today’s card I wanted to use the transparency of the laser cut cards as a feature.

It is not shown in the photos, but I started by adhering a 2 inch punched circle on the inside of the card to hide glue used on the front.

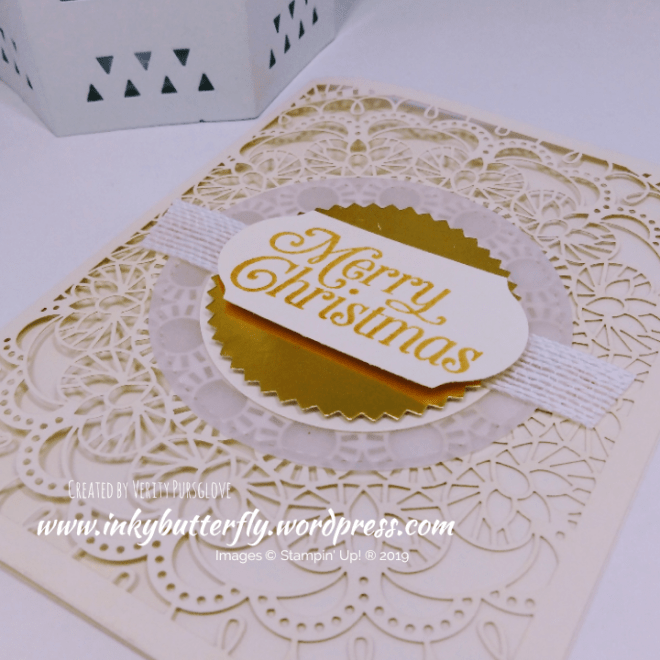
The layers for the topper added as follows;

  • Vellum cut with a Stitched Circle Die,
  • White Flax ribbon,
  • Very Vanilla card stock cut with 2-1/4 inch circle punch,
  • Gold foil card stock cut with the Starburst Punch,
  • Very Vanilla ard stock cut with the Timeless Label punch prestamped with Golden Glitz Delicata ink.

I hope you enjoyed this project. The supplies used are listed and linked to the online store below.

I would love to be your demonstrator.

Thanks for stopping by today and happy Stampin’!

Verity xx

Product List