Hello Everyone,
Welcome to my blog. Every other Monday I share my project that I have used as my entry for the Inspire.Create challenge.
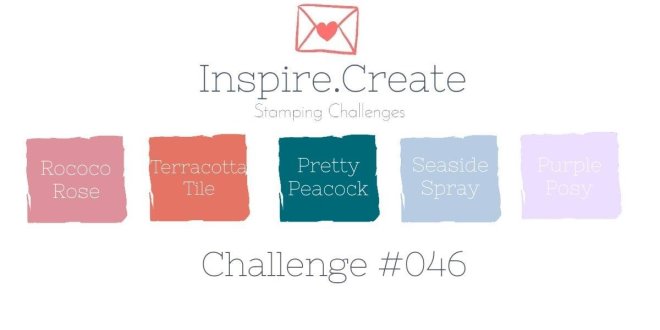
This time it’s a colour challenge. The design team have made some wonderful samples as inspiration. You can see them here.
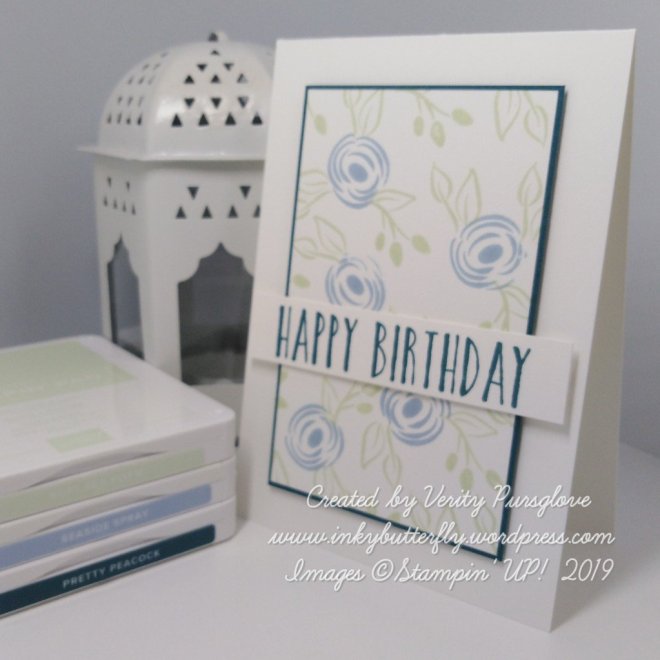
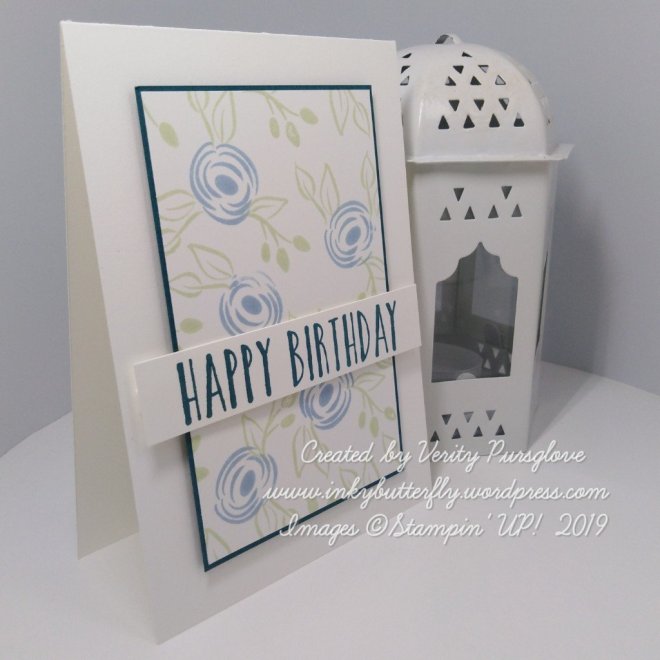
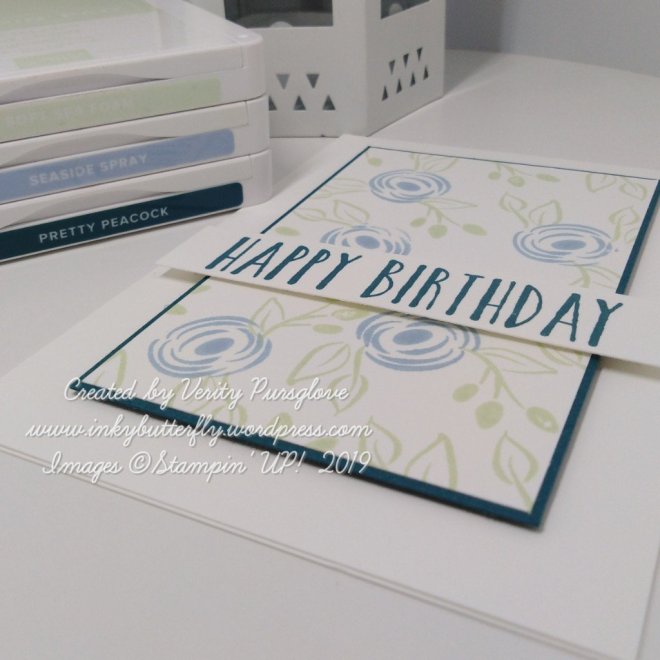
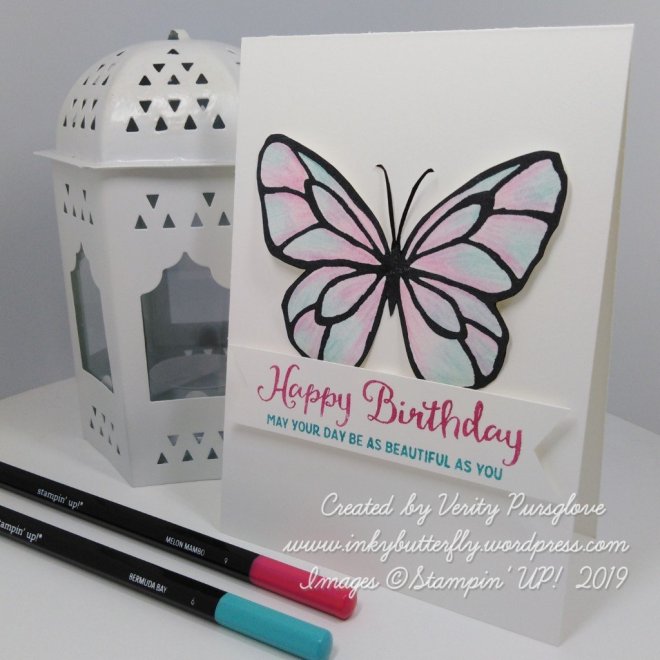
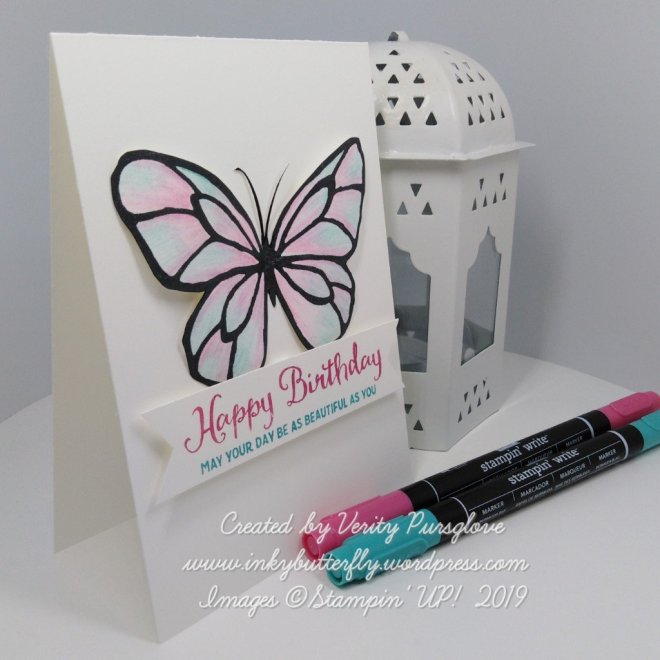
And this is what I created!

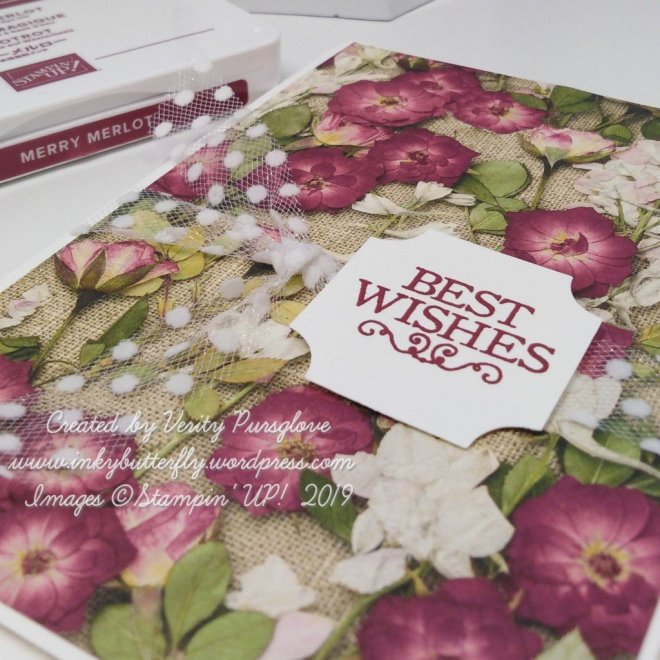
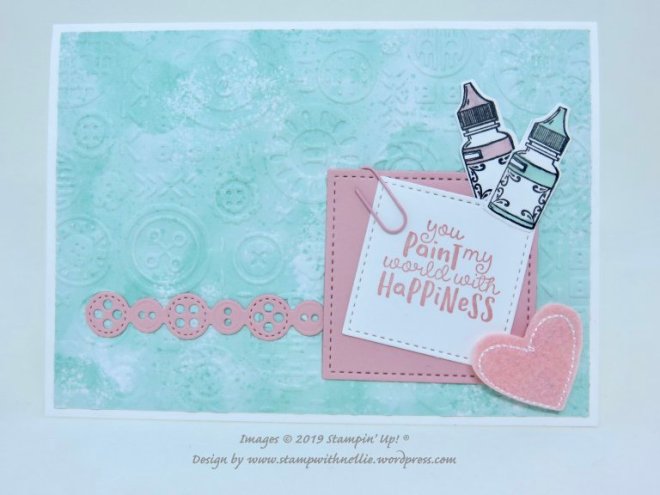
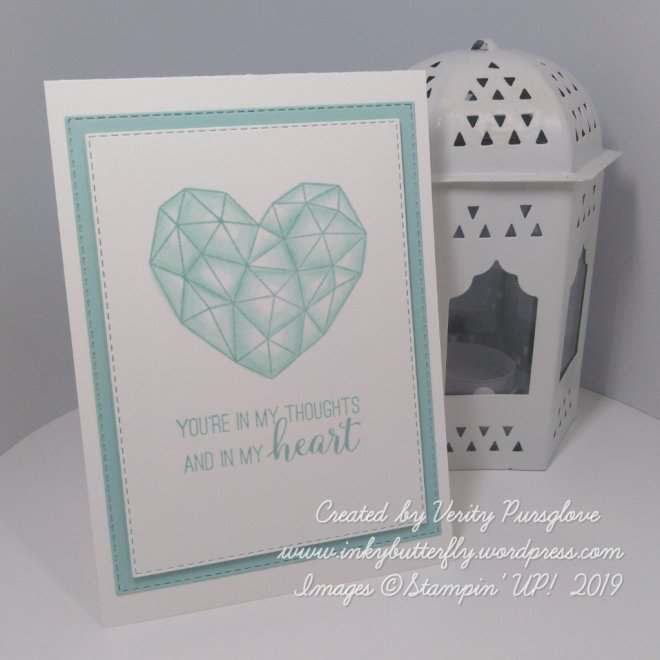
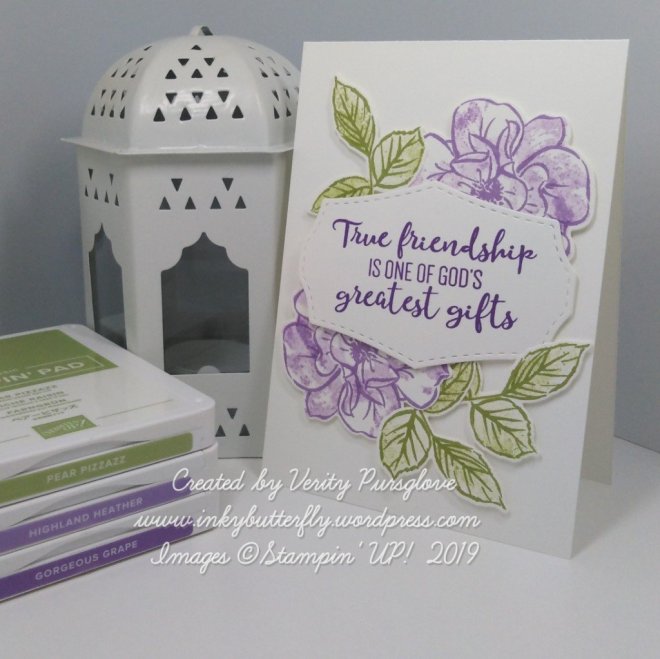
If I’m honest I wasn’t sure what I wanted to create to begin with, I don’t have all the ink colours. But I have the card stock! I already had these Stitched Rectangles left over from another project.

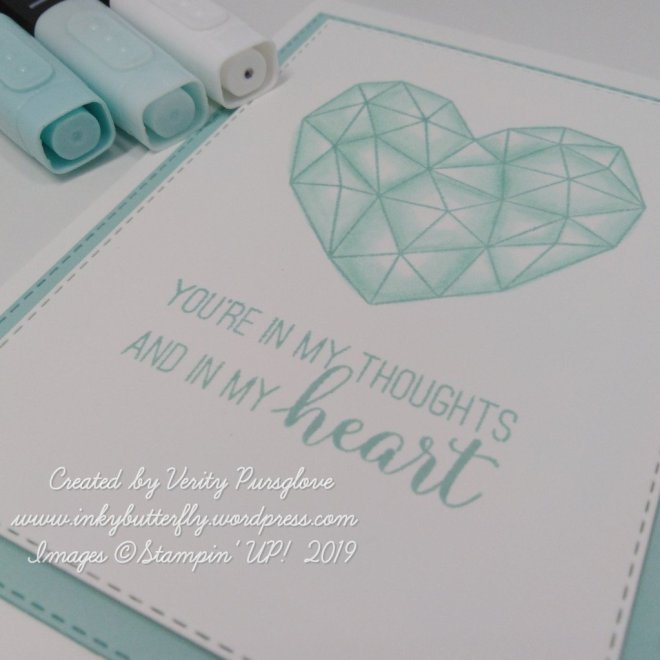
For some added interest, though it is not clear on the photos, I stamped the script image from the Very Versaille stamp set with versamark and heat embossed with clear powder.
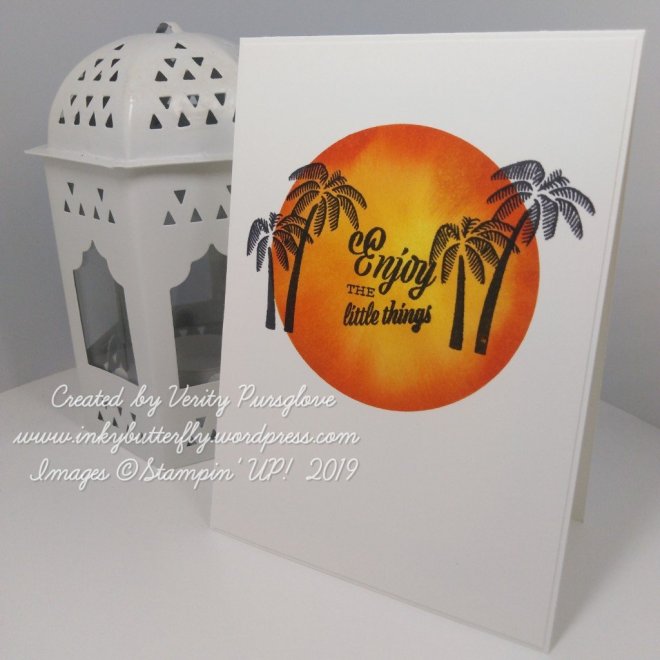
The coloured rectangle was added towards the right hand side of the card with dimensionals.
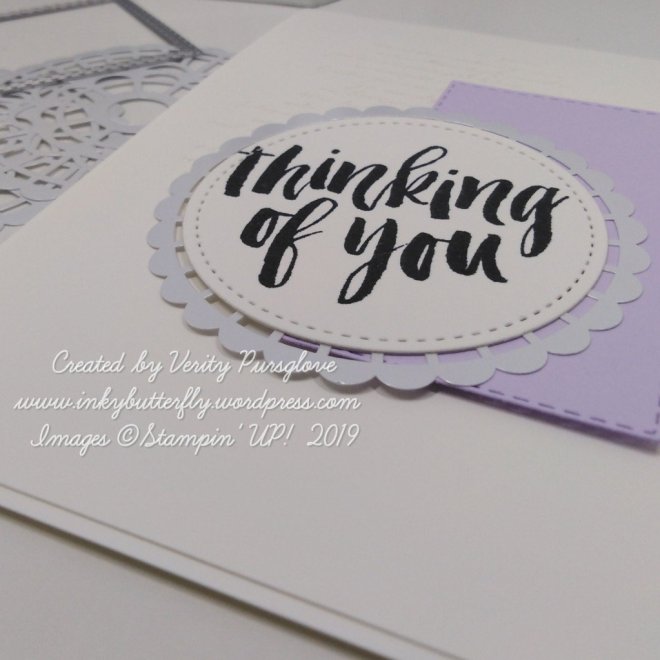
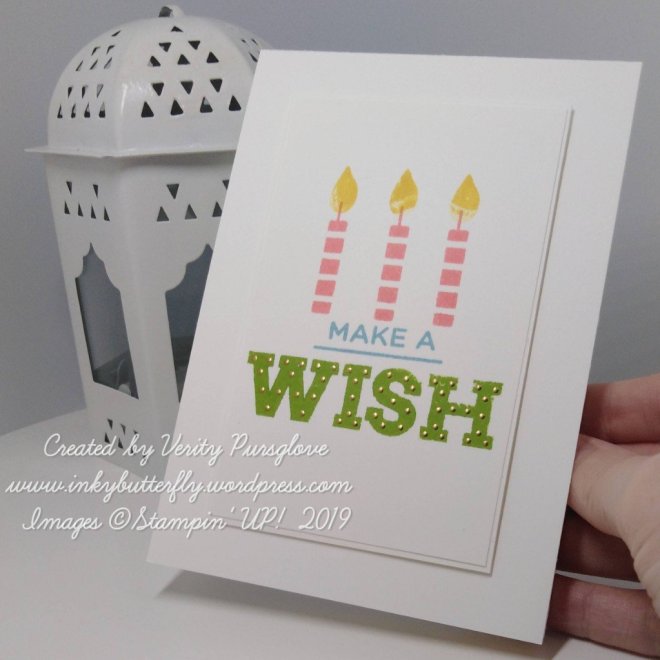
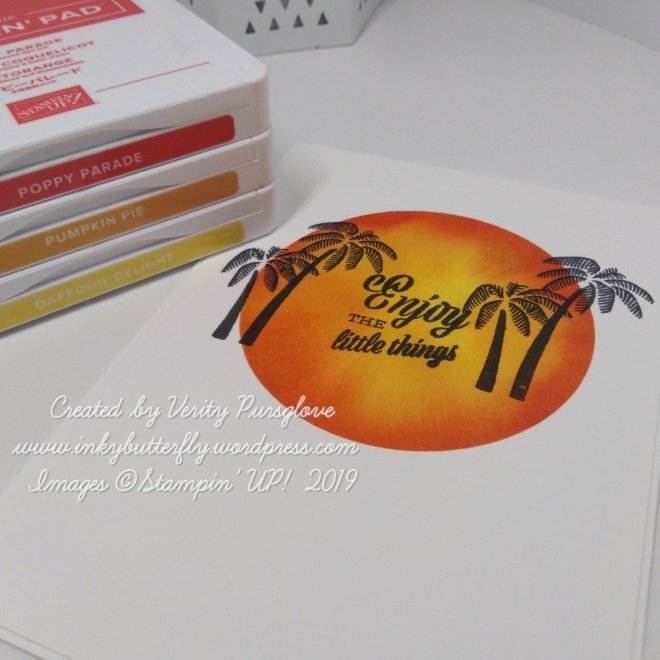
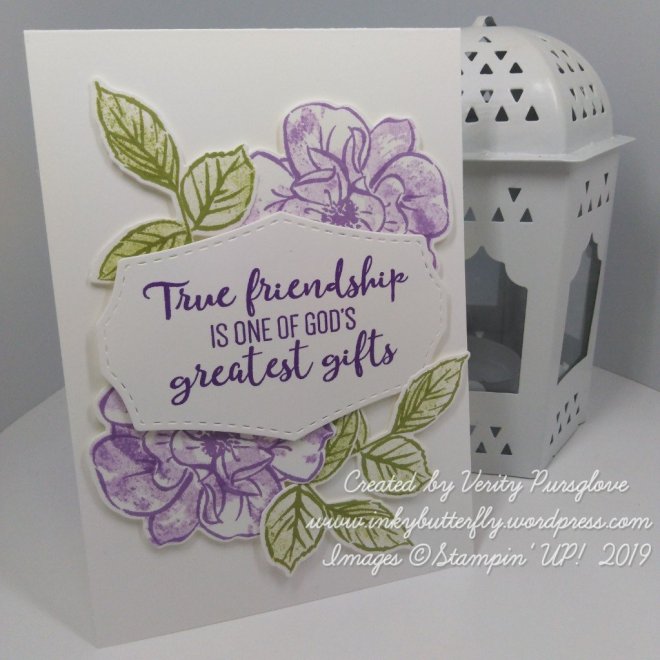
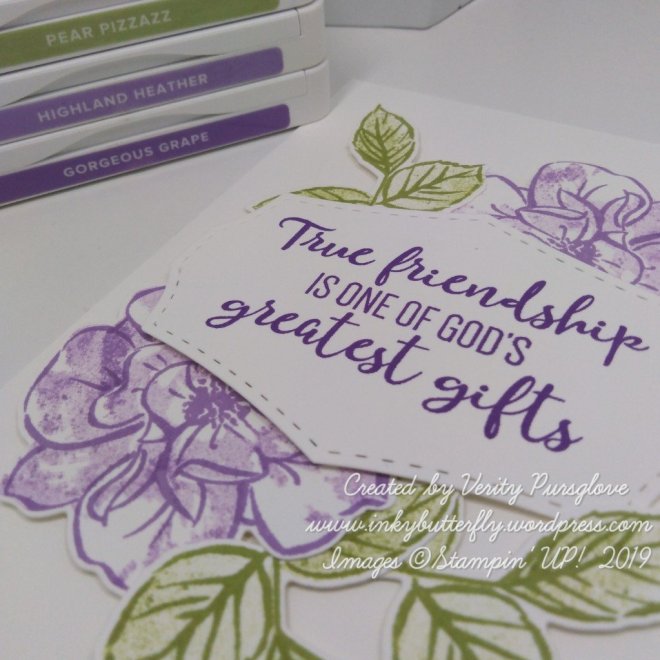
I wanted a bold sentiment, I picked this one from Rooted in Nature.
This was stamped with Memento ink and die cut with a Stitched Circle. Each circle was mounted on to a Pearlized Doily.

I hope you enjoyed this project. The supplies used are listed and linked to the online store below.
I would love to be your demonstrator.
Thanks for stopping by today and happy Stampin’!
Verity xx
Product List