Hello Everyone,
Beauty & Joy is a stamp set that is easily overlooked in the Autumn Winter catalogue. I love this set!
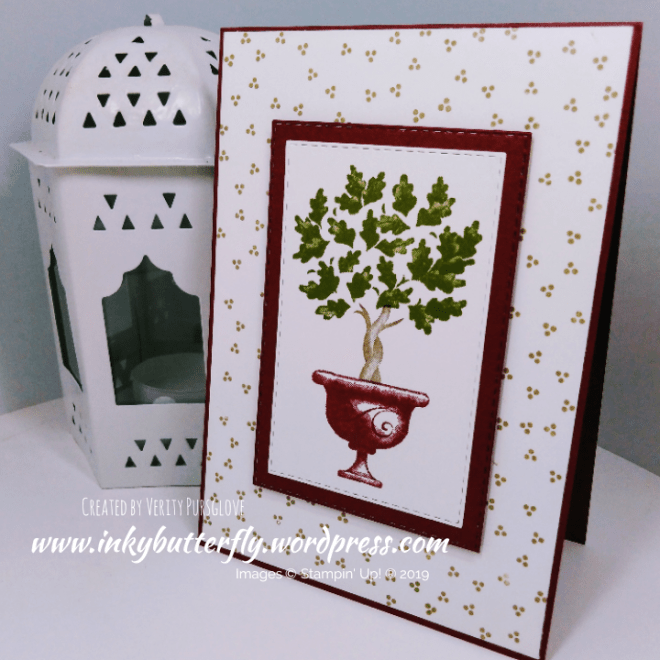
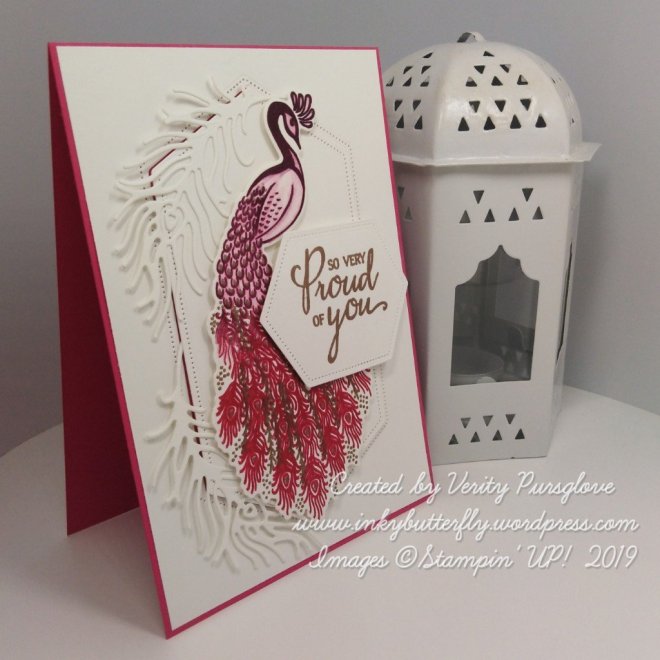
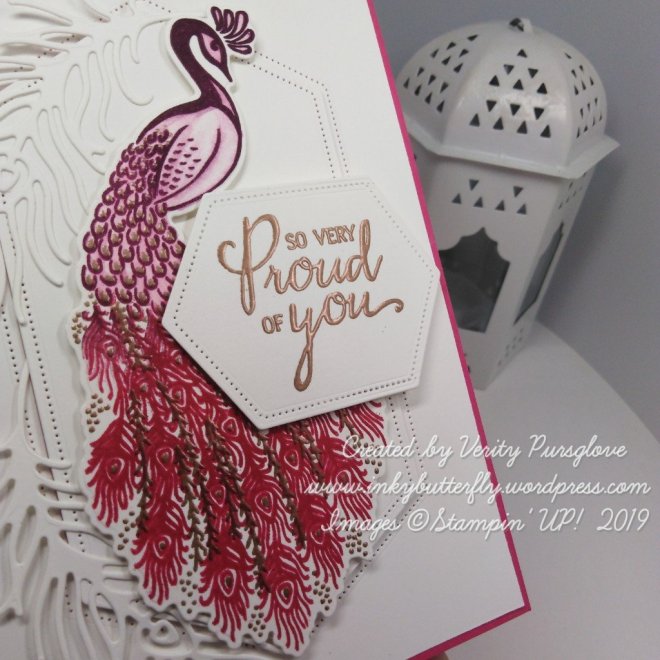
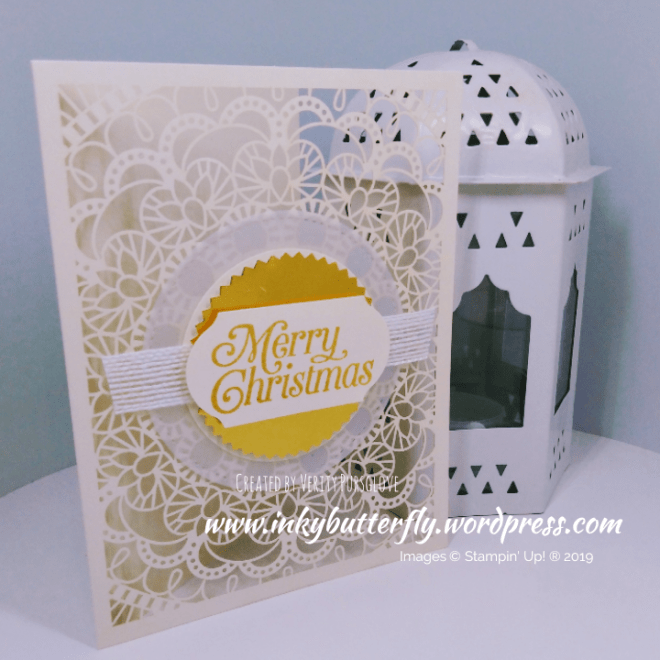
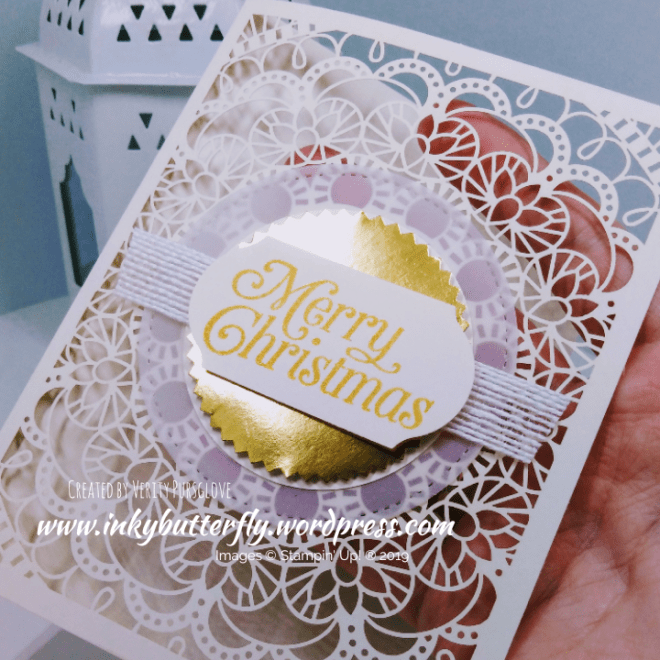
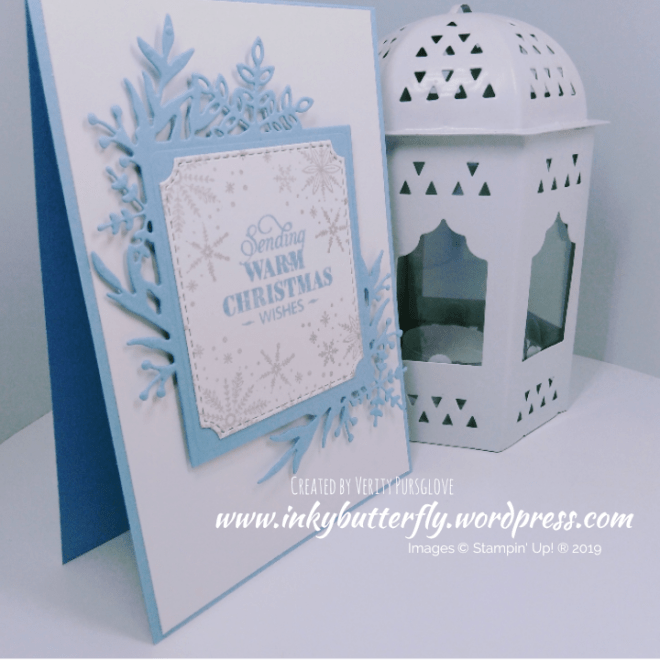
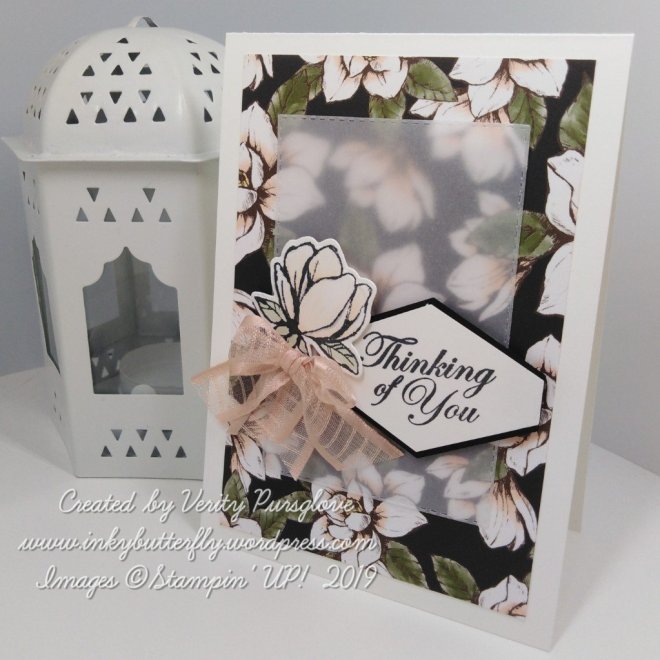
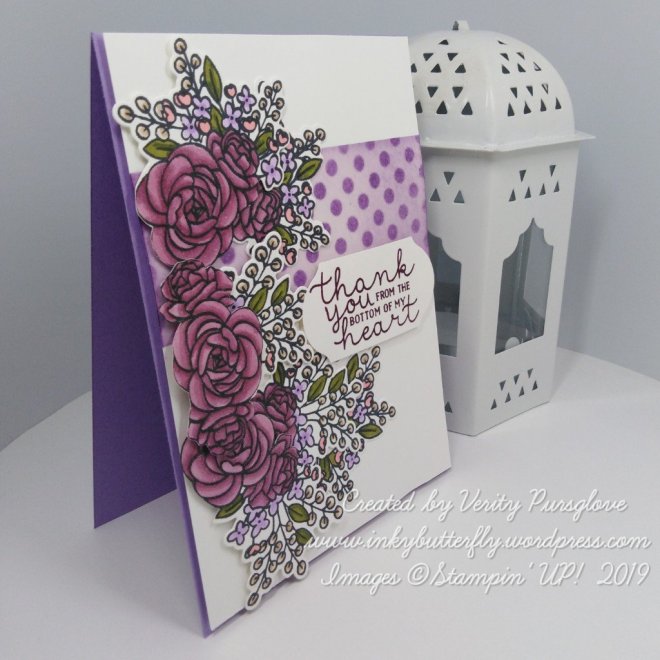
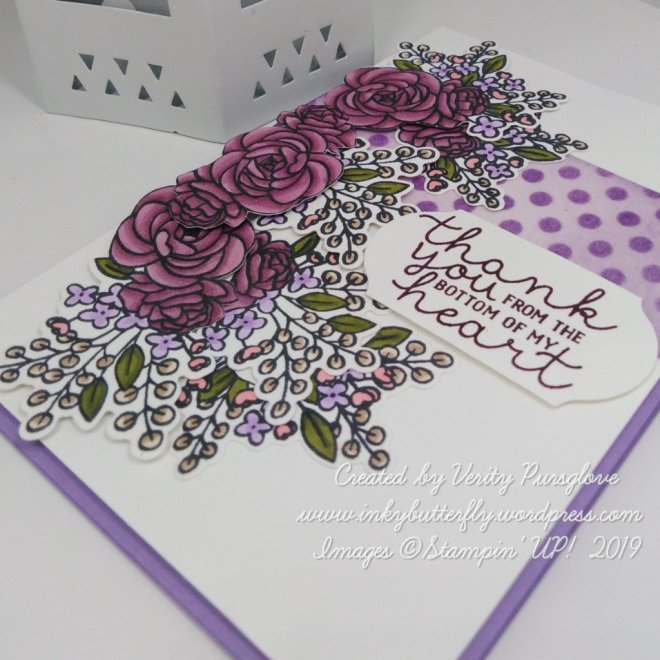
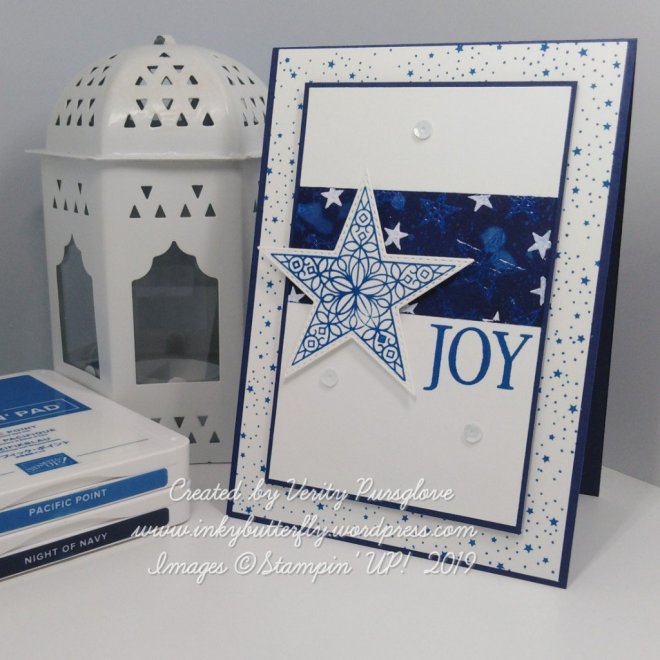
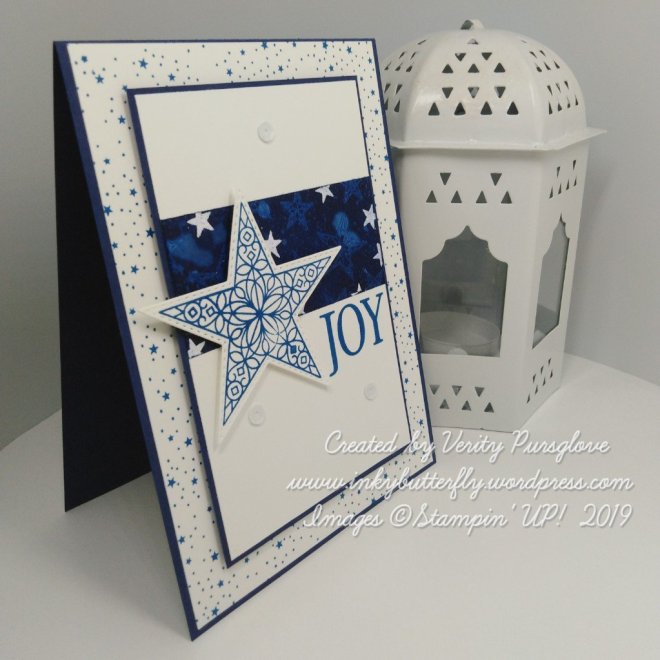
I kept the card simple. The tree was stamped on to Whisper White card stock starting with the pot using Merry Merlot, Crumb Cake and Garden Green inks.
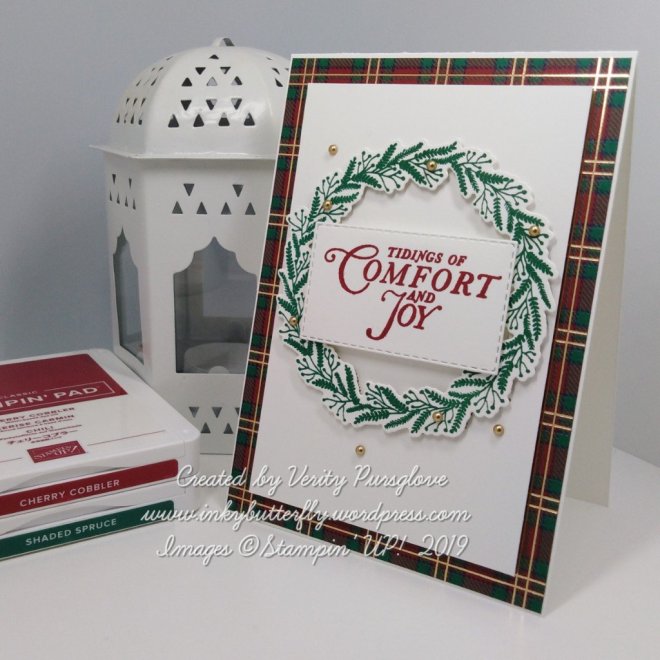
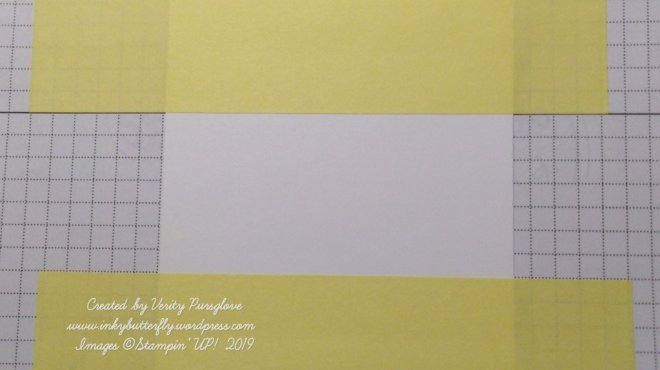
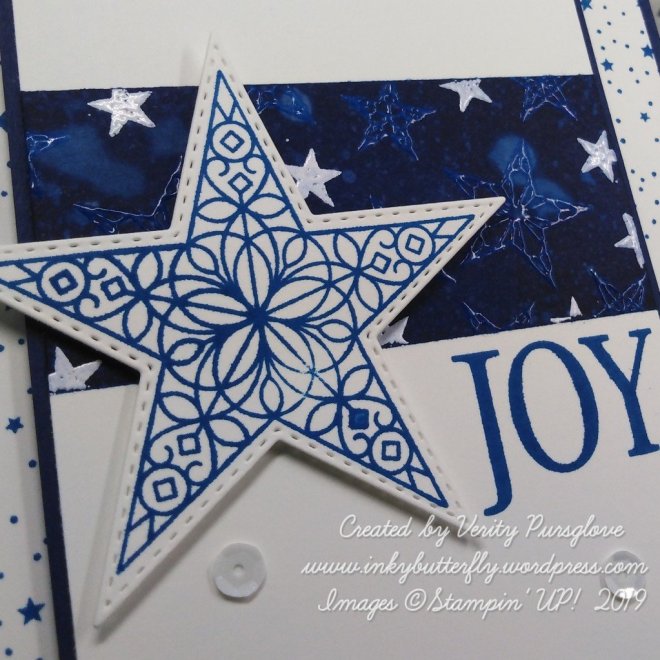
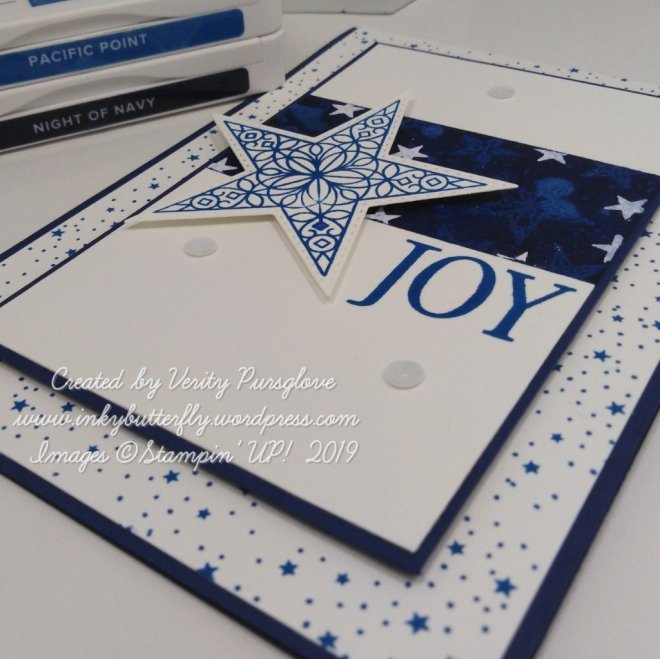
The image was die cut with a Stitched Rectangle and layered on to a Merry Merlot Stitched Rectangle.
A card base was made with Merry Merlot card stock. A Whisper White card layer was stamped with the tiny dots in the set using Crumb Cake ink.
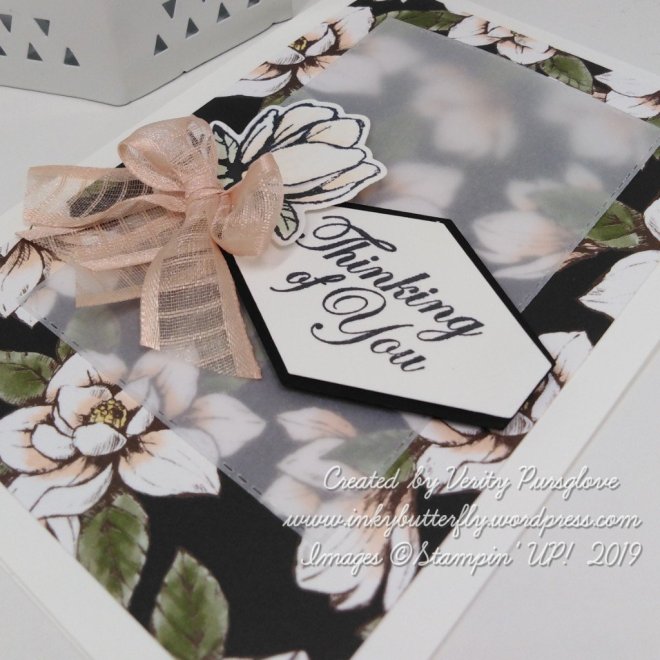
The topper was added with dimensionals. I decided not to add a sentiment, so the image remained the focal point of the card.

I hope you enjoyed this project. The supplies used are listed and linked to the online store below.
I would love to be your demonstrator.
Thanks for stopping by today and happy Stampin’!
Verity xx
Product List

|

|
|

|

|

|


")


")


")


")
")


")


")


")