Hello Everyone,
Welcome to my blog. Every other Monday I share my project that I have used as my entry for the Inspire.Create challenge.
This time it’s a theme challenge. The design team have made some wonderful samples as inspiration. You can see them here.

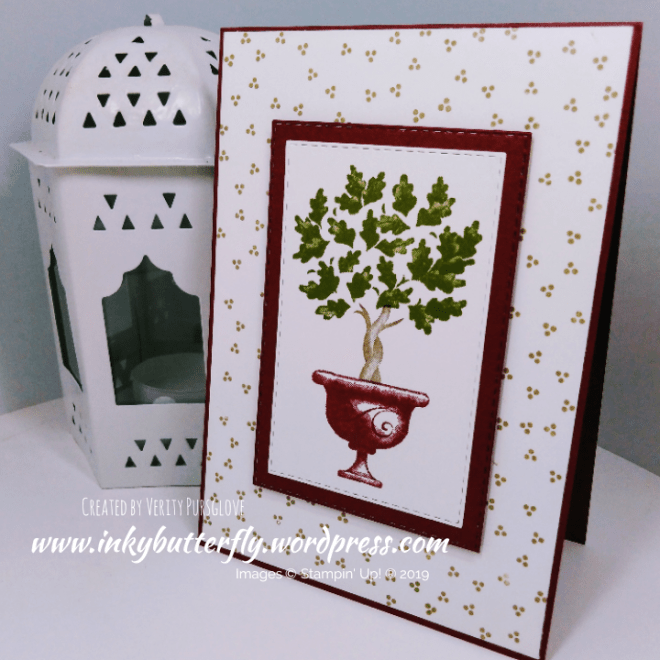
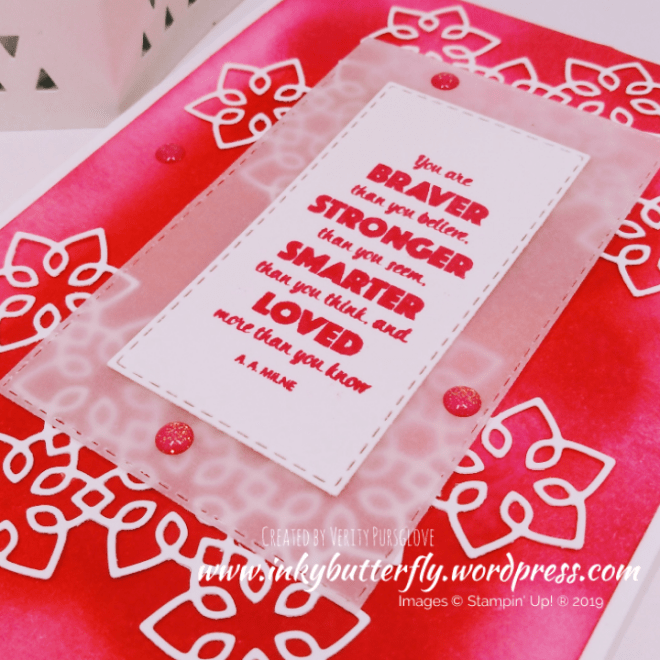
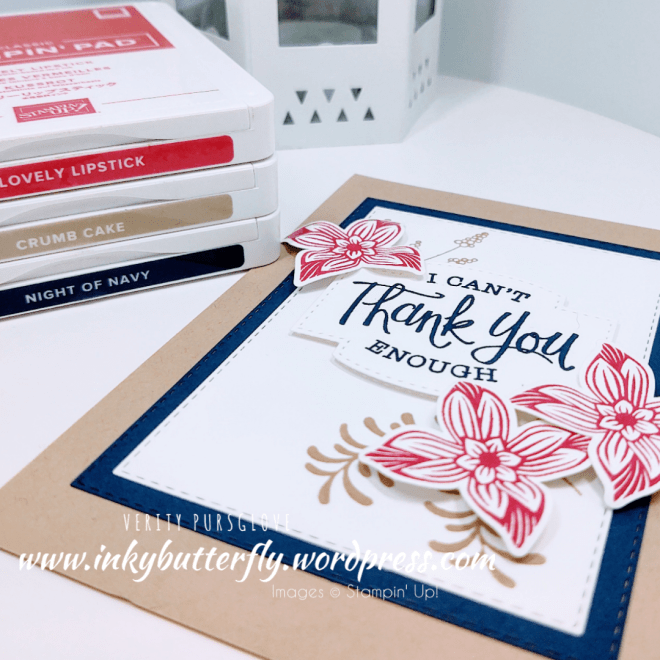
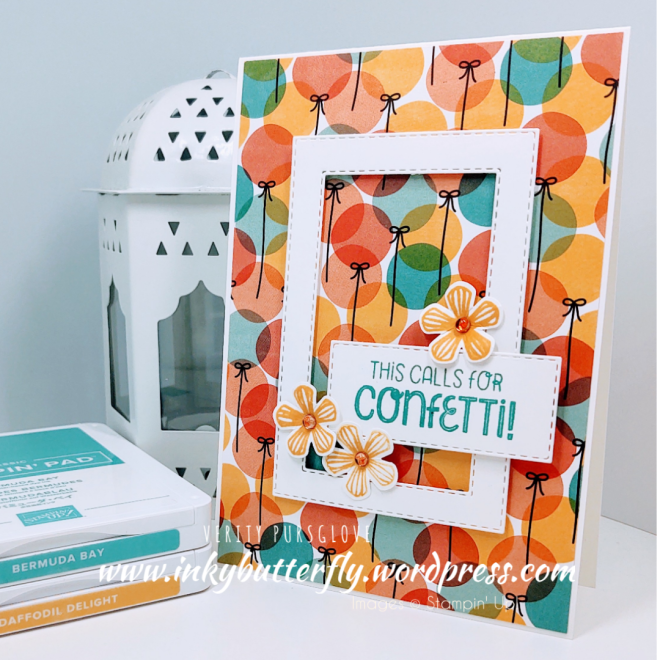
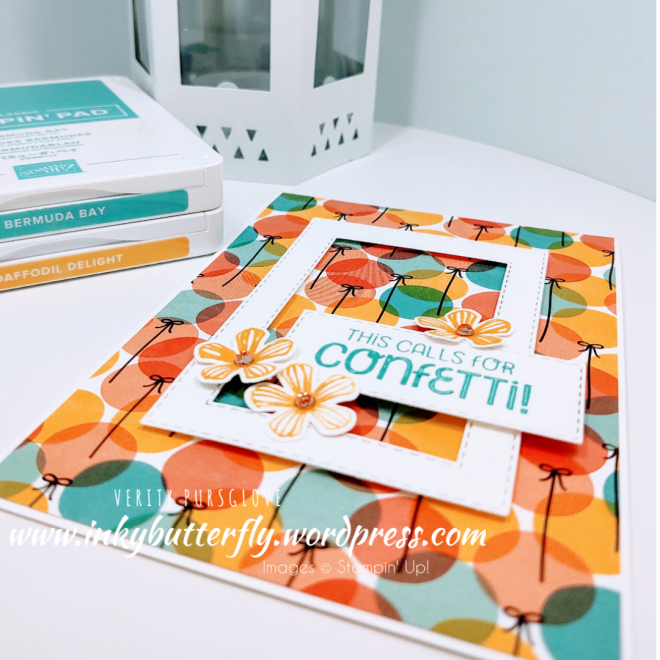
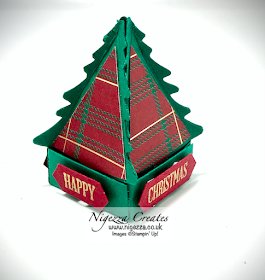
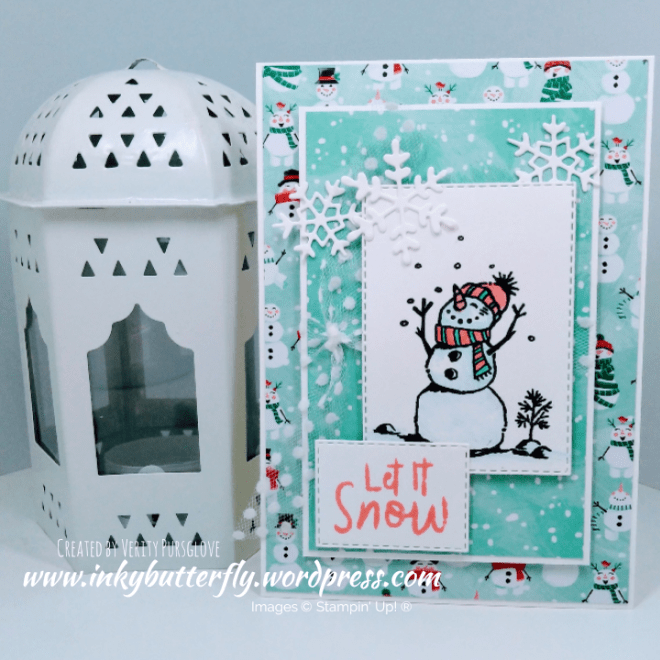
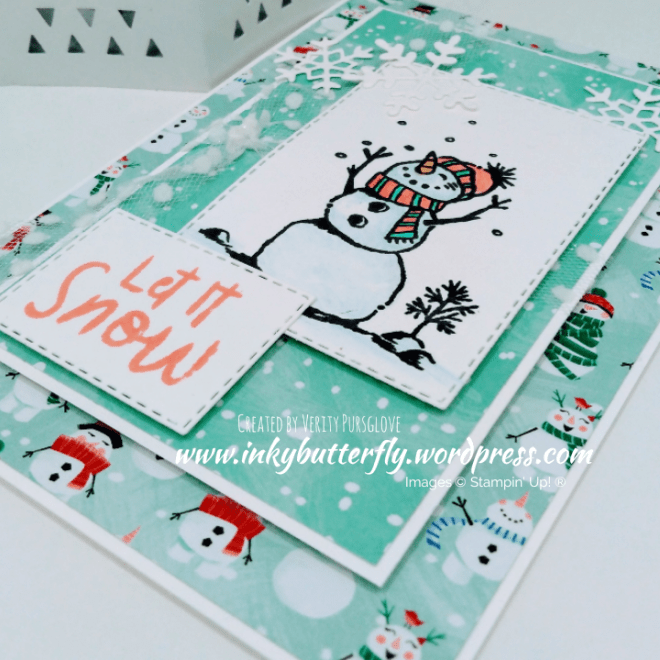
And this is what I created!
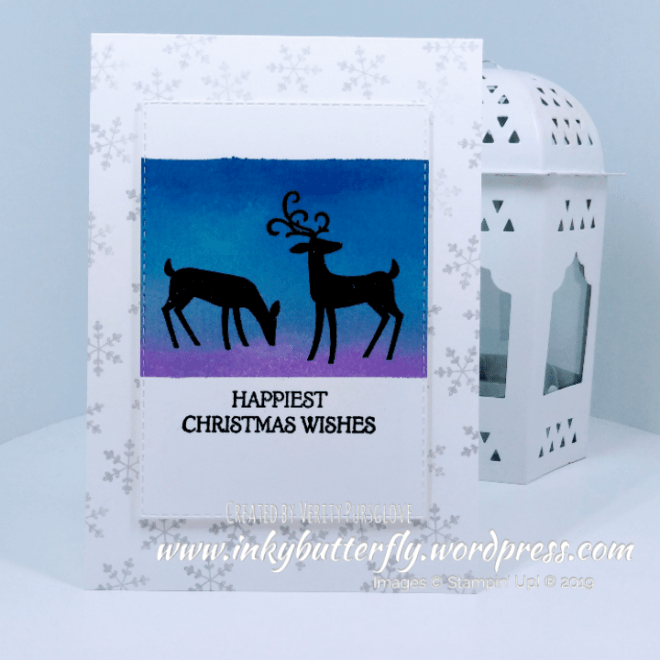
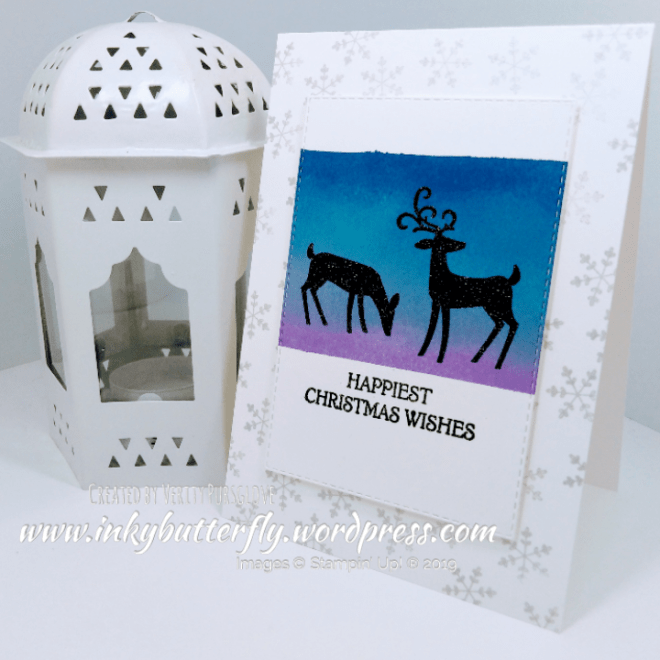
This challenge was the perfect excuse to use the Christmas Layers Die.
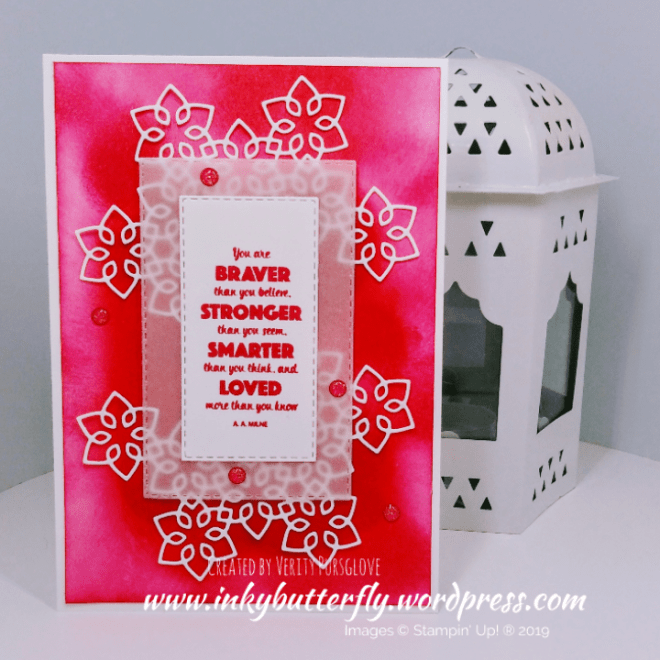
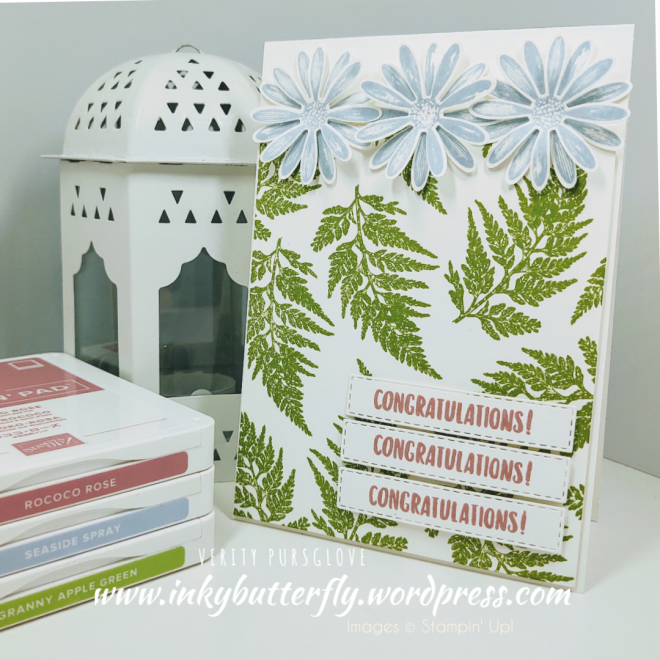
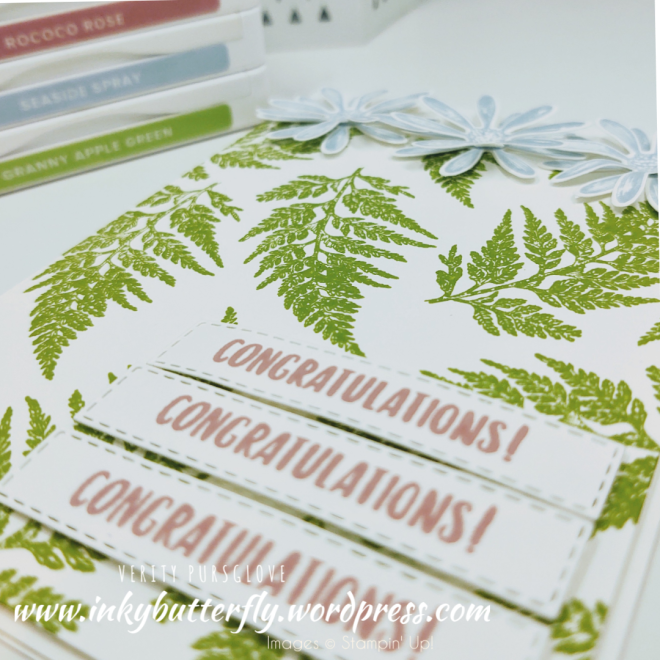
I originally thought I would use white on white but the detail didn’t shine as much as I wanted.
Instead I chose a super bright background and sponged the card stock with Melon Mambo ink.

The sentiment was also stamped with Melon Mambo Ink.
Stitched Rectangles dies were used to cut the sentiment and some vellum.
These were adhered with dimensionals and embellished with Melon Mambo glitter enamel dots.
I hope you enjoyed this project. The supplies used are listed and linked to the online store below.
I would love to be your demonstrator.
Thanks for stopping by today and happy Stampin’!
Verity xx
Product List


")


")


")


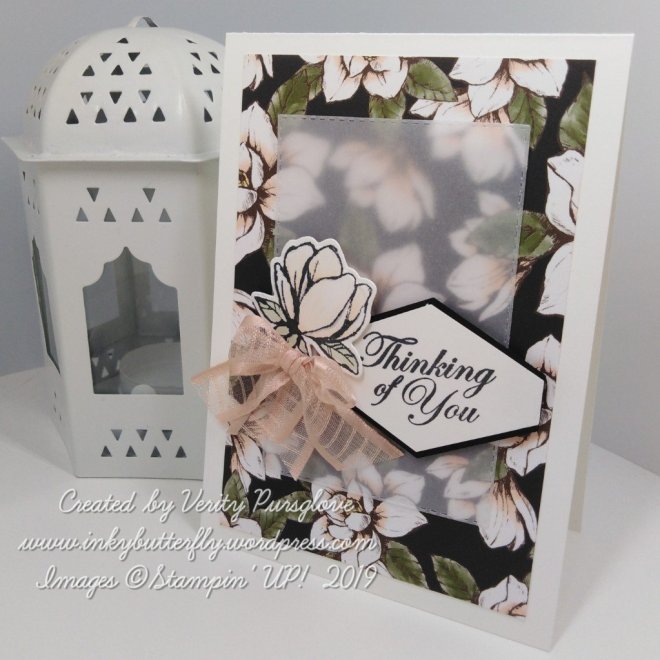
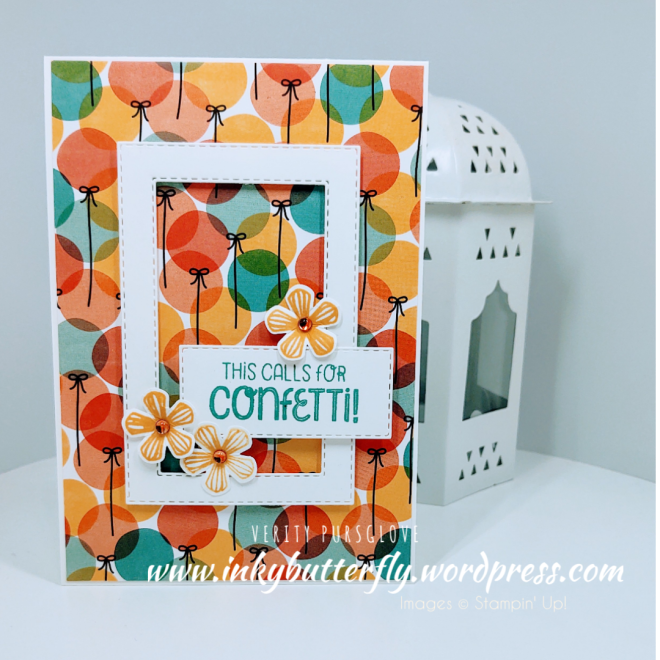
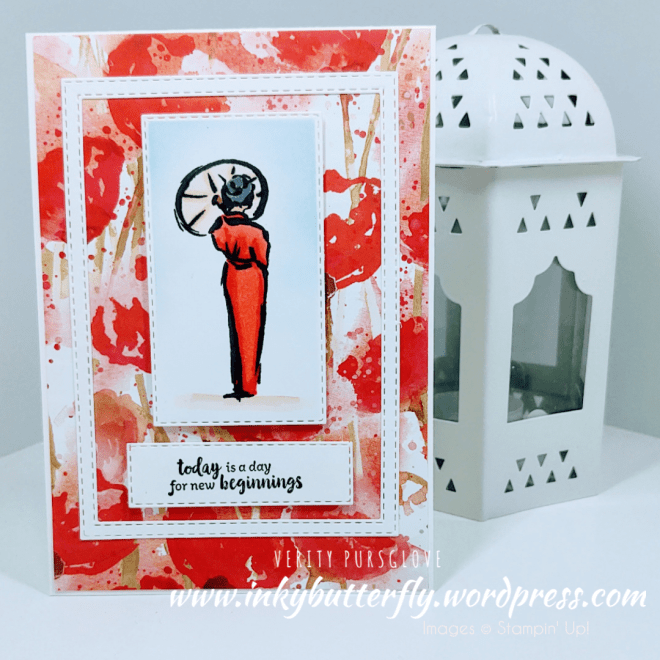
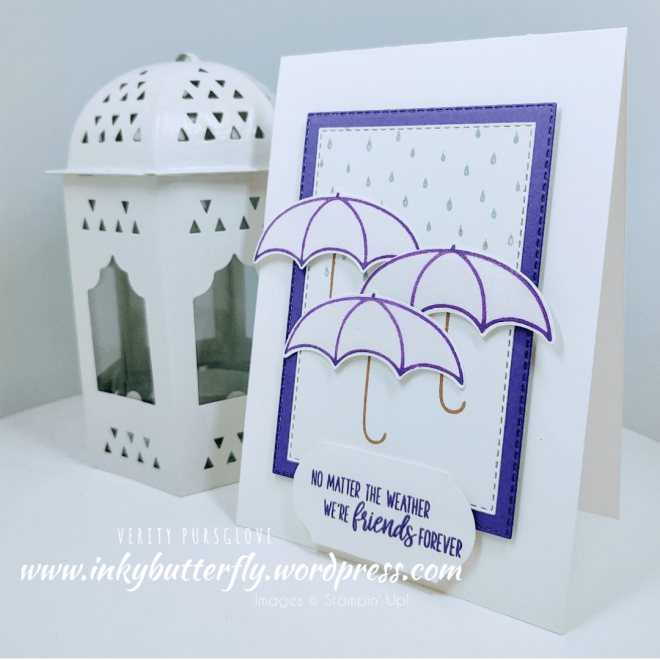
 Hello Everyone,Yesterday I made some time to do a bit of water colouring.I used the Stamparatus to ensure the image was stamped crisply on to the watercolour paper with Stazon ink.I coloured the image with watercolour pencils and blended them with an aqua painter.
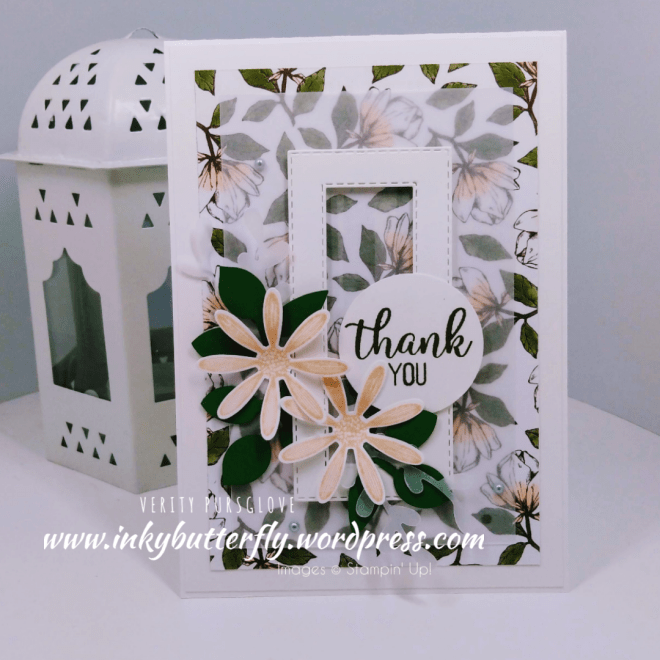
 I die cut the coloured image using the Stitched So Sweetly dies. This was adhered to Granny Apple Green card stock also cut with the dies..The sentiment was stamped with Gorgeous Grape ink and cut with a Stitched Rectangle die.The pieces were adhered to a Granny Apple Green card base that had already been layered with Whisper White.
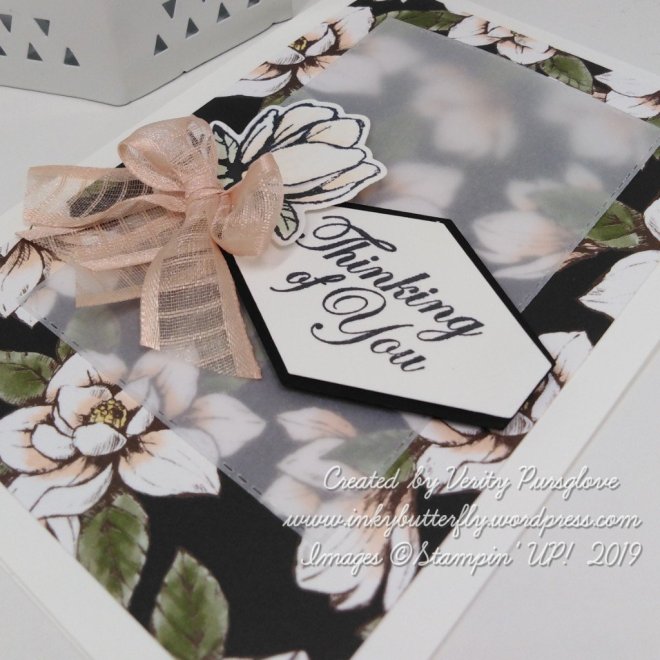
 I hope you enjoyed this project. The supplies used are listed and linked to the online store below.I would love to be your demonstrator.Thanks for stopping by today and happy Stampin’!Verity xxProduct List


")


")


")


")


")


")


")


")


")