Mini Cards with the Peony Garden Suite

Hello Everyone,

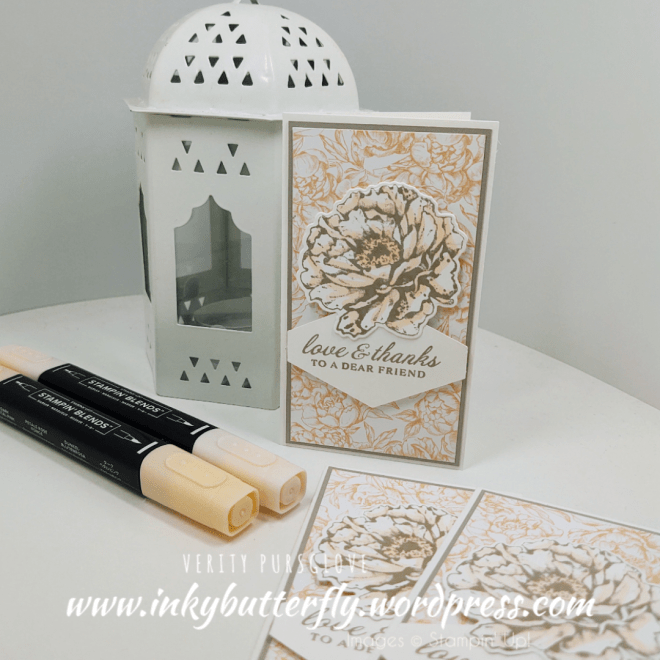
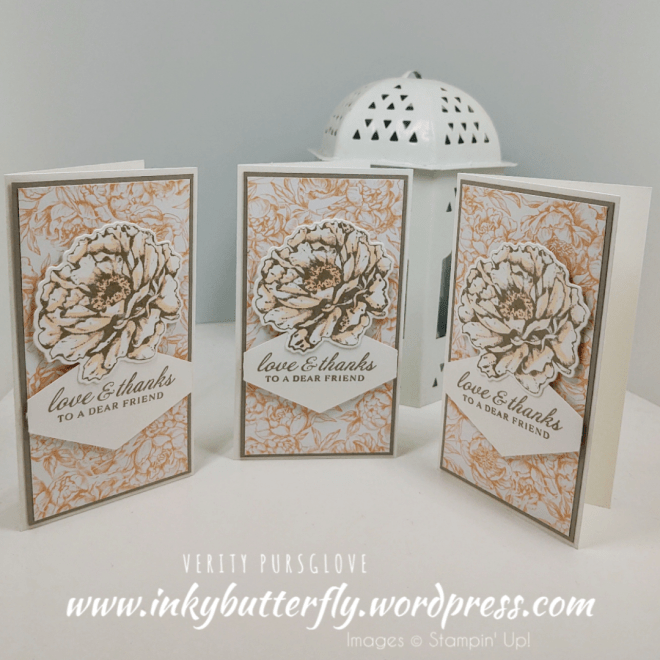
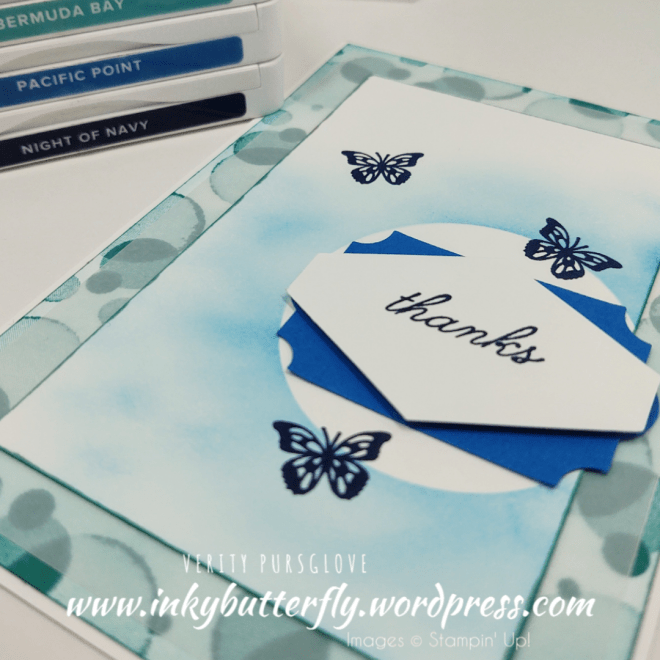
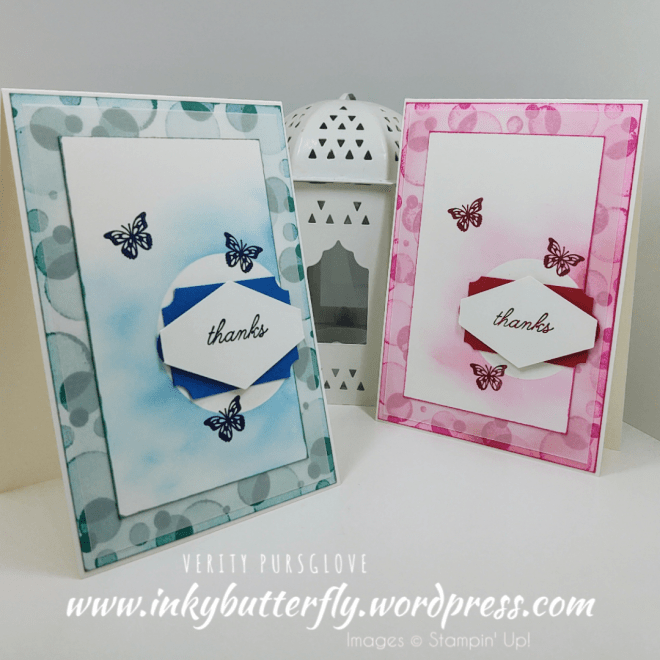
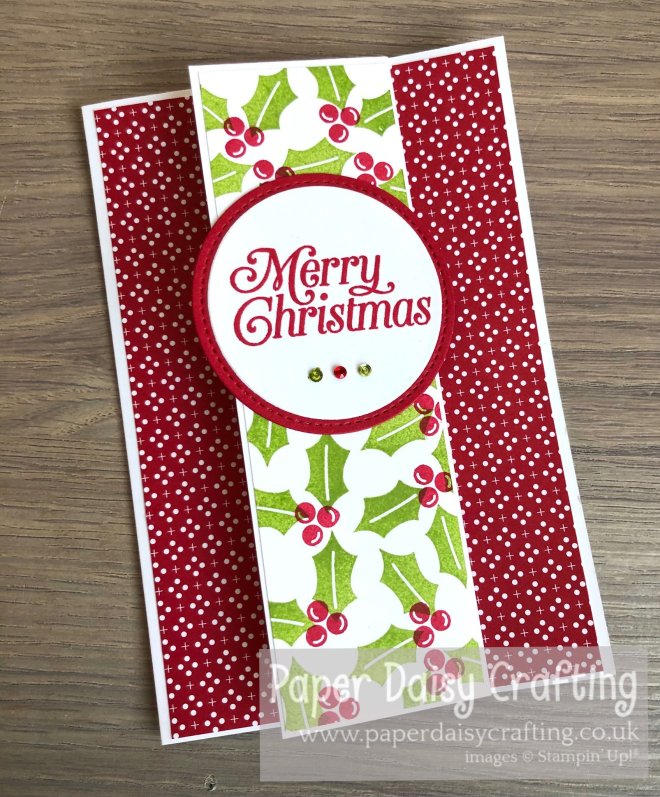
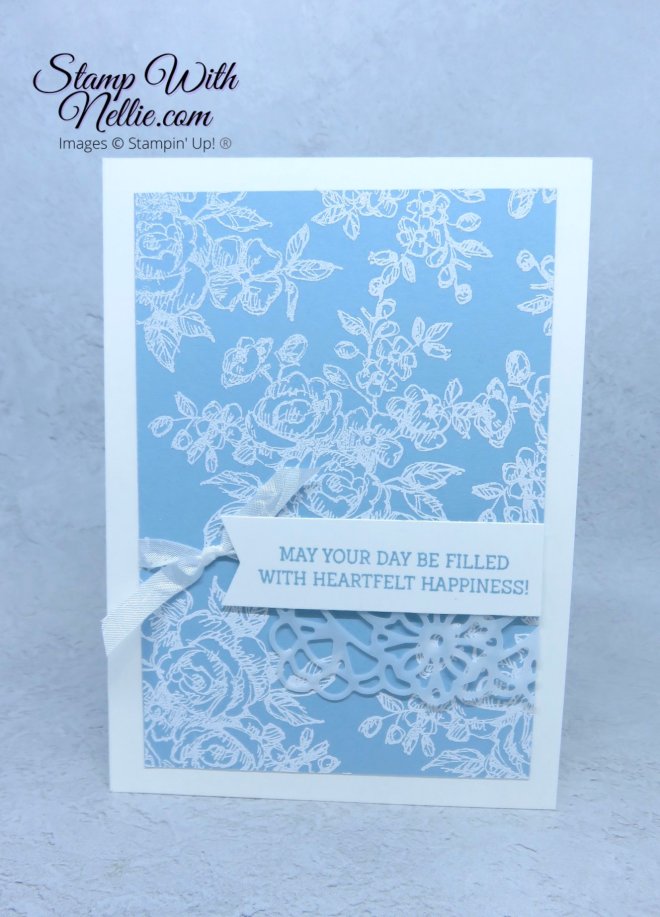
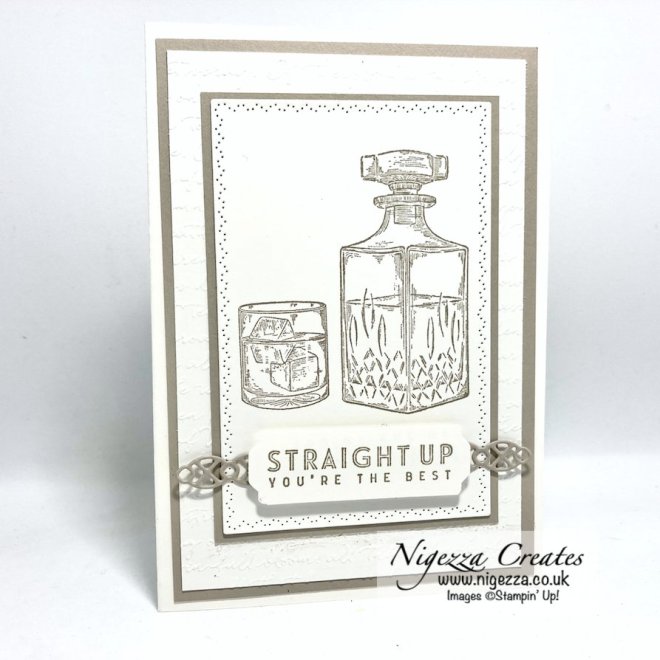
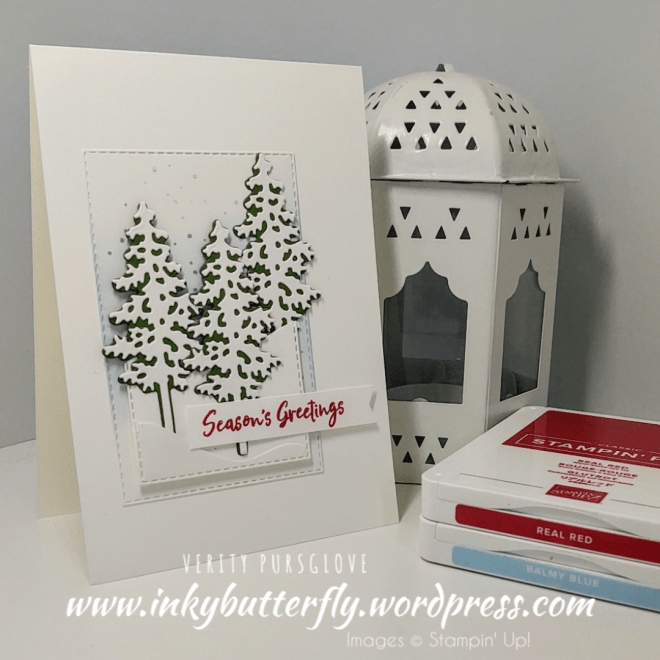
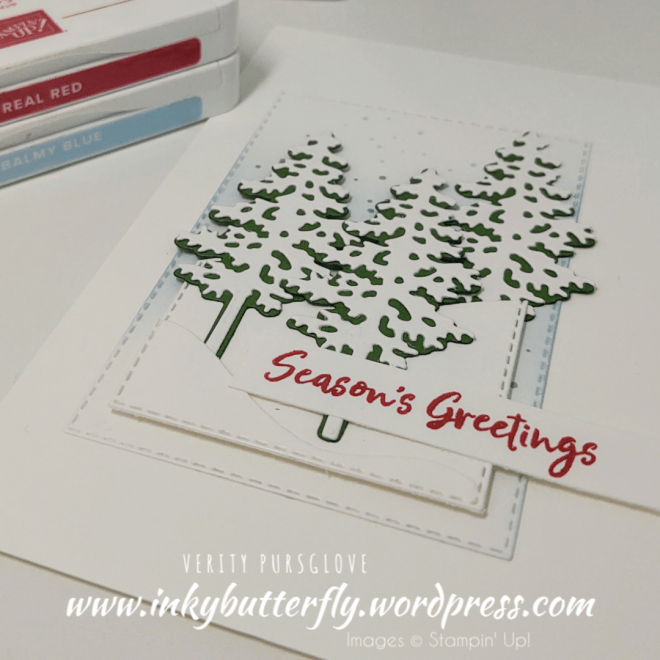
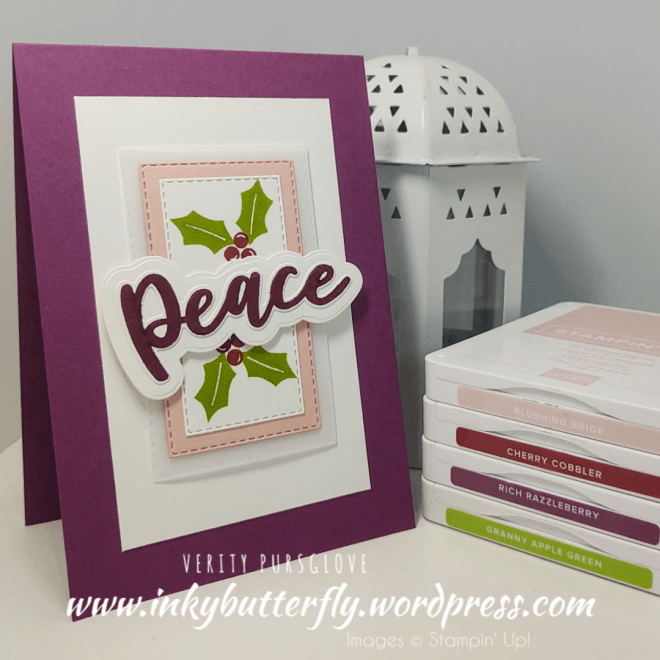
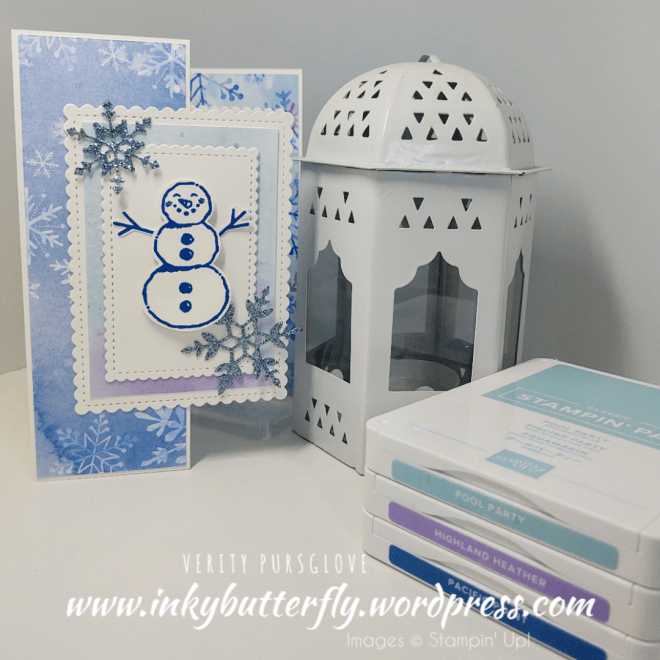
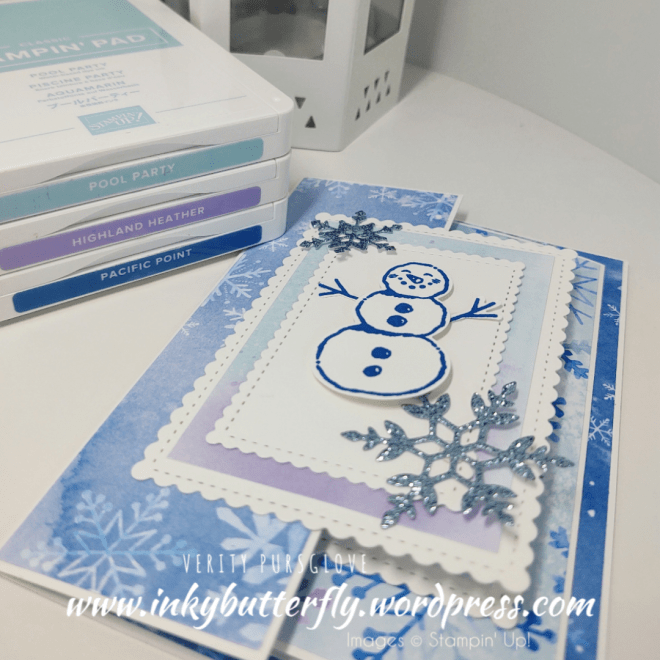
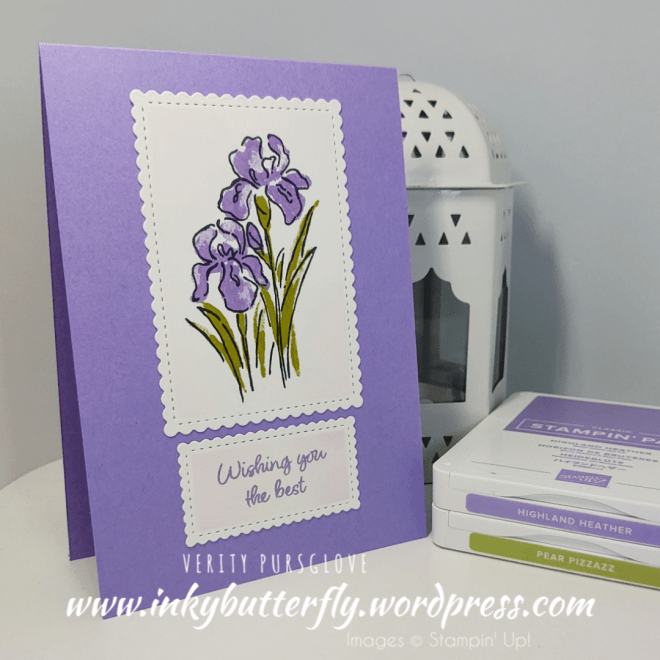
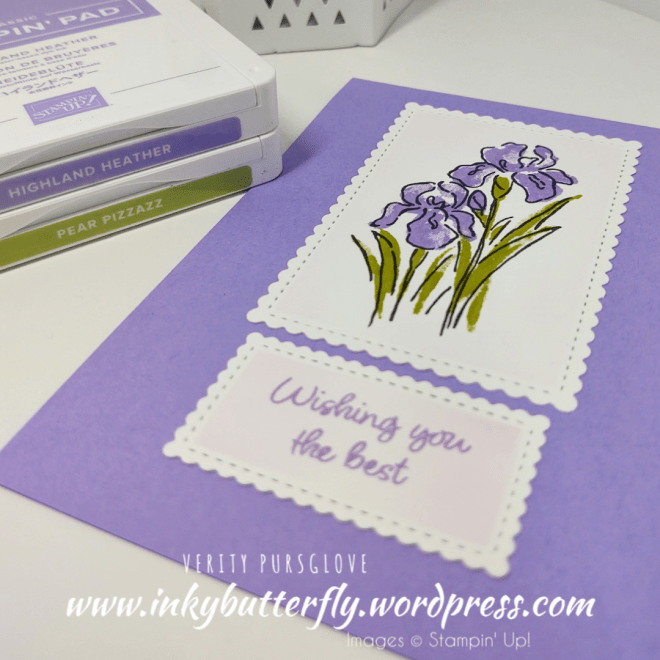
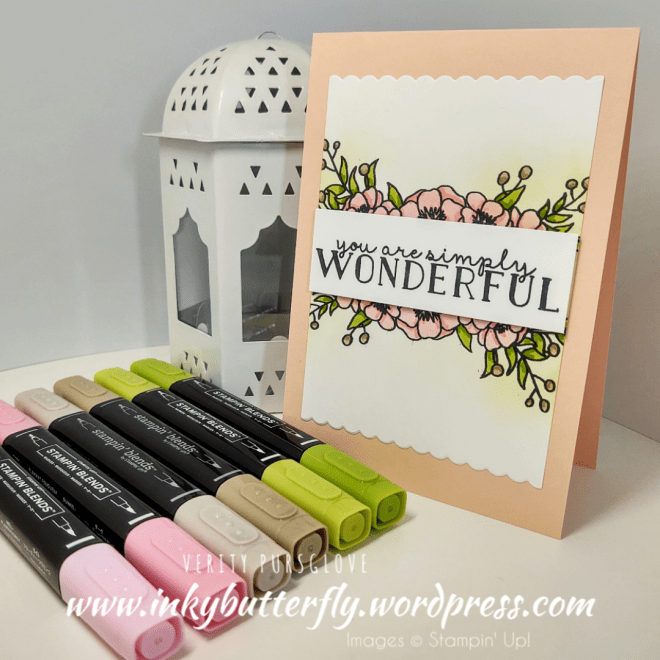
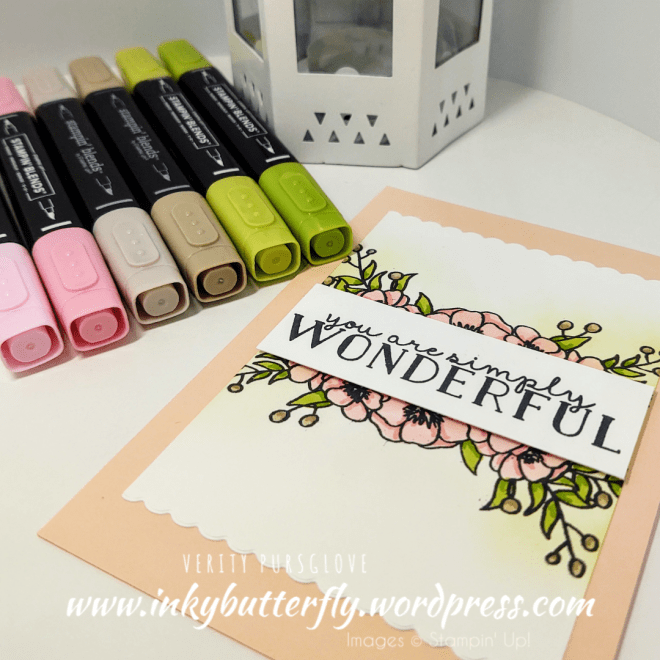
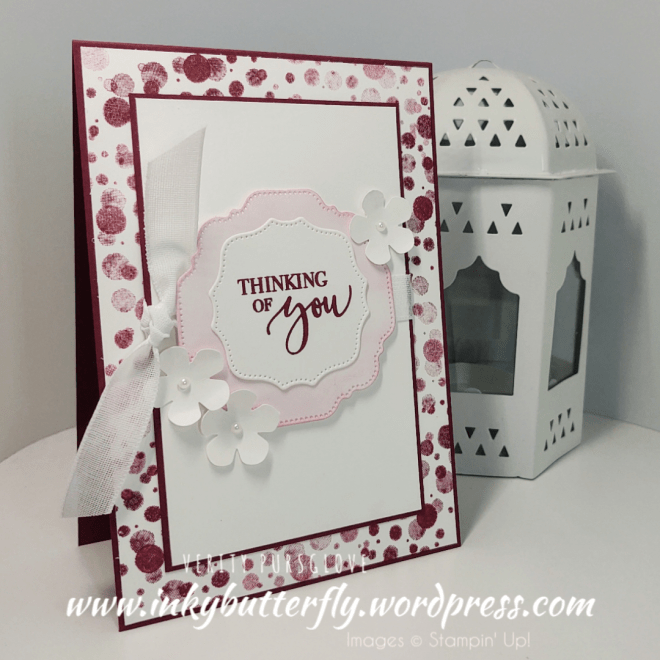
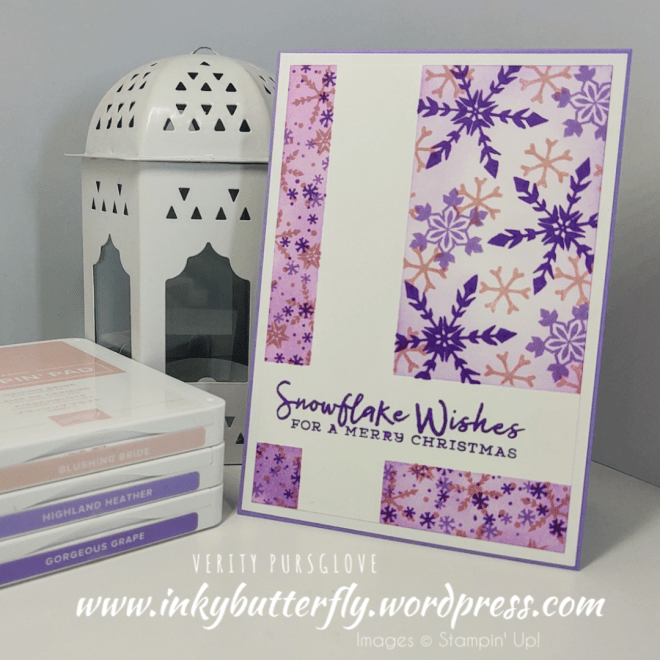
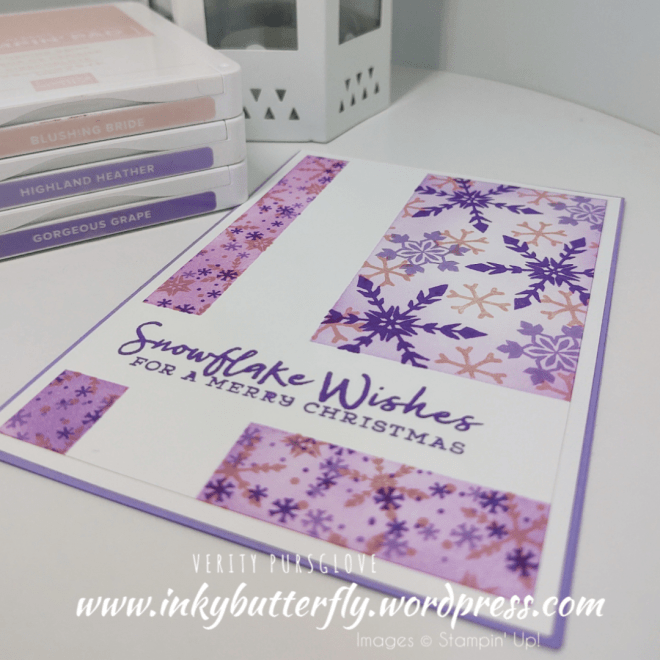
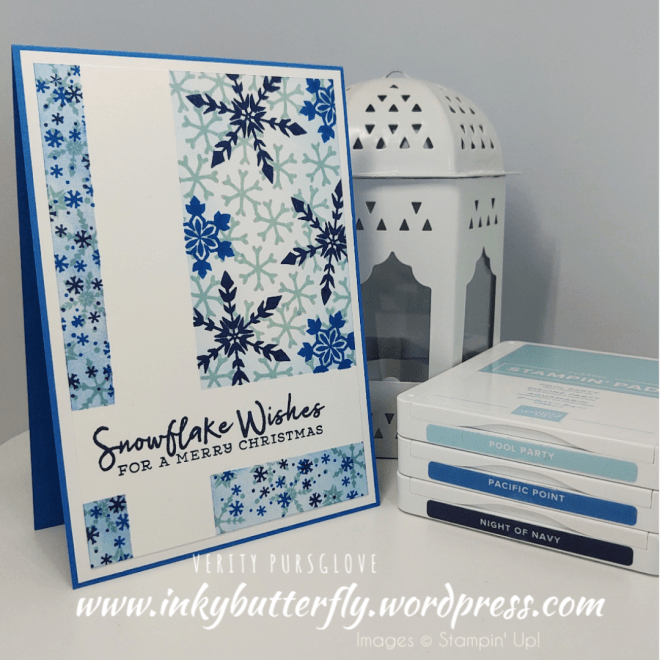
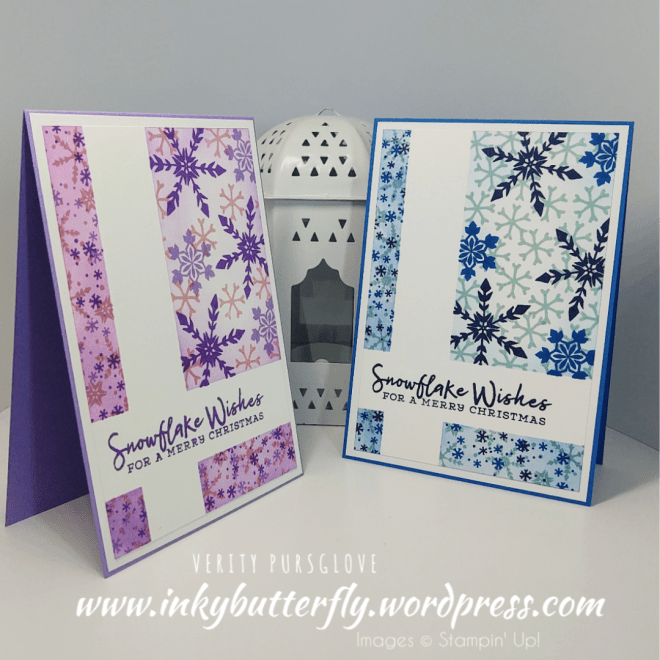
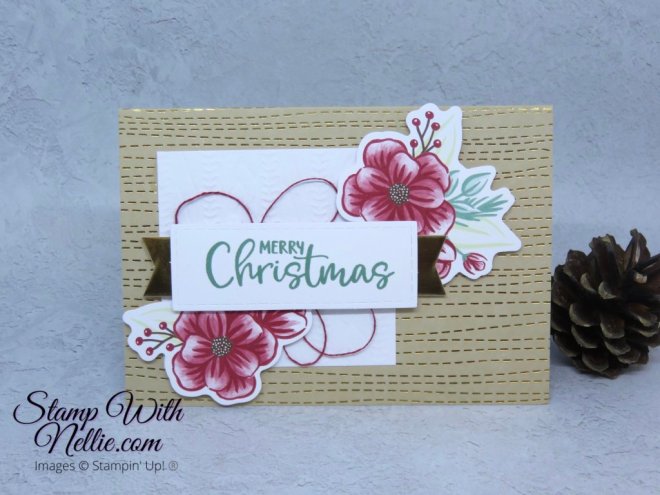
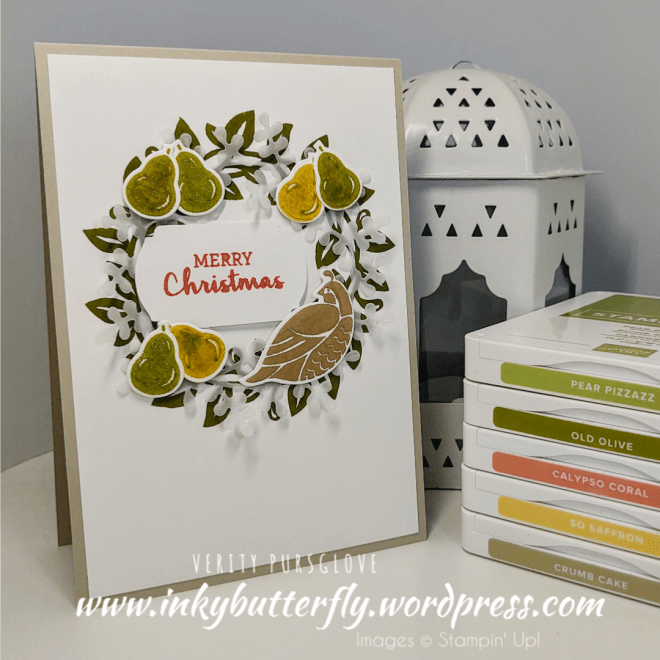
We are making some mini cards today!

These were hiding in a drawer so I thought I would get them used up… Though these are no longer available in the online store, these could be made from white card stock or scaled up for a regular card base.

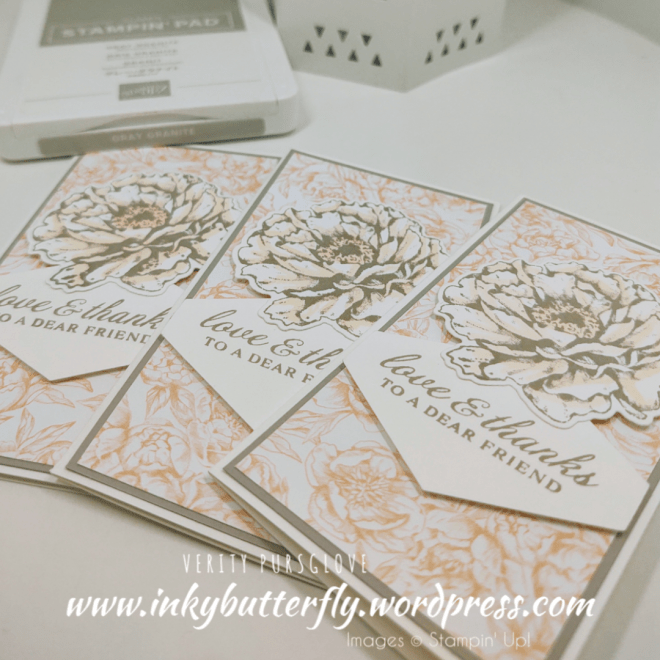
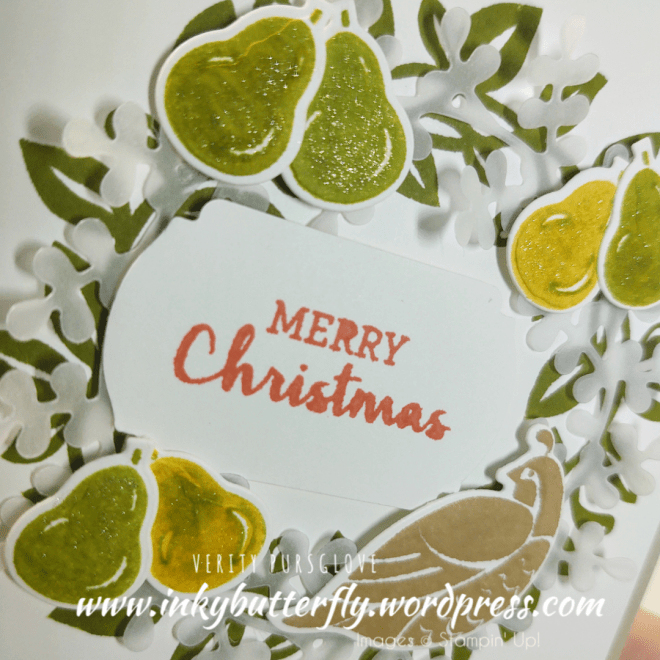
The cards are really easy to put together. You can see the process in my video tutorial….

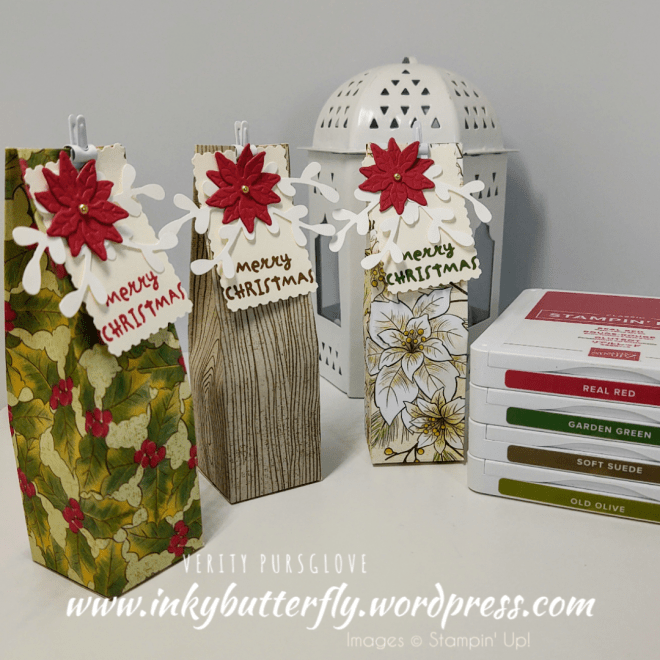
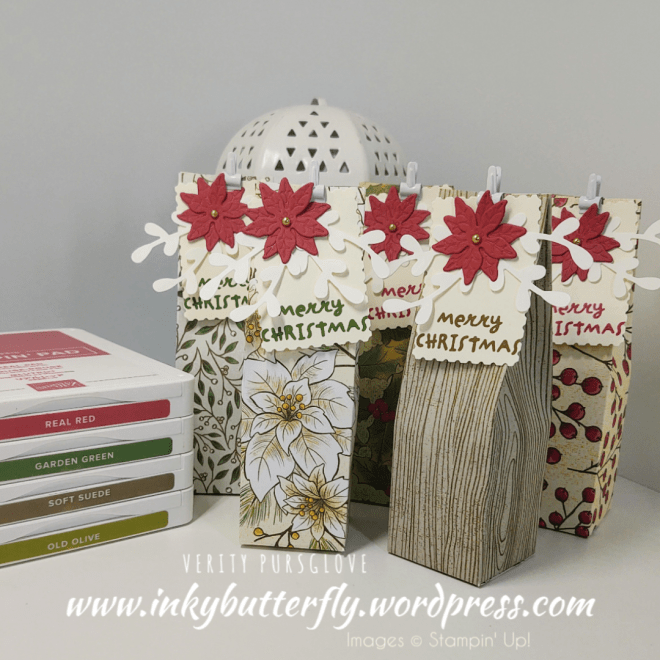
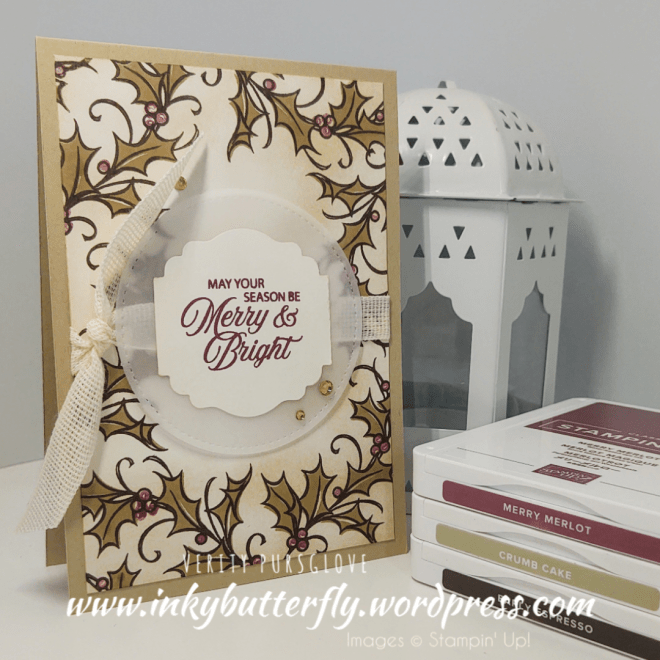
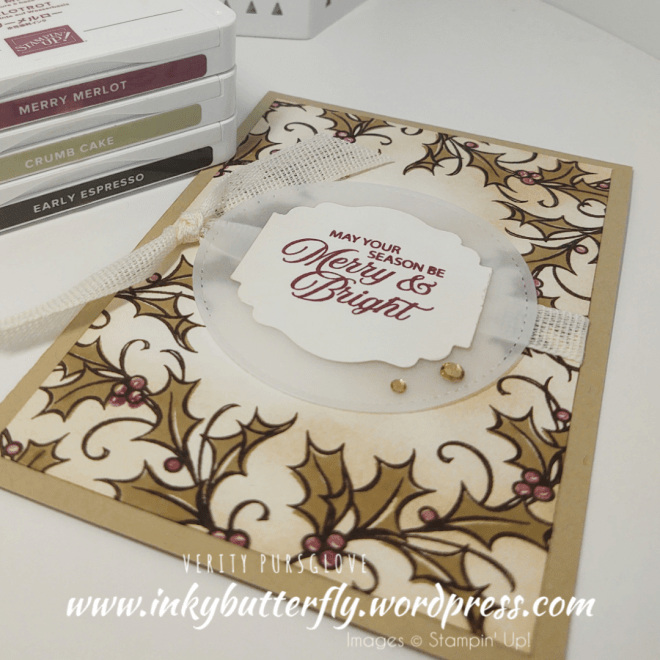
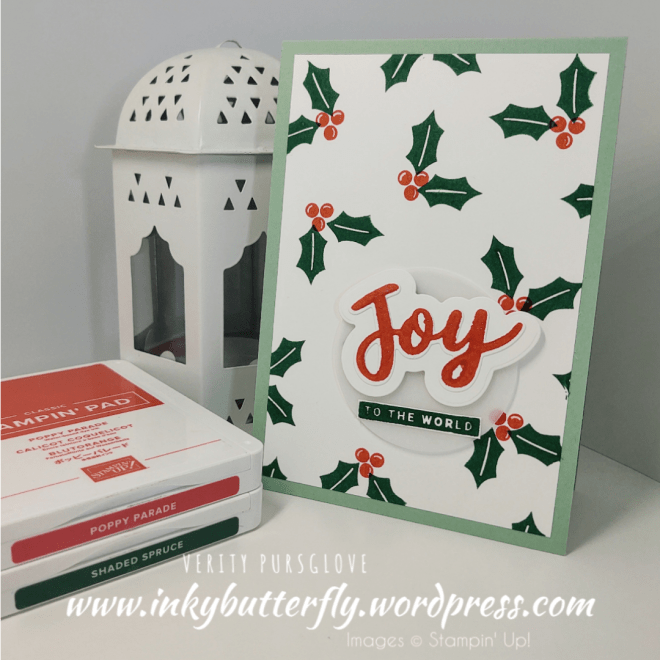
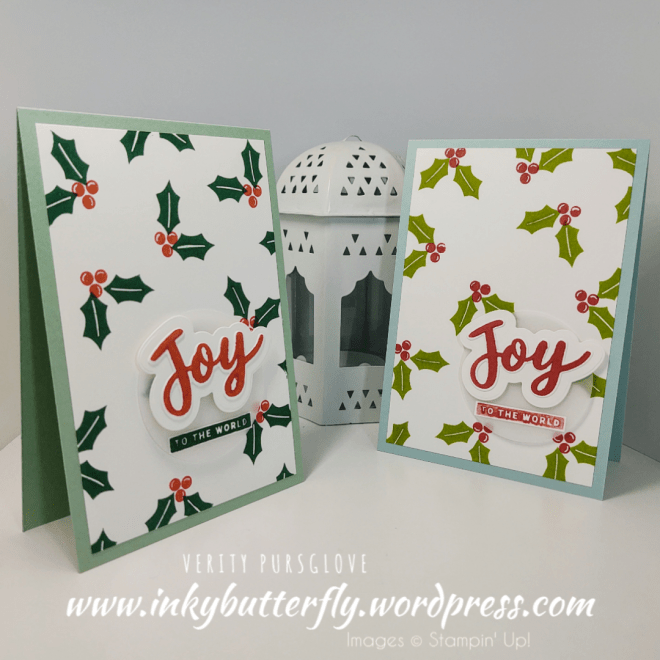
With lots of designs in the Peony Garden paper collection there are lots of ways to create these simple cards.

Stop by tomorrow for another Peony Garden project!

Sale is still on!

I hope you enjoyed this project.

The supplies used are listed and linked to the online store below.

If your order is less than £150, use the Hostess Code W7ZJNXEV when placing your order to get an extra gift from me!

I would love to be your demonstrator.

Thanks for stopping by today and happy Stampin’!

Verity xx

Product List

Monochromatic Card with *NEW* Dragonfly Garden Bundle

Hello Everyone,

Here’s a first look at the Dragonfly Garden bundle and Dandy Garden Designer Series Paper!

I really love the colours in this paper… I picked out this cute Dandelion design in Bumblebee for the demonstration

See how I made this card in my video tutorial….

The original sample used Misty Moonlight. I really like the inclusion of the In Colours in this paper pack!

Have you shopped the sale yet?

I hope you enjoyed this project.

The supplies used are listed and linked to the online store below.

If your order is less than £150, use the Hostess Code W7ZJNXEV when placing your order to get an extra gift from me!

I would love to be your demonstrator.

Thanks for stopping by today and happy Stampin’!

Verity xx

Product List

Project Share Project

Hello Everyone,

Welcome to this week’s Project Share. As always my friends have created some lovely work. Please use the links to visit their blogs and read more about their projects.

If you are looking for some last minute ideas for Christmas, these makes could be just what you are looking for!

Jill has made these adorable mini Christmas tree cards. How will you decorate yours?

Visit Jill’s blog here for more!

Heather has made this stunning festive wreath. This could be made with any designer series paper you choose!

Visit Heather’s blog here for the details!

Gez has made this gorgeous gift card / money wallet. So much prettier than a shop bought alternative!

Visit Gez’s blog here for the dimensions!

I hope you enjoyed these projects. The supplies used are listed and linked to the online store below.

I would love to be your demonstrator.

Thanks for stopping by today and happy Stampin’!

Verity xx

Product List

Using the Heartfelt Stamp Set for the First Time!

Hello Everyone,

I have had this stamp set tucked away for the longest time and I’ve finally inked it up!

I stuck with a classic pink and grey colour combination, using Flirty Flamingo and Gray Granite inks!

I used rhinestones to bring the design together and add some sparkle!

See how to make this card in my video tutorial….

This was my first sample using Blushing Bride and Basic Gray!

Stock is selling out fast… Don’t miss out!

I hope you enjoyed this project.

The supplies used are listed and linked to the online store below.

If your order is less than £150, use the Hostess Code W7ZJNXEV when placing your order to get an extra gift from me!

I would love to be your demonstrator.

Thanks for stopping by today and happy Stampin’!

Verity xx

Product List

Mixed Metallic Heat Embossing with Joyful Holly

Hello Everyone,

Thanks to my You Tube followers for the idea for this card!

These were really easy and fast to make and look fantastic…

See how I made these cards in my video tutorial….

Which combo do you like the best?

A scattering of rhinestones adds another bit of sparkle to the design.

Sale still on!

I hope you enjoyed this project.

The supplies used are listed and linked to the online store below.

If your order is less than £150, use the Hostess Code W7ZJNXEV when placing your order to get an extra gift from me!

I would love to be your demonstrator.

Thanks for stopping by today and happy Stampin’!

Verity xx

Product List

Just for Fun Colour Challenge

Hello Everyone,

This project was made as a bit of fun after a little Facebook Challenge so I recreated the card in a different colour way.

I chose Night of Navy, Pacific Point and Bermuda Bay, (never sure if this a blue or a green?)

You can see how I made this card in my video tutorial….

The original colour challenge used Merry Merlot, Real Red and Magenta Madness!

The vellum helps to diffuse the brightness of the pink.

There’s still time to look through the sale items!

I hope you enjoyed this project.

The supplies used are listed and linked to the online store below.

If your order is less than £150, use the Hostess Code W7ZJNXEV when placing your order to get an extra gift from me!

I would love to be your demonstrator.

Thanks for stopping by today and happy Stampin’!

Verity xx

Product List

Poinsettia Place Mini Gift Bags

Hello Everyone,

Something completely different from me today…. a 3D project!

Each mini gift bag is made with a 6×6 piece of designer series paper.

Score the sheet at (inches) …..

1-3/8, 2-3/4, 4-1/8 and 5-1/2….

turn and score again at 1-3/8

See the full process in my video tutorial….

The Postage Stamp Punch makes a great tag alternative with the punches and die cut elements added to it!

Don’t forget to stop by the sale …….

I hope you enjoyed this project.

The supplies used are listed and linked to the online store below.

If your order is less than £150, use the Hostess Code W7ZJNXEV when placing your order to get an extra gift from me!

I would love to be your demonstrator.

Thanks for stopping by today and happy Stampin’!

Verity xx

Product List

Project Share Project

Hello Everyone,

Welcome to this week’s Project Share. As always my friends have created some lovely work. Please use the links to visit their blogs and read more about their projects.

Jill has recreated her fancy fold project with a different colour way… So many ways to make this card for any occasion!

Visit Jill’s blog here

Heather’s card is so elegant. I love the white heat embossing over the Balmy Blue background and the vellum doily detail!

Visit Heather’s blog here

Gez’s card is a lovely clean and simple layout. The die adds some detail without making it too fussy!

Visit Gez’s blog here

I hope you enjoyed these projects. The supplies used are listed and linked to the online store below.

I would love to be your demonstrator.

Thanks for stopping by today and happy Stampin’!

Verity xx

Product List

Clean and Simple with In the Pines

Hello Everyone,

Today’s card is clean and simple with lots of white space!

Layering the die cuts gives the trees a snow laden look and the sentiment adds a pop of colour!

See how to make this card in my video tutorial….

A touch of Wink of Stella Glitter gives a frosty look too!

The sale is underway, with sell outs already… Don’t miss out!

I hope you enjoyed this project.

The supplies used are listed and linked to the online store below.

If your order is less than £150, use the Hostess Code W7ZJNXEV when placing your order to get an extra gift from me!

I would love to be your demonstrator.

Thanks for stopping by today and happy Stampin’!

Verity xx

Product List

Colour Challenge with the Peace and Joy Bundle

Hello Everyone,

Today’s project is inspired by a Facebook colour challenge, so I thought it would be fun to use them as alternative options for Christmas.

I have pulled out the Peace and Joy bundle to make my card… This set is retiring in January so make sure you get it while you can!

See how I made this card in my video tutorial…. Don’t forget to like and subscribe while you are there….

I love how this card turned out!

Stampin’ Up!’s Close Out Sale starts today! Grab yourself a bargain…. Shop links below!

I hope you enjoyed this project.

The supplies used are listed and linked to the online store below.

If your order is less than £150, use the Hostess Code W7ZJNXEV when placing your order to get an extra gift from me!

I would love to be your demonstrator.

Thanks for stopping by today and happy Stampin’!

Verity xx

Product List

Going Vintage with the Joyful Holly stamp set

Hello Everyone,

I love this stamp set so much, I’m very sad it will be retiring in January.

So here’s something a little different. All the projects I have created with this set have used traditional red and green colour combinations. This time I’m going for a vintage look!

See how I made my card in my video tutorial….

The Merry Merlot berries were a great addition to this design and the champagne rhinestones are the perfect finishing touch.

The Year End Close out sales starts tomorrow!

I hope you enjoyed this project.

The supplies used are listed and linked to the online store below.

If your order is less than £150, use the Hostess Code W7ZJNXEV when placing your order to get an extra gift from me!

I would love to be your demonstrator.

Thanks for stopping by today and happy Stampin’!

Verity xx

Product List

Project Share Project Blog Hop – Fancy Fold Card

Good Morning Everybody,

Welcome to this month’s Project Share Project blog hop.

Links the other Project Share Project Fancy Folds are below, or use the next button at the bottom of this post!

Gez Carpenter: Nigezza Creates

Heather Forgan: Stamp With Nellie

Jill Chapman: Paper Daisy Crafting

This month’s theme really got me thinking….. Many of you will know I’m not one for anything fancy, but nevertheless, I have managed to make this card!

Measurements (inches):

Whisper White Base card 5-7/8 x 6-1/4 scored on long side at 4-1/8

DSP 5-3/4 x 4 and 2 pieces 5-3/4 x 2

Whisper White Inner card 5-3/8 x 7-1/4 scored on long side at 3-5/8

DSP 3 pieces 5-1/4 x 3-1/2

If you are using the Stitched So Sweetly dies to add panels, you will also need to cut 4 pieces of DSP 3-5/8 x 2-1/2

You can see how to make this card in my video tutorial….

I love how the different designer series papers work together!

The inside portion folds out. Leave a panel blank for your own handwritten message!

The little bit of extra stamping around the main greeting adds interest without adding bulk.

Please click below to move on to the next project from Jill!

I hope you enjoyed this project.

The supplies used are listed and linked to the online store below.

If your order is less than £150, use the Hostess Code FYP3NJFR when placing your order to get an extra gift from me!

I would love to be your demonstrator.

Thanks for stopping by today and happy Stampin’!

Verity xx

Product List

Joy to the World

Hello Everyone,

With just three weeks til Christmas, I thought there may be some last minute cards to make, so here’s something that easy to make either as a one off or as a batch….

In the video tutorial I show just one card being made, but the background could be stamped over a full sheet of card stock and trimmed down to make four card fronts.

I wonder which colour combo you like best?

I hope you enjoyed this project.

The supplies used are listed and linked to the online store below.

If your order is less than £150, use the Hostess Code FYP3NJFR when placing your order to get an extra gift from me!

I would love to be your demonstrator.

Thanks for stopping by today and happy Stampin’!

Verity xx

Product List

Project Share Project

Hello Everyone,

Welcome to this week’s Project Share. As always my friends have created some lovely work. Please use the links to visit their blogs and read more about their projects.

Jill’s card is super cute. There are lots of ways to change this to suit any occasion!

Visit Jill’s blog here

Heather is using one of my favourite bundles. The little robins are so adorable!

Visit Heather’s blog here

Gez has been creative with her supplies to make these sweet treat holders!

Visit Gez’s blog here

I hope you enjoyed these projects. The supplies used are listed and linked to the online store below.

I would love to be your demonstrator.

Thanks for stopping by today and happy Stampin’!

Verity xx

Product List

Simple Two Step Stamping with Inspiring Iris

Hello Everyone,

How many of you out there fancy giving cardmaking a go? Don’t know where to start?

Inspiring Iris is a lovely two step stamp set that’s easy to use and budget friendly.

See how to make this card in my video tutorial….

Not got a die cut machine? Stamp onto a white card base or cut a simple rectangle with a trimmer!

I hope you enjoyed this project.

The supplies used are listed and linked to the online store below.

If your order is less than £150, use the Hostess Code FYP3NJFR when placing your order to get an extra gift from me!

I would love to be your demonstrator.

Thanks for stopping by today and happy Stampin’!

Verity xx

Product List

Simple Blending with the Bloom and Grow Stamp Set

Hello Everyone,

It’s been a while since I did some colouring with my Stampin’ Blends markers……

Here is a lovely card using the Bloom and Grow stamp set. This one is a great set to start practicing your colouring technique.

Each set of markers has a light and dark shade, making it super easy to achieve a blended look.

See how I made this card in my video tutorial….

Switching the colour of the card base changes the look of the finished result even with same markers

I hope you enjoyed this project.

The supplies used are listed and linked to the online store below.

If your order is less than £150, use the Hostess Code FYP3NJFR when placing your order to get an extra gift from me!

I would love to be your demonstrator.

Thanks for stopping by today and happy Stampin’!

Verity xx

Product List

Thinking of You in Merry Merlot

Hello Everyone,

I wonder if can guess which stamp set I’ve used to make today’s card project?

Often, our focus is on the largest image in a set and may deter us from purchasing it…..

In this case, Life is Beautiful features a large tree, but I loved the other images in the set.

I’ve also pulled in these lovely labels dies from the Hippo and Friends set.

You can see how I made this card in my video tutorial….

My first sample used Bermuda Bay. I definitely think the additional layer of coloured cardstock improved the design.

I hope you enjoyed this project.

The supplies used are listed and linked to the online store below.

If your order is less than £150, use the Hostess Code FYP3NJFR when placing your order to get an extra gift from me!

I would love to be your demonstrator.

Thanks for stopping by today and happy Stampin’!

Verity xx

Product List

Snowflake Masked Panels

Hello Everyone,

This was definitely one of those projects that turned out way better than I thought it would!

I’ve used some fun pinks and purples for a different look.

Masking off areas of the cardstock keeps them crisp and white without adding additional layers.

See how I made this card in my video tutorial….

Here’s the original card in more traditional winter colours….

So which is your favourite?

I hope you enjoyed this project.

The supplies used are listed and linked to the online store below.

If your order is less than £150, use the Hostess Code FYP3NJFR when placing your order to get an extra gift from me!

I would love to be your demonstrator.

Thanks for stopping by today and happy Stampin’!

Verity xx

Product List

Project Share Project

Hello Everyone,

Welcome to this week’s Project Share. As always my friends have created some lovely work. Please use the links to visit their blogs and read more about their projects.

Jill has created these gorgeous coffee treat holders. I like the way she has used the Stitched Nested dies as a topper!

Visit Jill’s blog here for more

Heather is showing us some alternative designs using the Paper Pumpkin kit. I love layout she has used!

Visit Heather’s blog here for more

Gez’s monochromatic card design is brought to life with a splash of colour in the little birds

Visit Gez’s blog here for more

I hope you enjoyed these projects. The supplies used are listed and linked to the online store below.

I would love to be your demonstrator.

Thanks for stopping by today and happy Stampin’!

Verity xx

Product List

Partridge in a Pear Tree

Hello Everyone,

I finally gave in and made a partridge in a pear tree card with the Arrange a Wreath Bundle.

I used a stamping off technique to get the mottled look for the pears.

See how in my video tutorial….

A touch of Wink of Stella on the pears gave them a frosty look!

I hope you enjoyed this project.

The supplies used are listed and linked to the online store below.

If your order is less than £150, use the Hostess Code FYP3NJFR when placing your order to get an extra gift from me!

I would love to be your demonstrator.

Thanks for stopping by today and happy Stampin’!

Verity xx

Product List