

Hello Everyone,
Welcome to this week’s Project Share. As always my friends have created some lovely work. Please use the links to visit their blogs and read more about their projects.
All the ladies have been embossing this week!
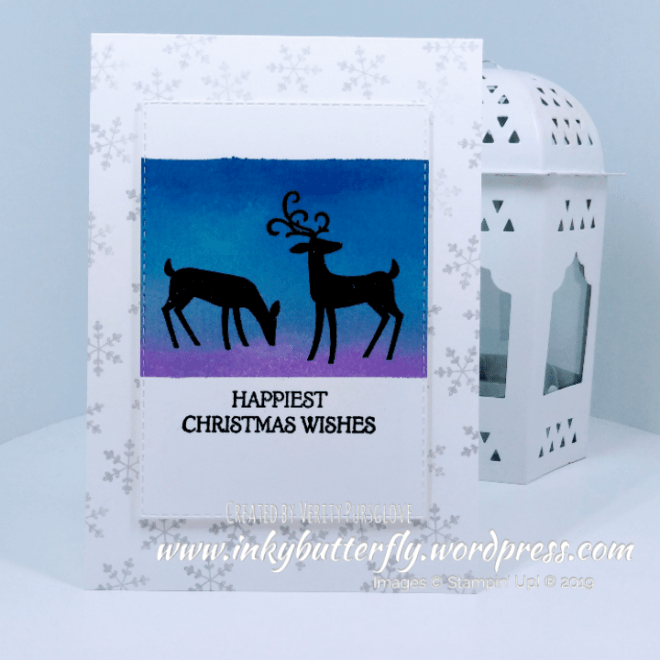
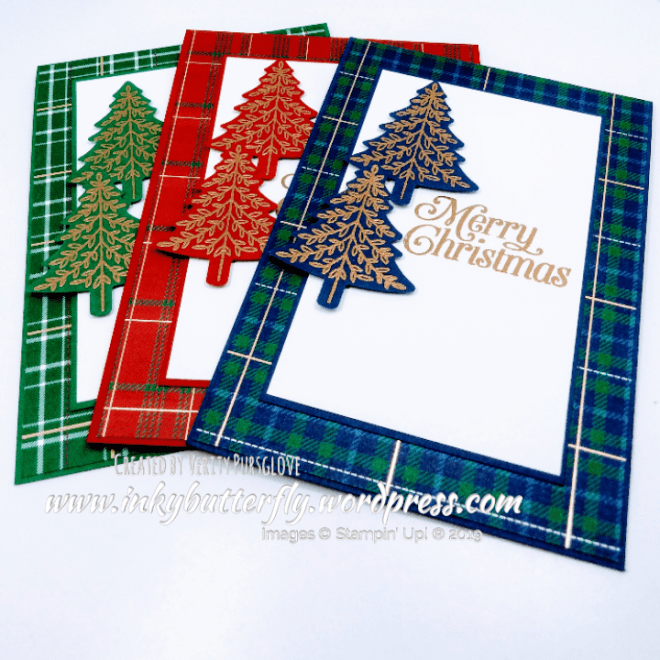
Jill’s gorgeous little trees look amazing in blue and framed with snowflake designer series paper for a really frosty feel!
Visit Jill’s blog here

Heather has used both dry and best embossing in her Snowflake card. By partially embossing the front panel, there was still somewhere flat for the sentiment.
Visit Heather’s blog here

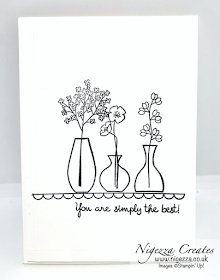
Gez has used both dry and best embossing in her card too. She has chosen to use a single heat embossed layered snowflake as her focal point.
Visit Gez’s blog here

I hope you enjoyed these projects. The supplies used are listed and linked to the online store below.
I would love to be your demonstrator.
Thanks for stopping by today and happy Stampin’!
Verity xx
Product List

|

|

|
|

|
|

|

|


")


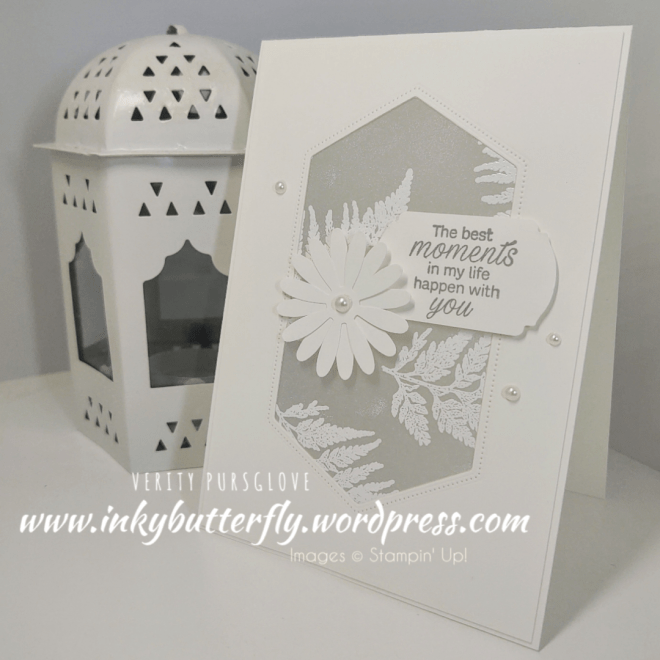


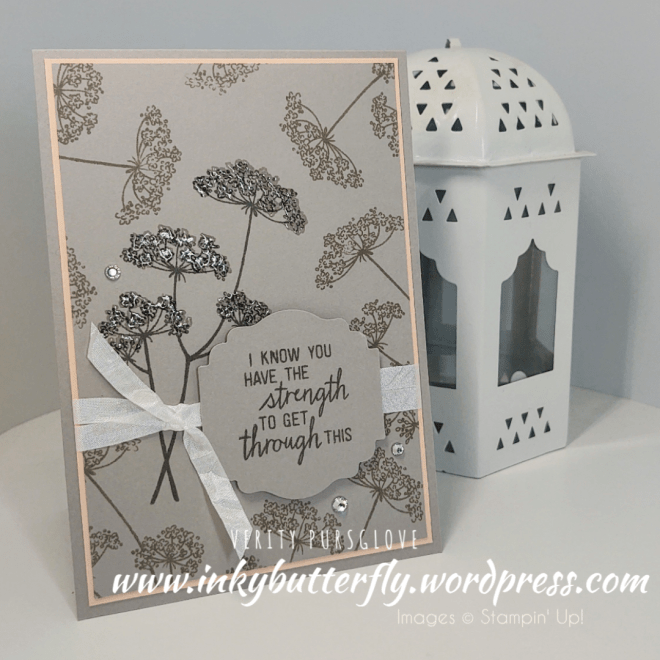
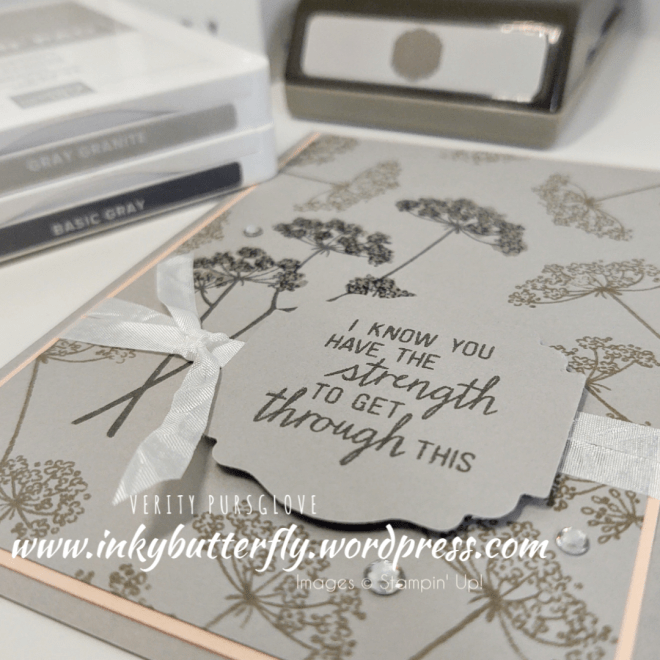
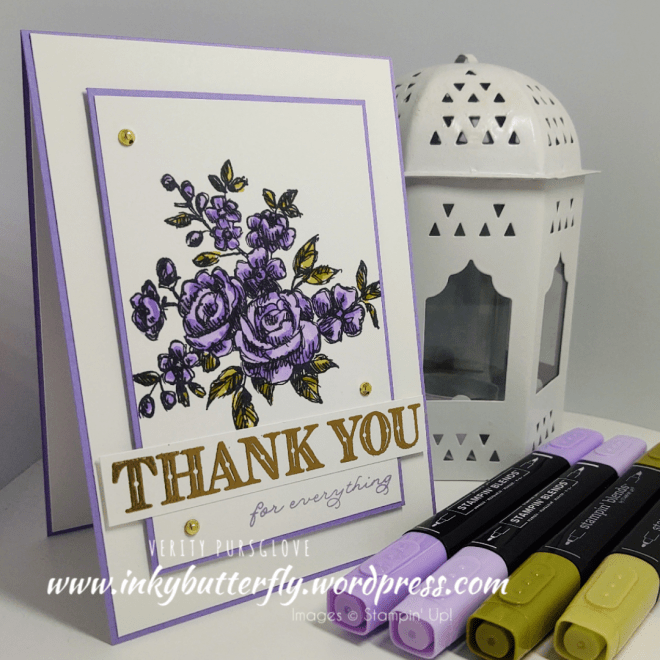
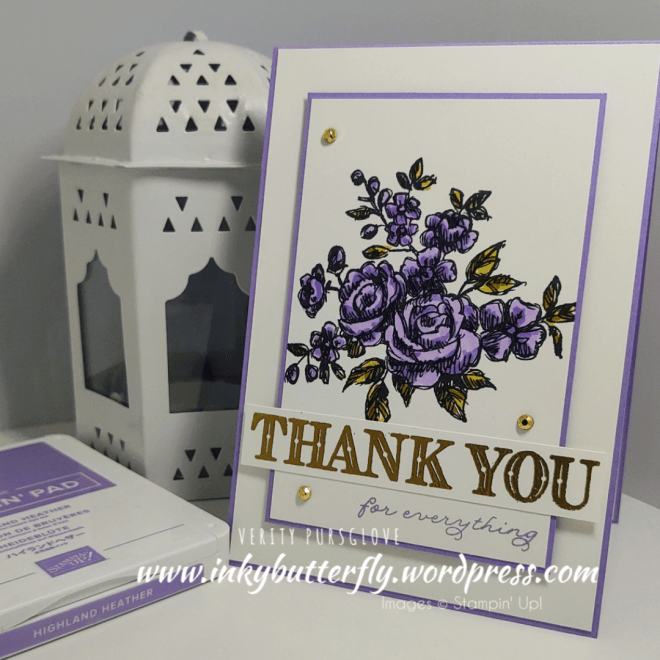
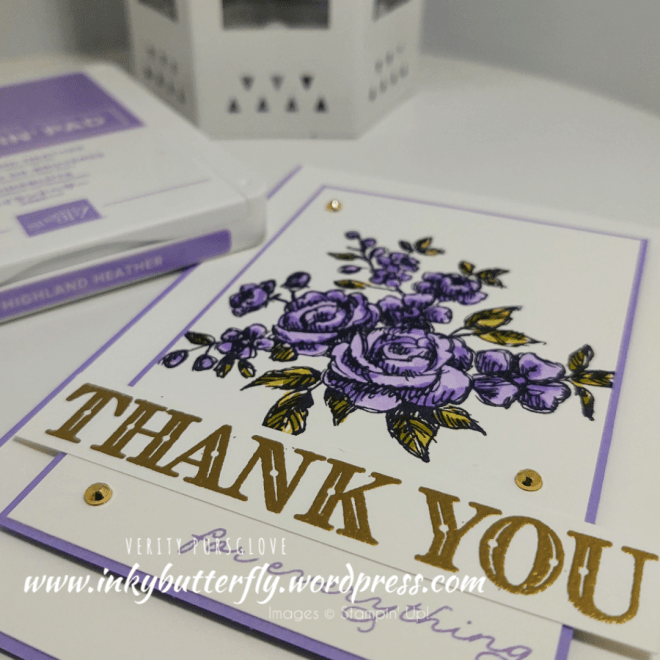
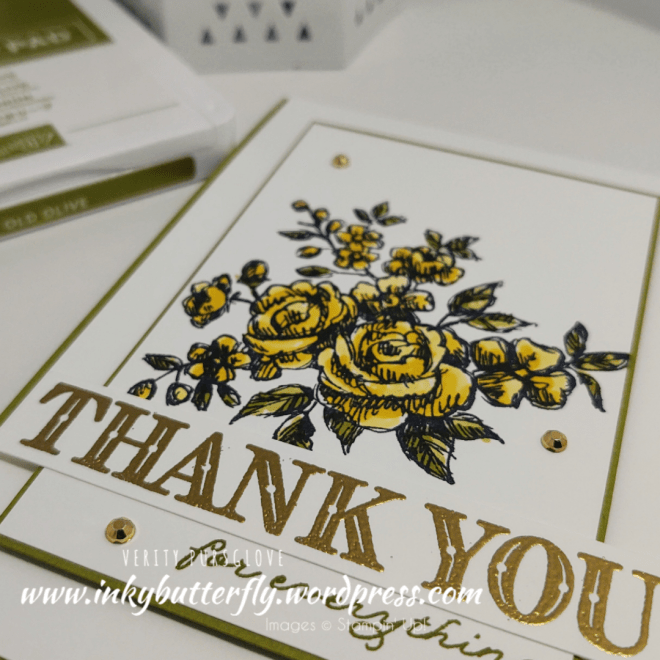
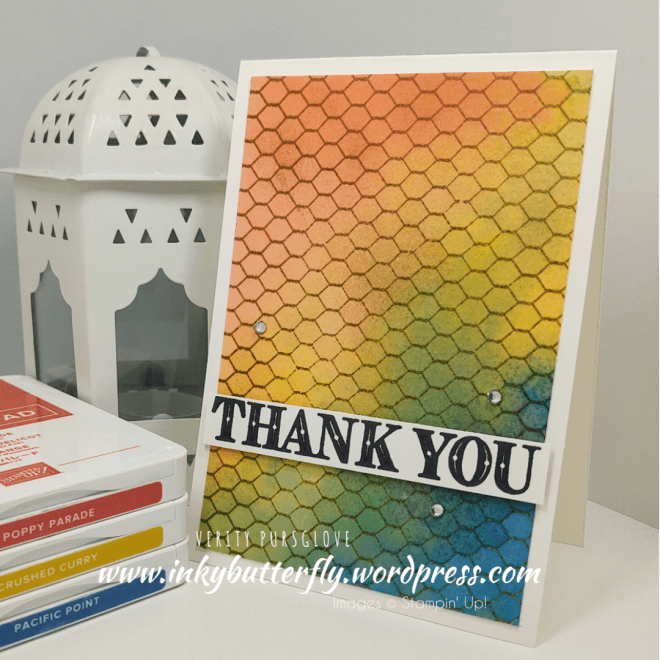
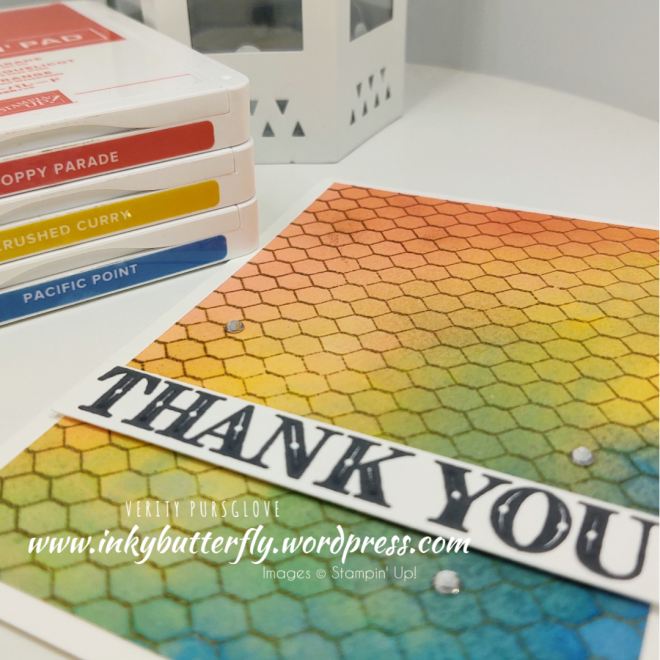
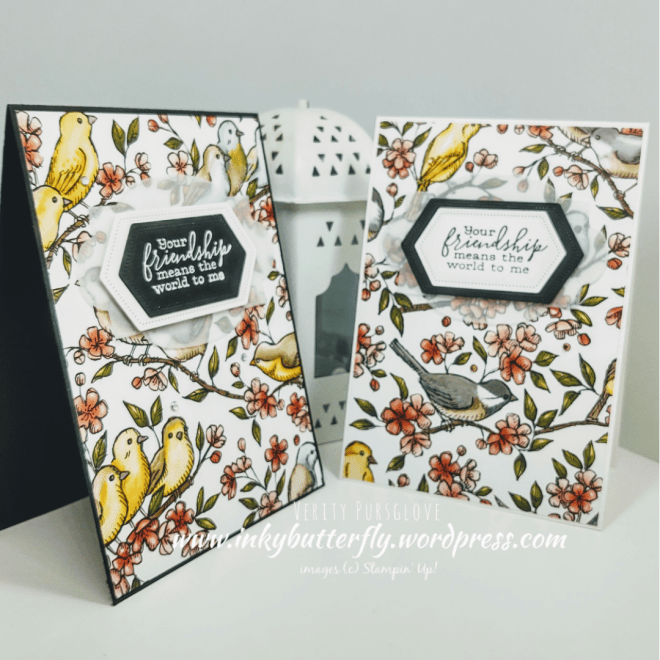
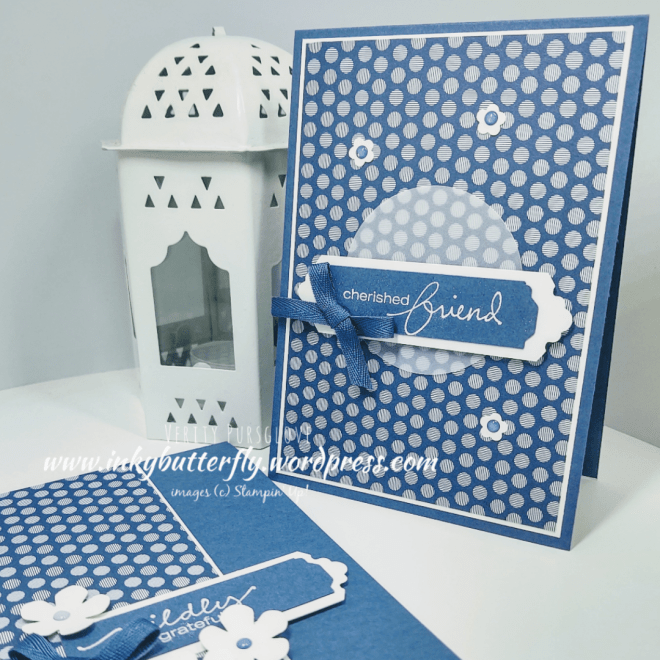
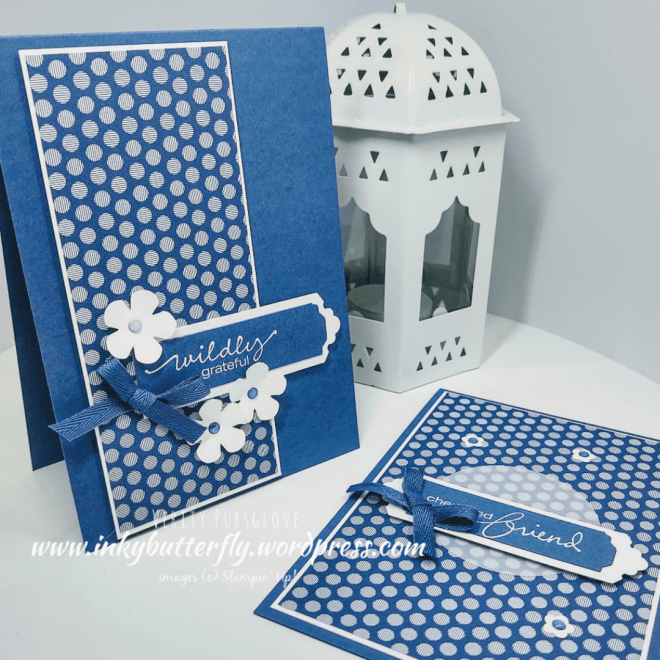
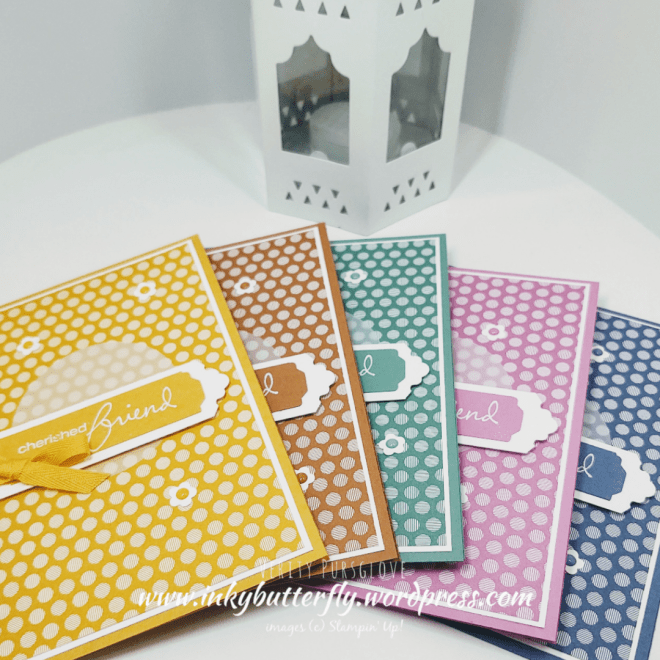
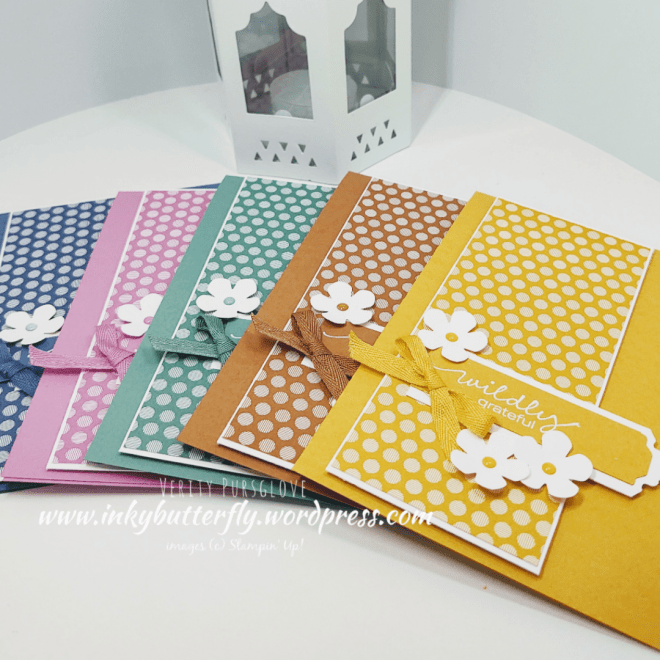
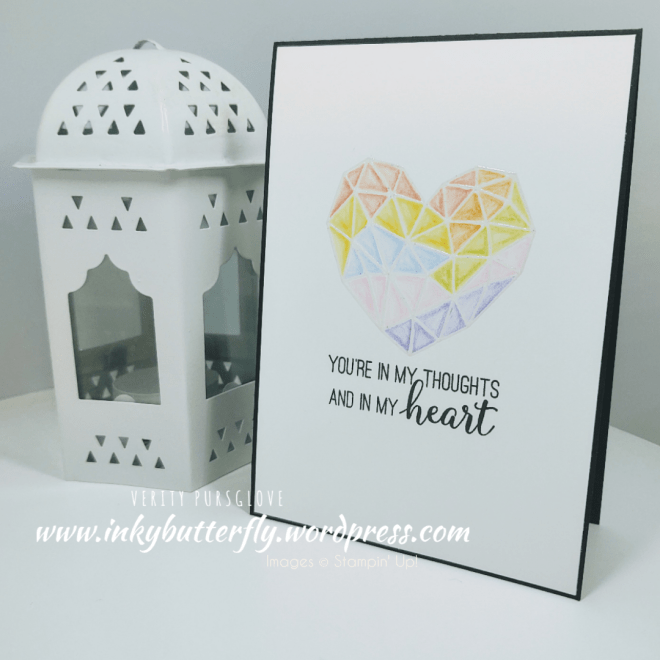
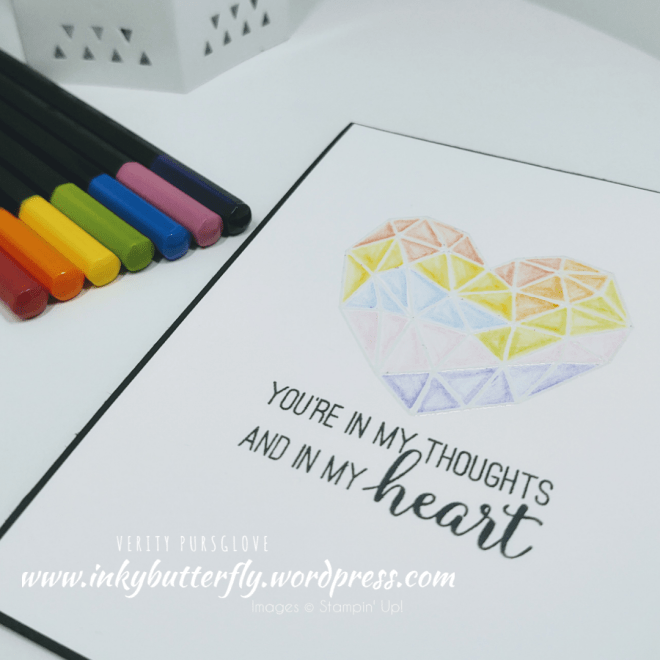
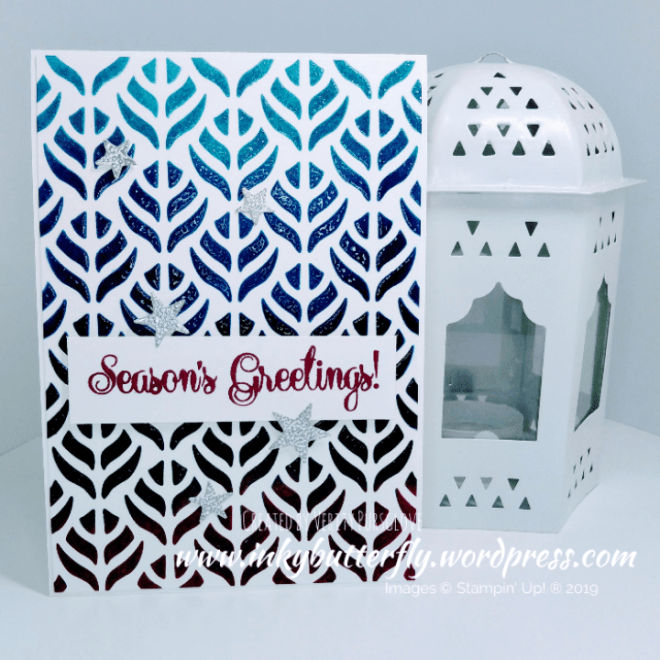
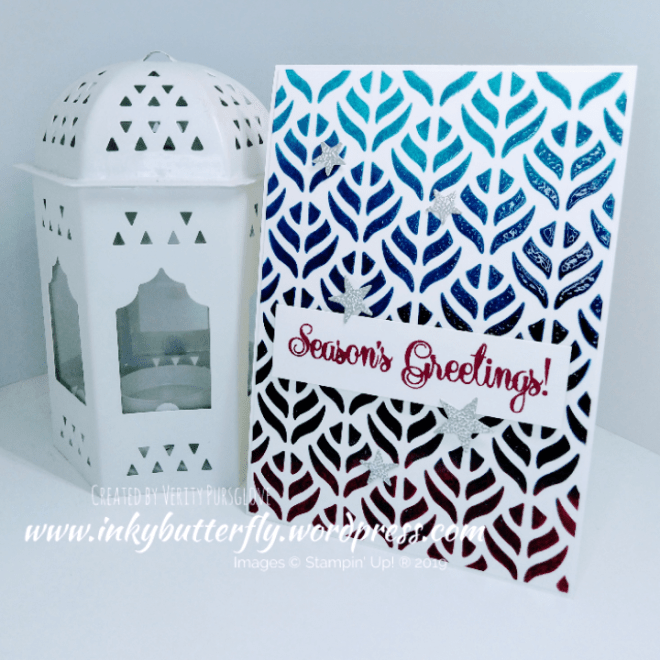
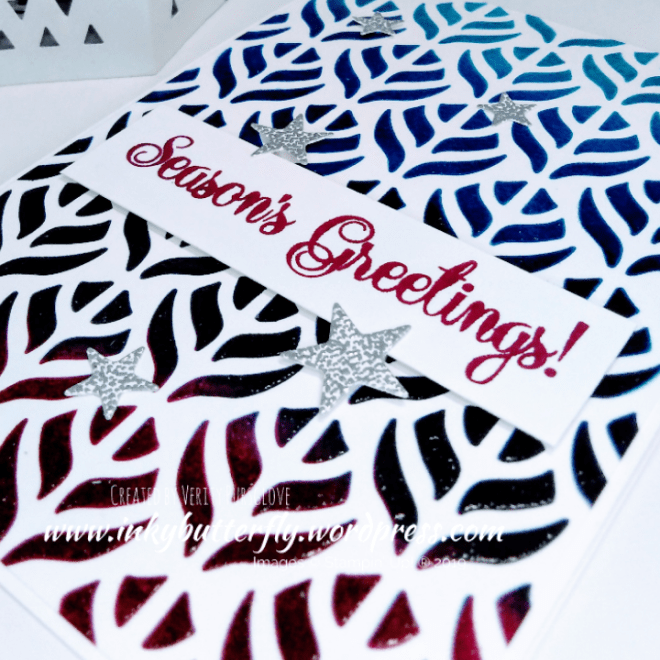
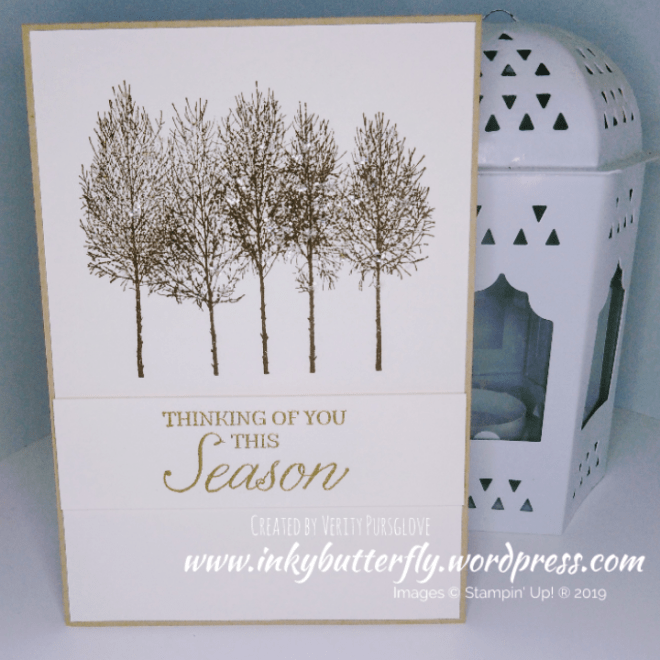
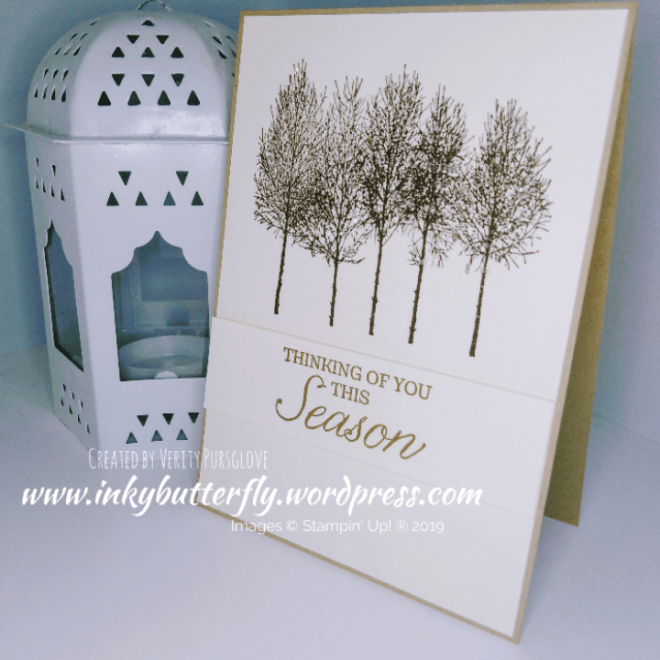
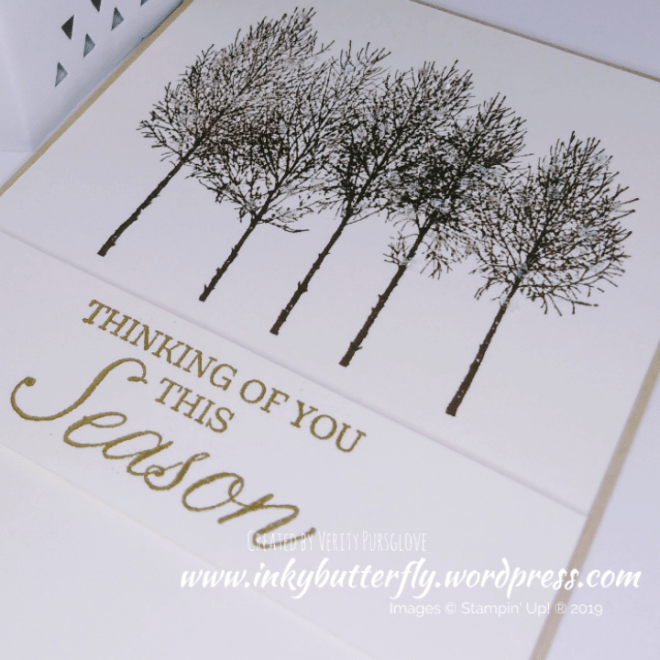
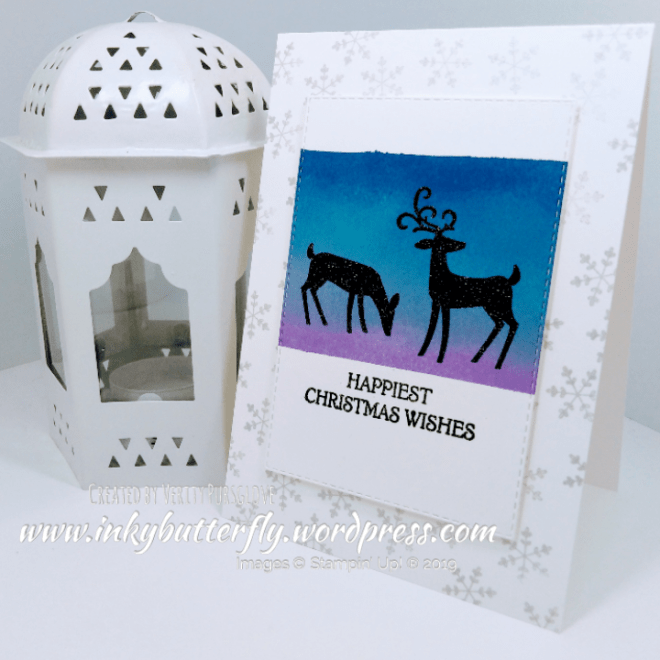
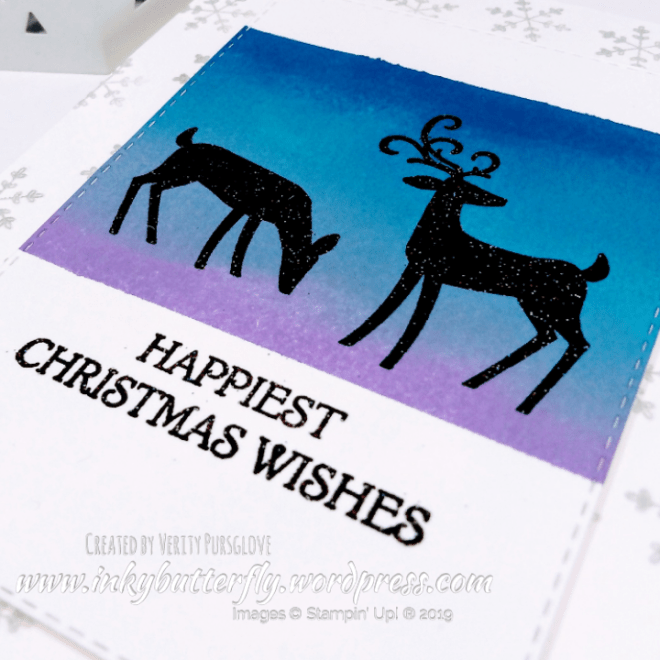
 Hello Everyone,A fun simple card for you today using the emboss resist technique.Embossing first reduces the chance of stray powder sticking to ink that may not be completely dry.I made the set using the 2019 in colours.See how I put them together in my video tutorial…..
 I hope you enjoyed this project.The supplies used are listed and linked to the online store below.If your order is less than £150, use the Hostess Code
 ")


")


")
")


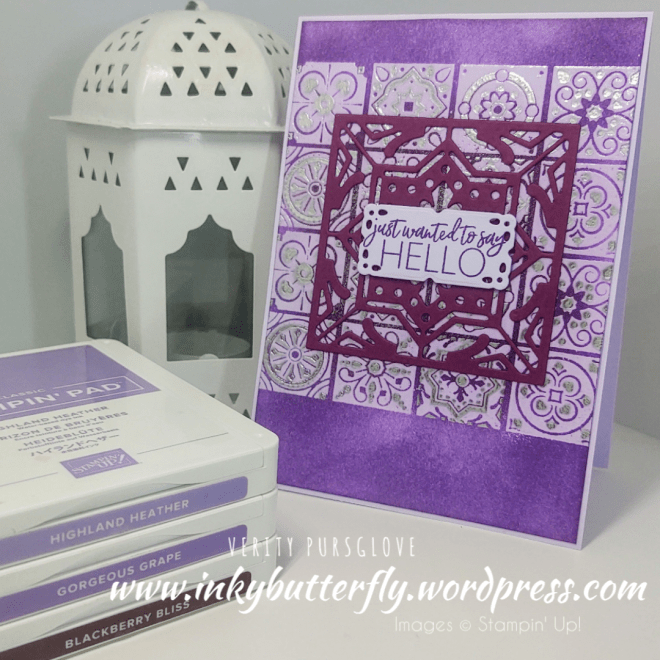
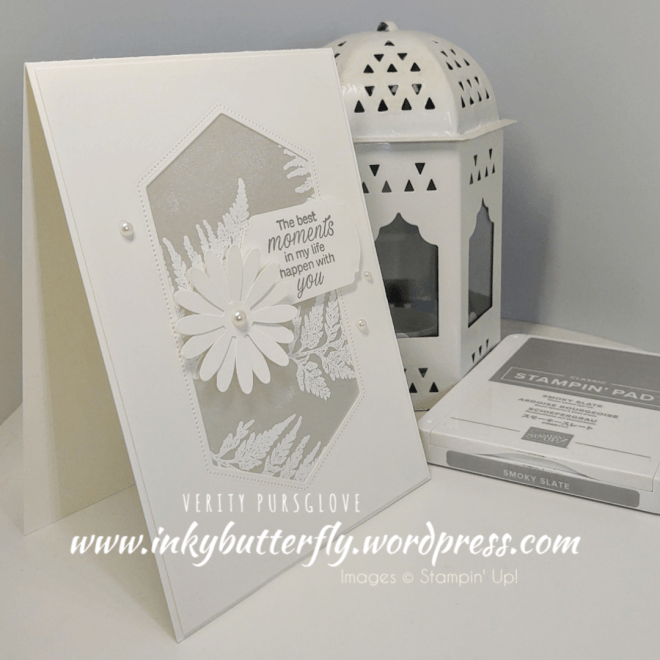
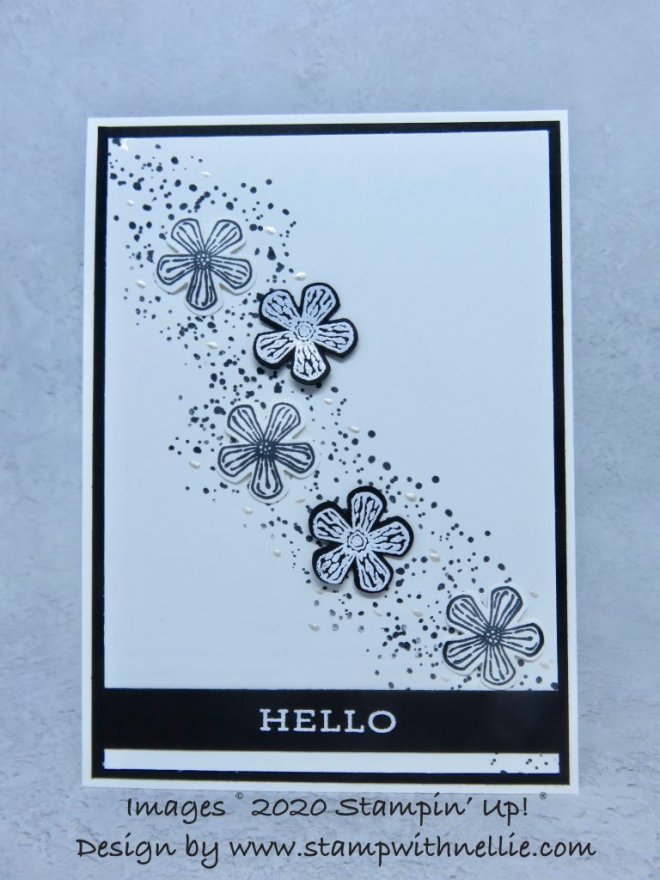
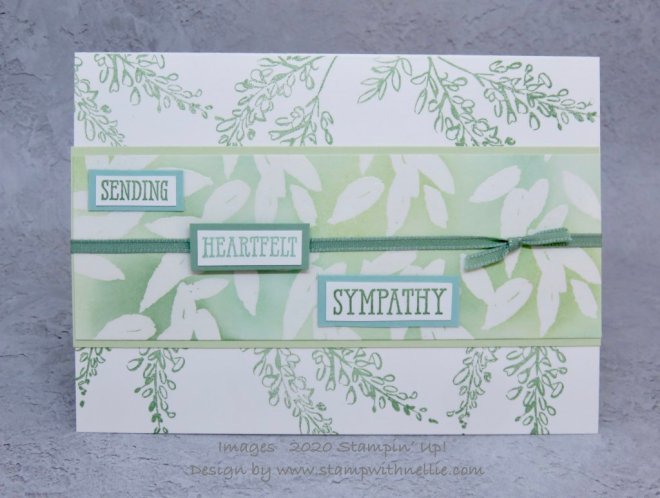
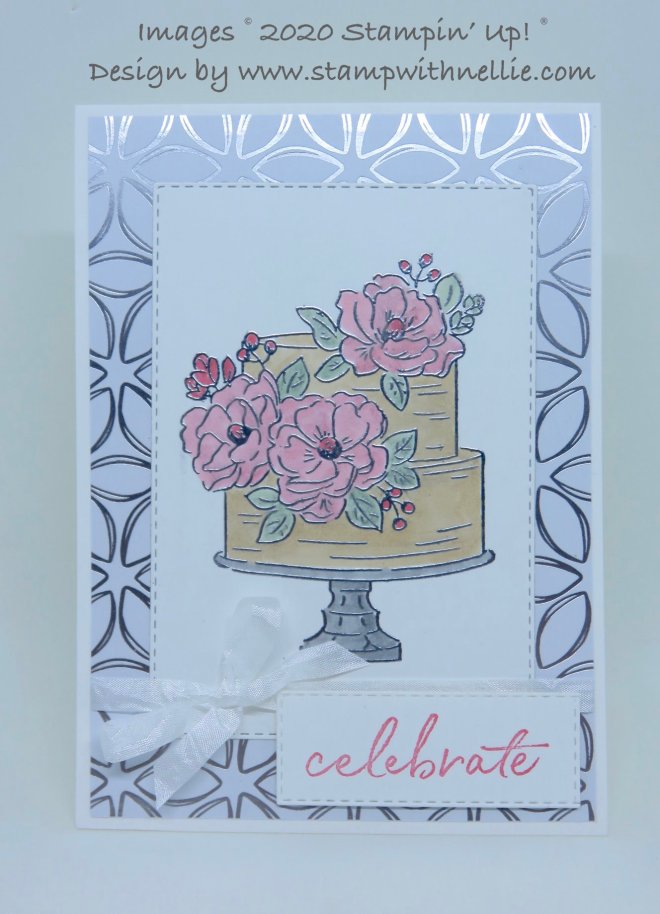
 Heather has combined elegant stamps with the geometric dies to make this card.Visit Heather’s blog
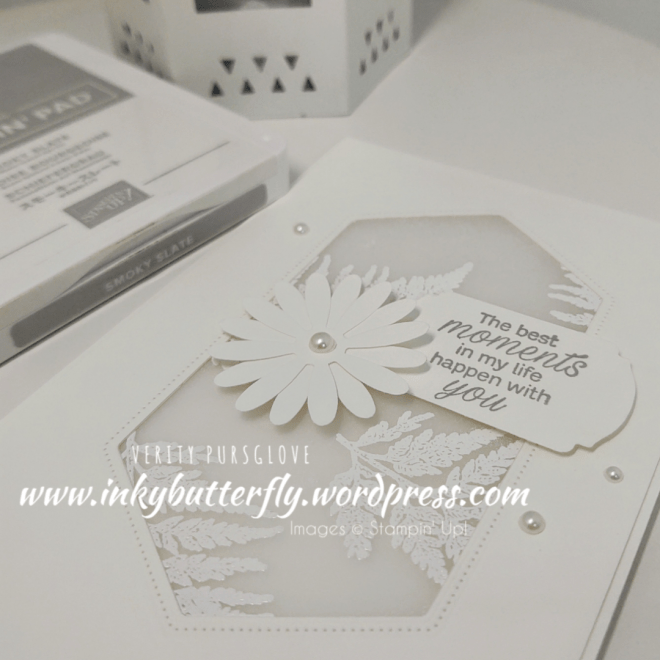
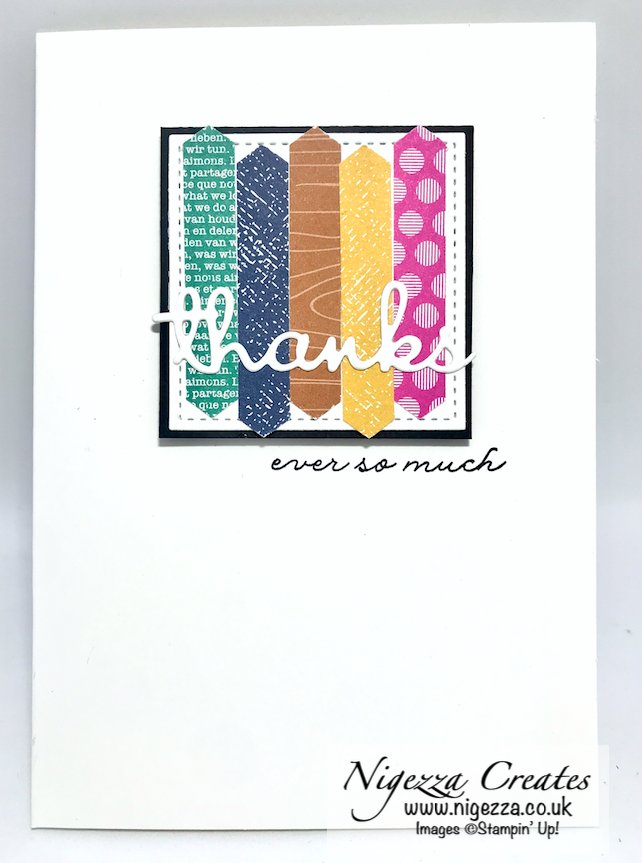
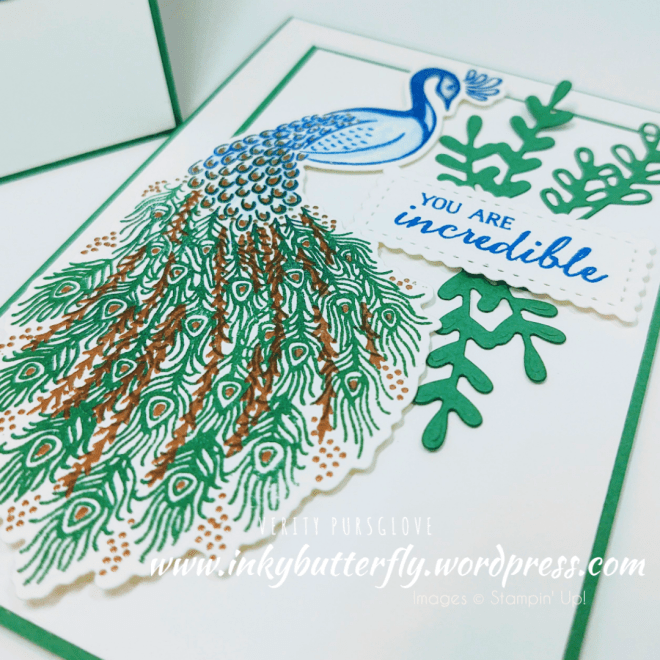
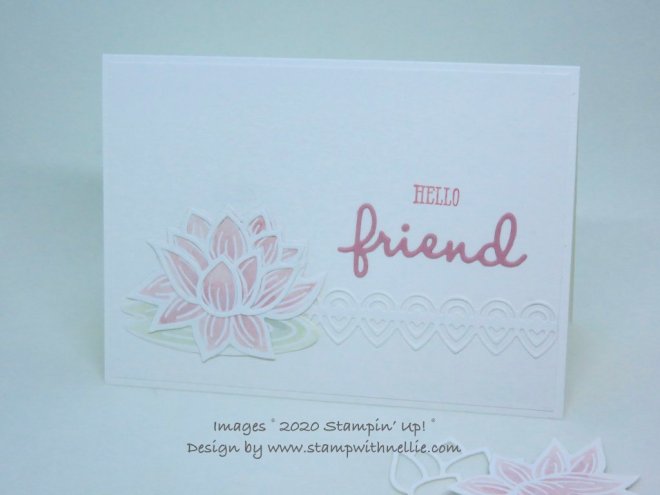
  Gez’s simple layout emphasises the beautiful embossing and detailed die cuts.Visit Gez’s blog


")


")


")


