Making My Dad’s Birthday Card

Hello Everyone,

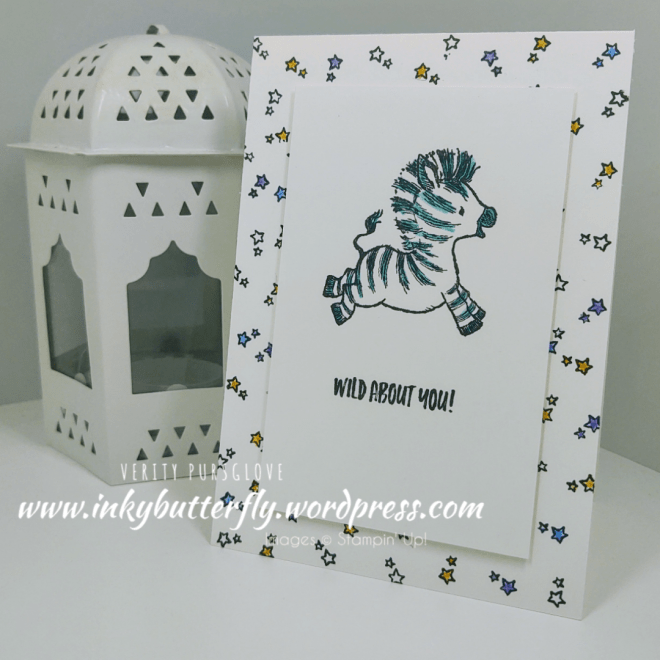
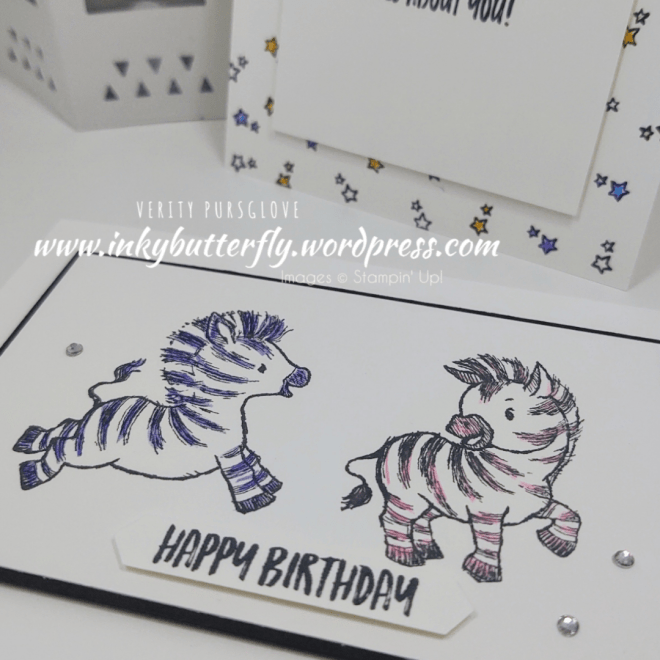
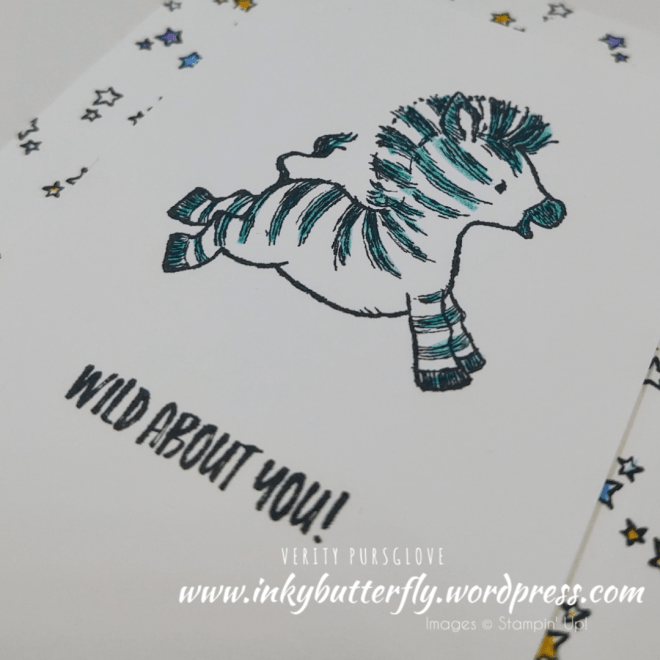
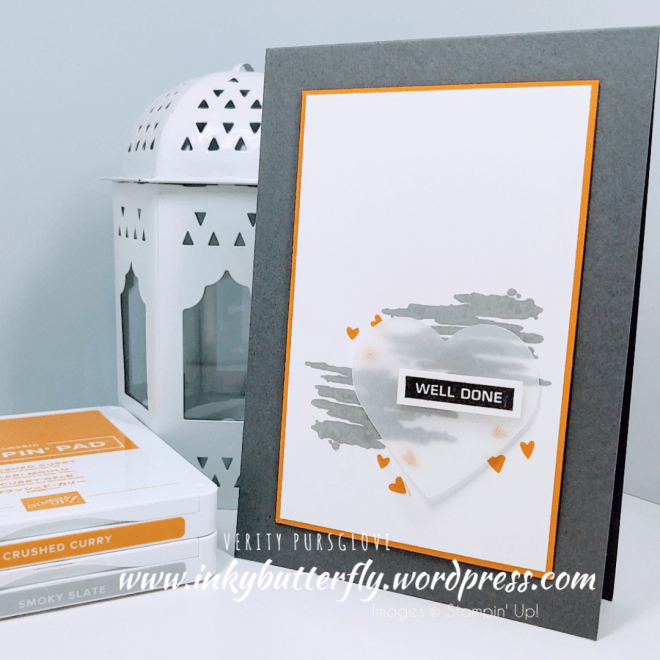
Here’s another quick card for the chaps in our lives…

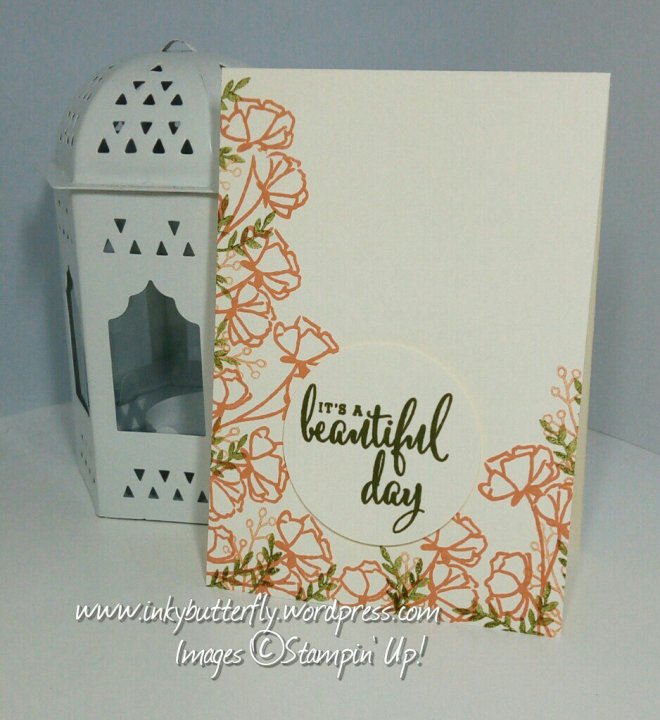
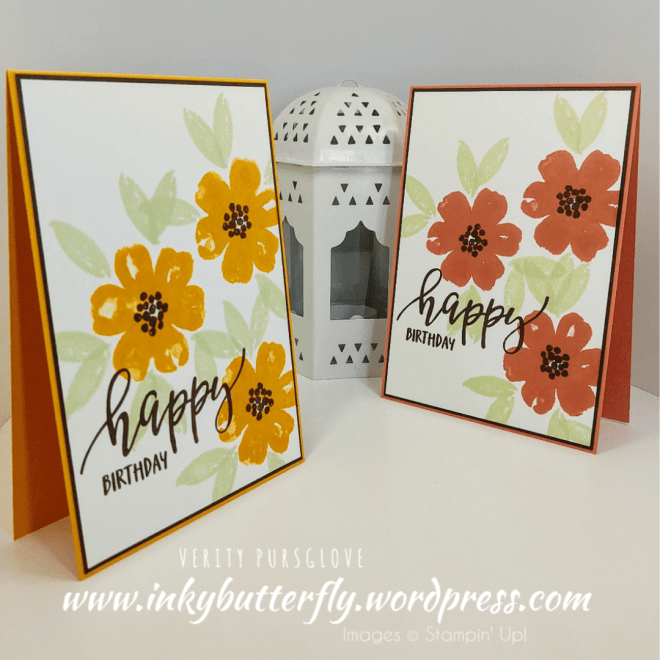
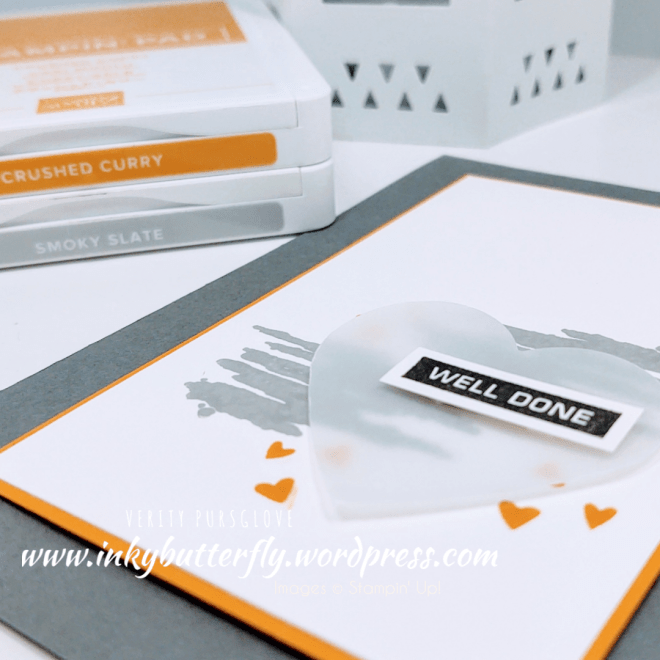
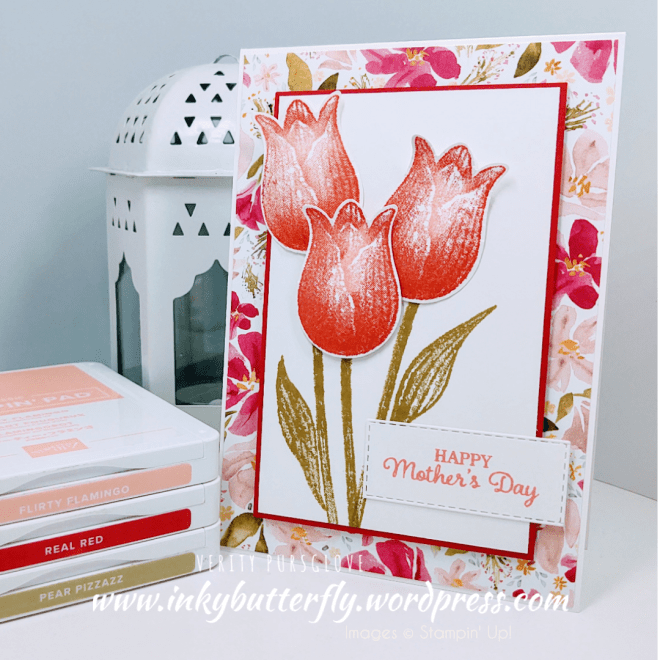
For this project, the card base has been simply decorated by layering patterned paper and coloured cardstock.

This formula can be adapted very easily to suit the needs of the project you are making!

The Stitched So Sweetly dies make a simple sentiment topper and a bit of Wink of Stella adds some shine without being too feminine!

I hope you enjoyed this project.

The supplies used are listed and linked to the online store below.

If your order is less than £150, use the Hostess Code F2QFV2PT when placing your order to get an extra gift from me!

I would love to be your demonstrator.

Thanks for stopping by today and happy Stampin’!

Verity xx

Product List

Super Quick Pretty Cards with the Pretty Perennials Stamp Set

Hello Everyone,

I am continuing with the quick and easy cards, this time using the fantastic Pretty Perennials stamp set!

With lots of elements that work together and some two step stamping too, this set is so versatile!

See the cardmaking process in my video tutorial….

With dozens of colours to choose from, this card can be made over and over again.

I did not add any embellishments or ribbon either, so imagine the possibilities for stepping up this simple layout.

Change the neutral colour to black, grey or Crumb Cake…..

Or use a different shade of green….

I wonder which is your favourite?

I hope you enjoyed this project.

The supplies used are listed and linked to the online store below.

If your order is less than £150, use the Hostess Code W7ZJNXEV when placing your order to get an extra gift from me!

I would love to be your demonstrator.

Thanks for stopping by today and happy Stampin’!

Verity xx

Product List

Super Quick Cards using the Stamparatus tool

Hello Everyone,

Following on from yesterday’s post, here’s another way to make lots of cards fast!

And if there’s one time of year when we need lots of cards, it’s Christmas!

You don’t need a ton of products either… I’ve added some layers to my card sample, but these could be left out.

The Stamparatus is a fantastic tool that will help a beginner stamper get amazing results.

See how in my video tutorial….

I’d love to know if you give this a try and whether you love the Stamparatus as much as I do!

I hope you enjoyed this project.

The supplies used are listed and linked to the online store below.

If your order is less than £150, use the Hostess Code FYP3NJFR when placing your order to get an extra gift from me!

I would love to be your demonstrator.

Thanks for stopping by today and happy Stampin’!

Verity xx

Product List

Zebras for Beginners

Hello Everyone,

Today’s post is accompanied by a longer video than usual while a talk to all of you out there that don’t know where to start will papercraft and cardmaking!

I present the Zany Zebras Product Collection and suggest some additional items to add to a your collection, or a Starter Kit.

I have added direct links to these products in my online shop below.

In the video, I make these cards. The first uses only products supplied in the collection.

The seconds adds some black card, the classic label punch and some rhinestones.

Watch the video here!

I hope you enjoyed this project.

The supplies used are listed and linked to the online store below.

If your order is less than £150, use the Hostess Code VKY3SPC7 when placing your order to get an extra gift from me!

Spend £200 and get an extra £20 of rewards to spend on whatever you want!I would love to be your demonstrator.

Would you like to join my Stampin’ Up! team?

Choose an additional free bundle when you join during June!

Thanks for stopping by today and happy Stampin’!

Verity xx

Product List

Paper Trimmer

[152392]

£23.00

Project Share Project

Hello Everyone,

Welcome to this week’s Project Share.

Despite all that is going on in the world my friends have continued to create some projects to inspire you and maybe have a go at yourself!

Please use the links to visit their blogs and read more about their projects. While you are there why not like and subscribe!

Jill has combined the beautiful florals of the Best Dressed designer series paper with Stitched So Sweetly dies to decorate a notebook. This would make a great gift

Visit Jill’s blog here to see more about this project.

Heather’s card is clean and simple, but perfectly combines annual catalogue favourites and Sale-a-bration freebies!

Visit Heather’s blog here for more ideas.

Gez is going back to basics with some #simplestamping! Everyone starts somewhere and this stamp set is perfect for a beginner stamper!

Visit Gez’s blog here to see more

I hope you enjoyed these projects.

The supplies used are listed and linked to the online store below.

I would love to be your demonstrator.

Thanks for stopping by today and happy Stampin’!

Verity xx

Product List

Well Done

Hello Everyone,

Today I wanted to make something very simple that a new paper crafter could achieve. The layout would work with many different colour combinations, use the supplies you have!

My card base is made with Basic Grey card stock. I cut panels of Crushed Curry and Whisper White card stock.

The white panel was stamped using the Label Me Bold stamp set and adhered to the Crushed Curry layer.

The sentiment was stamped with black ink and cut with snips. I added this to a heart punched from vellum using mini dimensionals.

I hope you enjoyed this project. The supplies used are listed and linked to the online store below.

I would love to be your demonstrator.

Thanks for stopping by today and happy Stampin’!

Verity xx

Product List

Paper Snips

[103579]

£9.25

Mother’s Day Tulips

Hello Everyone,

Mother’s Day is only a few weeks away so I thought I would share this card with you. It’s very easy to make if you are just starting out with paper crafting.

The patterned paper is part of the free sampler pack available exclusively when joining Stampin’ Up! You will also receive a mini paper cutter and an additional free stamp set of your choice. This is all on top of the regular, totally customisable, starter kit – the best value product in the catalogue.

See more about joining Stampin’ Up! and the benefits it has by clicking here!

I started by making a white card base and adhering the patterned paper to the front.

Next, I stamped the tulips. They look great stamped in a single colour. I opted to mix Real Red and Flirty Flamingo. This can be done by applying each ink to the stamp with a sponge dauber. Each flower was cut out with the coordinating punch.

Before committing to sticking these in place, I positioned them first so the the stems could be stamped in the right place. The panel was layered with Real Red card stock and added to the card base.

I added the flowers with dimensionals to lift them slightly.

Finally, I added the sentiment. I have die cut mine, but this cut be cut with a paper trimmer just as easily.

I hope you enjoyed this project. The supplies used are listed and linked to the online store below.

I would love to be your demonstrator.

Thanks for stopping by today and happy Stampin’!

Verity xx

Product List

Paper Trimmer

[152392]

£23.00

Just Getting Started?

Hi there,

Have you ever tried paper crafting? Have you been overwhelmed by all the things and not known where to start?

Why not try this new product bundle from Stampin’ Up!? With everything you need if you are “just getting started”!

  1. Love What You Do photopolymer stamp set
  2. Grapefruit Grove and Old Olive ink pads
  3. Clear acrylic block
  4. Very Vanilla A4 card stock
  5. FREE Very Vanilla note cards and envelopes

Find out more by clicking here.

This the sample that Stampin’ Up! designers created using this bundle. I have used this idea to inspire today’s project.

I have used the very Vanilla card stock to make the card base, though this could easily be one of the note cards.

I started by stamping the flowers using Grapefruit Grove ink down the side and bottom edge of the card.

The sprigs were added using the same ink, but the image was stamped off on to scrap paper first to get a lighter shade.

Old Olive was used to add the leaves and stamp the sentiment on to a separate piece of card.

I have used a punch to cut out my sentiment, but this could be trimmed with scissors if this is something that you don’t have.

I chose to adhered this with dimensionals.

I hope you enjoyed this project. There is a link to this bundle and the other options available below. Just click on the image.

Thanks for stopping by today and Happy Stampin’!

Verity x

Product List