Hello Everyone,Welcome to this week’s Project Share. As always my friends have created some lovely work. Please use the links to visit their blogs and read more about their projects.
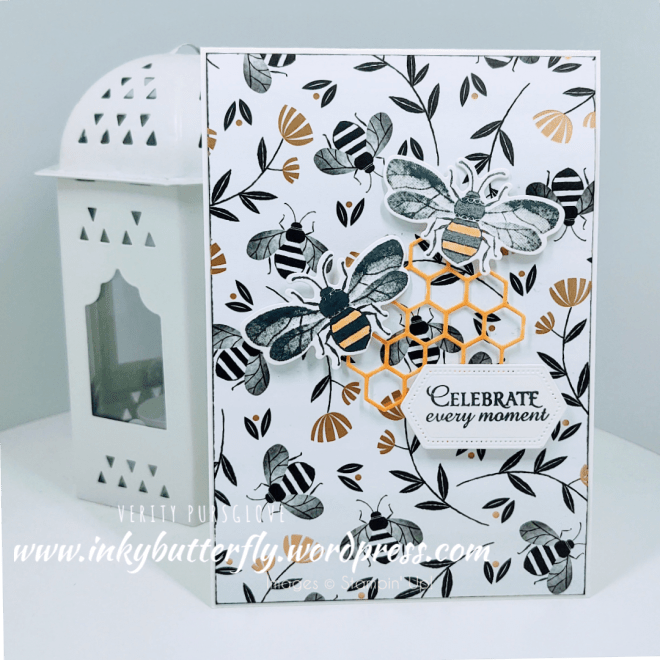
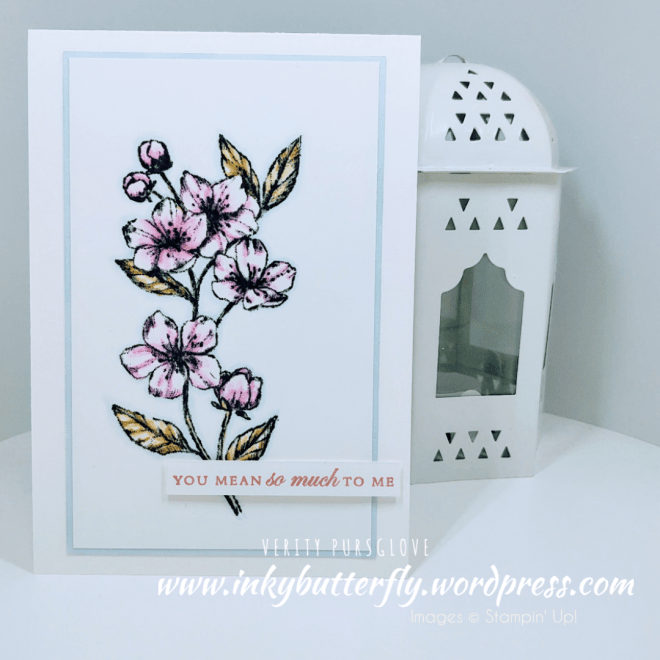
Jill has combined the Honey Bee bundle with the Golden Honey Designer Series Paper available during Sale-a-bration. They are the perfect match!
Visit Jill’s blog here to see how these products were used to make this card.

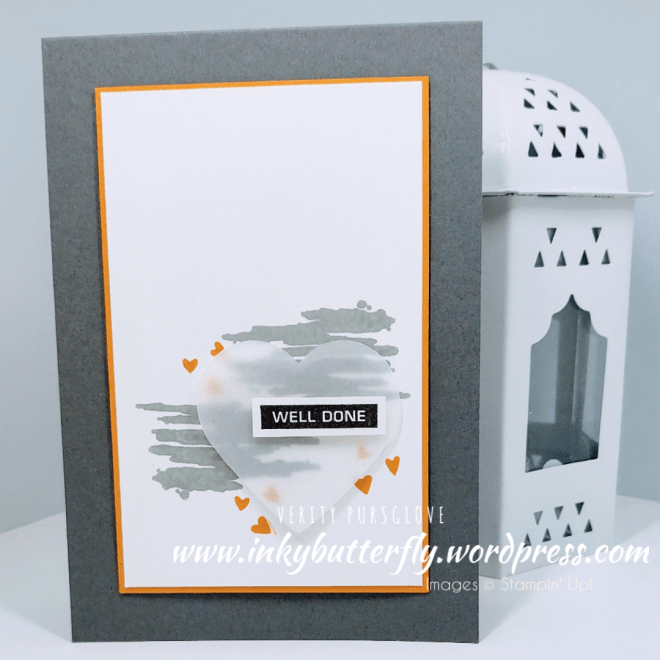
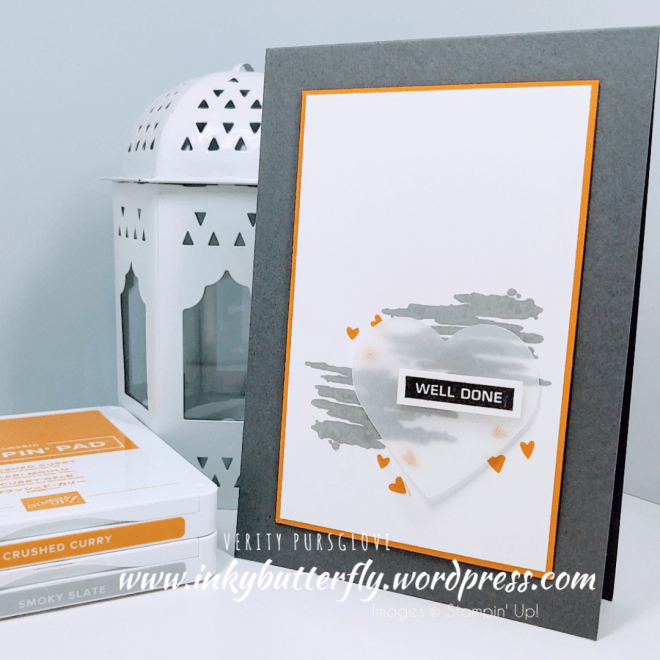
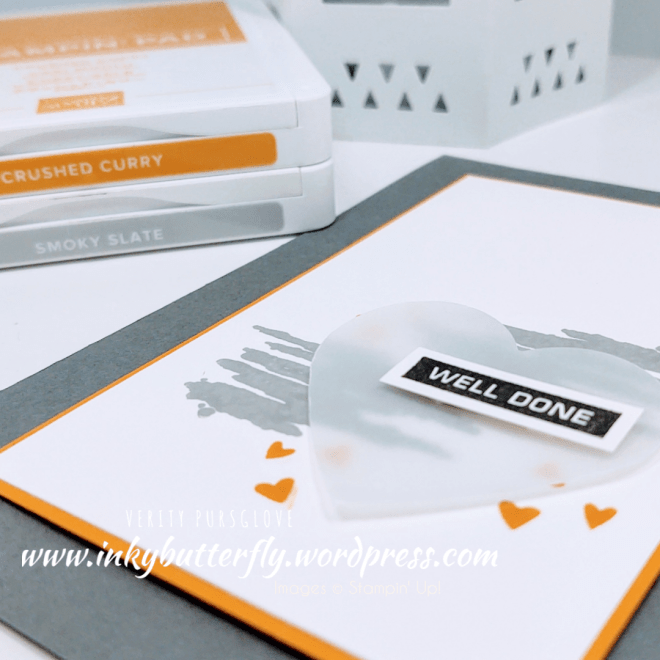
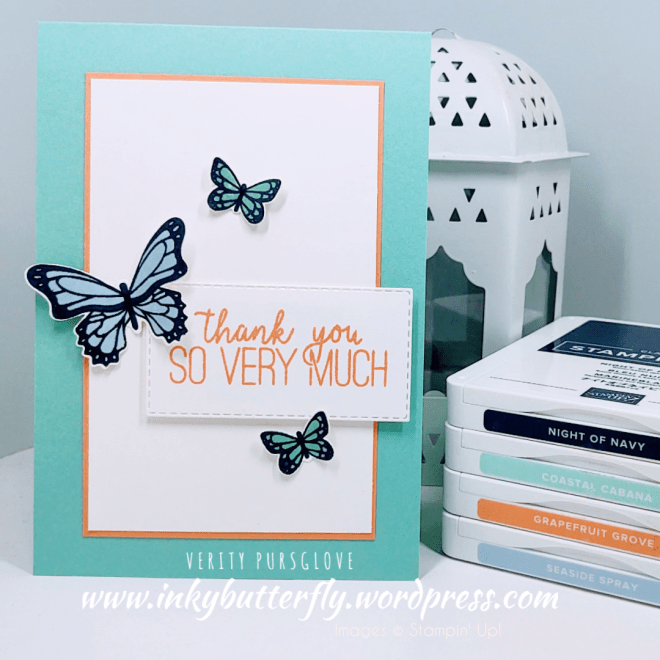
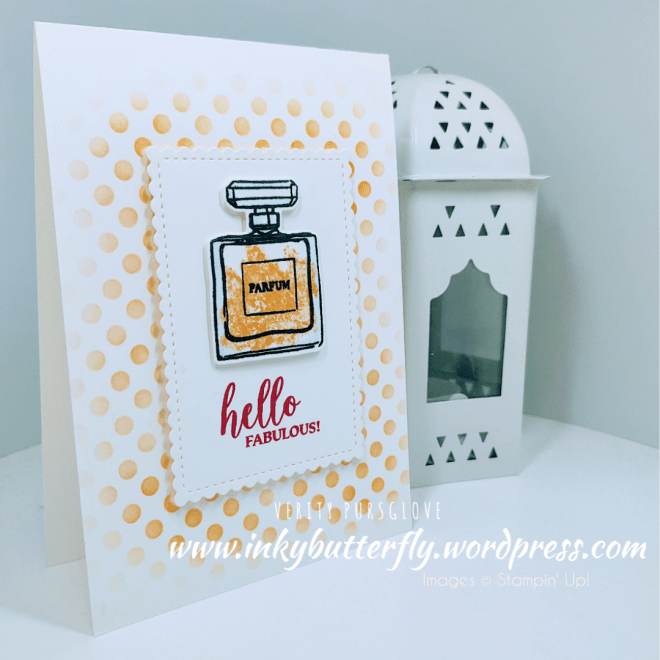
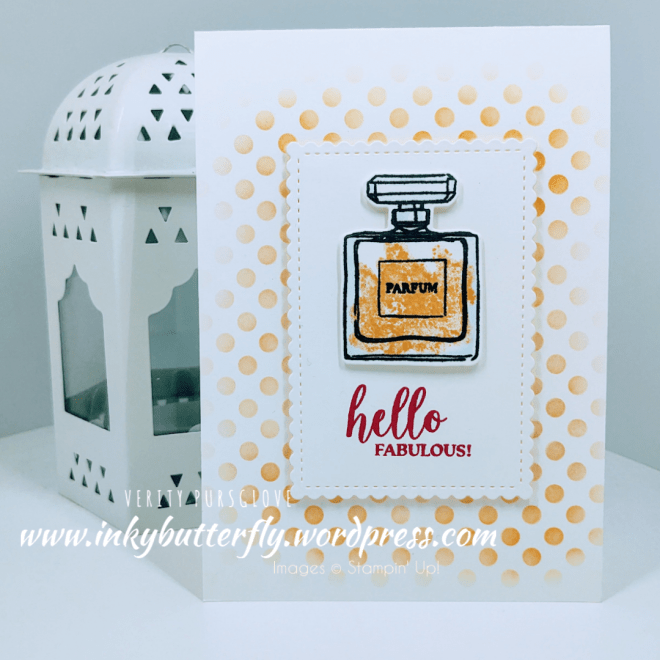
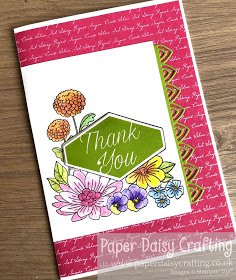
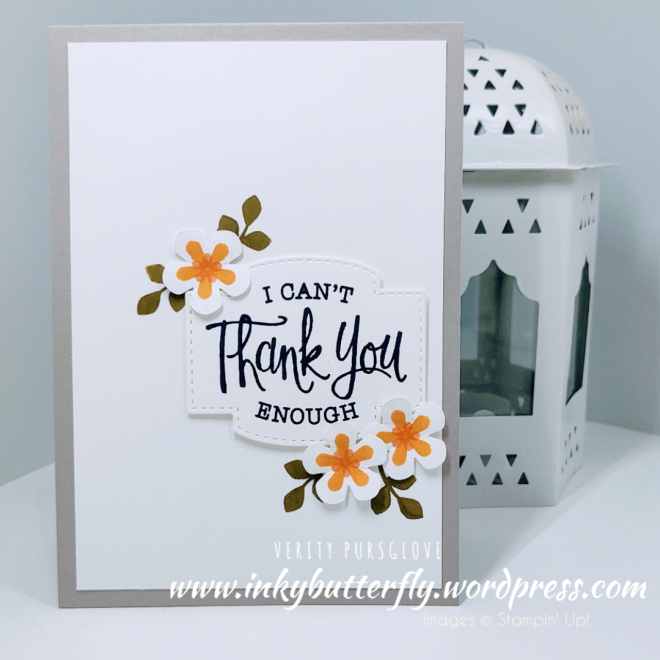
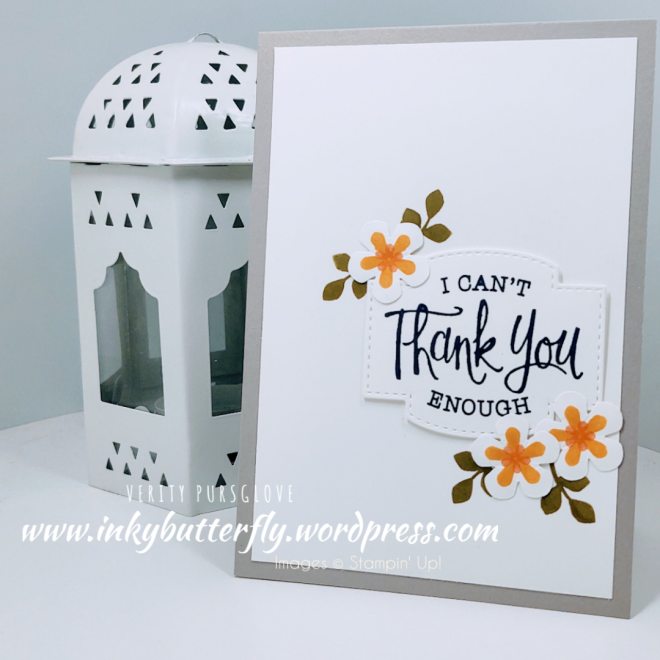
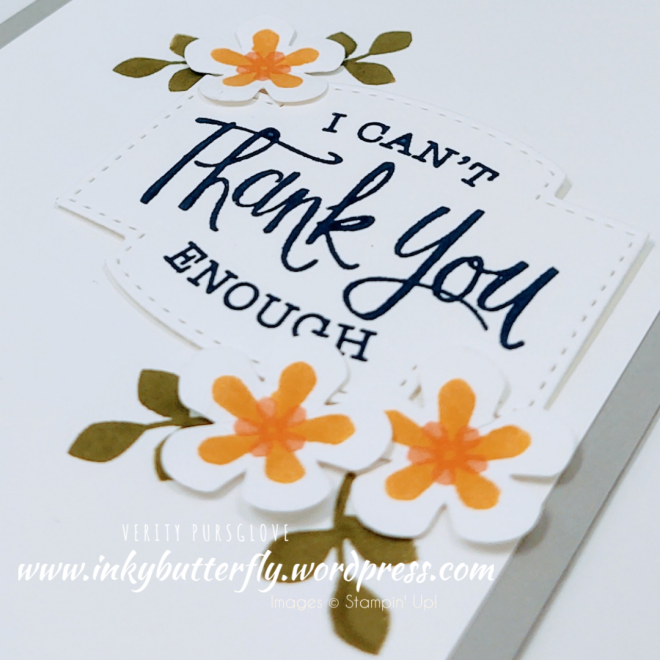
Heather is also making use of free items. The Pleased as Punch Designer Series Paper is brand new, coordinates with punches, but so pretty used as it is!
Visit Heather’s blog here to see more about this card.

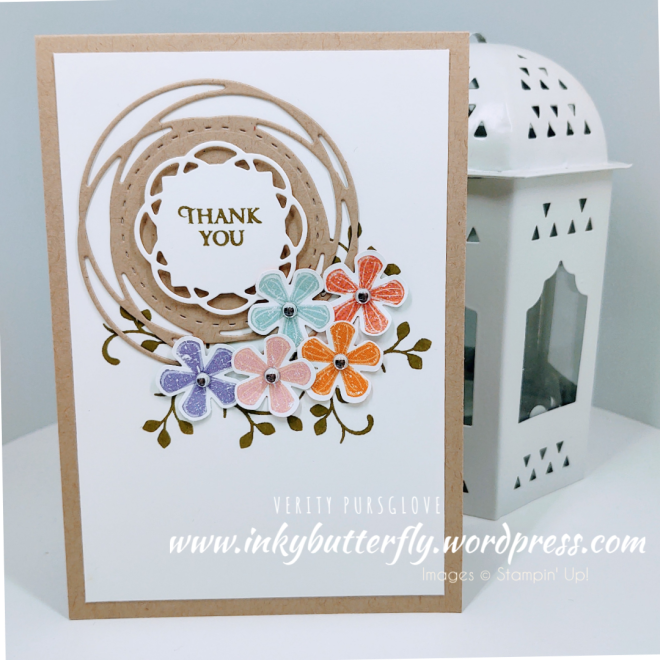
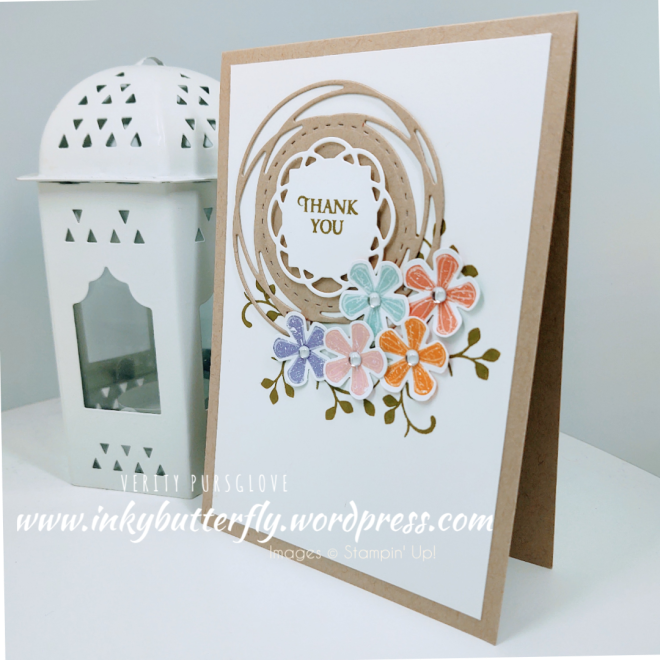
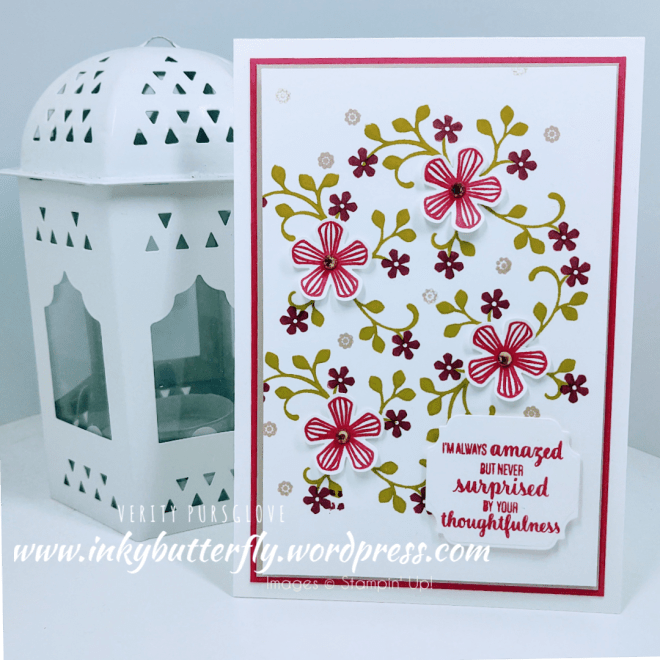
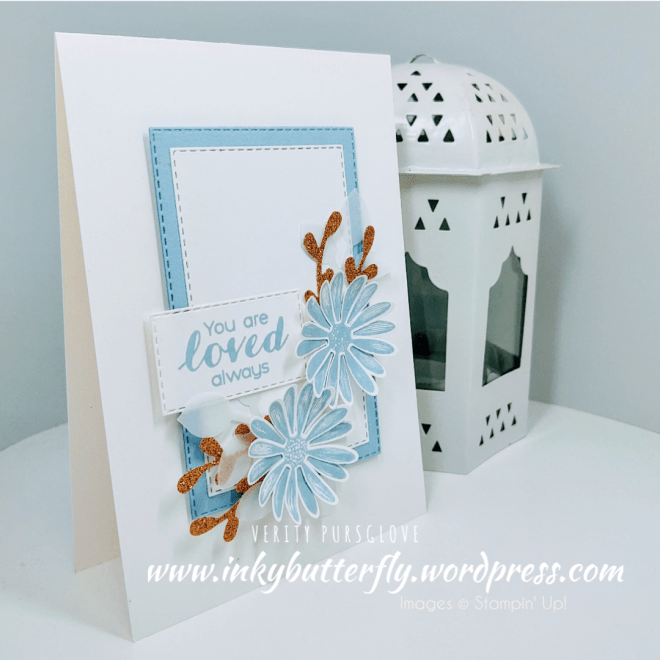
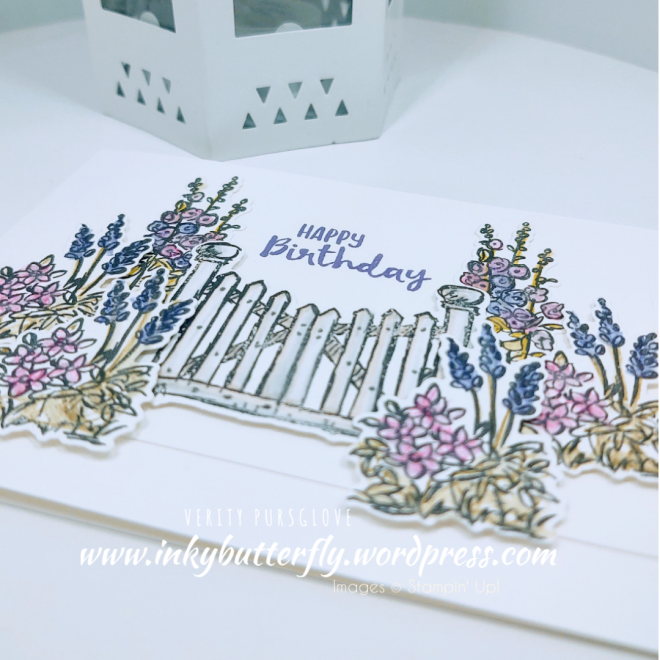
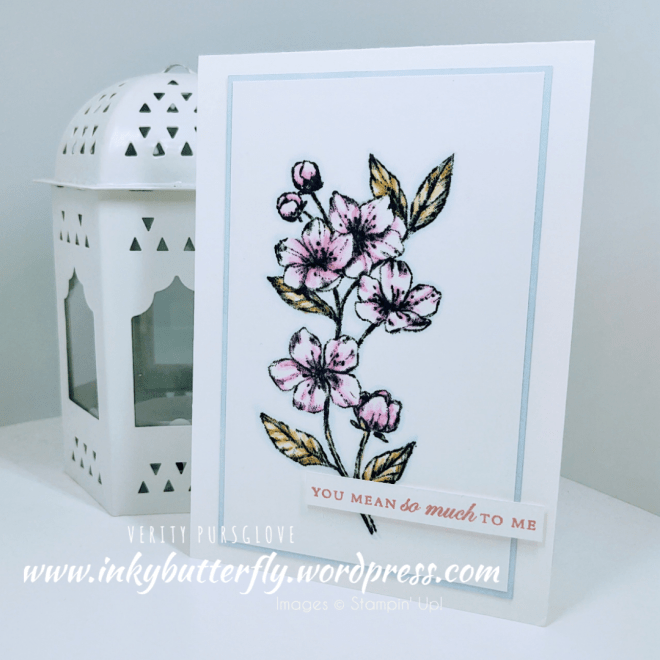
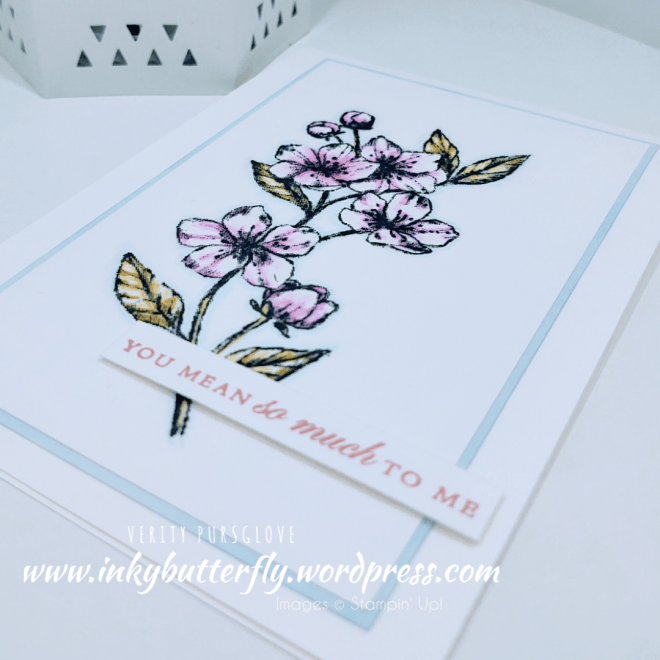
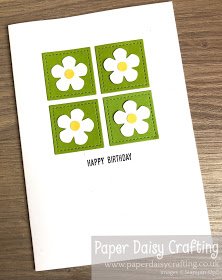
Gez is thinking of beginners with her project. Just one stamp set was need for this card. Label Me Bold is very versatile and works with any colour!
Visit Gez’s blog here to see how she achieved this look.
I hope you enjoyed these projects. The supplies used are listed and linked to the online store below.I would love to be your demonstrator.
Thanks for stopping by today and happy Stampin’!
Verity xx
Product List
|
|
|
|
|
|


")

")


")


")


")


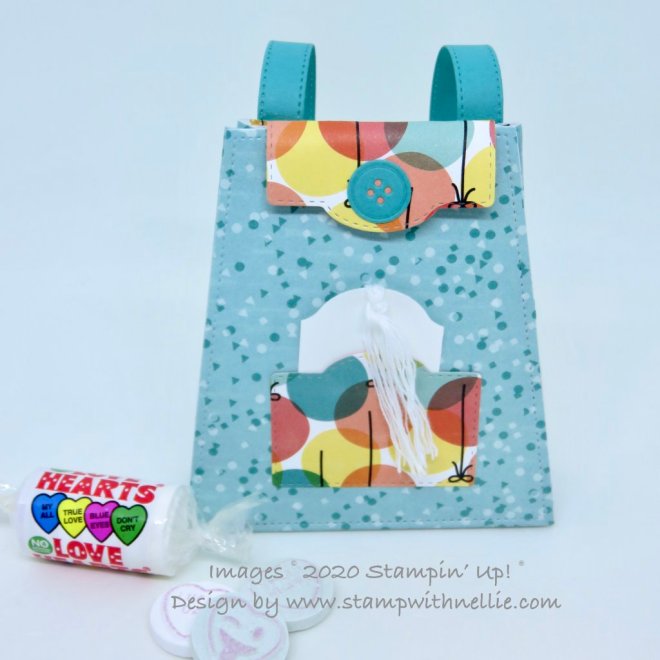
 Heather has made her designer series paper go further by decoupaging the design. Looks beautiful on this tea bag pouch.Visit Heather’s blog
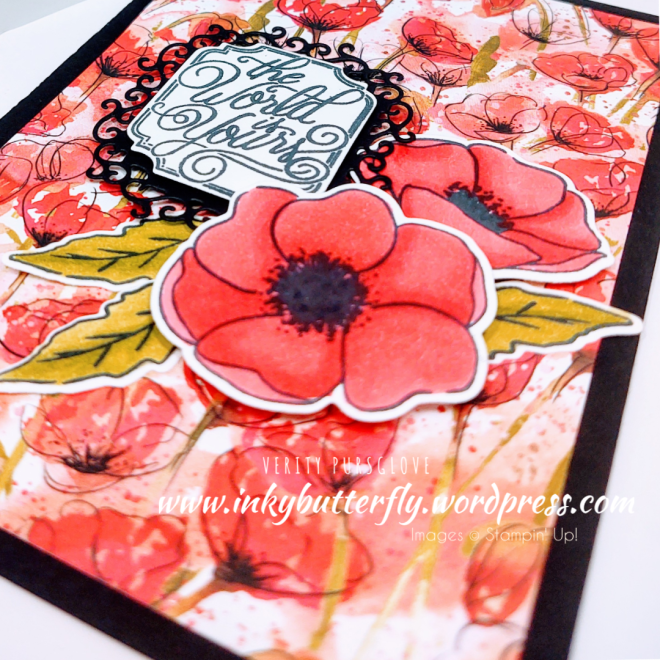
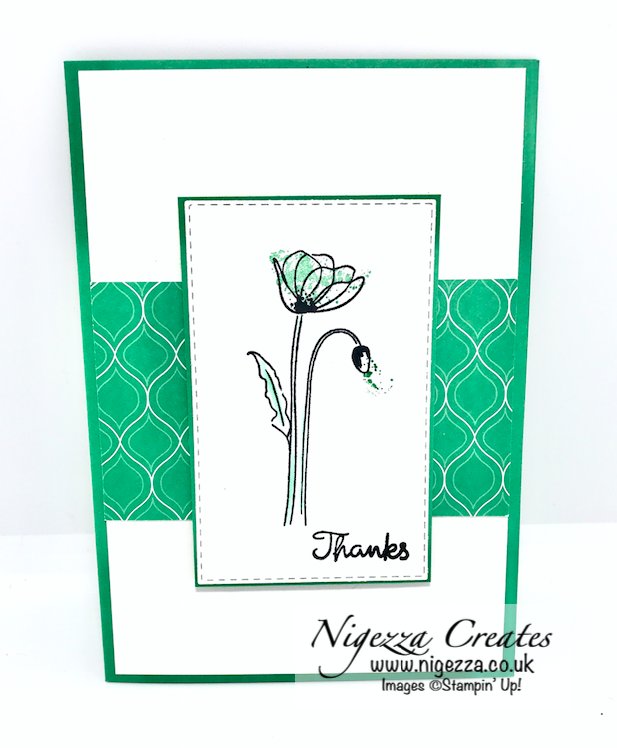
 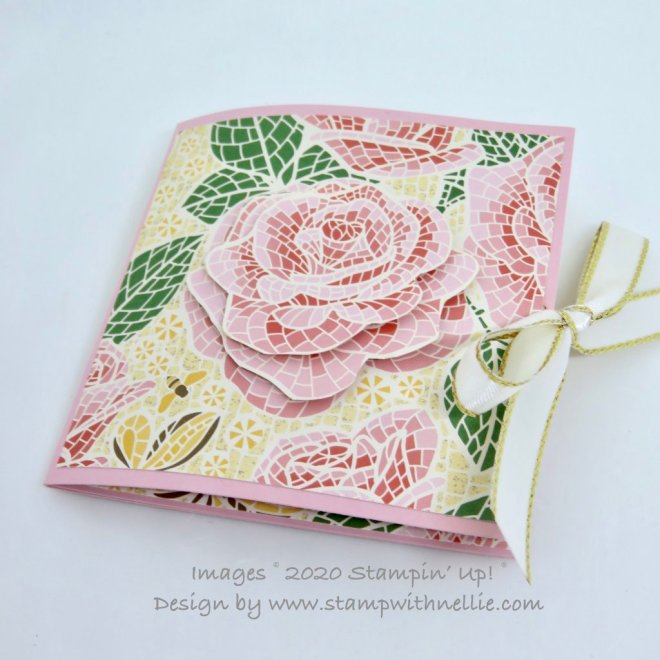 Gez is colouring in her own was with this grungy valentine’s day cardVisit Gez’s blog
 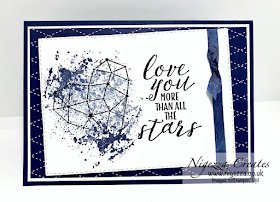 I hope you enjoyed these projects. The supplies used are listed and linked to the online store below.I would love to be your demonstrator.Thanks for stopping by today and happy Stampin’!Verity xxProduct List


")
")


")


")