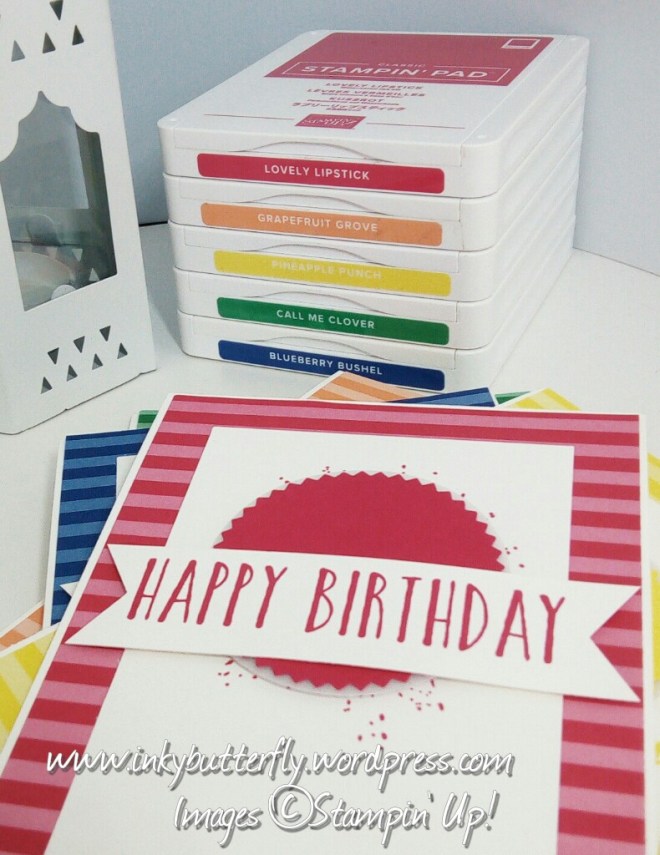
Good Morning,
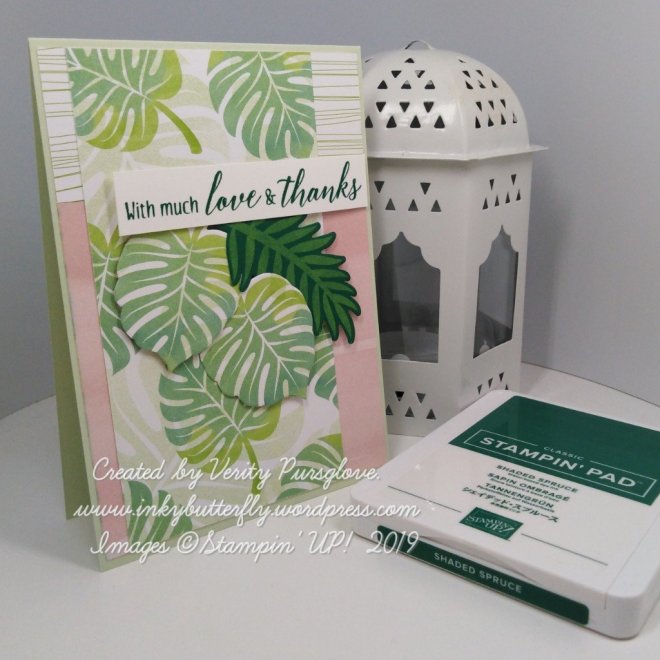
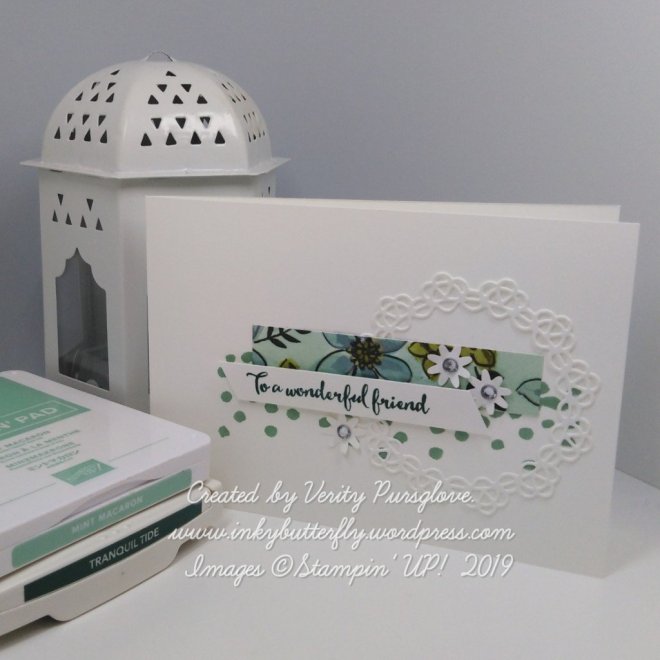
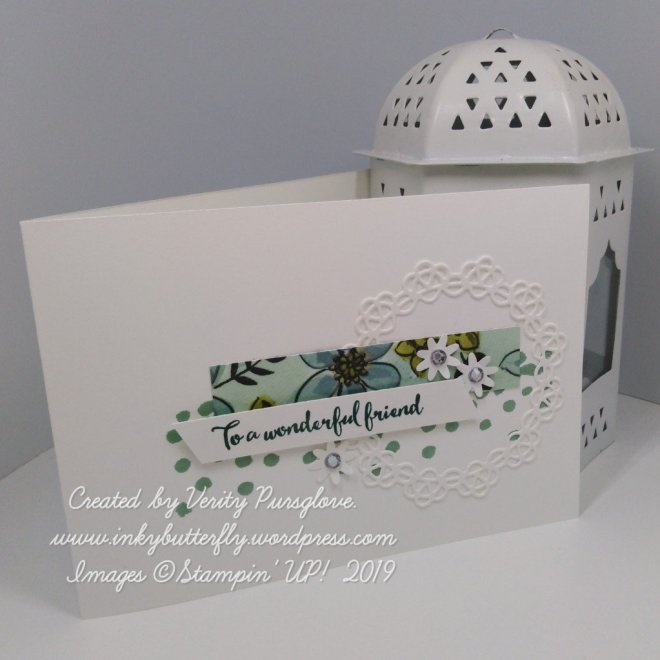
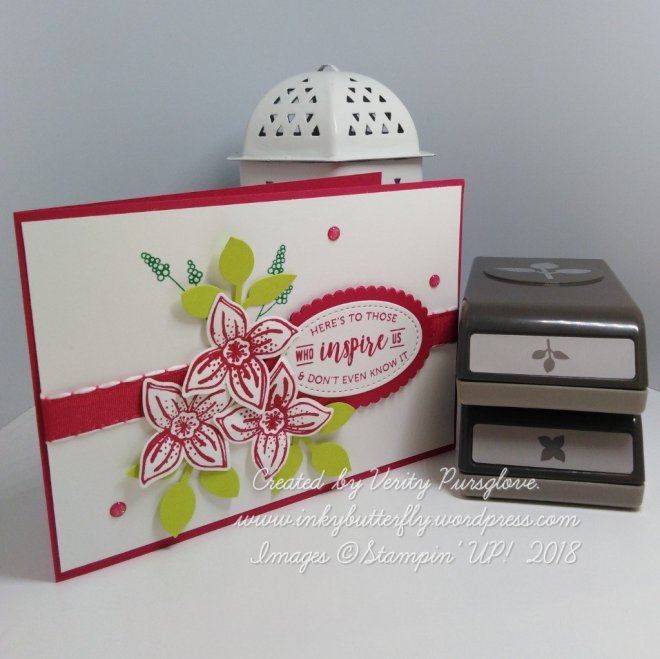
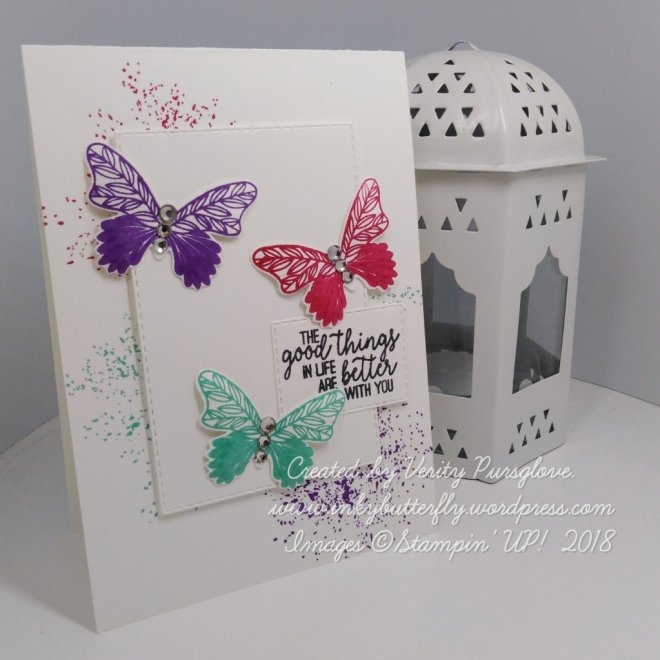
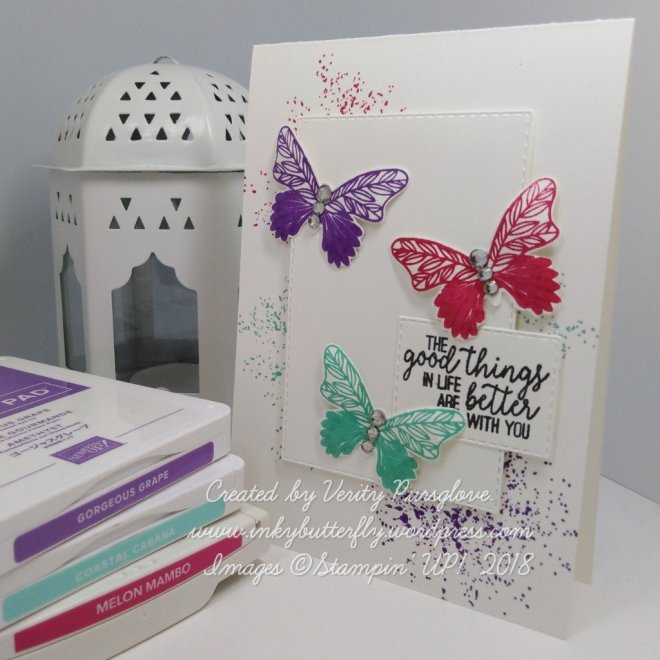
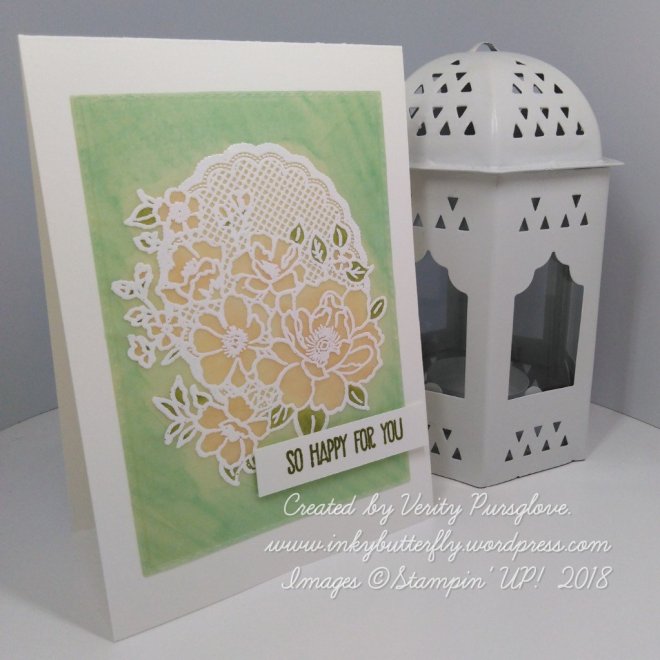
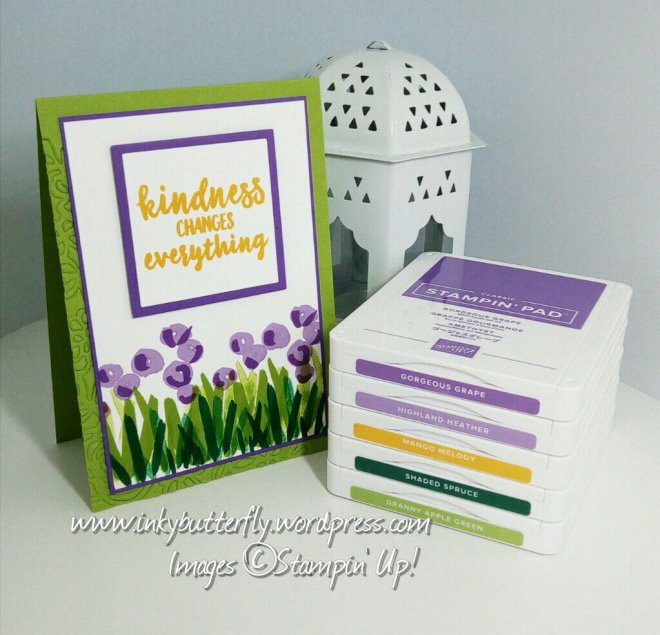
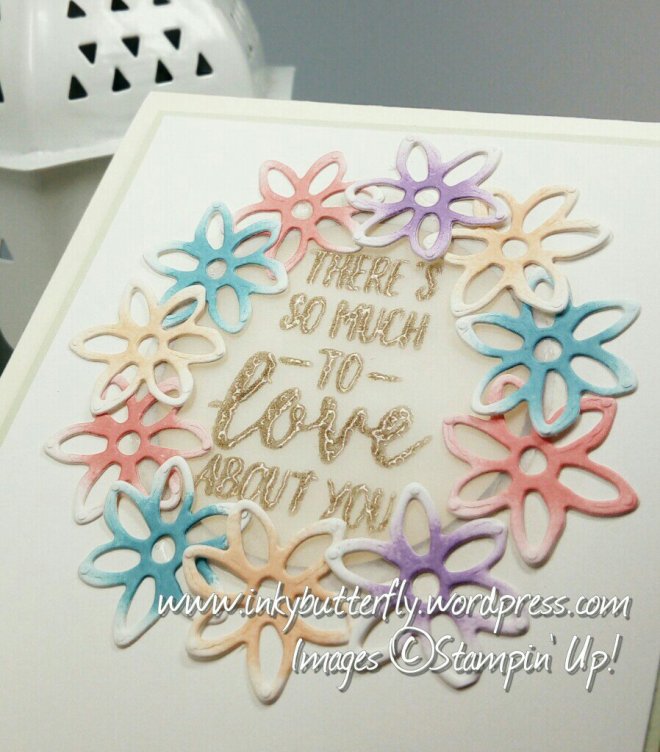
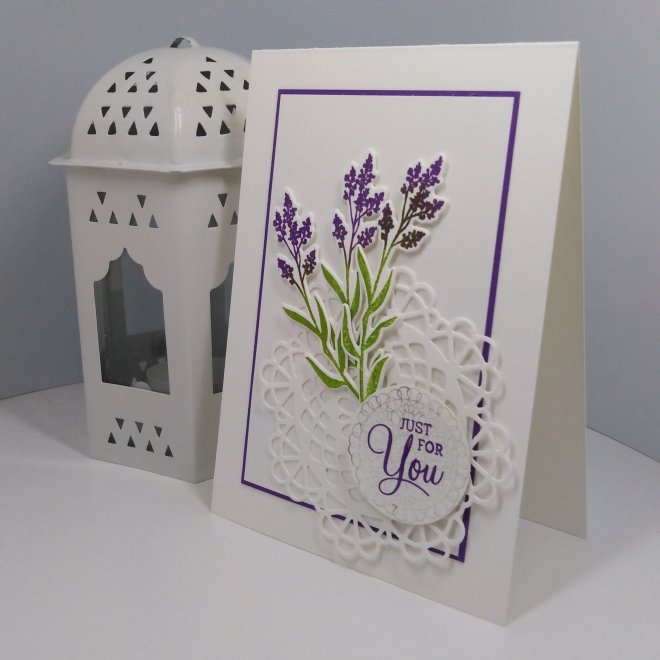
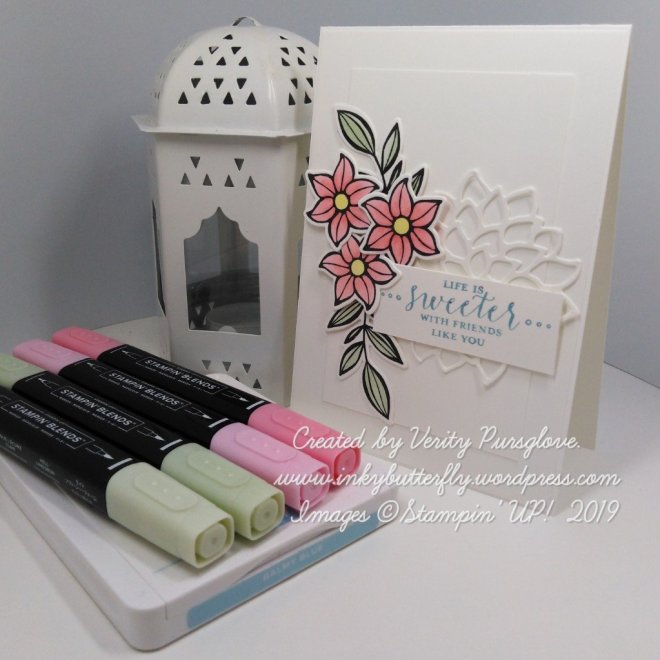
I love using florals in my cardmaking and I love this stamp set and matching Framelits.

The images were stamped in Memento Ink so that they may be coloured with Stampin’ Blends Markers. These were die cut ready to add to the card.
An additional die cut was adhered to a white card base over which the sentiment was added.
The flowers were then adhered around the sentiment using dimensionals.

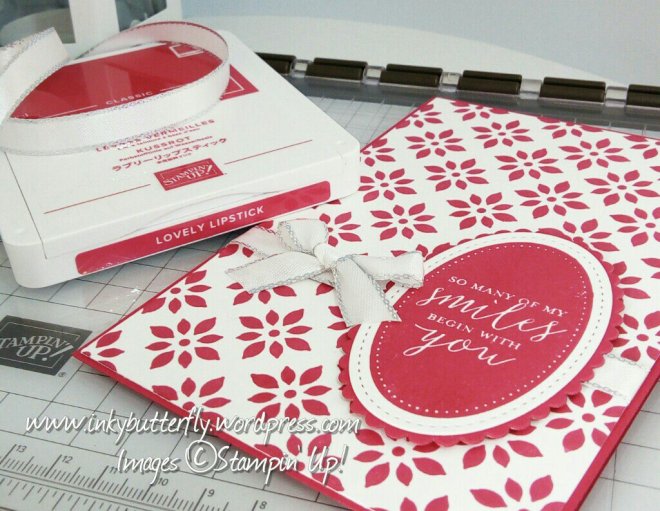
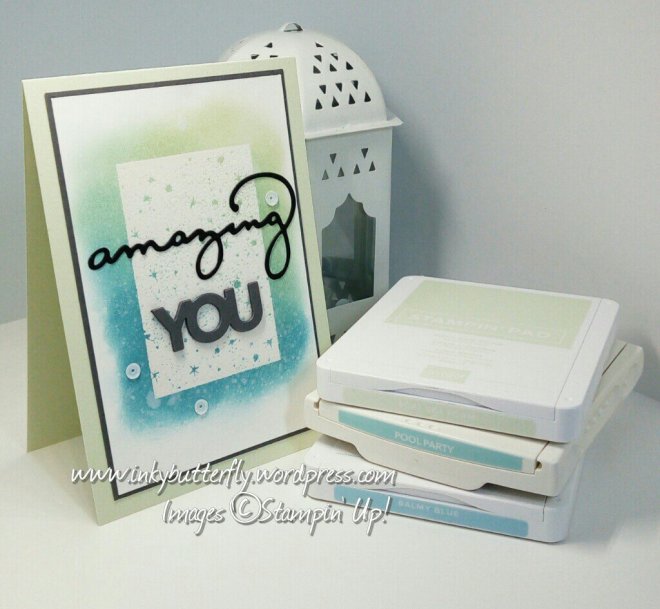
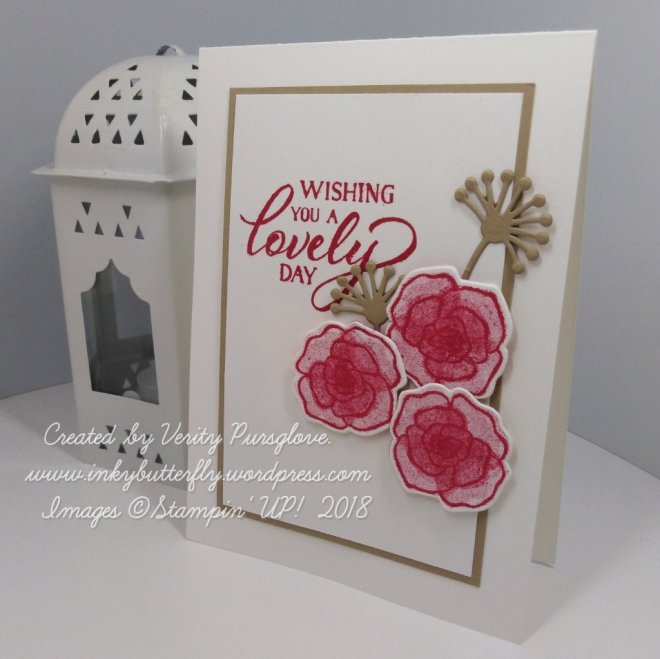
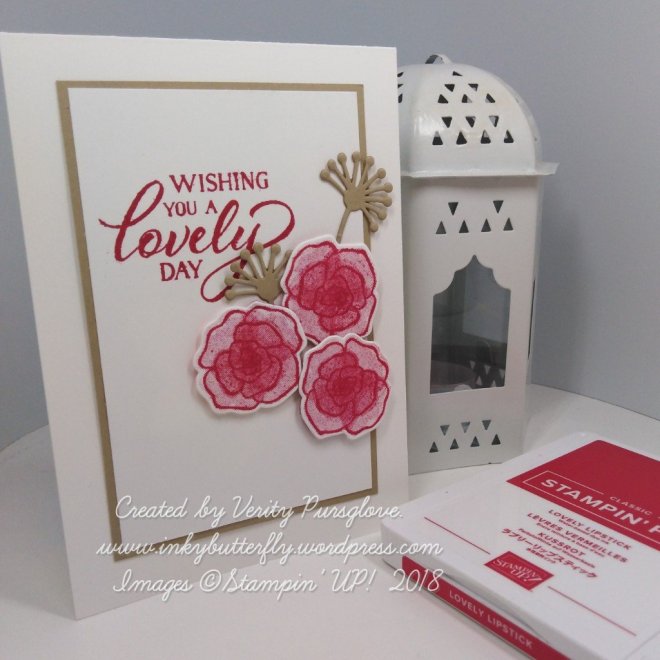
I hope you enjoyed this project. The supplies used are listed and linked to the online store below.
I would love to be your demonstrator.
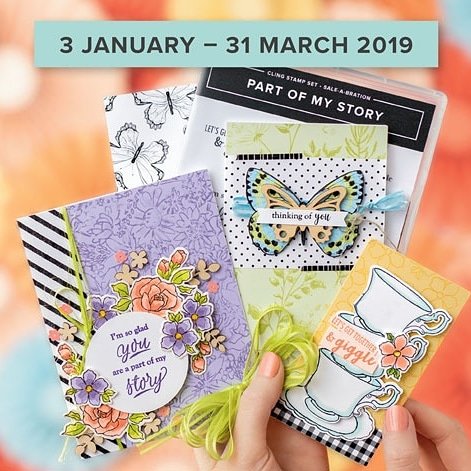
Don’t forget to check out Sale-a-bration and the free products available when you spend multiples of £45.

If your shopping wish list gets to £99, there’s no better time to join my team. You can choose £170 worth of products to be included in your personal starter kit; add a little extra and receive an exclusive Stampin’ Up! Craft & Carry tote.

Thanks for stopping by today and happy Stampin’!
Verity xx
Product List

|
|

|

|