Hello Everyone,
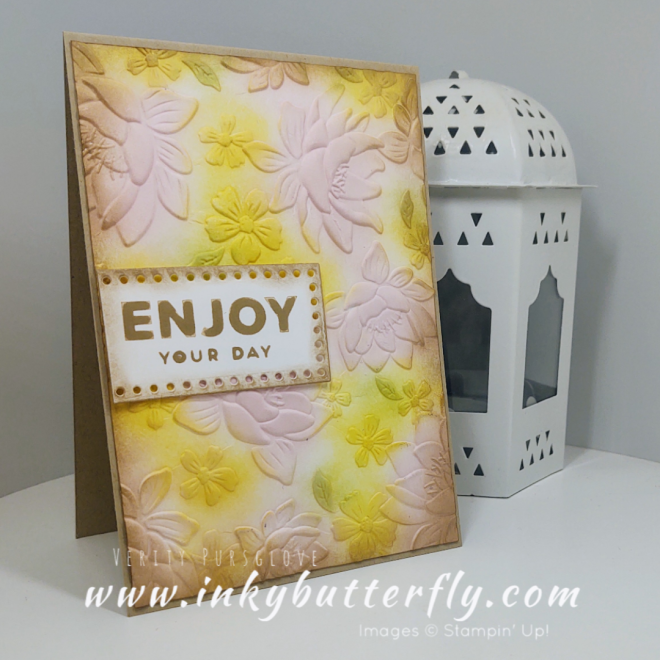
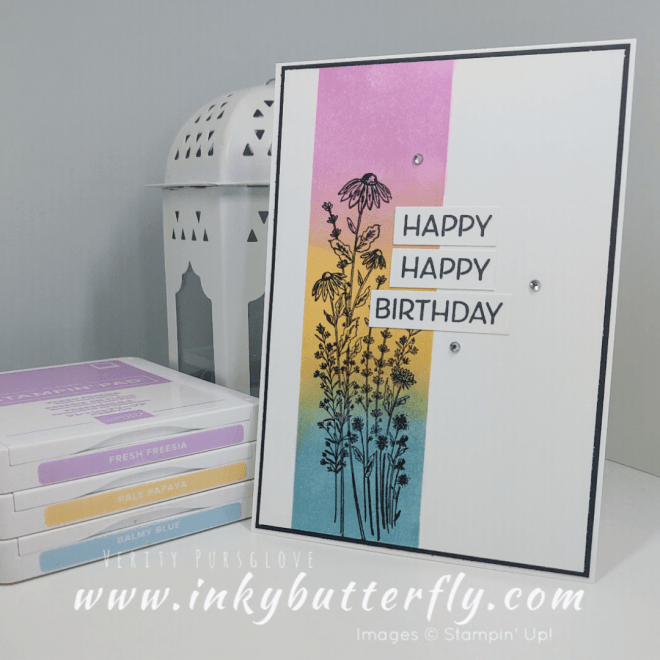
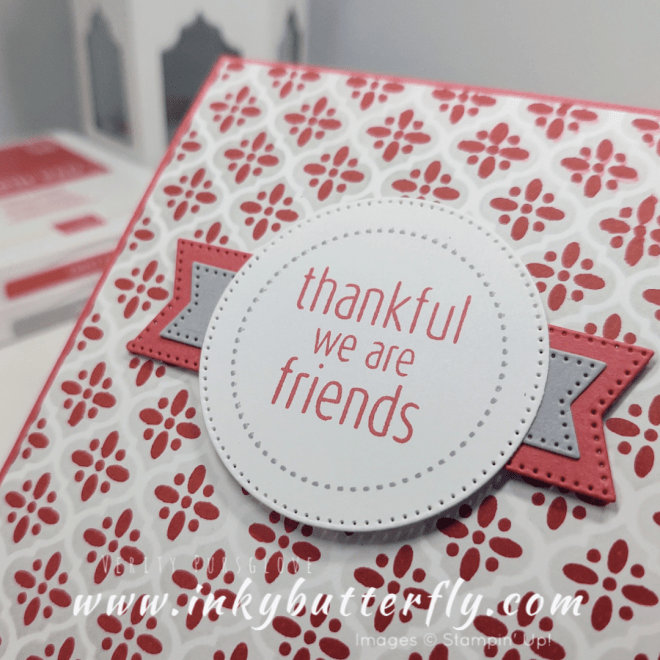
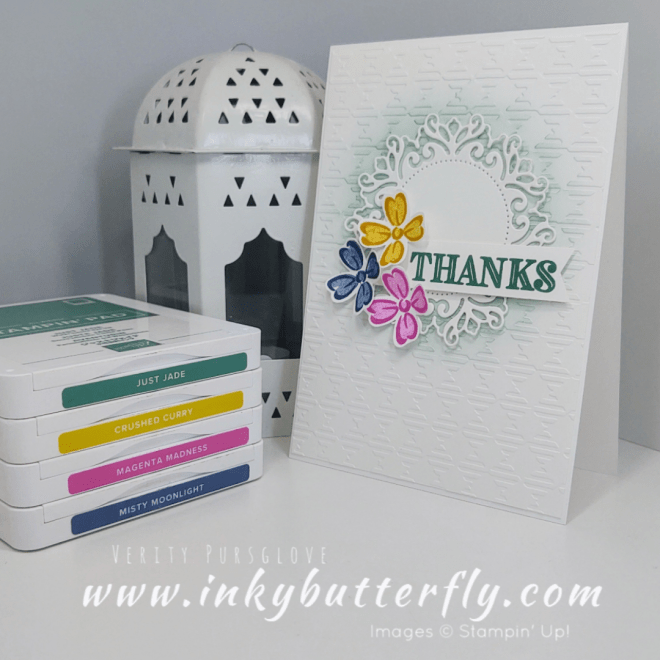
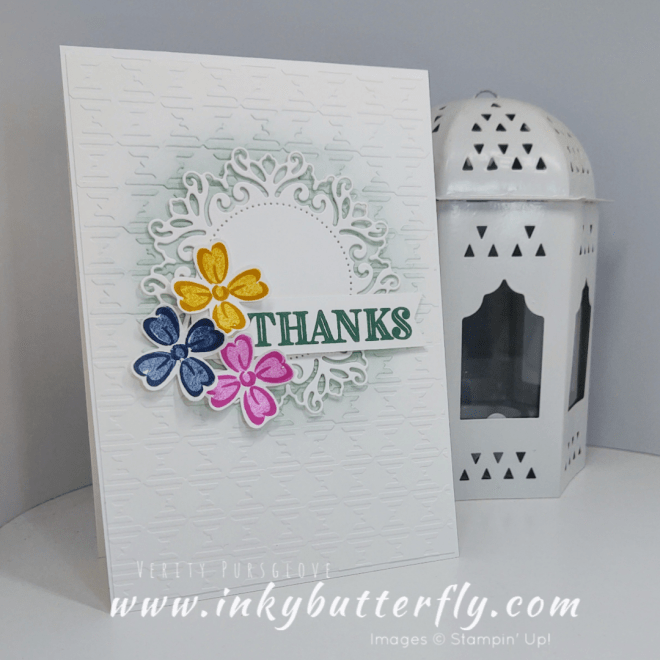
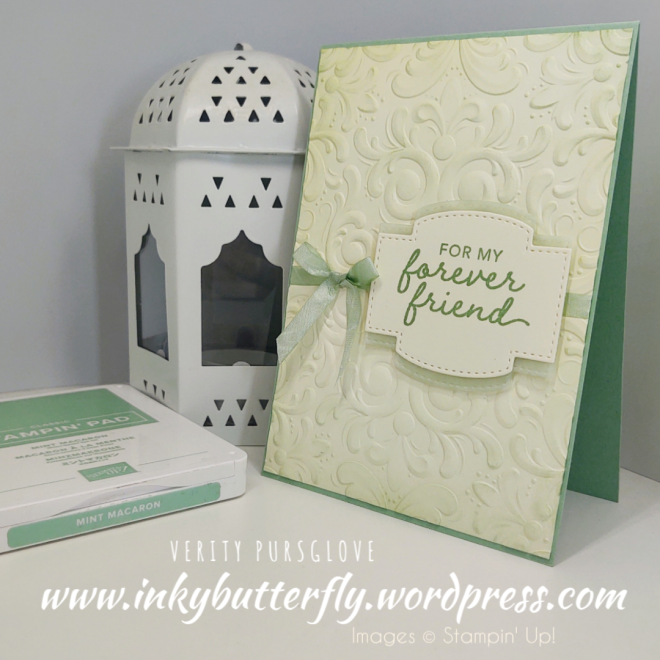
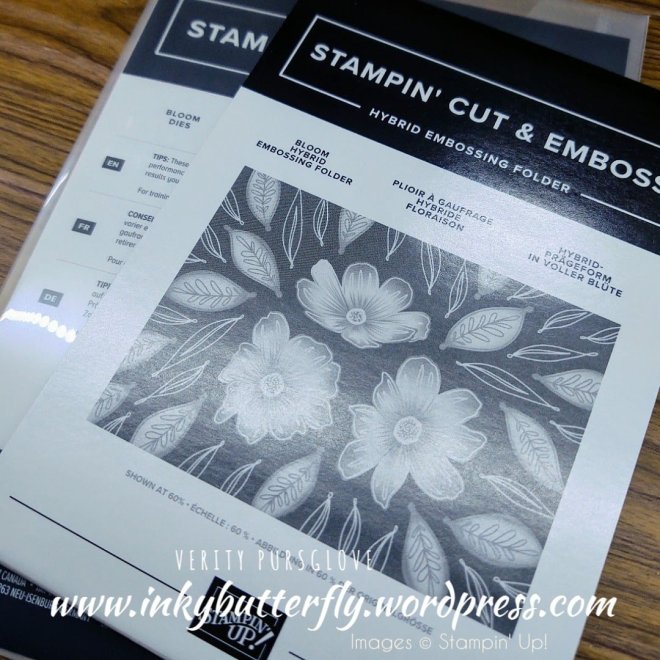
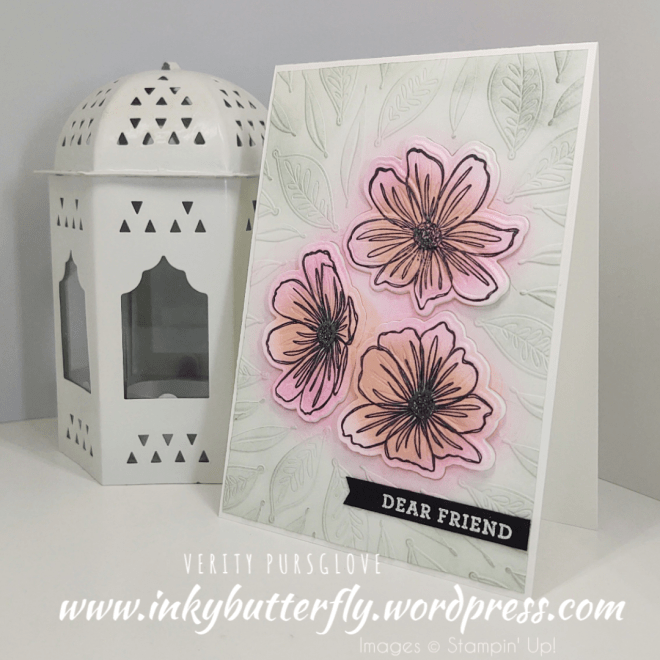
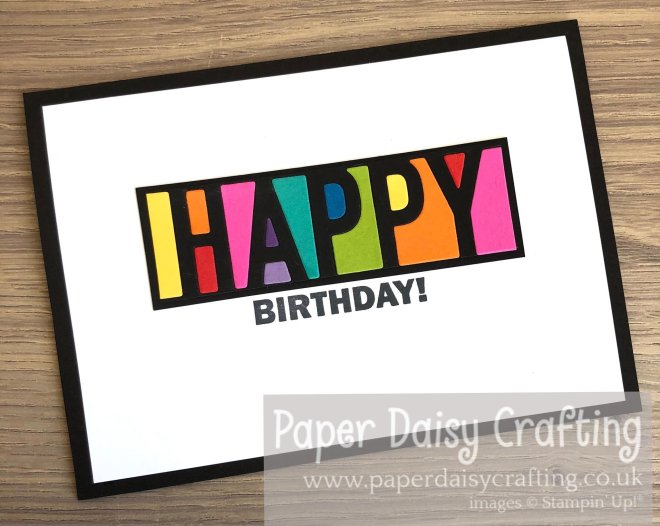
Have you seen this amazing embossing folder? I absolutely love it… And it’s perfect for making super quick but stunning cards!
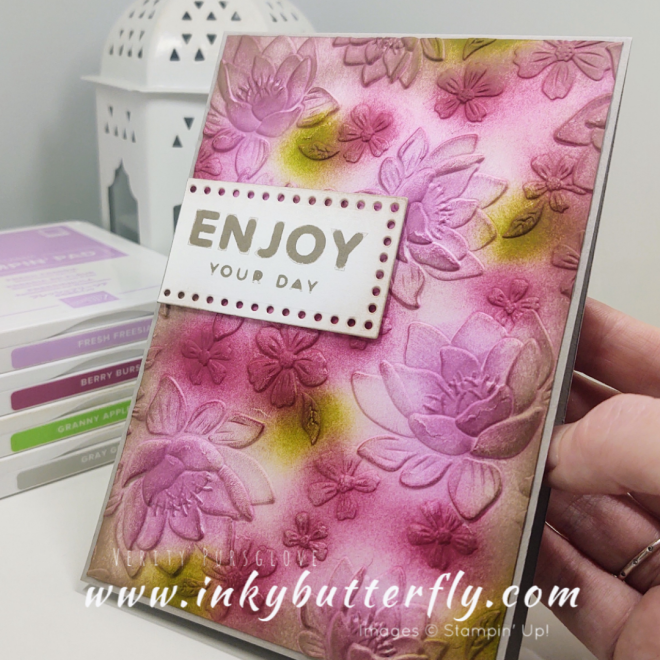
This is 3D folder, so make sure you follow the directions on your die cutting machine to get the right sandwich!
I just used Basic White cardstock so I could add colour, but this could easily have been subbed for any cardstock of your choice.
You can see how I made this card in my video tutorial…
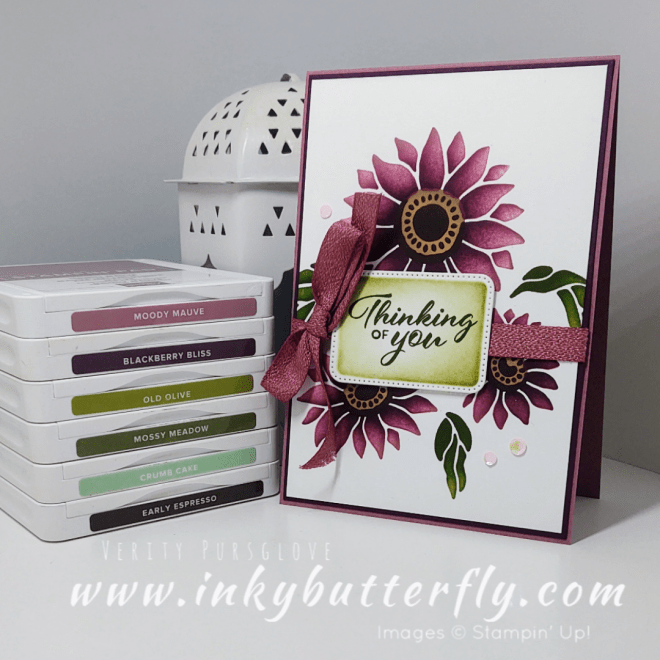
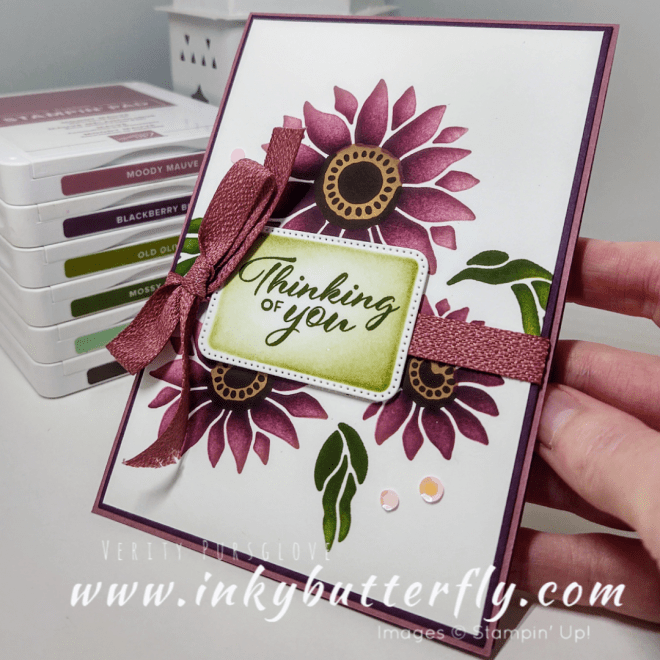
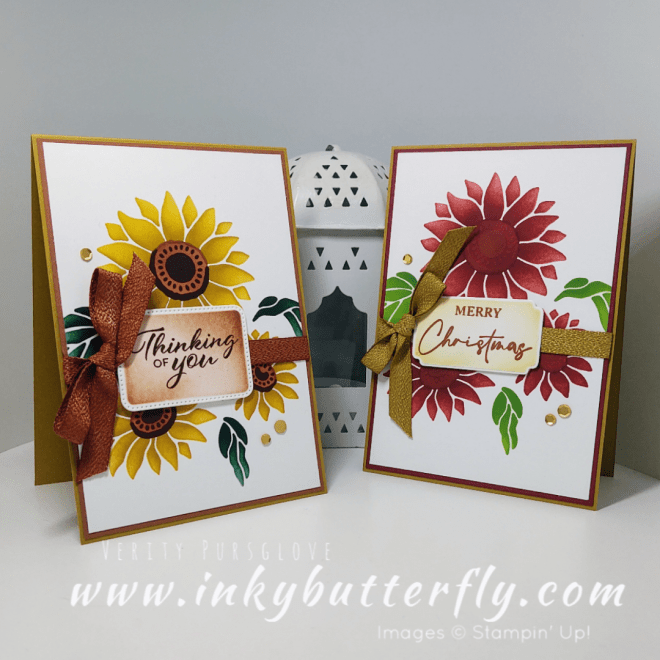
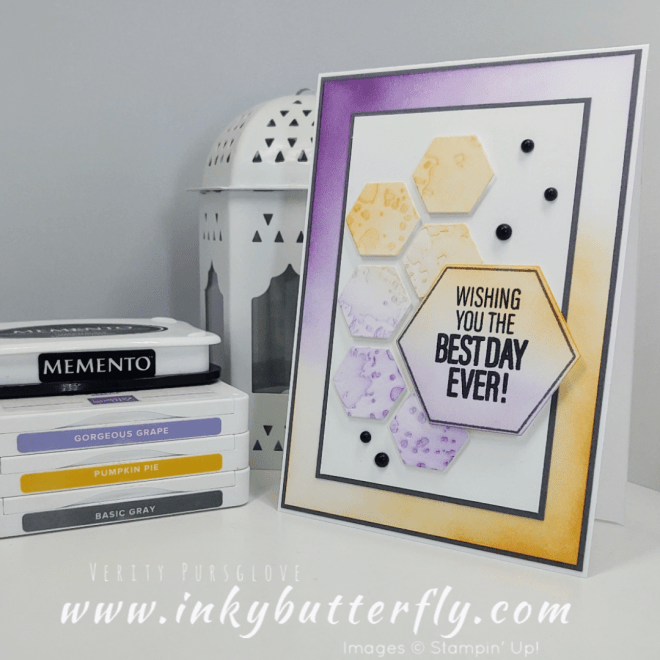
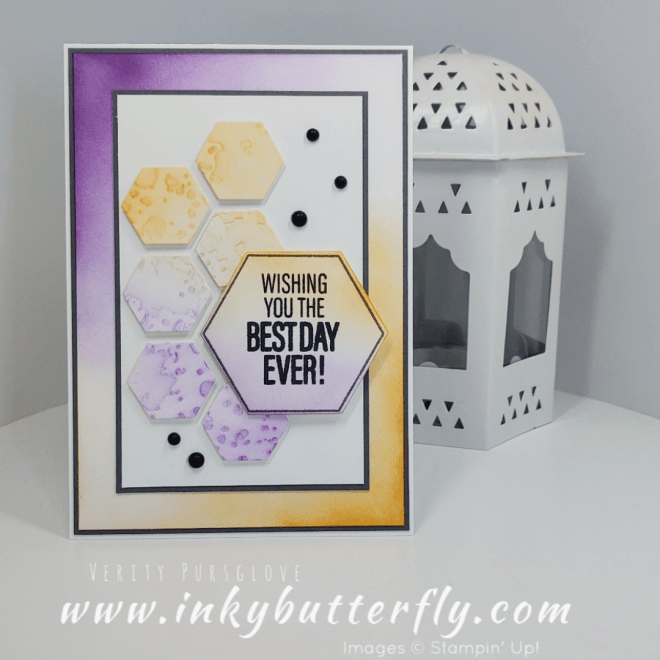
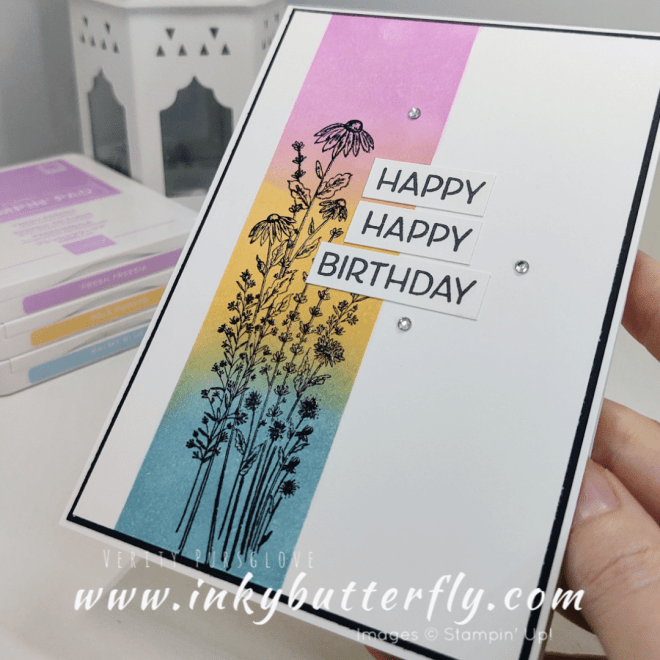
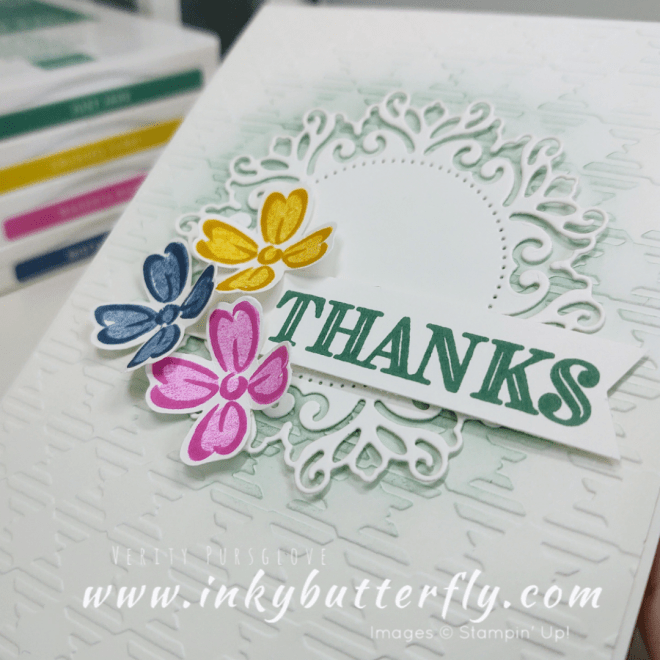
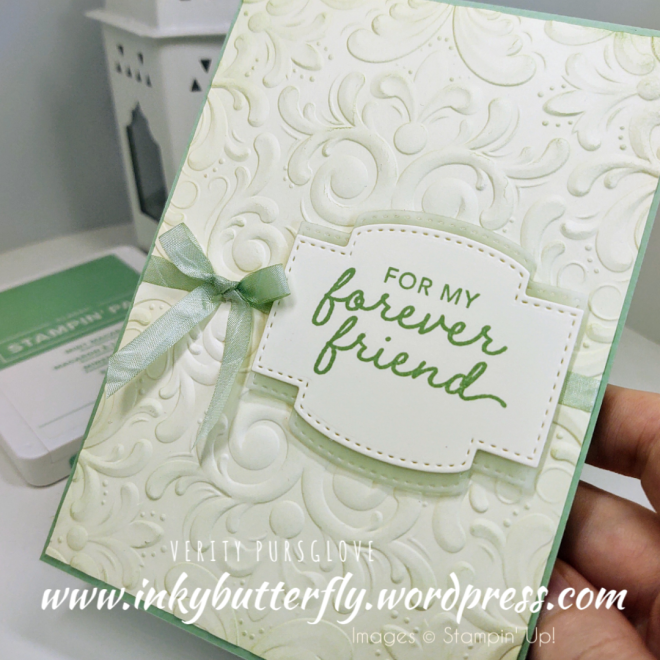
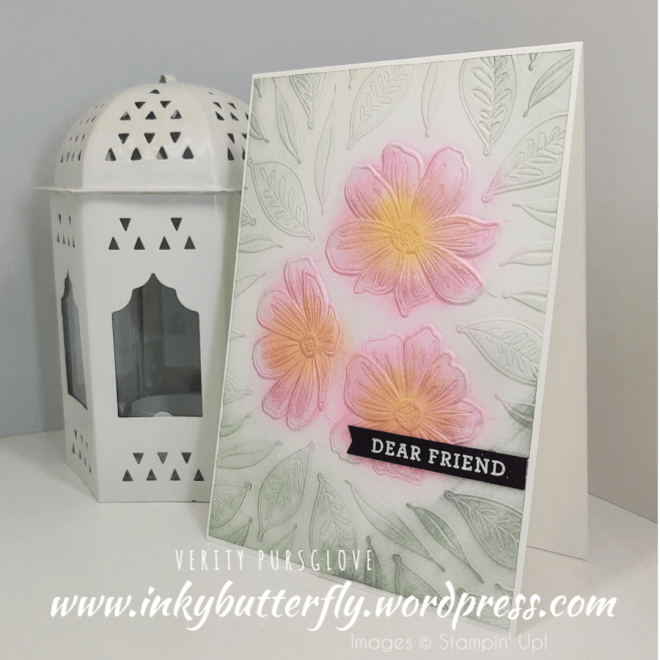
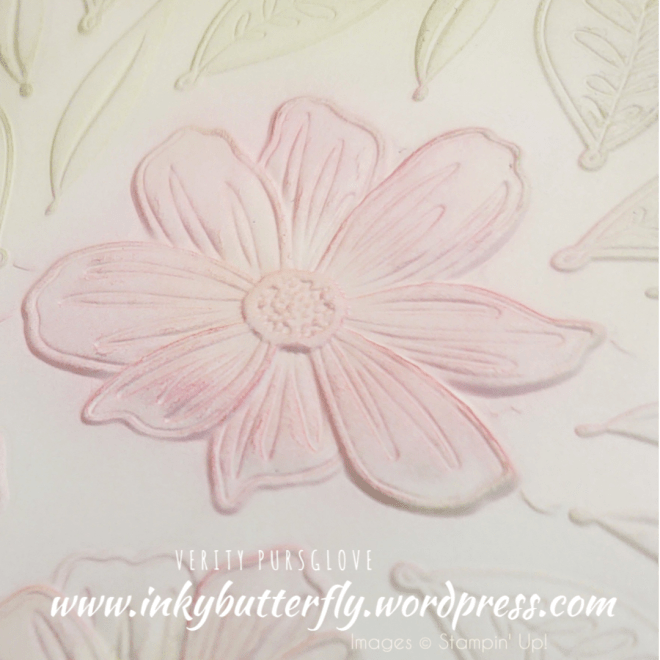
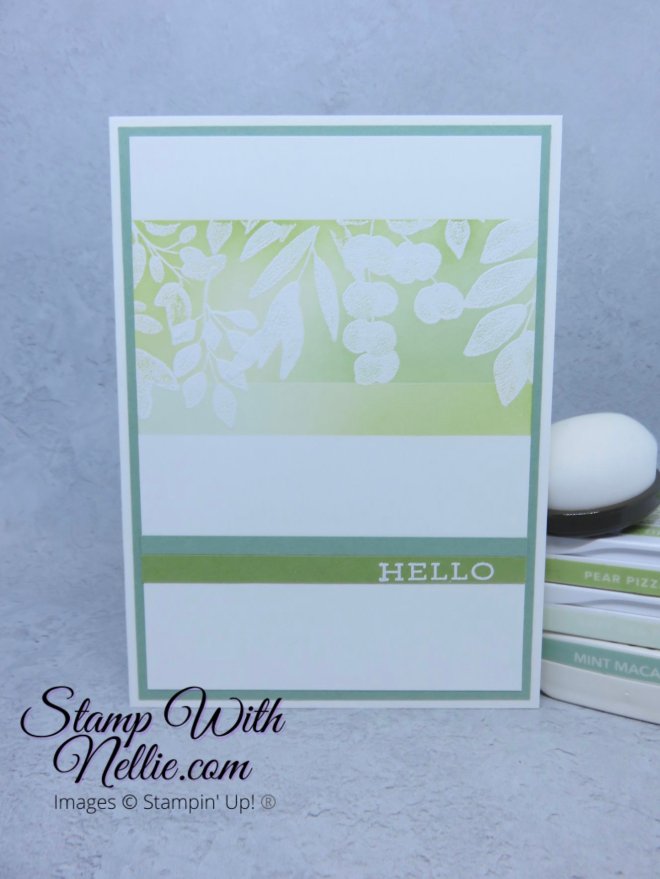
I’ve added colour with blending brushes, selecting areas of the embossing for each colour.
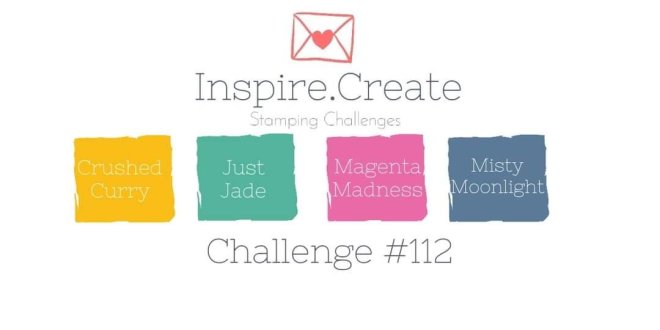
This combo is Granny Apple Green, Berry Burst and Fresh Freesia with Gray Granite.

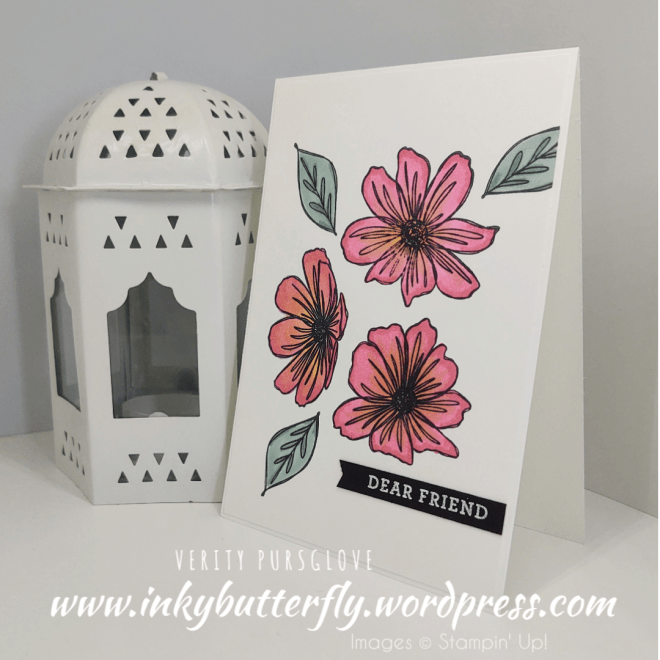
The sentiment is from a Sale-a-bration set and cut with these cute Everyday Details dies.
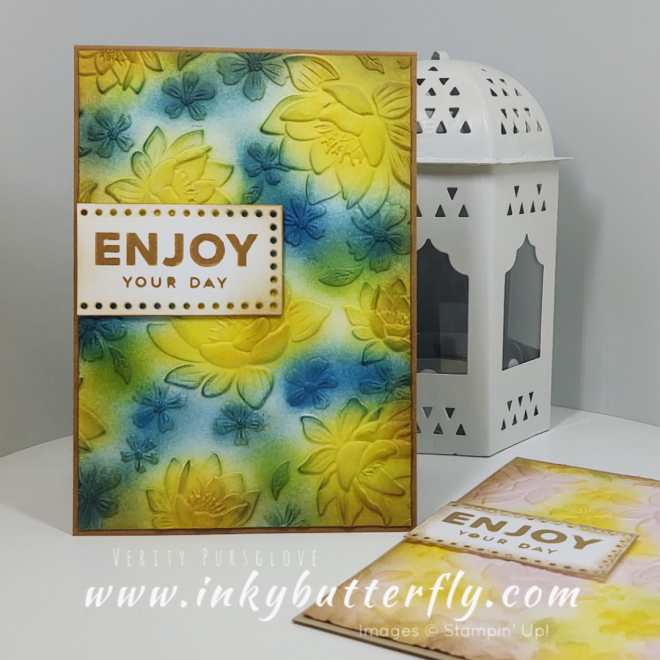
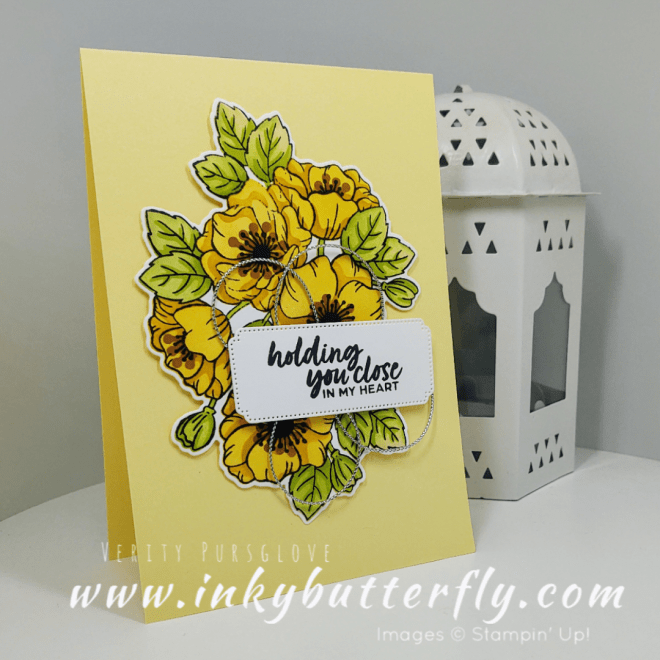
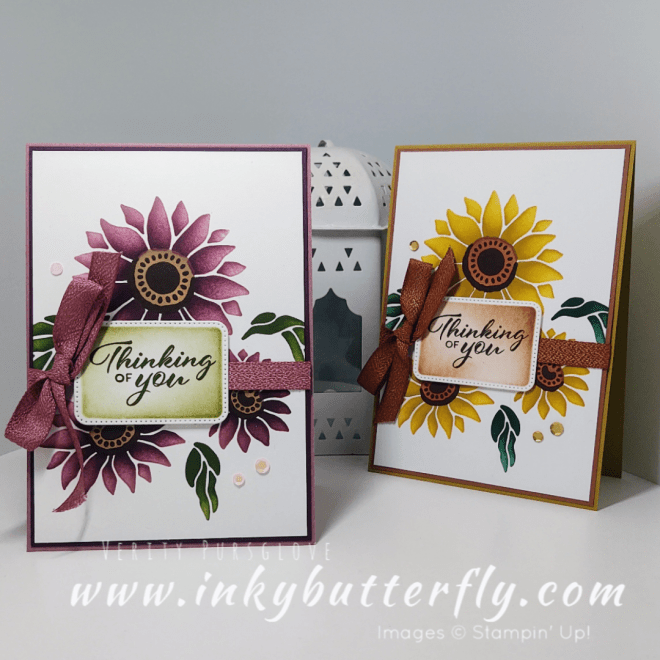
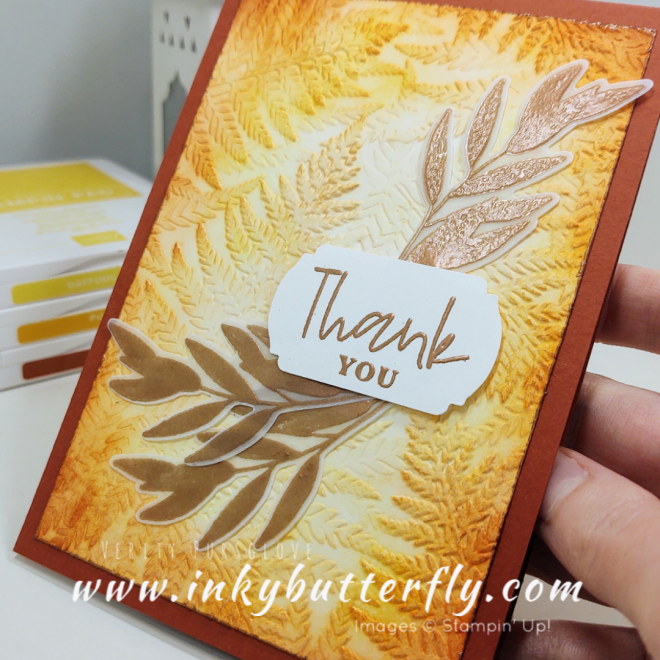
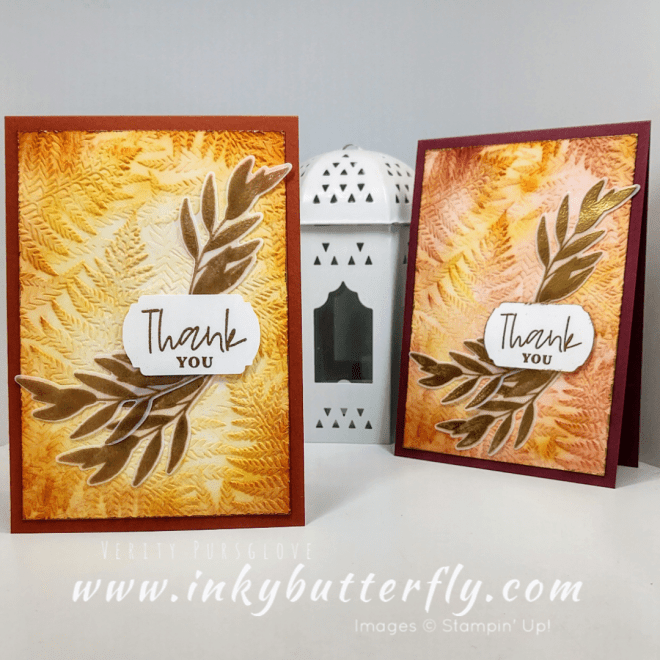
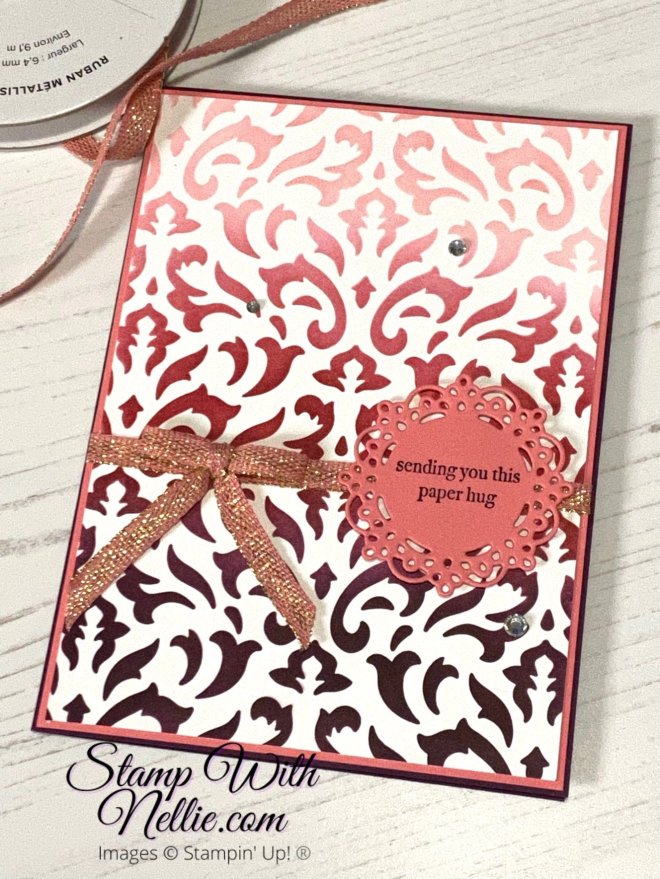
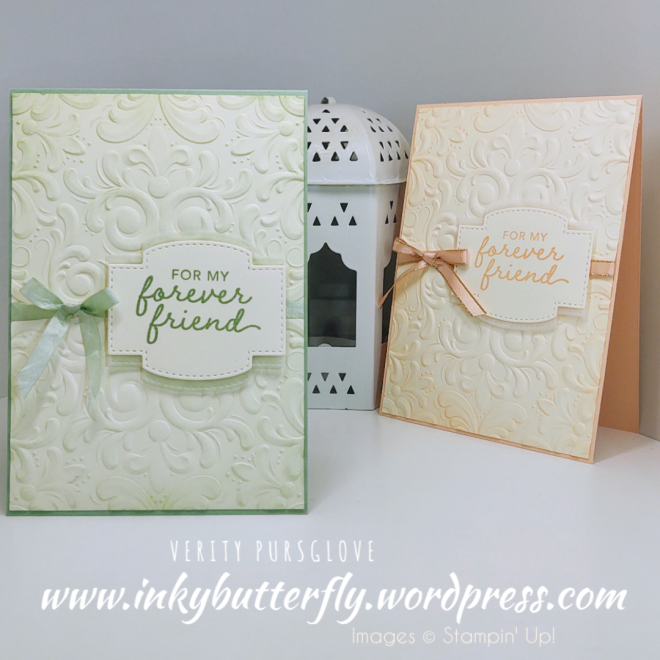
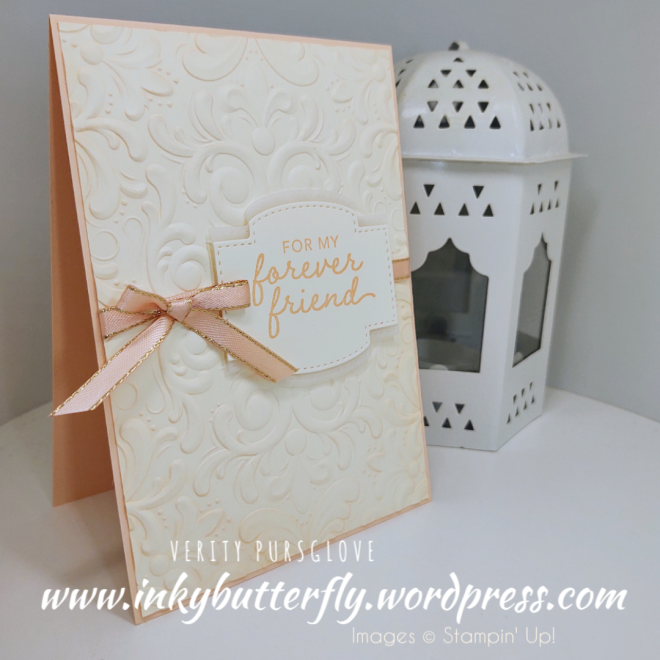
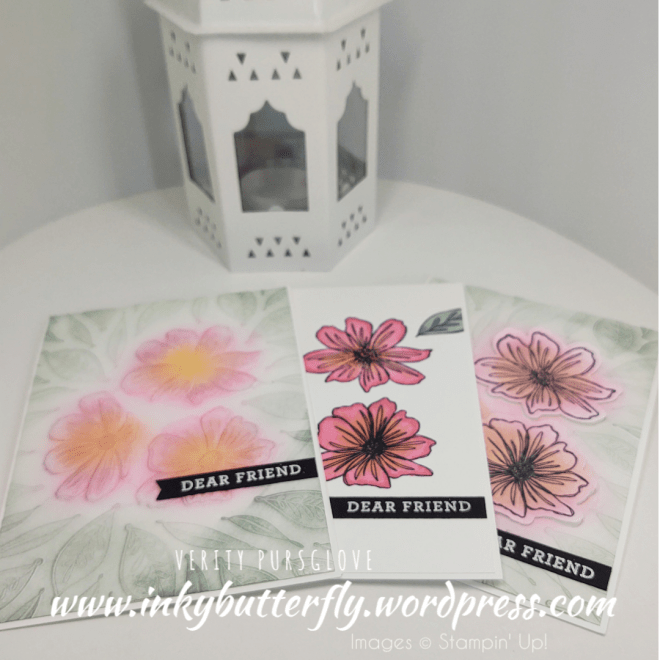
Here’s another version using Soft Sea Foam, Lemon Lolly and Bubble Bath with Crumb Cake… A much softer look!
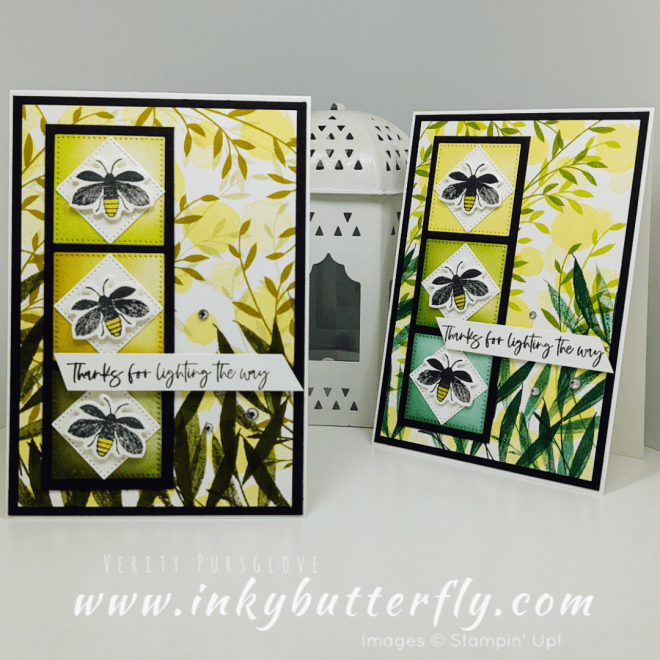
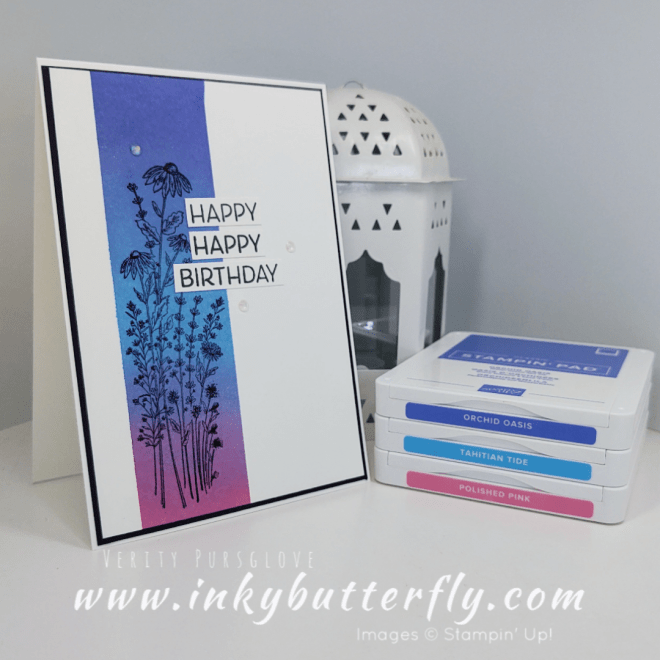
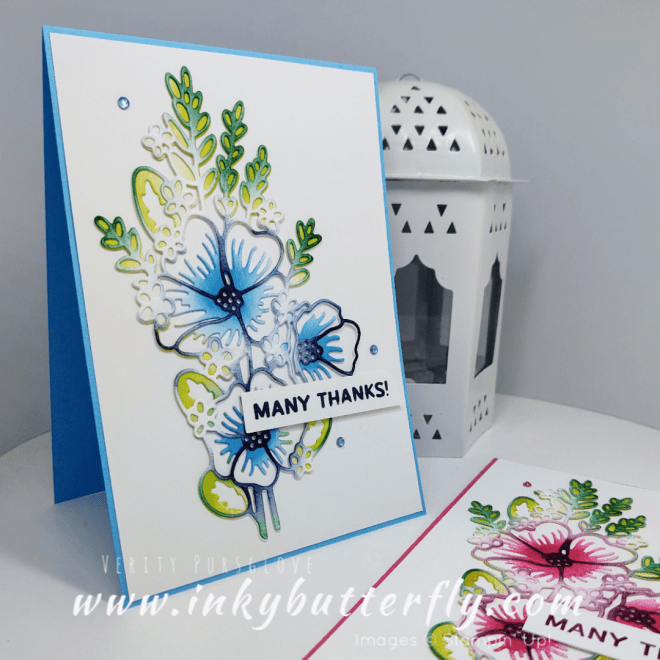
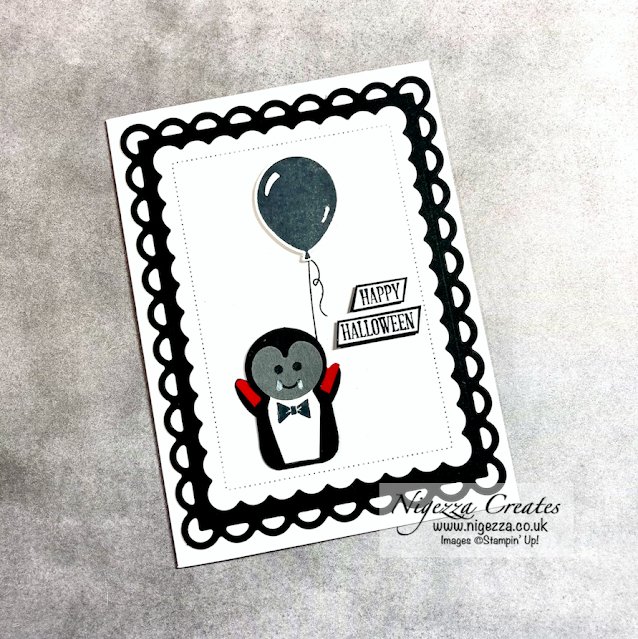
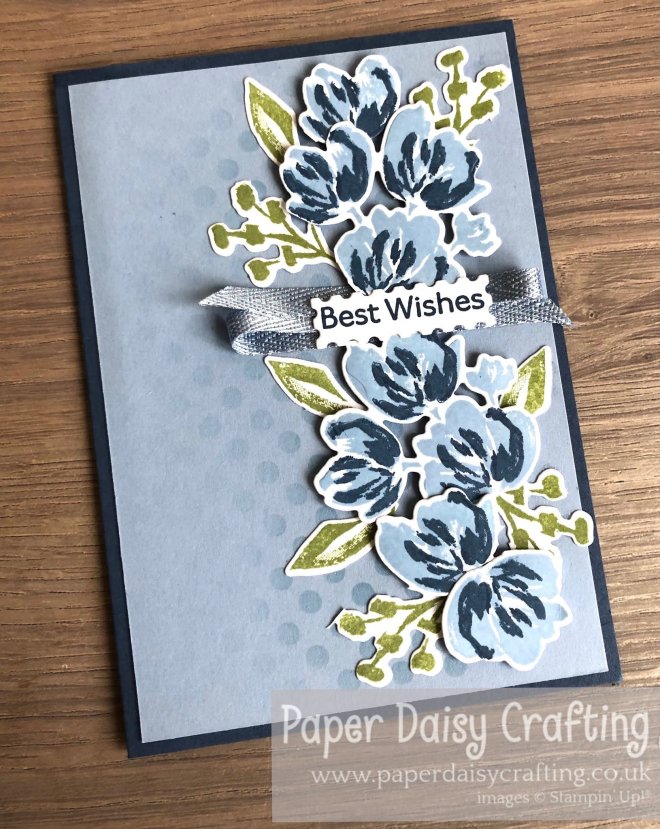
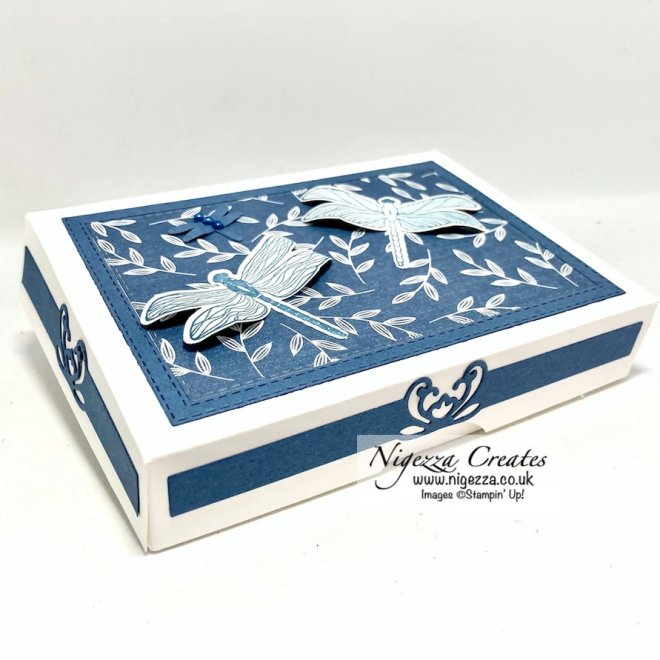
And here’s another with bold blue flowers! This technique is definitely one to have fun with!
I hope you enjoyed this project.
The supplies used are listed and linked to the online store below.
I would love to be your demonstrator.
Thanks for stopping by today and happy Stampin’!
Verity xx
Product List
")


")


")


")


")


")

")


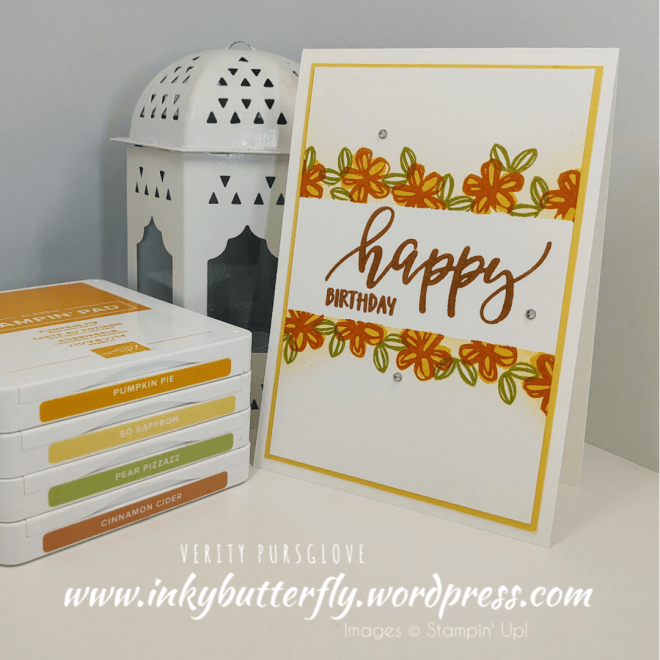
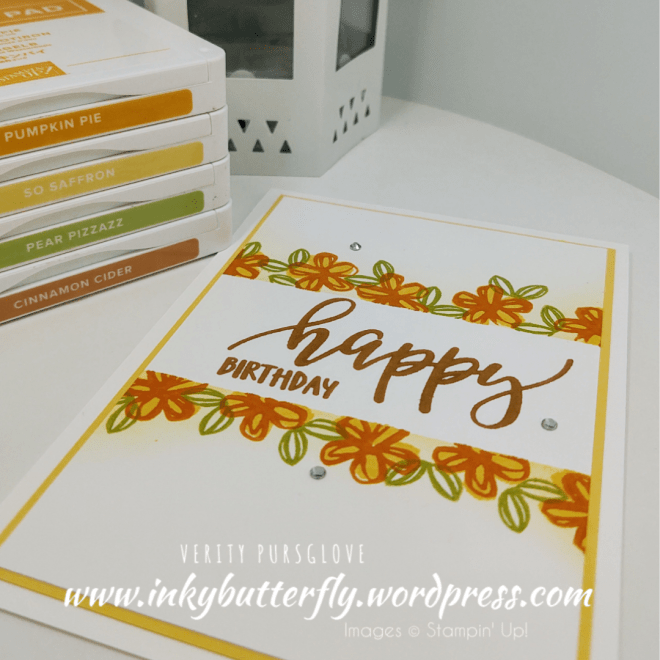
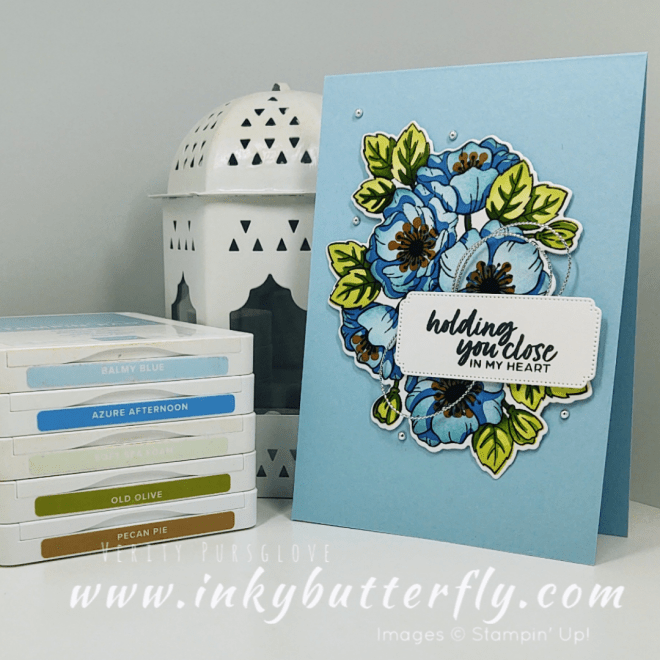
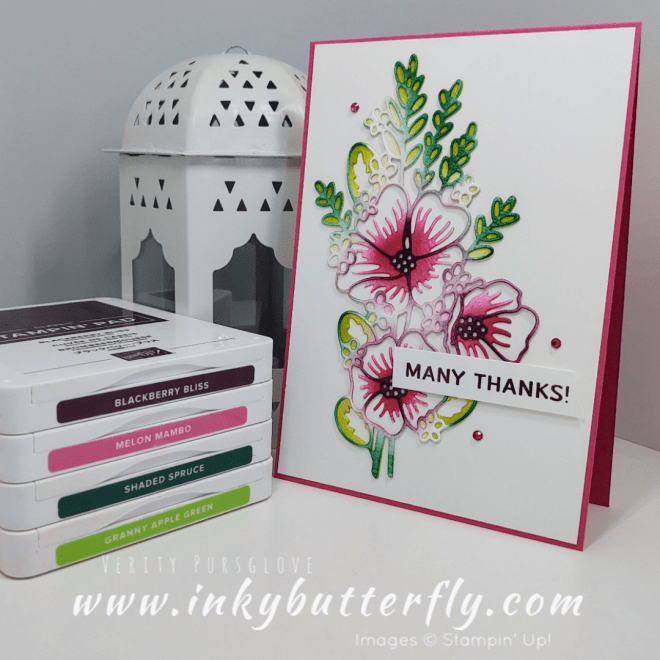
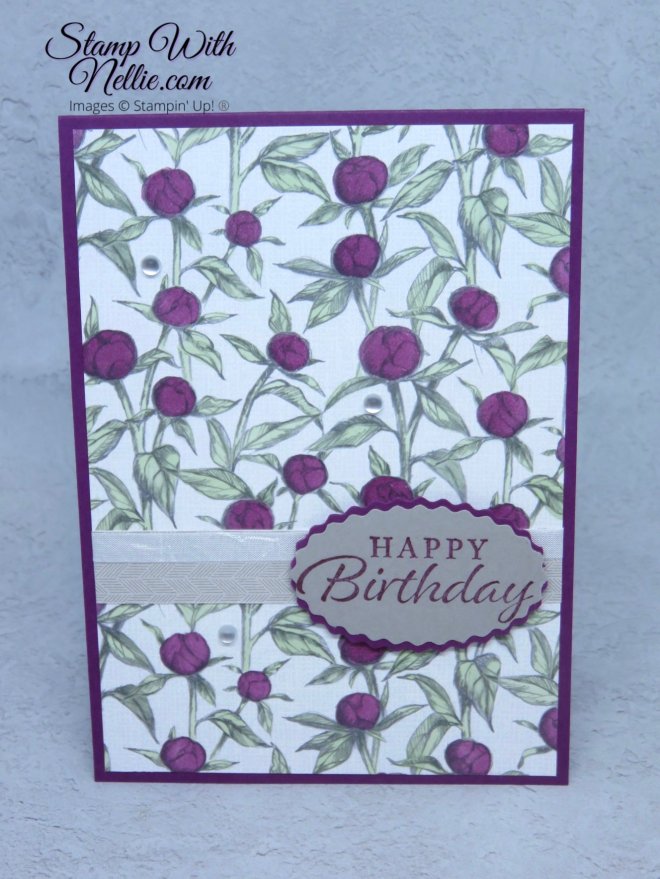
 Hello Everyone,I’m so thrilled that Stampin’ Up! have released some new die to coordinate with the Fresh Cut Flowers stamp set.This is one of 6 new sets in the Perfect Partners promotion. See more when you
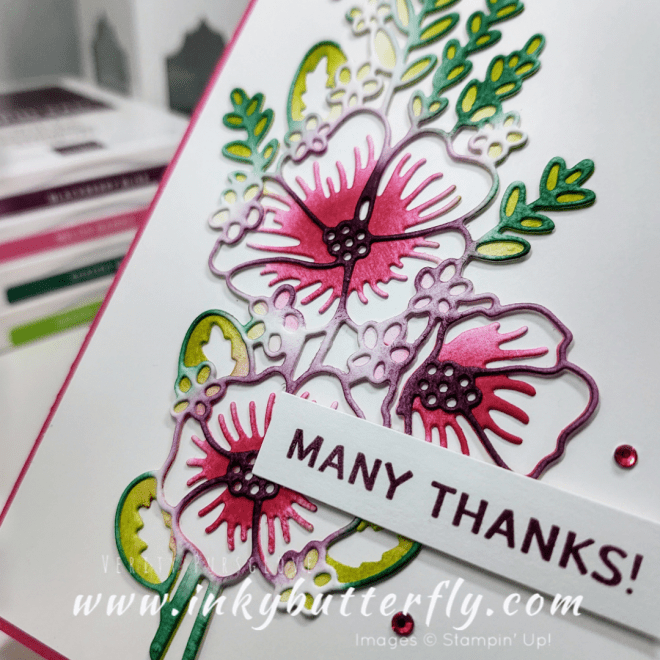
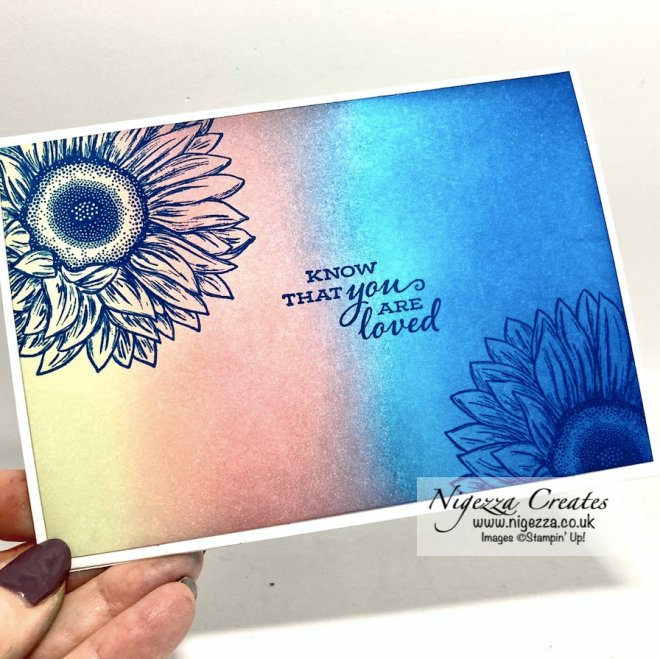
  The Fresh Cut Flowers images are beautiful to colour with the medium of your choice. I’ve used Stampin’ Blends on this occasion.You can see how I made this card in my video tutorial…..
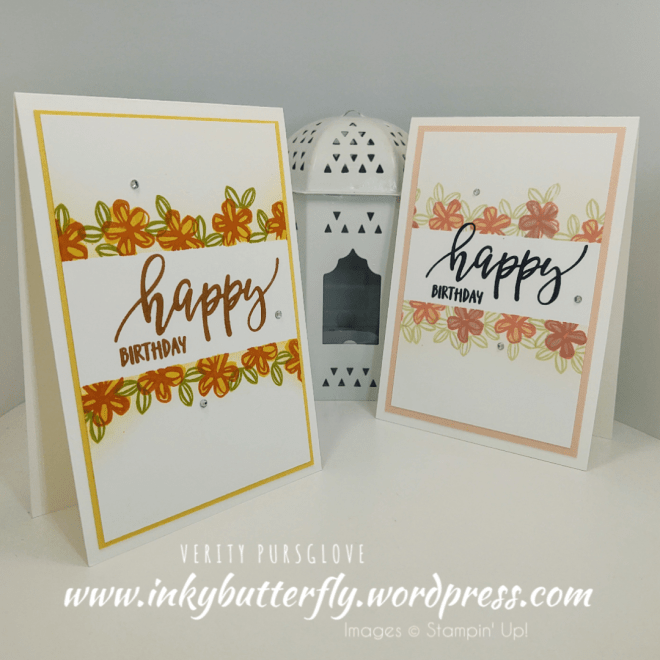
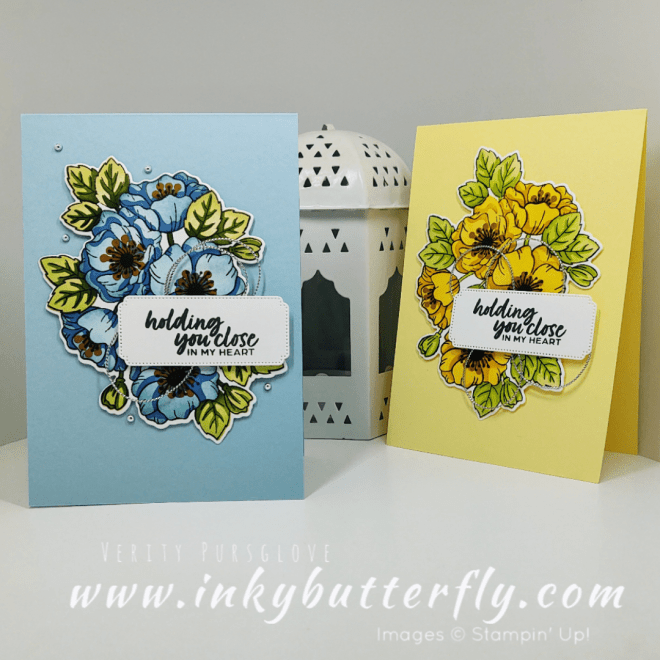
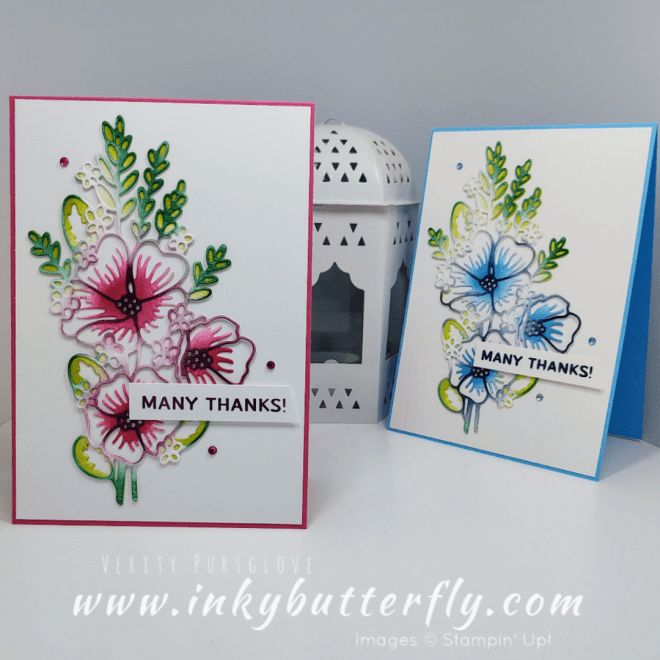
 I am also loving the Charming Sentiments bundle…. No need to fussy cut!Iridescent rhinestones were the perfect thing to finish off both cards.
 I hope you enjoyed this project.The supplies used are listed and linked to the online store below.I would love to be your demonstrator.Thanks for stopping by today and happy Stampin’!Verity xx
")


")
")


")
")


")
")


")


")


")

")


")

")