Hello Everyone,
This week I’m doubling up! Two cards each day with the same or similar products!
Today, it’s the Royal Peacock stamp set and matching dies with Call Me Clover and Blueberry Bushel retiring In Colours.
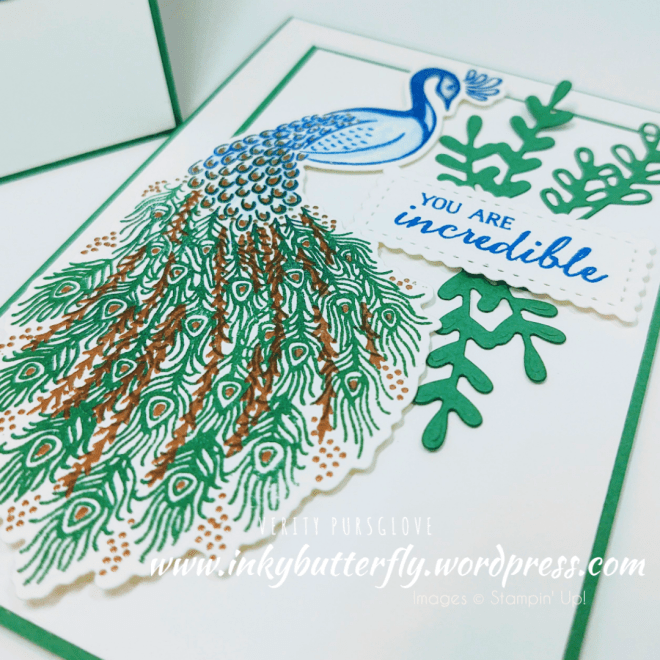
For the first card, the peacock was stamped with the assistance of the Stamparatus, first with Blueberry Bushel for the head and body and Call Me Clover for the tail.
The details were heat embossed with copper powder, (also retiring), and then die cut.
Some additional feathers were die cut to embellish the sentiment. This was stamped with Blueberry Bushel ink and cut with the Stitched So Sweetly dies.

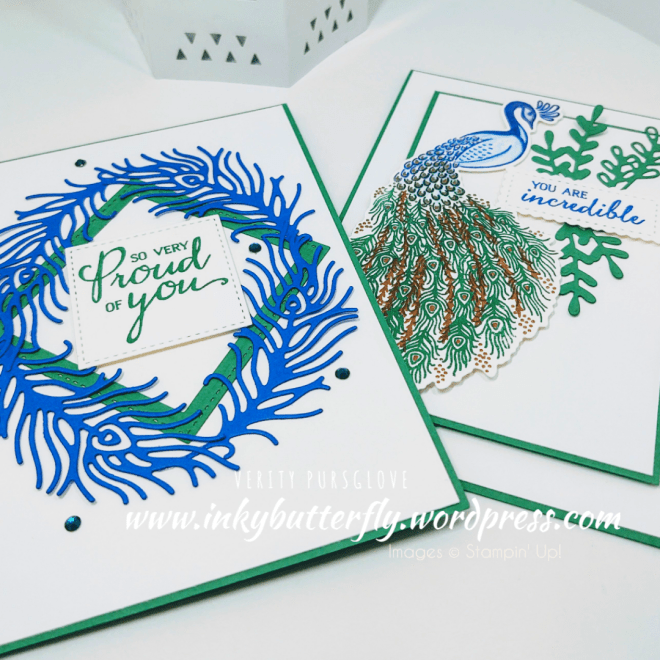
The second card is completely different!
Four large feathers were die cut from Blueberry Bushel card stock and adhered together to form an oval-ish shape.
Stitched Square dies were used to cut the green frame and the stamped sentiment.
A few rhinestones added some extra interest to the background.
I hope you enjoyed this project. The supplies used are listed and linked to the online store below.
I would love to be your demonstrator.
Thanks for stopping by today and happy Stampin’!
Verity xx
Product List

|

|
|

|

|

|

|

|
|

|

|

|

|

|

|


")


")


")


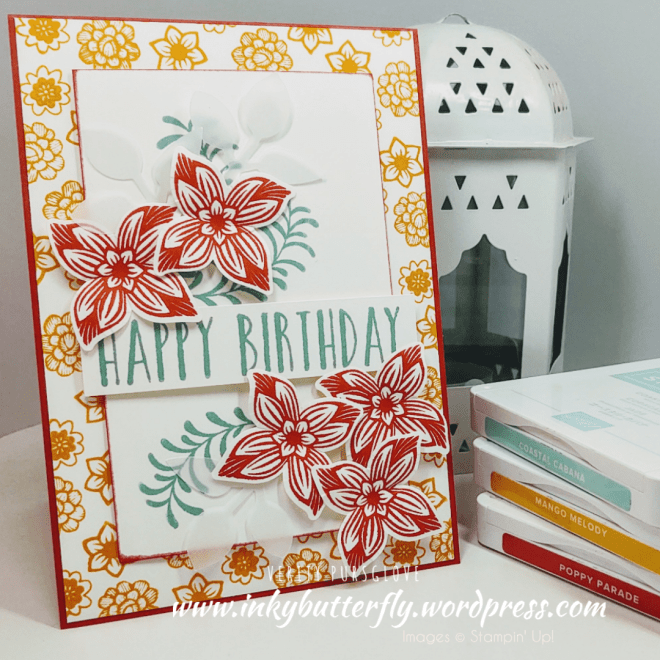
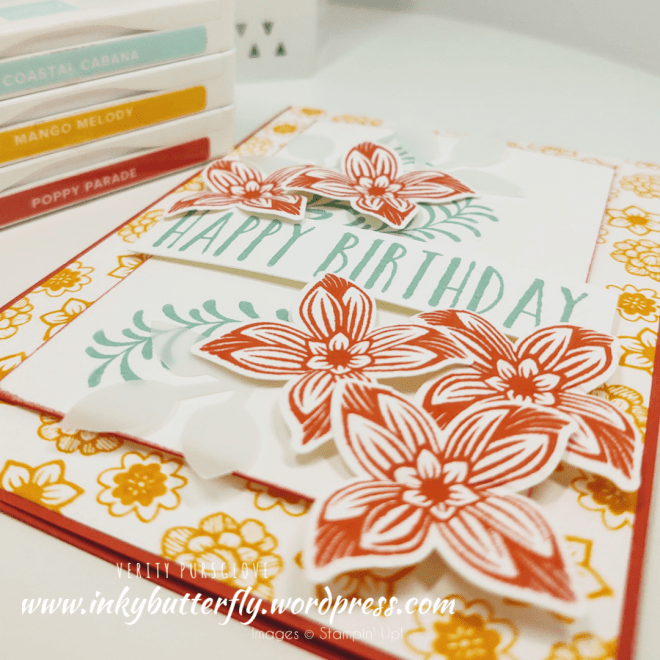


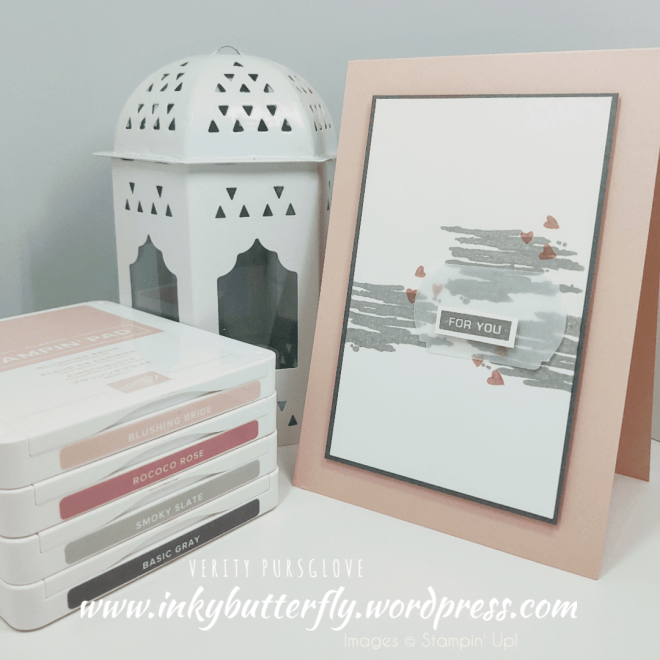
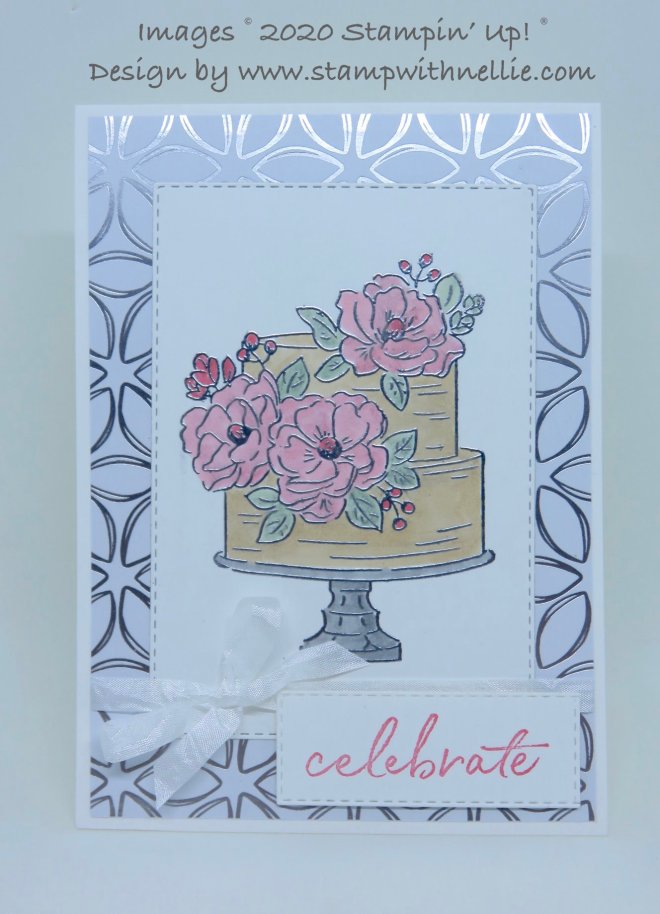
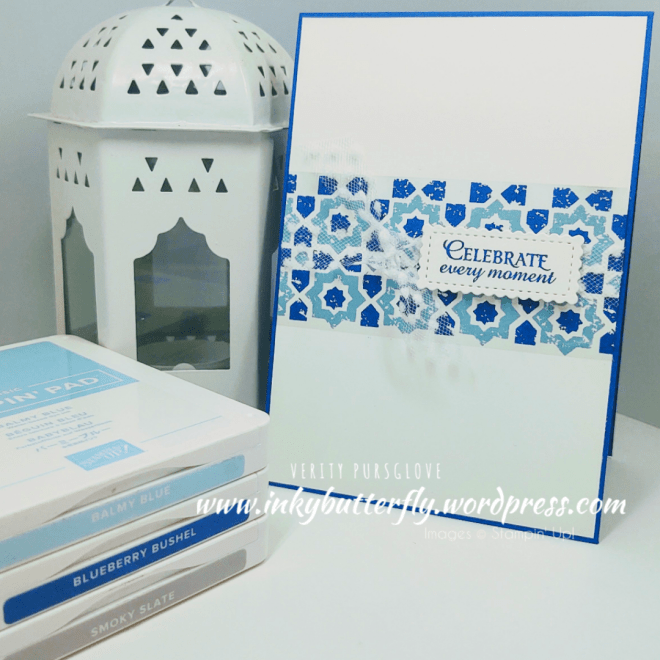
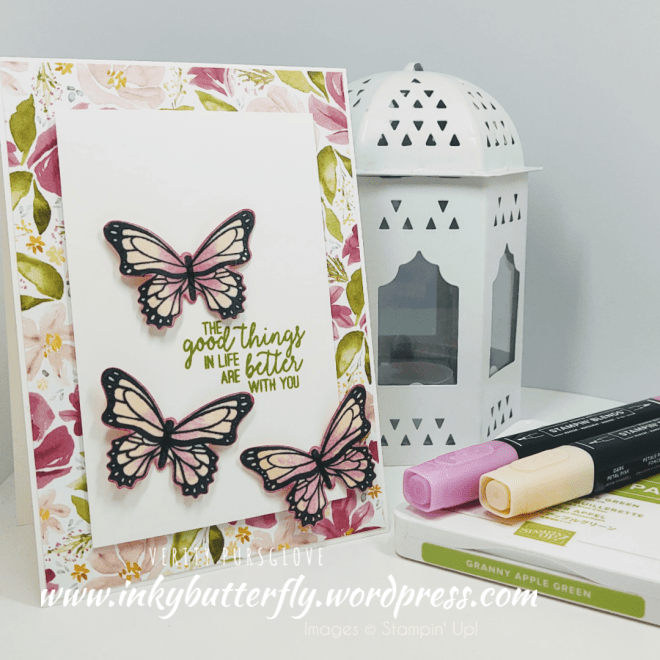
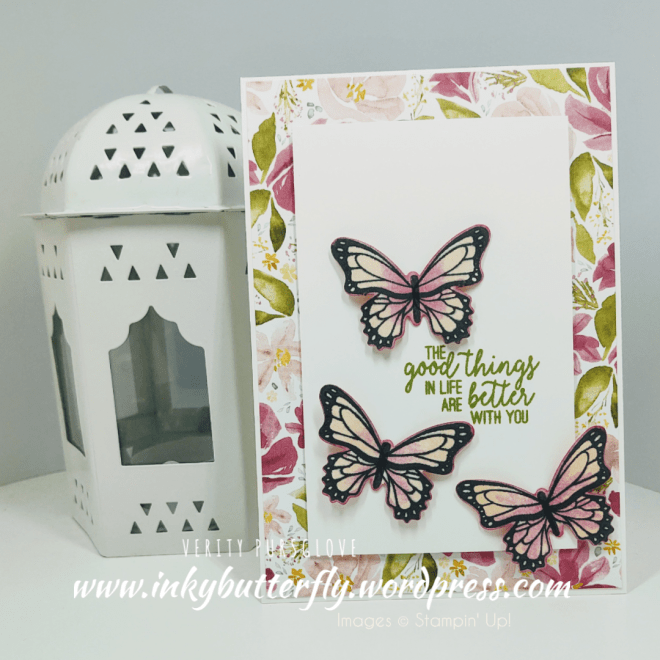
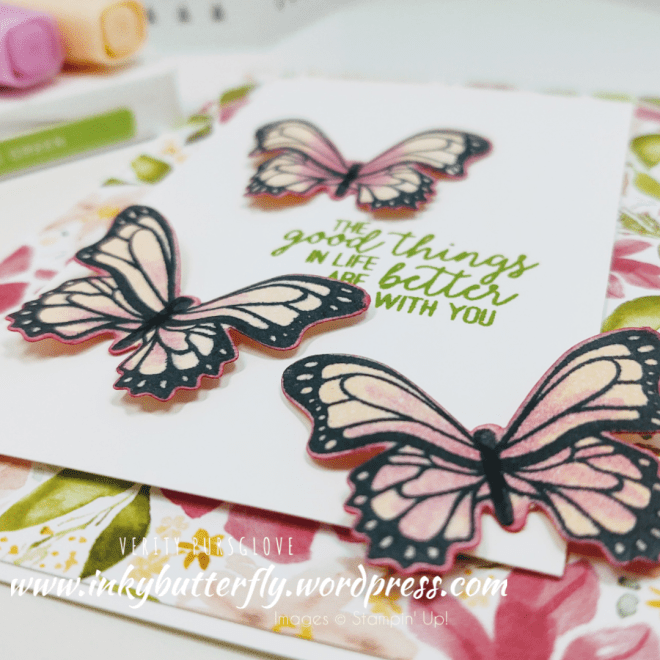
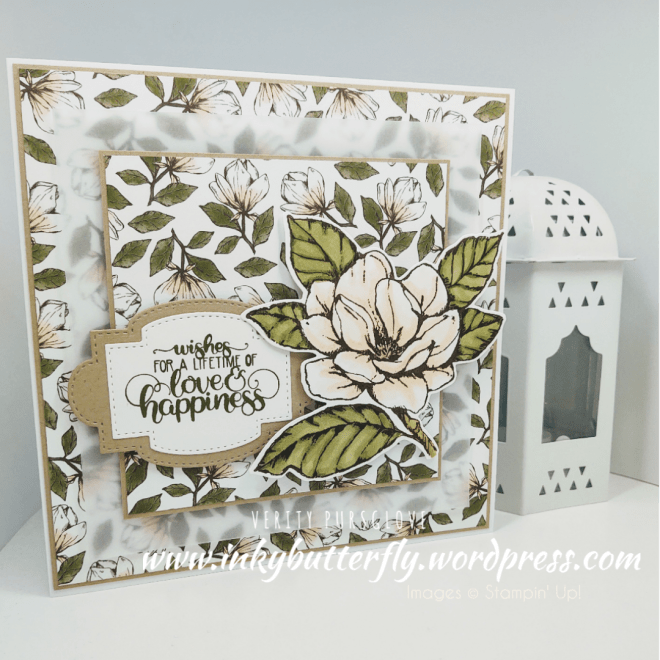
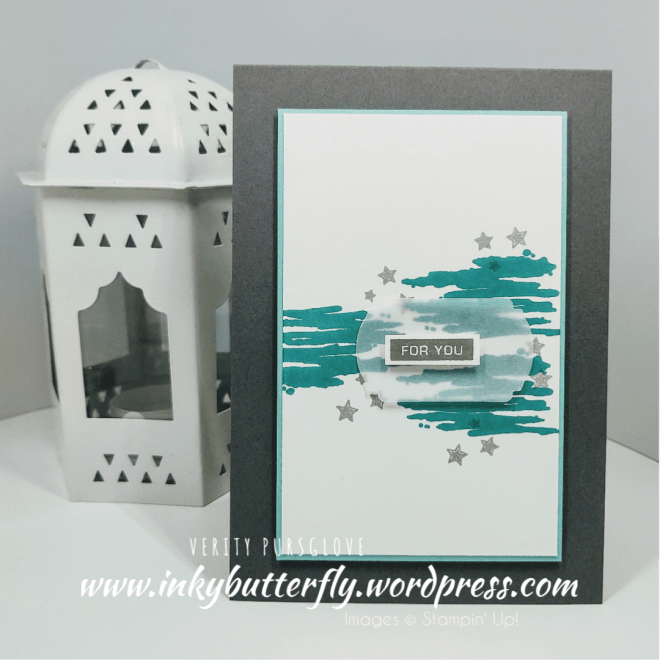
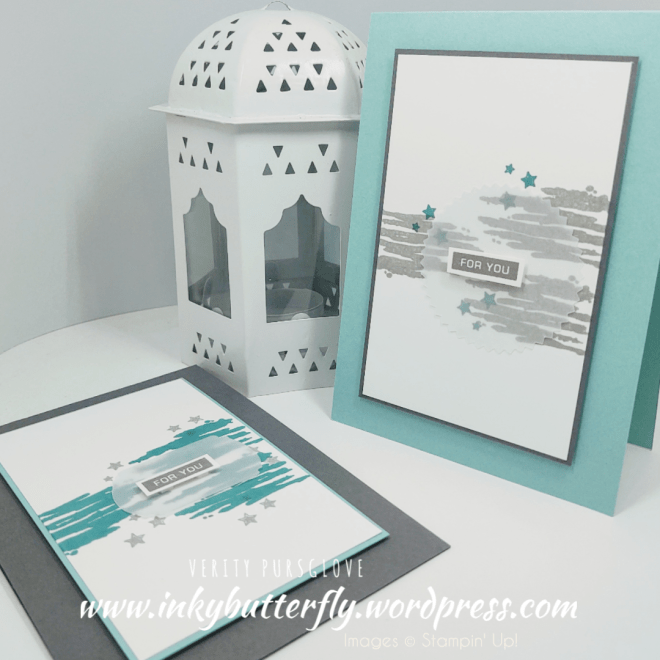
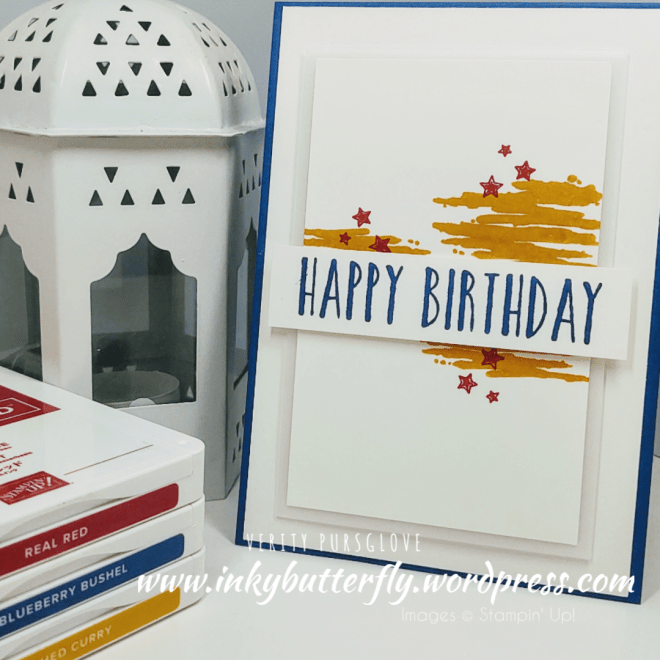 Hello Everyone,Two retiring stamp sets used in this card so if you love them as much as me be sure to get your order in soon!
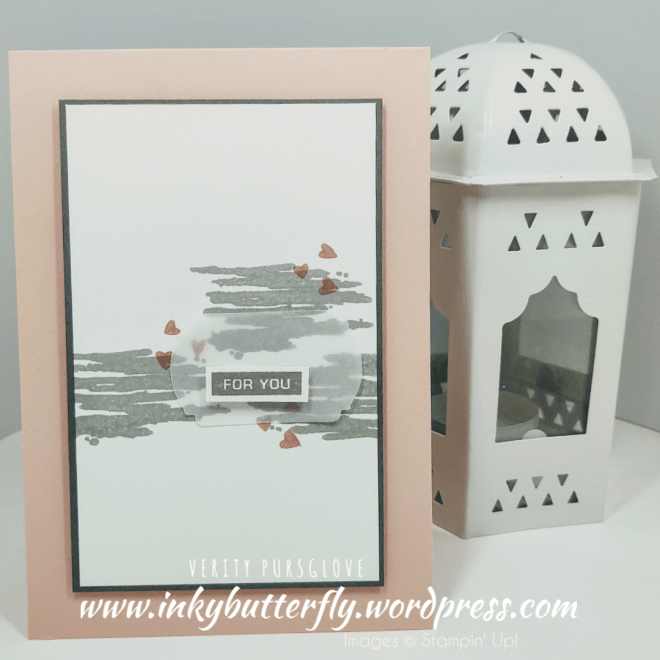
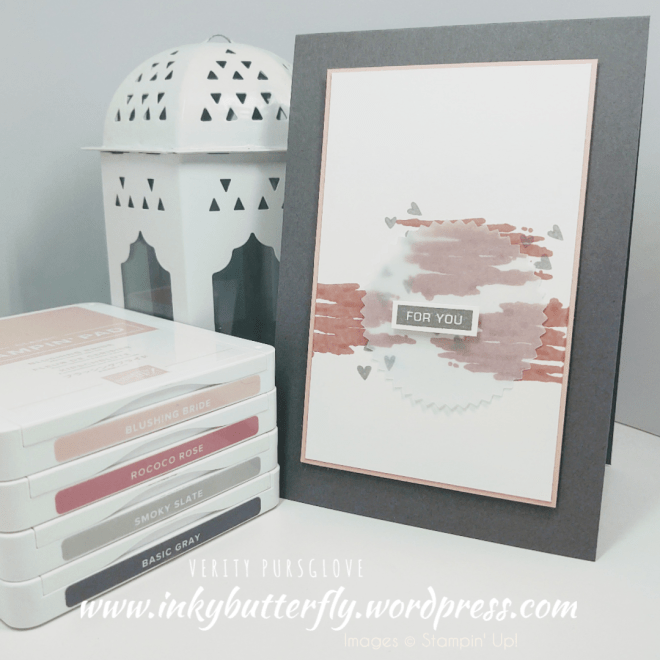
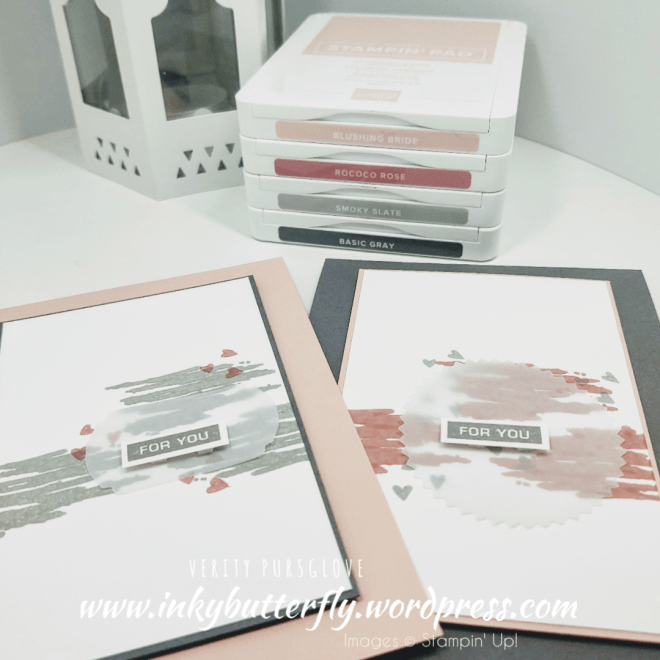
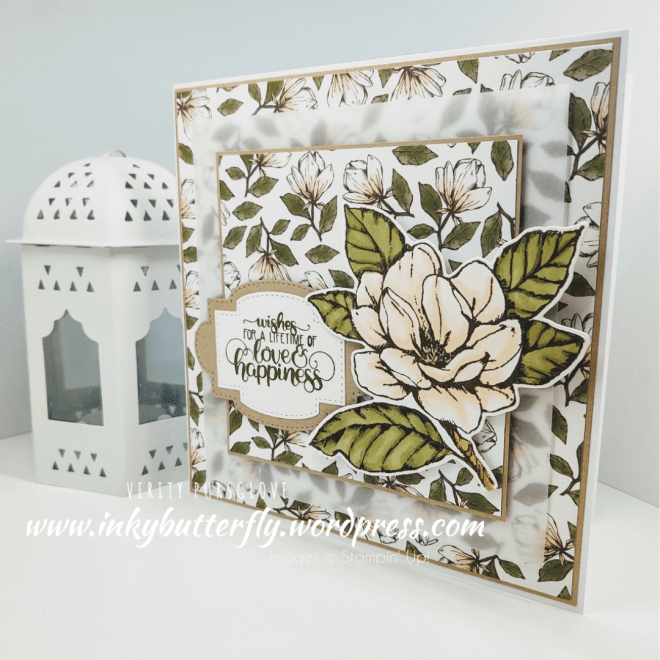
 The layout is very similar to cards I have made before, building the background with the Label Me Bold stamp set.I added an extra layer of vellum for extra interest and texture.The sentiment from Perennial Birthday was stamped with the retiring In Colour Blueberry Bushel.
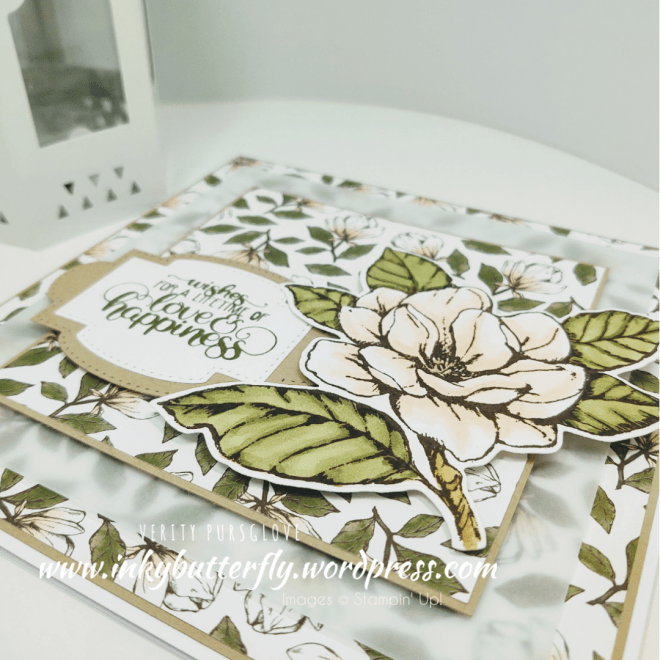
 I hope you enjoyed this project. The supplies used are listed and linked to the online store below.I would love to be your demonstrator.Thanks for stopping by today and happy Stampin’!Verity xxProduct List
 ")


")