Hello Everyone,
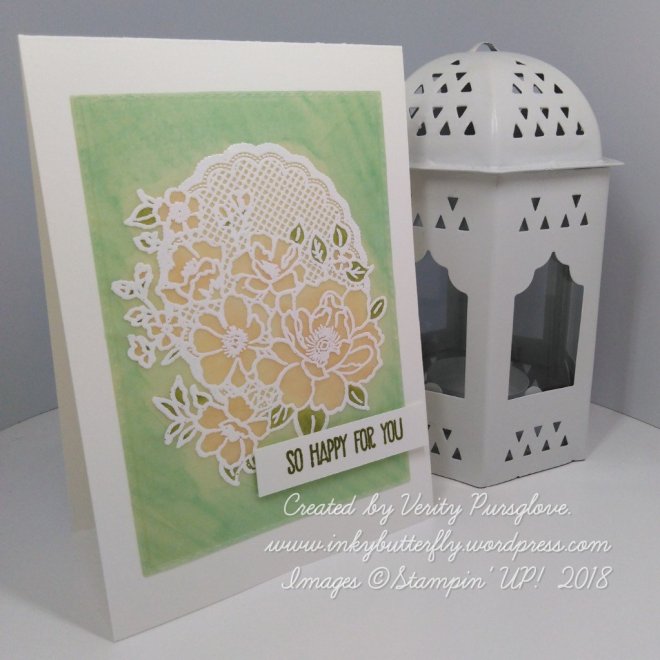
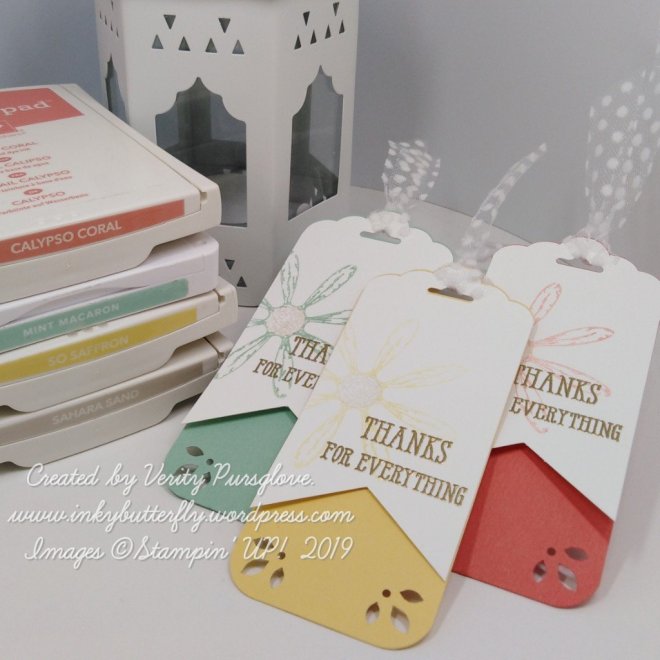
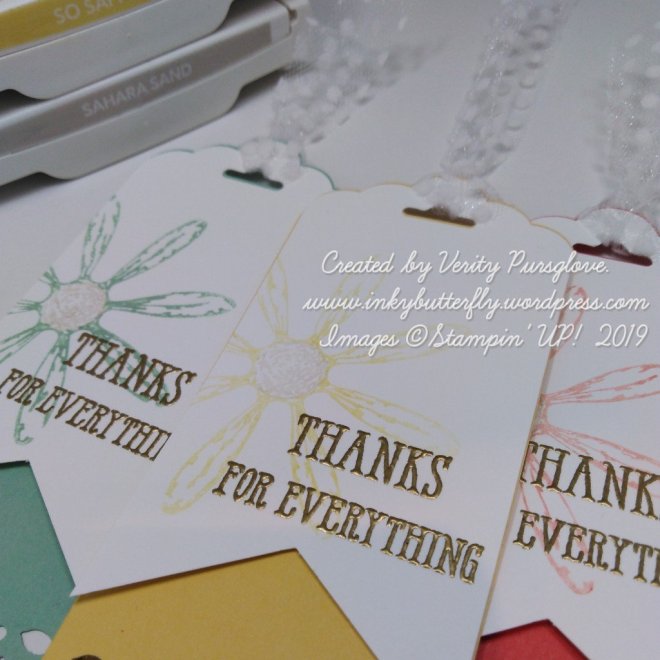
Here’s something different from me today….. For this project I used three fabulous punches.
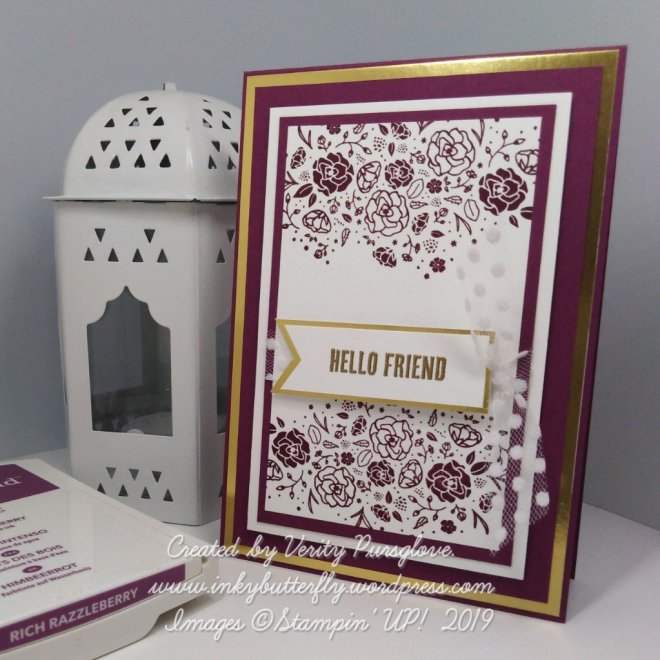
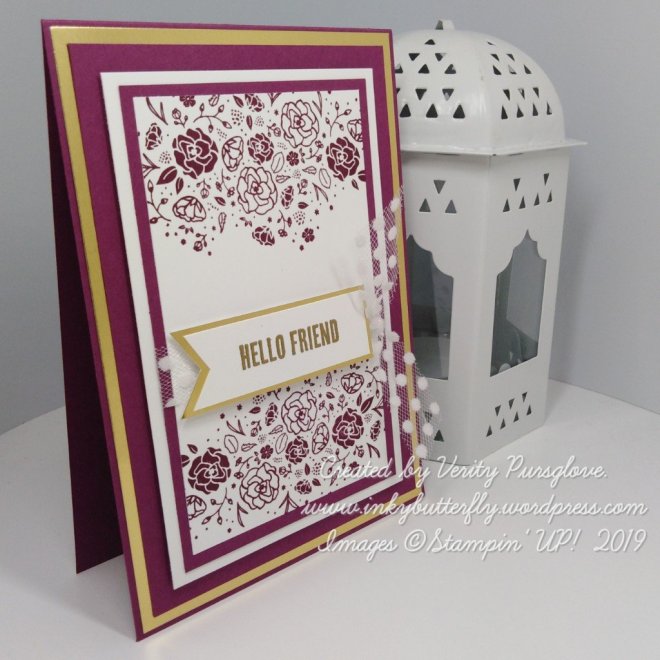
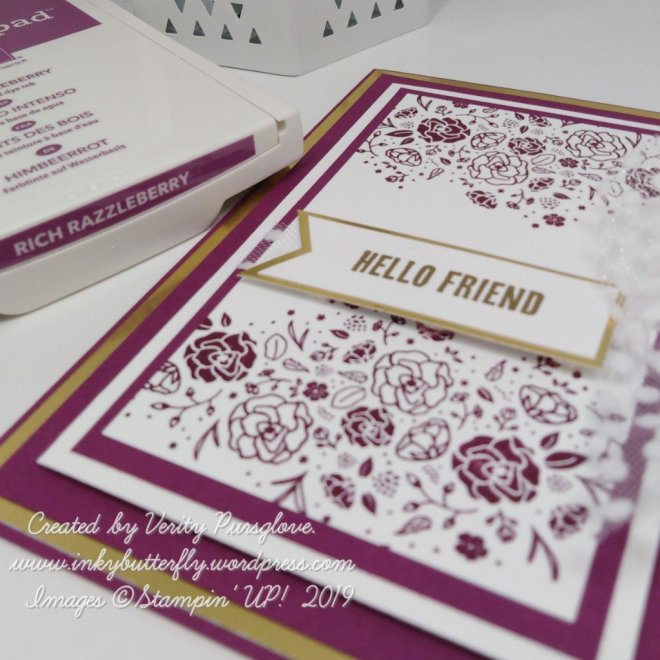
It took no time at all to make the base of these tags. The rest of the design could be any colour, any sentiment.

For the coloured card, I cut 2 by 4-3/4 inch strips.
I punched the top with the Scalloped Tag Topper punch.
For the bottom, I used the Detailed Trio Punch. This combines the rounder and the detail designs of the punch, (each corner needed to be punched twice).
The white portions measured 2 by 4 inches. The same punch was used for the top.
The Triple Banner Punch was used for the bottom.
For the stamping, I used second generation ink in matching colours, to add the daisies. Sahara Sand was used for the centres.
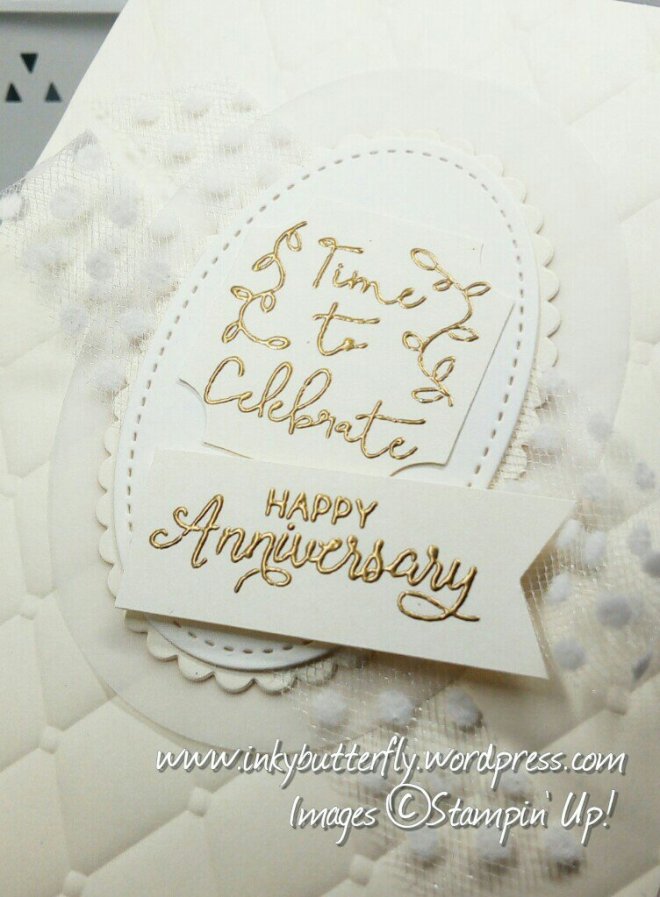
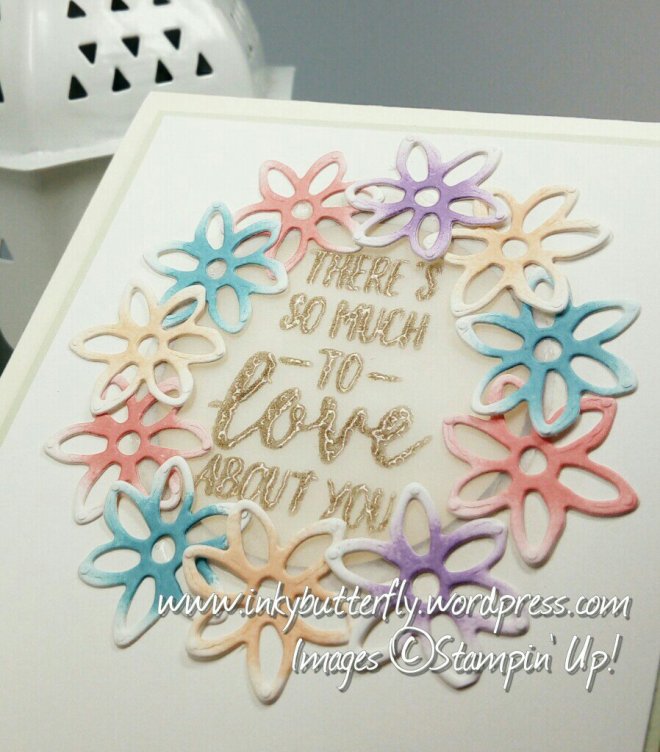
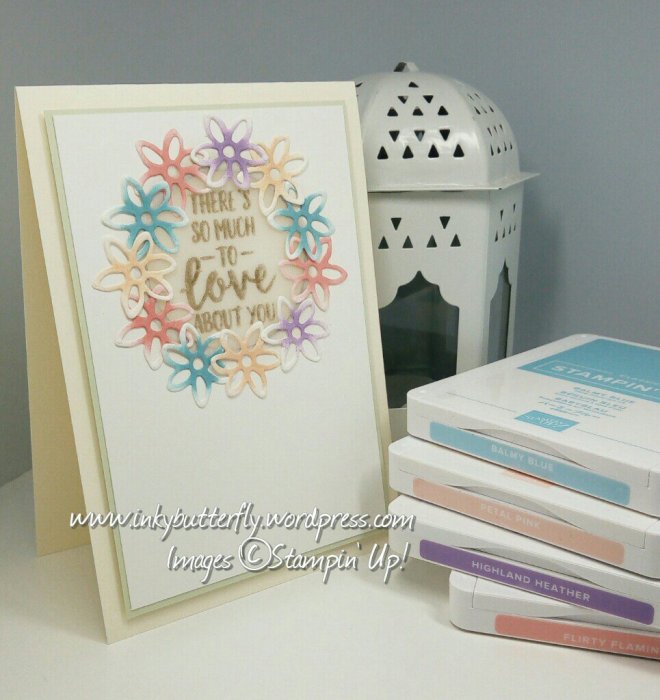
The sentiment was taken from the Well Said set and heat embossed in gold.
The two pieces were adhered together with snail. The top was ever so slightly off set to reveal some of the base colour.
The tags were finished with Polka Dot Tulle ribbon.
I hope you enjoyed this project. The supplies used are listed and linked to the online store below.
I would love to be your demonstrator.
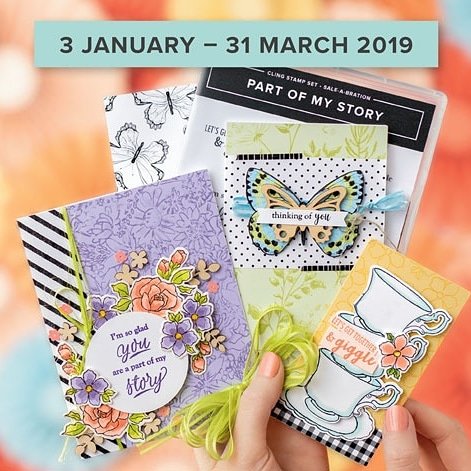
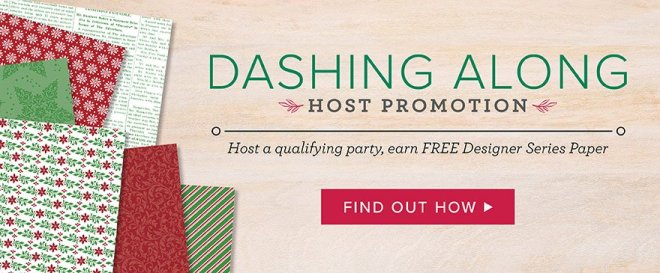
Don’t forget to check out Sale-a-bration and the free products available when you spend multiples of £45.

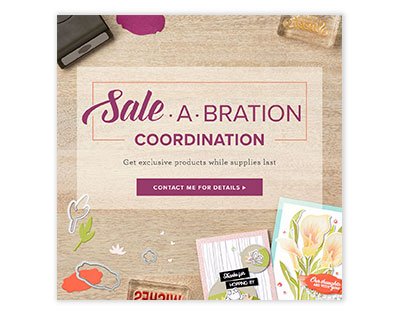
Now available….. Coordinating products for your Sale-a-bration favourites!
If your shopping wish list gets to £99, there’s no better time to join my team. You can choose £170 worth of products to be included in your personal starter kit; add a little extra and receive an exclusive Stampin’ Up! Craft & Carry tote.

Thanks for stopping by today and happy Stampin’!
Verity xx
Product List
|
|
|
|
|
|
|
|
|
|
|
|
|
|
|
|
|
|
|
|

Sahara Sand Classic Stampin’ Pad
|
|
|