Hello Everyone,
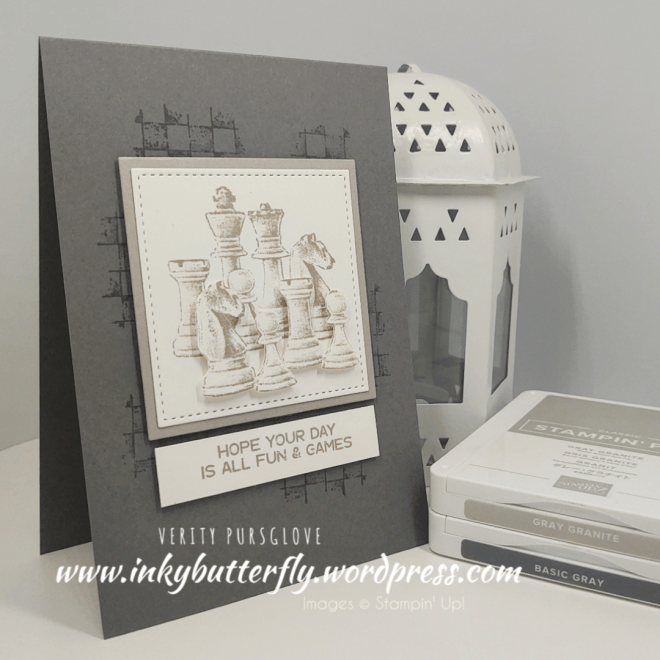
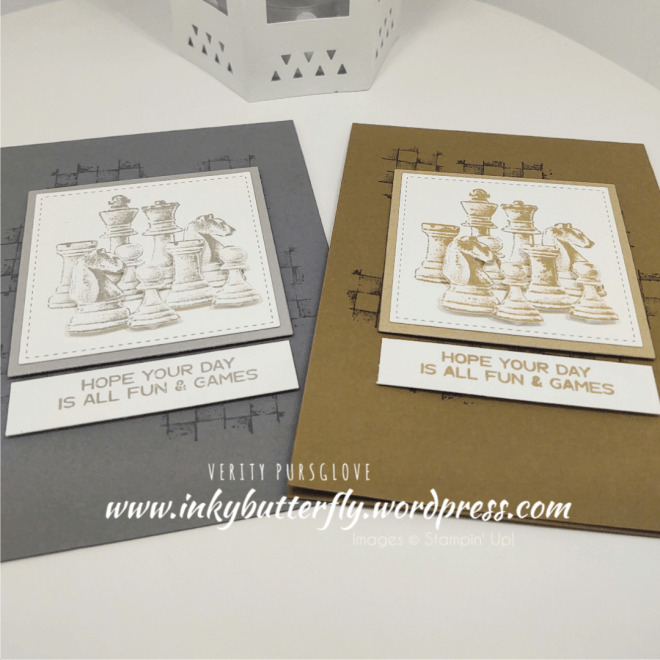
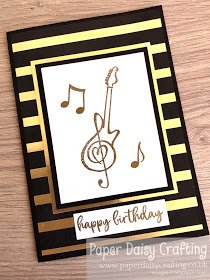
Something for the guys today!
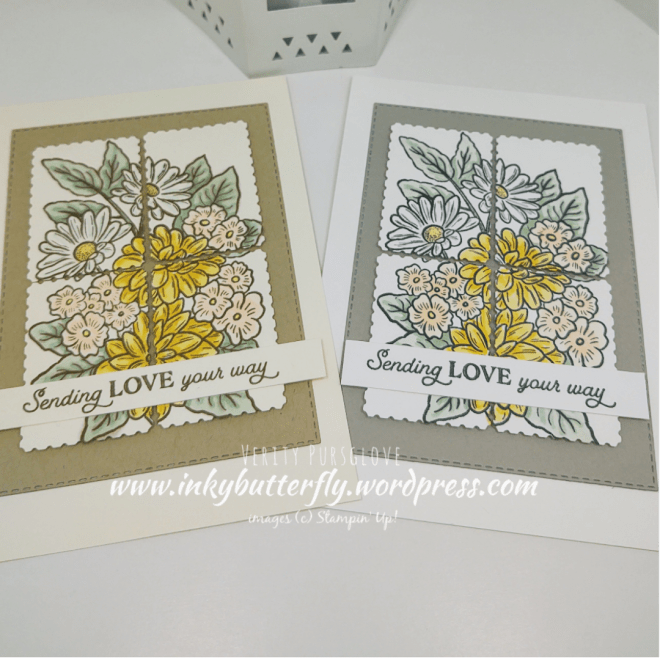
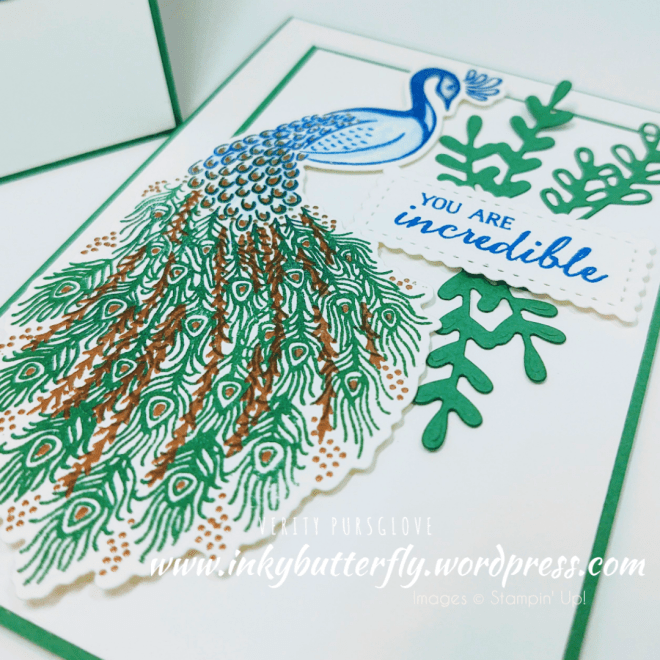
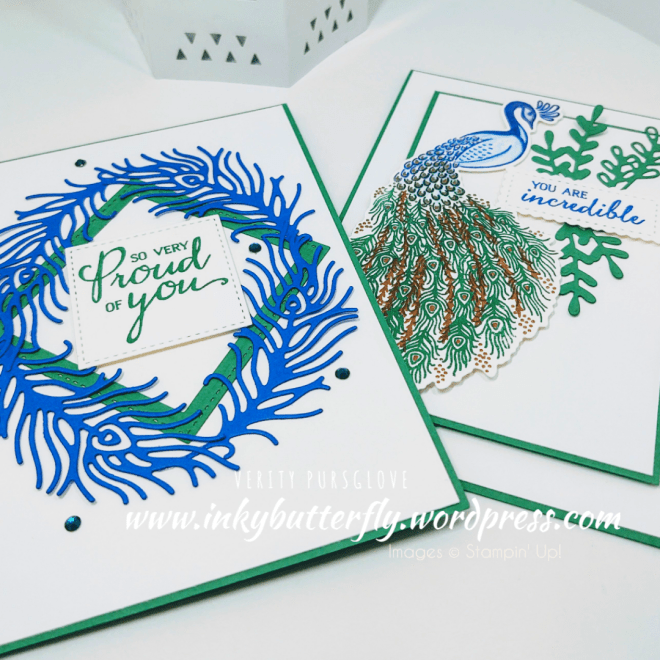
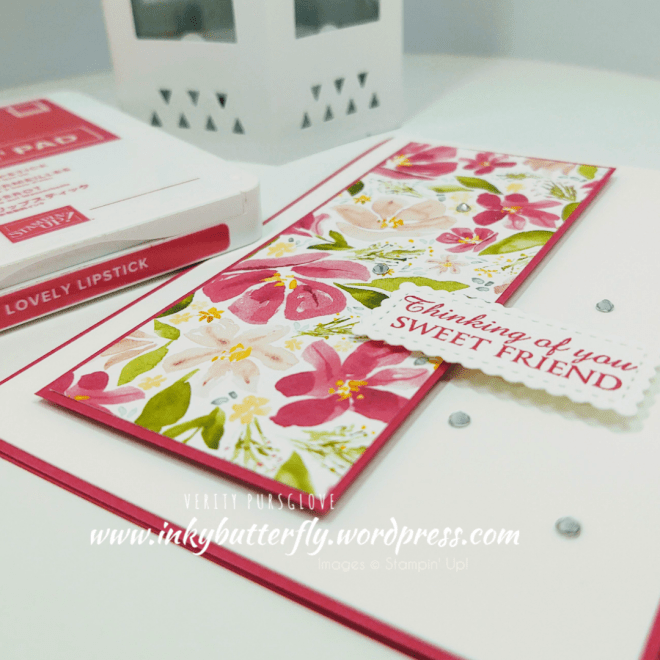
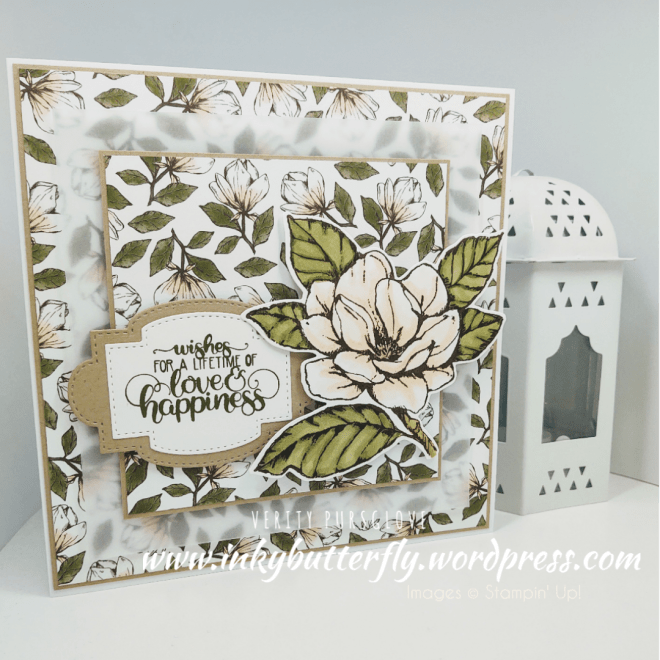
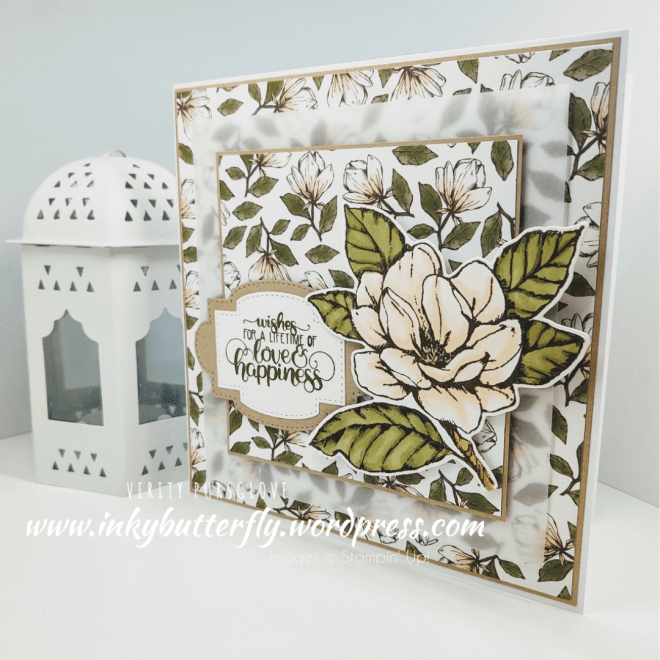
Isn’t this stamp set adorable. Just love these image and they are particularly relevant to me and my family.

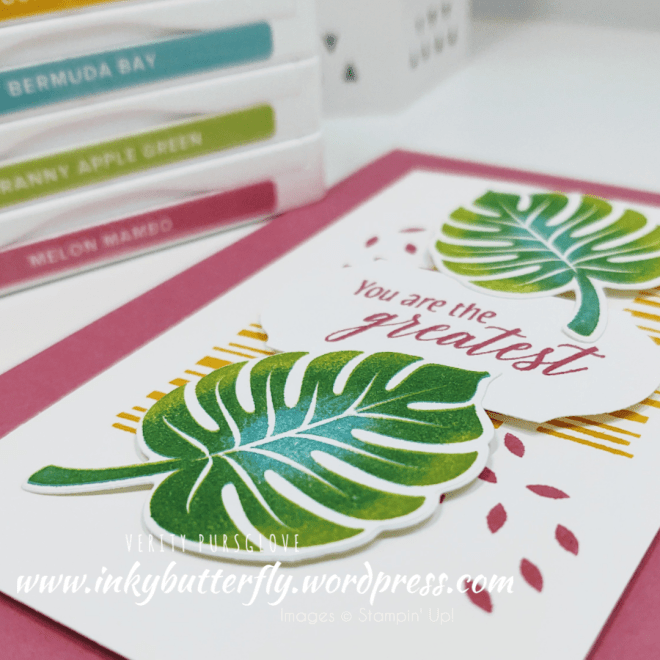
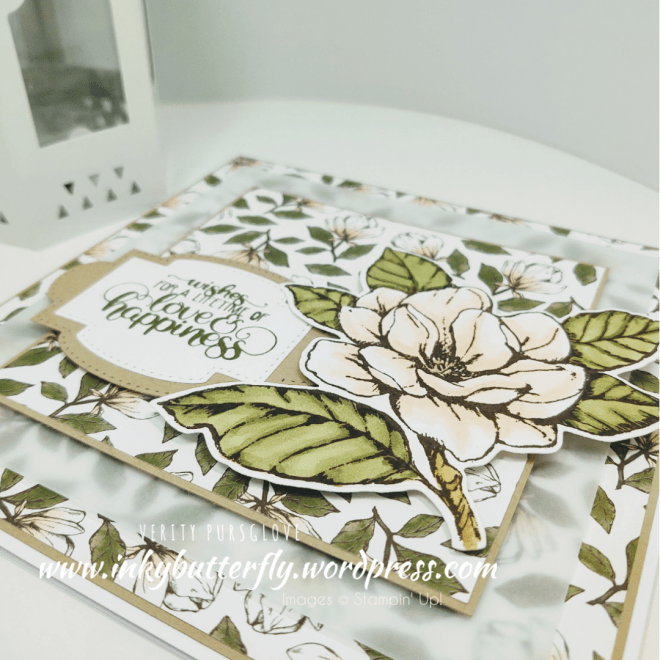
I used these neutral colour combinations fitting with the chess set theme. I like both, but which do you prefer?
See how these cards were made in my video tutorial!

I hope you enjoyed this project.
The supplies used are listed and linked to the online store below.
If your order is less than £150, use the Hostess Code VKY3SPC7 when placing your order to get an extra gift from me!
Spend £200 and get an extra £20 of rewards to spend on whatever you want!
I would love to be your demonstrator.
Would you like to join my Stampin’ Up! team?
Choose an additional free bundle when you join during June!
Thanks for stopping by today and happy Stampin’!
Verity xx
Product List
|
|
|
|
|
|
|
|
|
|
|
|
|
|
|
")


")
")


")


")


")


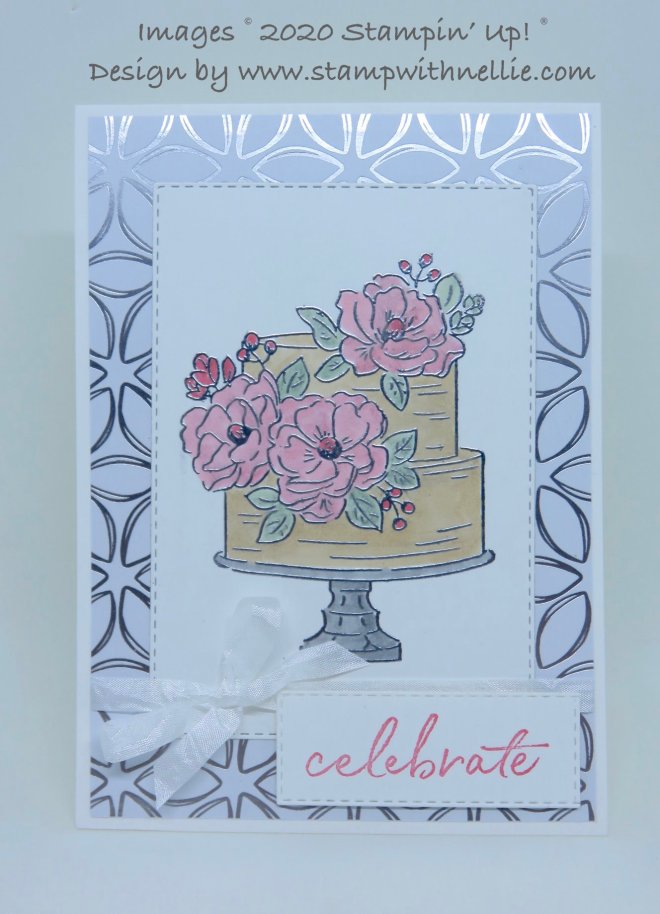
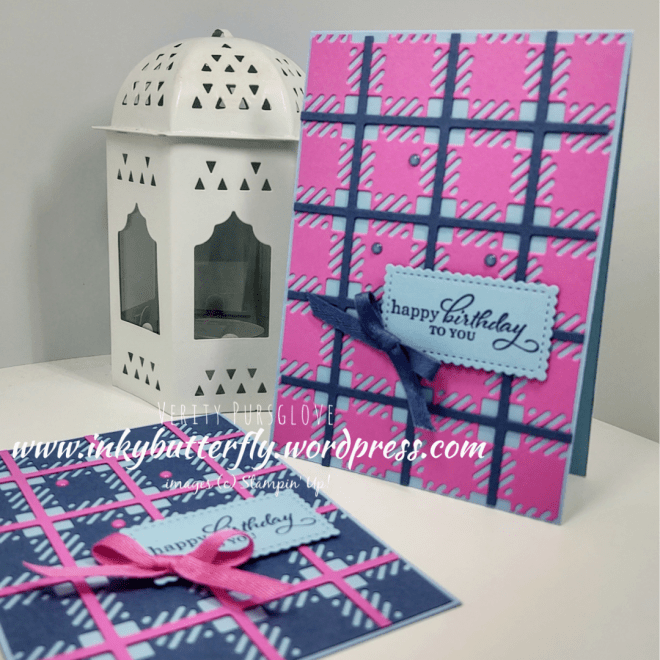
 Heather has combined elegant stamps with the geometric dies to make this card.Visit Heather’s blog
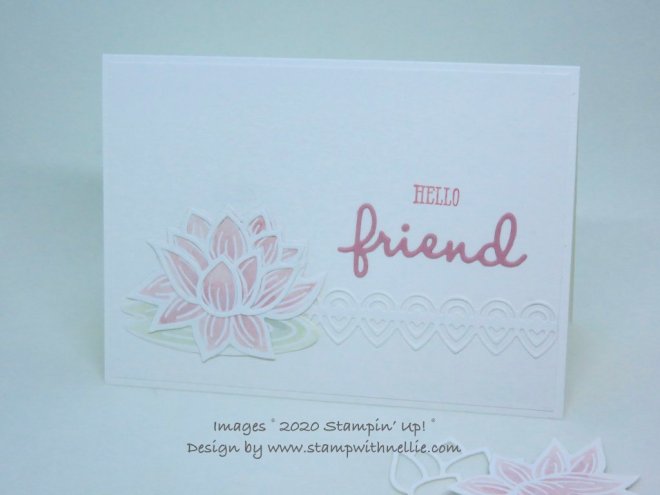
  Gez’s simple layout emphasises the beautiful embossing and detailed die cuts.Visit Gez’s blog


")


")