
Hello Everyone,
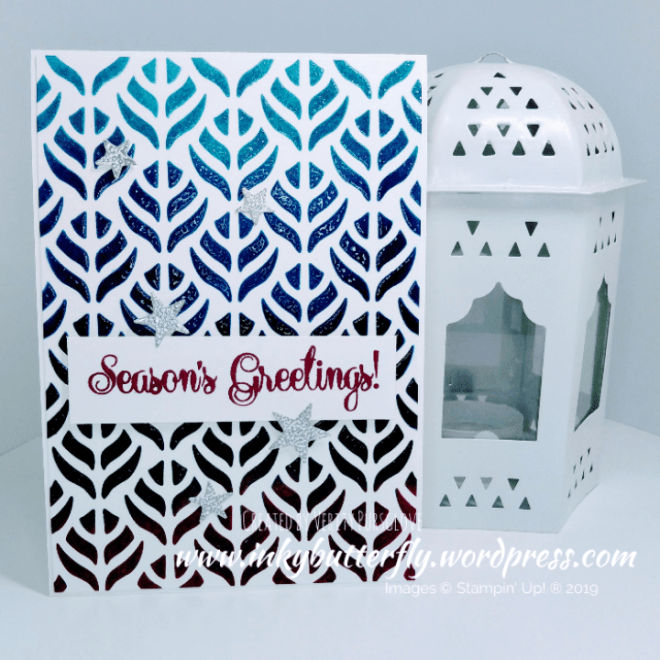
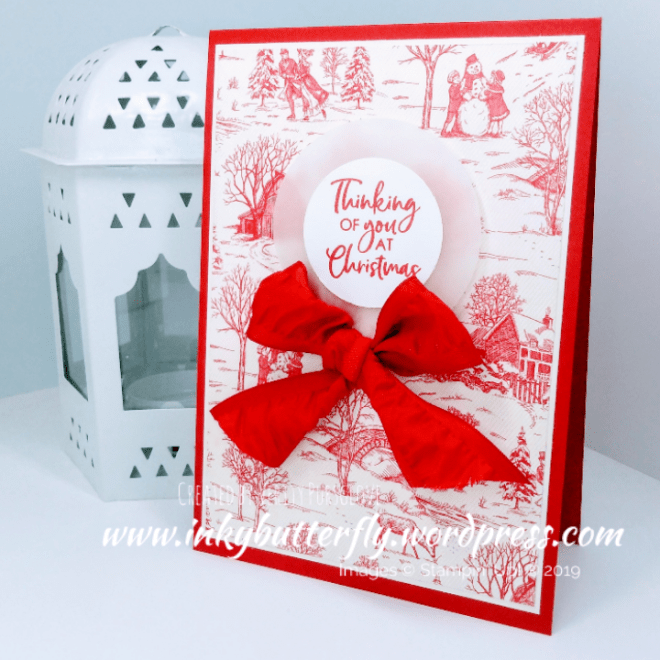
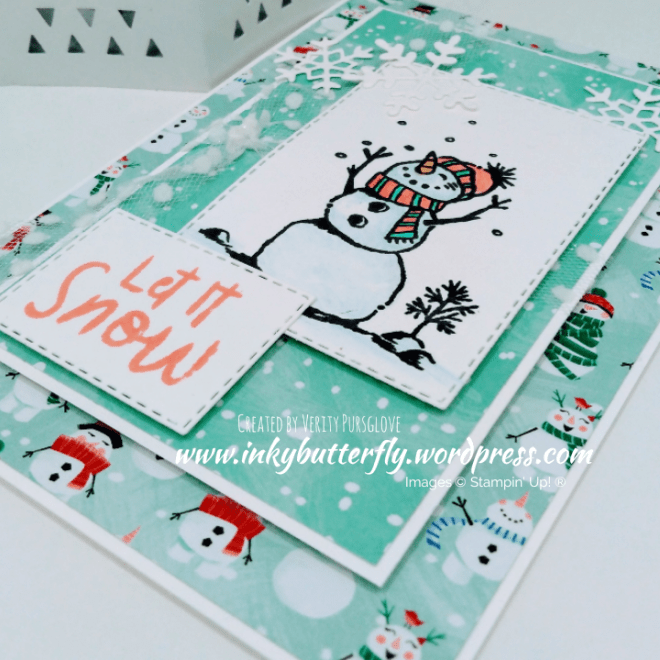
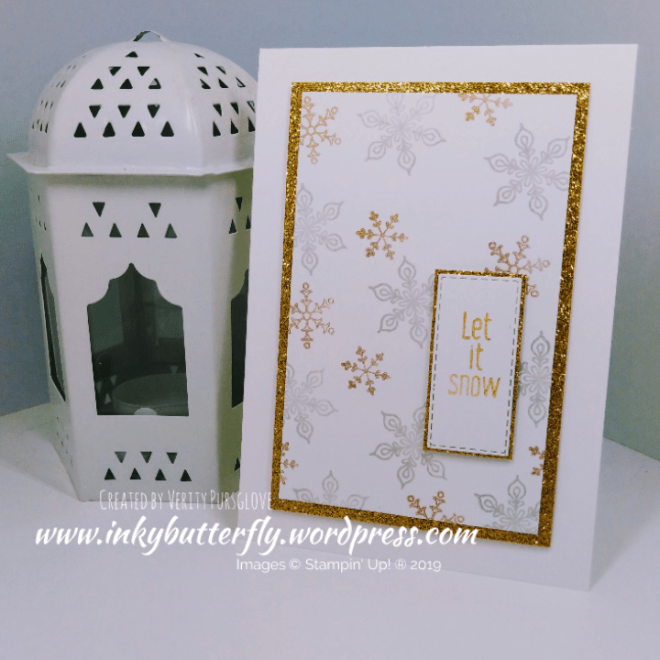
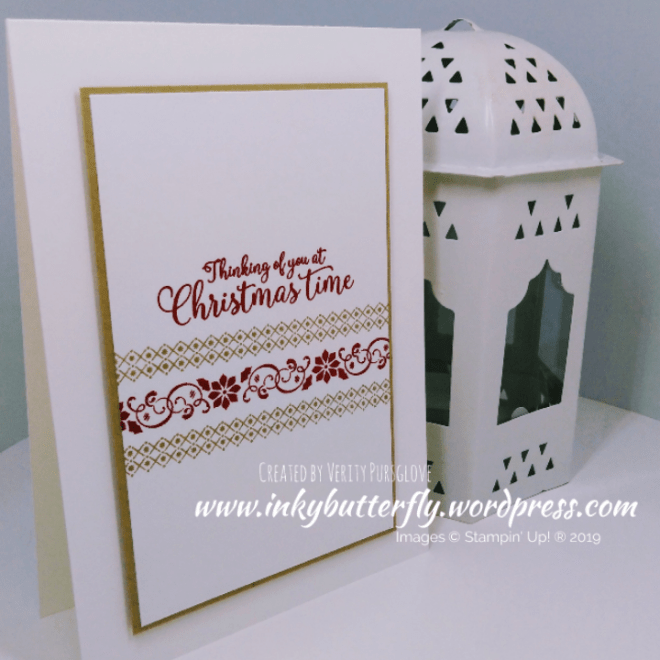
I thought I would share this non traditional Christmas card design with you today.
The colour combination I used is Balmy Blue, Pacific Point, Night of Navy and Rich Razzleberry.
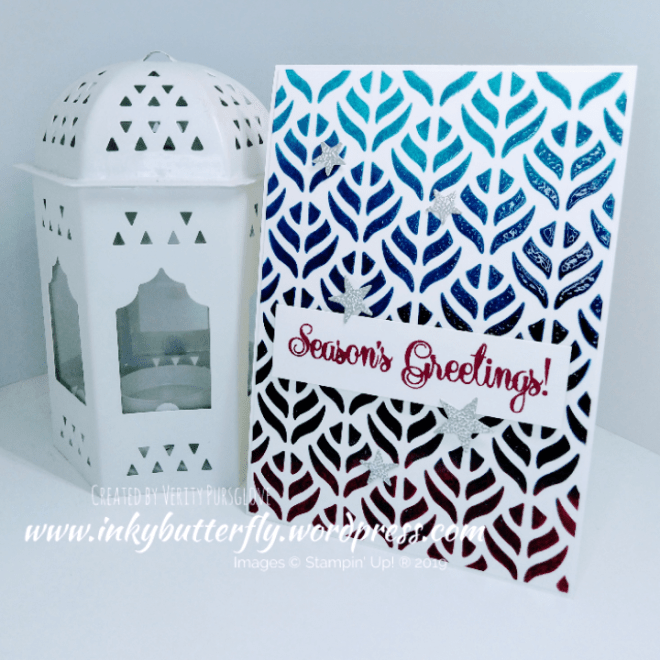
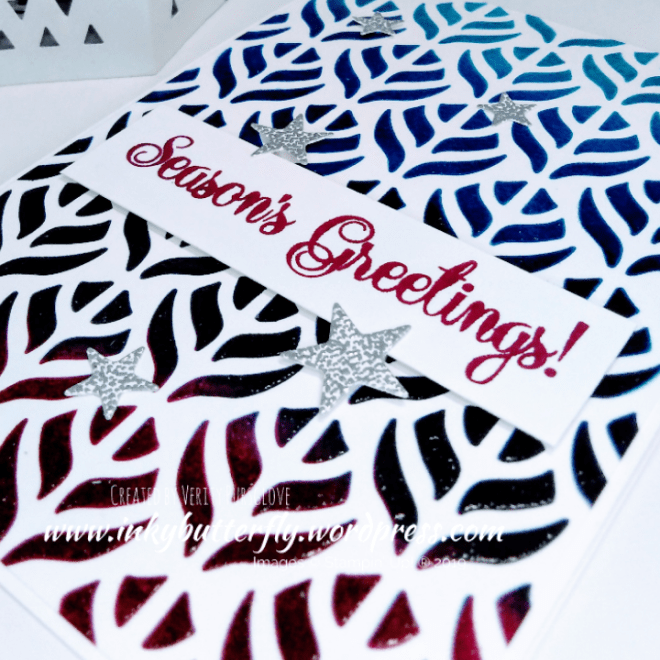
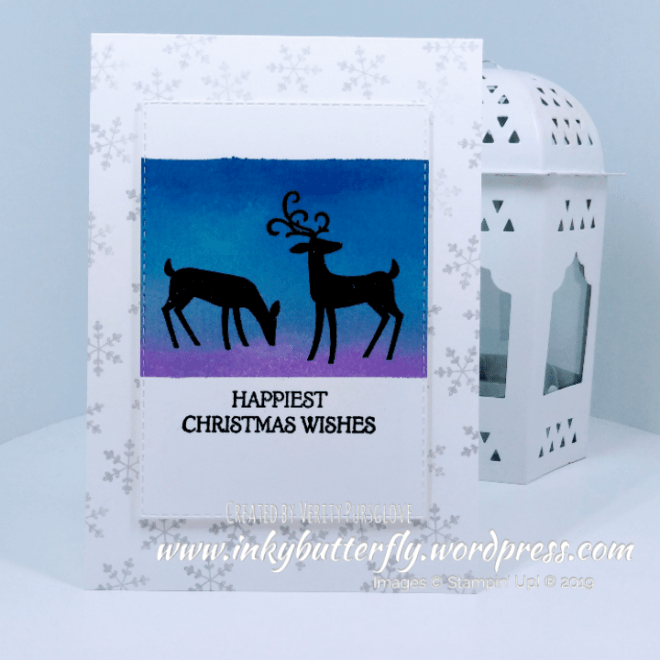
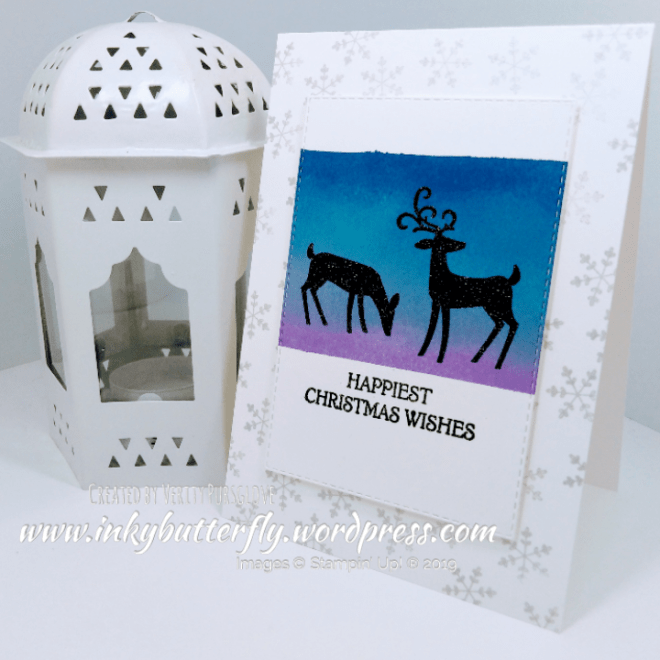
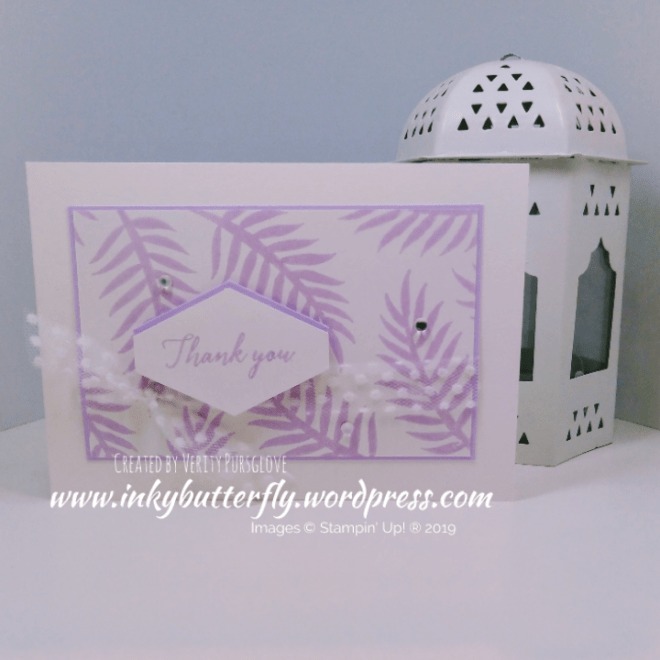
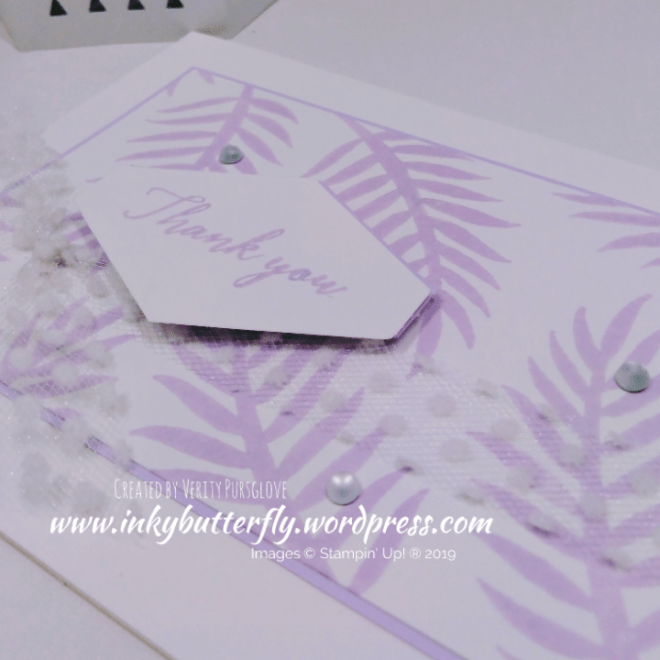
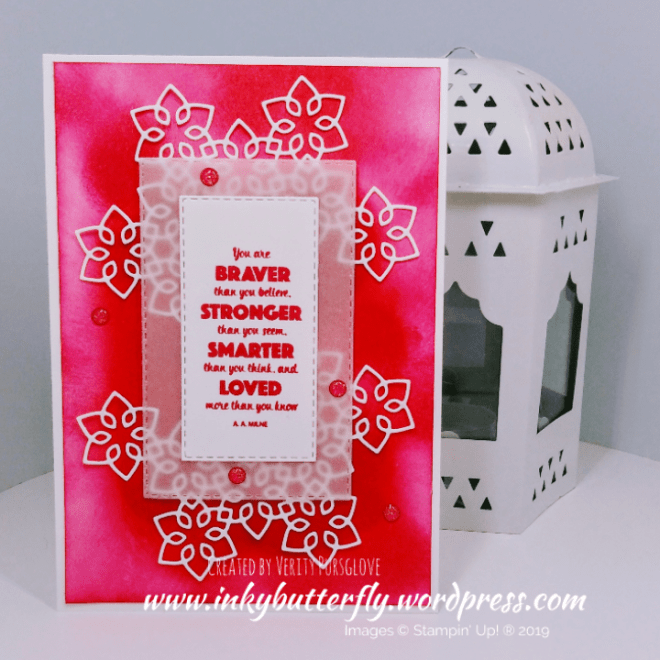
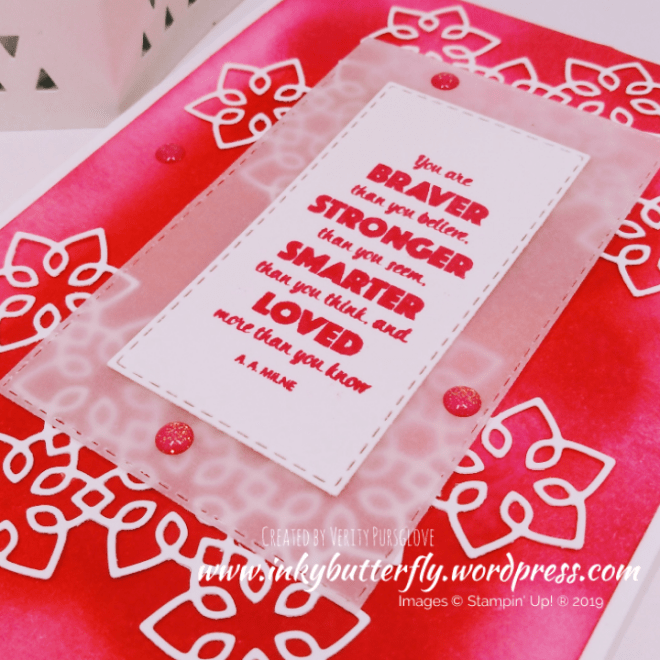
Whisper White card stock was coloured through a decorative mask using Stampin’ Sponges.
Before removing the mask, versamark ink was pressed over the panel. (The ink pad will get stained, so using an older pad might be a good idea).
I applied some clear embossing powder and heat set this to give a shiny design. This was adhered to a white card base.
A sentiment was added using Rich Razzleberry ink.
The stars were heat embossed with silver powder and die cut with the coordinating dies.
I hope you enjoyed this project. The supplies used are listed and linked to the online store below.
I would love to be your demonstrator.
Thanks for stopping by today and happy Stampin’!
Verity xx
Product List
")
|

|

|

|

|

|

|

|

|

|


")
")


")


")


")


")


")
")

