One of great things about being a Stampin’ Up! demonstrator is sharing creativity and ideas both with my customers and the rest of the team.
At each catalogue launch we do a card swap… By exchanging cards we share ideas, discover new techniques, and sometimes realise there’s something we didn’t see in the catalogue!
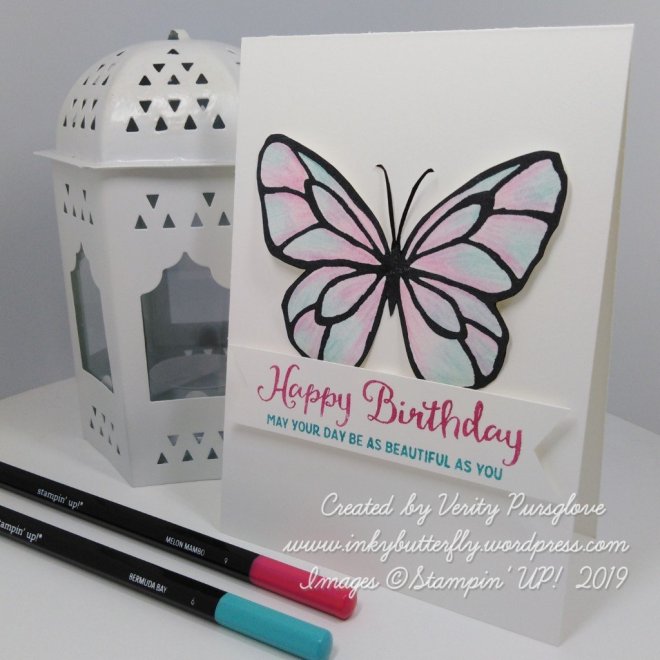
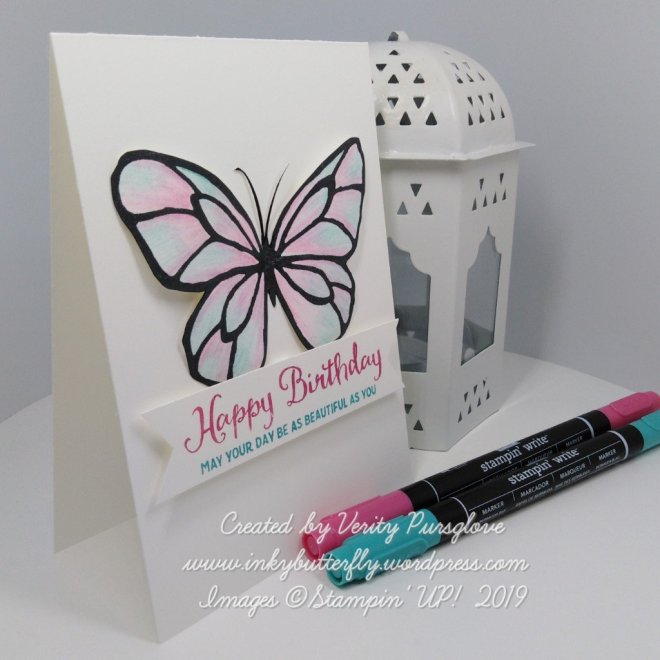
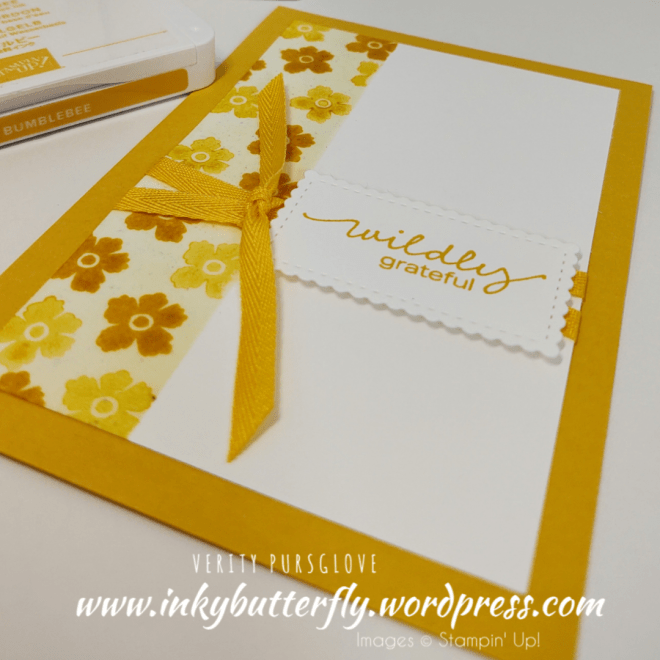
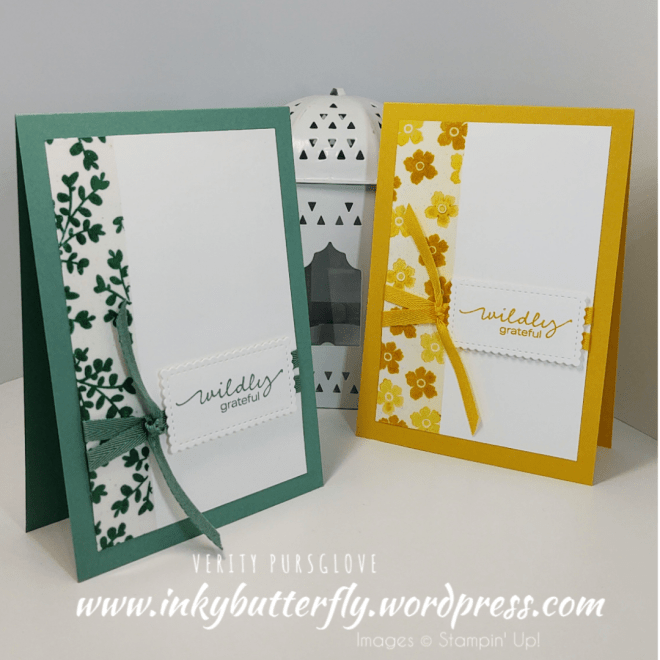
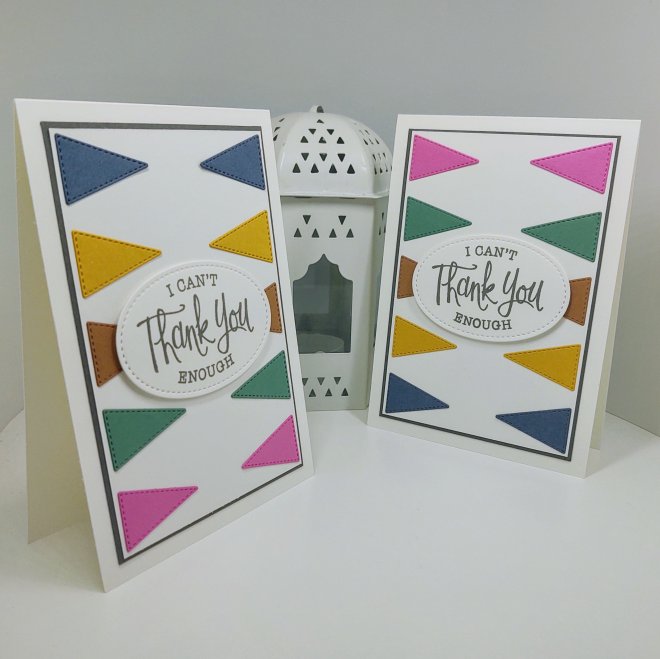
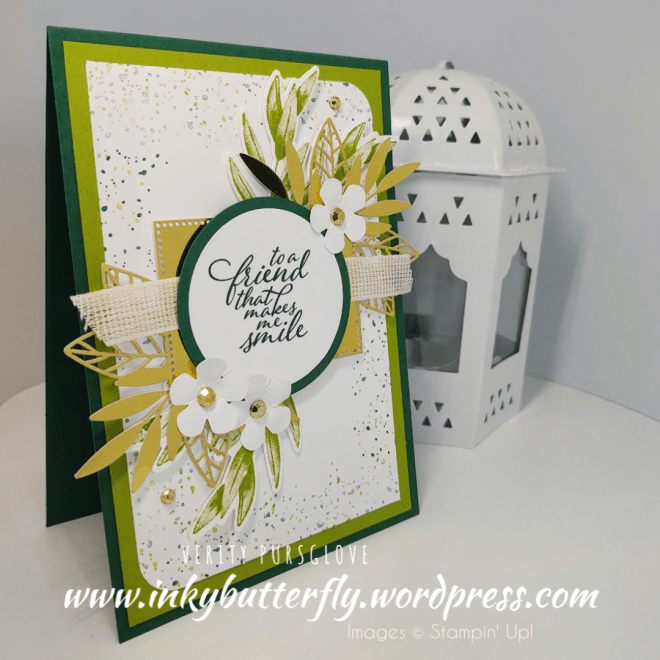
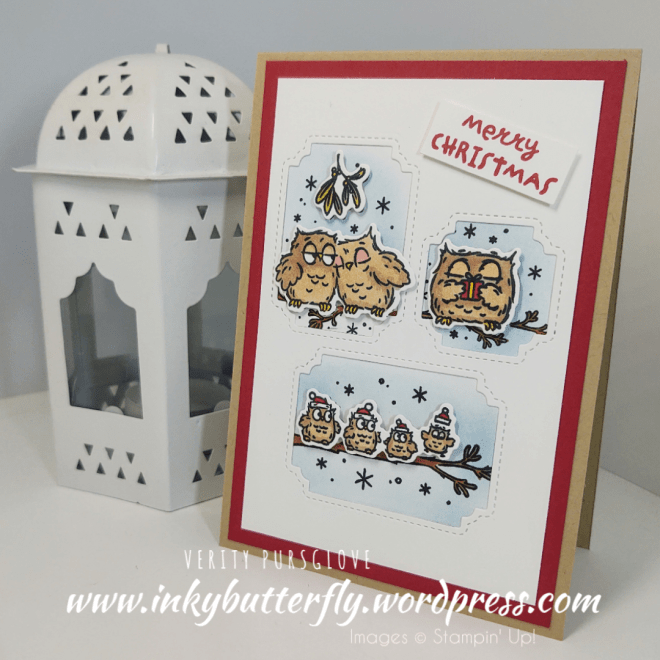
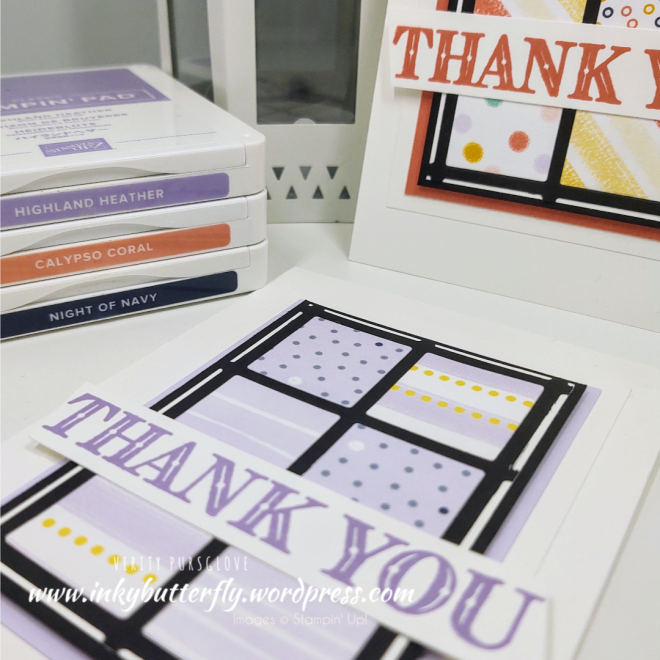
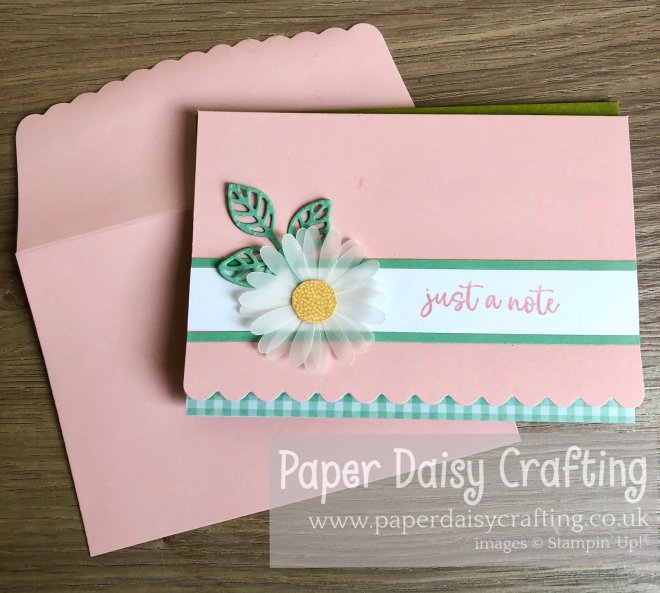
See how I made my batch of cards, you may be surprised at which stamp bundle was used….
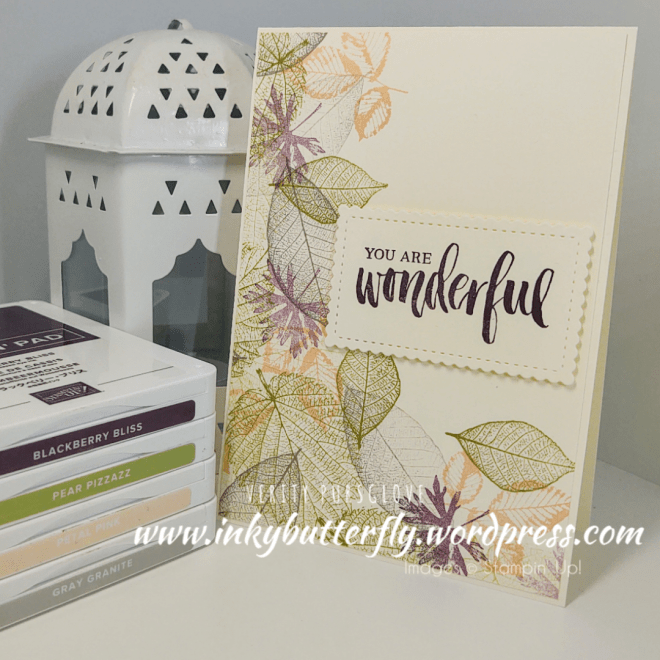
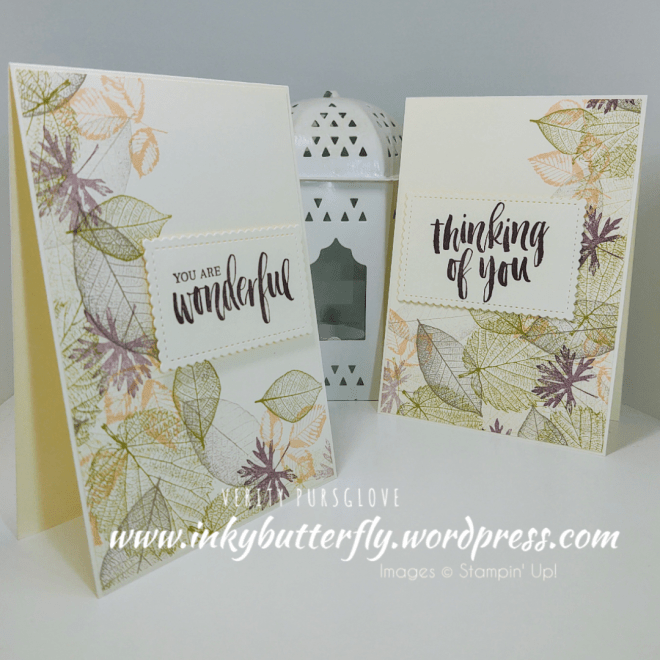
The Shimmery White card stock is so pretty in real life!
I hope you enjoyed this project.
The supplies used are listed and linked to the online store below.
If your order is less than £150, use the Hostess Code FYP3NJFR when placing your order to get an extra gift from me!
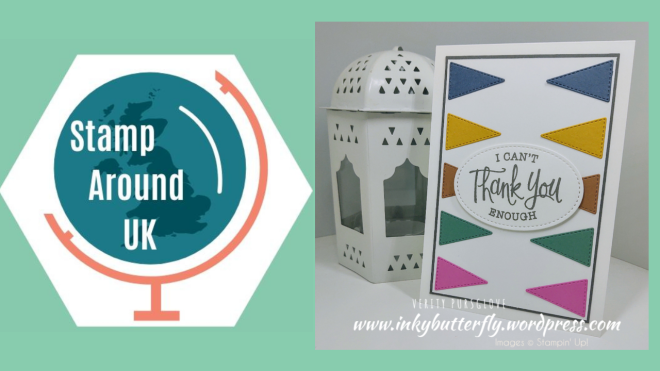
This is the accompanying blog post for the #StampAroundUK video hop!
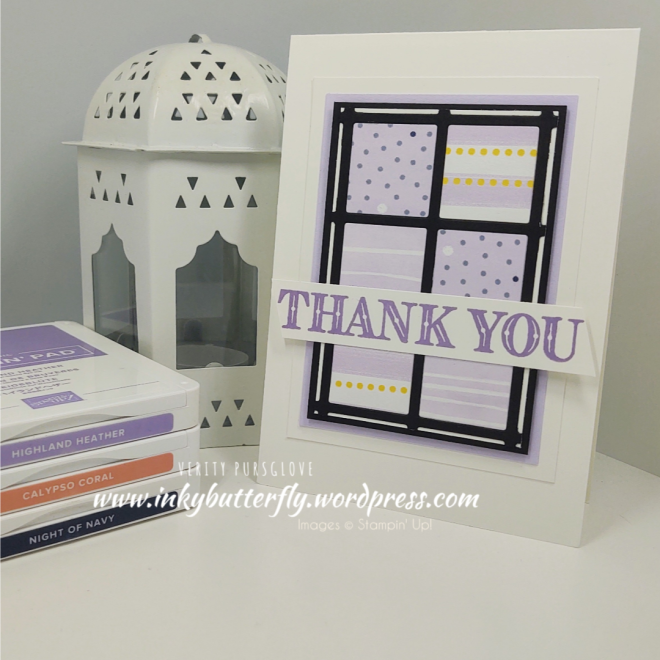
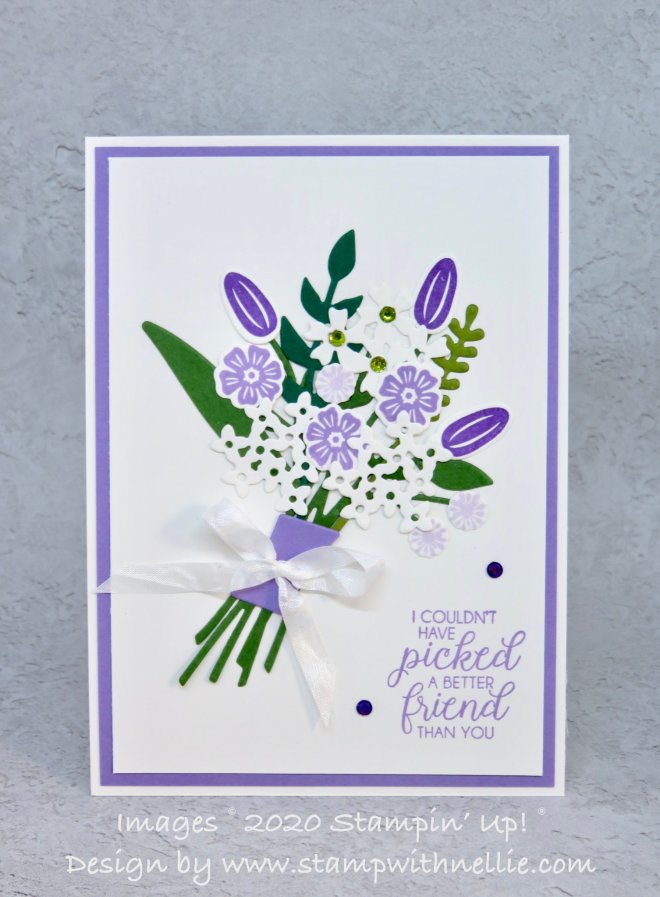
We are working with a card sketch this time….
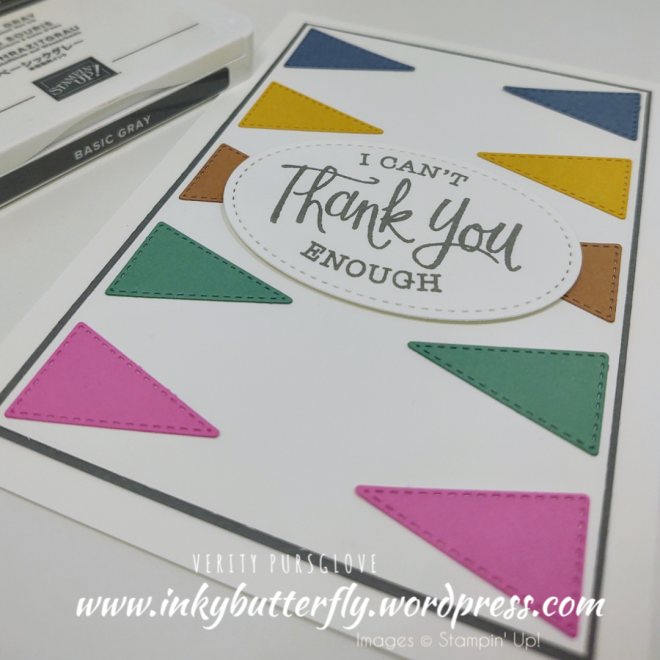
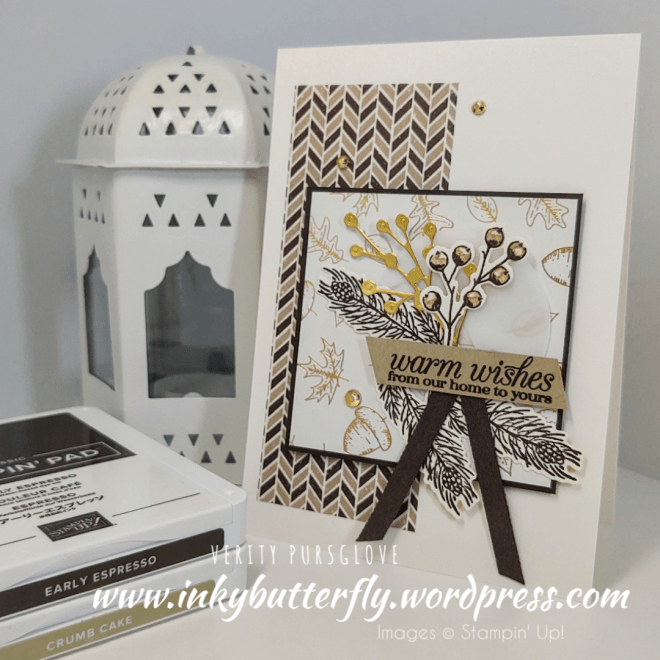
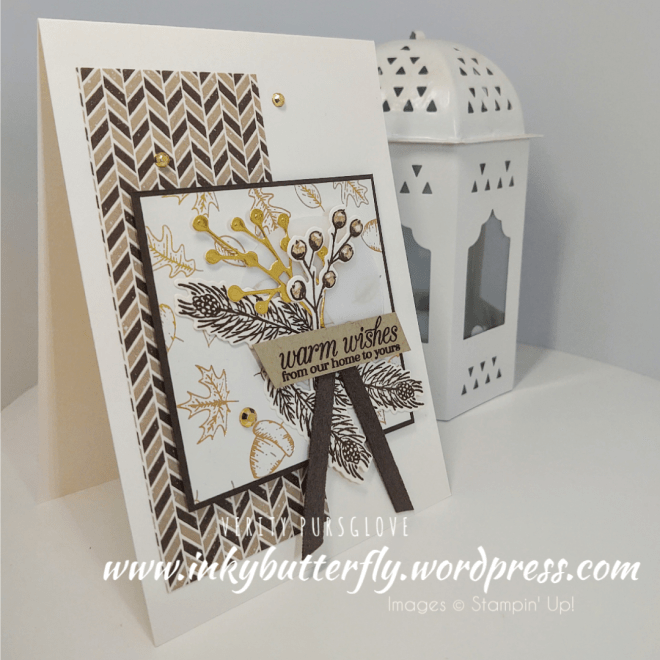
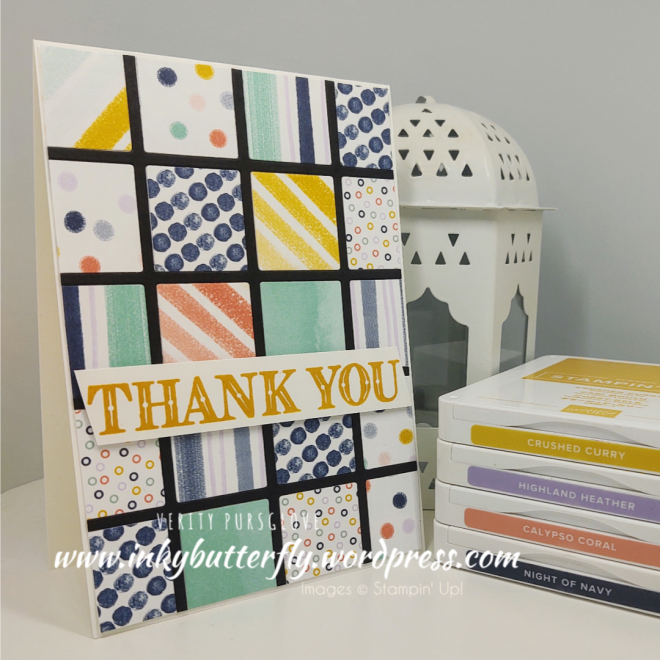
And this is what I came up with….
This is the link to my video tutorial. Please click in to the description on the video for links to all the other participants in the hop…
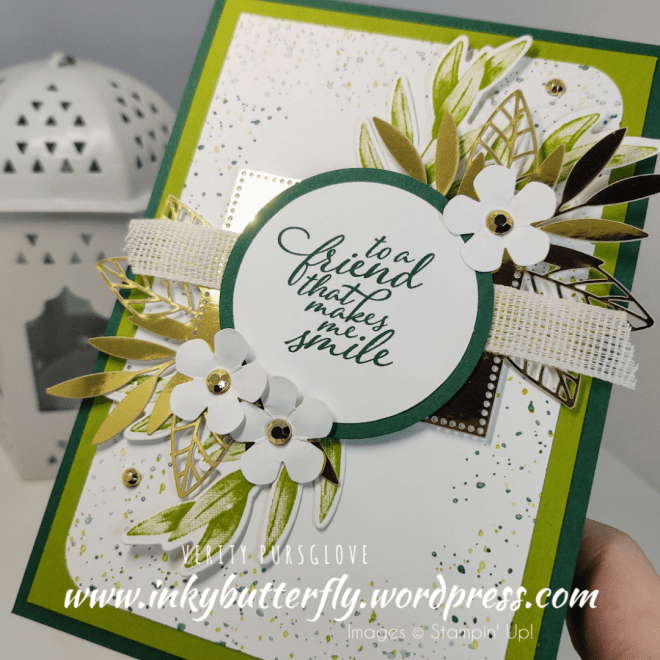
I love all the texture and dimension!
The gold foil die cuts are so shiny!
I hope you enjoyed this project.
The supplies used are listed and linked to the online store below.
If your order is less than £150, use the Hostess Code HS9XUAG2 when placing your order to get an extra gift from me!
I would love to be your demonstrator.
Don’t forget to check out the amazing joining offer running during September! Two free stamp sets, pre-cut cardstock and a pack of rhinestones will be added to your custom Starter Kit!
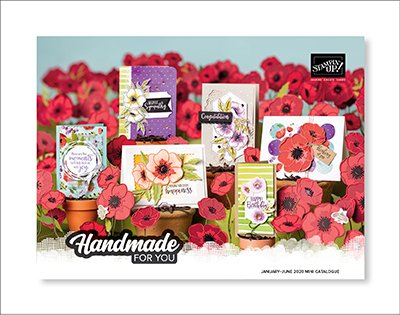
Here we are blog hopping again with the Pootlers Team! The theme is the new Mini Catalogue and Sale-a-bration!
There is a blue box at the end of this post with a link to all the other featured projects. There are so many entries that the links cover two pages! Please take a look, like and subscribe!
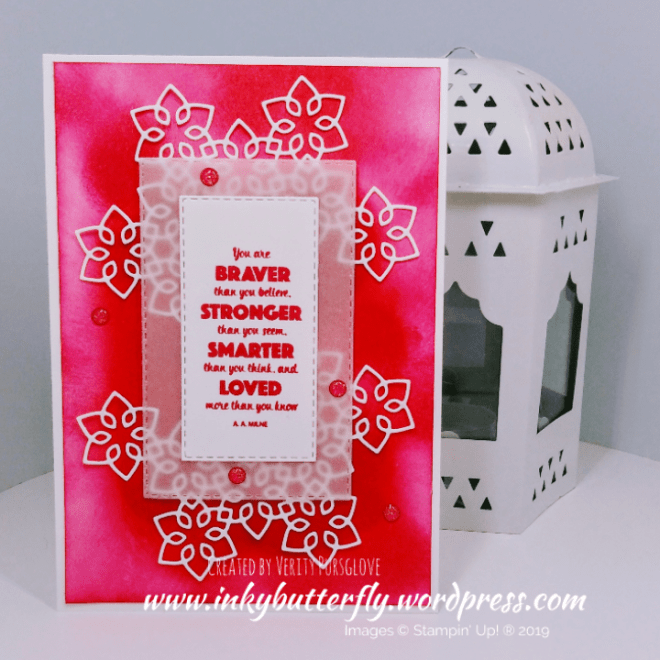
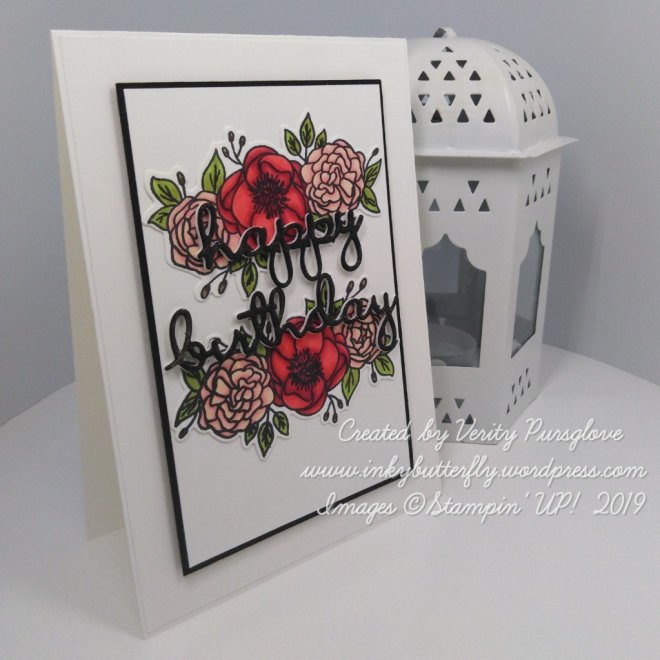
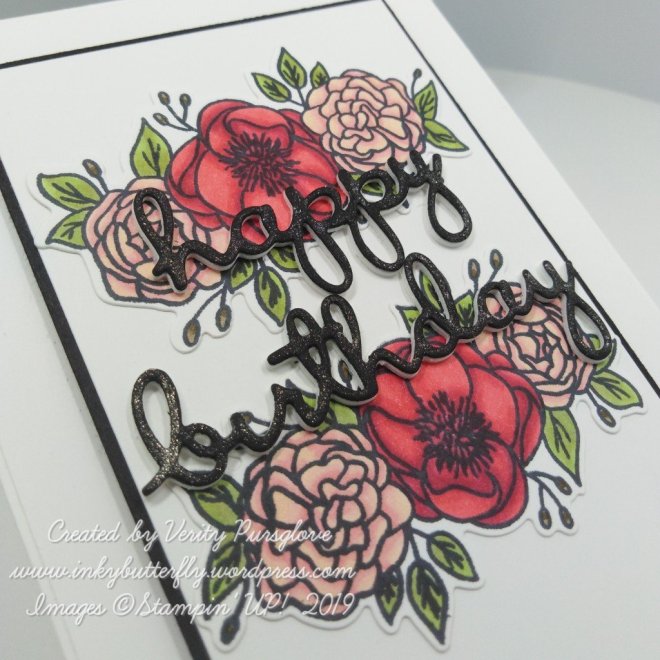
I have chosen to work with the Heartfelt bundle to make this layered card.
The card base is made with Real Red card stock. Layers of Whisper White and Flirty Flamingo card stock were adhered with Snail adhesive.
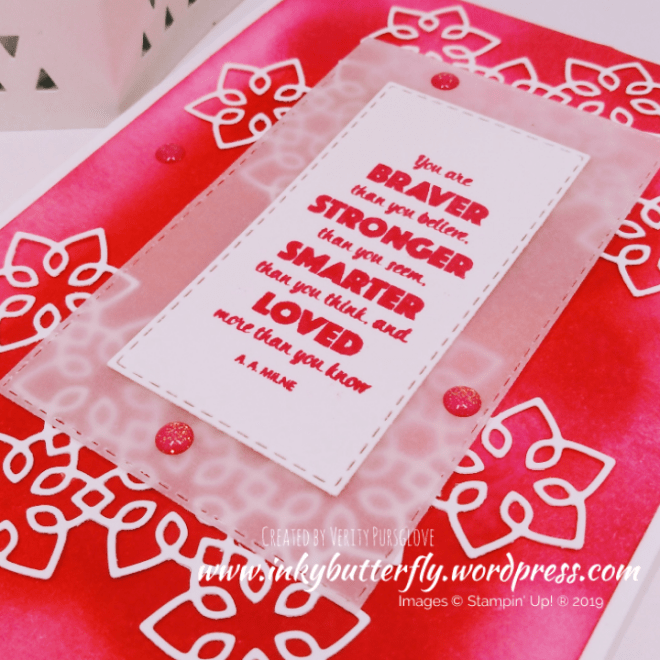
The next layer was cut with the largest rectangular die from the Stitched So Sweetly set. Two vellum hearts were attached toward the top and bottom of the die cut. This was then adhered with dimensionals.
The heart punches were used to cut Real Red and Whisper White card stock.
Two red hearts were sandwiched together with dimensionals.
A sentiment was stamped on to the white heart with Flirty Flamingo ink and added to the others.
I hope you enjoyed this project. The supplies used are listed and linked to the online store below.
Welcome to my blog. Every other Monday I share my project that I have used as my entry for the Inspire.Create challenge.
This time it’s a theme challenge.
The design team have made some wonderful samples as inspiration. You can see them here.
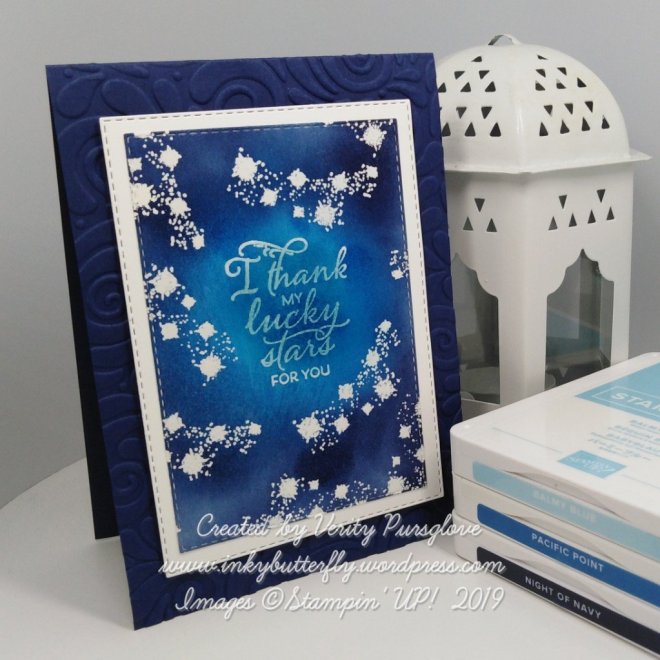
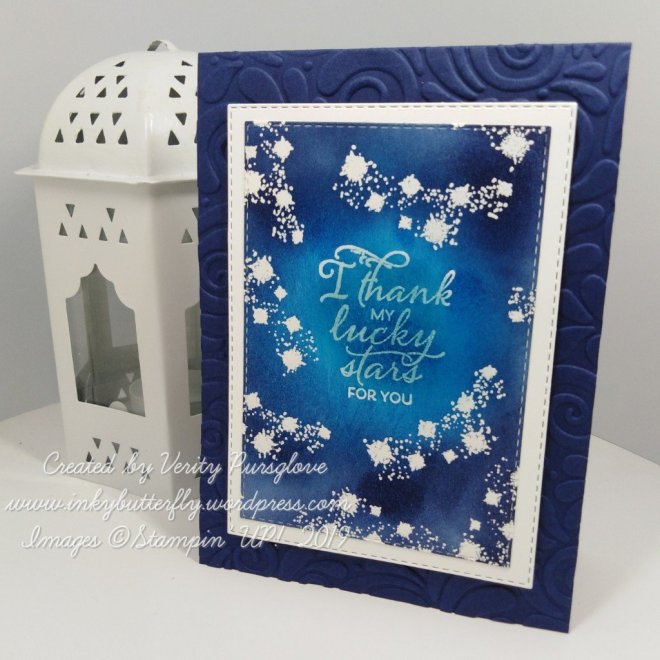
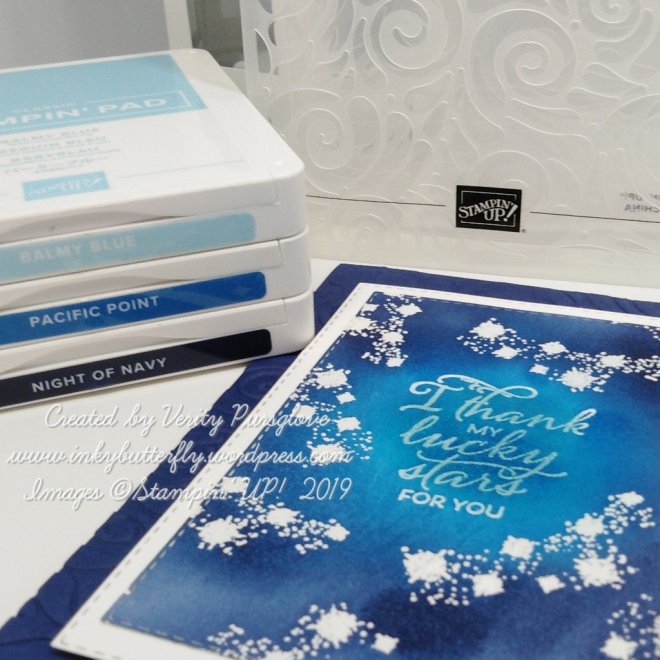
I have used the emboss resist technique for my project;
I picked out the Stargazing stamp set…. I thought the stars would be perfect for this technique.
First, I applied Balmy Blue ink to some white card stock where the sentiment would be. I then used versamark ink to stamp the images. These were embossed with clear powder.
I then added Pacific Point and Night of Navy ink over the top. A damp cloth rubbed away the excess ink.
The panel was die cut with a Stitched Rectangle and layered on to Whisper White card stock.
A Night of Navy card base was embossed with the Swirls & Curls embossing folder before adding the topper with dimensionals.
I hope you enjoyed this project. The supplies used are listed and linked to the online store below.
Today’s project is part of a team blog hop where we have all used our shiny new products from Stampin’ Up!’s Annual Catalogue!
This one is terrific with some gorgeous stamp sets, bundles and full suites of products to choose from.
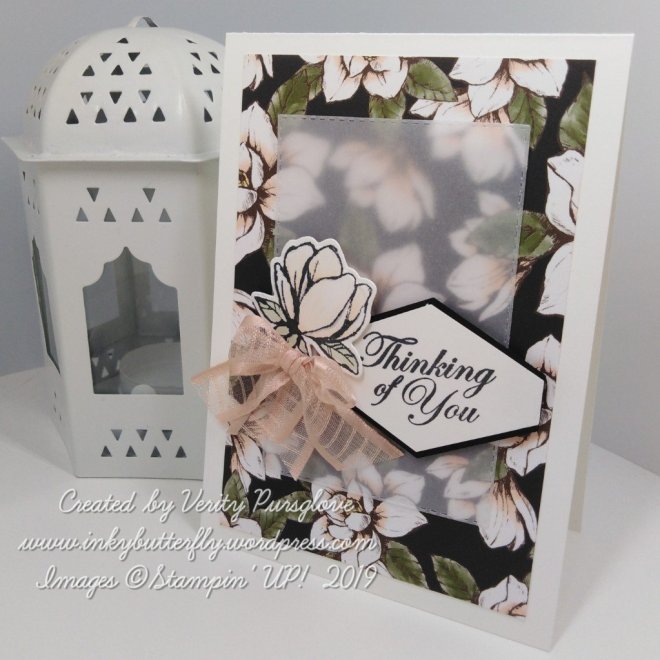
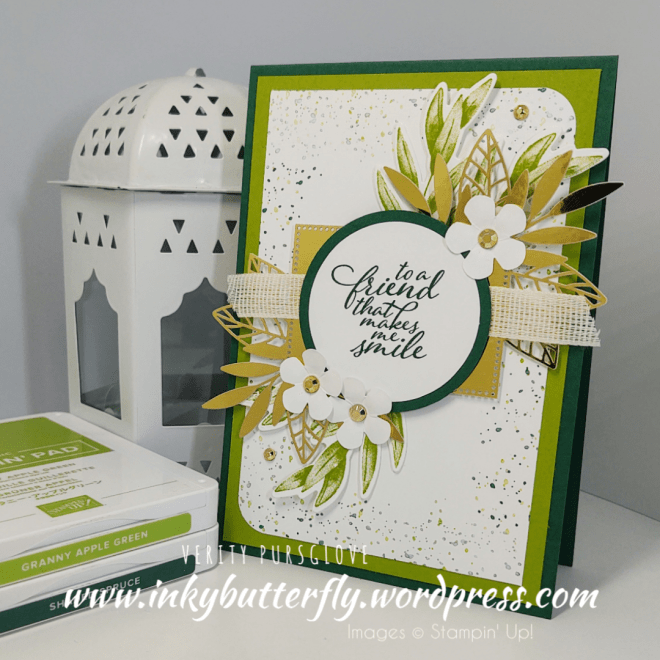
My project showcases product from the Magnolia Lane Suite. We had an enormous Magnolia in our front garden when I was a child and I always remember how stunning the flowers were.
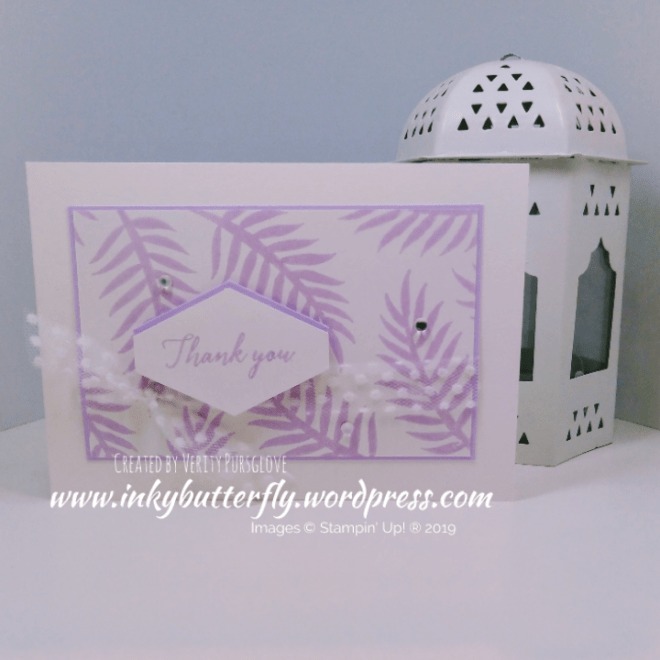
The Designer Series Paper has been used as the background for my card. It is so lovely I wanted this to remain a feature.
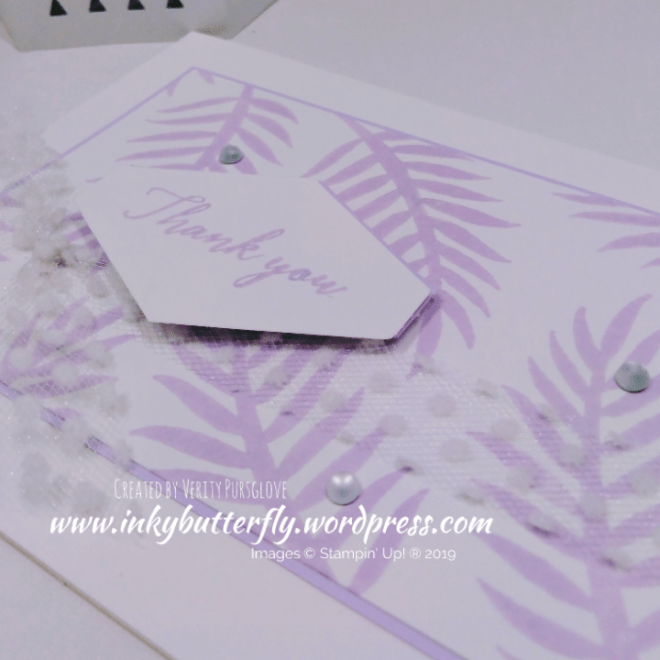
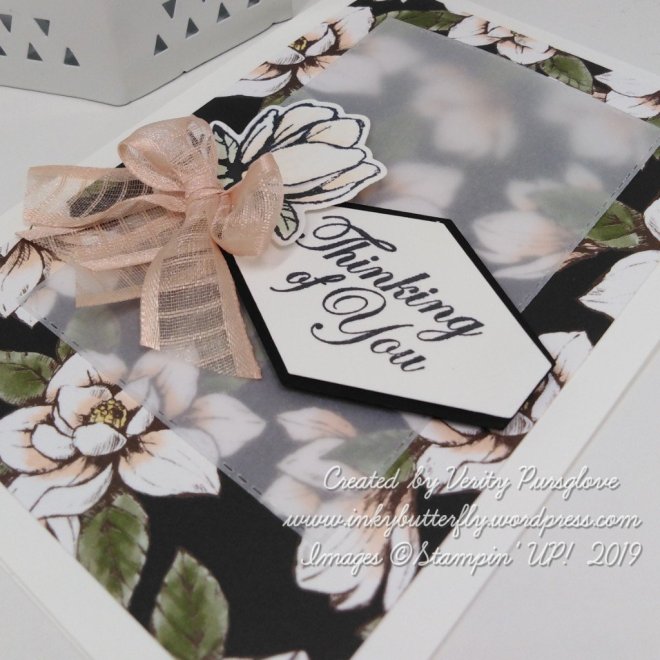
The topper was kept small using the Stitched Rectangles dies. A larger layer was added by die cutting vellum, so the pattern could still be seen.
The white panel was stamped with a sentiment in black ink, and embellished using the small Magnolia image from the stamp set with Gray Granite ink.
Some silver thread was looped between the layers for some extra texture.
Please click on the blue box below to see all the other fantastic creations


")


")


")


")


")


")


")