

Hello Everyone,
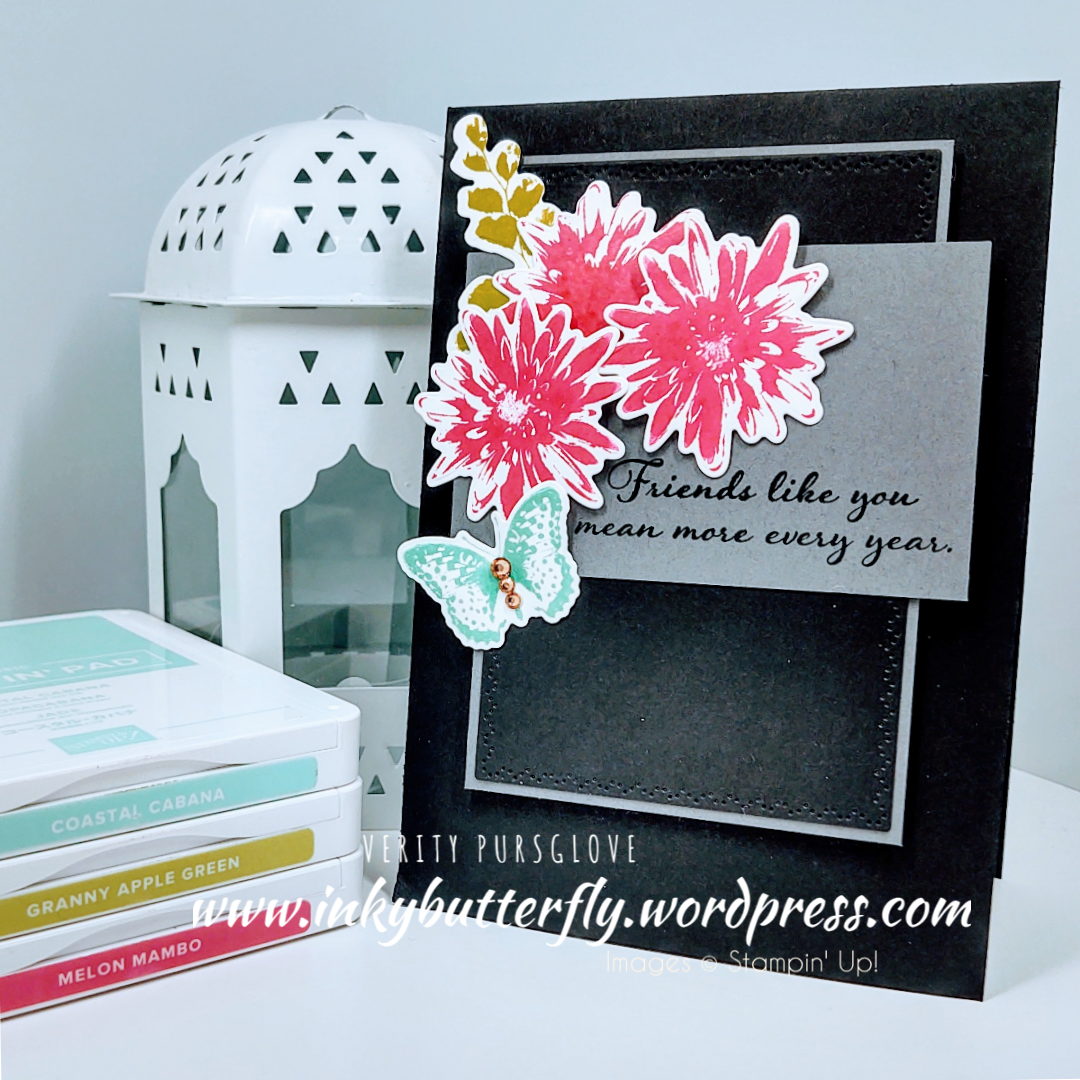
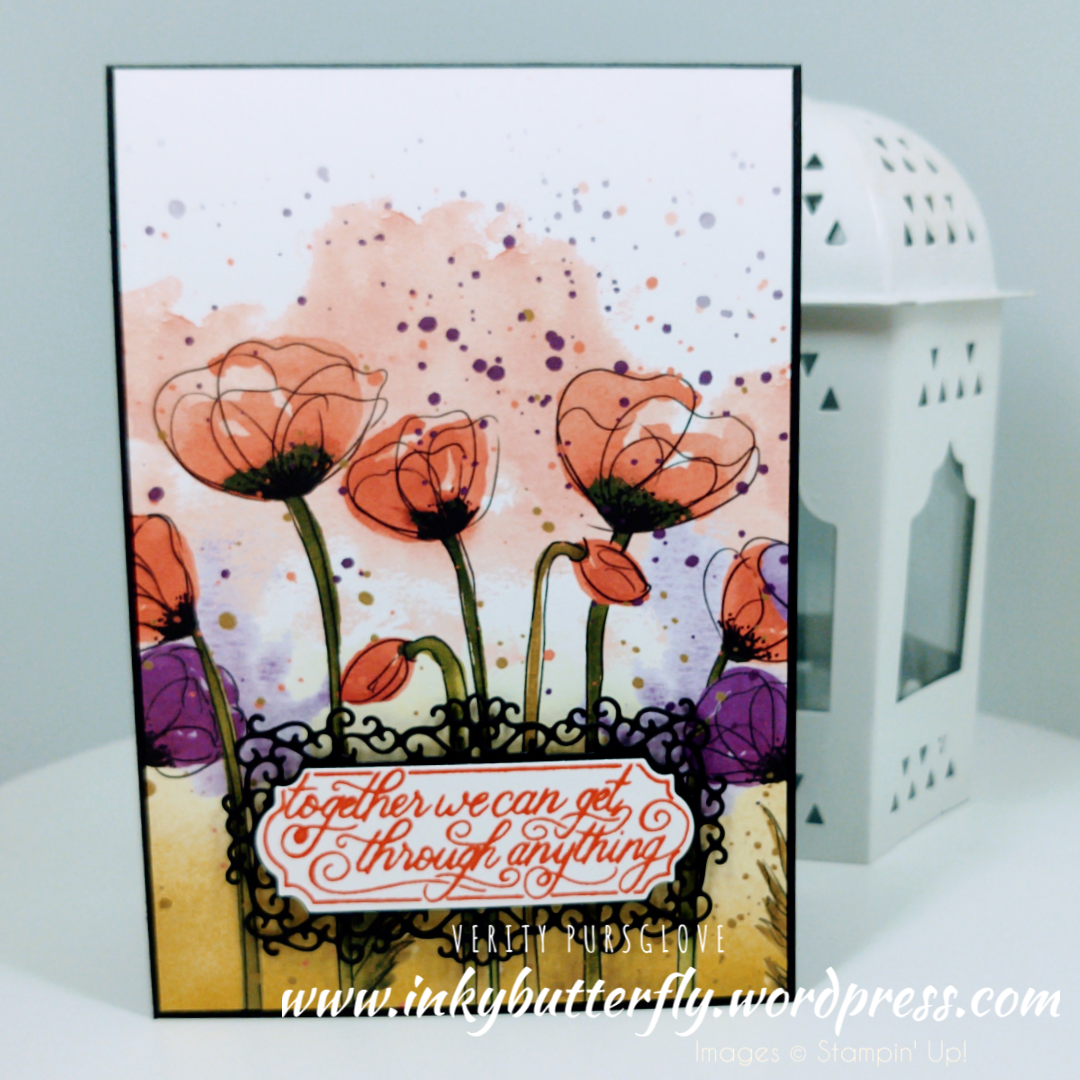
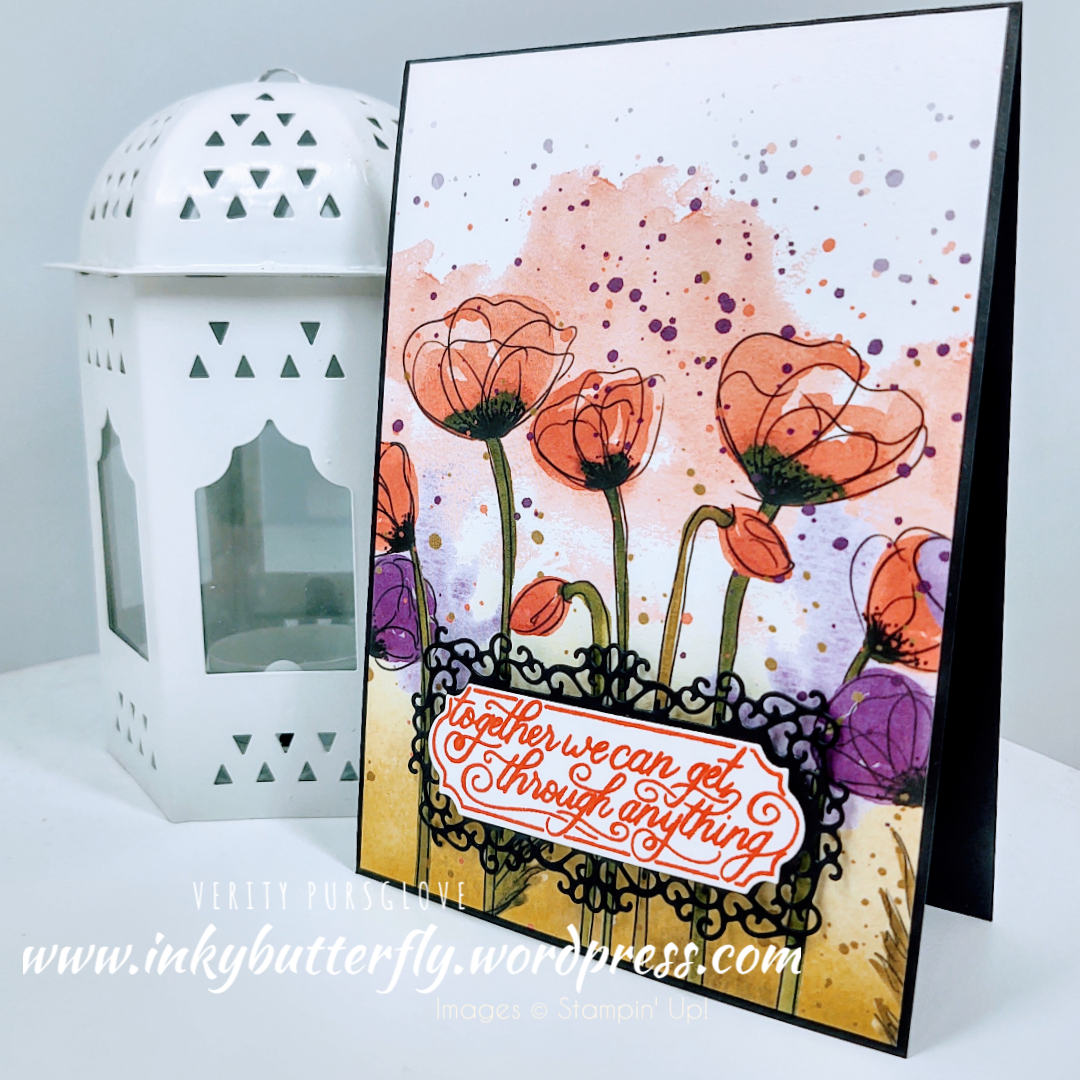
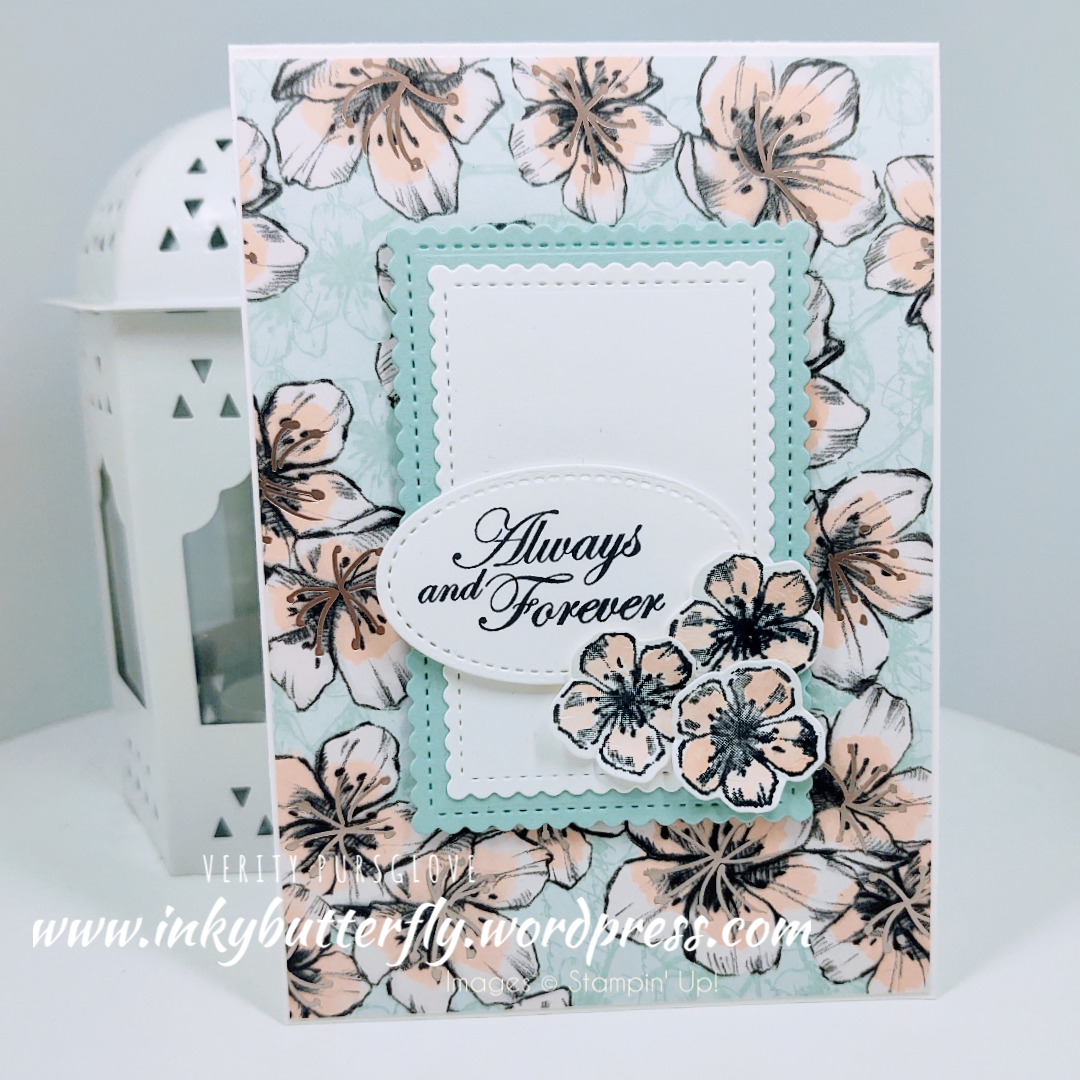
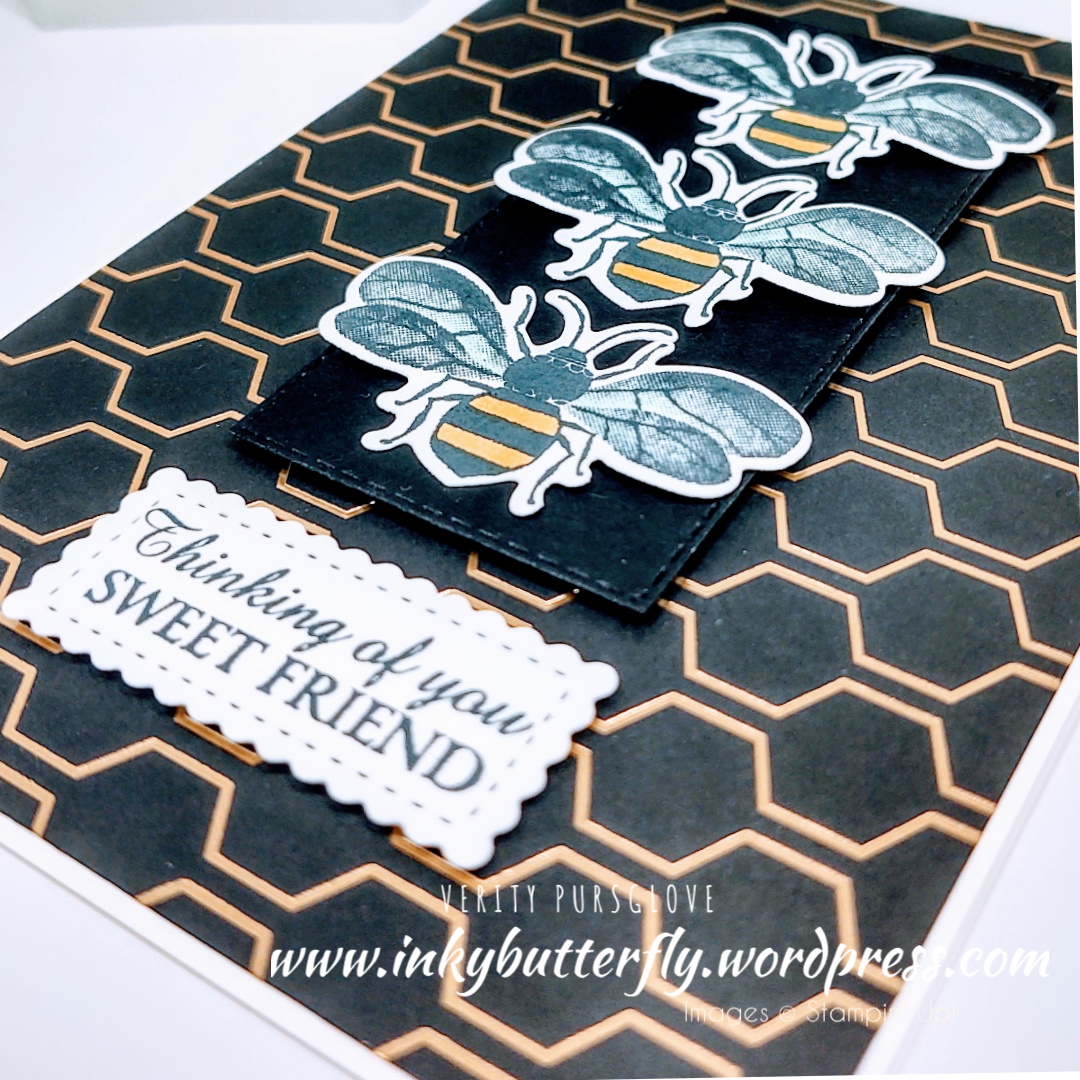
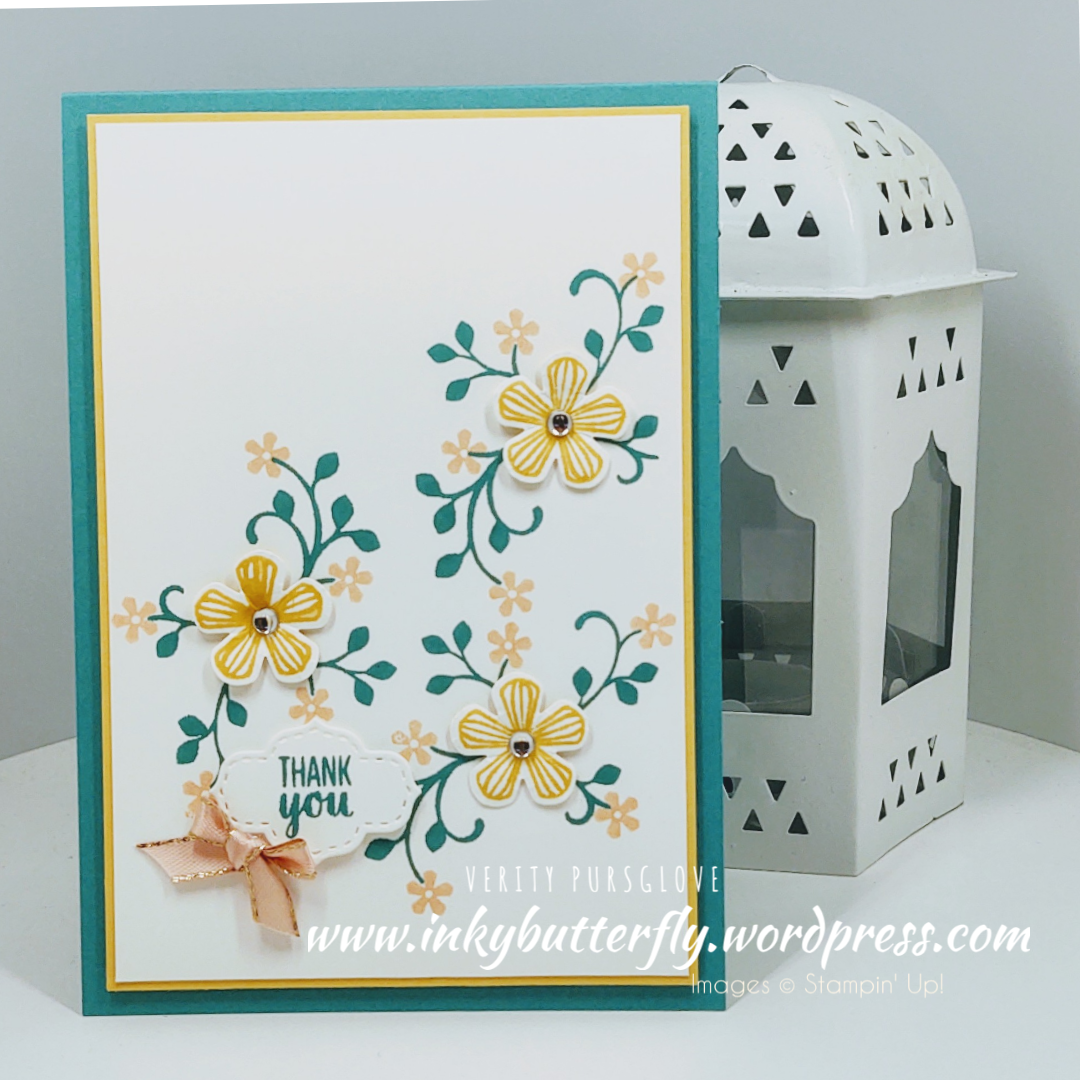
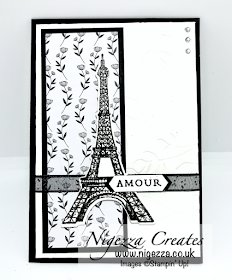
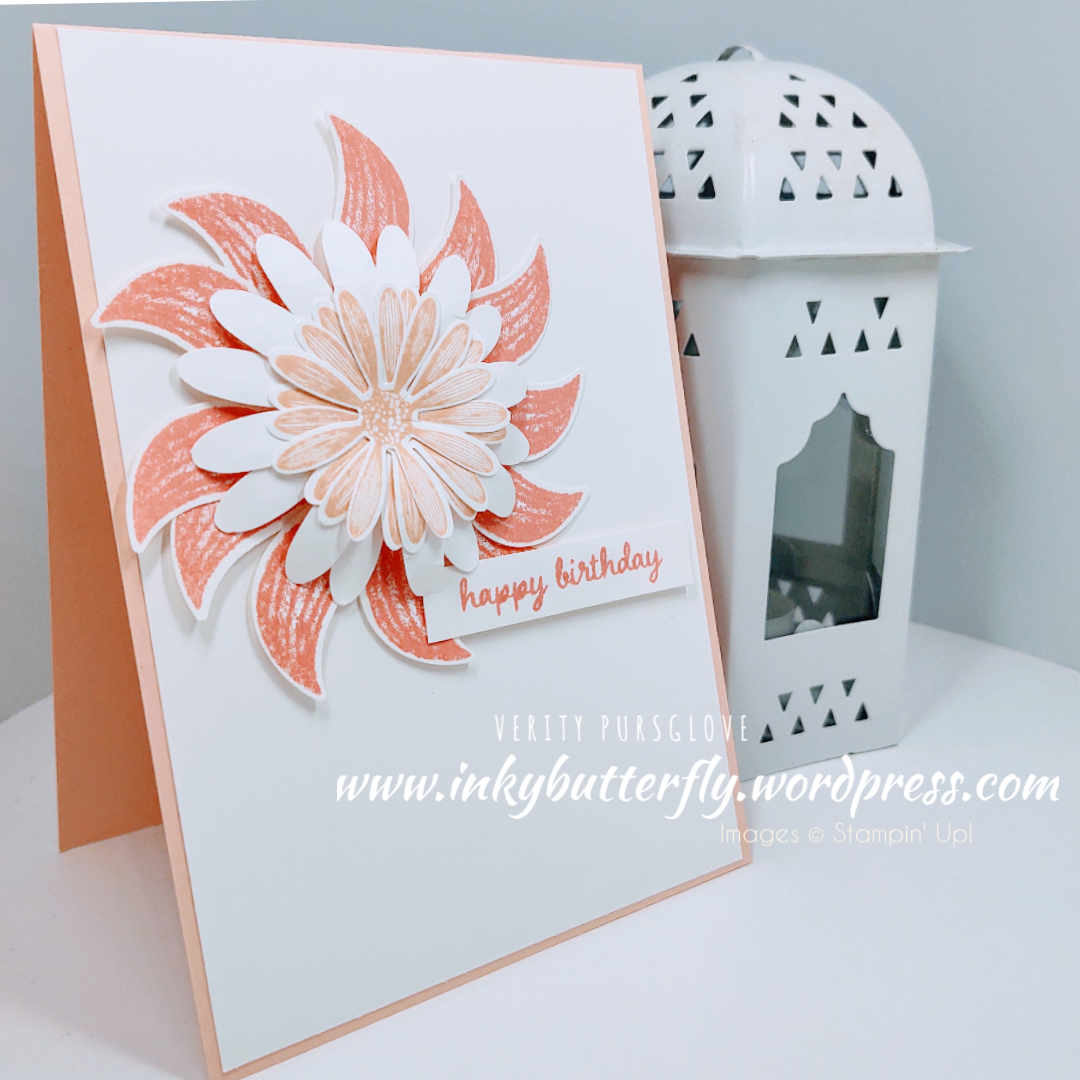
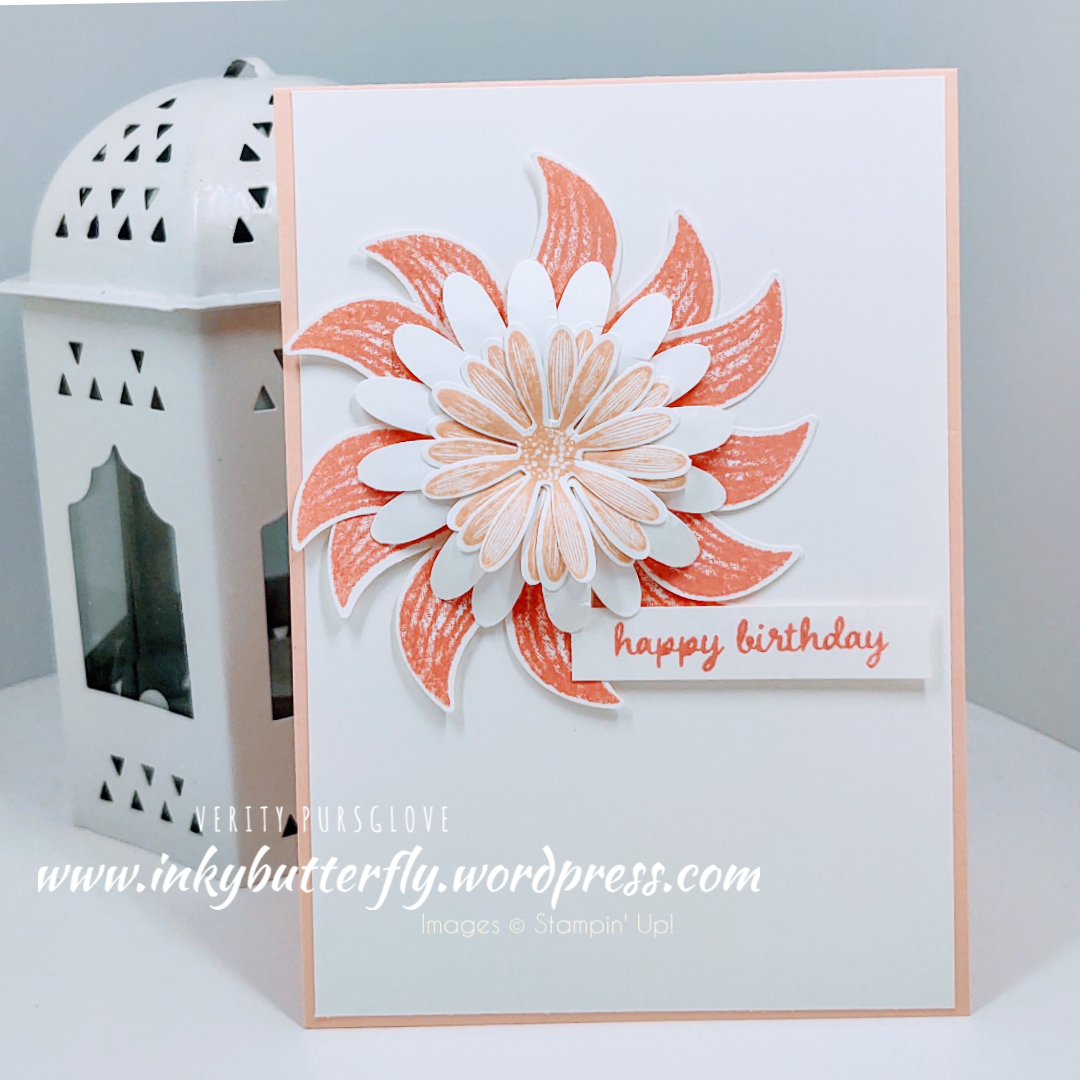
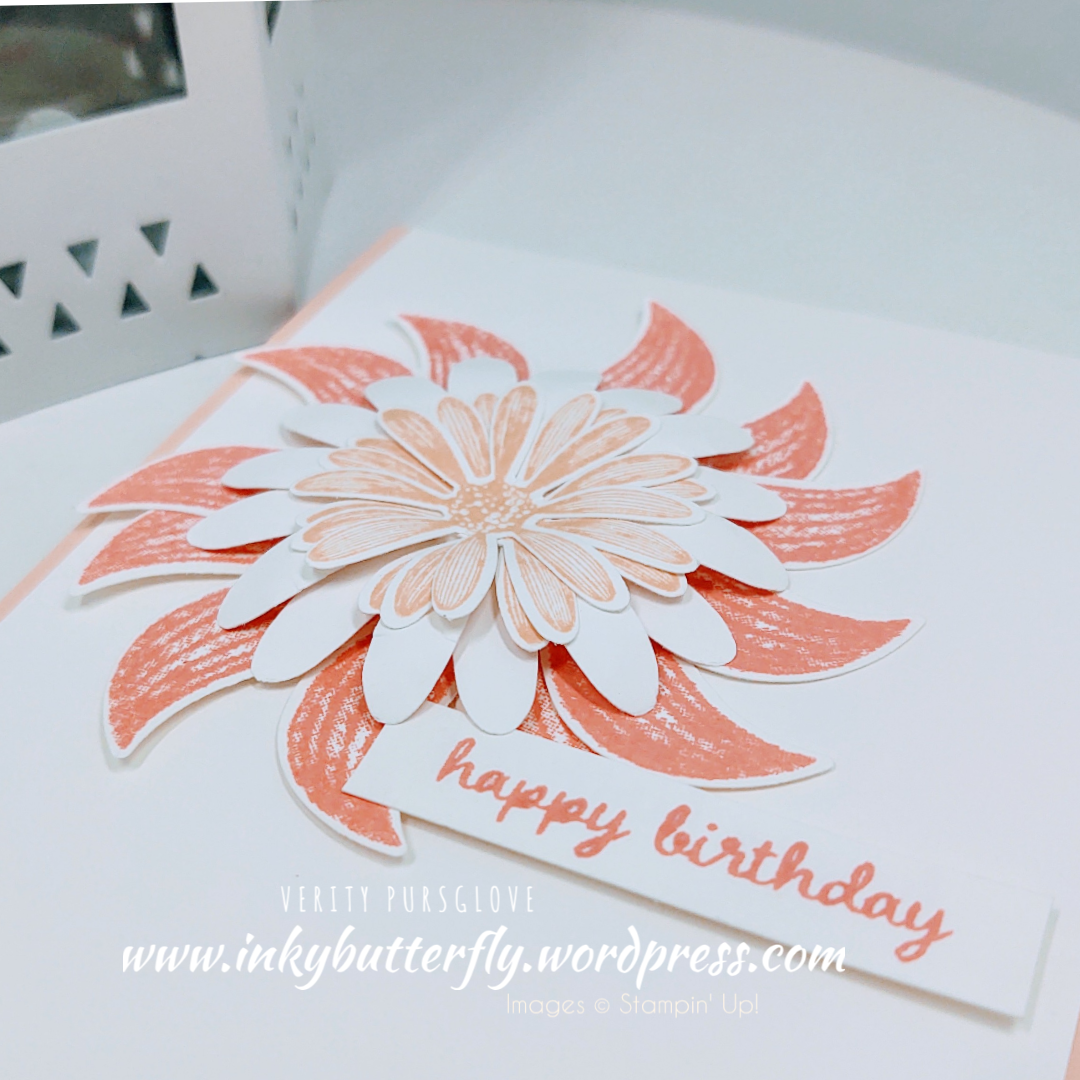
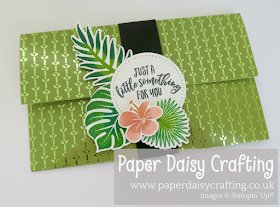
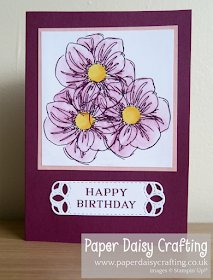
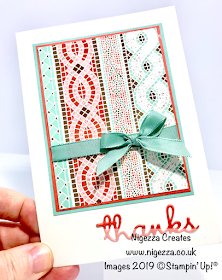
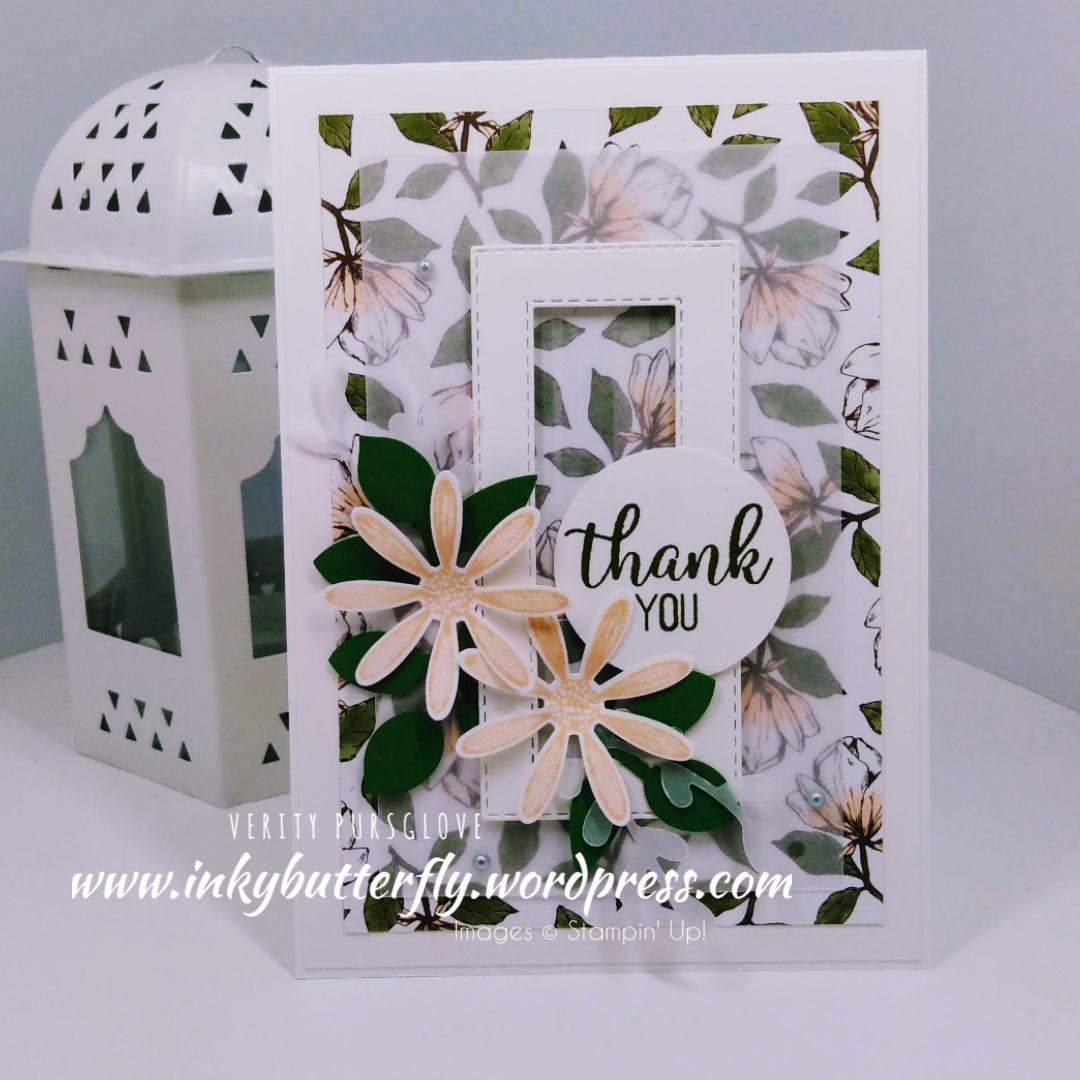
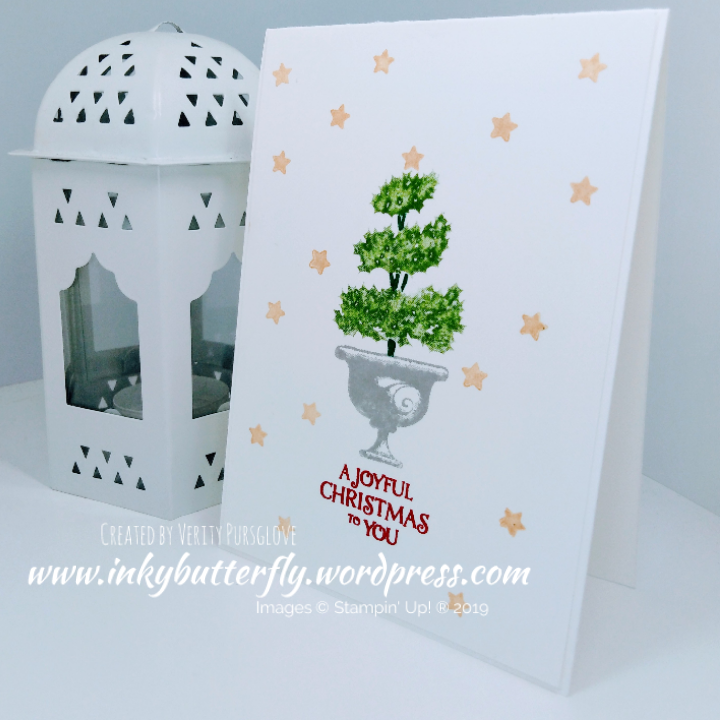
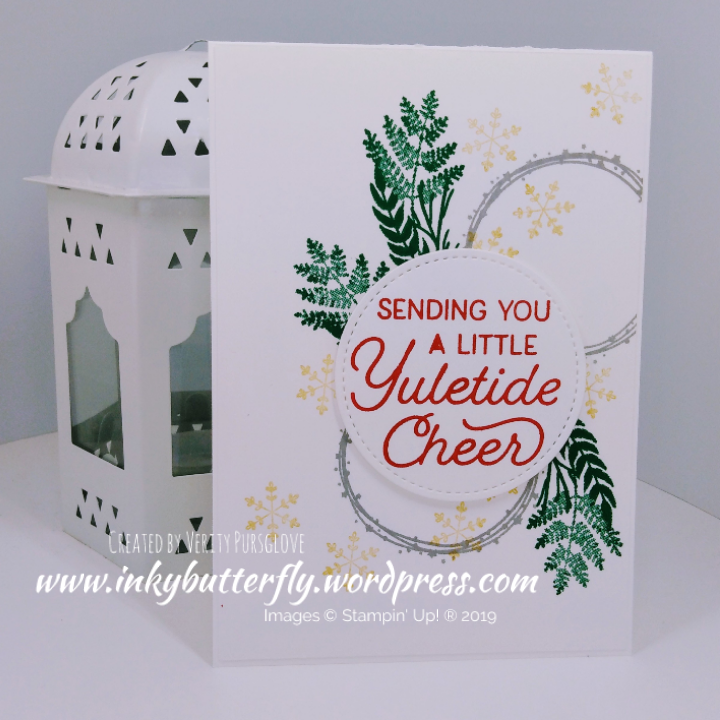
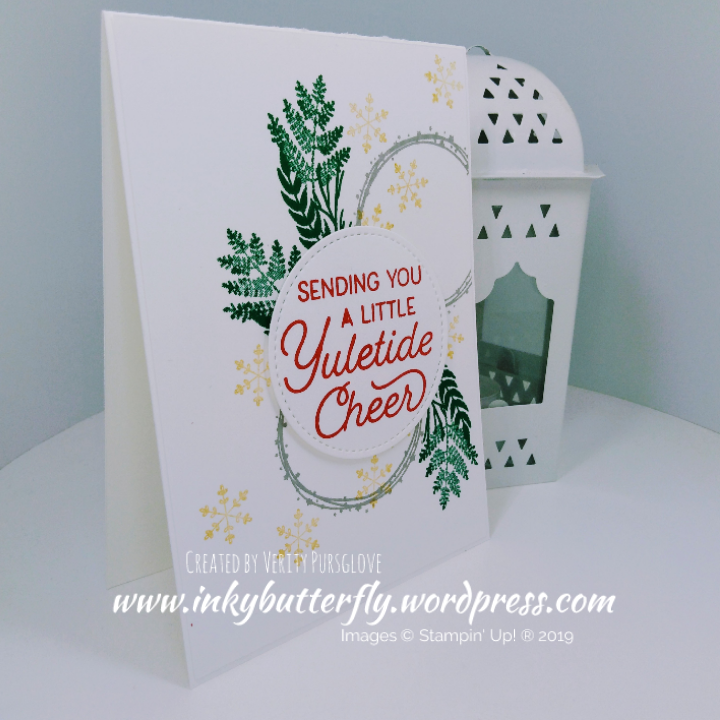
Here’s another card using the Parisian Blossoms Designer Series Paper. This time teamed with the Thoughtful Blooms Sale-a-bration stamp set and matching punch.

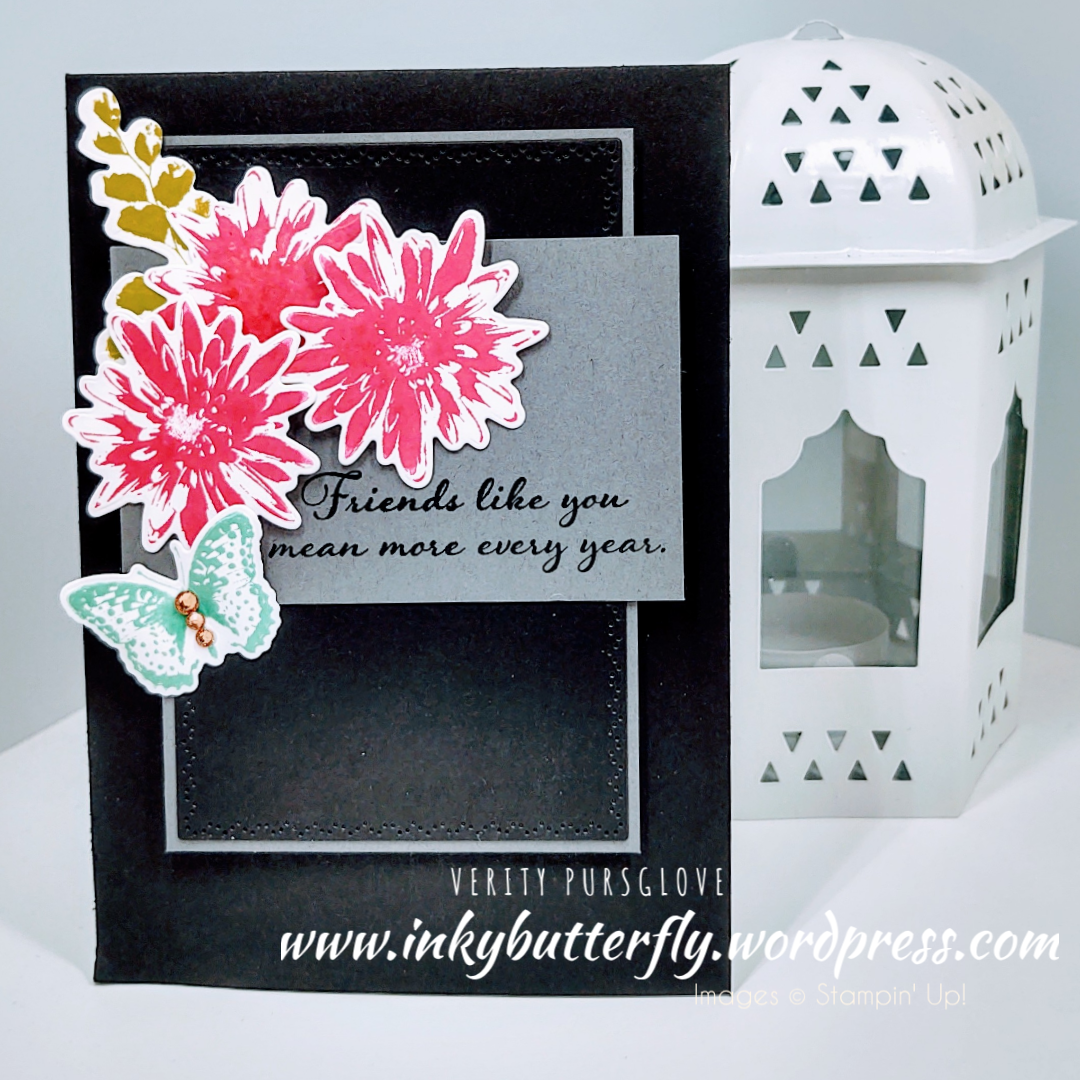
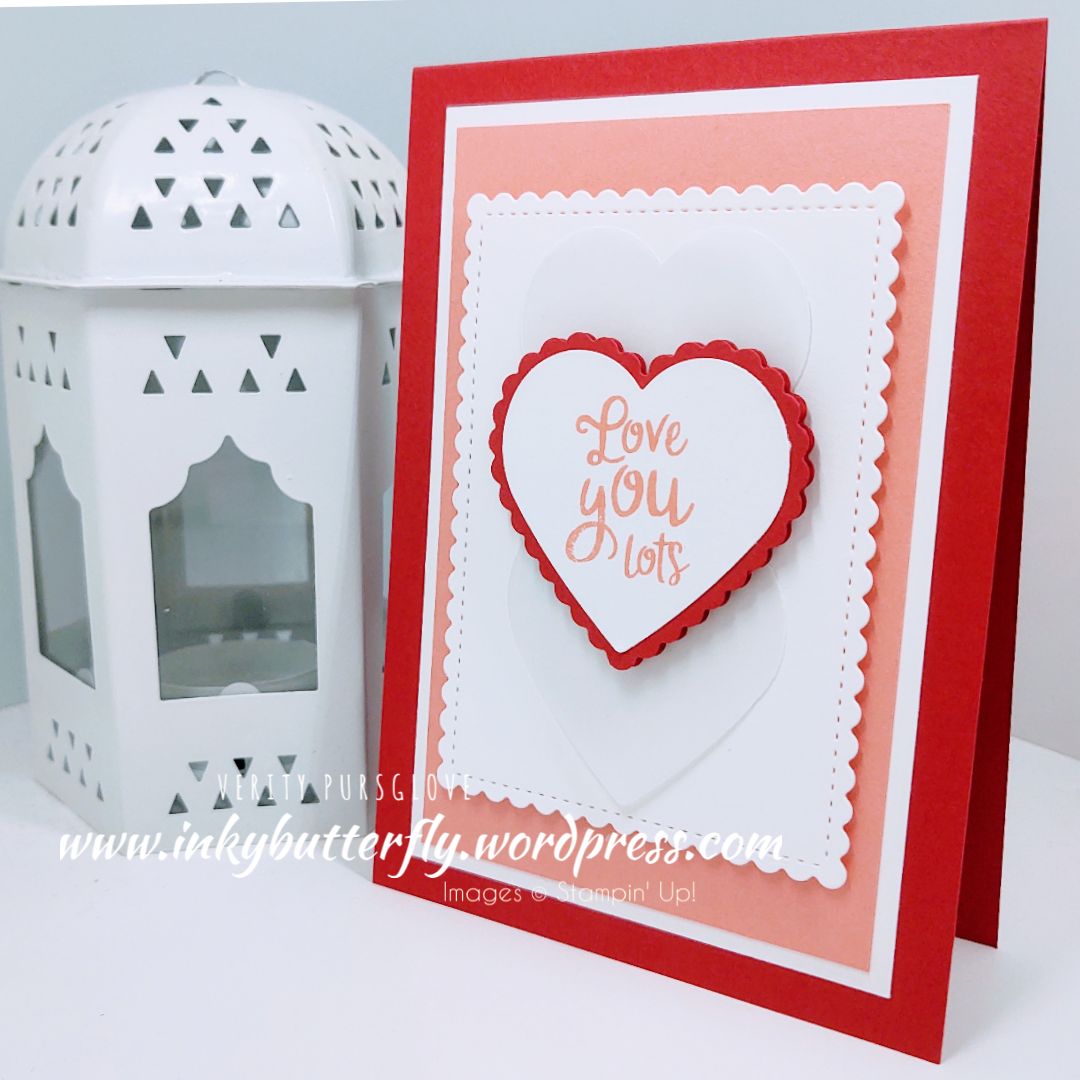
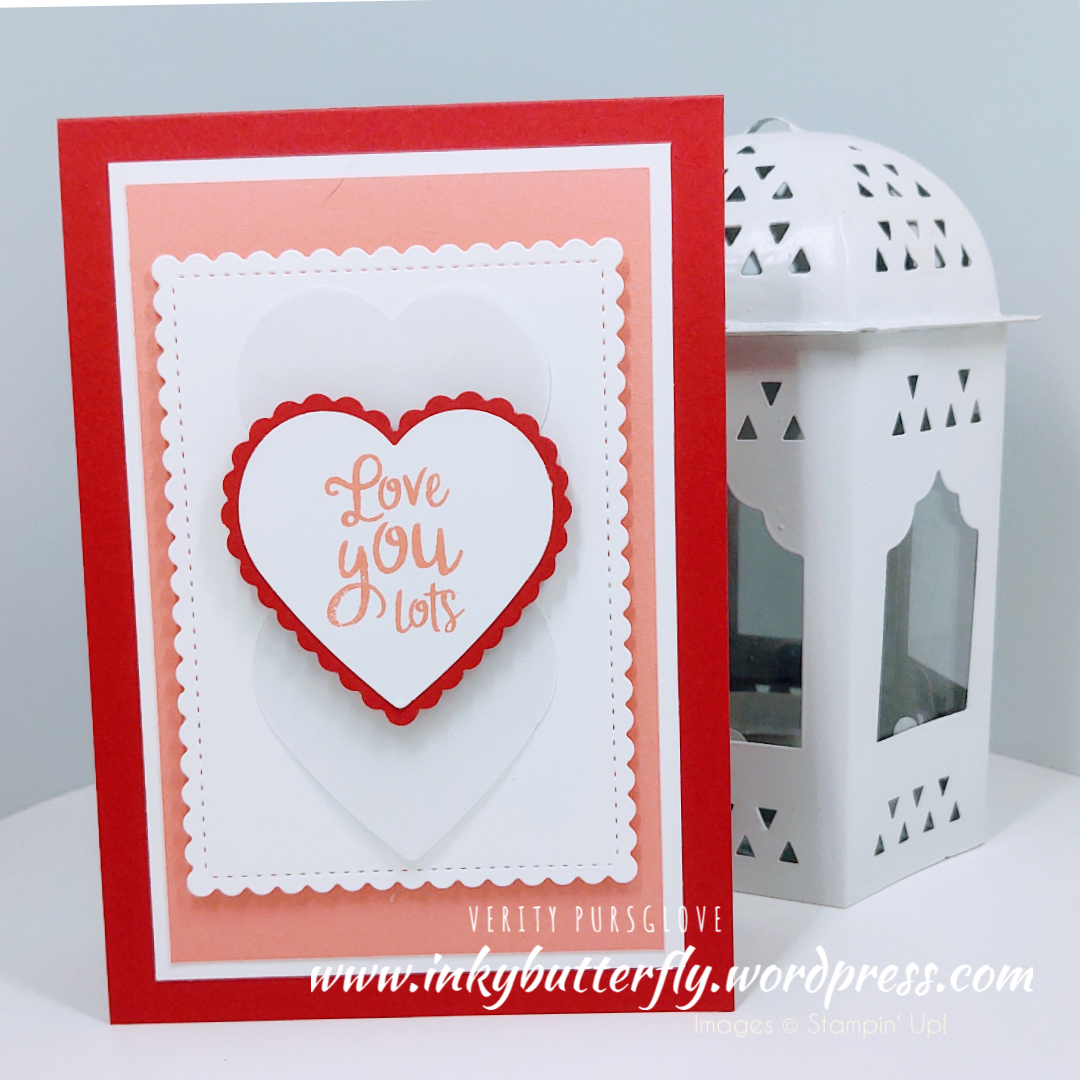
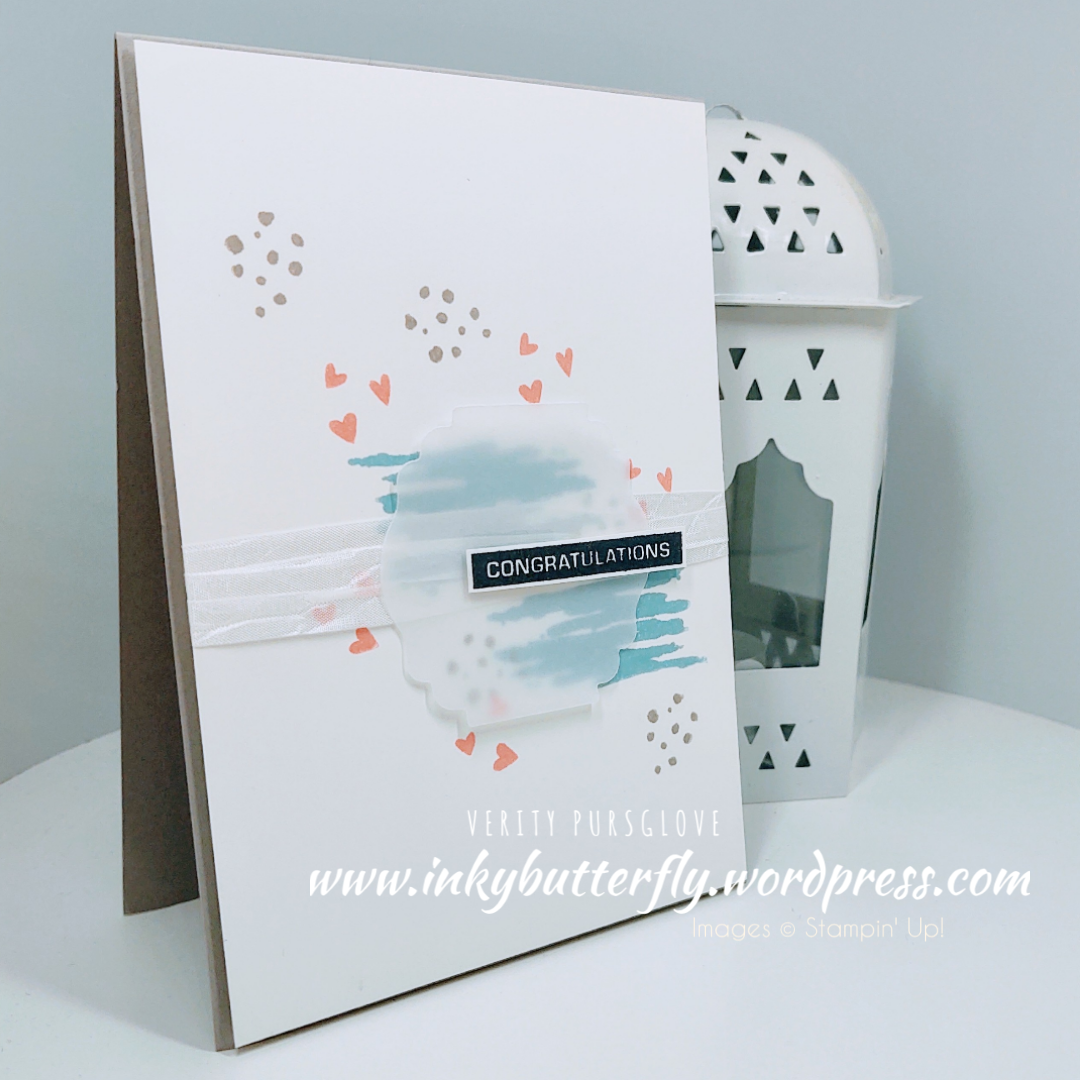
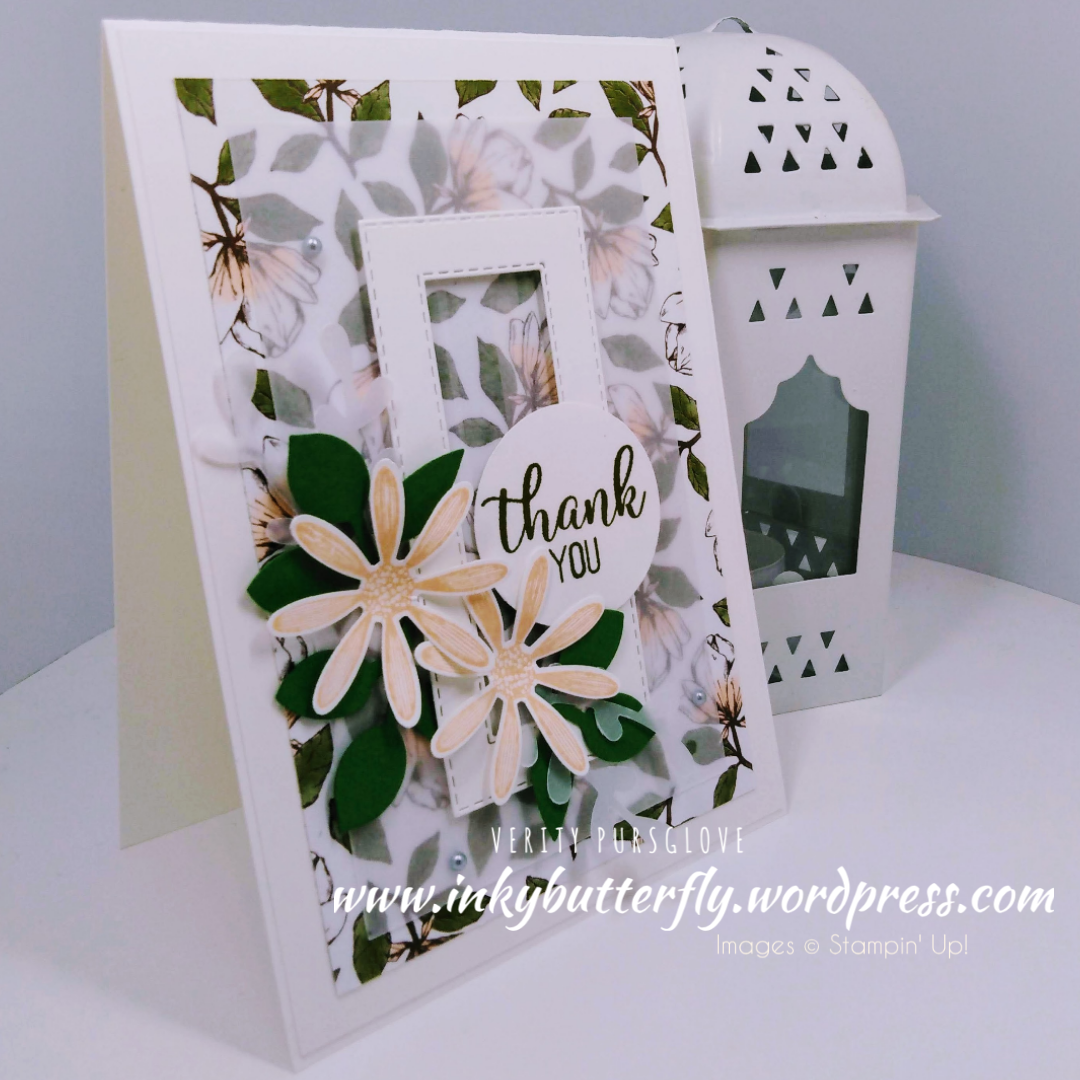
The topper is made simply, layering the paper with Cherry Cobbler card stock. This was added to a Petal Pink layer with dimensionals before adhering to a white card base.
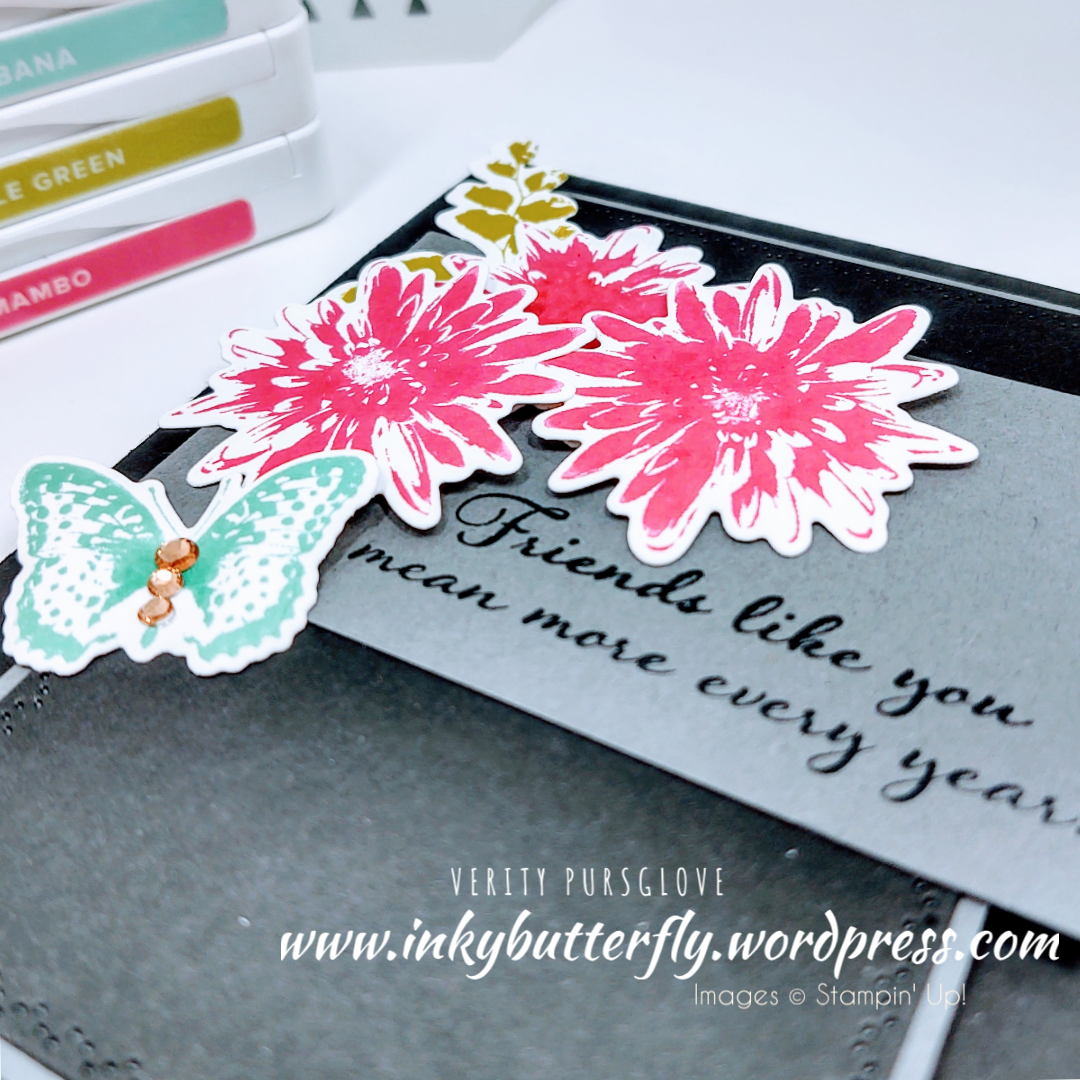
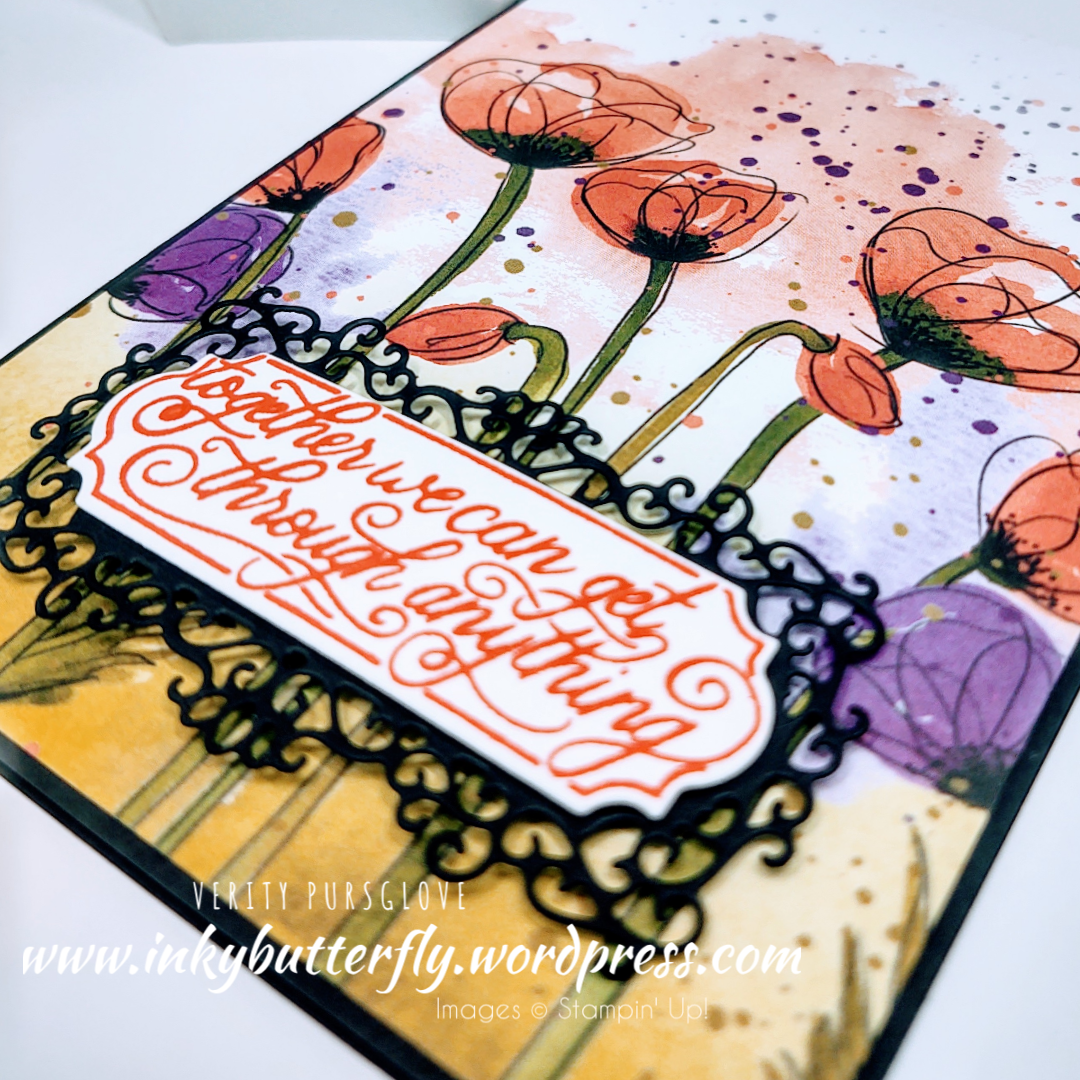
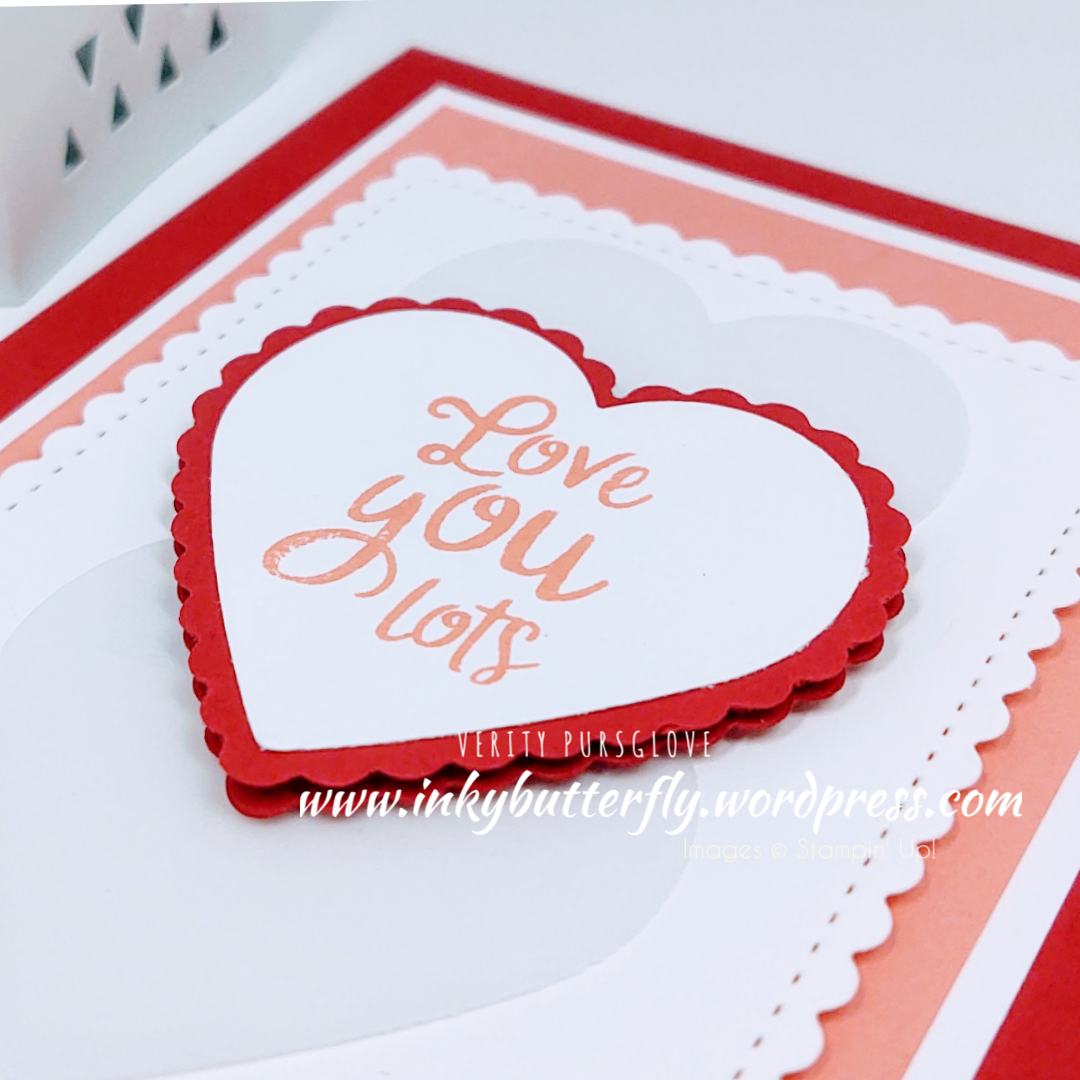
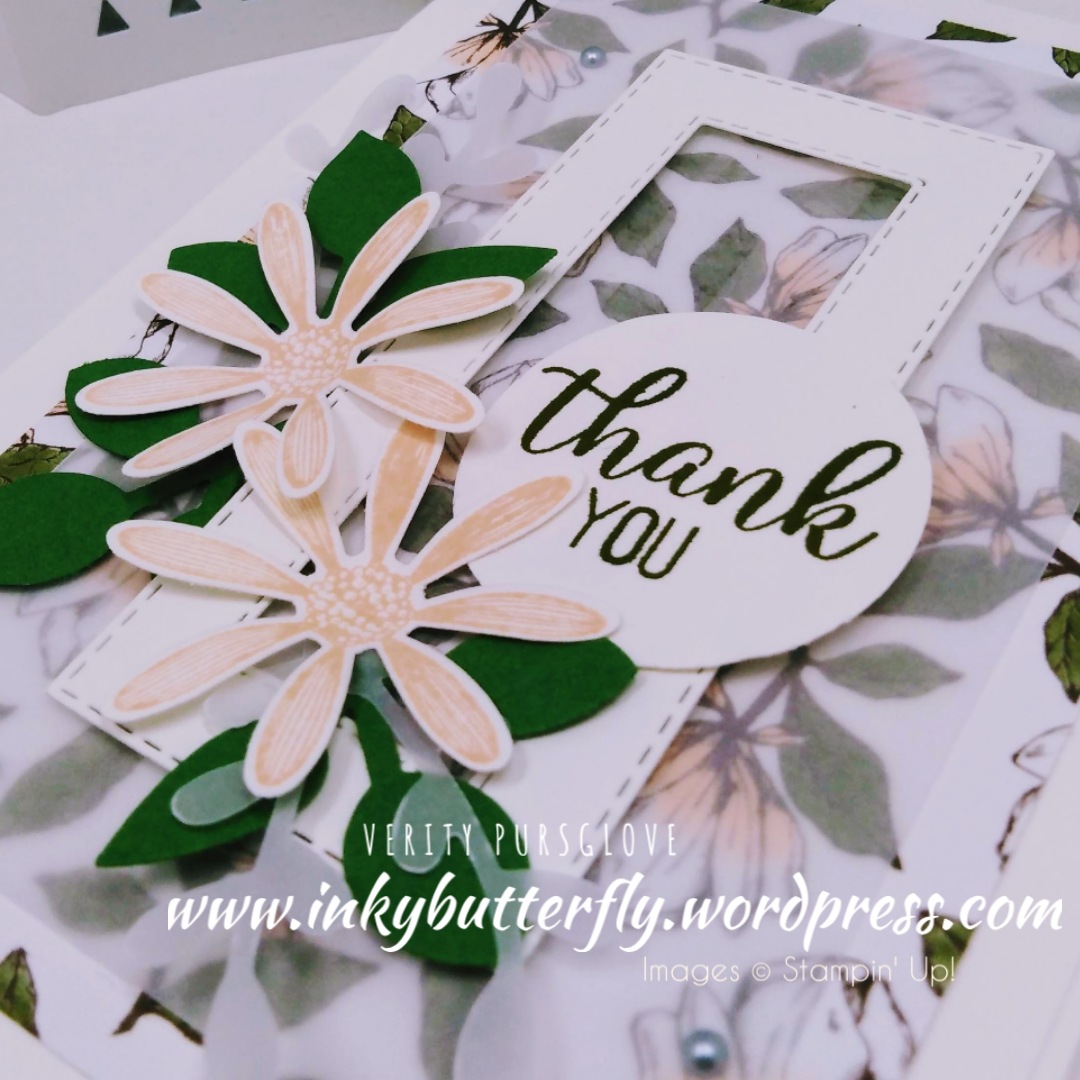
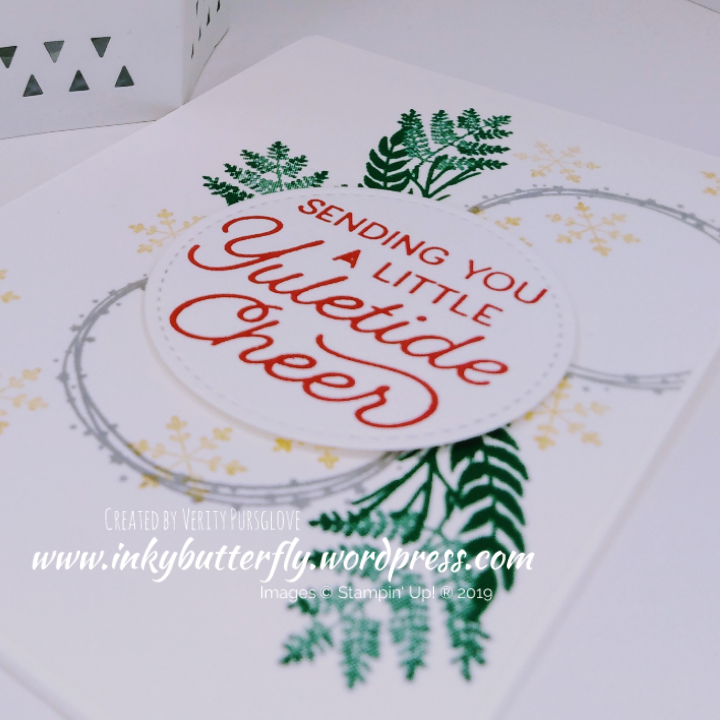
Cherry Cobbler ink was used to stamp the sentiment and blooms. Petal Pink ink was added to the flowers to coordinate with the DSP. The sentiment was die cut with the Stitched So Sweetly set and the blooms were punched out.
The elements were assembled on to the card front. Champagne rhinestones were added to the flowers to finish.

I hope you enjoyed this project. The supplies used are listed and linked to the online store below.
I would love to be your demonstrator.
Thanks for stopping by today and happy Stampin’!
Verity xx
Product List
 | ||
 |
")


")


")


")

")

")


")


")


")

")

")
")

")


