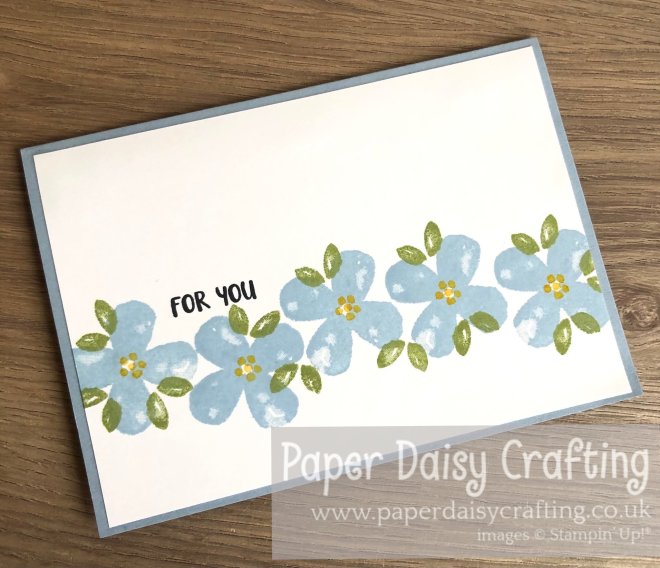
Wow, this is amazing value….. FREE! With a £90 order! This set coordinates perfectly with the Sweet Strawberry bundle in the January to June Mini Catalogue!
See how I made today’s card in my video tutorial….
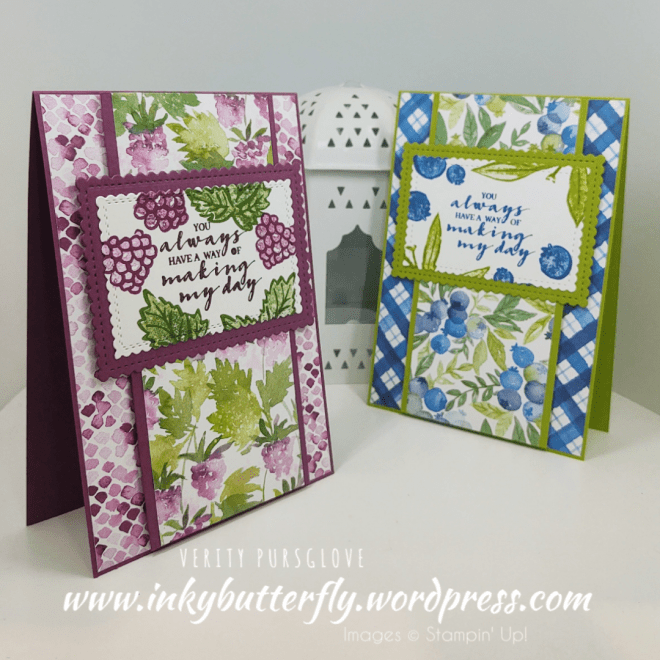
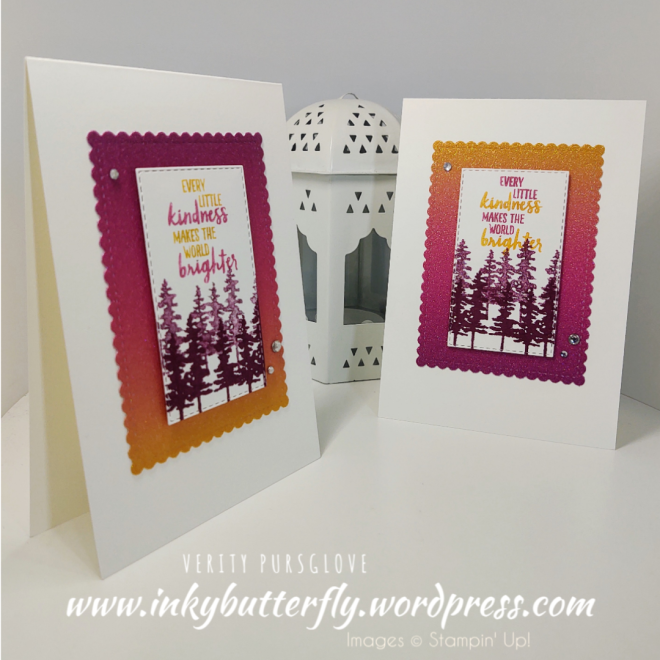
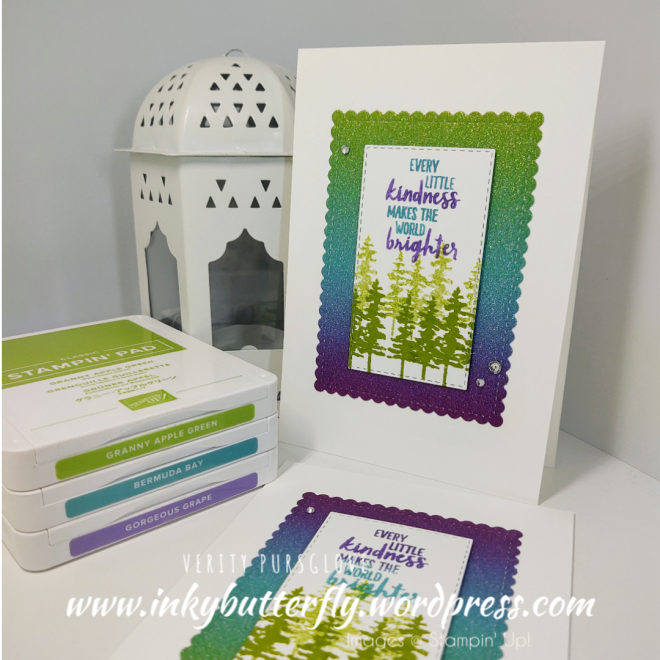
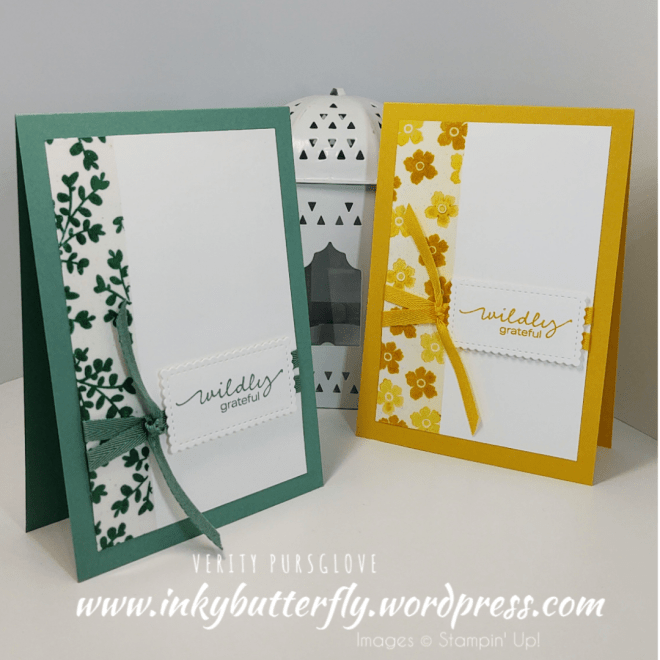
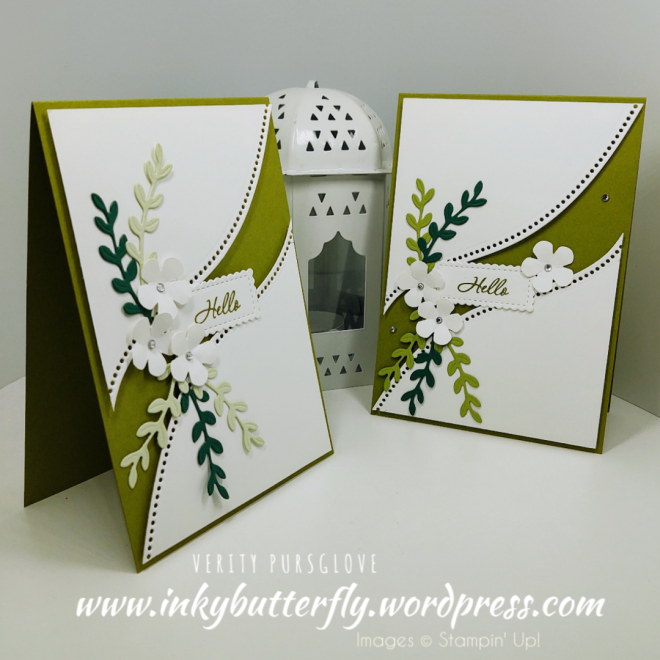
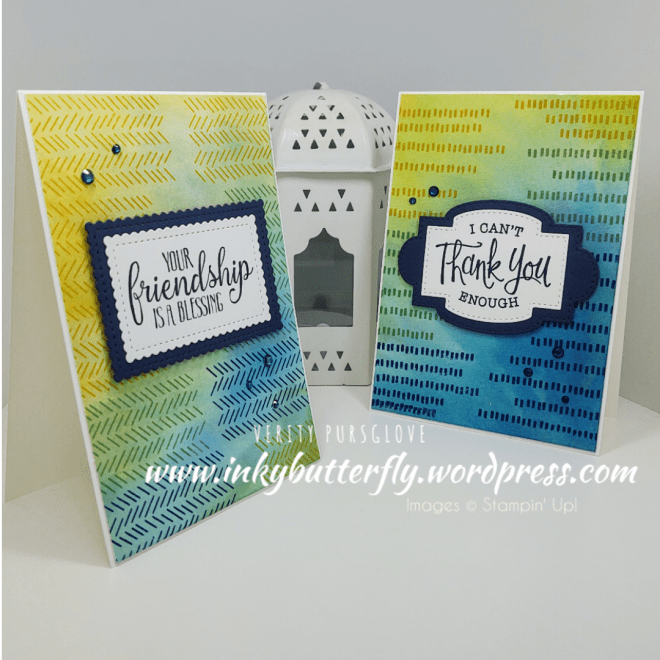
I know which is my favourite, which is yours?
I hope you enjoyed this project.
The supplies used are listed and linked to the online store below.
If your order is less than £150, use the Hostess Code W7ZJNXEV when placing your order to get an extra gift from me!
Welcome to this week’s Project Share. As always my friends have created some lovely work. Please use the links to visit their blogs and read more about their projects.
This week, everyone is busy using new stuff and free stuff! New mini catalogue and the Sale-a-bration event launched on Tuesday!
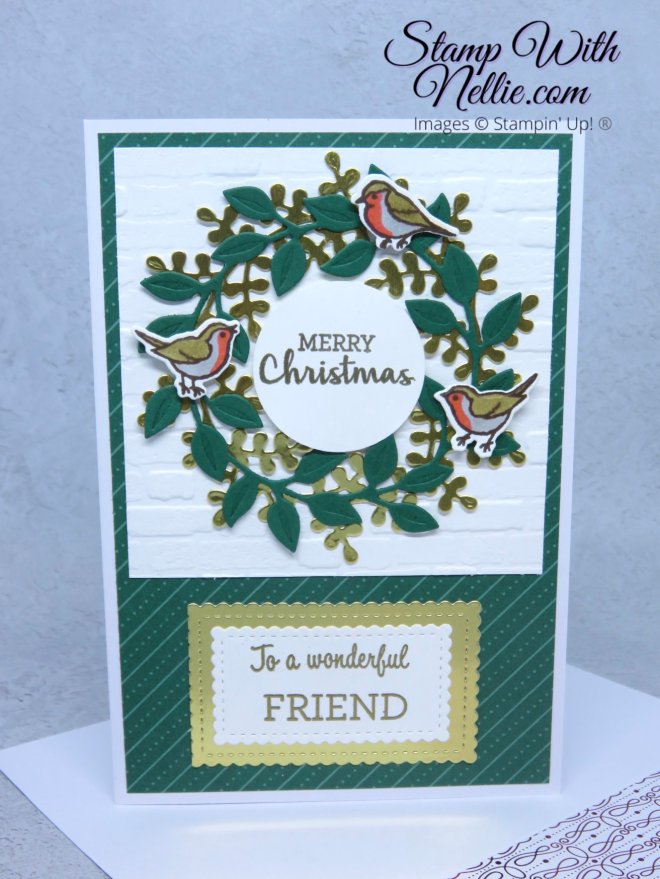
Jill’s beginner series continues with the wonderful new Pretty Perennials stamp set. Coordinating dies are available too for those wanting to step this up a level!
Welcome to this week’s Project Share. As always my friends have created some lovely work. Please use the links to visit their blogs and read more about their projects.
Jill’s card is super cute. There are lots of ways to change this to suit any occasion!
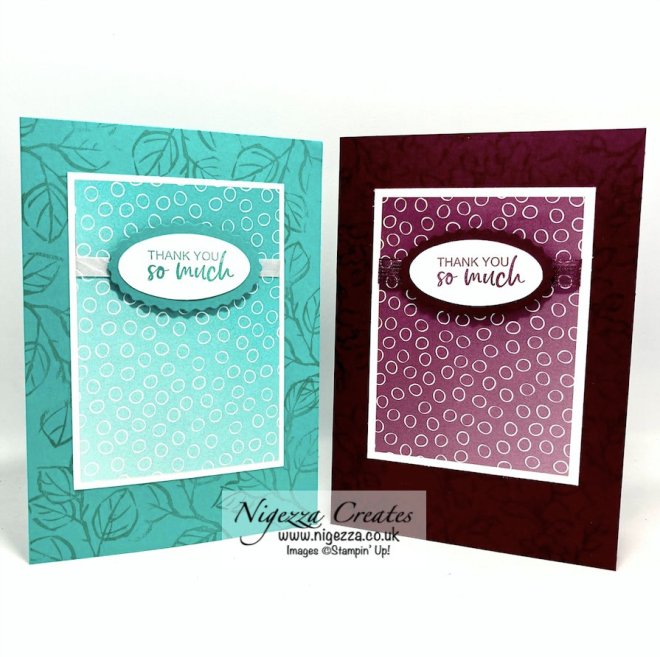
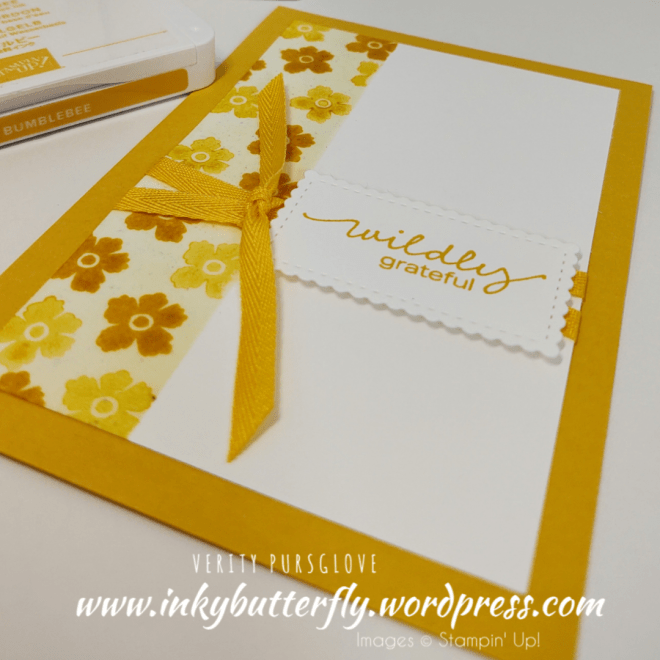
Let me ask you… Have you got Designer Series Paper in your stash that you just don’t like? I mean, I know it’s rare but maybe it’s just not your favourite colour.
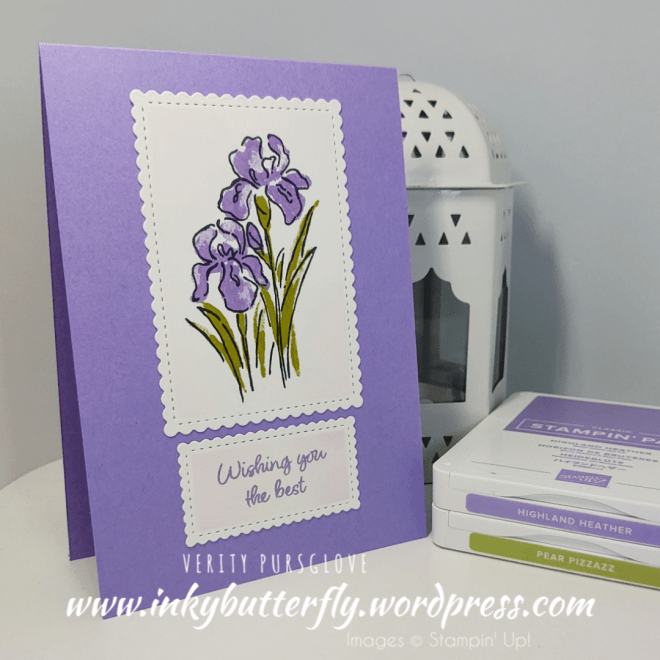
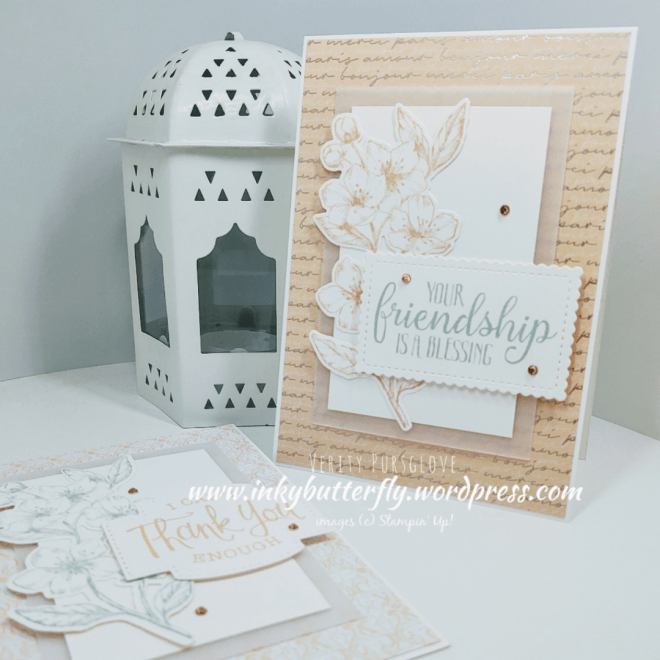
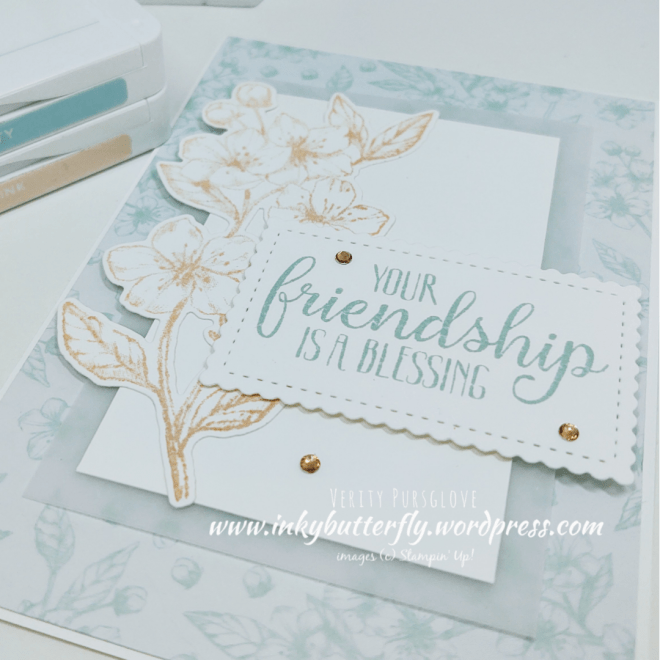
Have you considered stamping on it? Or even heat embossing it like I have today?
This simple modification has turned what could have been a very plain card in to something more interesting.
See the whole process in my video tutorial….
The Artistry Blooms sequins tone in to the colour of the paper beautifully.
Here are the original samples. The blue version used clear embossing powder, but I felt it didn’t have as much impact as the white.
I’d love to know if you give this a try!
I hope you enjoyed this project.
The supplies used are listed and linked to the online store below.
If your order is less than £150, use the Hostess Code FYP3NJFR when placing your order to get an extra gift from me!
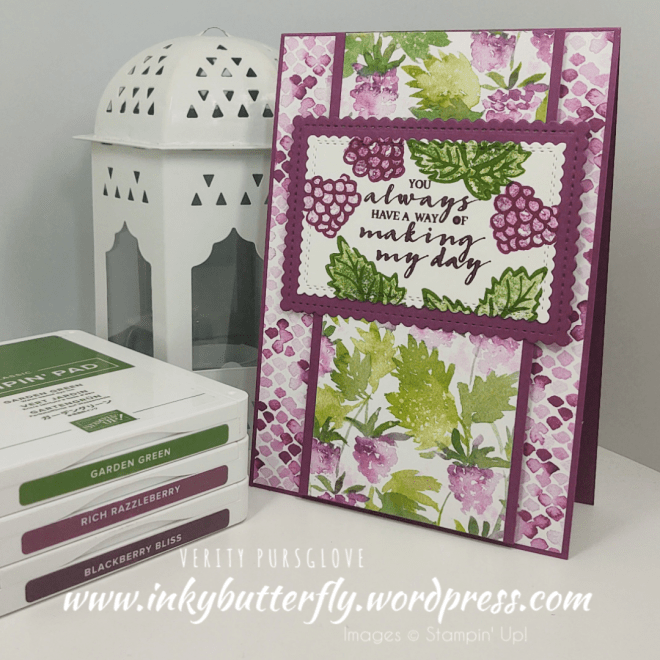
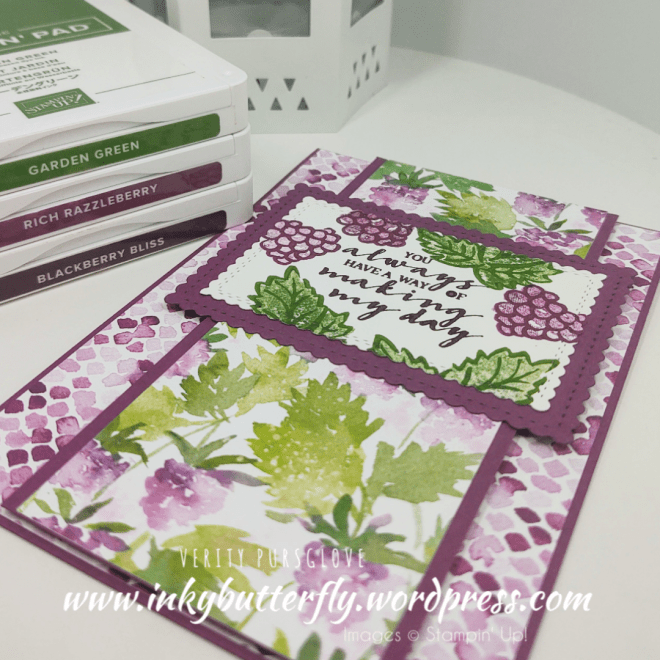
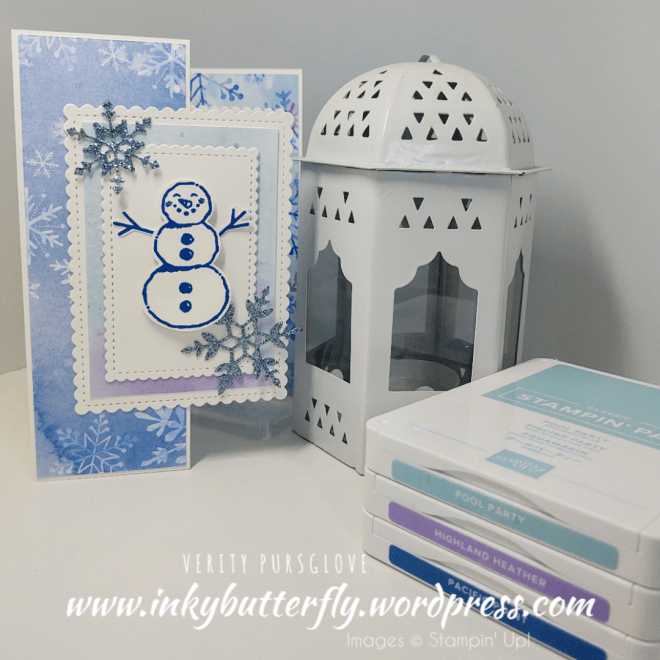
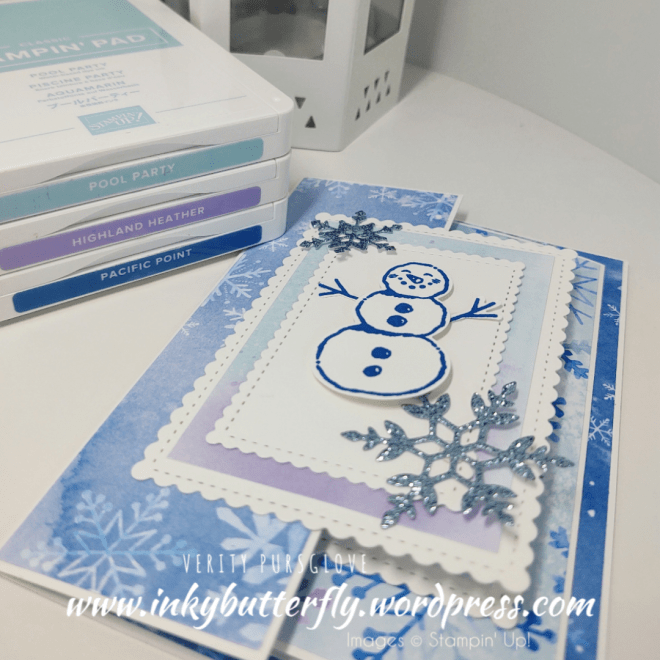
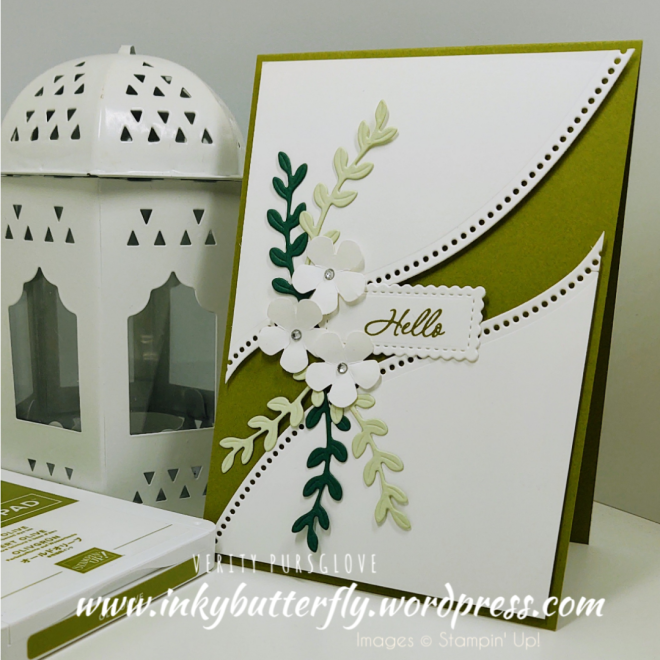
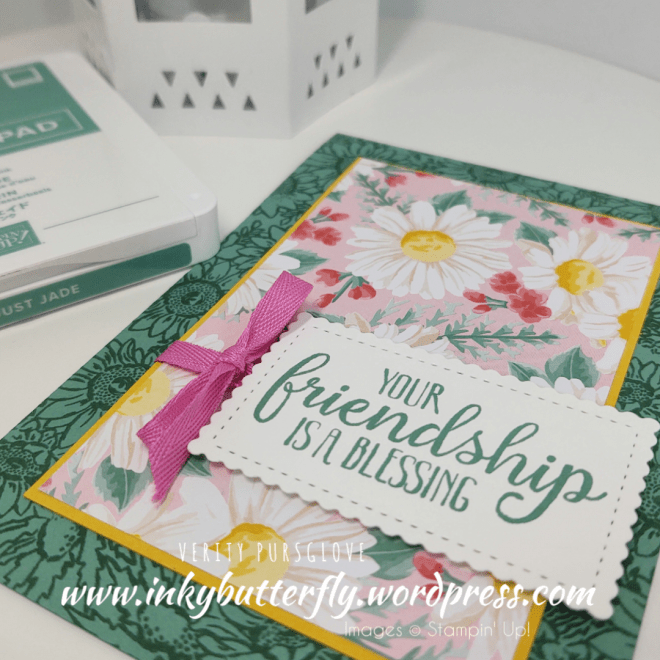
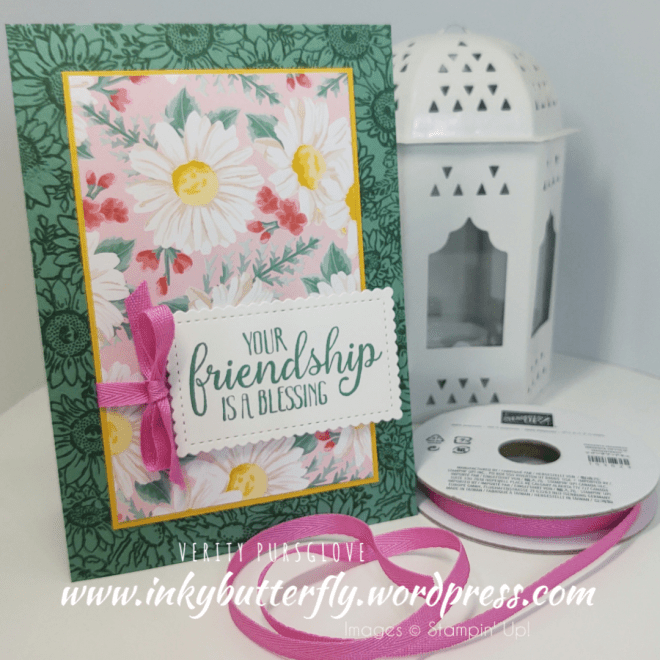
Designer Series Paper does most of the work in today’s project. With so many different designs there’s something to fit the bill.
The additional stamping on the card base is an optional extra, but adds some nice detail.
You can see how I made this card in my video tutorial….
The Magenta Madness ribbon adds a pop of colour and texture!
I hope you enjoyed this project.
The supplies used are listed and linked to the online store below.
If your order is less than £150, use the Hostess Code HS9XUAG2 when placing your order to get an extra gift from me!
I would love to be your demonstrator.
Don’t forget to check out the amazing joining offer running during September! Two free stamp sets, pre-cut cardstock and a pack of rhinestones will be added to your custom Starter Kit!
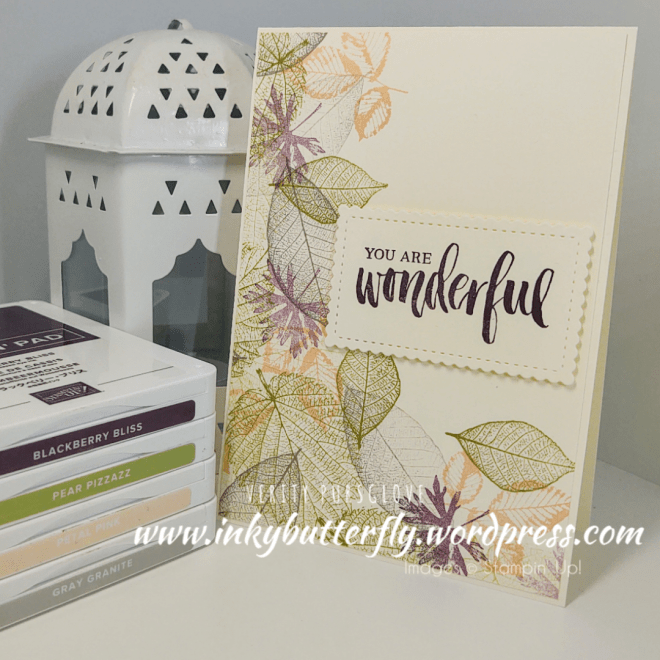
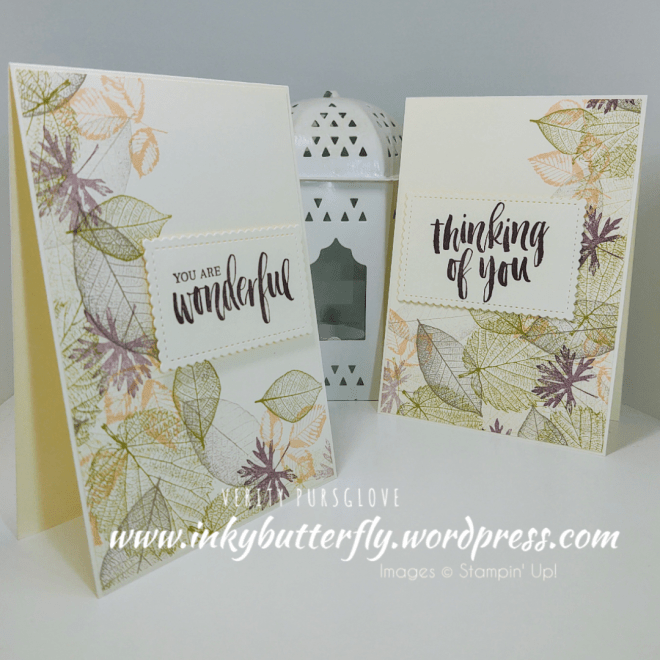
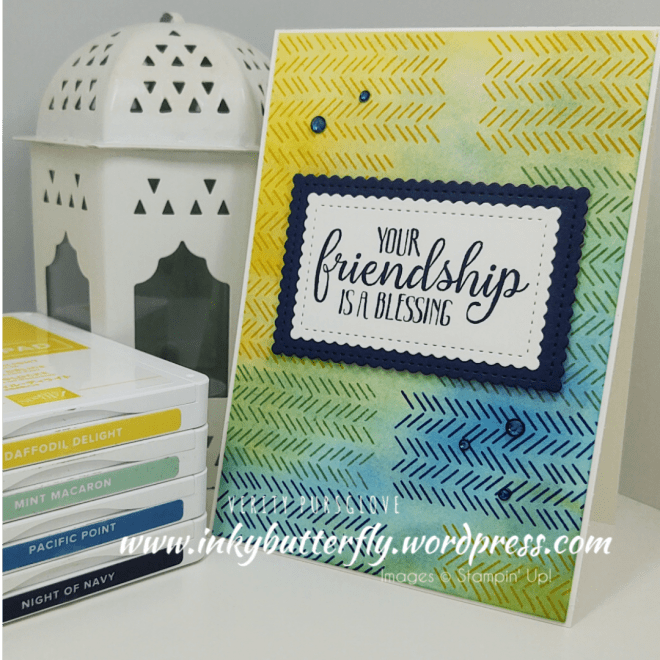
I made this card ages ago and completely forgot to share it!
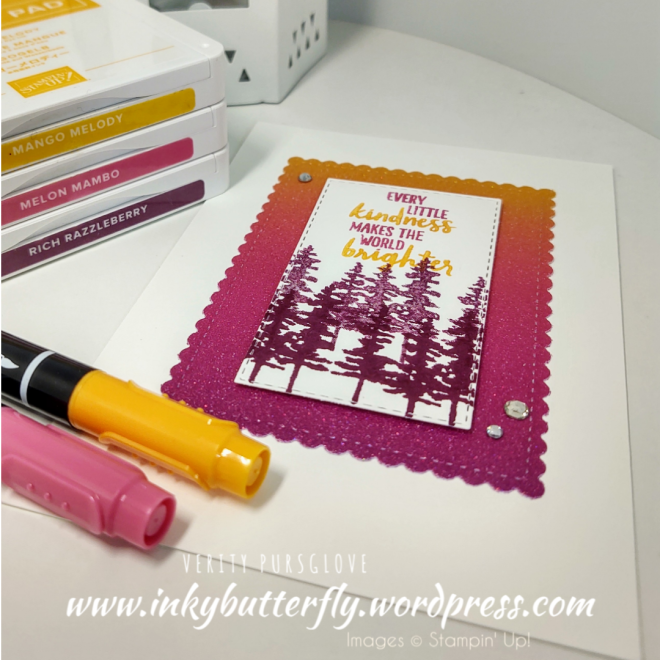
I have to different ink blending methods to create this project.
I also used the amazing Tropic Chic stamp set which is sadly retiring. To achieve the gradient colour on the leaves, I used the Stamparatus tool, inking and stamping each image twice.
Here is video showing how to create a blended background!
I hope you enjoyed this project. The supplies used are listed and linked to the online store below.
Welcome to this week’s Project Share. As always my friends have created some lovely work. Please use the links to visit their blogs and read more about their projects.
Jill is sharing another layout using her one sheet wonder, combining dies and punches
Today is the final day of my doubling up week, I hope you have liked what I have sharing with you.
For this post I am using the same colour combo with two different stamp sets!
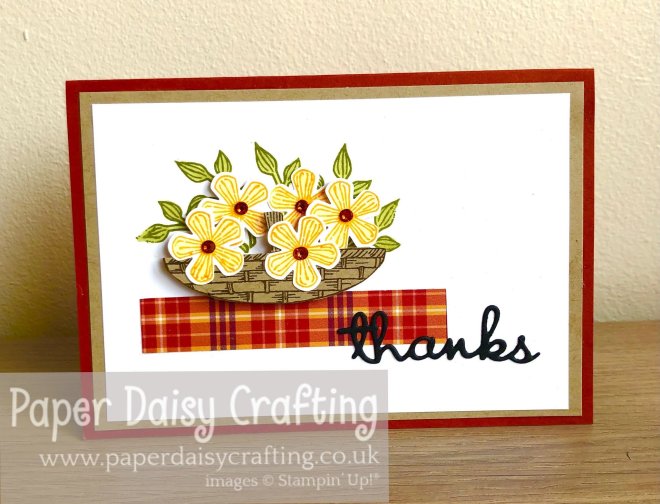
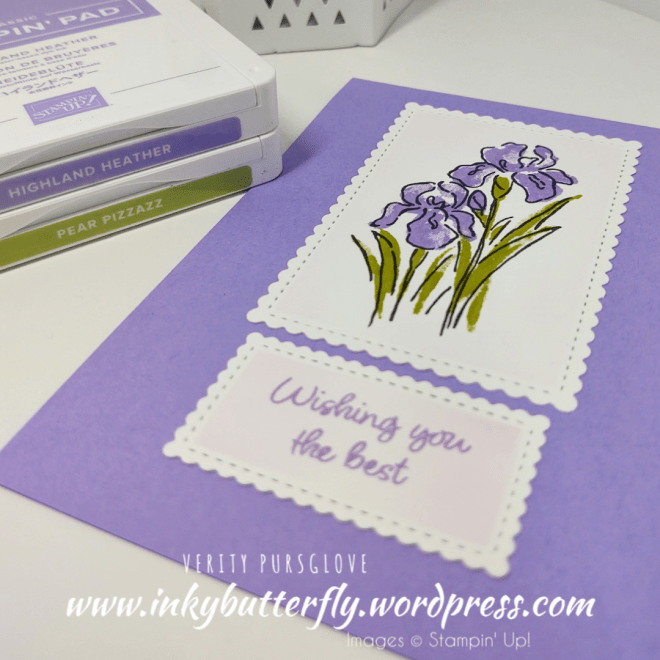
The first uses Beautiful Bouquet and the coordinating dies.
I started with a Grapefruit Grove card base and added layers of Pear Pizzazz and Whisper White card stock.
Flowers and leaves were stamped and die cut ready to add to the card. The sentiment was stamped with Soft Suede ink and die cut using the Stitched So Sweetly die set.
The elements were adhered to the card with dimensionals and a small bow was added.
My second card uses the same colours, but uses the Colourful Seasons stamp set instead. I do use the coordinating dies too but these are no longer available.
See how I created this card as it happened in the video below:
I hope you enjoyed this project. The supplies used are listed and linked to the online store below.
This week I’m doubling up! Two cards each day with the same or similar products!
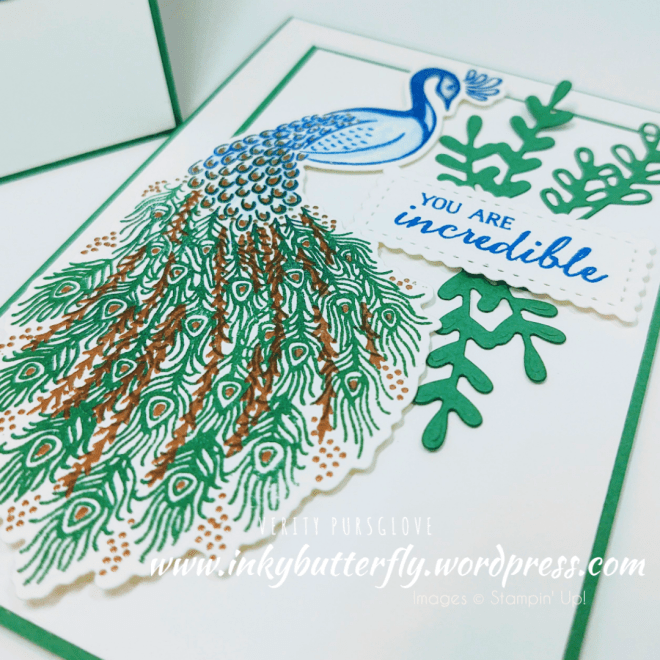
Today, it’s the Royal Peacock stamp set and matching dies with Call Me Clover and Blueberry Bushel retiring In Colours.
For the first card, the peacock was stamped with the assistance of the Stamparatus, first with Blueberry Bushel for the head and body and Call Me Clover for the tail.
The details were heat embossed with copper powder, (also retiring), and then die cut.
Some additional feathers were die cut to embellish the sentiment. This was stamped with Blueberry Bushel ink and cut with the Stitched So Sweetly dies.
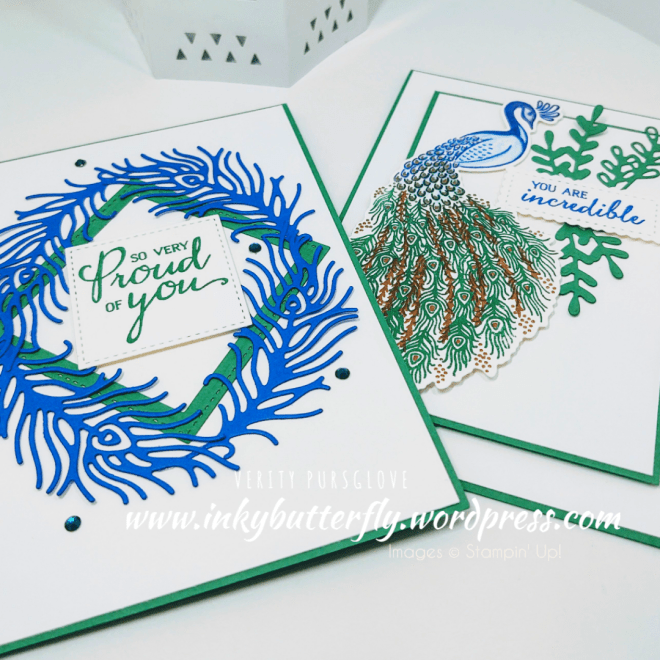
The second card is completely different!
Four large feathers were die cut from Blueberry Bushel card stock and adhered together to form an oval-ish shape.
Stitched Square dies were used to cut the green frame and the stamped sentiment.
A few rhinestones added some extra interest to the background.
I hope you enjoyed this project. The supplies used are listed and linked to the online store below.
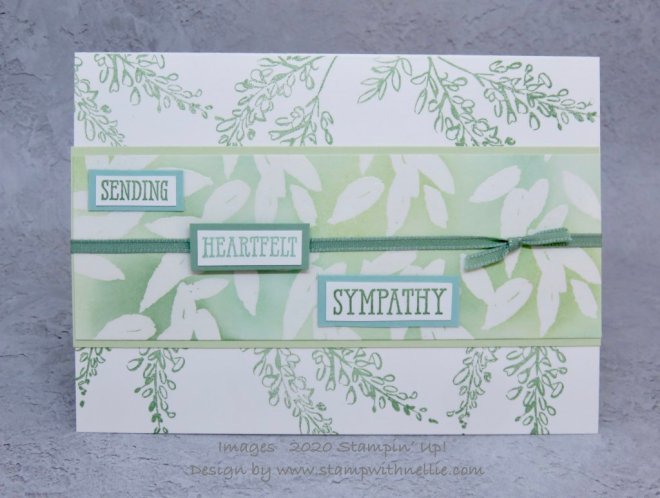
It is a sad reality that not all the cards we make and send are for happy events. There is comfort however, that even at these sad times, a beautiful handmade card can be created.
I used a simple layout, starting by stamping a Whisper White card panel with an image from the Verdant Garden stamp set and Smoky Slate ink.
The panel was layered with Basic Grey card stock and some Polka Dot Tulle was wrapped around the middle. This was adhered to a white card base with dimensionals.
The sentiment is from the Peaceful Moments set and was stamped with Smoky Slate ink. This was then die cut and also added to the card with dimensionals.
I hope you enjoyed this project. The supplies used are listed and linked to the online store below.
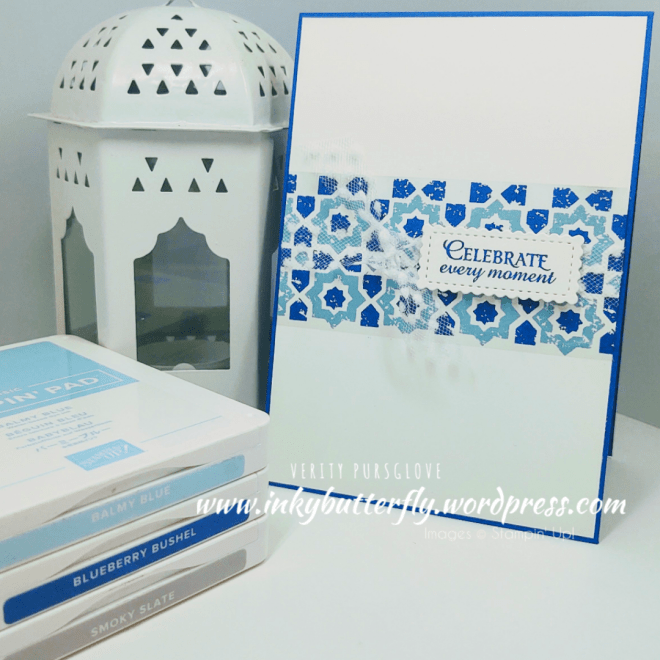
Photopolymer stamp sets are so easy to use, especially when lining up images like this.
Here I have used the Verdant Garden stamp set to create this tile effect.
Again, j am using up some remaining Blueberry Bushel card stock for the card base.
Balmy Blue ink was used first, stamping the image across a white layer. Blueberry Bushel ink was used fill in the gaps with the compliment image from the set.
Polka Dot Tulle, (not retiring!), was added around the layer before adhering it to the card base.
The sentiment was taken from the Honey Bee stamp set and cut with the smallest Stitched So Sweetly die, (also staying!).
I hope you enjoyed this project.
The supplies used are listed and linked to the online store below.

")


")

")


")


")
")

")


")


")


")


")


")


")