Hello Everyone,
Welcome to my blog. Every other Monday I share my project that I have used as my entry for the Inspire.Create challenge.
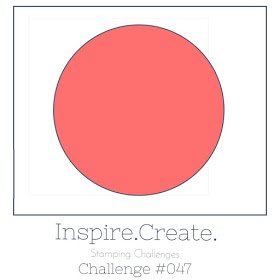
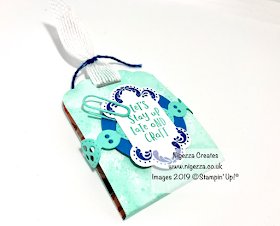
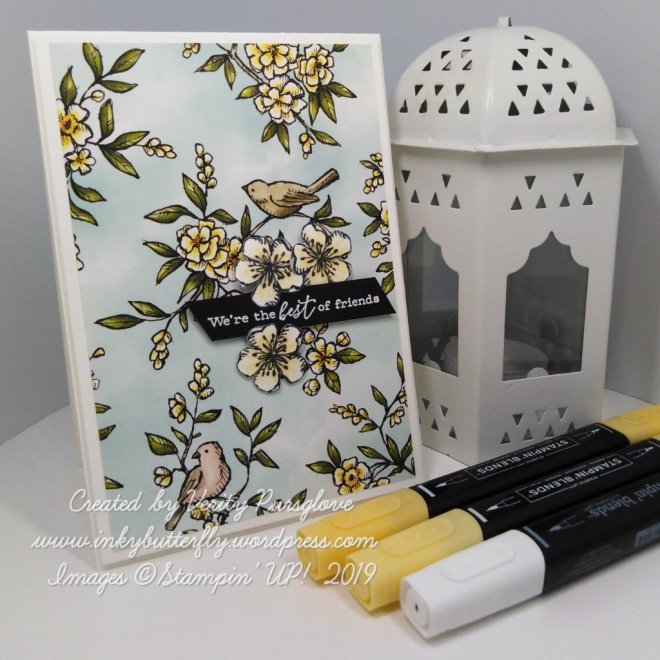
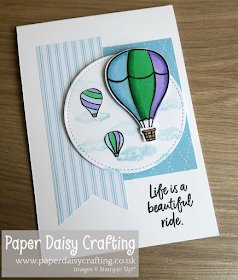
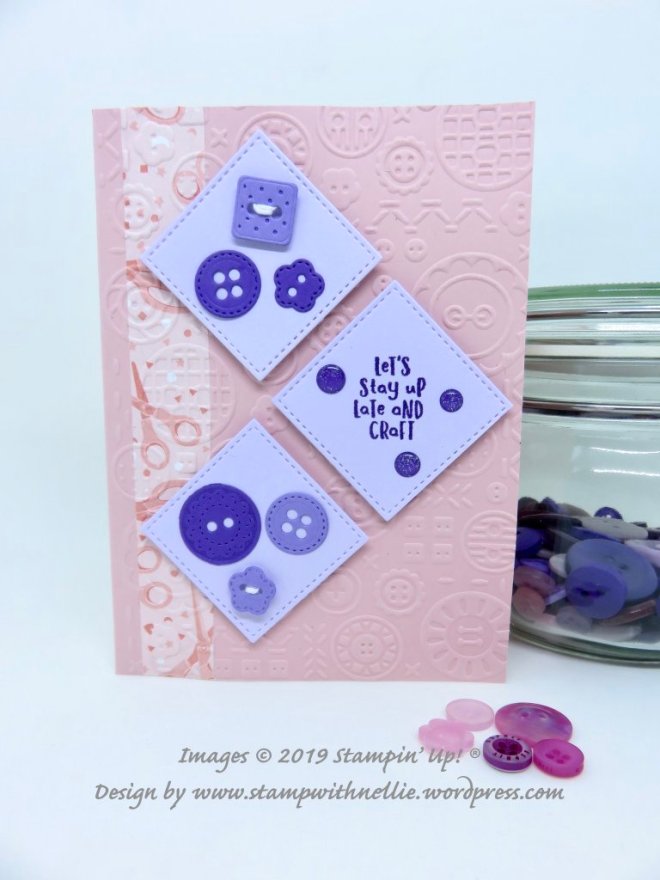
This time it’s a theme challenge. The design team have made some wonderful samples as inspiration. You can see them here.
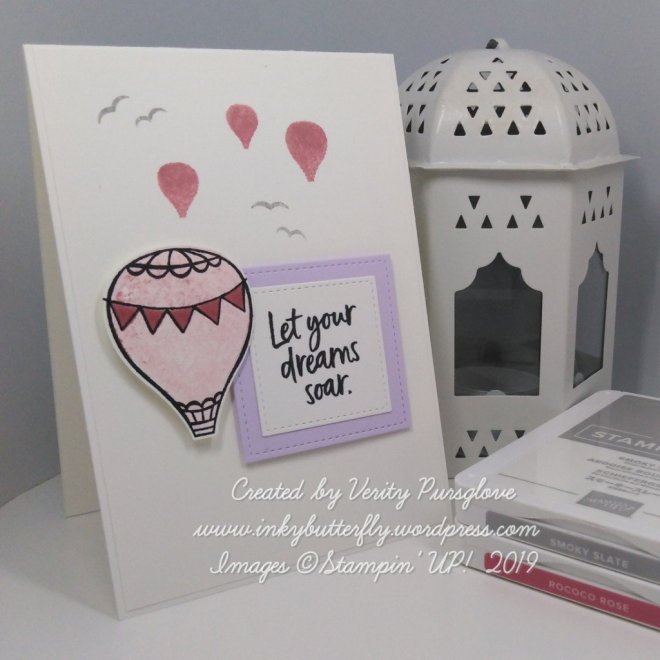
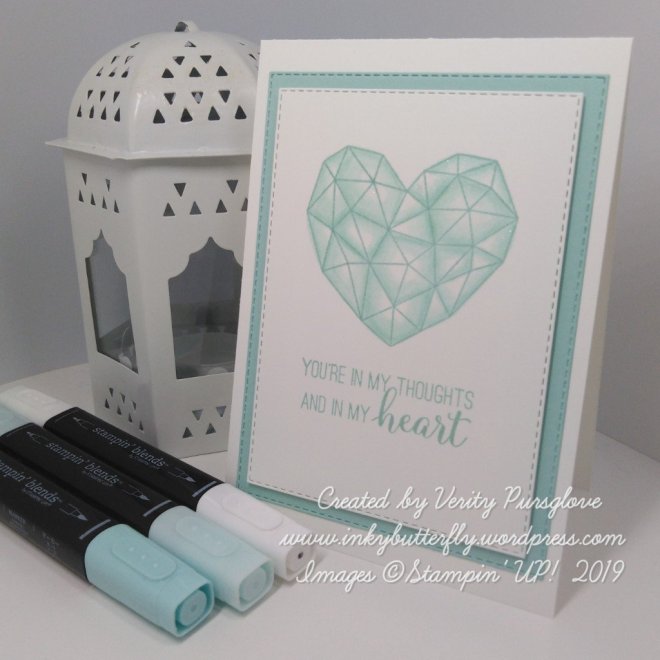
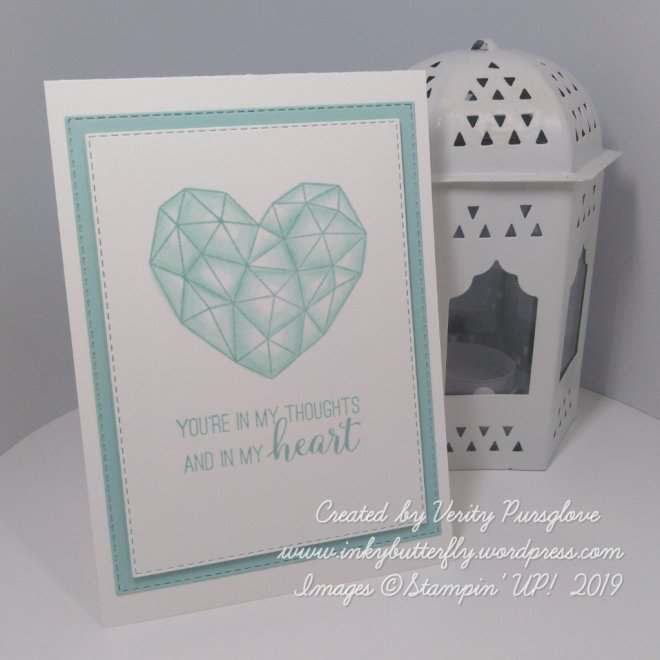
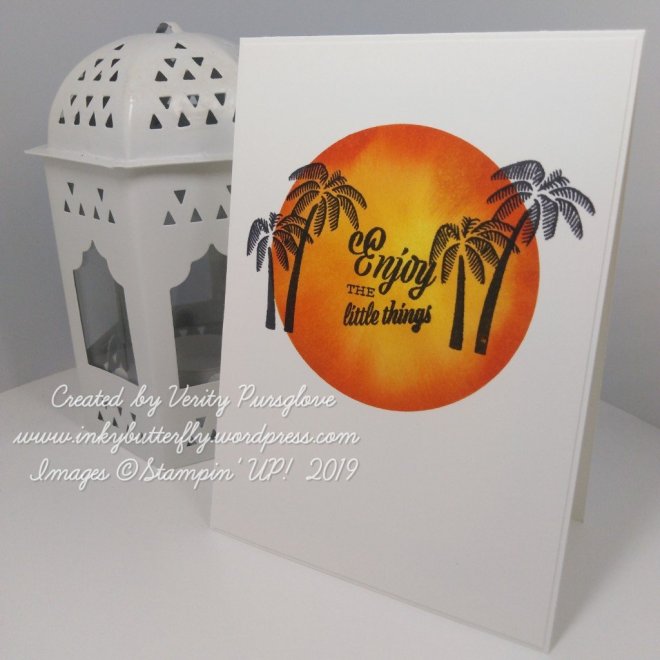
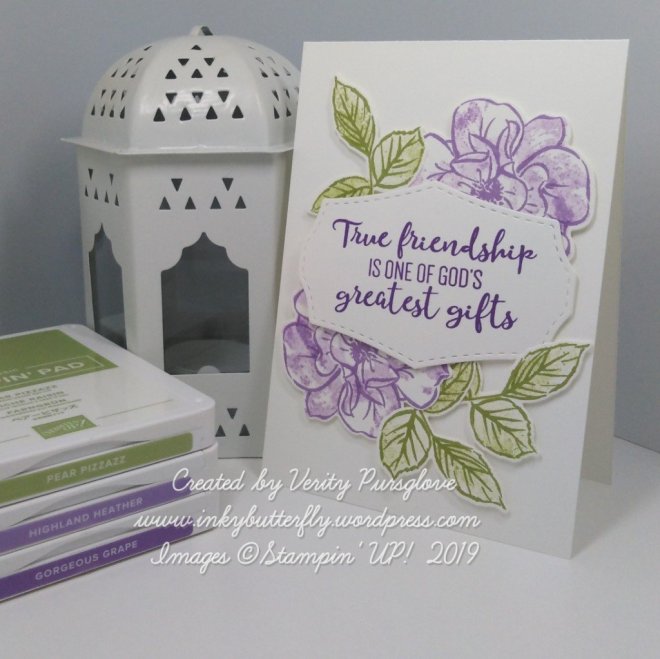
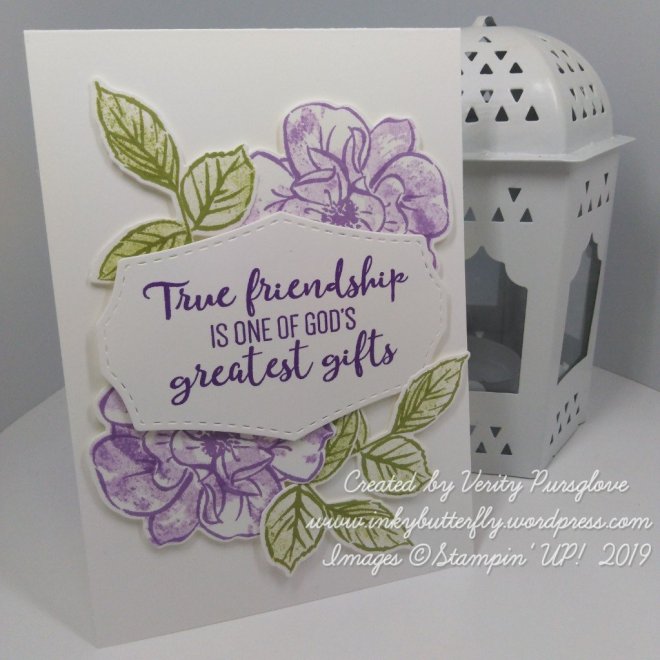
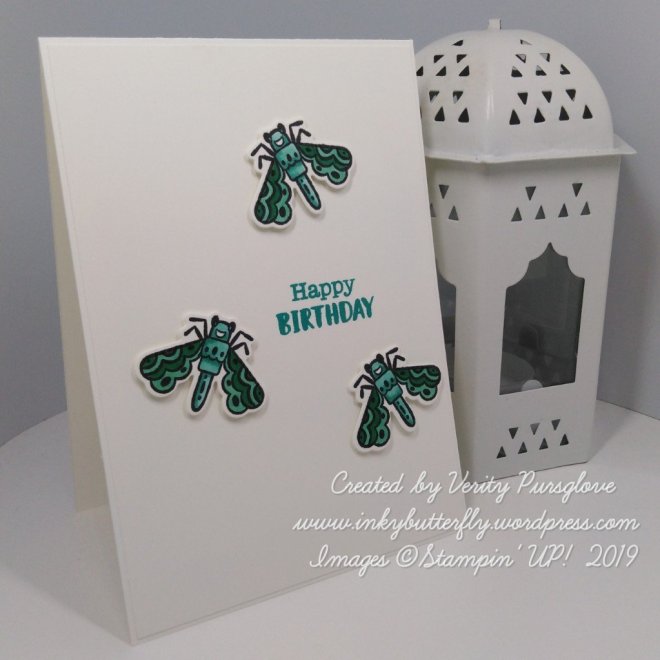
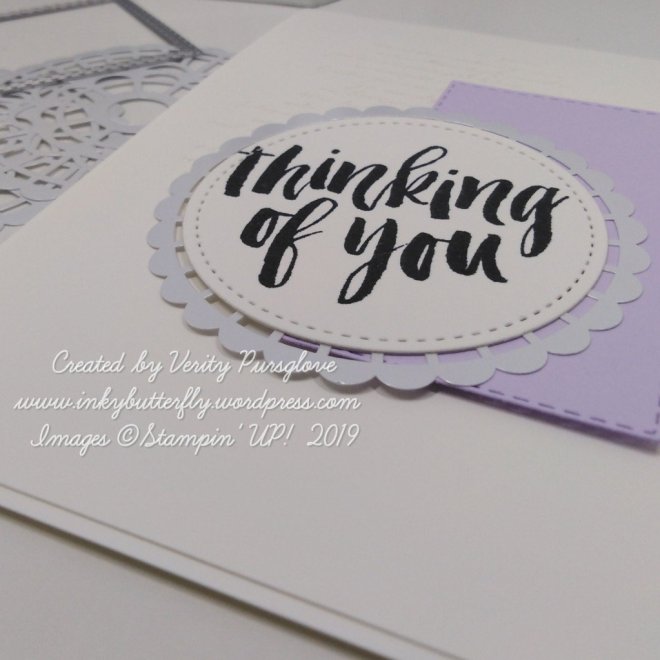
And this is what I created!
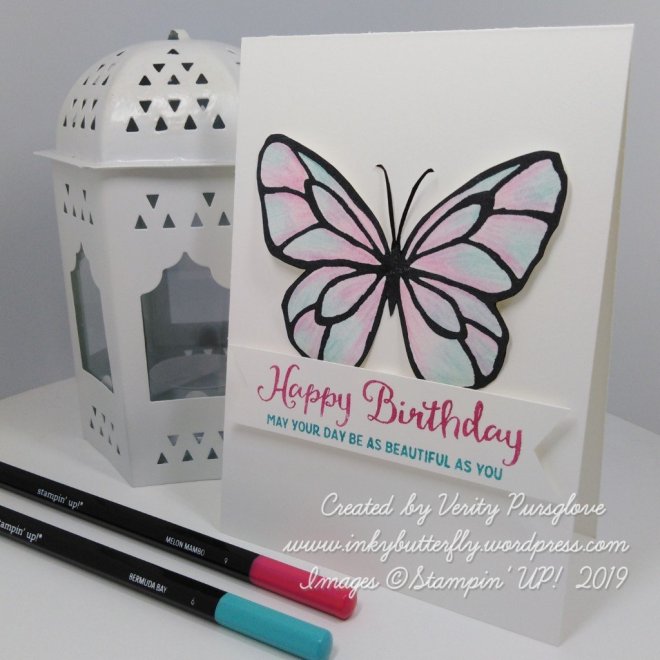
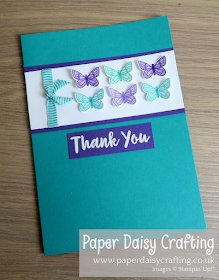
I have used the Beautiful Day stamp set for a simple feminine card.
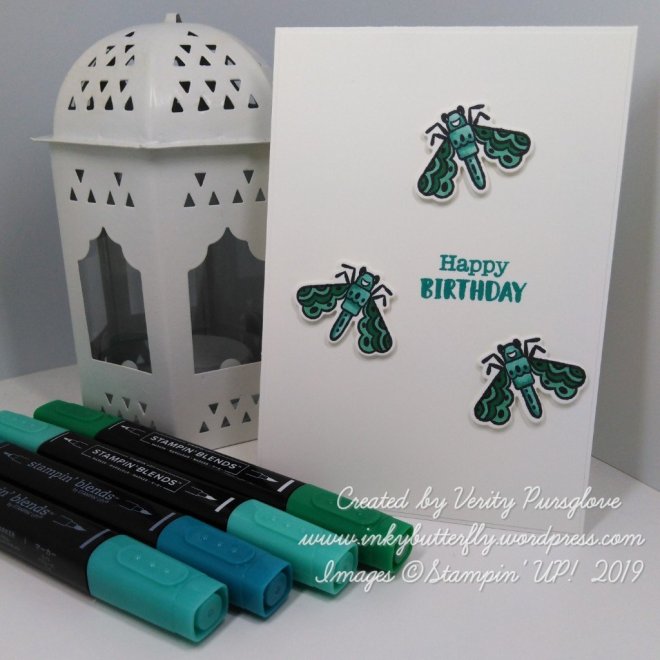
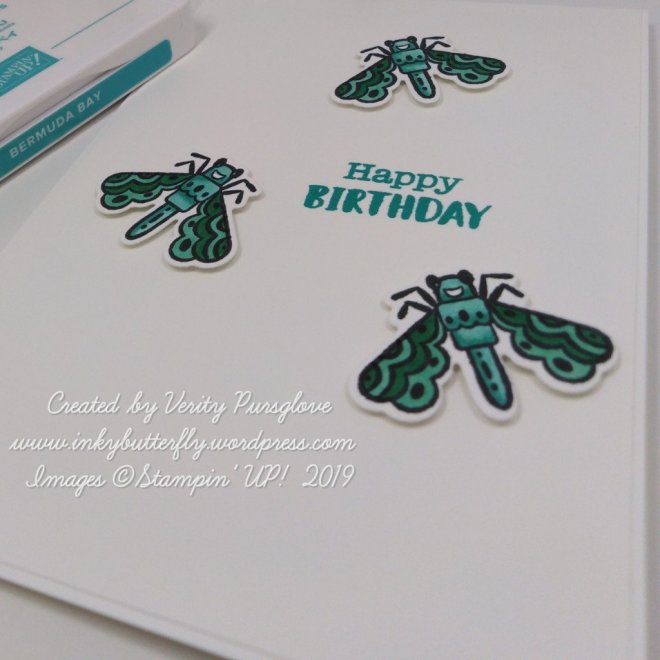
The butterfly was coloured with watercolour pencils and a blender pen.
The image is easy to cut out. The wings were shaped with a bone folder. Dimensionals were placed behind the wings to keep the shape.
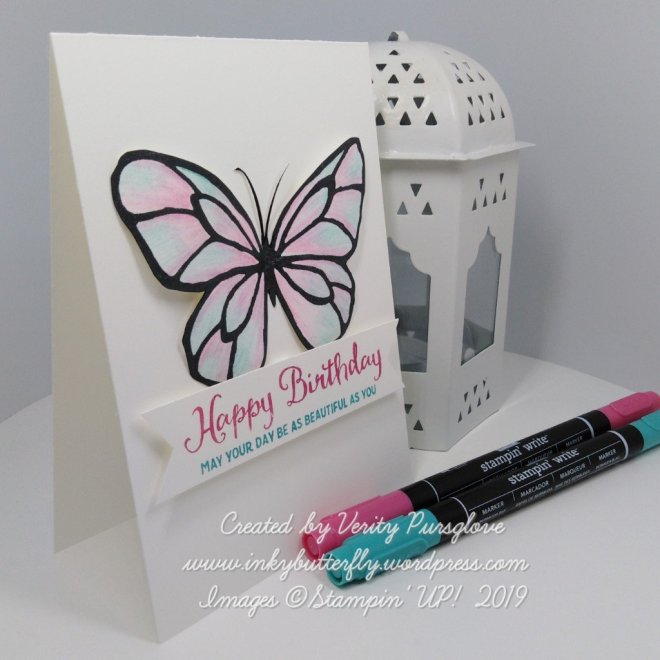
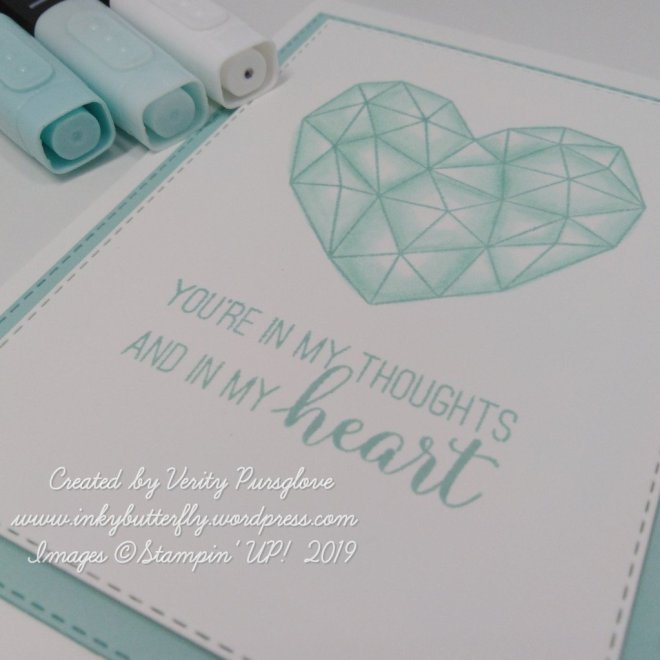
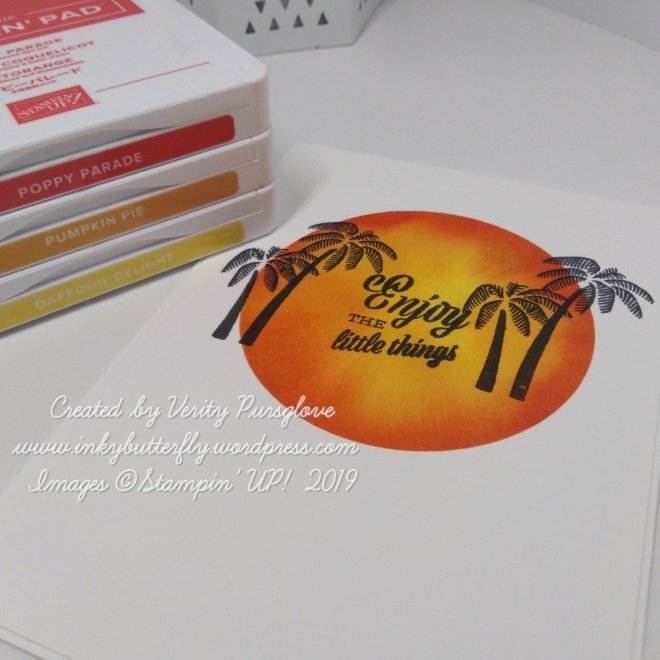
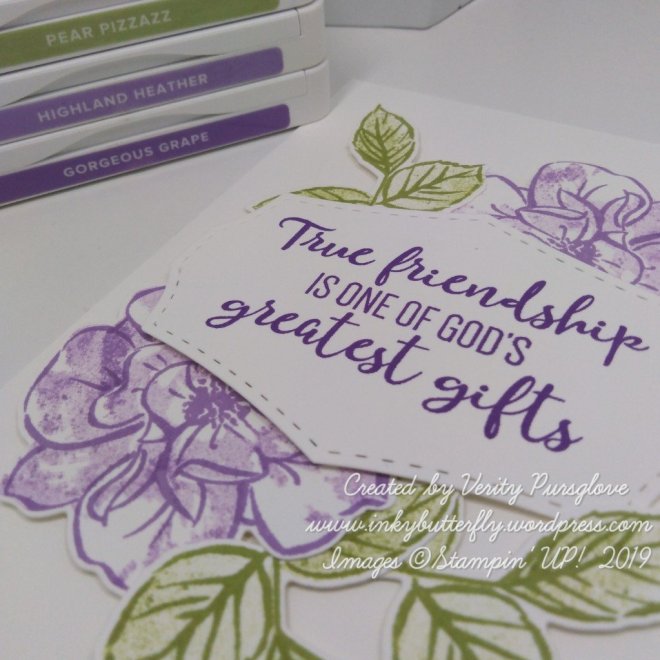
For a multi coloured sentiment, the stamp was inked with Stampin’ Write Markers.
Double dimensionals added extra lift against the butterfly.

I hope you enjoyed this project. The supplies used are listed and linked to the online store below.
I would love to be your demonstrator.
Thanks for stopping by today and happy Stampin’!
Verity xx
Product List

|
|

|

|

|

|