Hello Everyone,
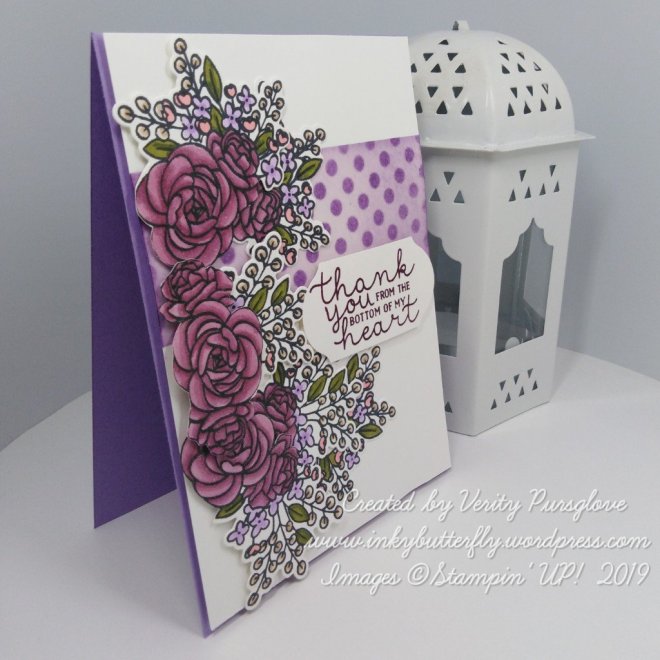
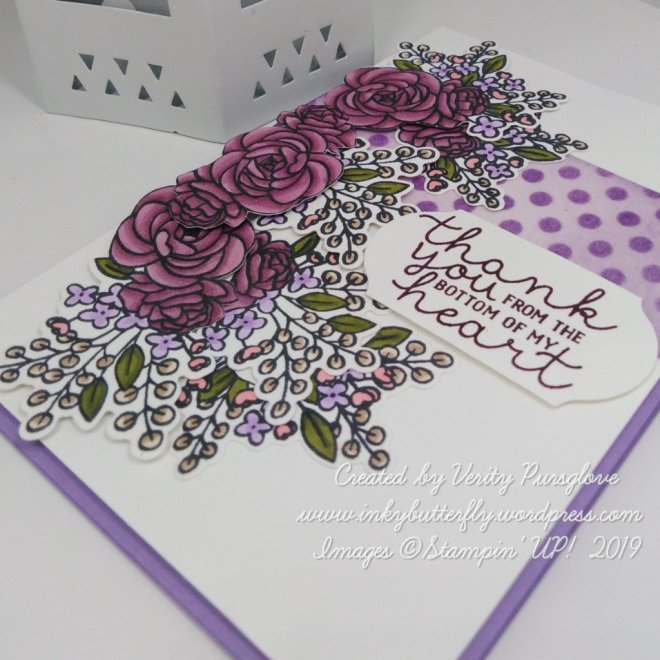
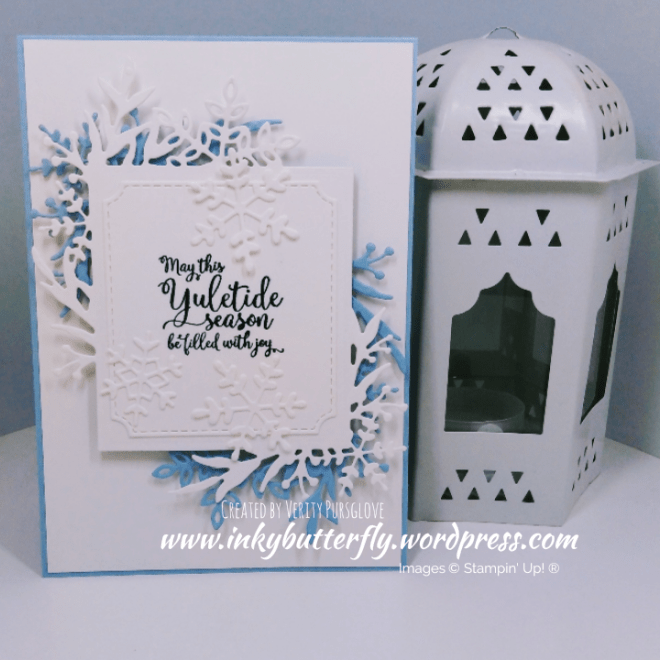
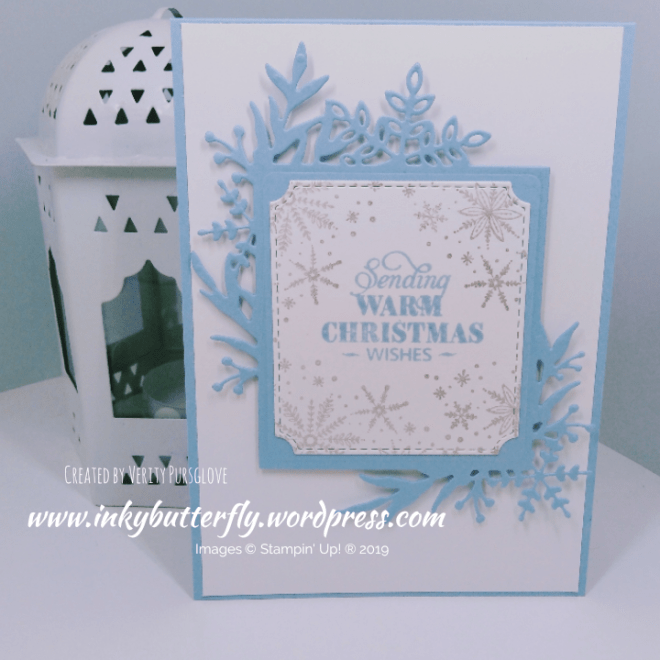
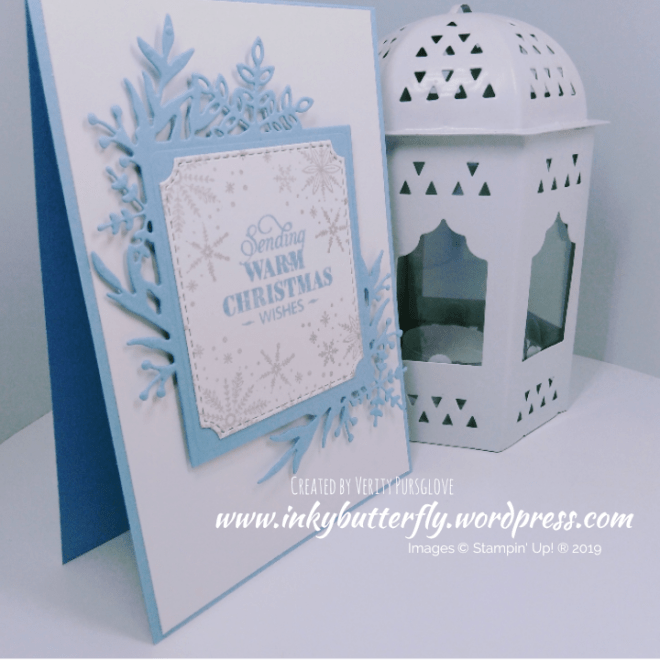
Today’s card features the Frosted Frames dies, they are so pretty!
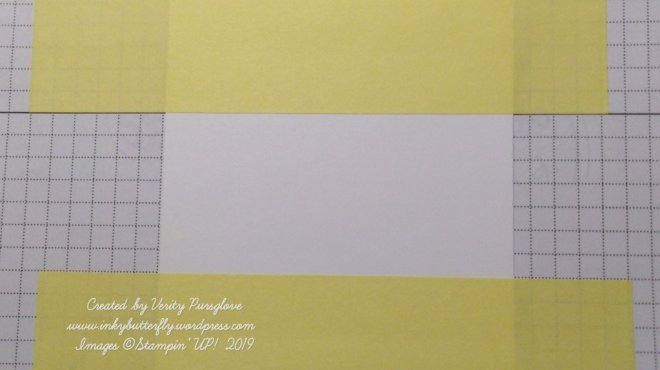
I started by making a card base from Seaside Spray card stock and adhering a white card layer to the front.
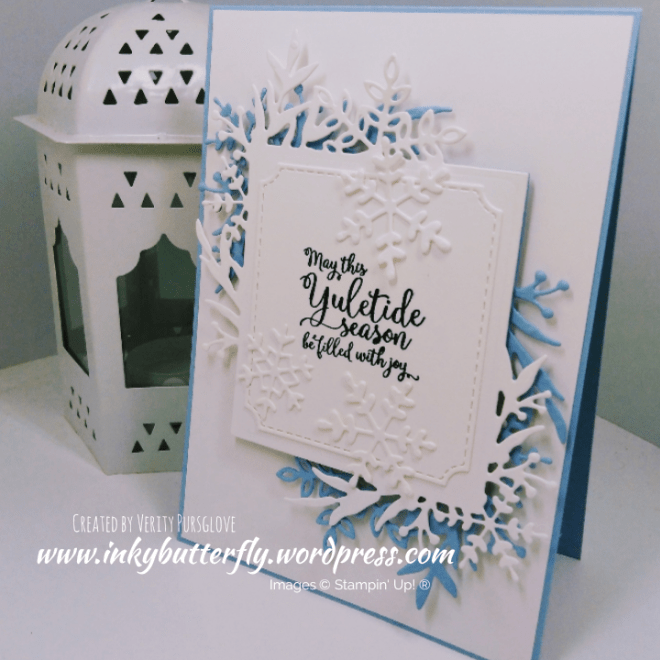
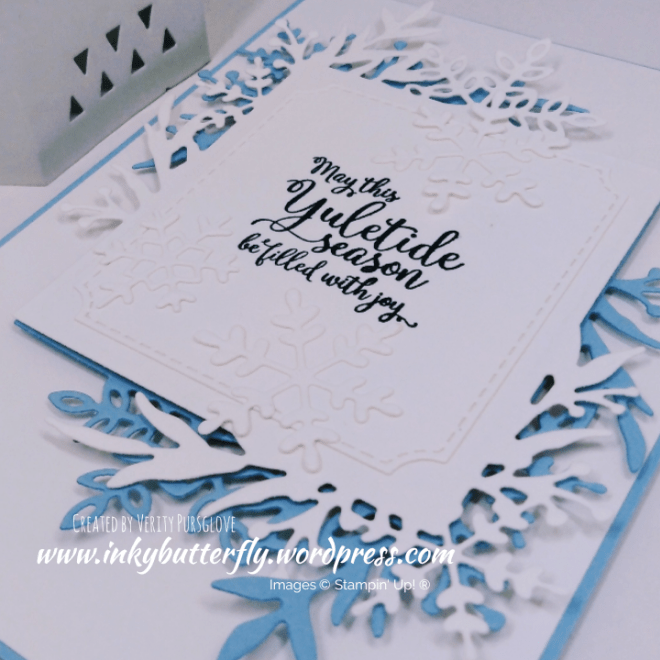
The Frosted Frames were cut twice, once in Seaside Spray and the other in Whisper White card stocks. These were adhered together and to the card base with dimensionals.
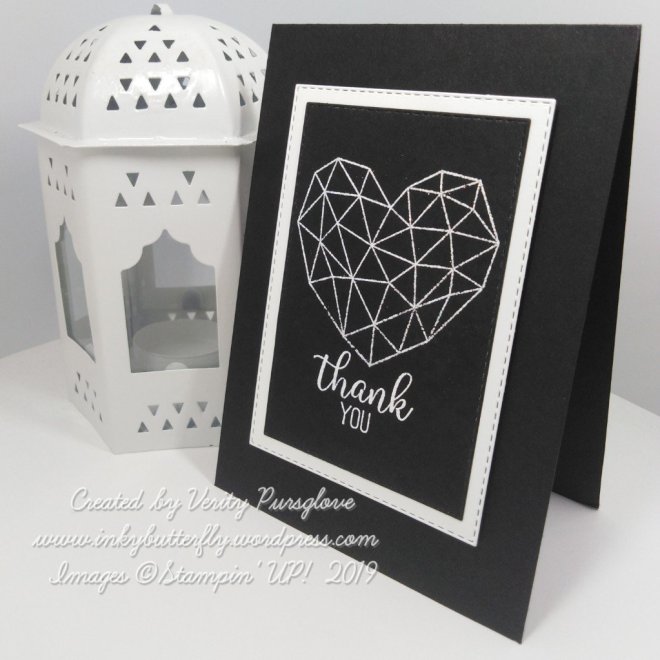
The sentiment was stamped with Night of Navy ink and die cut.
Some extra snowflakes were die cut and added as embellishments.
I hope you enjoyed this project. The supplies used are listed and linked to the online store below.
I would love to be your demonstrator.
Thanks for stopping by today and happy Stampin’!
Verity xx
Product List

|
|

|

|

|
")


")


")


")


")


")


")
")


")