Good Morning,
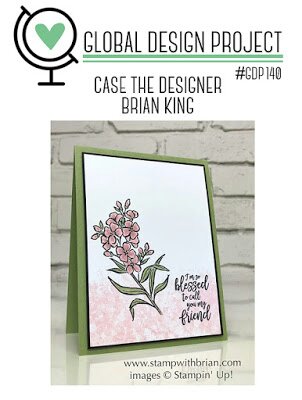
The Global Design Project has a sketch challenge this week.
You can see the samples made by the design team here!

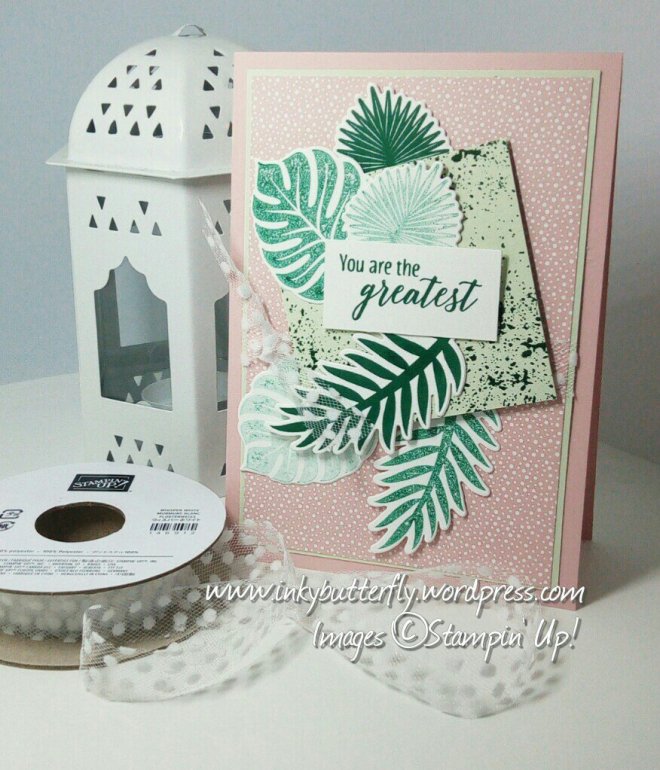
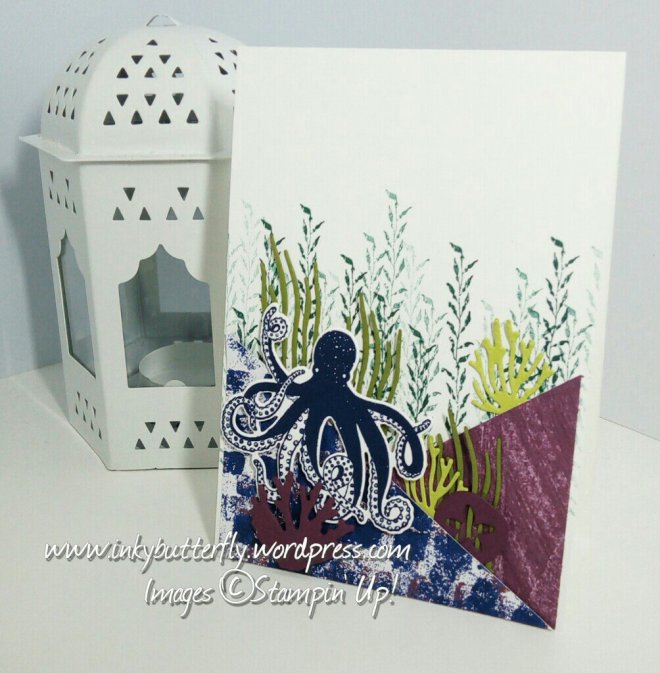
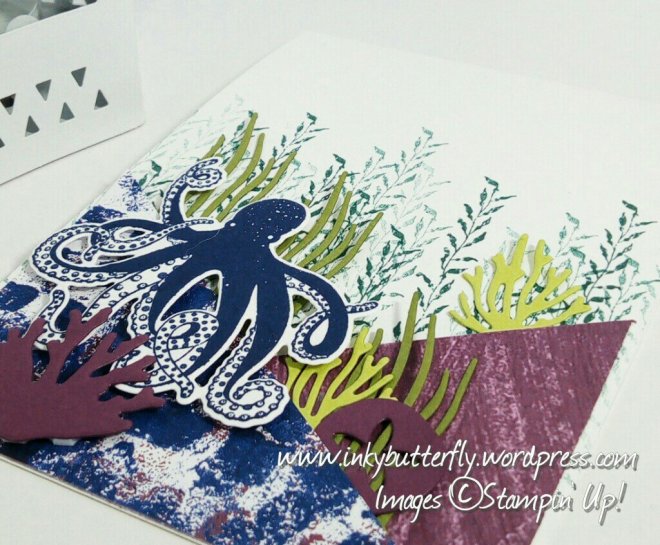
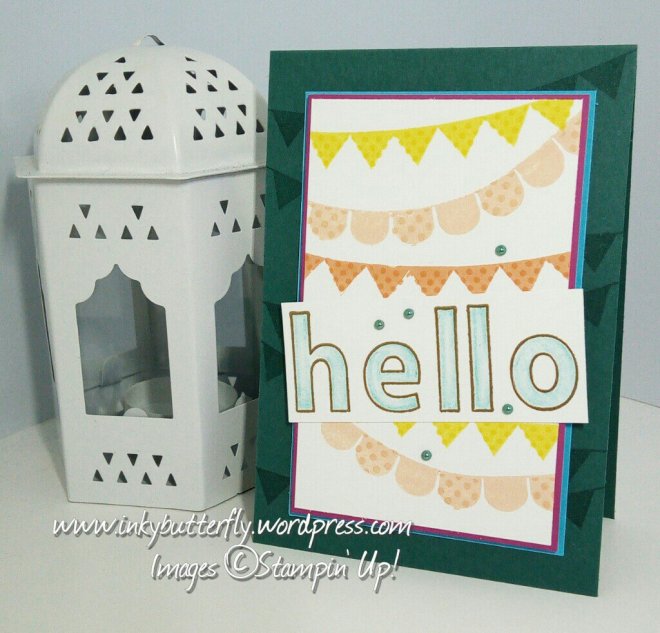
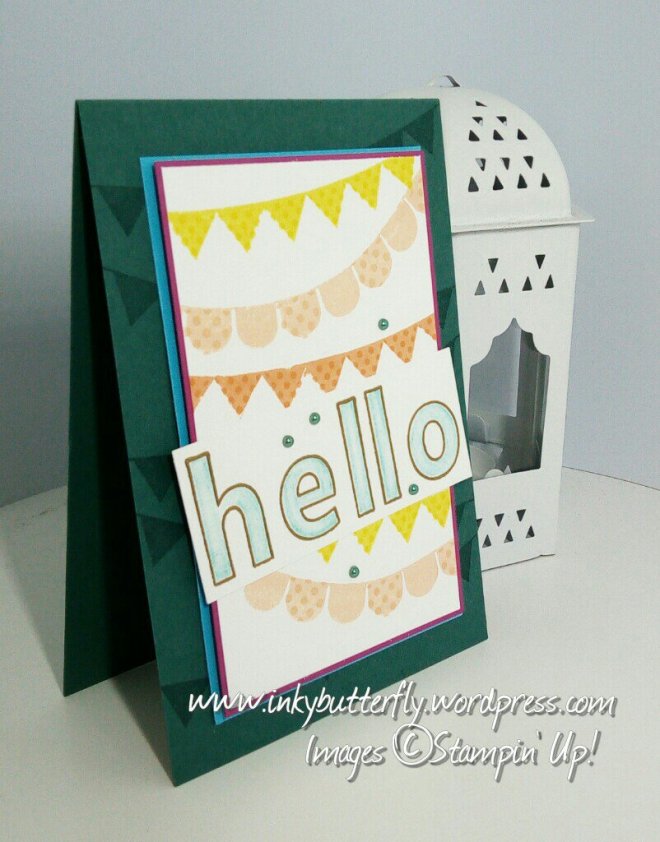
I have used Tropical Escapes suite to make my card for the challenge.

I picked out some Designer Series paper which was cut at an angle. I didn’t measure it, just what looked appealing. This was adhered to a white card base.
The opposite side was punched with a 2 inch circle punch and added with dimensionals.
The sentiment was stamped with Shaded Spruce ink.

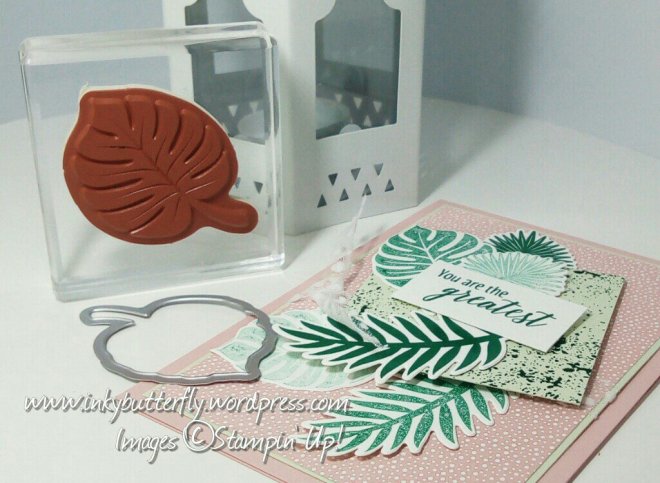
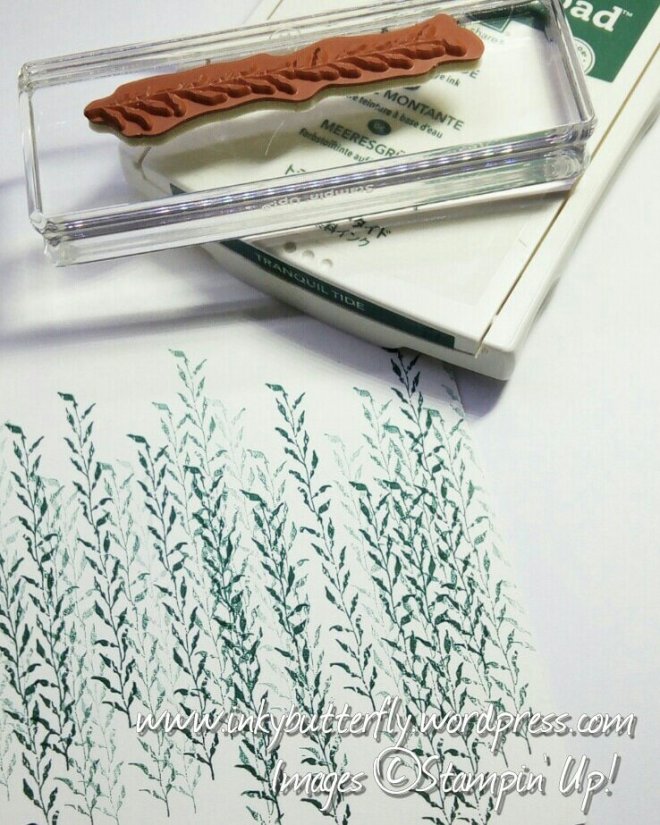
Two leaves were stamped with first and second generation ink and die cut. These were positioned under the sentiment and secured with snail adhesive.
A double bow was tied from silver Baker’s twine and added with a glue dot. Some Mint Macaron faceted dots finished the card.

I hope you enjoyed this project.
The supplies used are listed below.
Thanks for stopping by today and happy Stampin’!
Verity x
Product List

|
||

|
||
|
|

|

|