Good Morning Everybody,
Welcome to this month’s InspireINK blog hop.
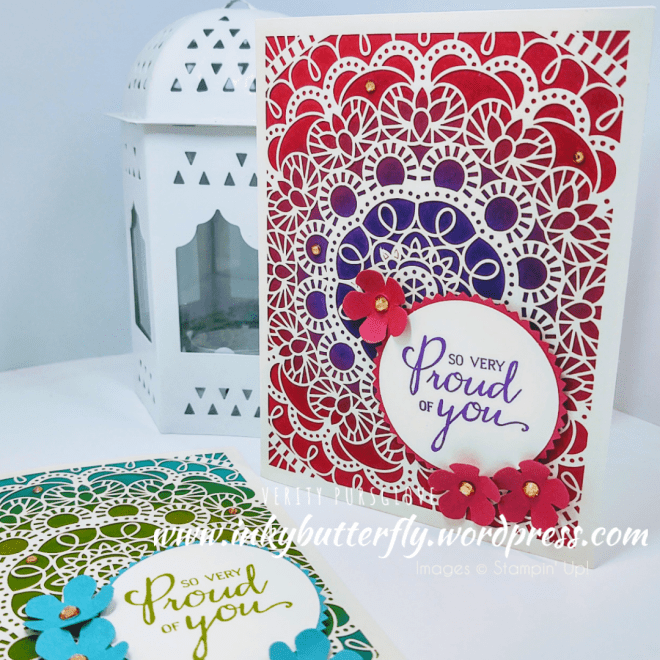
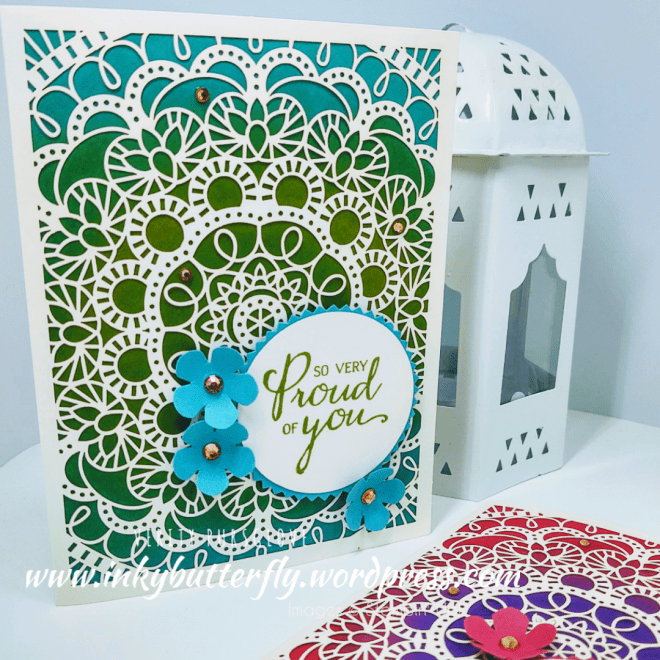
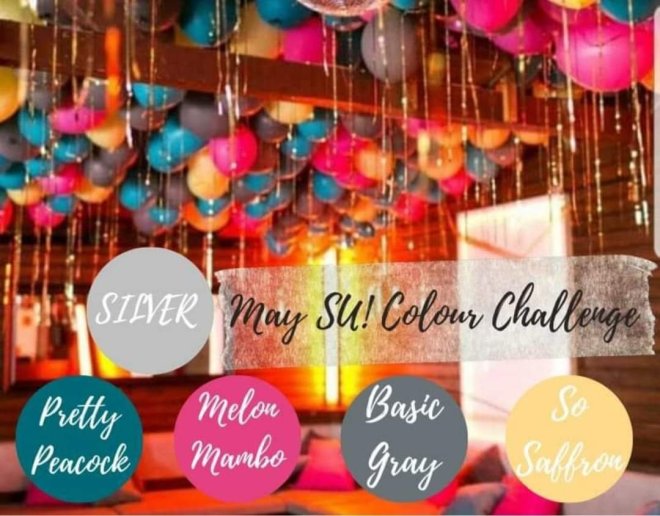
This month we are showcasing the new delights of the 2020 Stampin’ Up! Annual Catalogue!
Please be sure to click through all the projects in the hop by clicking on the link at the bottom of this post.
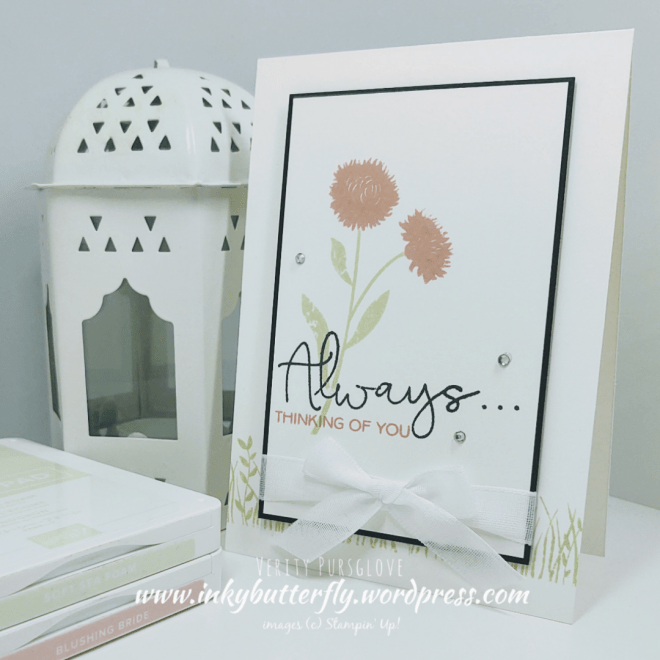
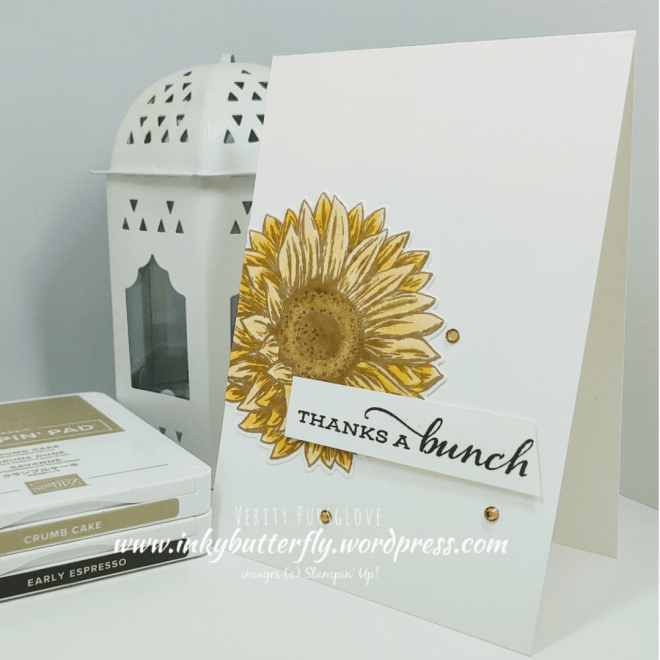
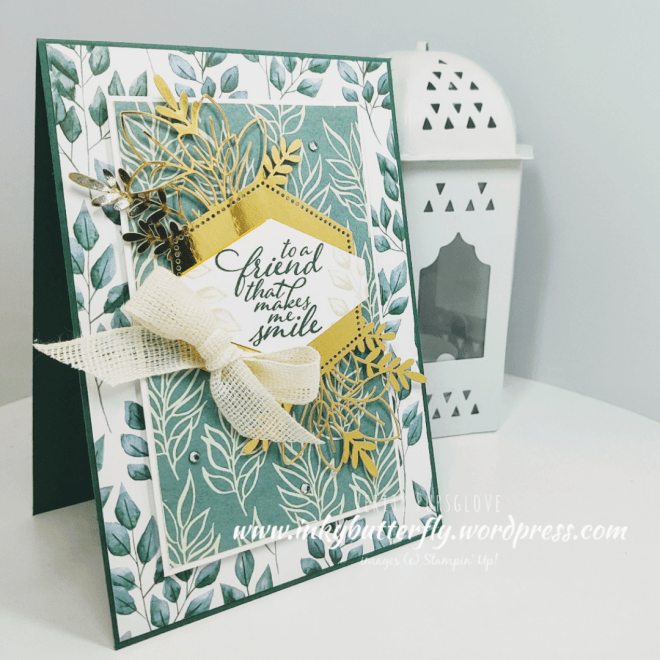
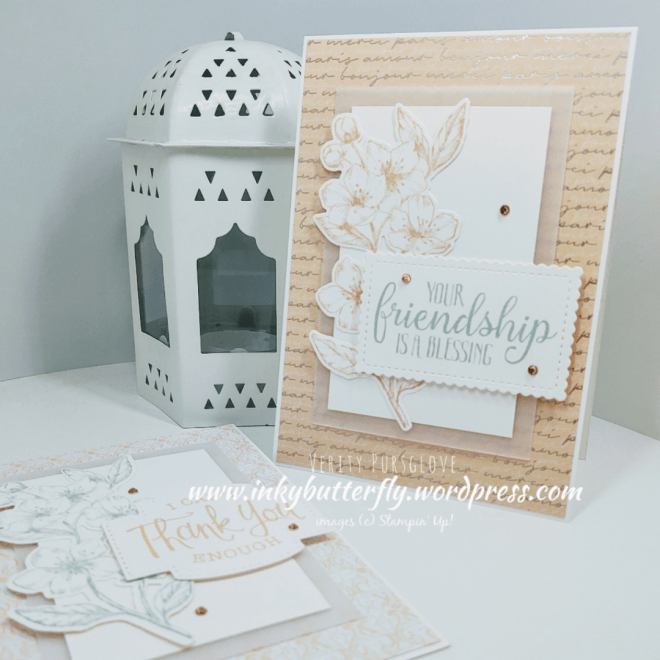
I am featuring the Blossoms in Bloom bundle.
This wouldn’t normally be something I would go for, but I have made so many cards already, I thought I would share another.

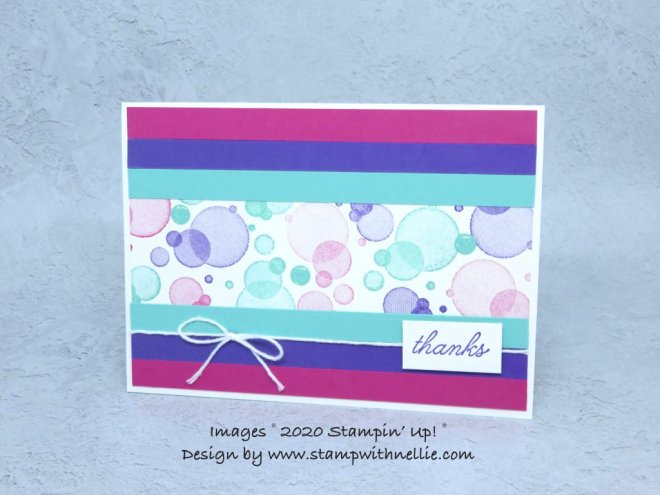
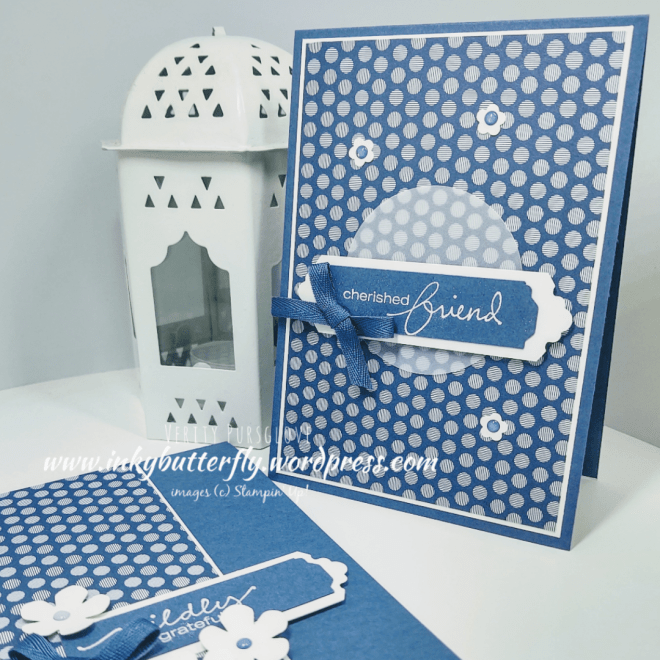
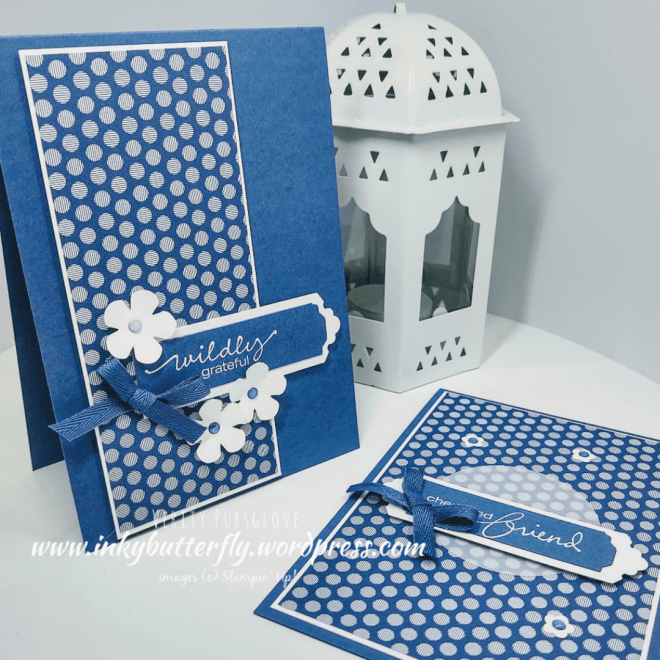
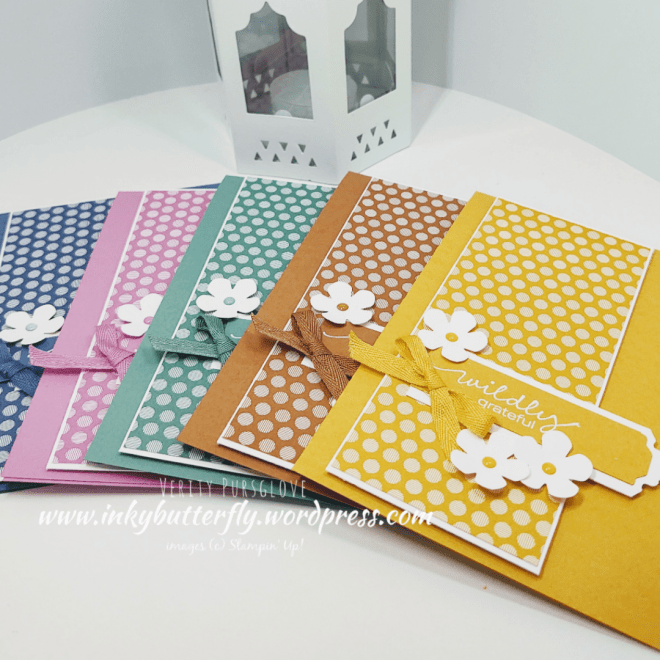
This is really easy for a beginner stamper too. Use the colours you have to make your own version of this card.
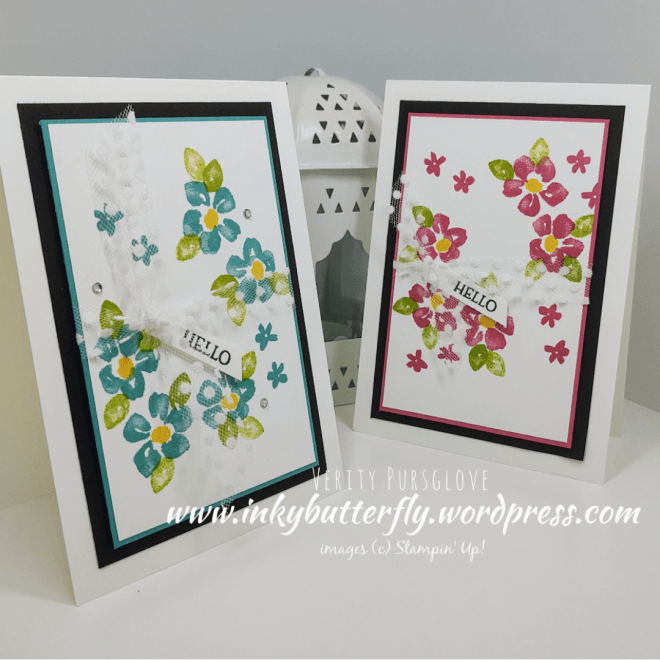
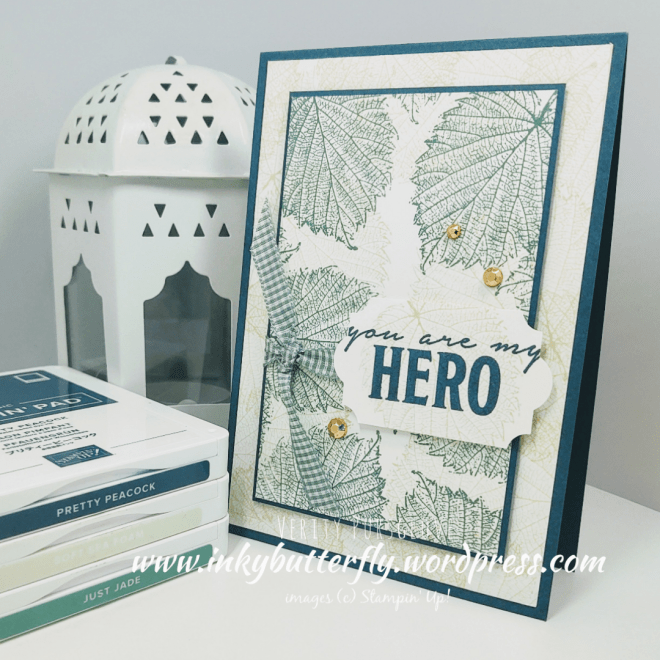
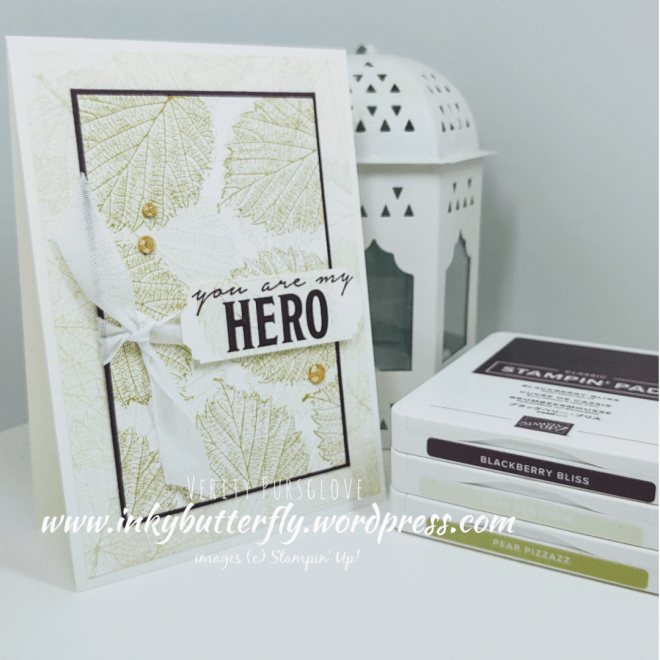
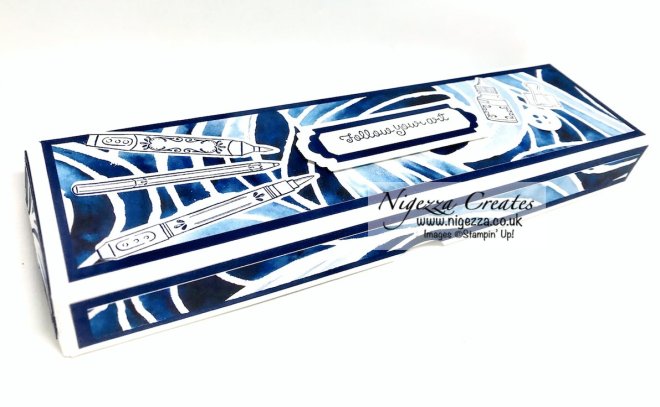
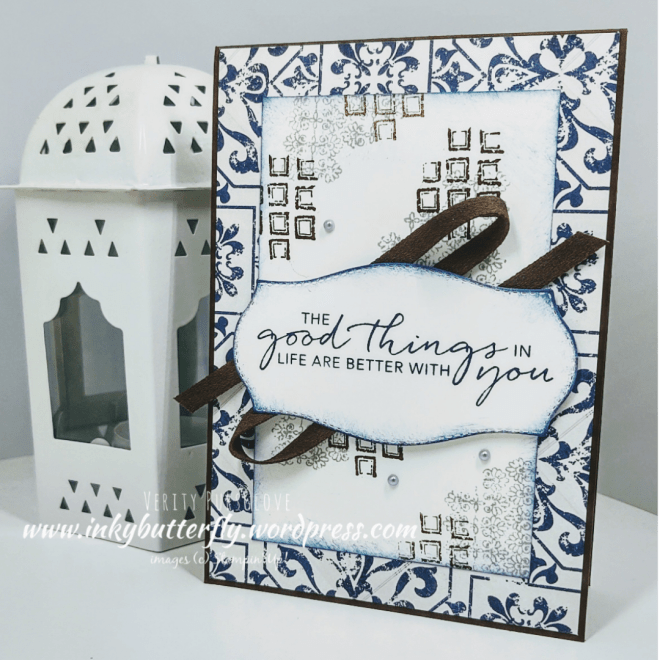
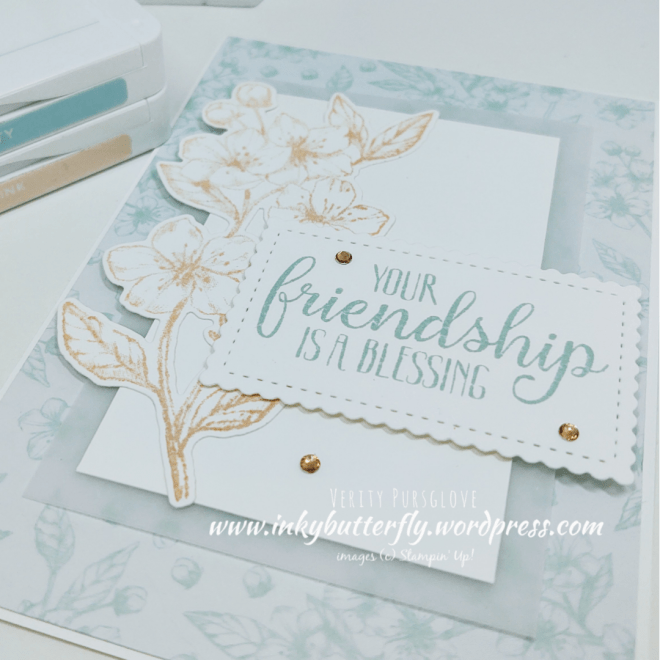
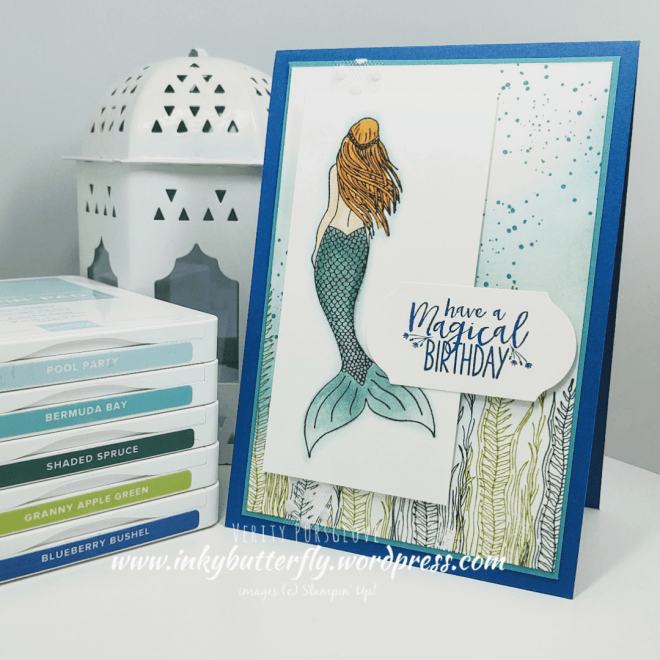
By using an odd number of images, the card design remains balanced. The stamps have details within them that gives a watercolour effect without the mess.
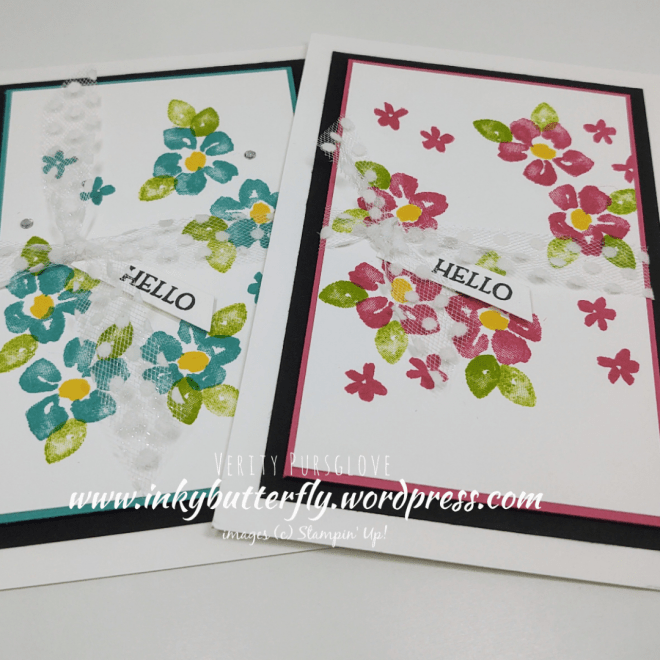
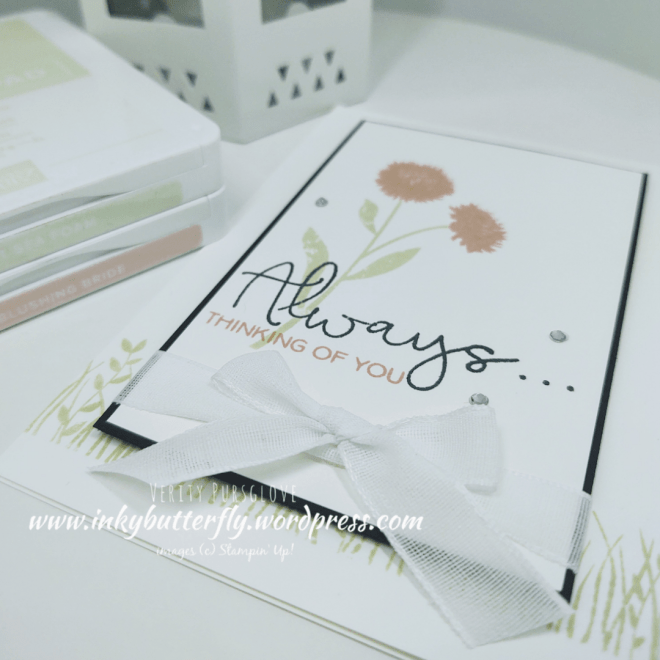
The Whisper White Tulle adds some soft texture. The sentiment tucks in under the knot nice and neatly.
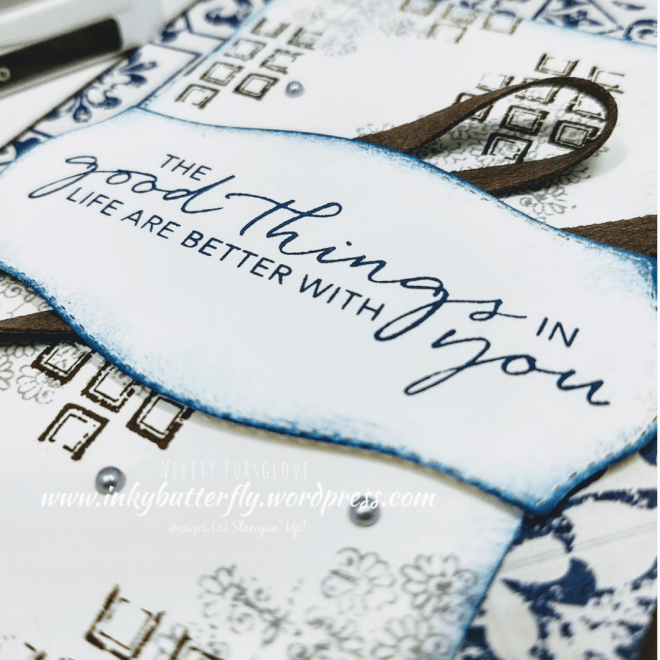
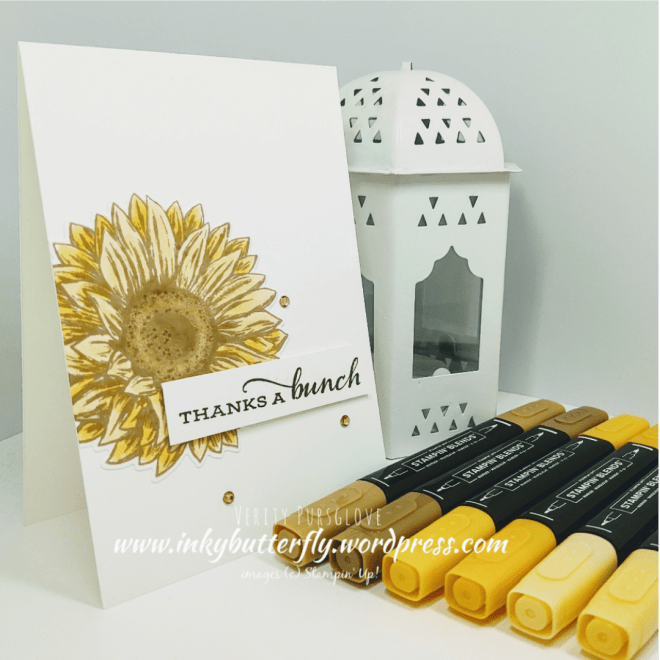
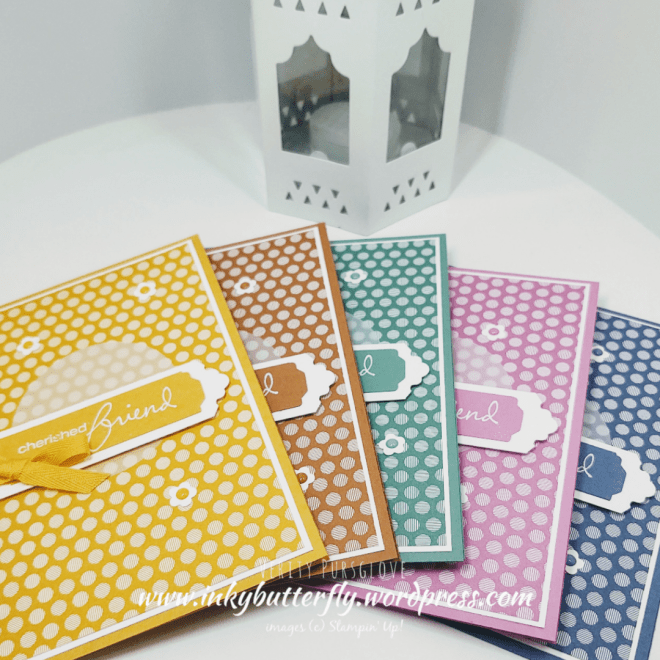
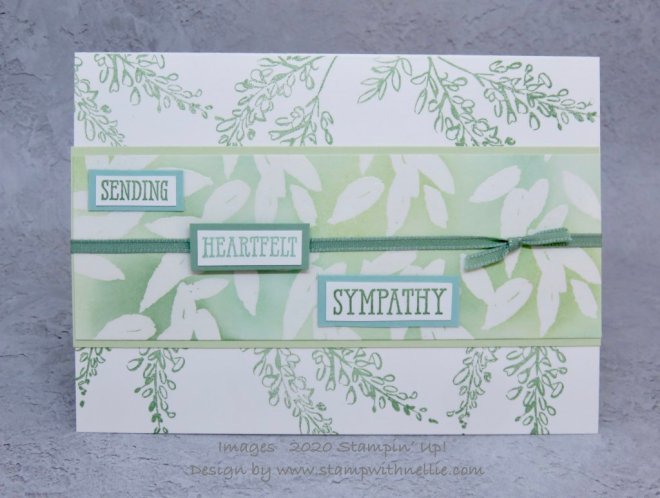
And here is a closer look at the Melon Mambo version.

I hope you enjoyed this project. The supplies used are listed below.
Thanks for stopping by today and happy Stampin’!
Verity xx
Product List
|
|
|
|
|
|
|
|
|
|
|
")

")


")


")


")
")


")


")