Hello Everyone,
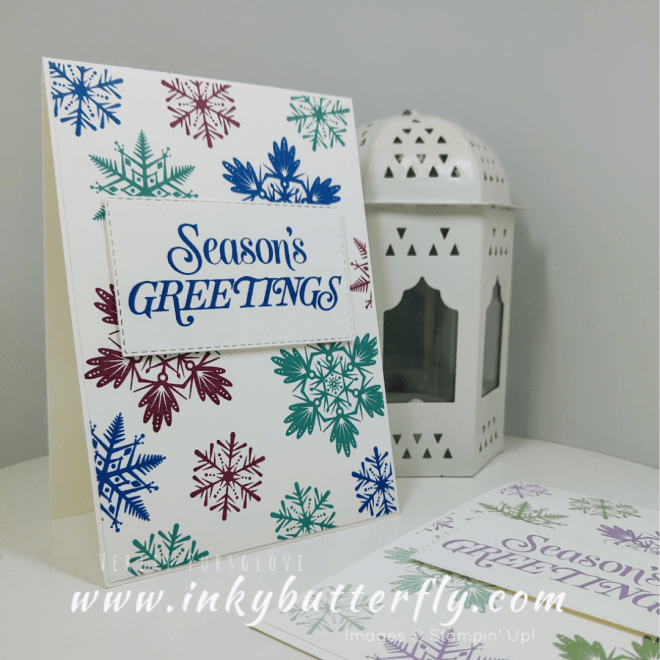
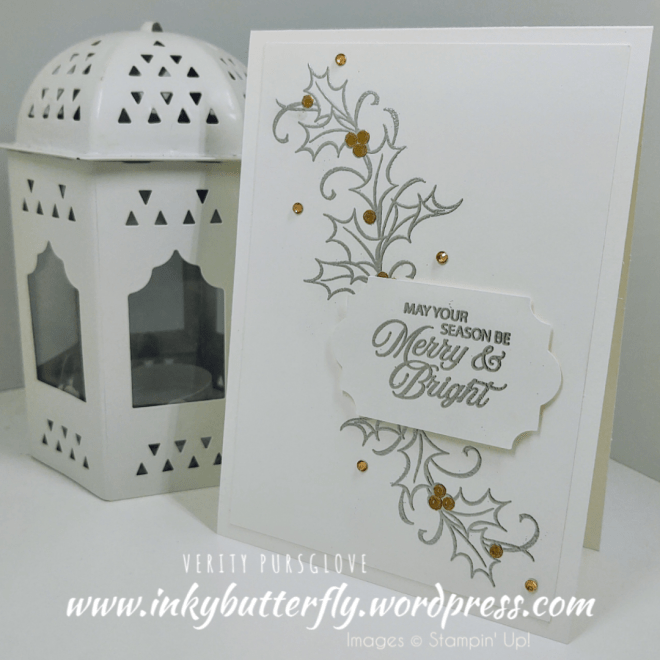
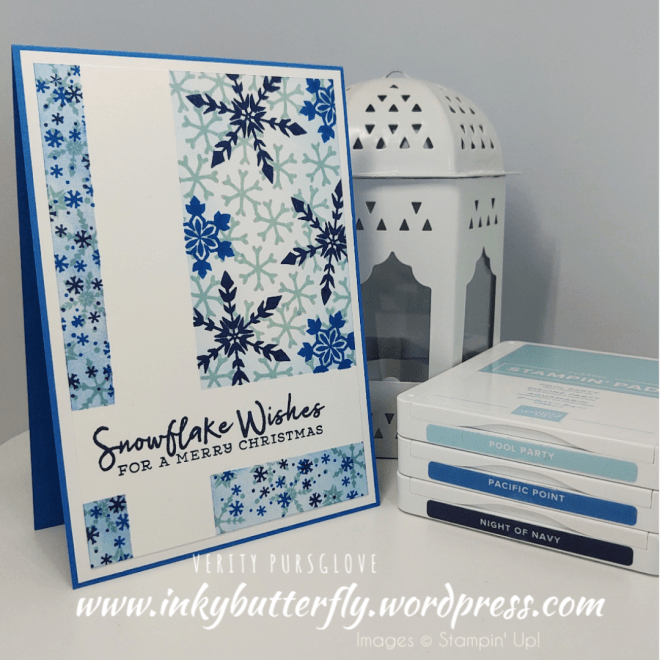
I’ve had this card idea in my head for a while and I’ve finally managed to make it!
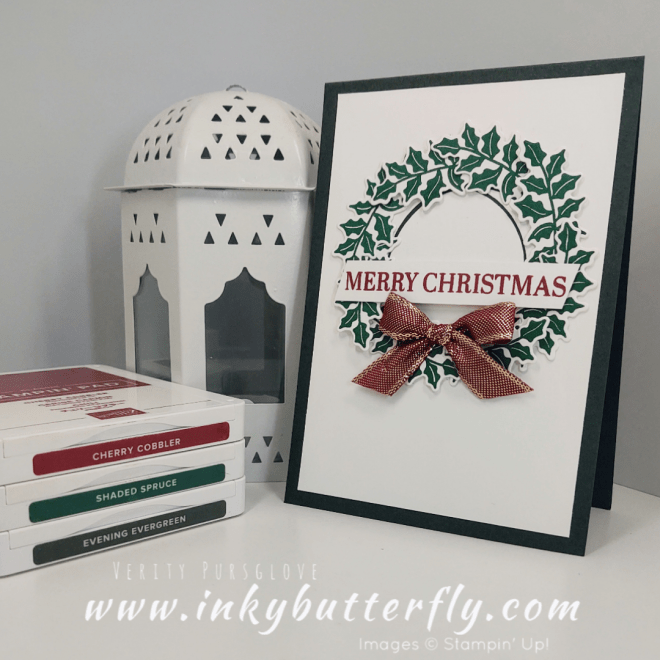
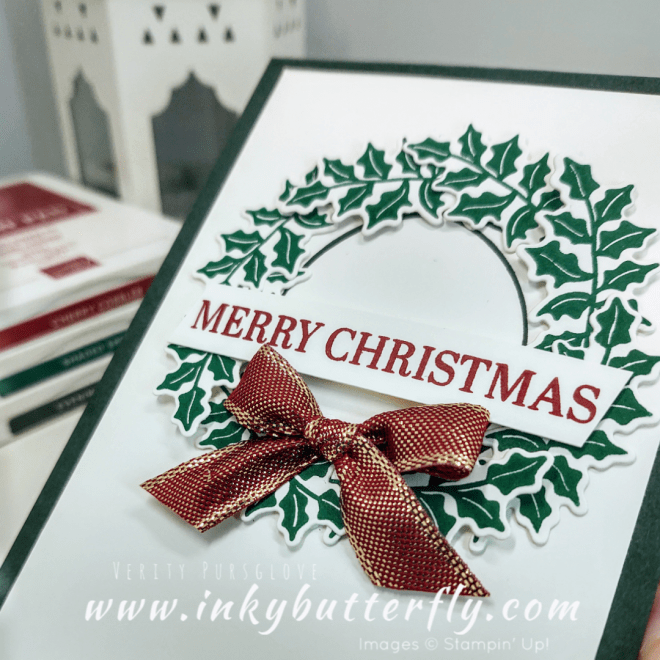
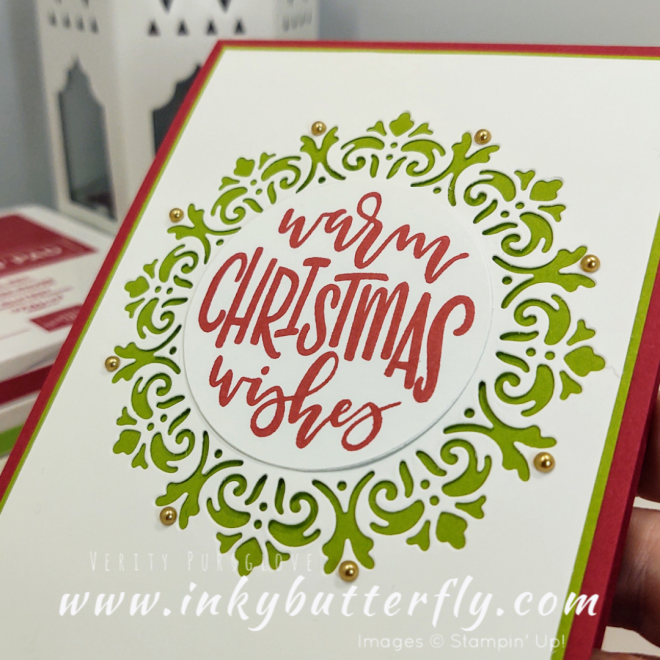
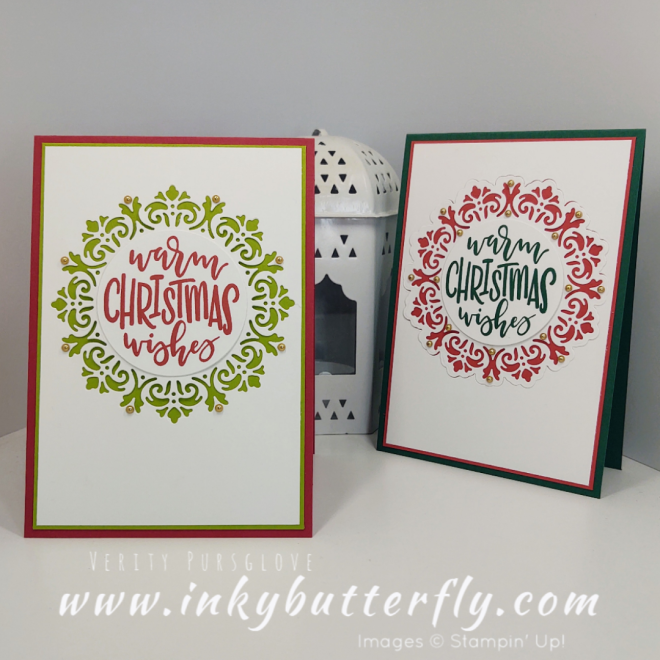
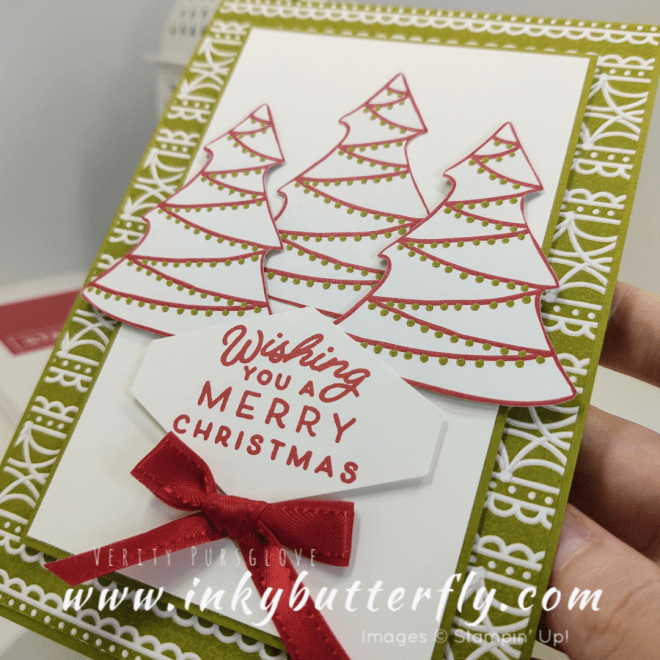
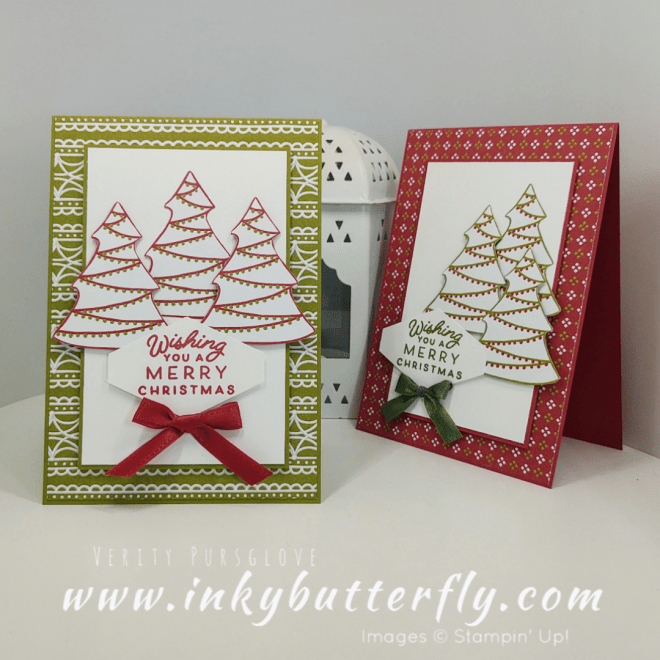
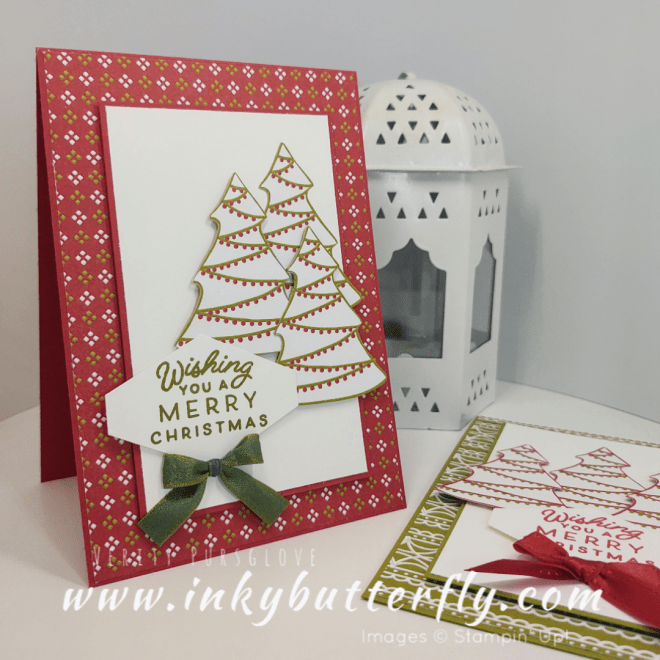
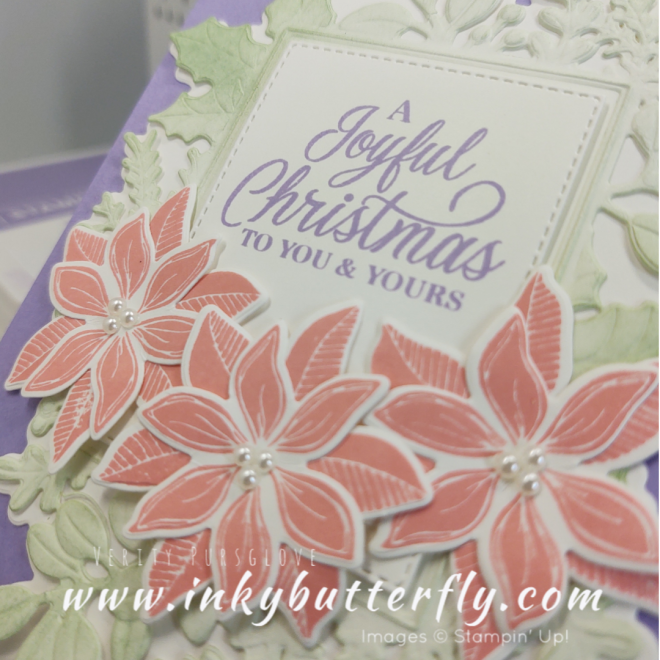
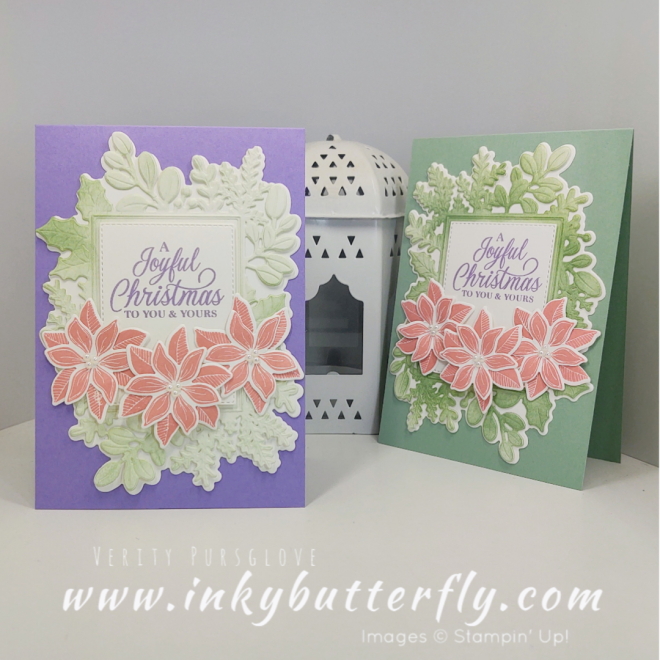
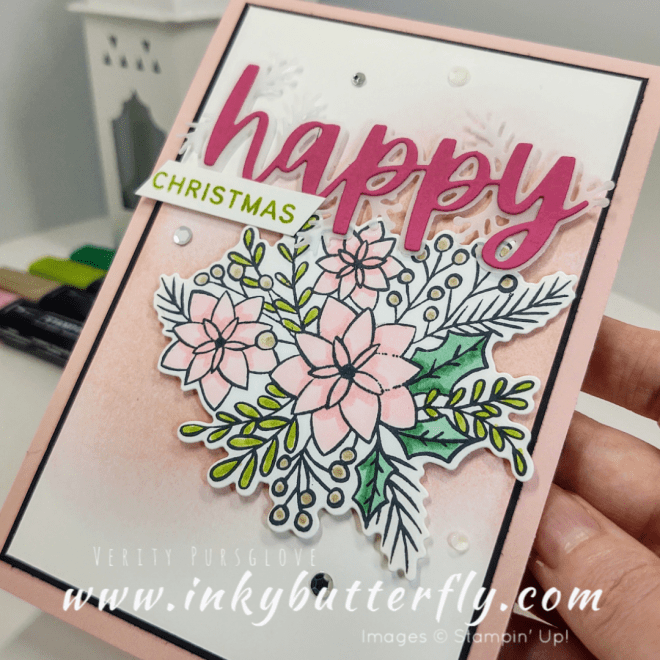
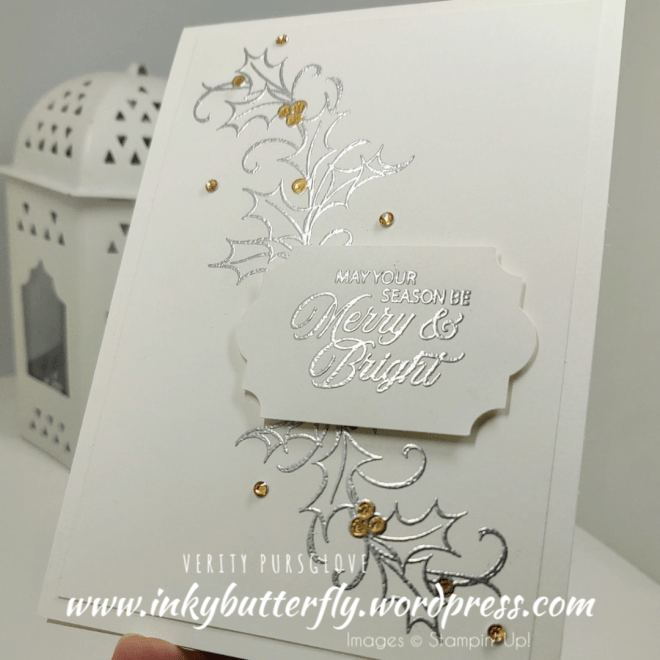
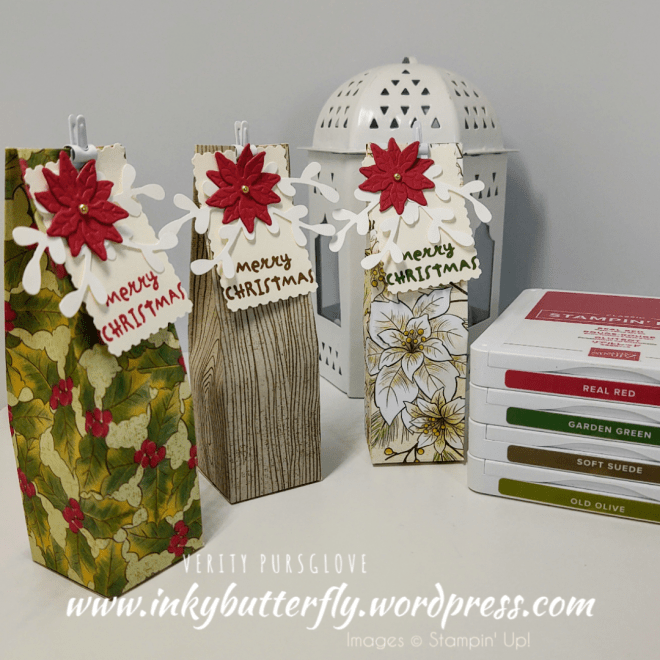
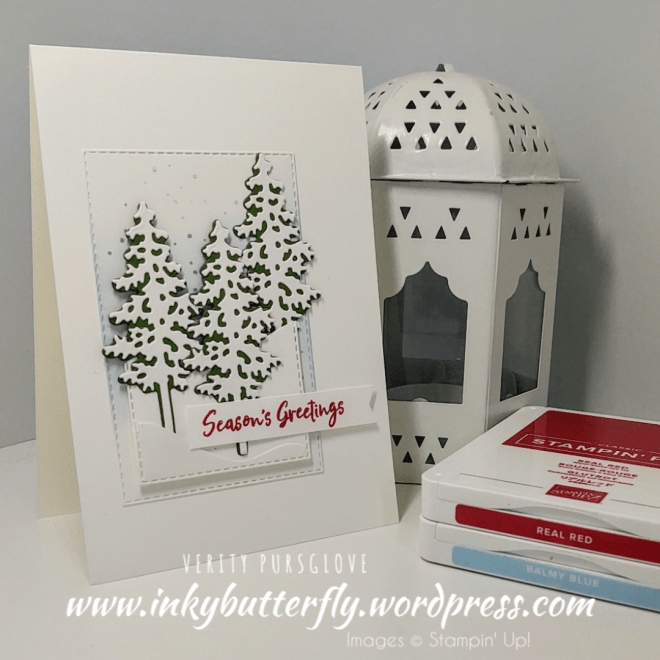
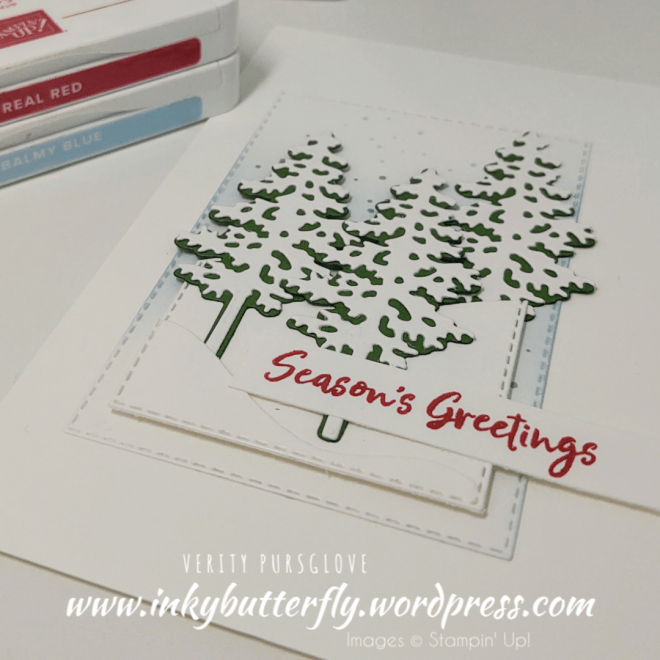
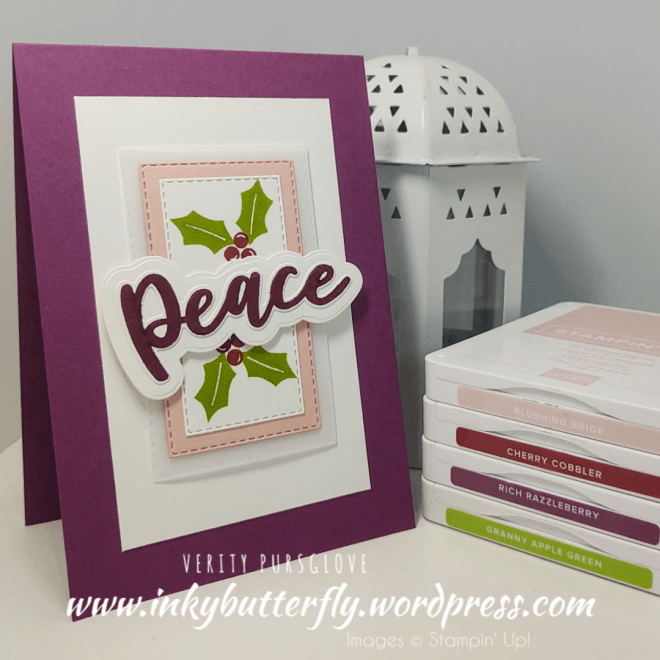
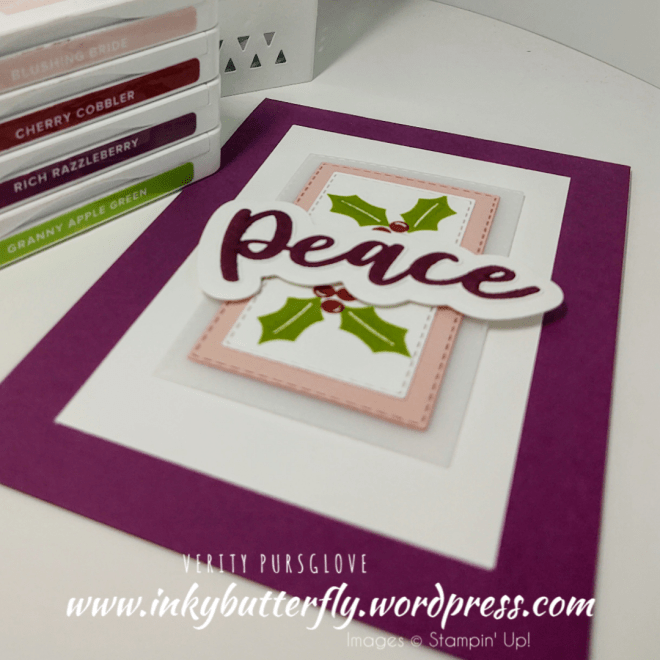
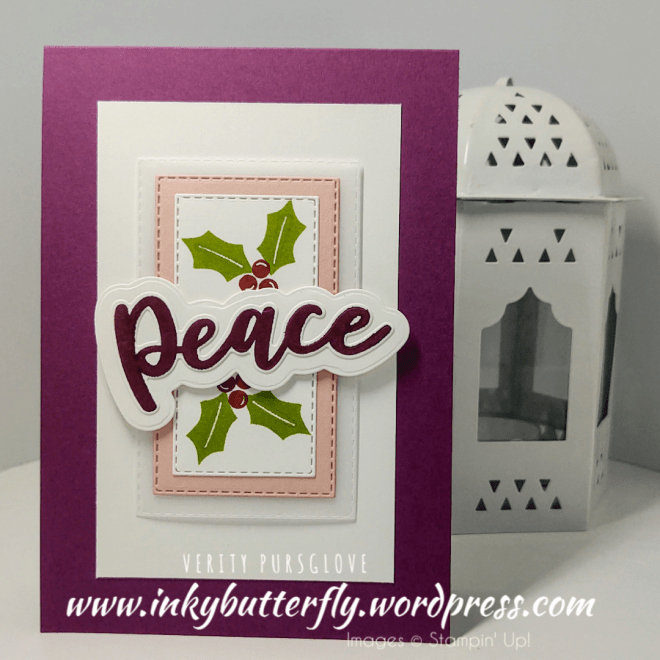
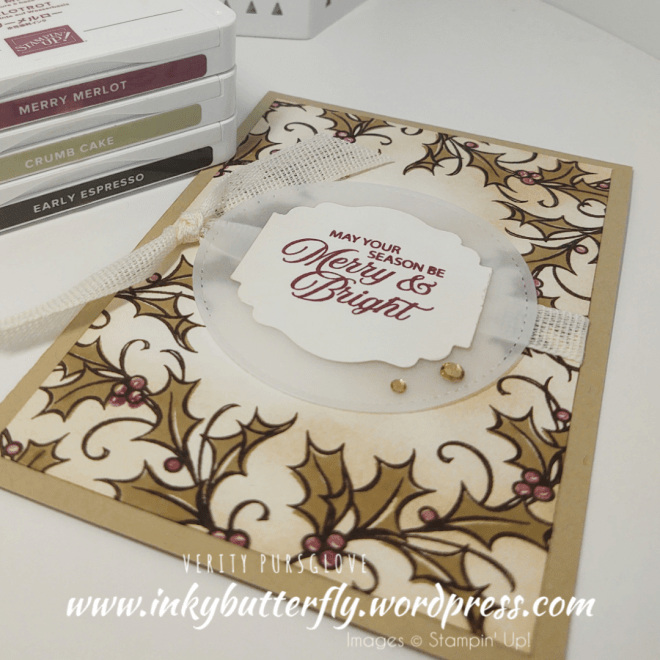
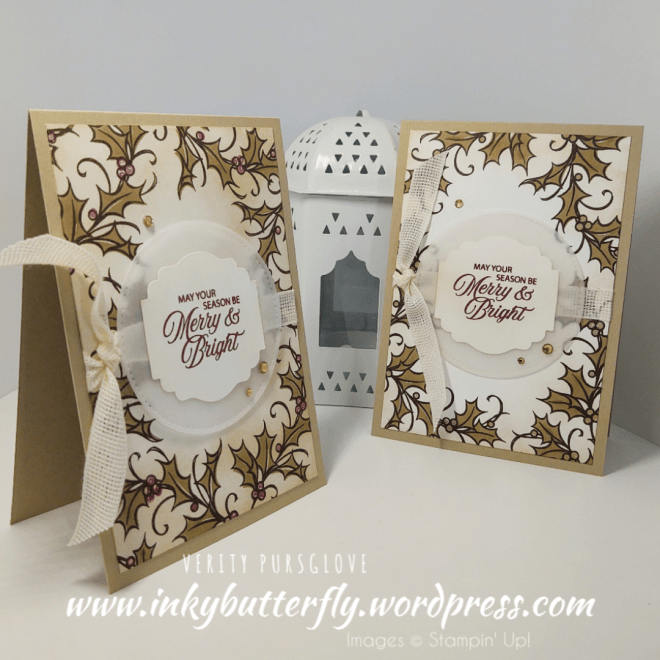
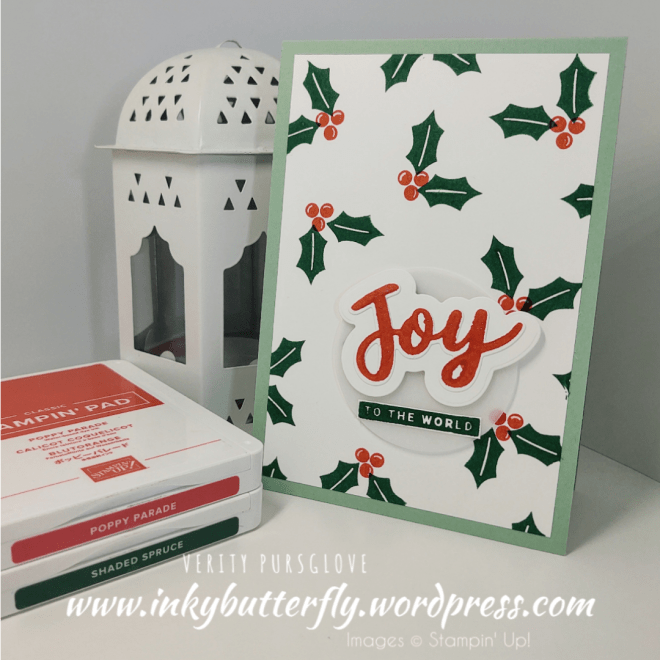
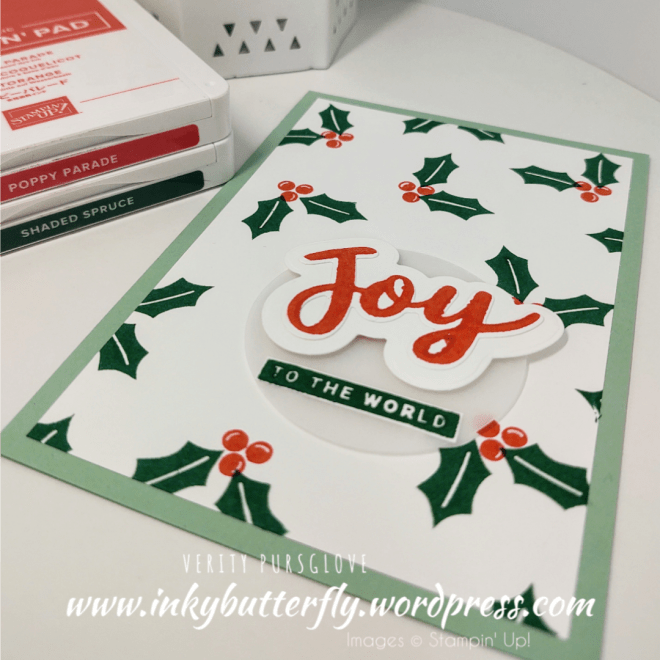
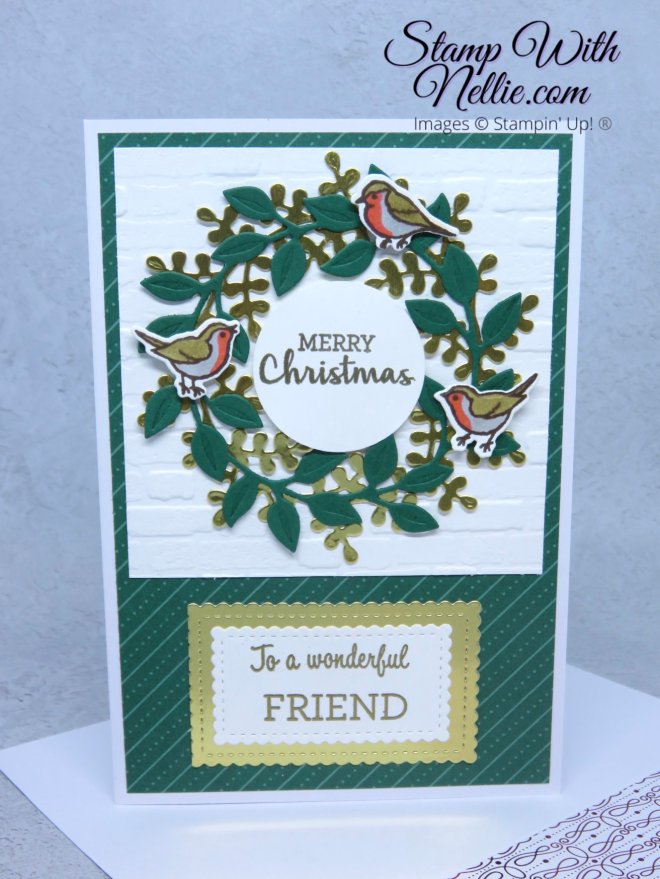
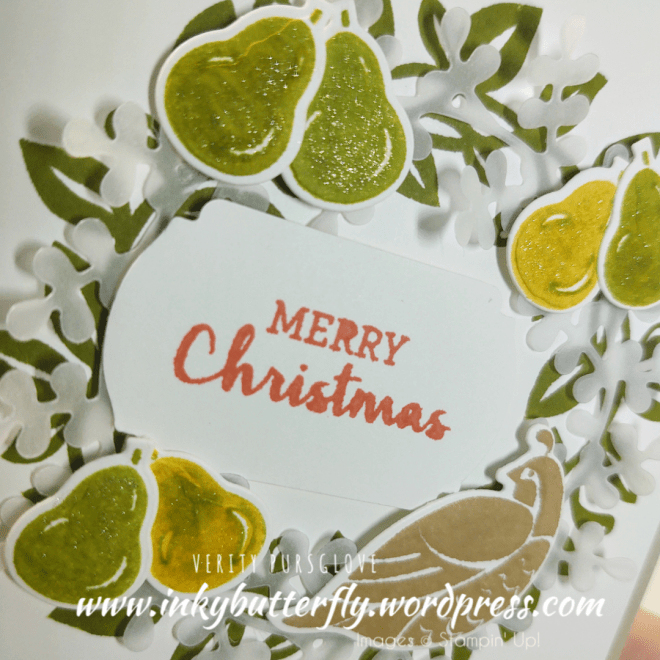
For this layout I used eight die cuts which I then used to create four pieces that I could arrange to form the wreath design.
You can see how I made this card in my video tutorial…..
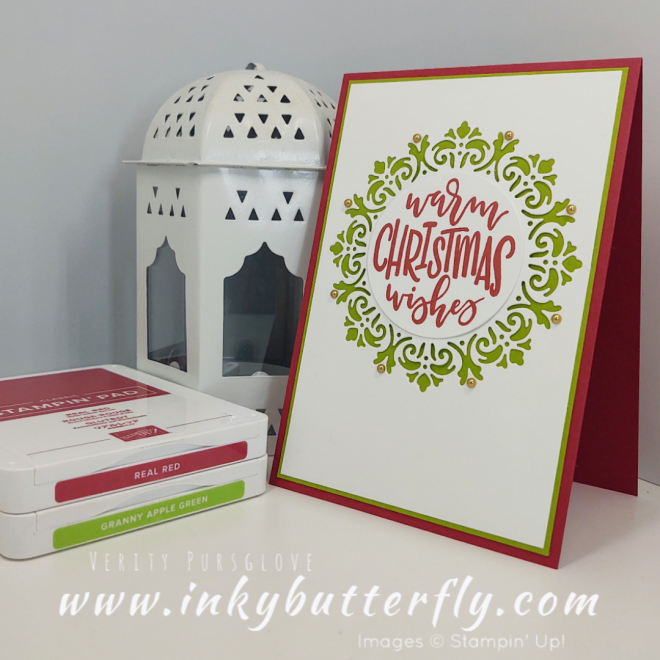
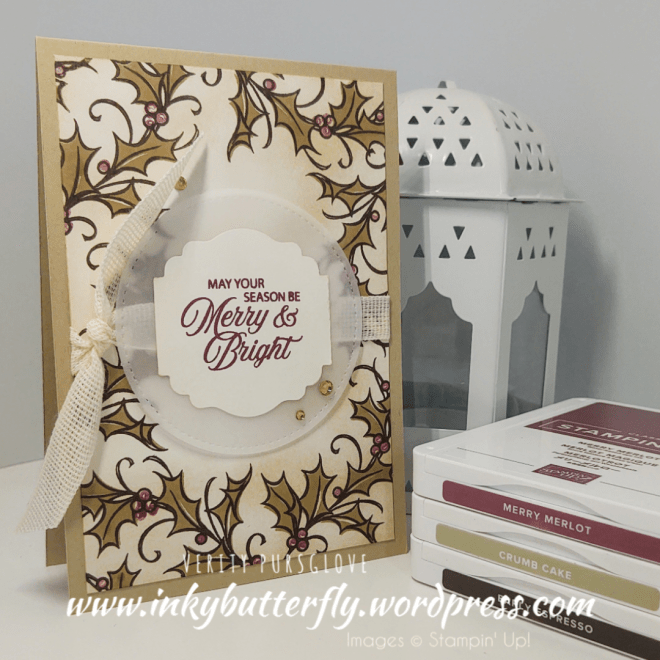
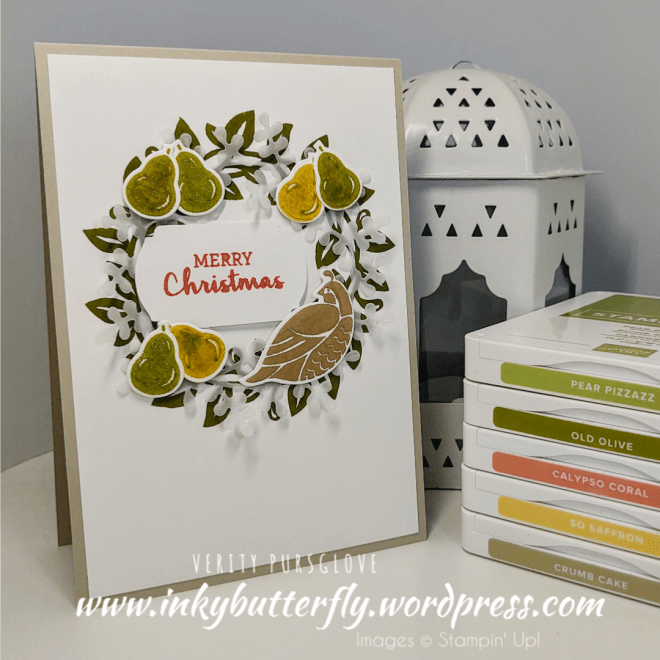
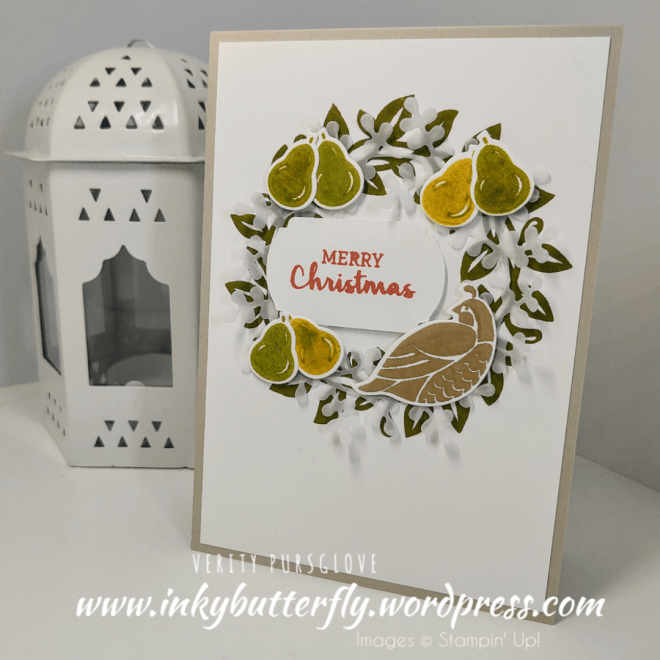
The Cherry Cobbler & Gold Metallic Ribbon is absolutely gorgeous in real life. It finishes off the card brilliantly.
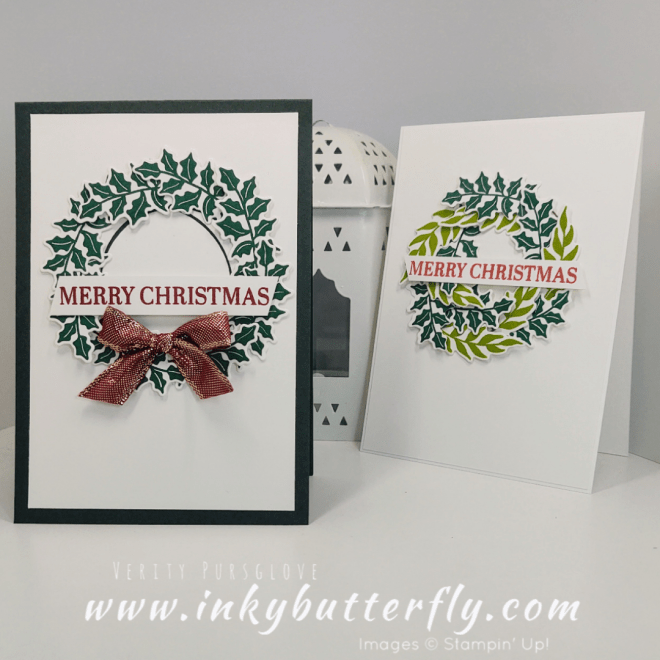
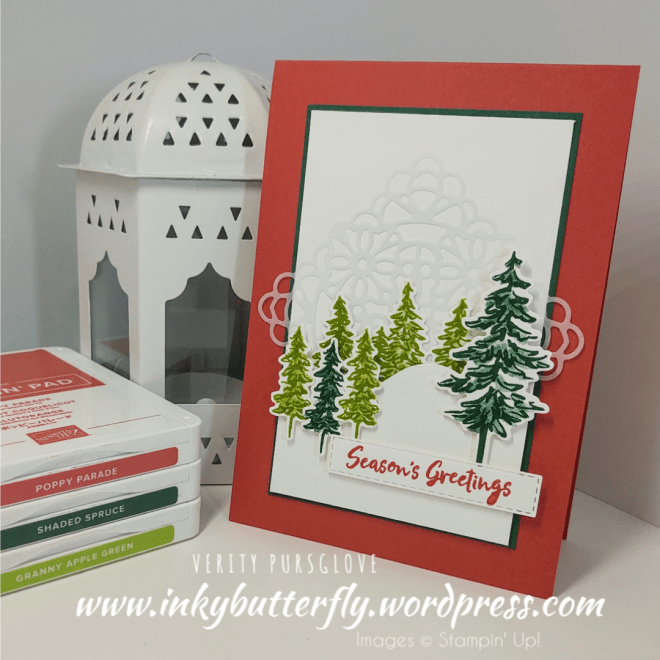
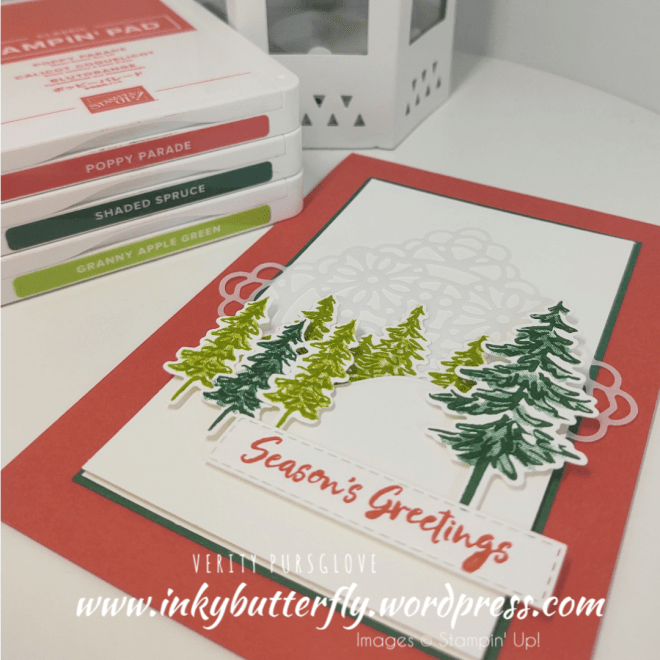
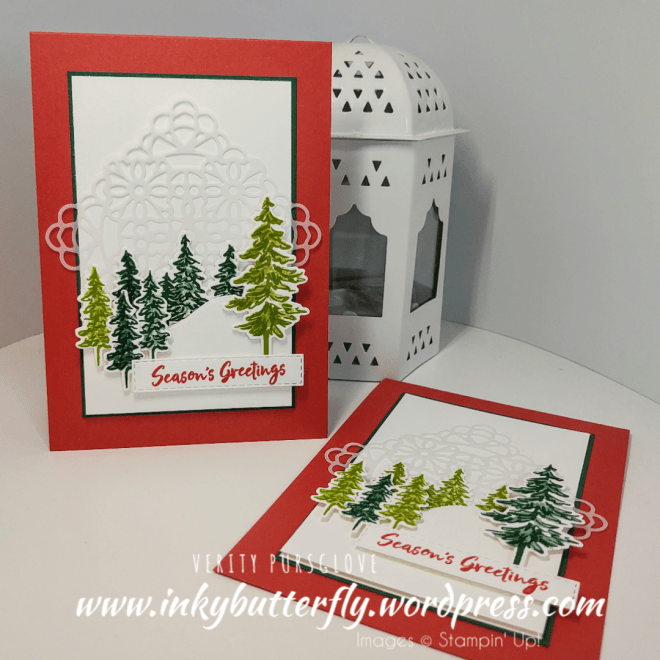
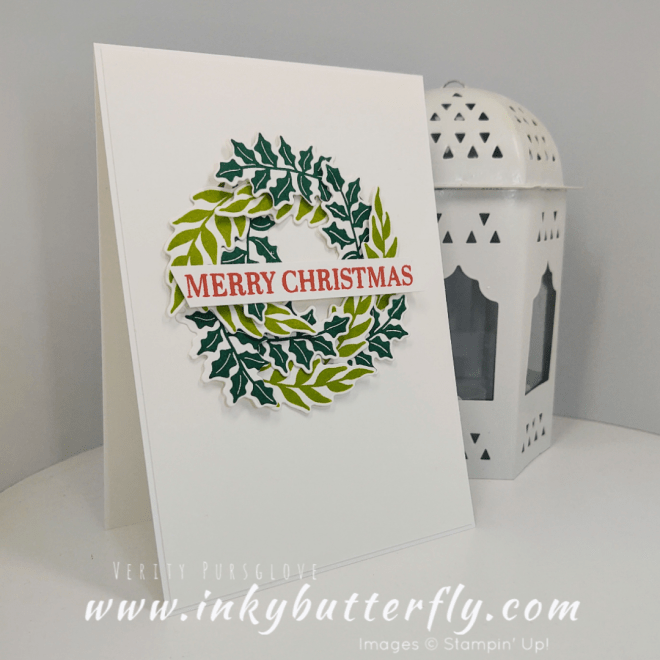
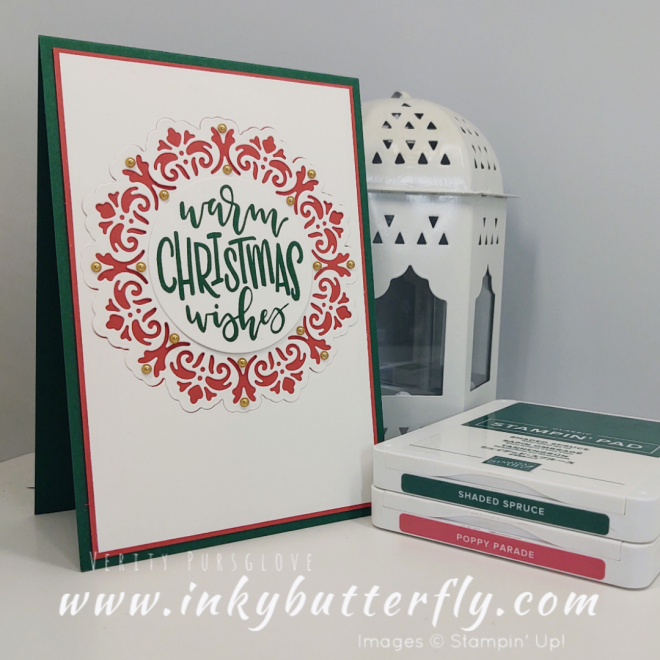
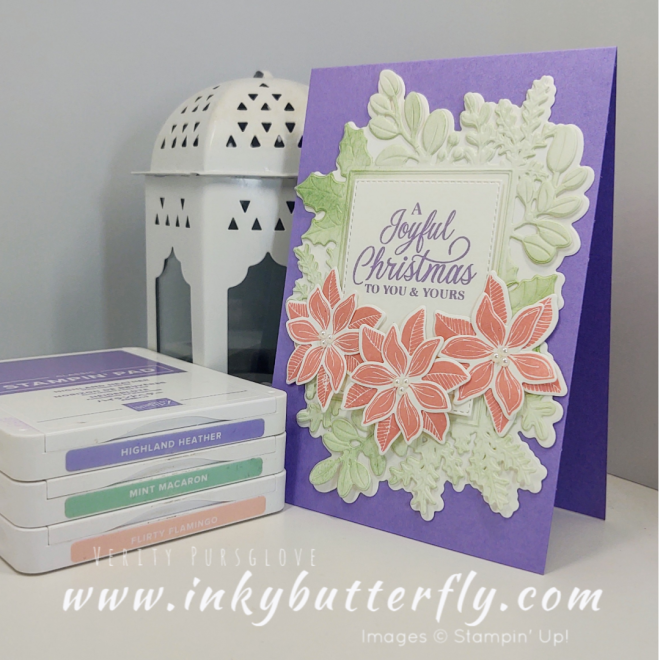
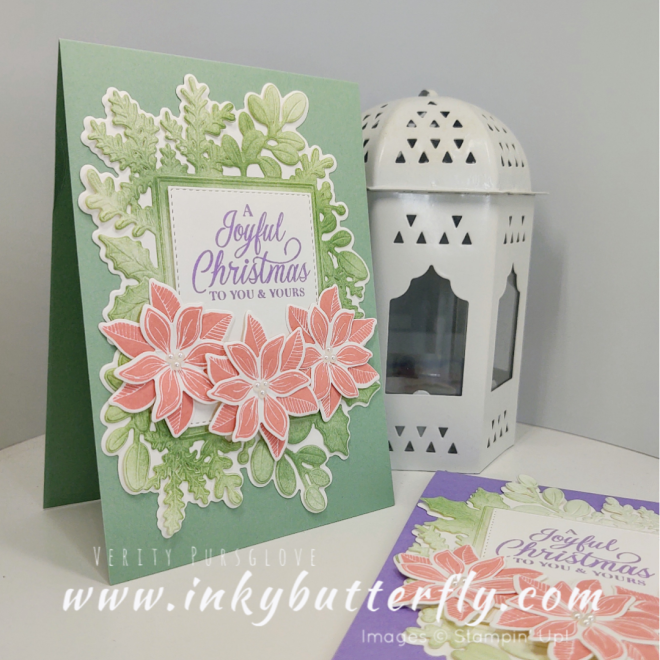
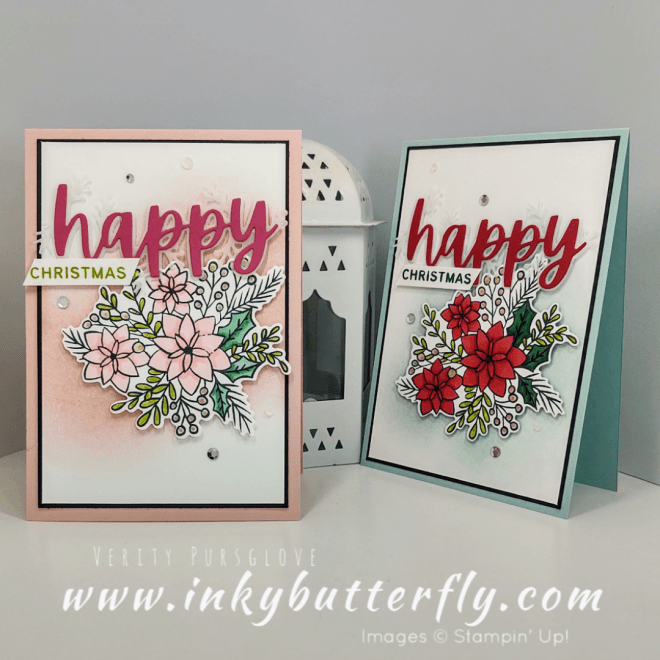
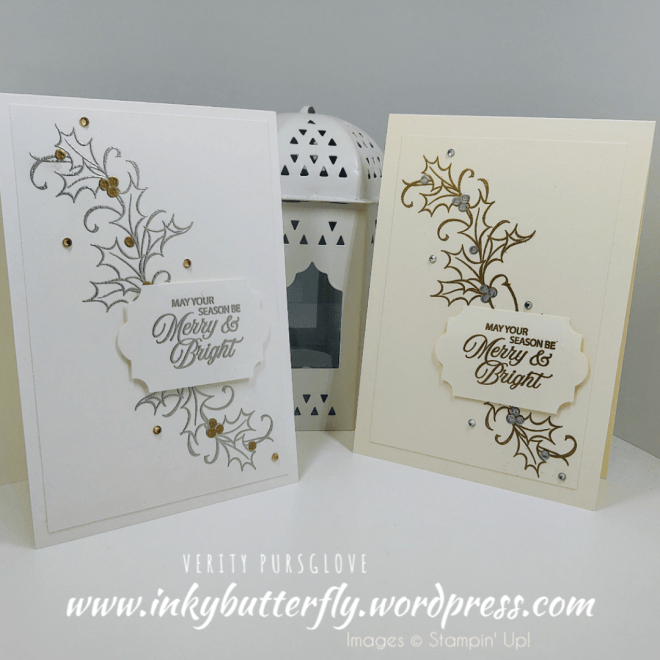
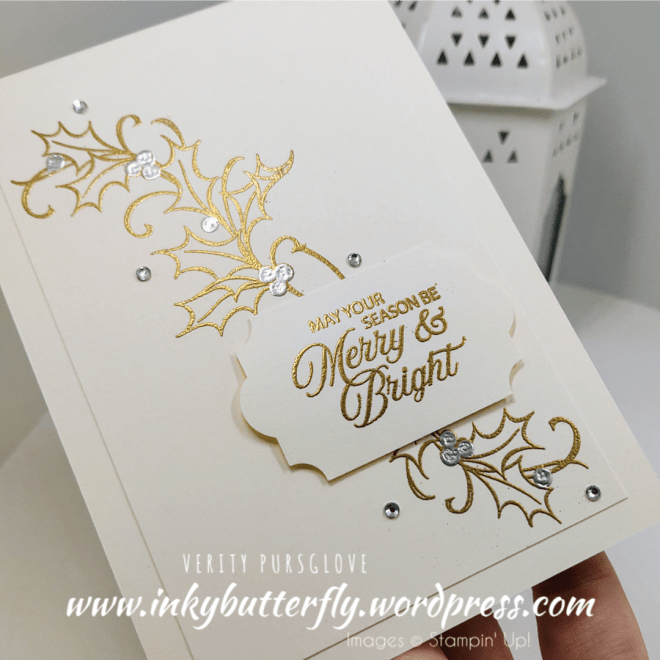
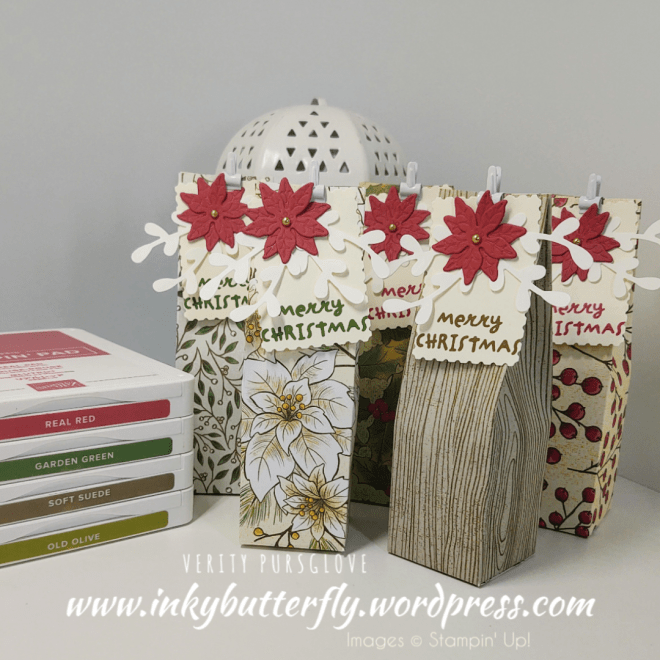
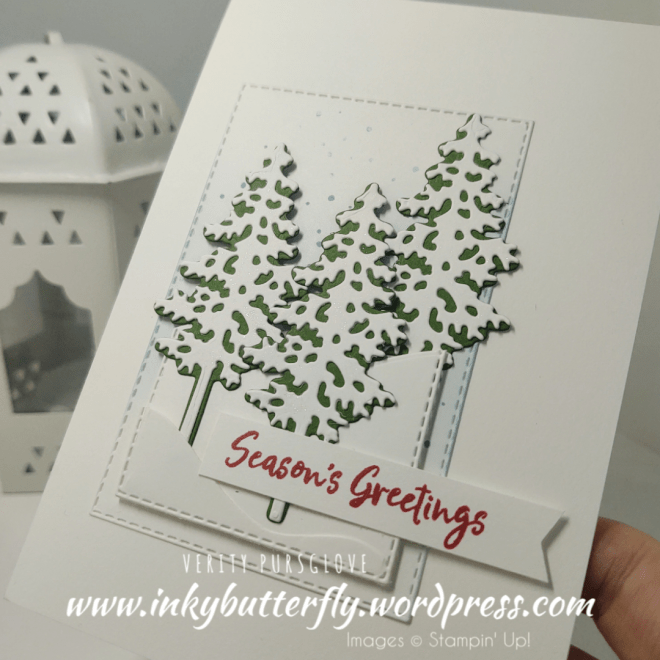
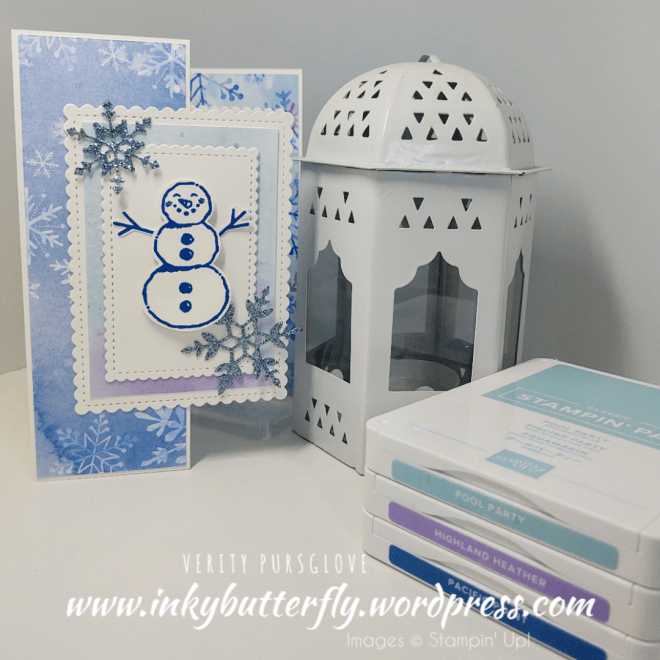
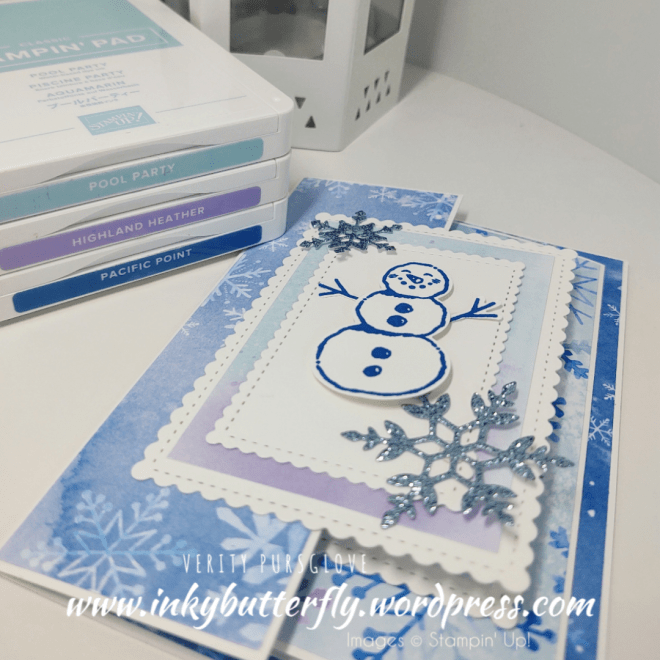
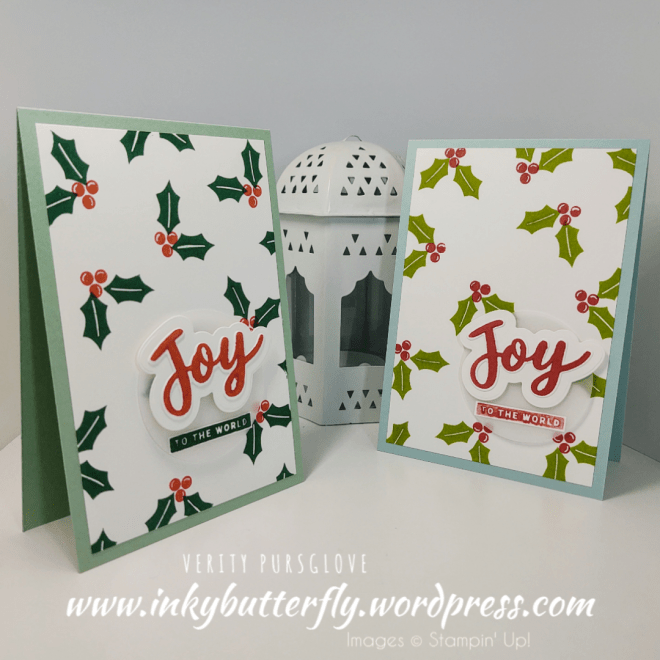
This sample uses more die cut, 12 in total, and uses a mixture of leaves in Shaded Spruce and Granny Apple Green. The sentiment is stamped with Poppy Parade.
I hope you enjoyed this project.
The supplies used are listed and linked to the online store below.
If your order is less than £150, use the Hostess Code PBNW9JZN when placing your order to get an extra gift from me!
I would love to be your demonstrator.
Thanks for stopping by today and happy Stampin’!
Verity xx
Product List
")


 Metallic Ribbon")


")


")


")


")
")


")
")


")


")

")


")


")