Hello Everyone,
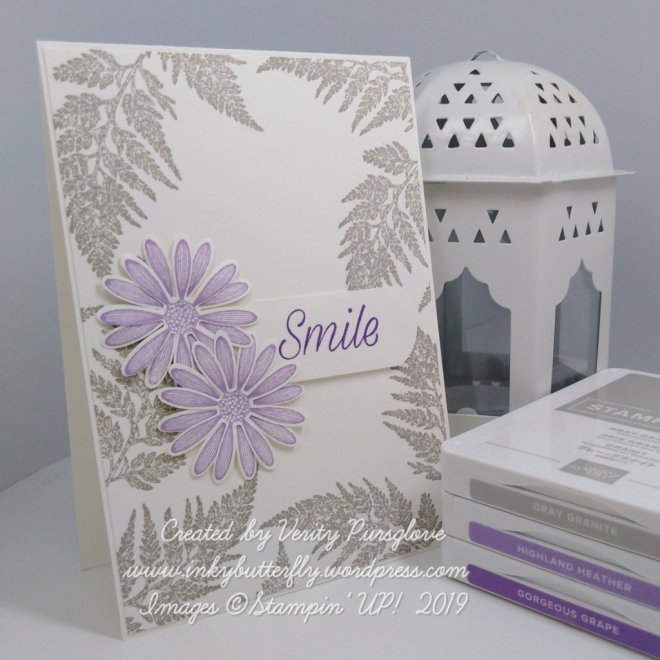
There was a little challenge set in our team Facebook group this weekend…. Keep it simple – one stamp set, one colour and one embellishment.
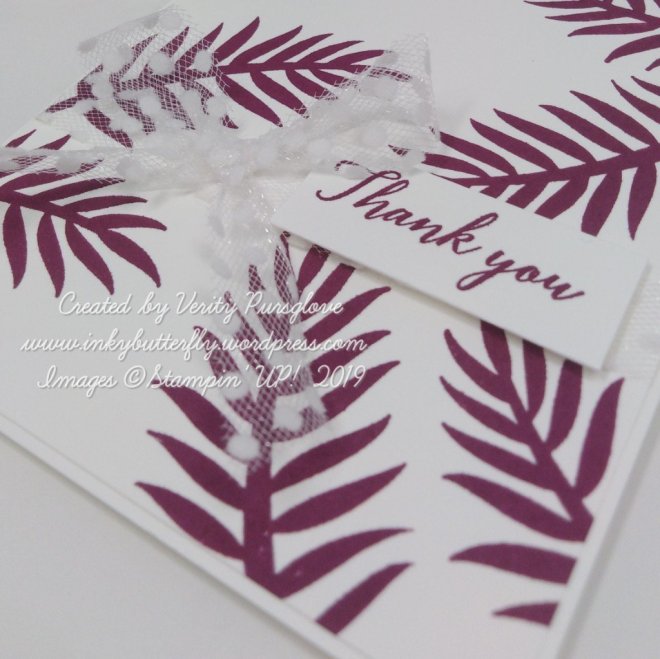
I picked out;
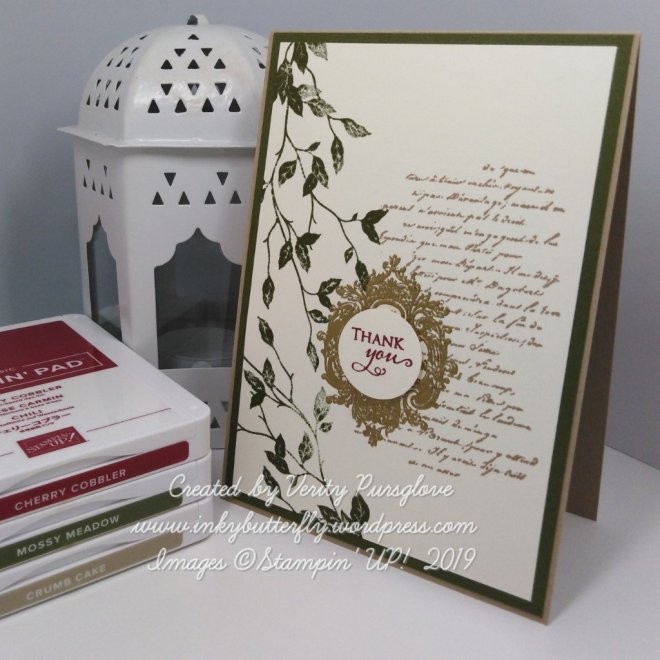
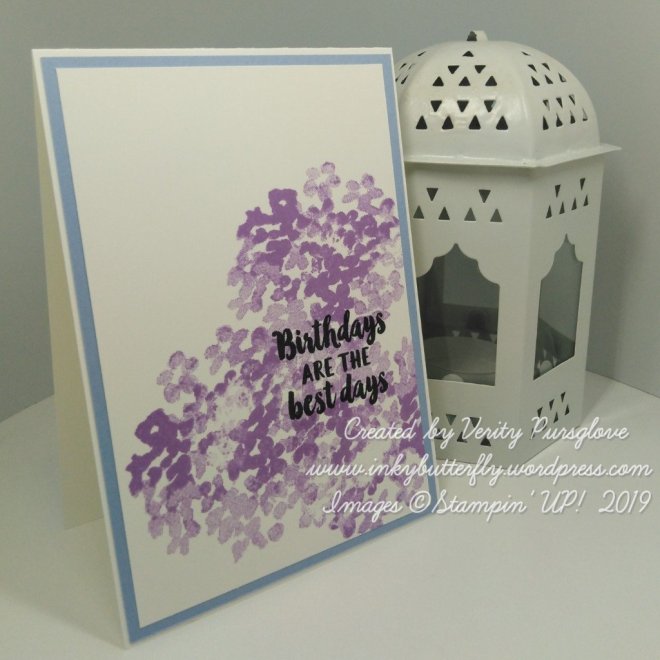
- Tropical Chic,
- Rich Razzleberry ink,
- Polka Dot Tulle ribbon.
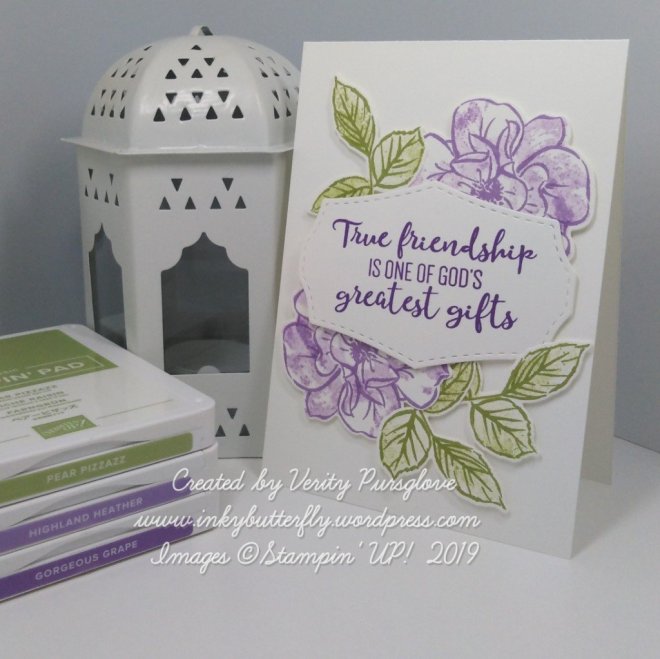
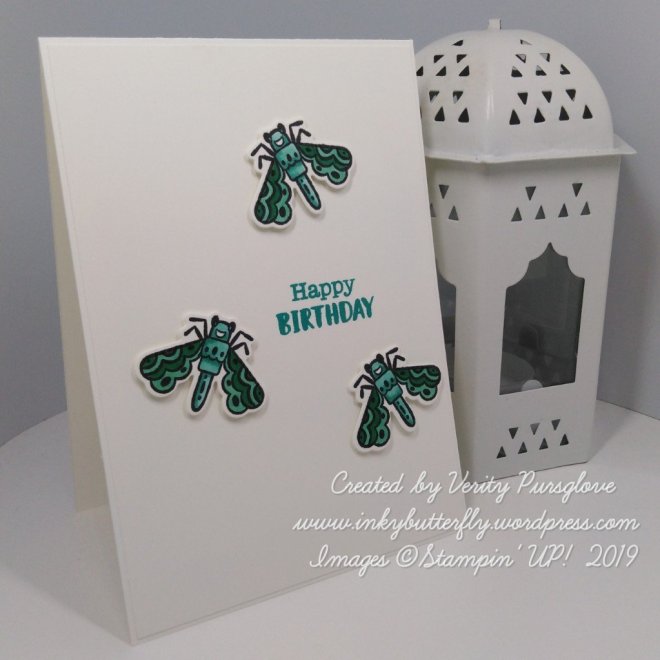
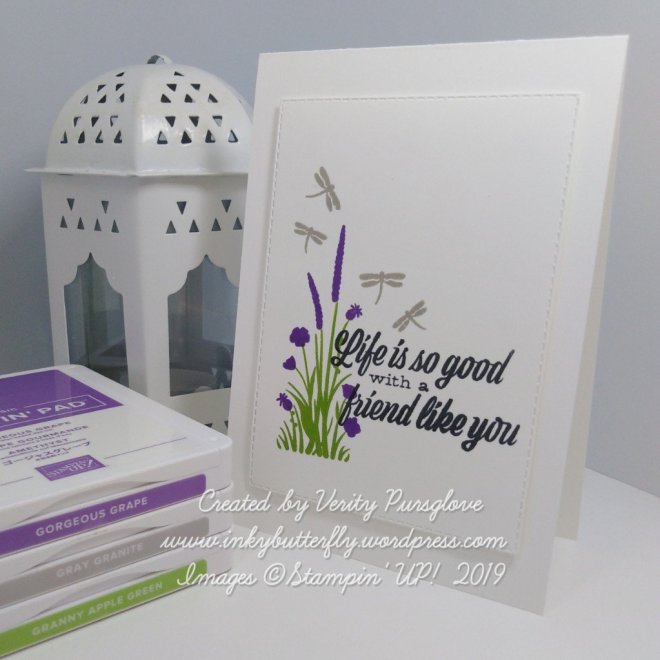
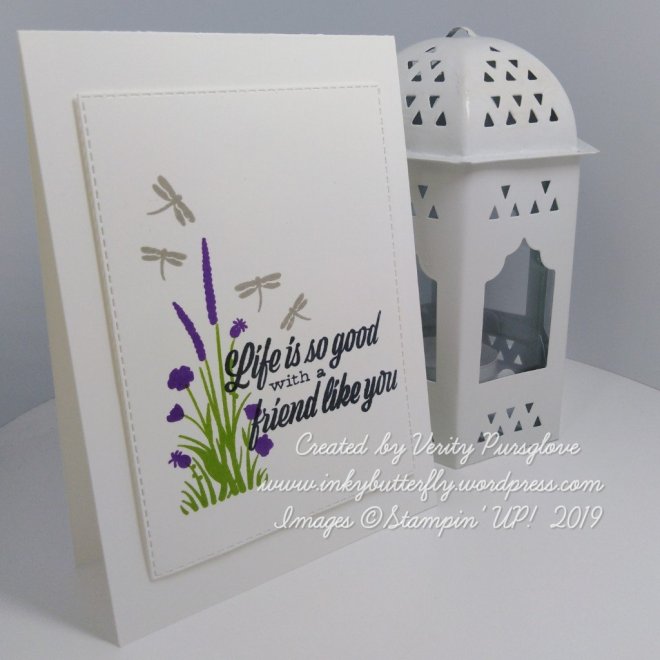
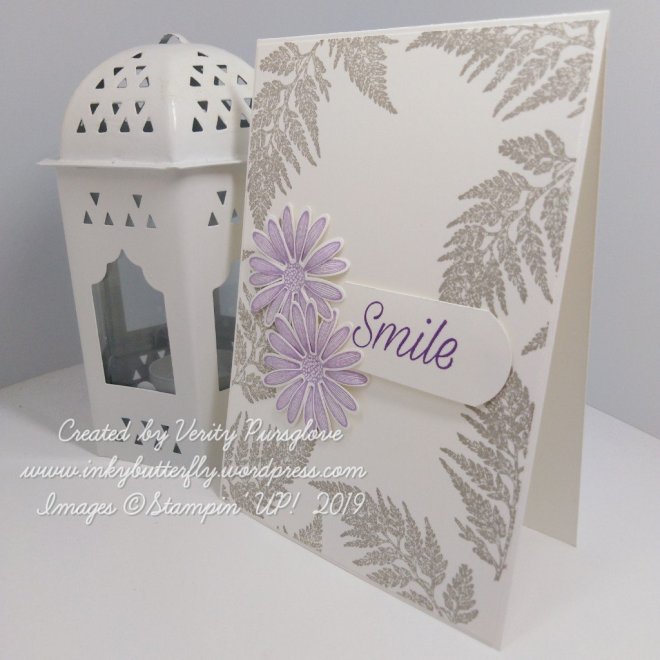
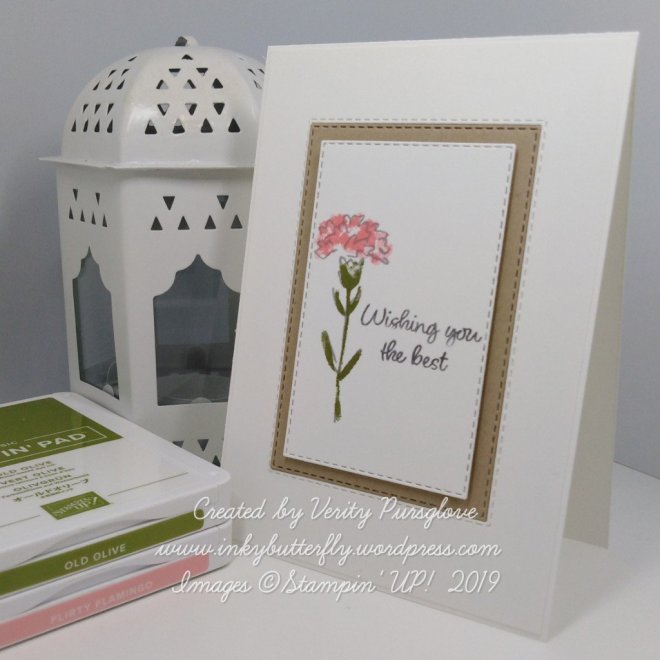
And this is what I came up with… Super easy to achieve whether you are a beginner or more experienced stamper.
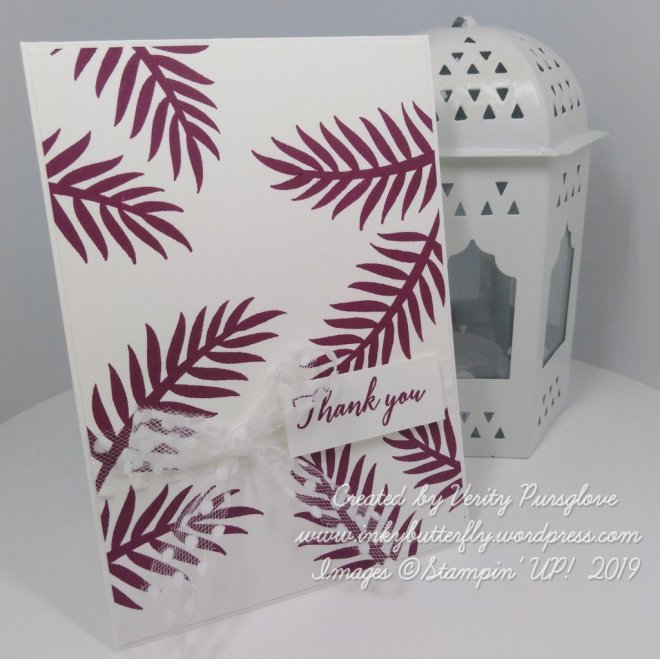
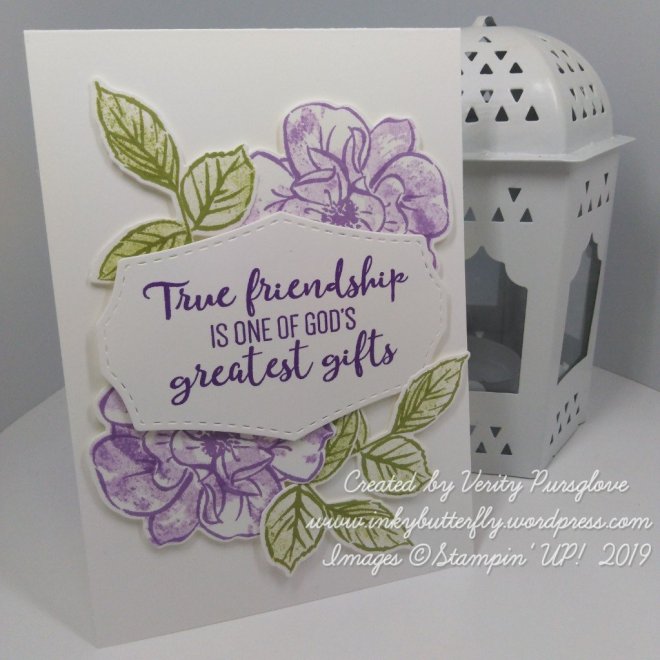
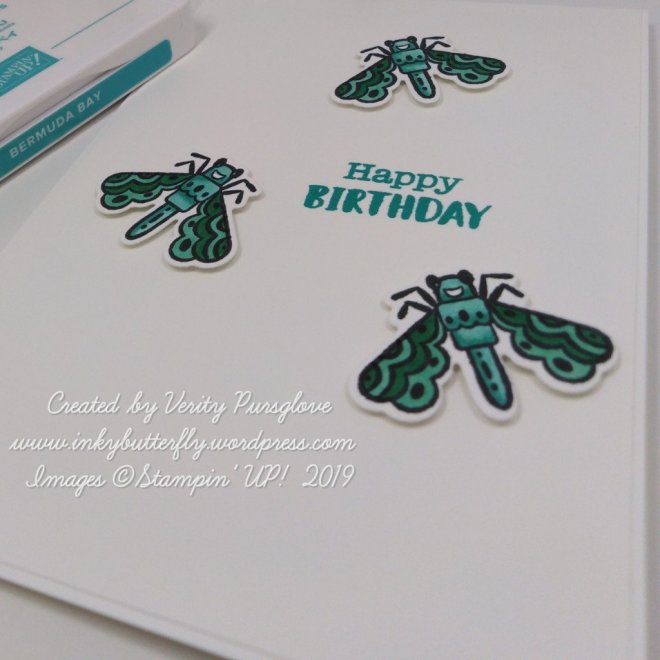
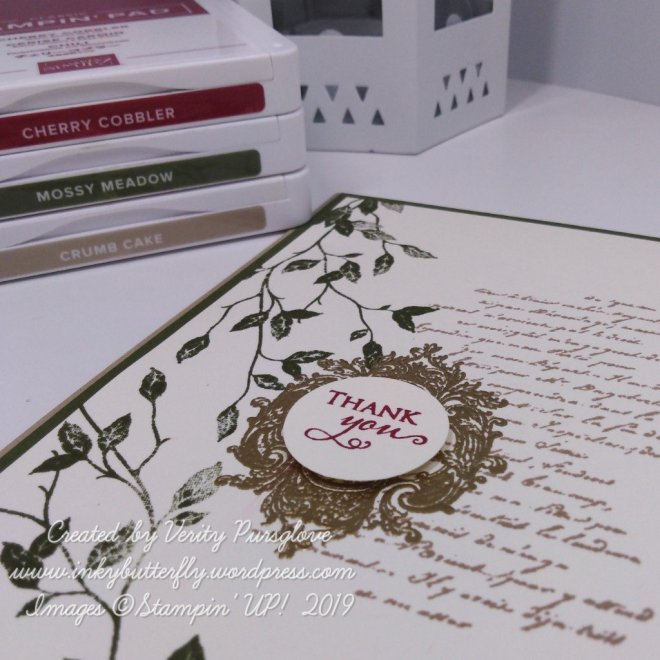
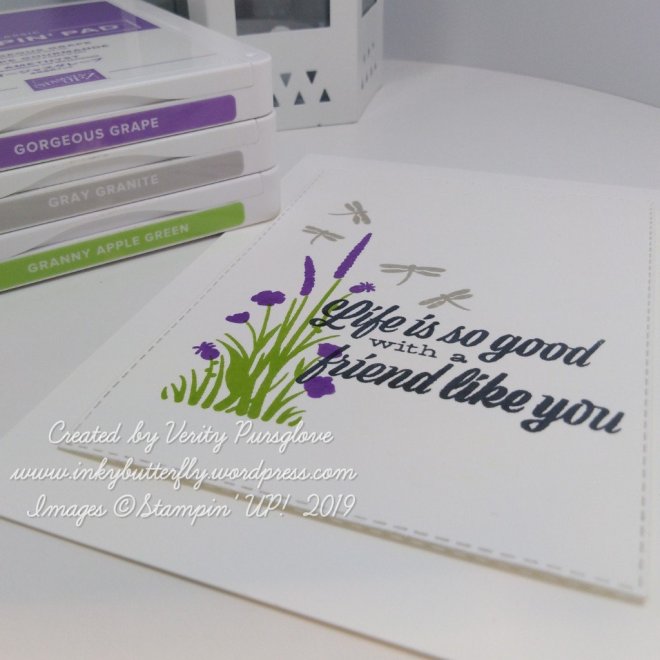
I stamped the leaves first overlapping the edges of the card layer.
The Tulle ribbon was added toward the bottom and tied in a bow. The layer was added to a white card base.
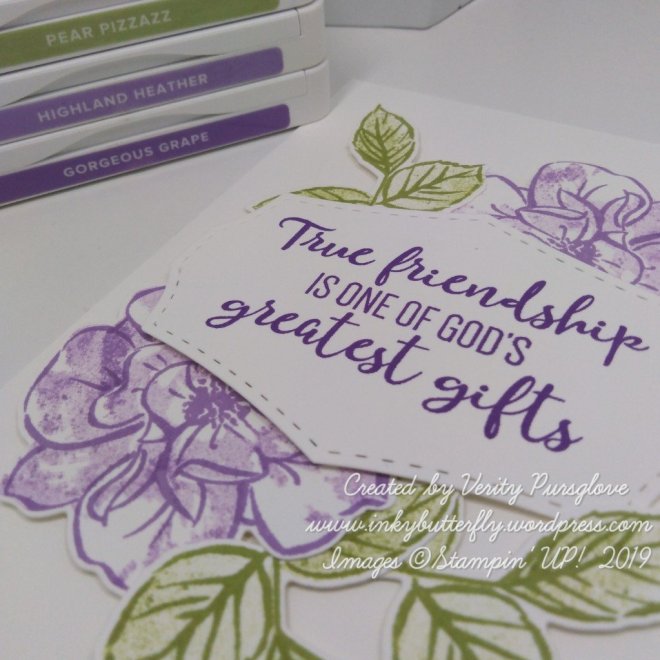
The sentiment was stamped next on to a strip of card stock and adhered with dimensionals.
I hope you enjoyed this project. The supplies used are listed and linked to the online store below.
I would love to be your demonstrator.

Why not join my team and enjoy discounted prices on your favourite Stampin’ supplies!

Thanks for stopping by today and happy Stampin’!
Verity xx
Product List

|