Good Morning,
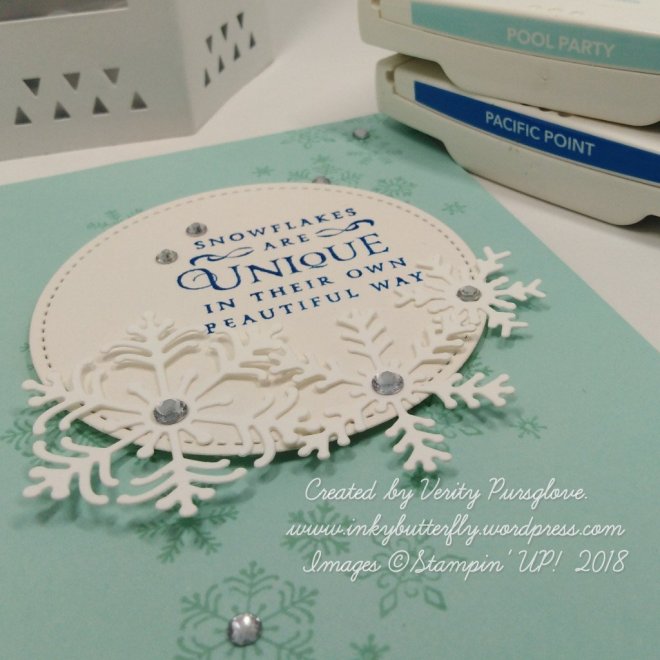
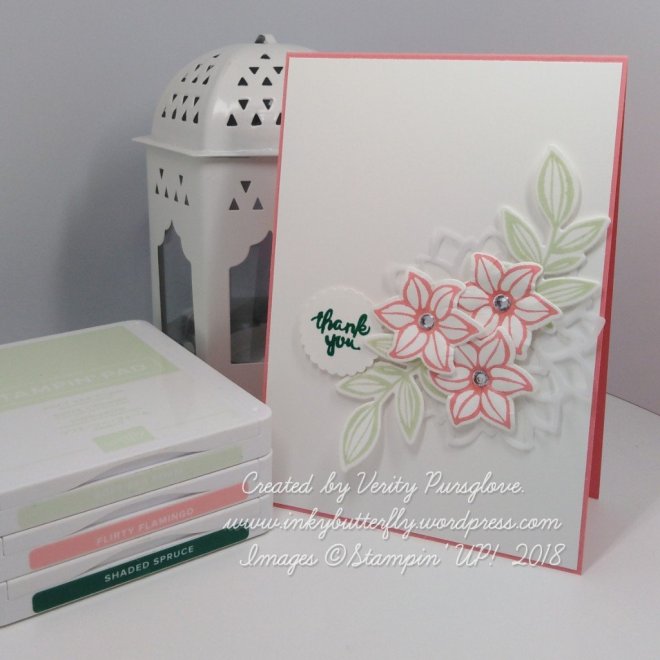
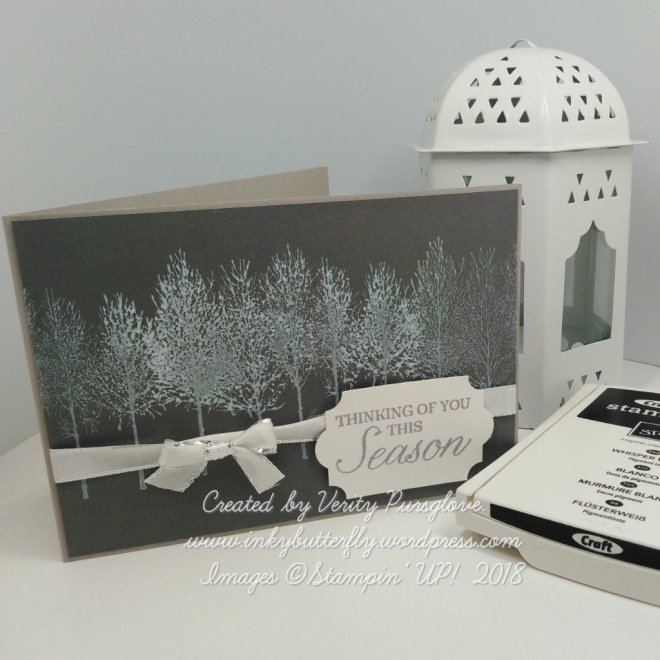
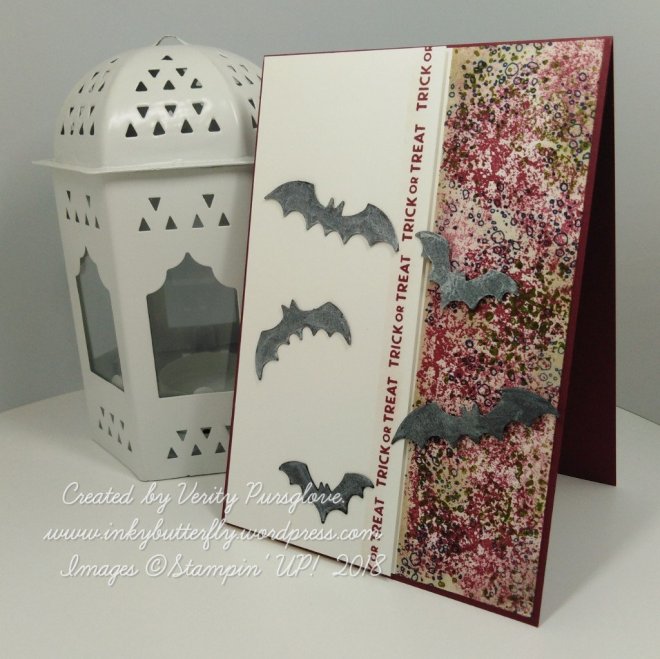
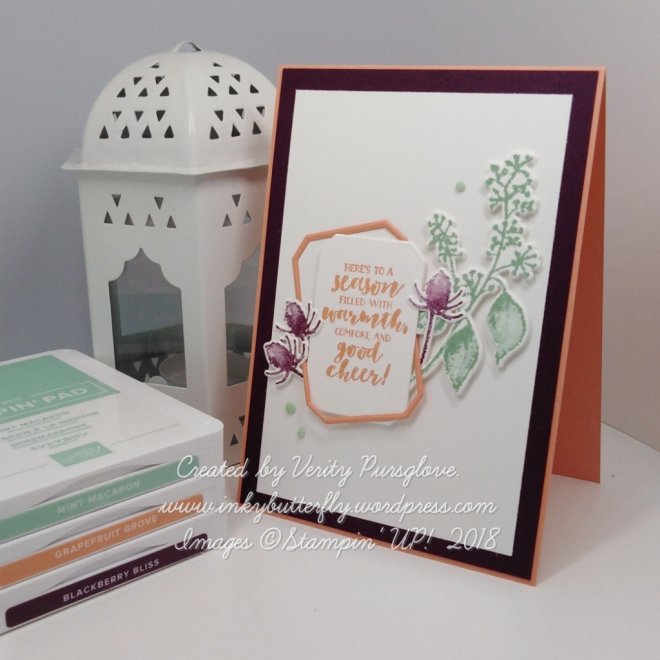
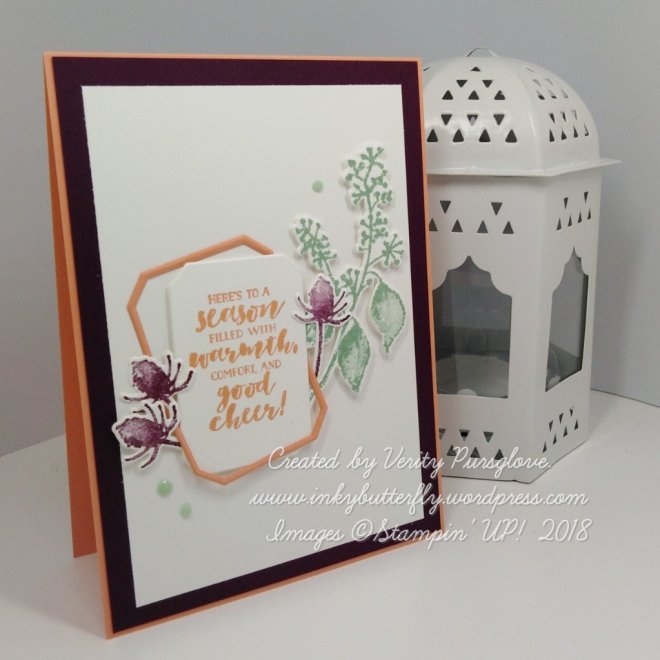
After the chaos of storm Callum here in the UK, here is a clean and simple card using the First Frost stamp set.
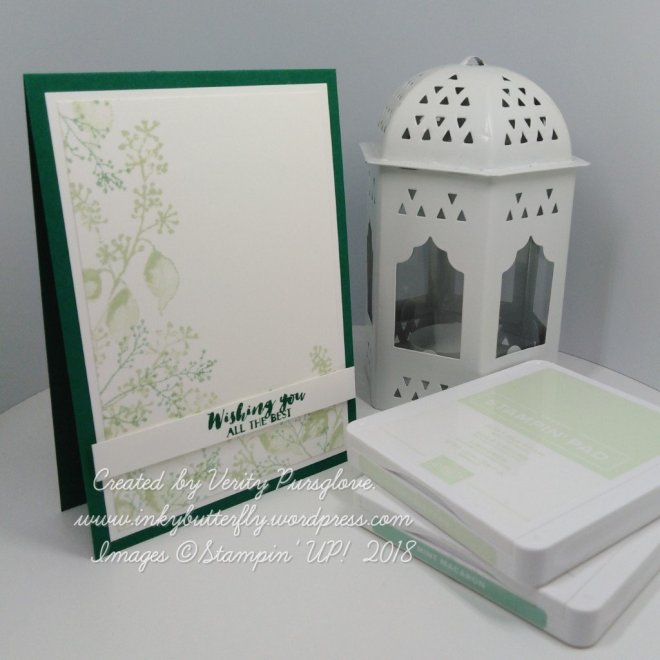
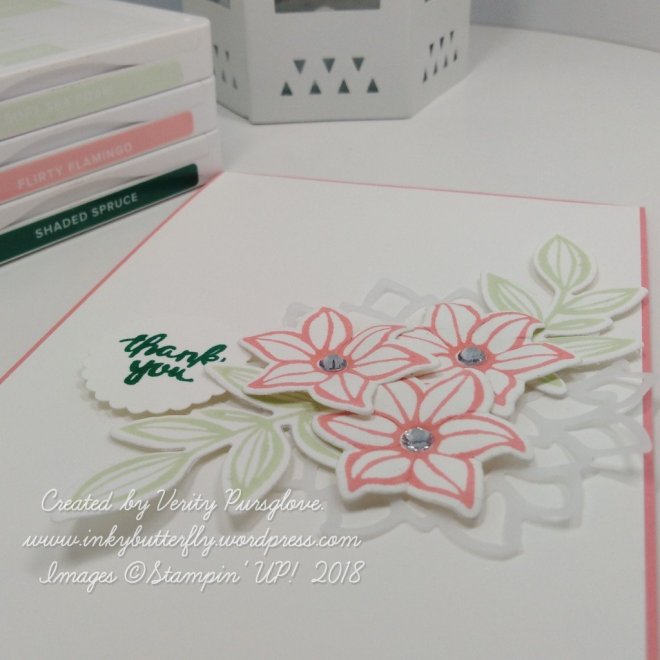
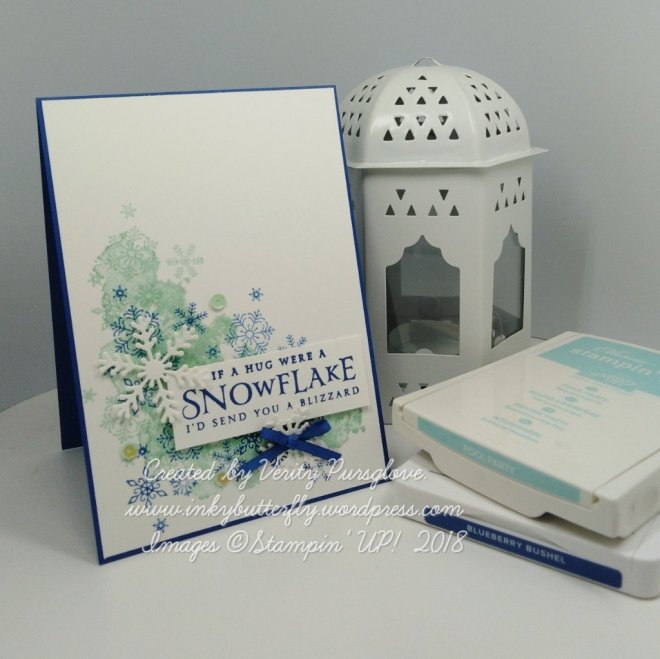
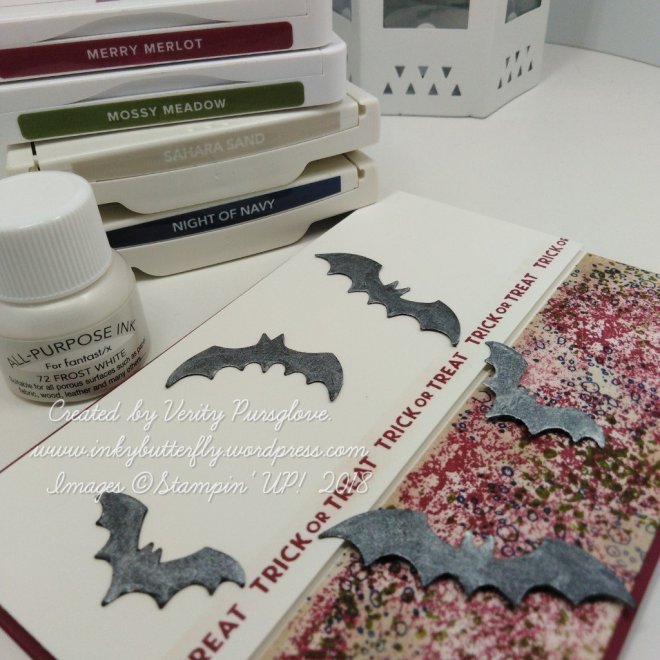
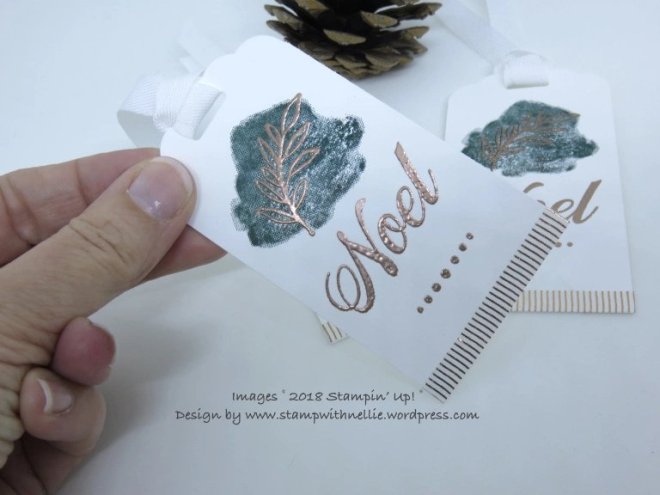
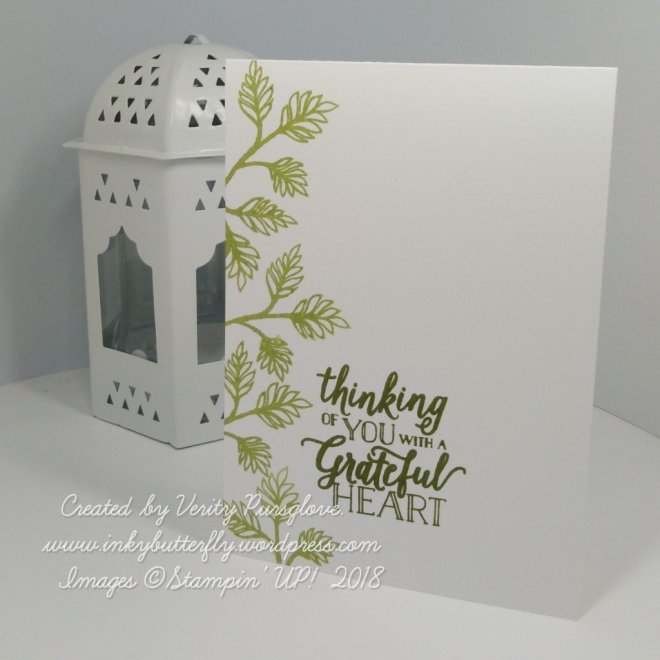
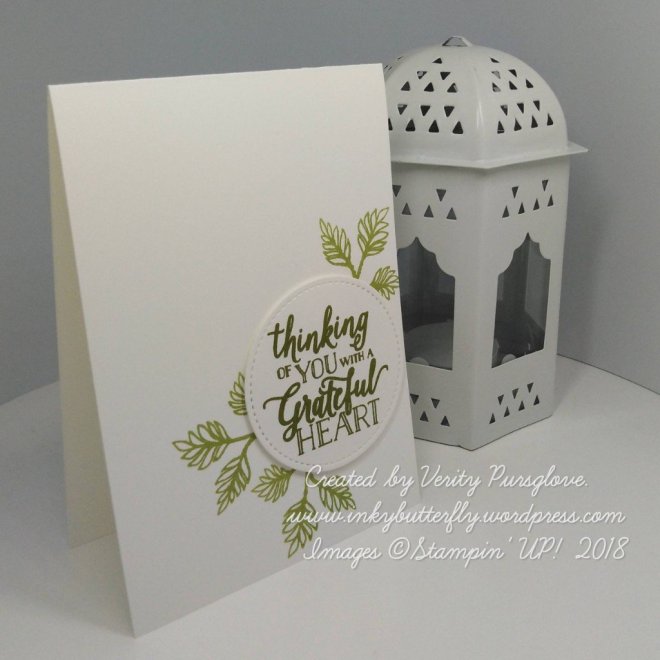
The foliage images were stamped using Soft Sea Foam and second generation Mint Macaron ink. These colours are so soft and look lovely together.
This piece was Layered on to another piece of Whisper White card stock and then on to a Shaded Spruce card base. This darker colour added some contrast.
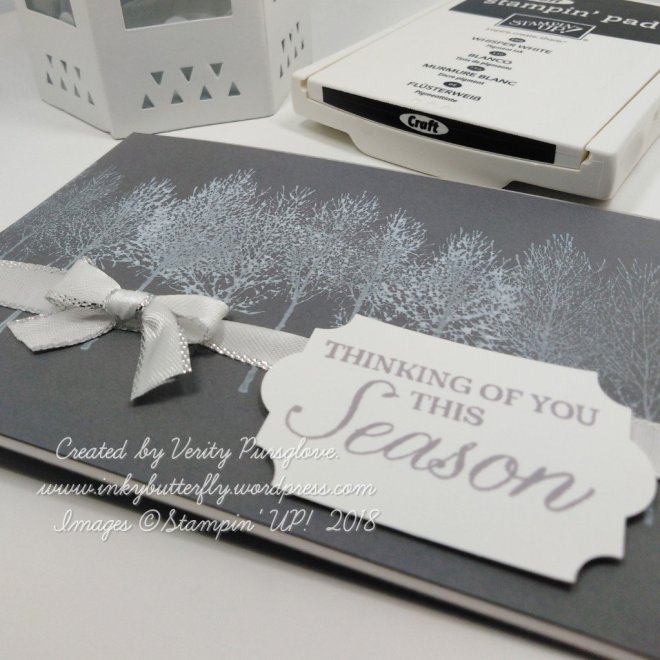
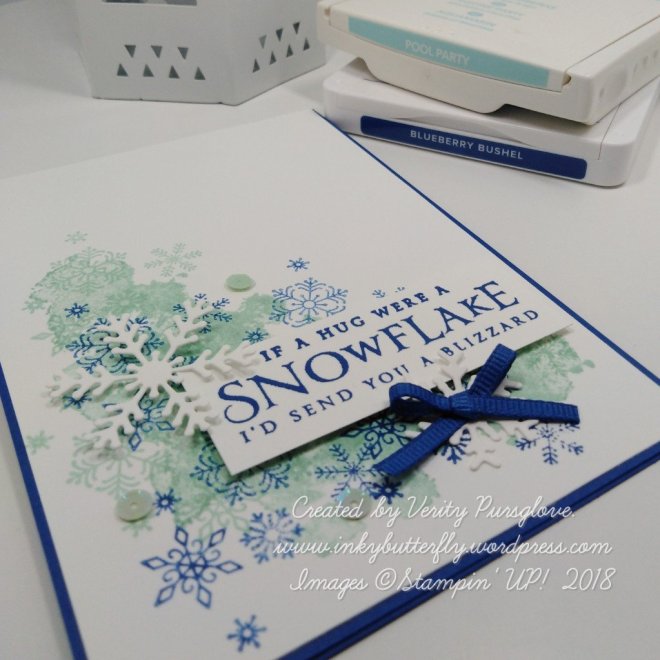
The matching ink colour was used to stamp the sentiment on to a strip of card stock. This was added at the bottom of the card with dimensionals.

I hope you enjoyed this project. The supplies used are listed and linked to the online store below.
I would love to be your demonstrator.
Thanks for stopping by today and happy Stampin’!
Verity xx
Product List

|

|

|

|

|

|