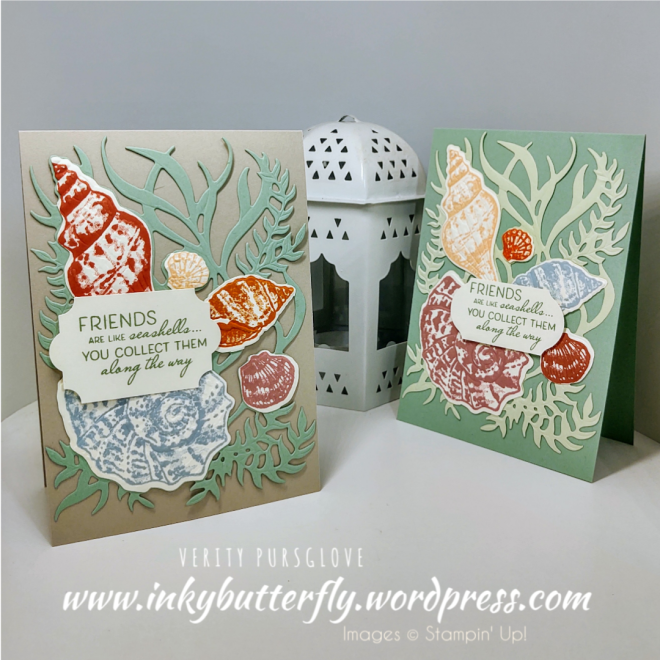
Welcome to this week’s Project Share. As always my friends have created some lovely work. Please use the links to visit their blogs and read more about their projects.
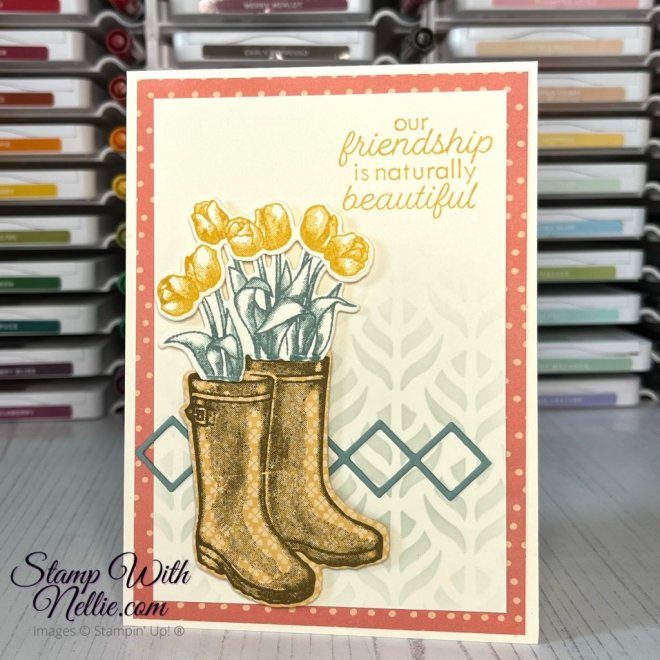
Jill’s card is perfect to send to someone just because you are thinking of them!
Welcome to this week’s Project Share. As always my friends have created some lovely work. Please use the links to visit their blogs and read more about their projects.
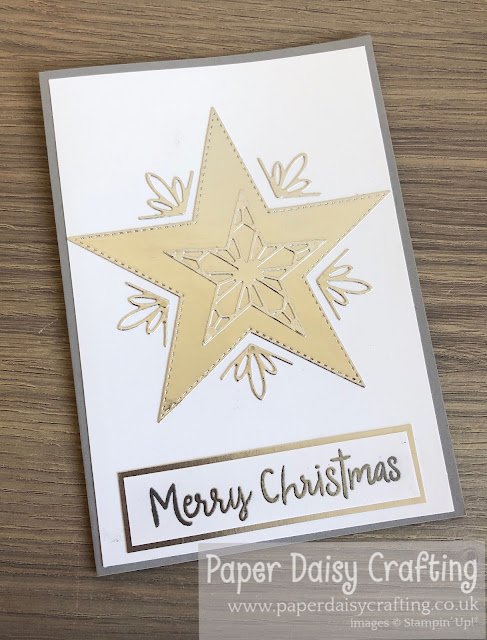
Jill has been die cutting foil sheets to make some really special Christmas cards!
I’m showcasing some new products in a You Tube Video Hop today! There are a number of ladies in our team participating, it would be great if you would take the time to view their channels, like and subscribe!
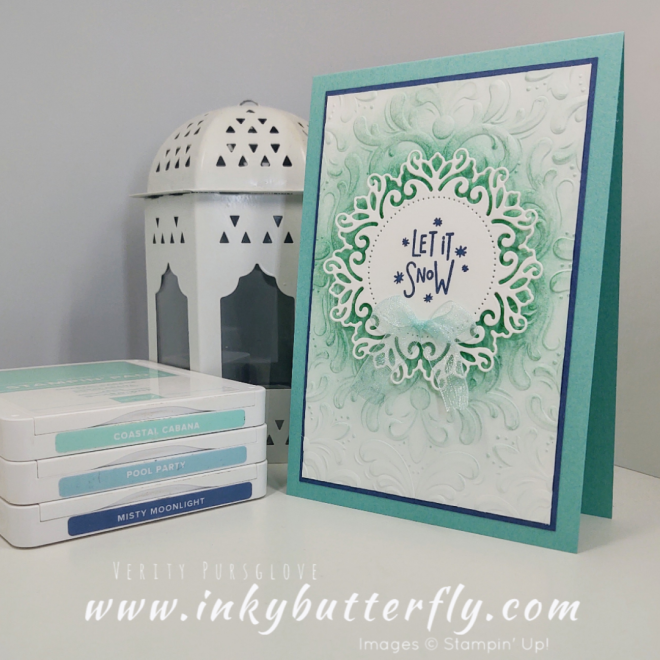
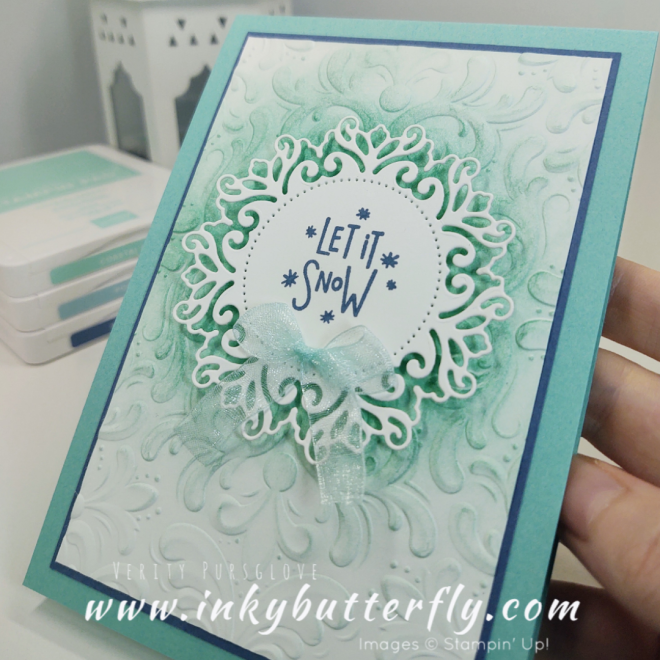
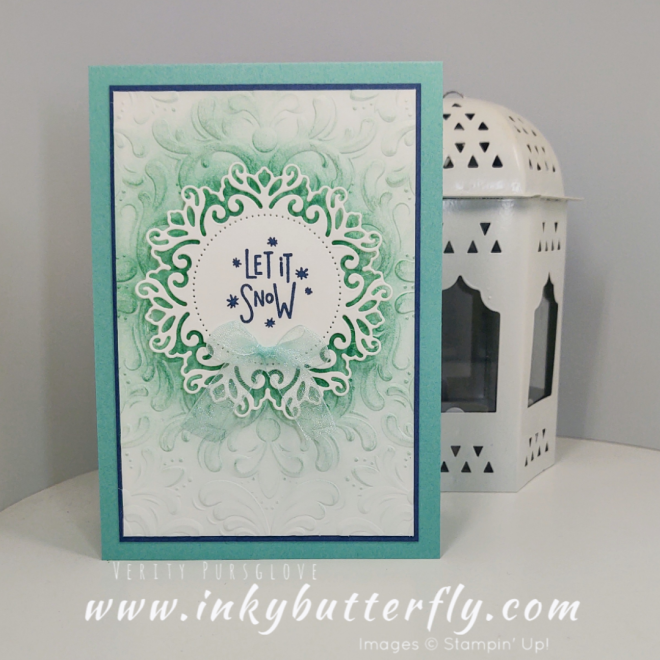
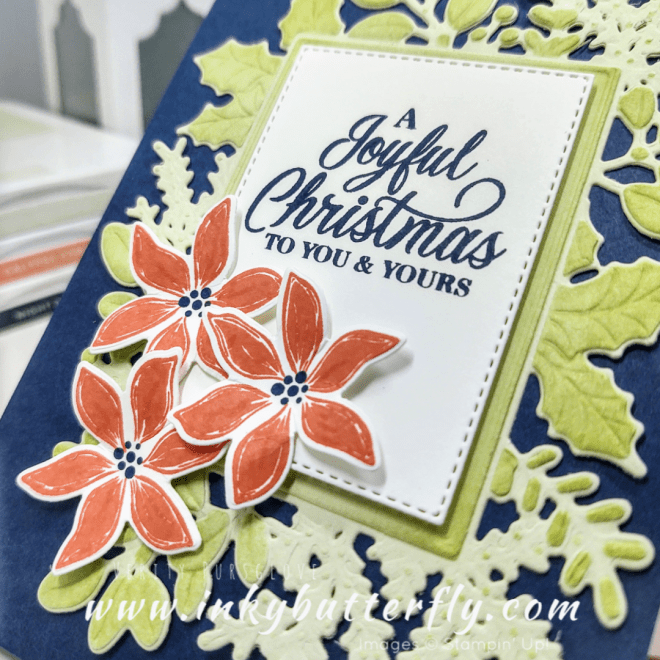
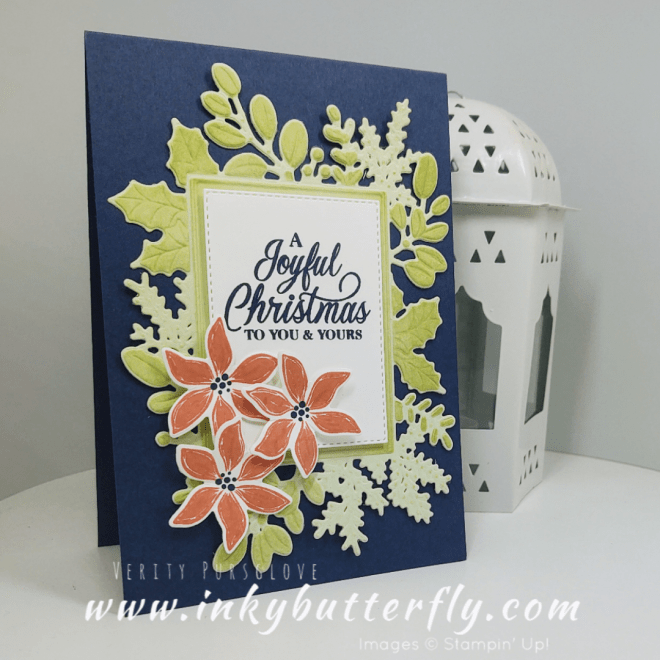
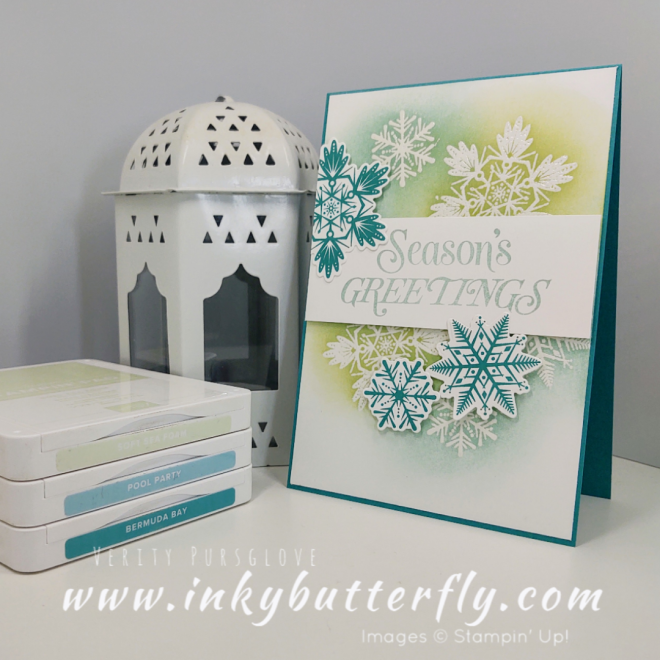
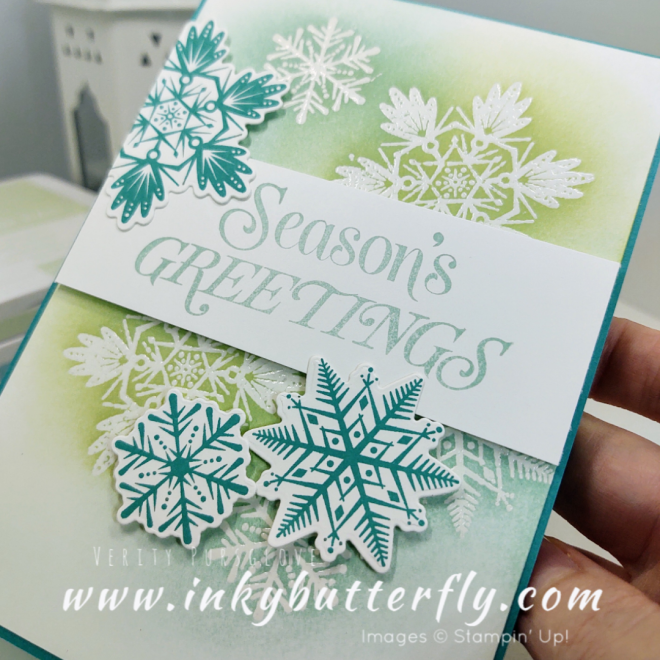
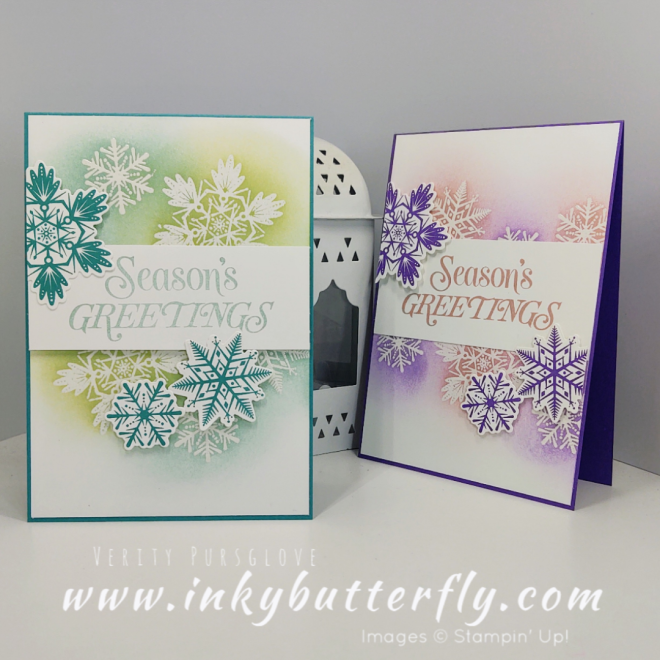
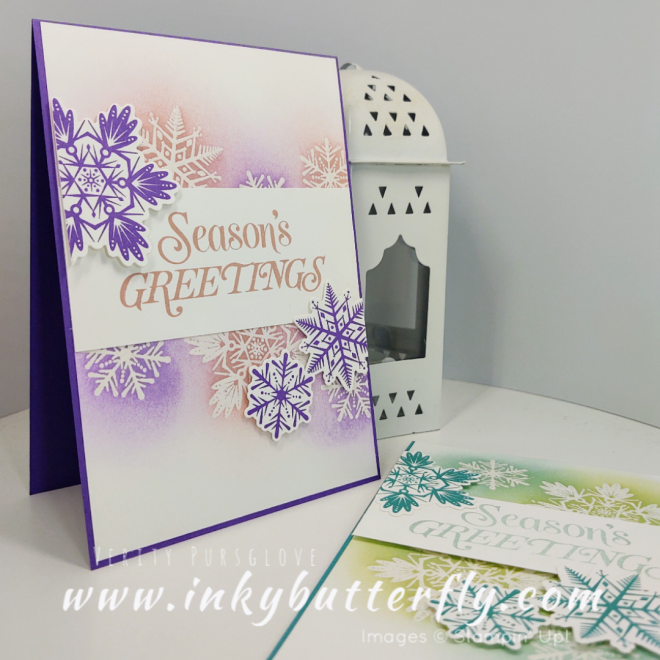
You can start with my video tutorial featuring the Merry Snowflakes bundle…..
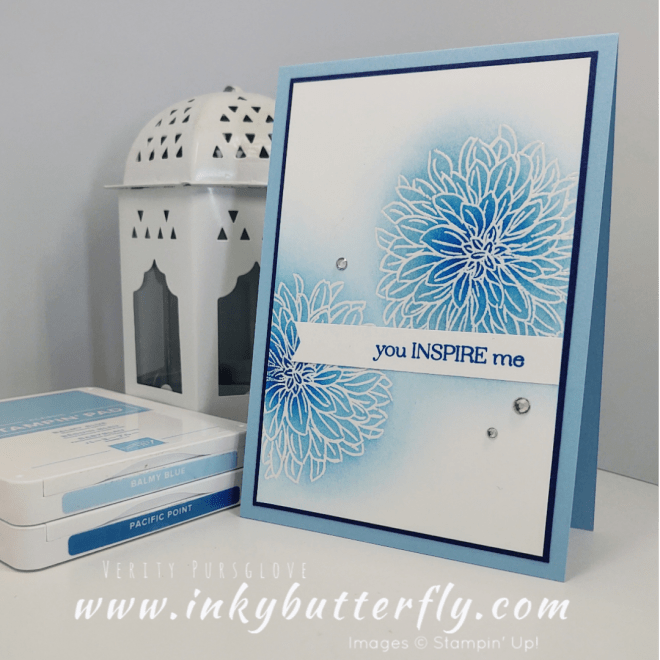
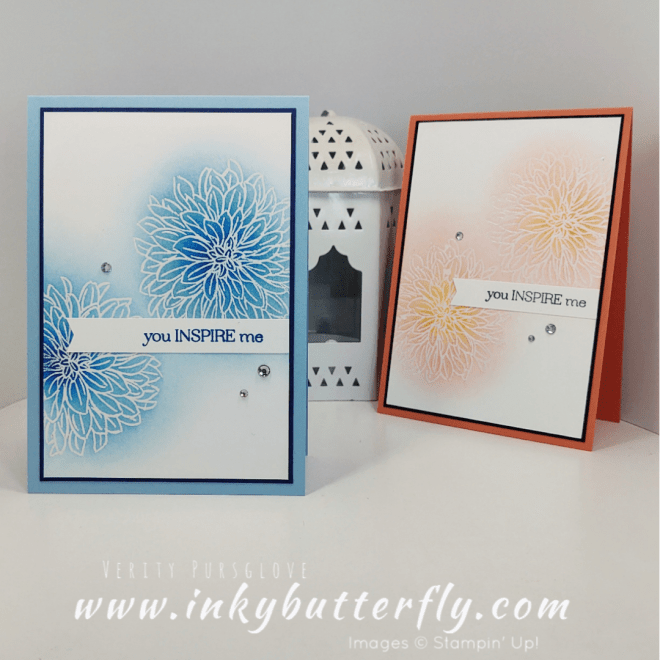
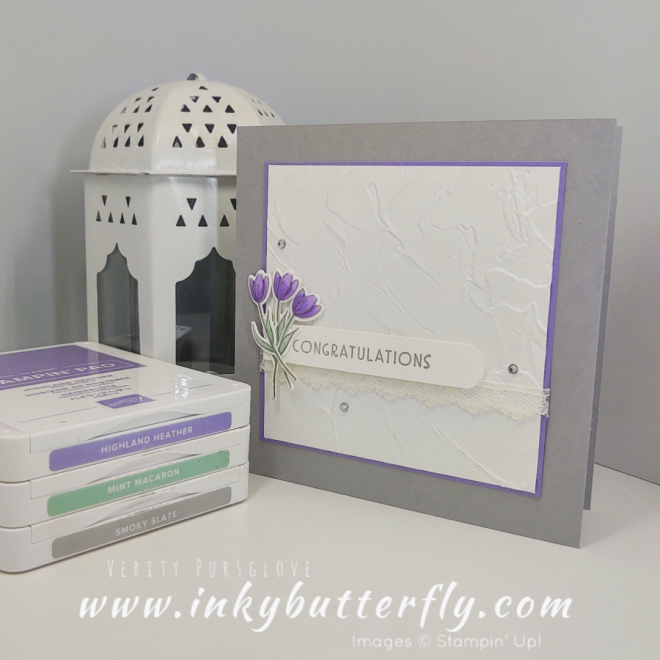
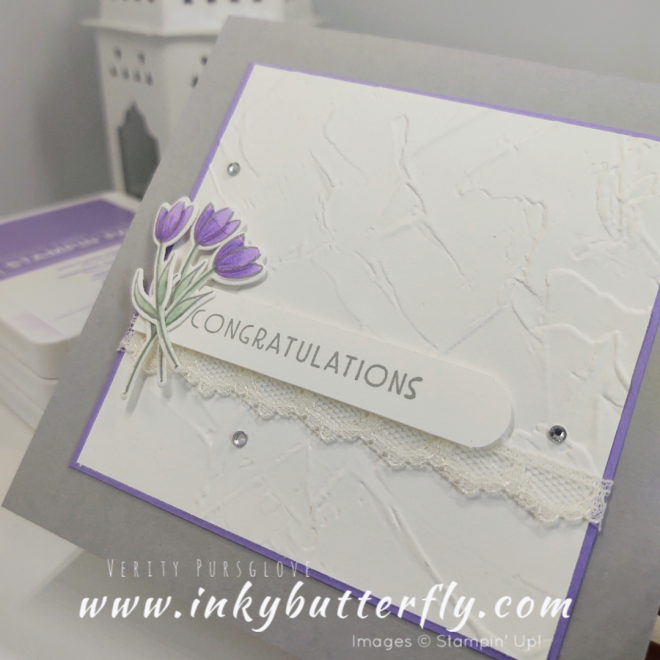
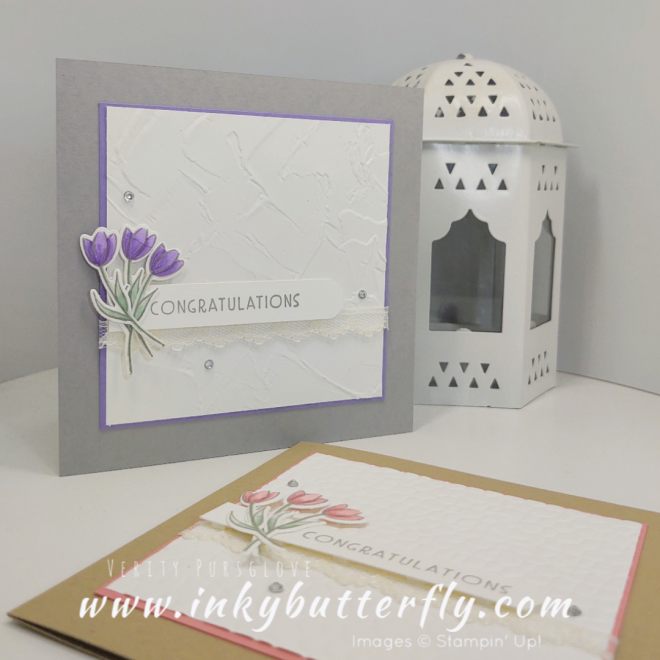
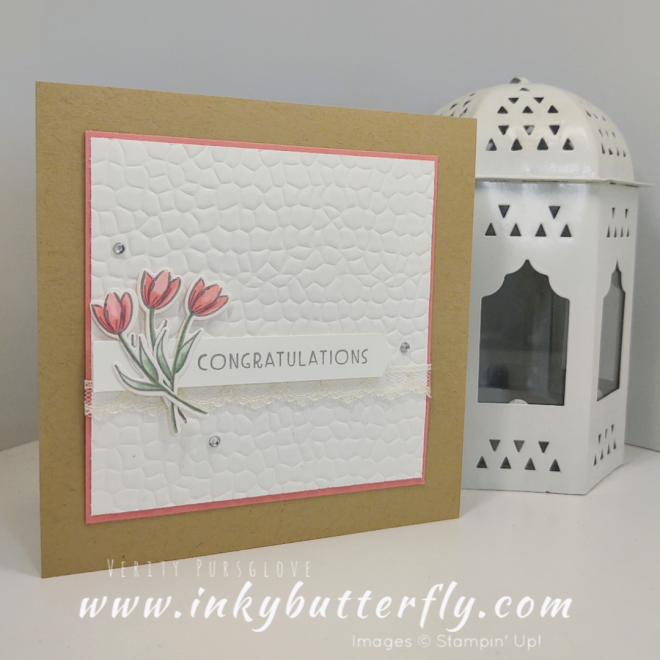
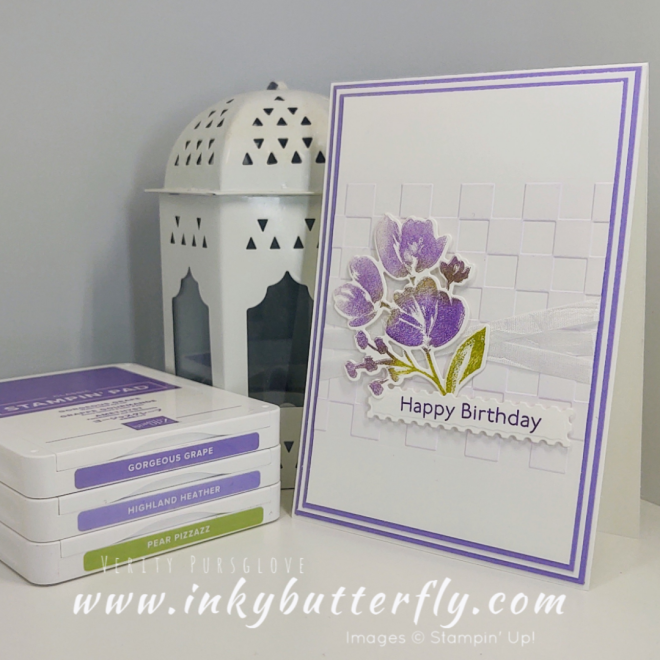
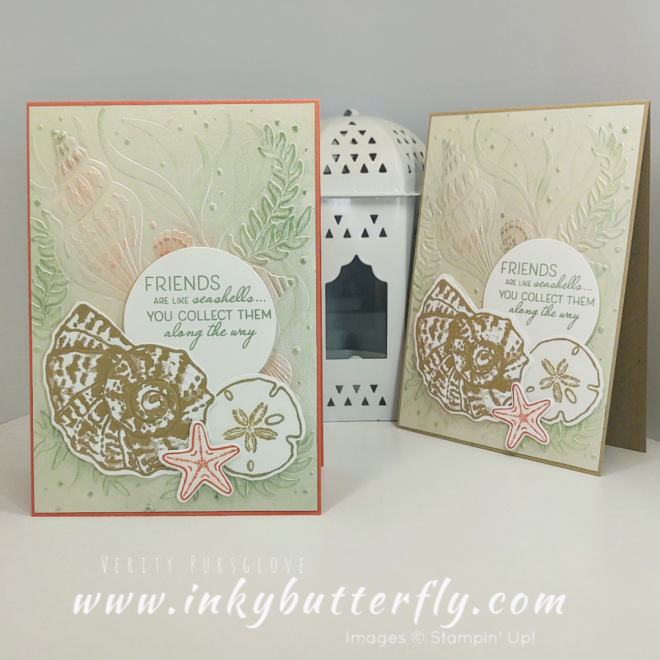
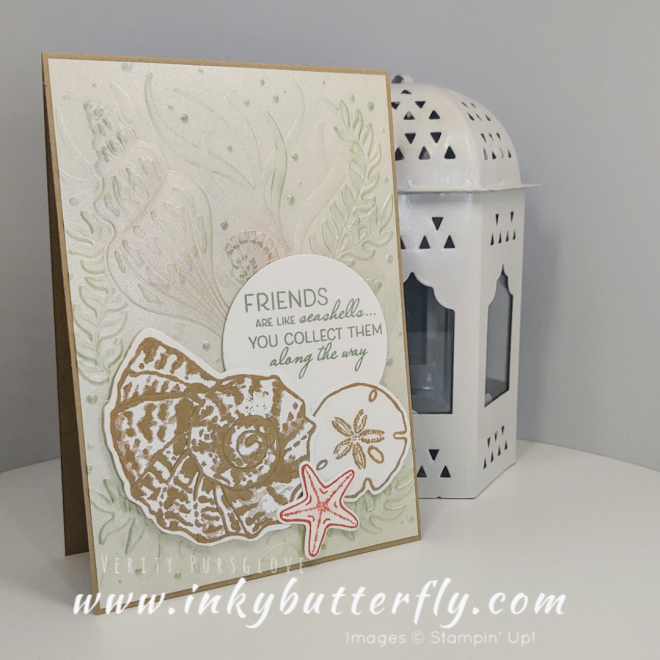
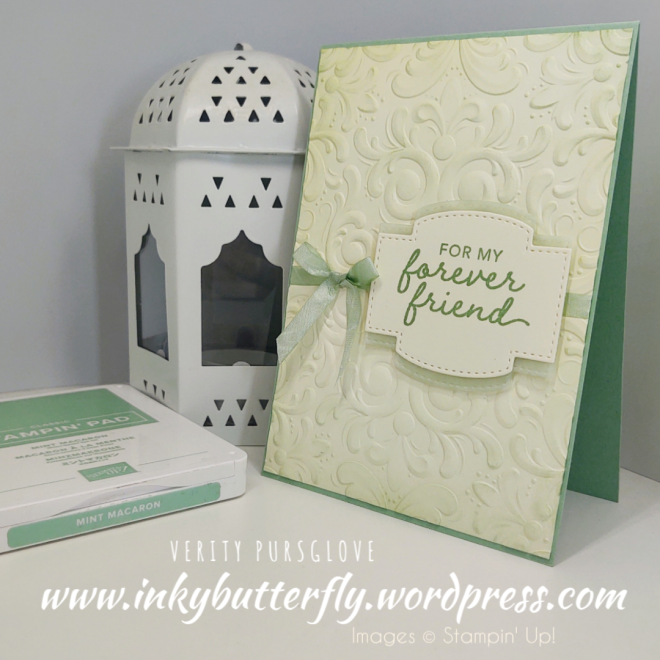
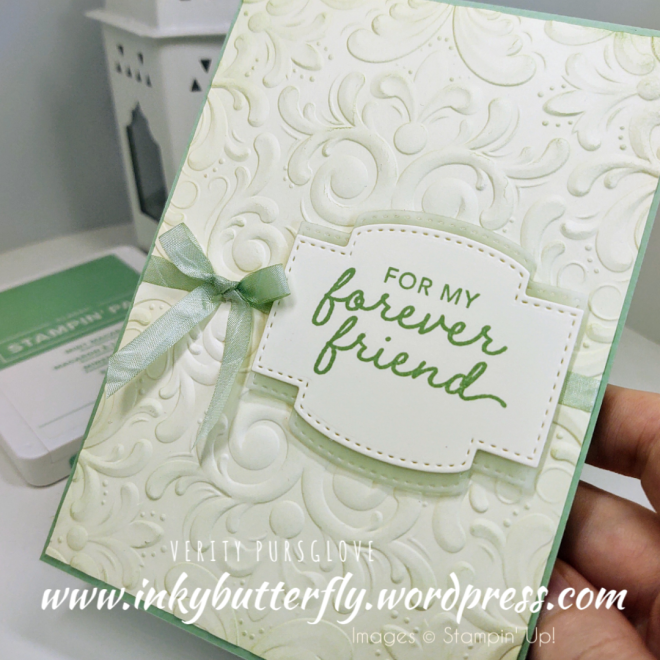
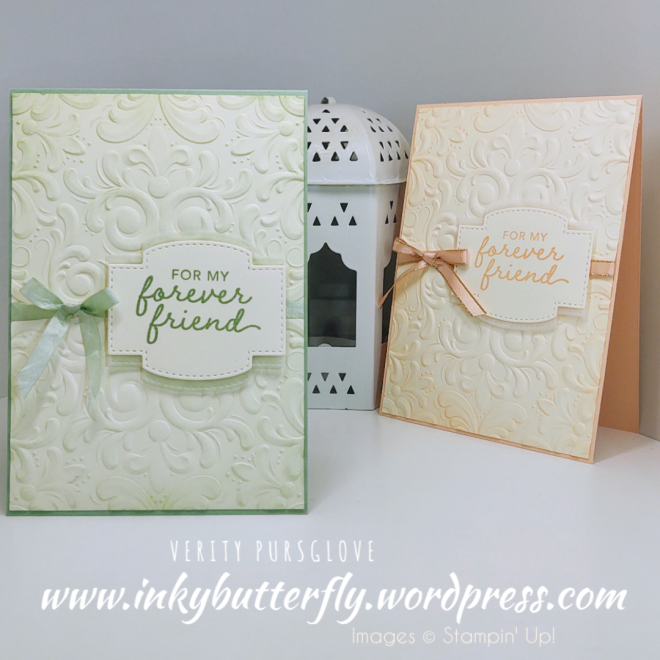
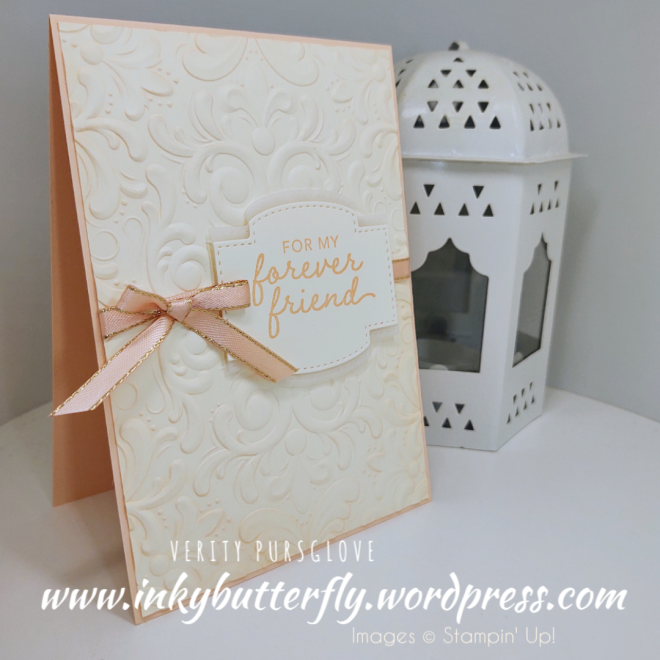
I love the emboss resist technique. It’s simple to do but so effective!
I’d love to know which card is your favourite!
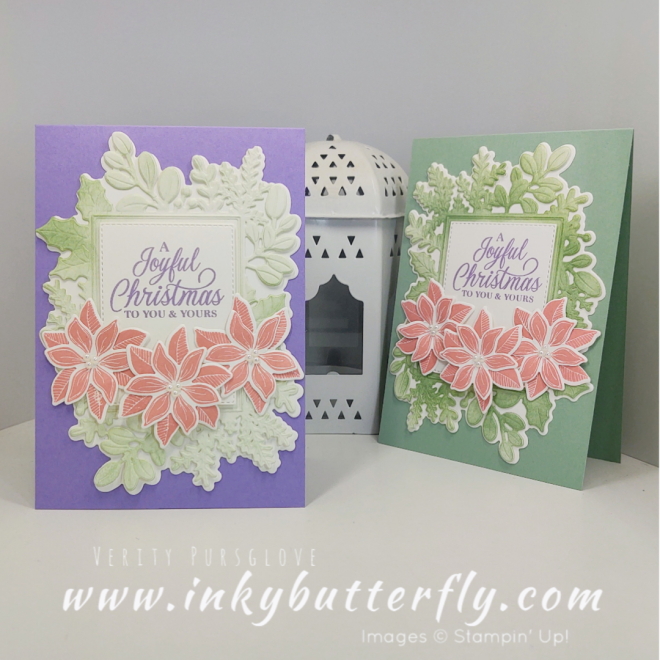
For this sample I used Blushing Bride, Highland Heather and Gorgeous Grape!
I hope you enjoyed this project.
The supplies used are listed and linked to the online store below.
If your order is less than £150, use the Hostess Code YESHEZSG when placing your order to get an extra gift from me!
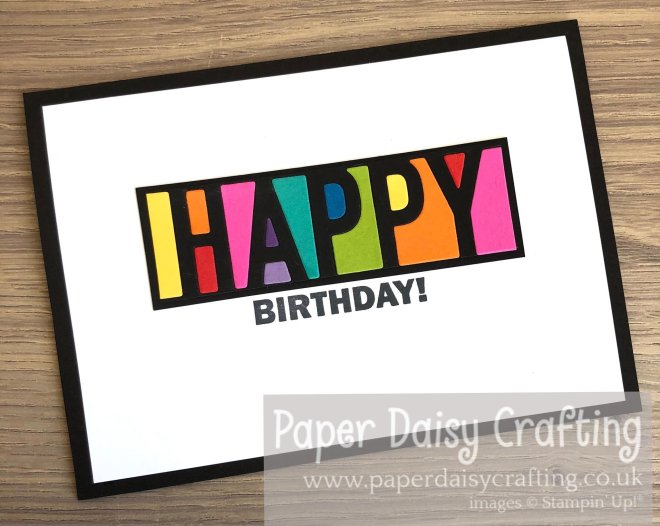
Welcome to this week’s Project Share. As always my friends have created some lovely work. Please use the links to visit their blogs and read more about their projects.
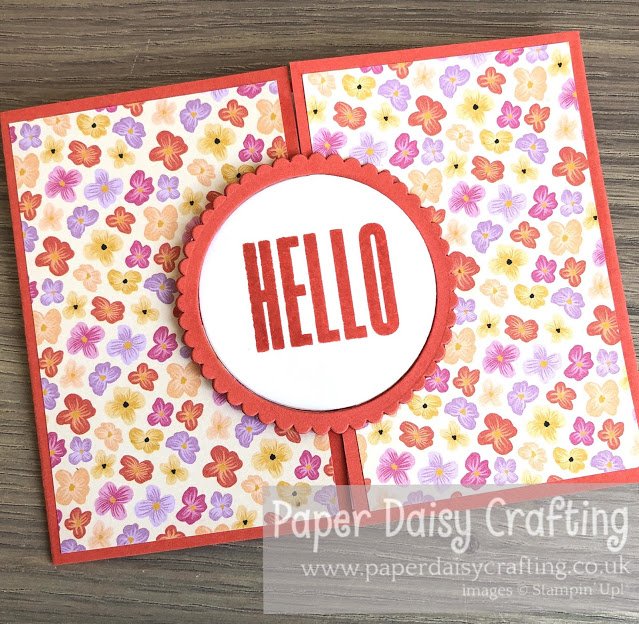
Jill has made this lovely bright fancy fold card with the Pansy Petals designer series paper.
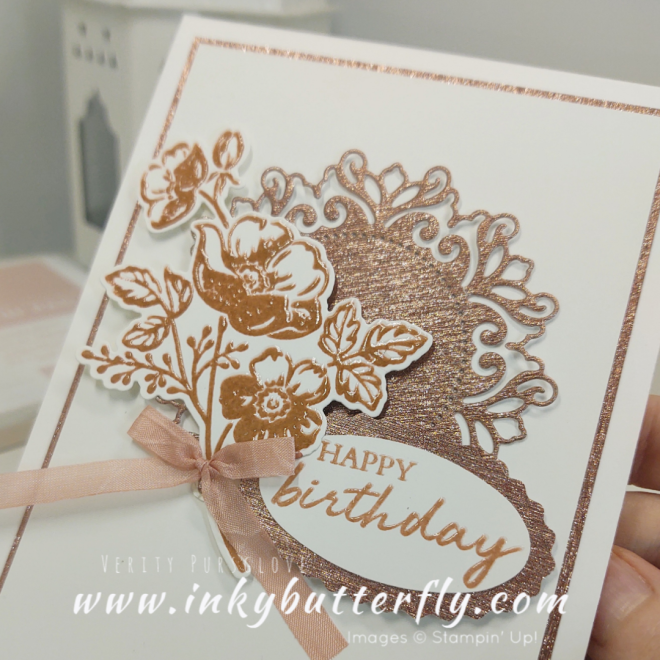
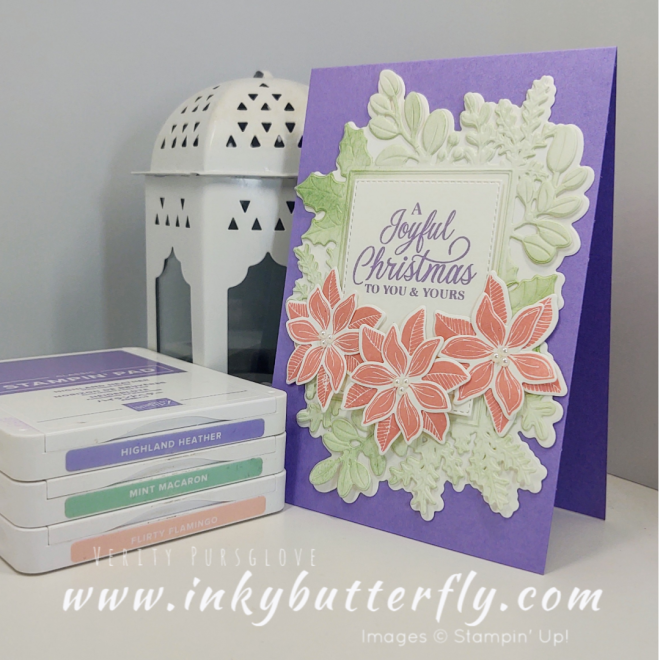
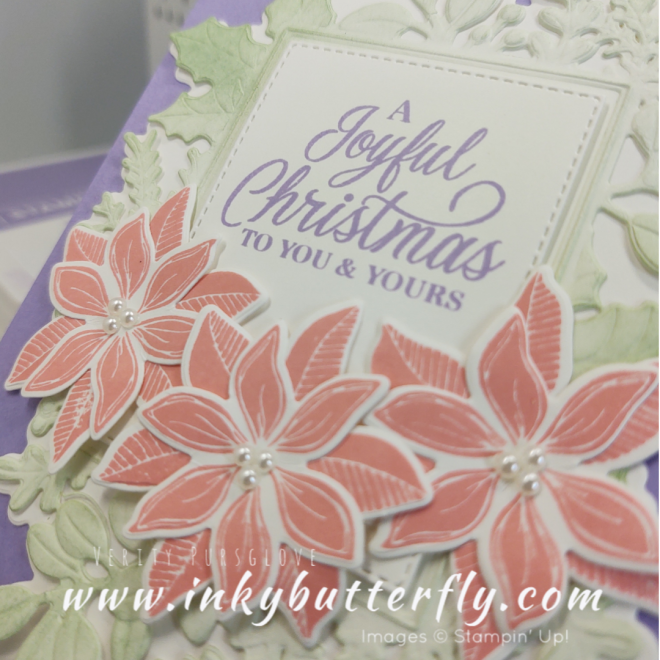
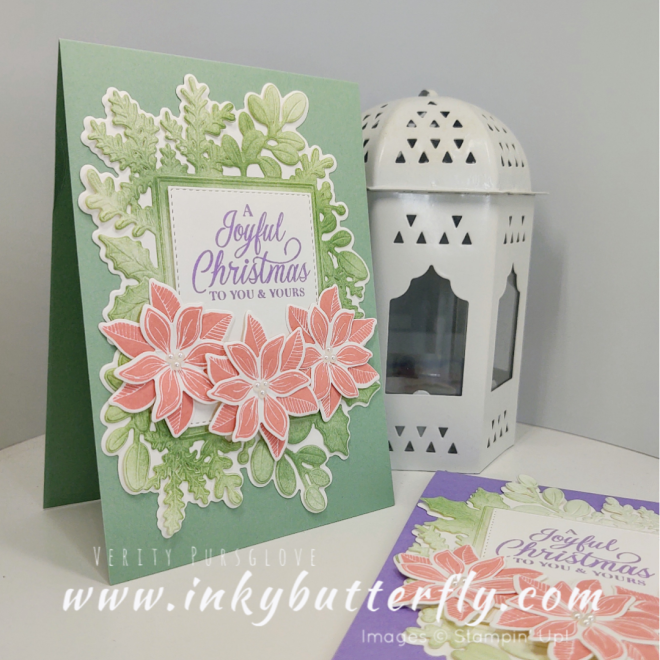
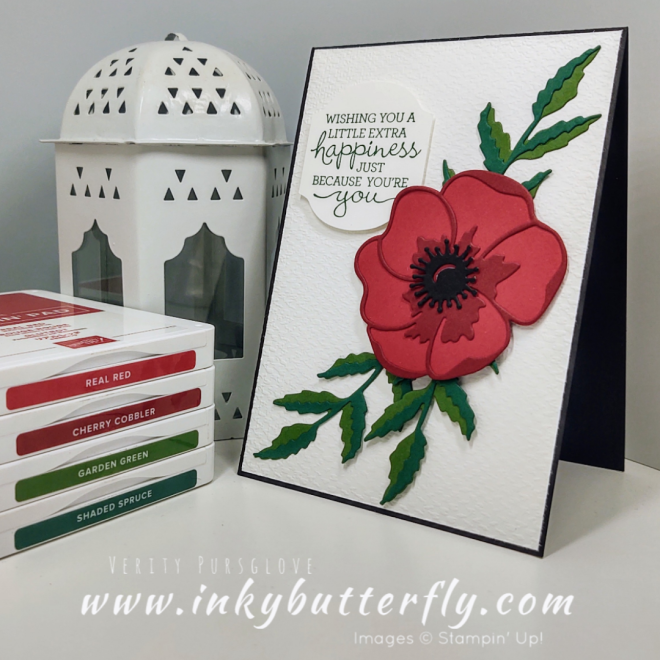
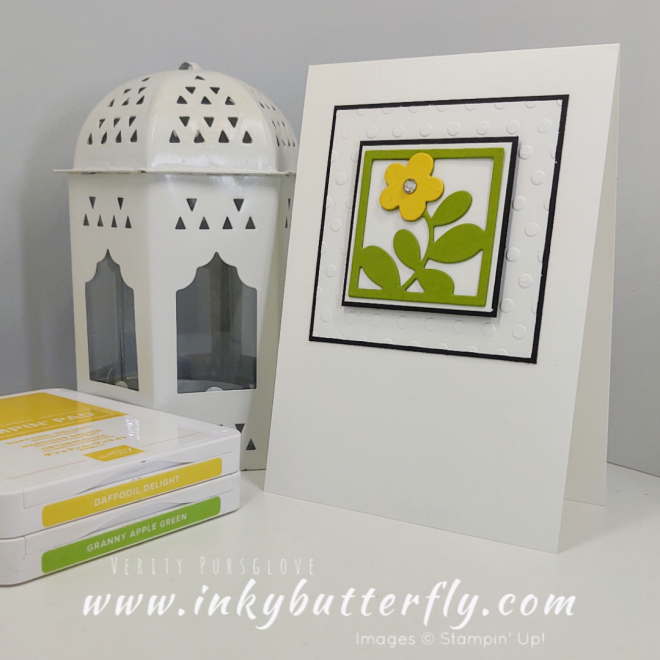
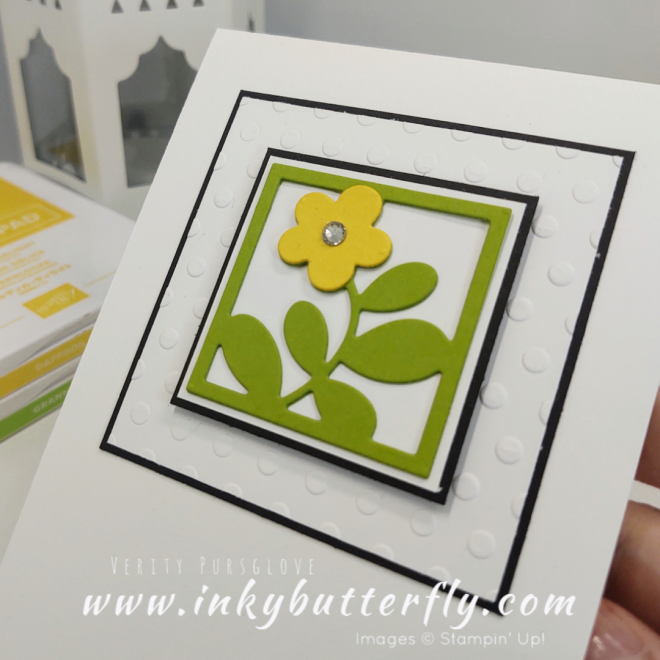
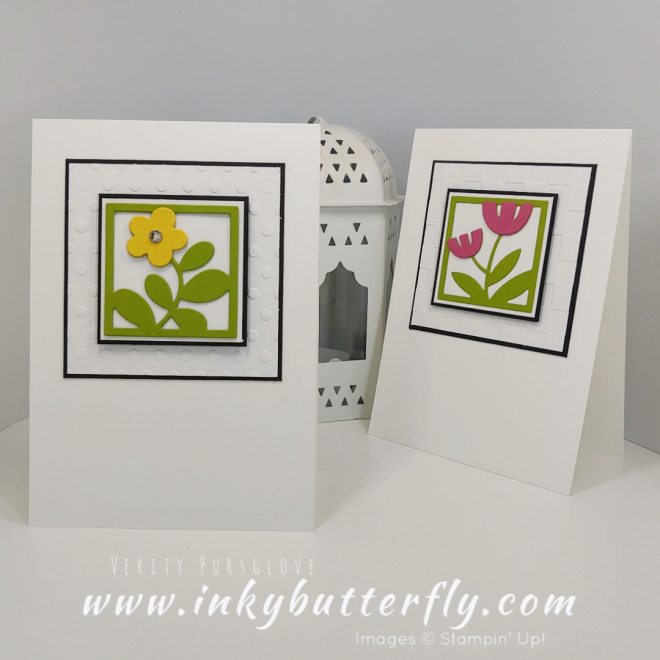
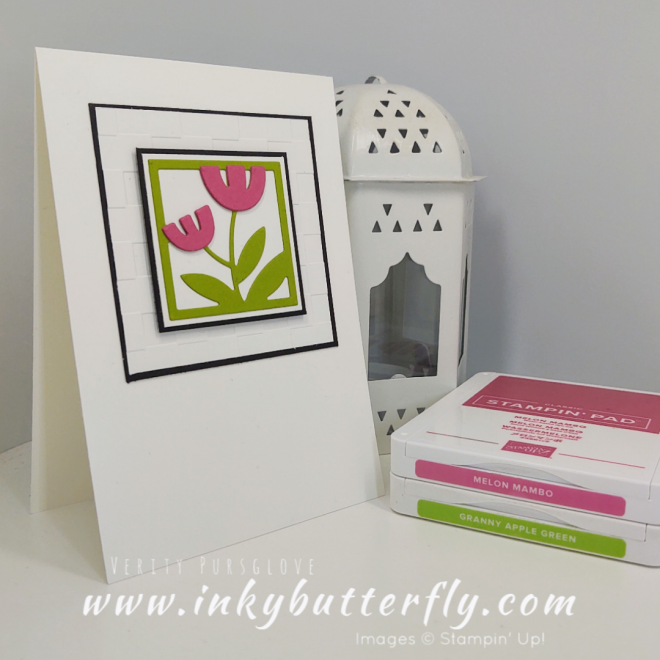
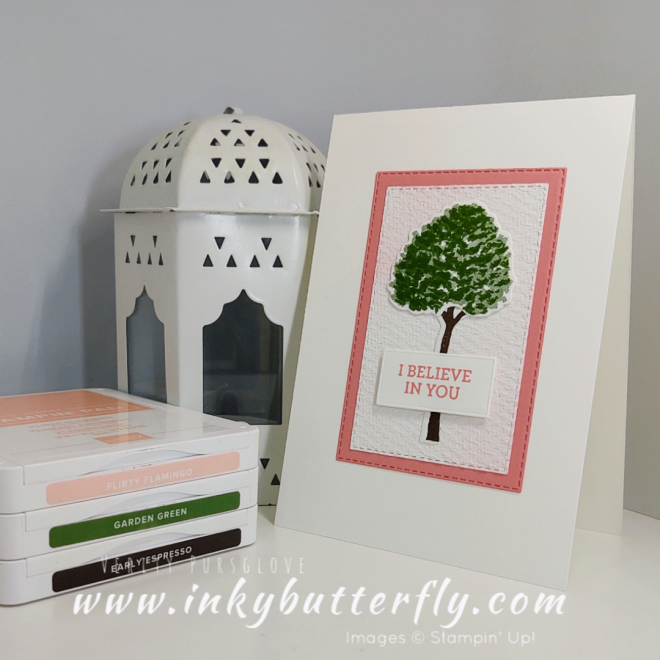
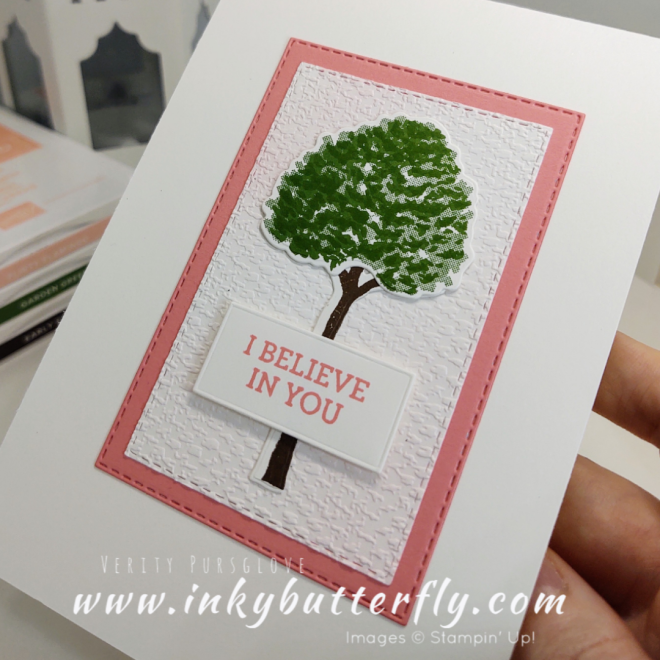
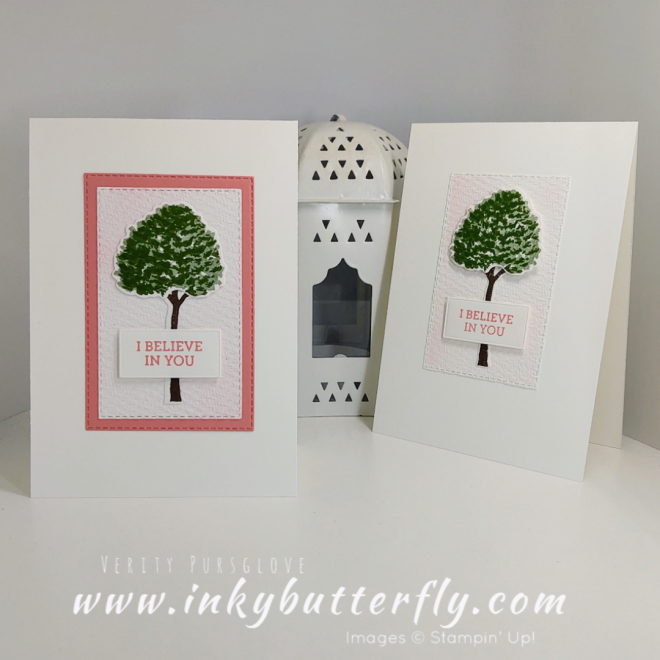
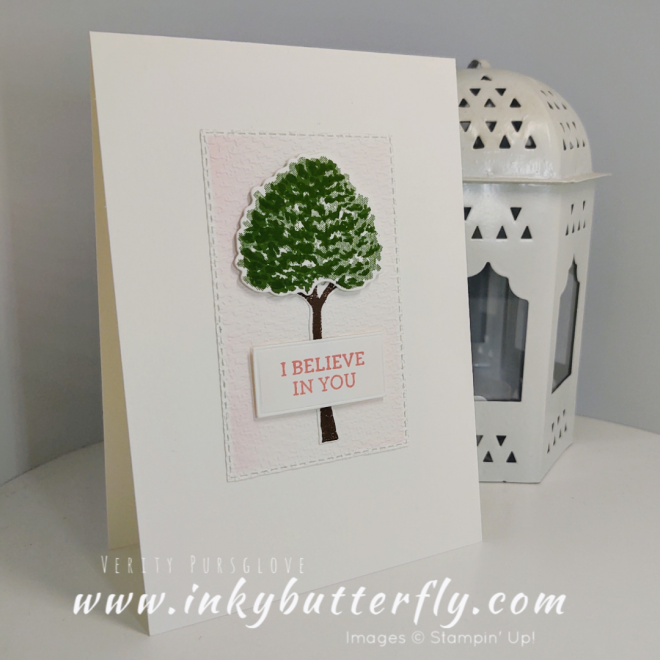
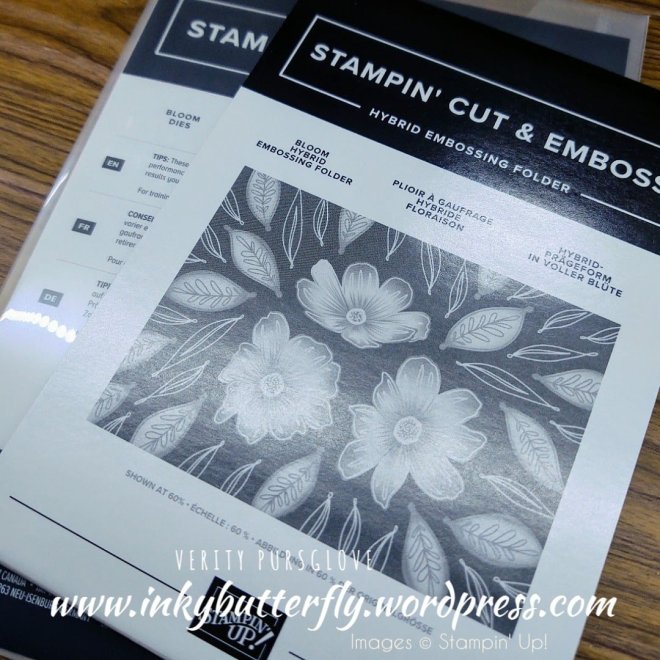
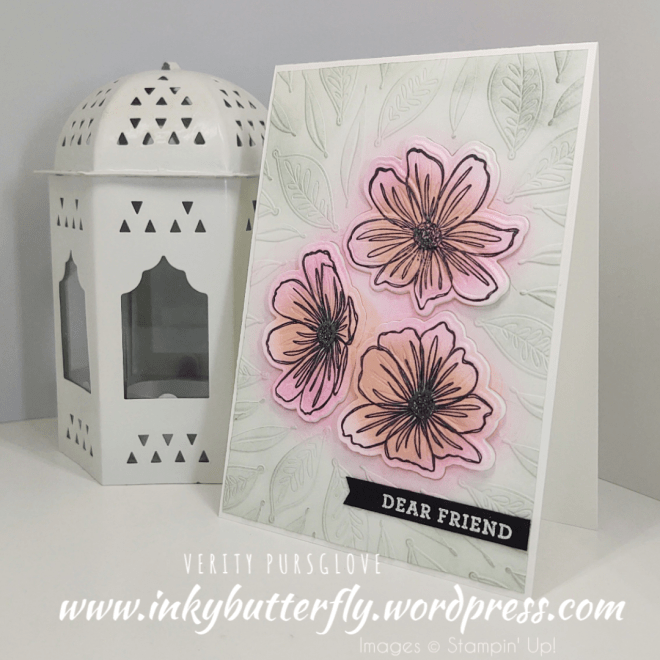
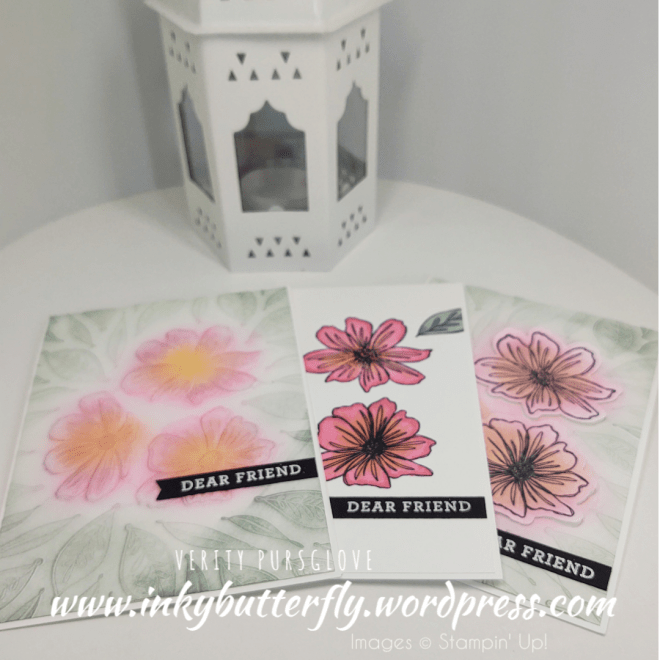
I am so excited about this new product from Stampin’ Up!
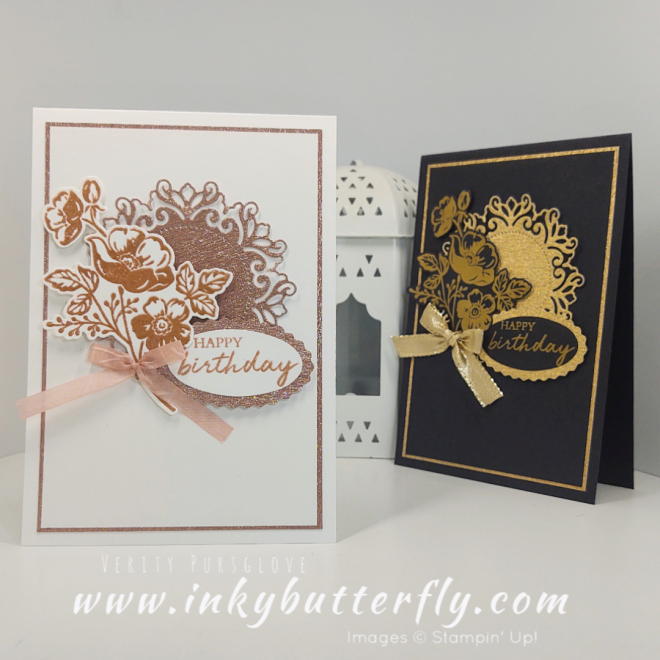
The Art in Bloom bundle includes a stamp set, dies and a hybrid embossing folder!
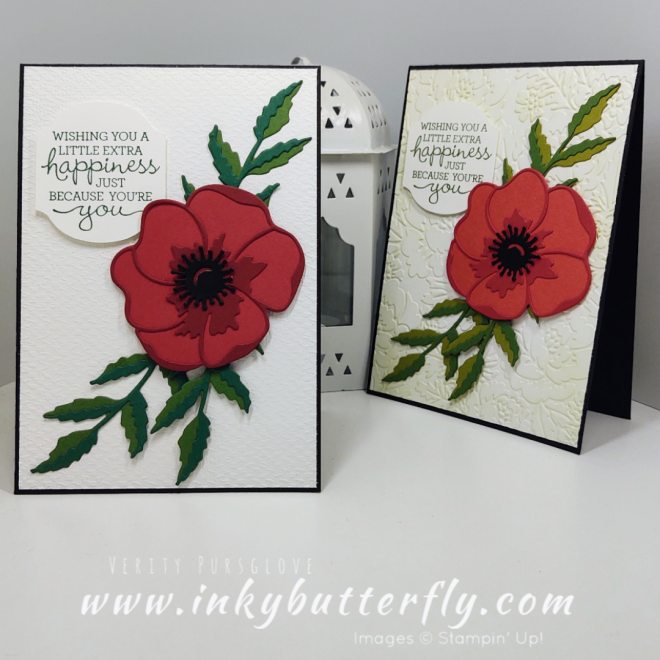
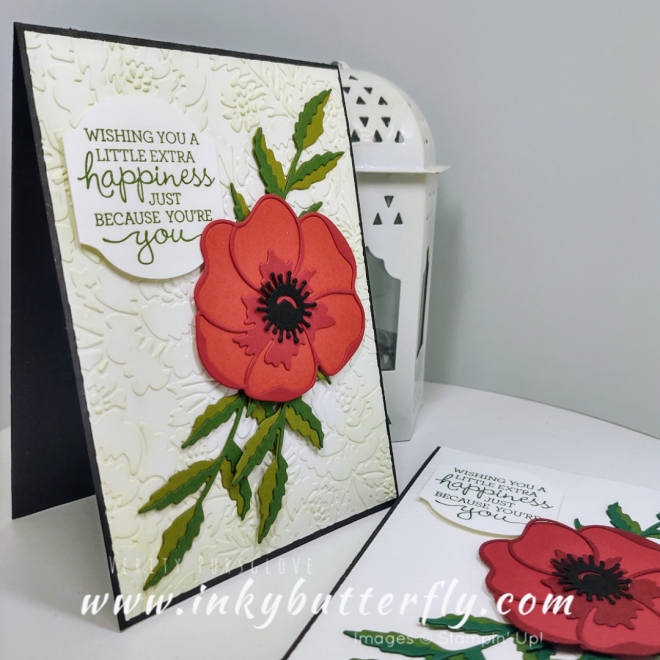
The products can be used independently or in combination to make simple effective cards.
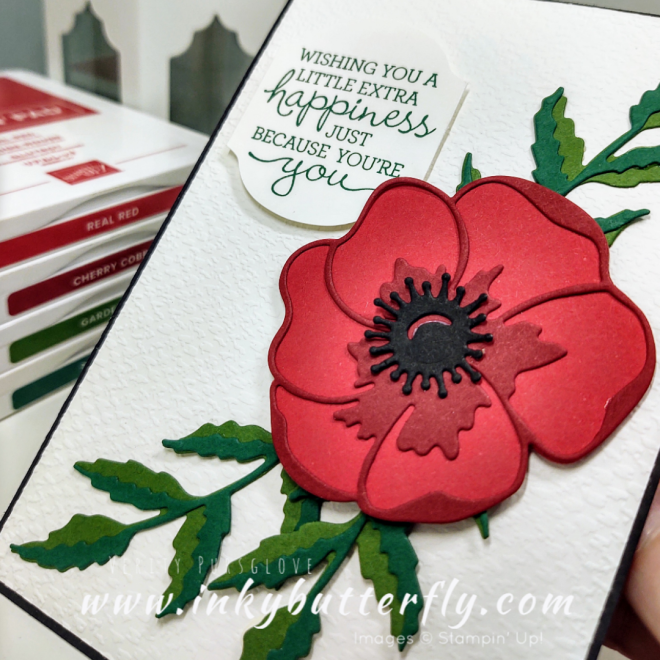
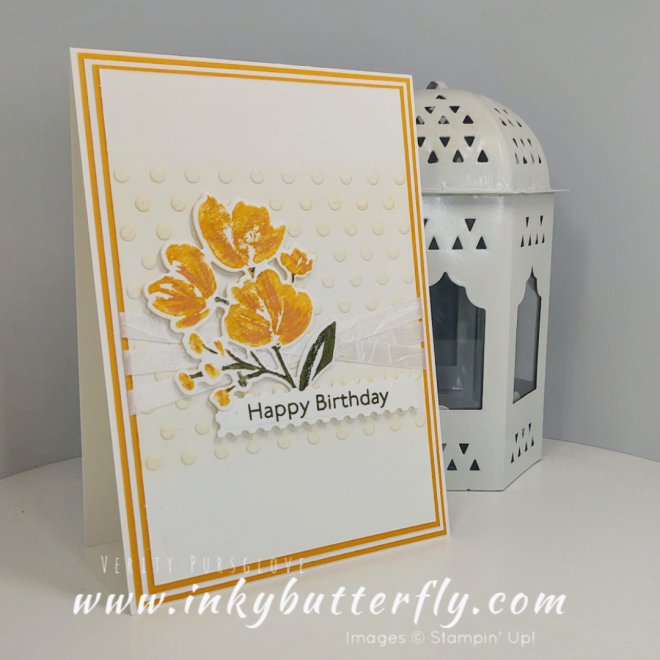
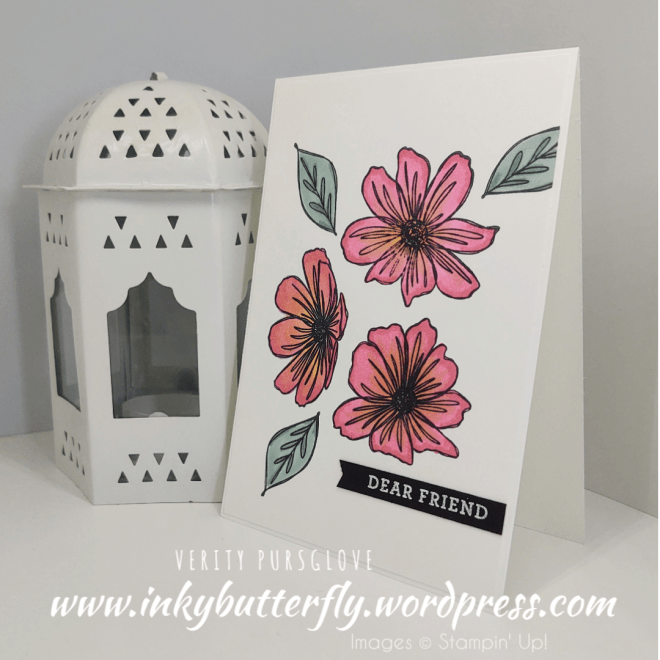
1. Simple stamping – use the stamps alone and colour them with your favourite medium or the two-step elements in the stamp set! I used Stampin’ Blends for my card.
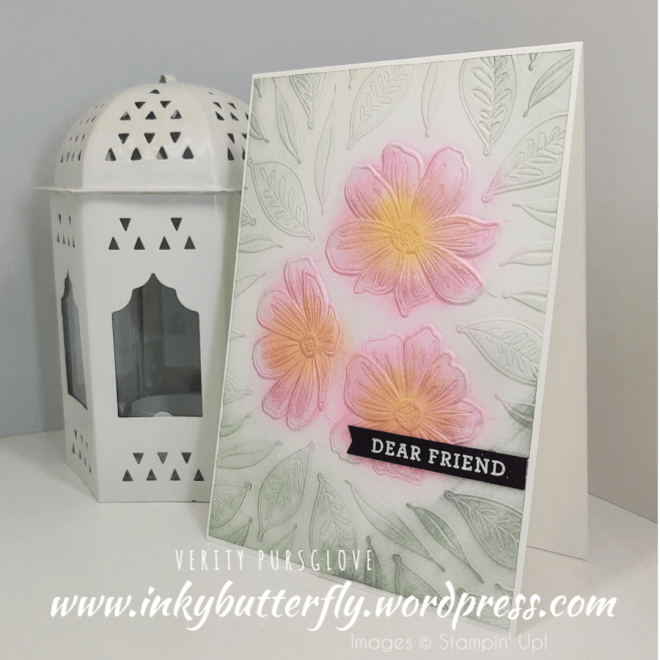
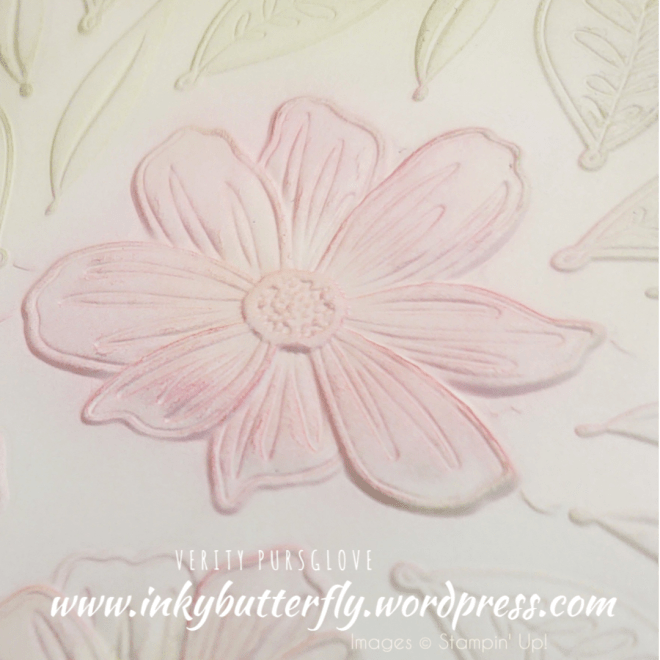
2. Just emboss – use your Stampin’ Cut and Emboss to emboss your card stock. I’ve used Basic White and added colour with Blending Brushes. Why not try other card stock colours?
The ink picks out the embossed details.
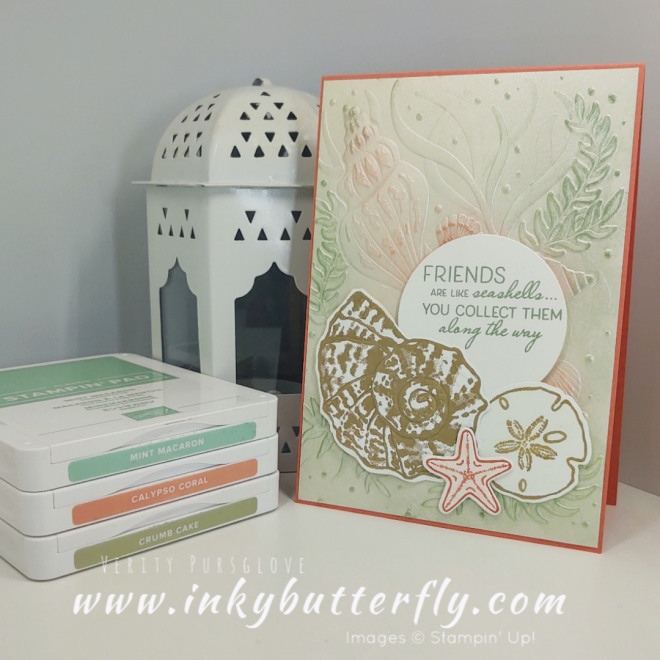
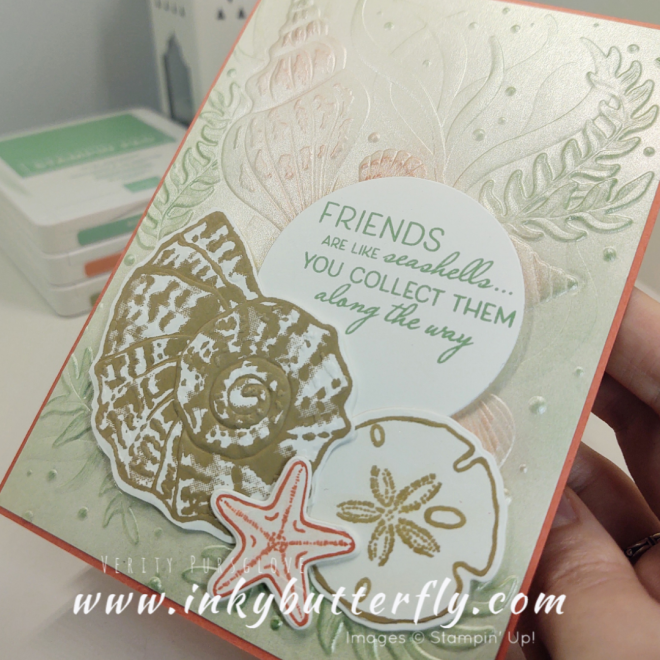
3. Stamp, cut & emboss – easily line up your stamped images with the die and embossing folder. The die sits inside the folder which is specifically designed so that it is not damaged in the process – it’s so clever!
(Do not try this with your other embossing folders)
I raised the die cut pieces up on to dimensionals.
You can see how I made these cards in my video tutorial….
This shows just 3 options, but there are so many other combinations to try!
I hope you enjoyed this project.
The supplies used are listed and linked to the online store below.
If your order is less than £150, use the Hostess Code F2QFV2PT when placing your order to get an extra gift from me!
Welcome to this week’s Project Share. As always my friends have created some lovely work. Please use the links to visit their blogs and read more about their projects.
*** *** *** *** *** *** *** *** *** *** ***
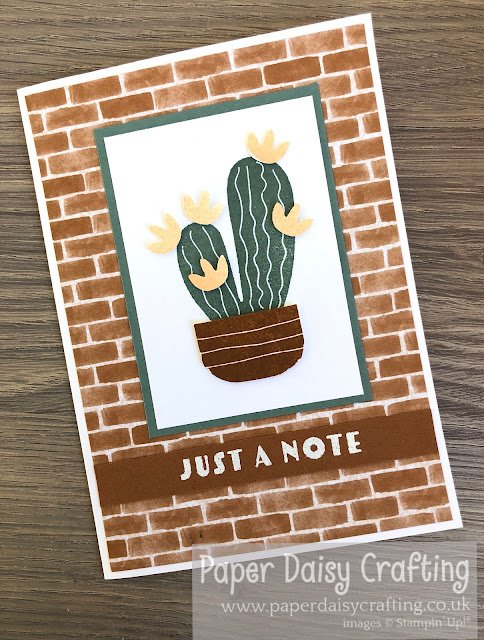
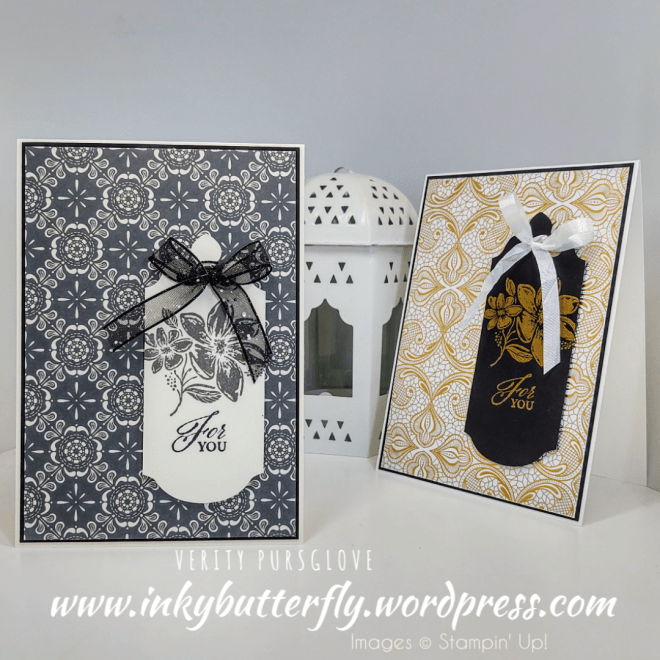
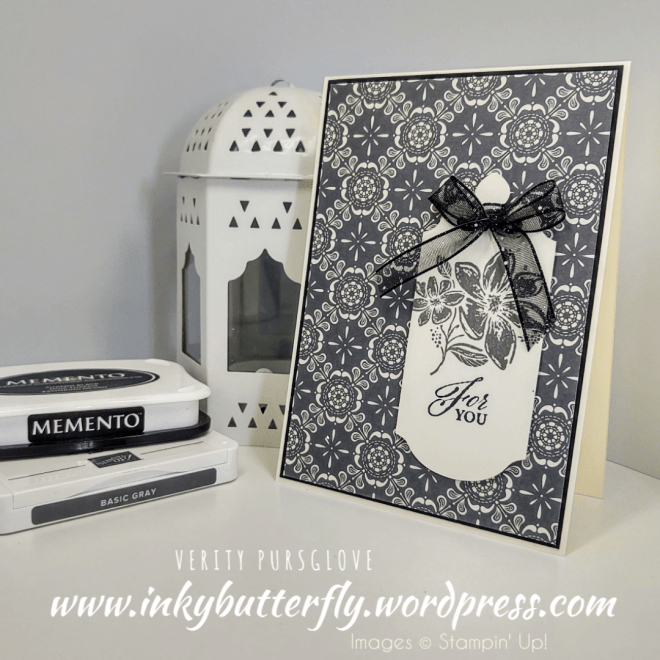
Jill has created her card using the paper piecing technique. Looks fantastic in these bright colours with the black outline!


")


")


")


")


")


")


")
")


")


")


")

")


")


")
")


")
")
")

