Hello Everyone,
I am playing along with the Global Design Project today.
This week is a colour challenge. There is lots of inspiration from the design team, you can see all their projects here!
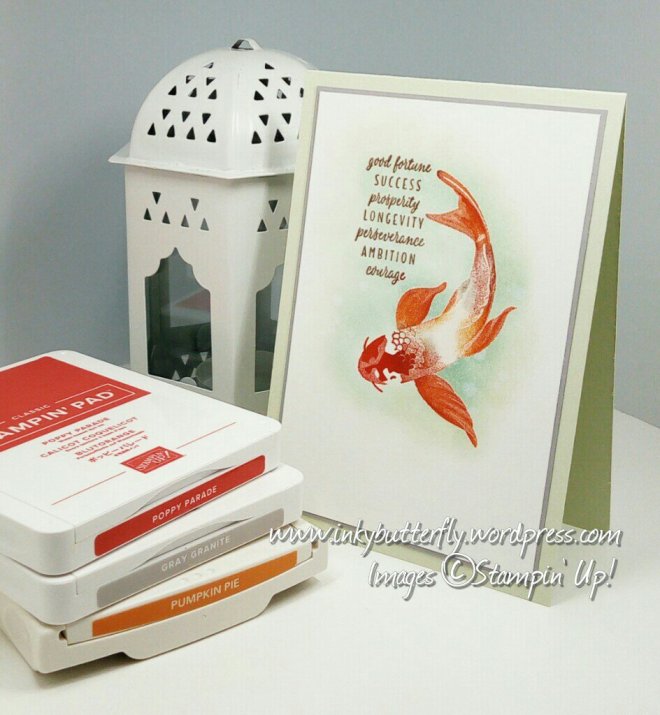
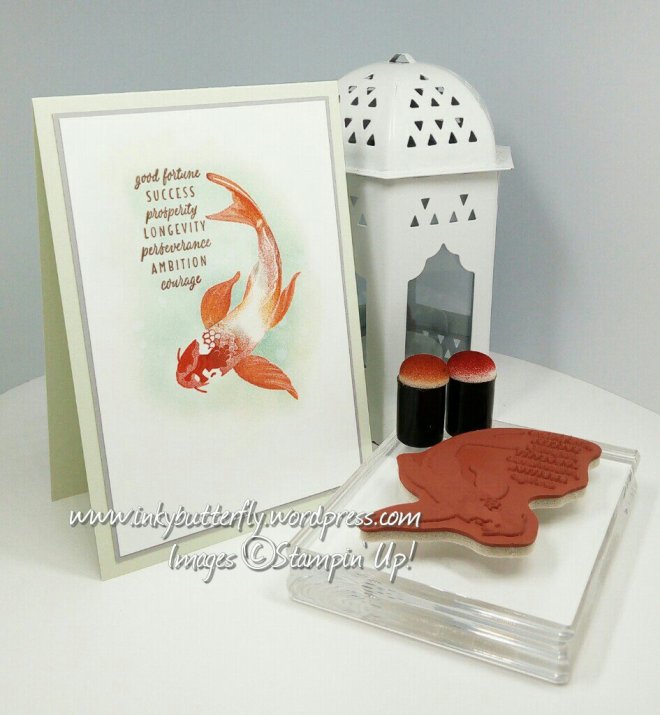
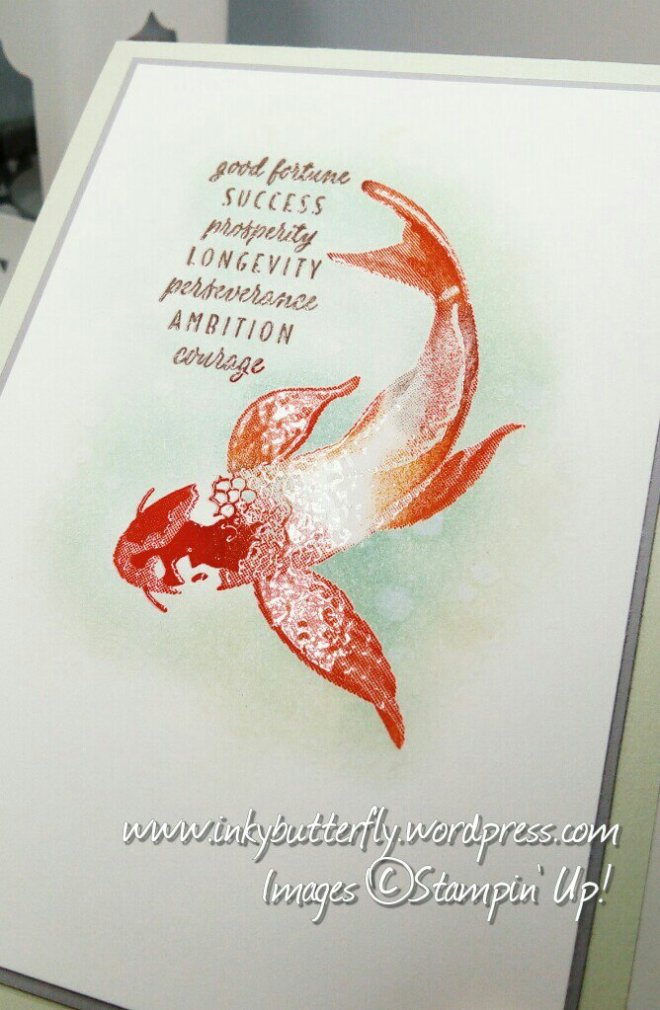
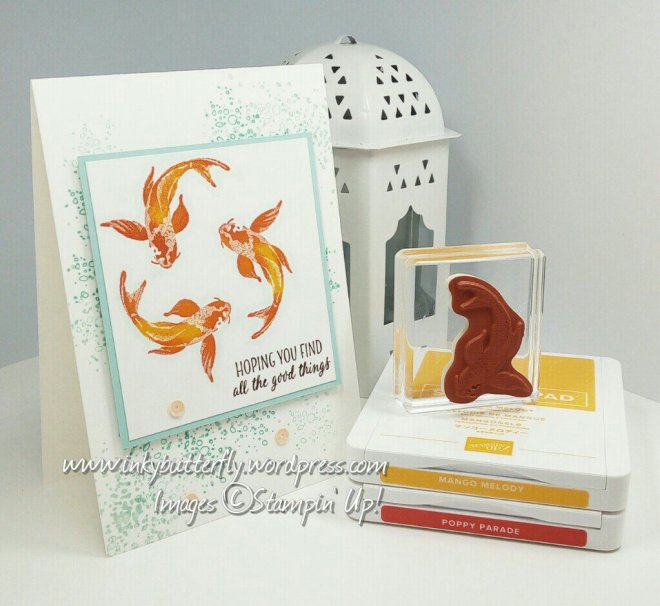
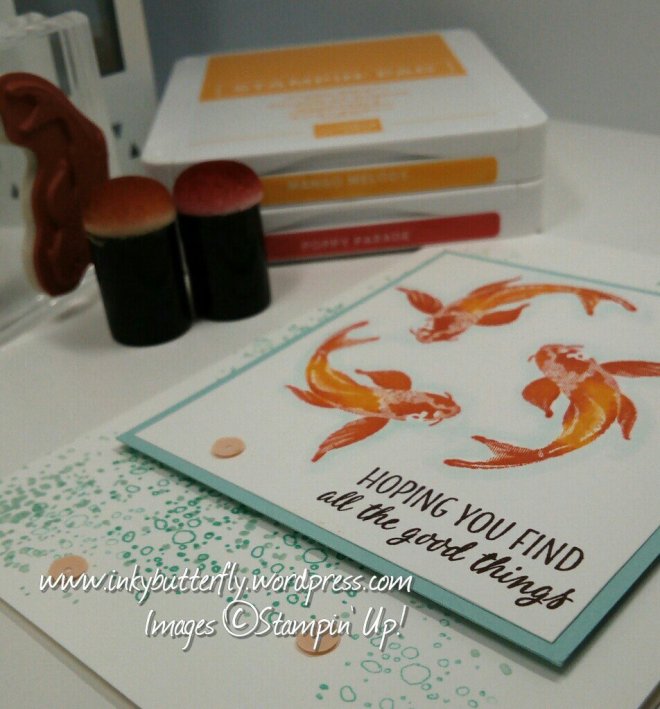
I have used my favourite set, All The Good Things!
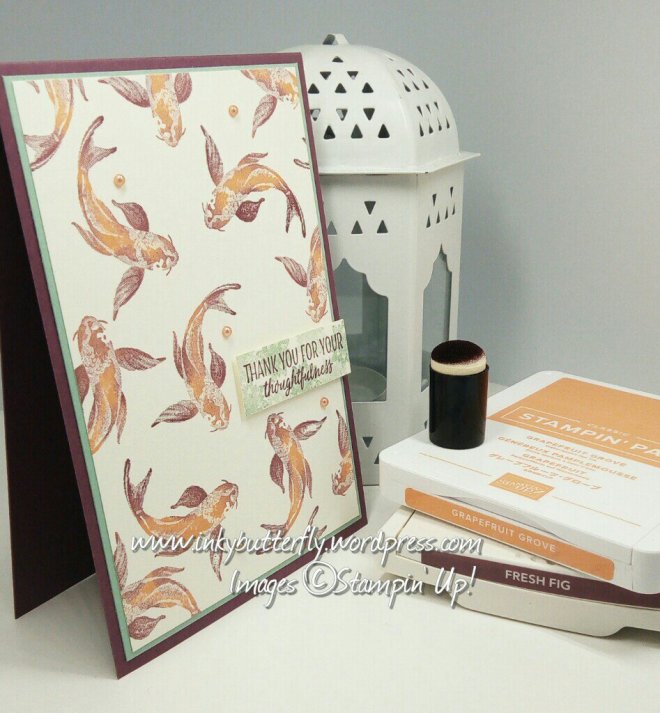
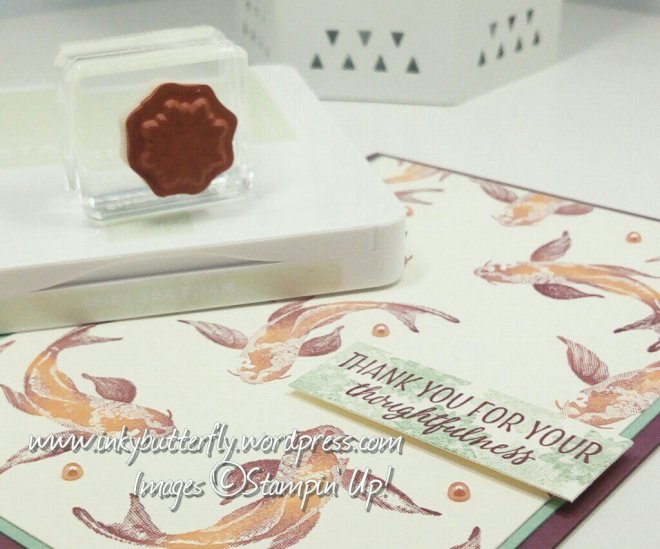
On Very Vanilla card stock, I stamped the small fish with Grapefruit Grove and Fresh Fig ink. Applying the ink with a sponge dauber gives a multicoloured look.
The panel was layered on to Mint Macaron card stock and then on to a Fresh Fig card base.
The sentiment was stamped on to a strip of Very Vanilla card stock. The small flower was stamped over the top with Mint Macaron ink. This was then adhered with dimensionals.
I hope you enjoyed this project. The supplies used are listed below.
Thanks for stopping by today and happy Stampin’!
Verity x
Product List

|

|
|

|
||

|

|

|