Welcome to this week’s Project Share. As always my friends have created some lovely work. Please use the links to visit their blogs and read more about their projects.
Jill has been creative for a colour challenge combining two sets of dies for this clean and simple card.
Visit Jill’s blog here to see more on how this was done.
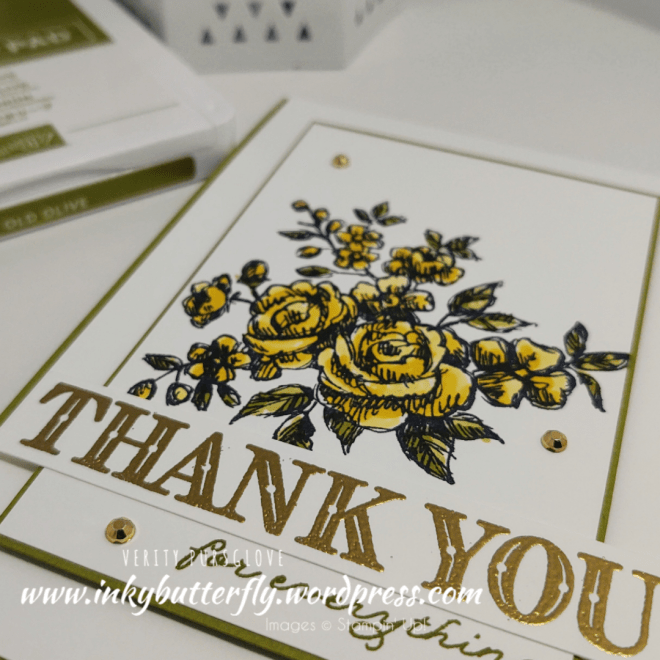
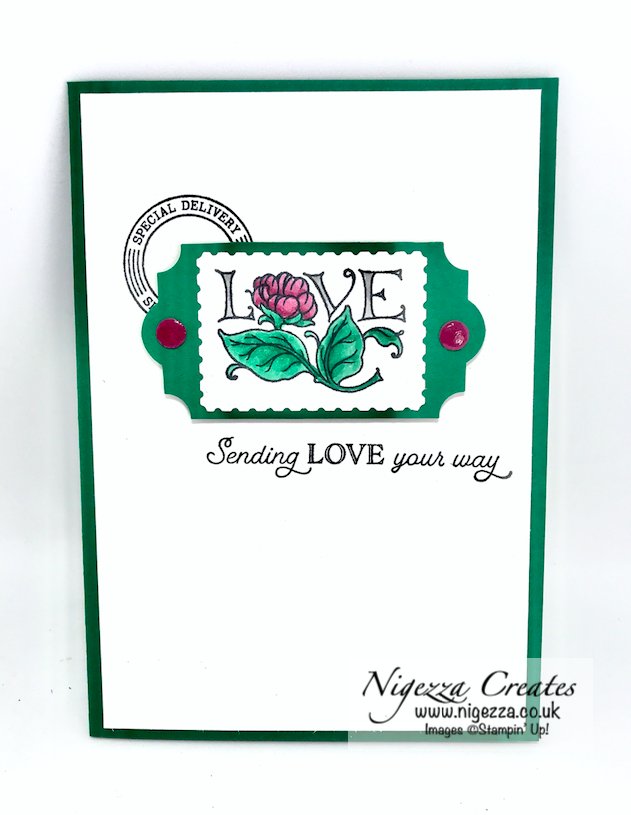
Heather is also playing with colour, who said leaves had to be green anyway?
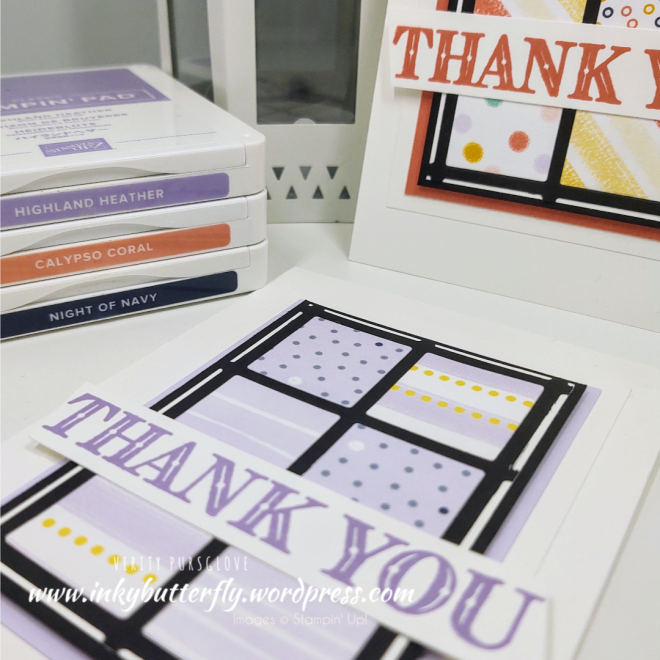
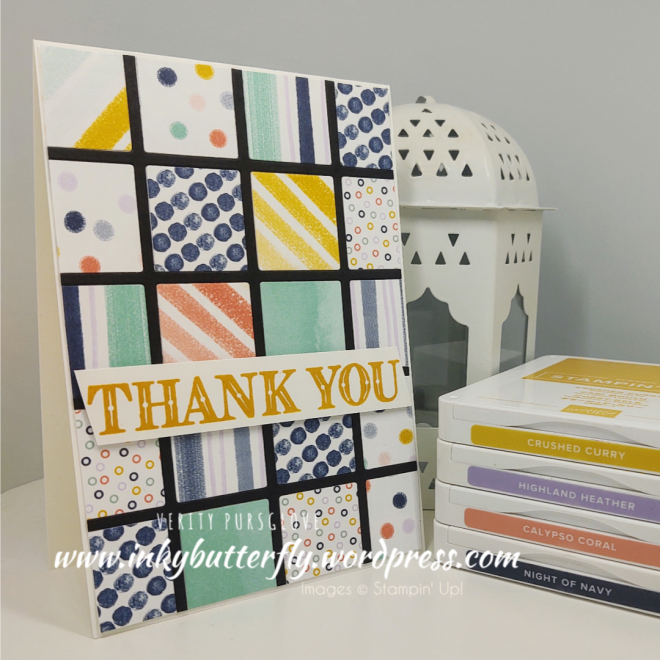
I can’t believe I have resisted using this product suite before now!
I used almost everything in the collection apart from the embossing folder!
See how I made this card in my video tutorial;
If this suite is on your wish list, then why not invest the extra £9 in joining Stampin’ Up! You can then choose additional free products, (up to a total of £130), free shipping and a minimum 20% discount on future purchases!
I hope you enjoyed this project.
The supplies used are listed and linked to the online store below.
If your order is less than £150, use the Hostess Code BREHFN2Q when placing your order to get an extra gift from me!
Welcome to this week’s Project Share. As always my friends have created some lovely work. Please use the links to visit their blogs and read more about their projects.
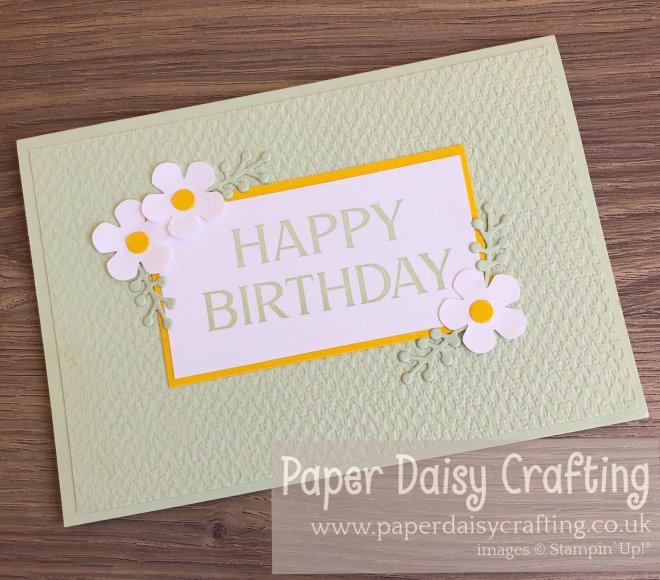
Jill’s card uses a beautiful soft colour palette. The embossed background adds some texture too!
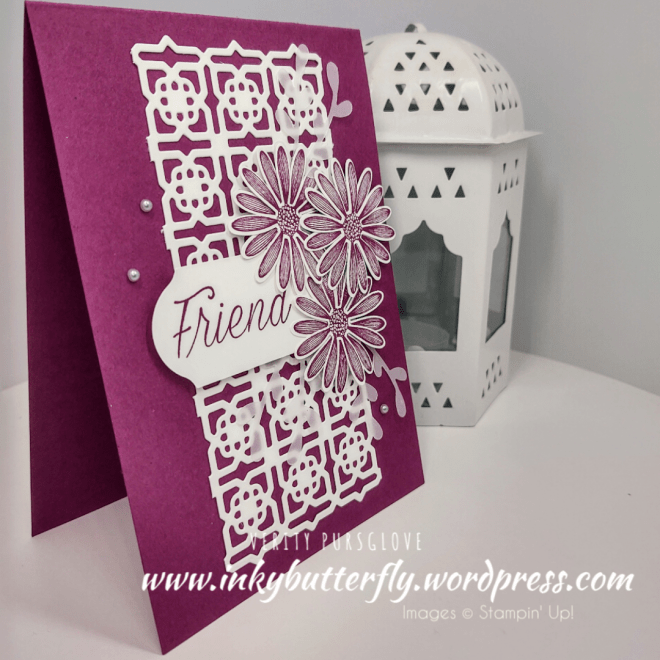
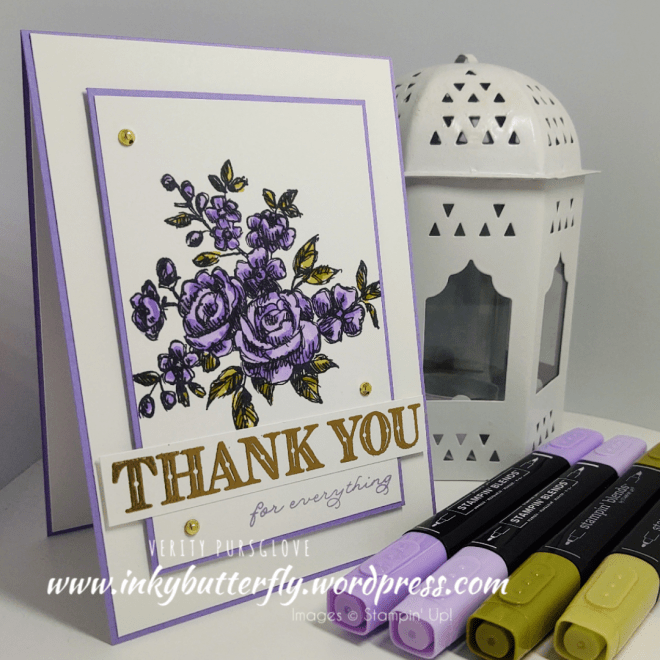
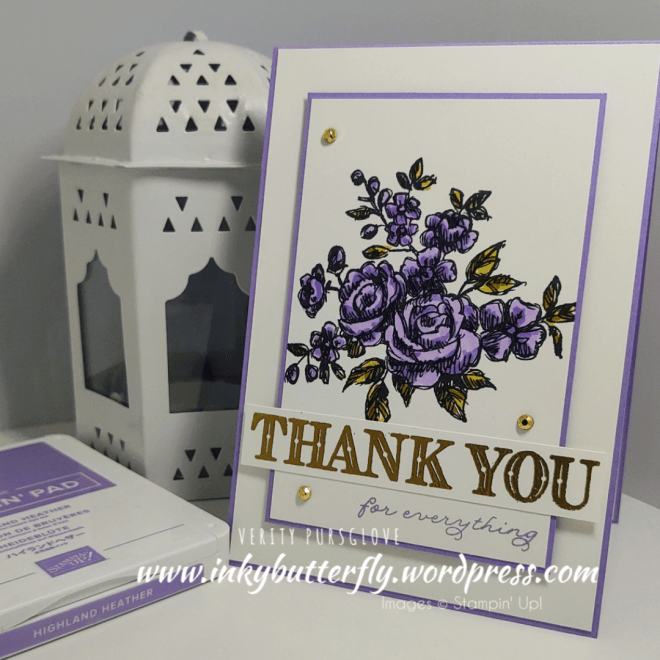
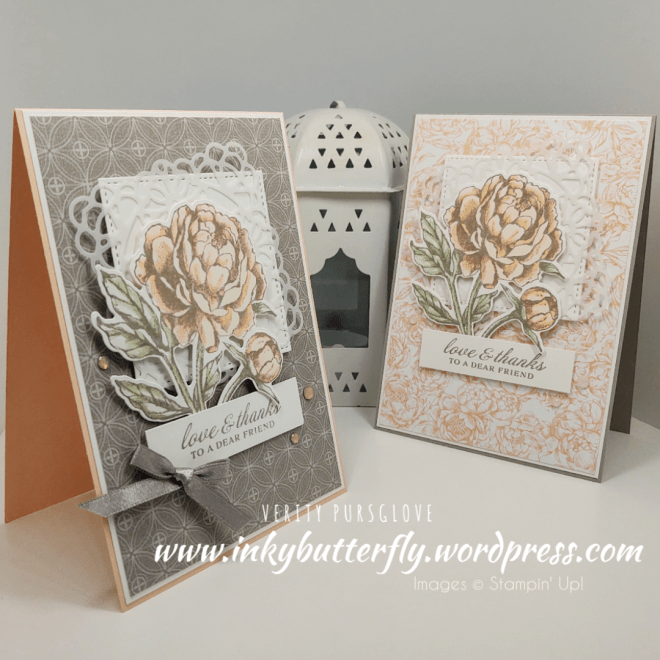
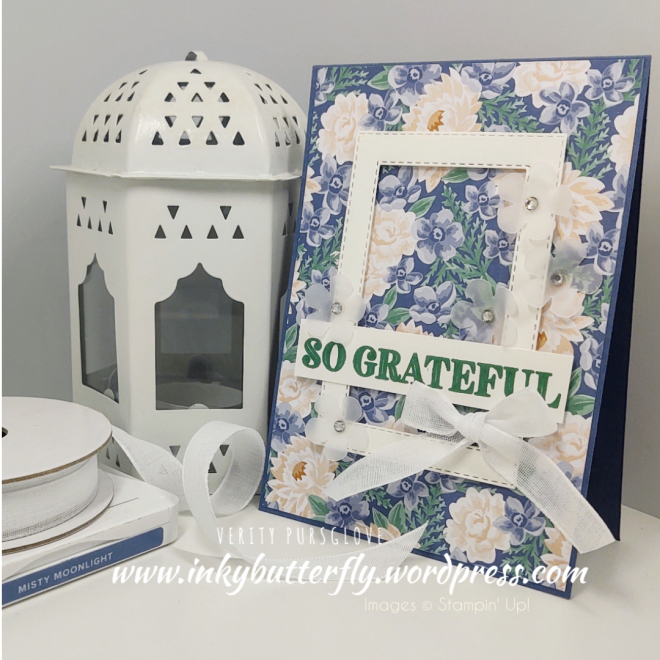
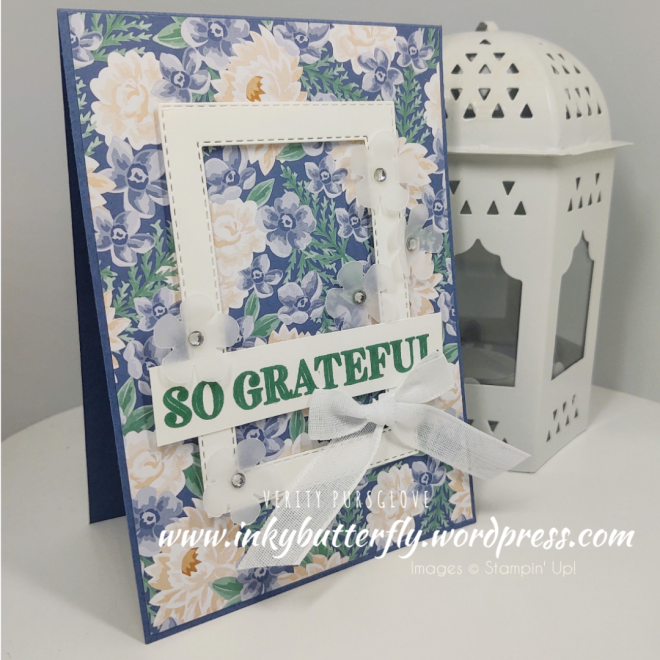
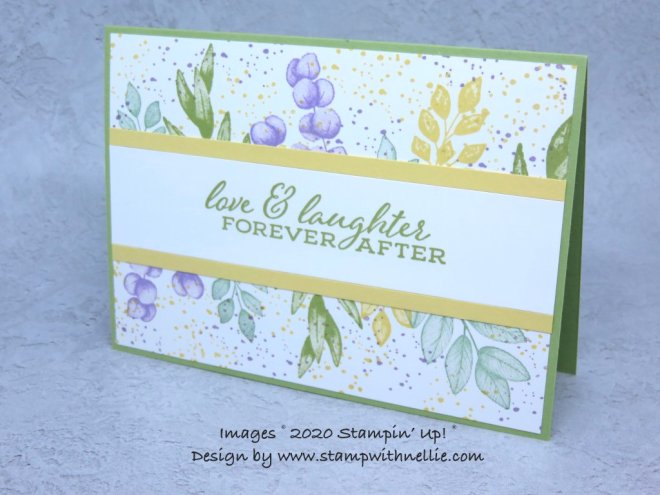
After yesterday’s video hop challenge to use Designer Series Paper, I have pulled out some more to work with today!
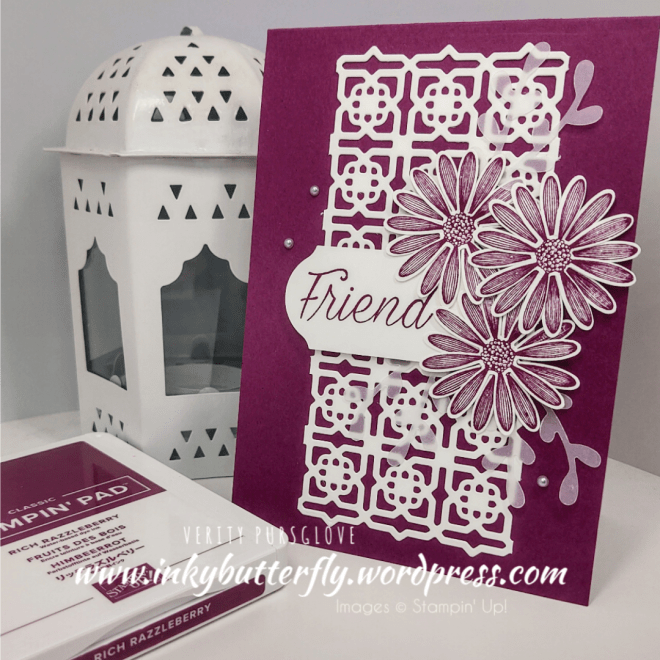
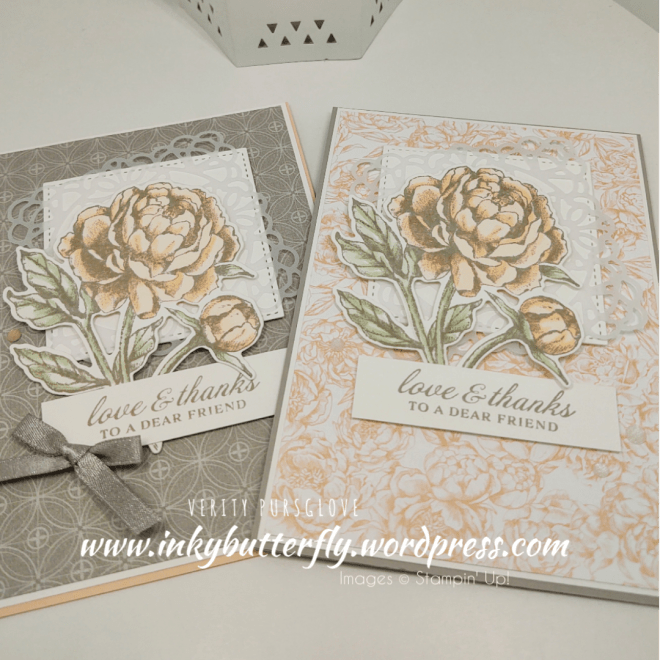
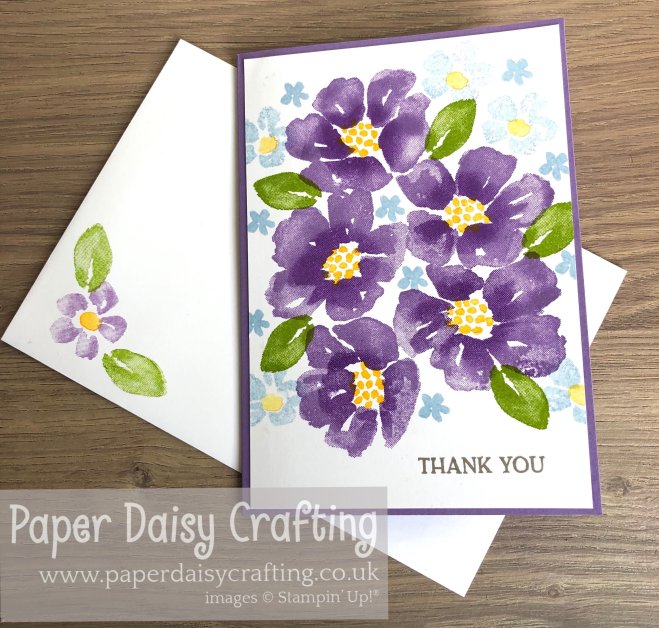
This is the Flowers for Every Season collection. This can be purchased alone or as part of a product suite. Even better, all the designs coordinate with the 2020 in colours!
See how I made this card in my video tutorial;
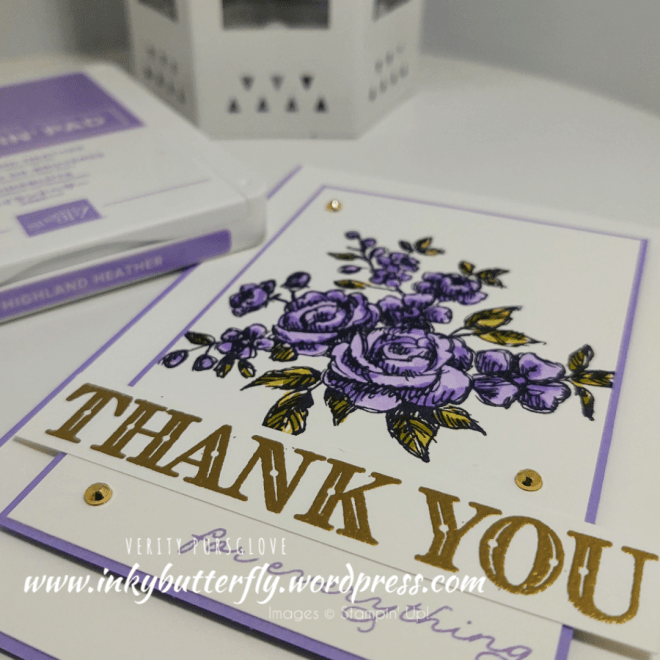
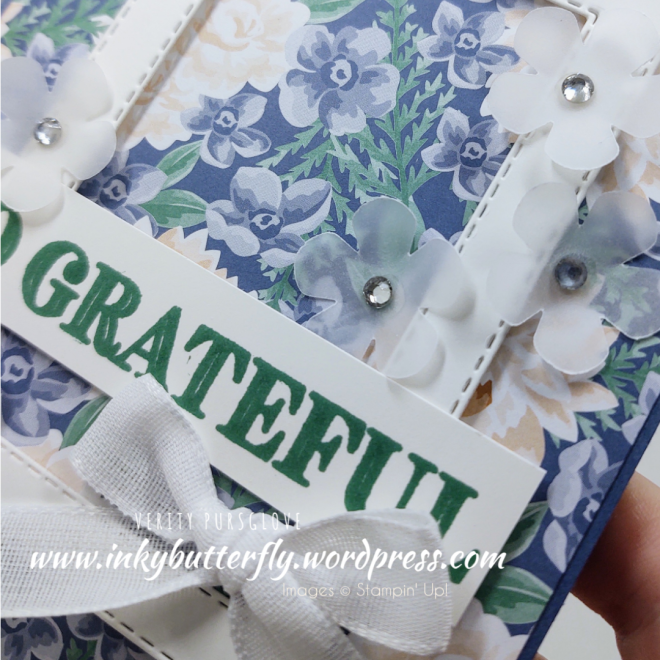
The vellum flowers really finish off the card.
And the rhinestones hide those glue dots!
I hope you enjoyed this project. The supplies used are listed and linked to the online store below.
Welcome to this week’s Project Share. As always my friends have created some lovely work. Please use the links to visit their blogs and read more about their projects.
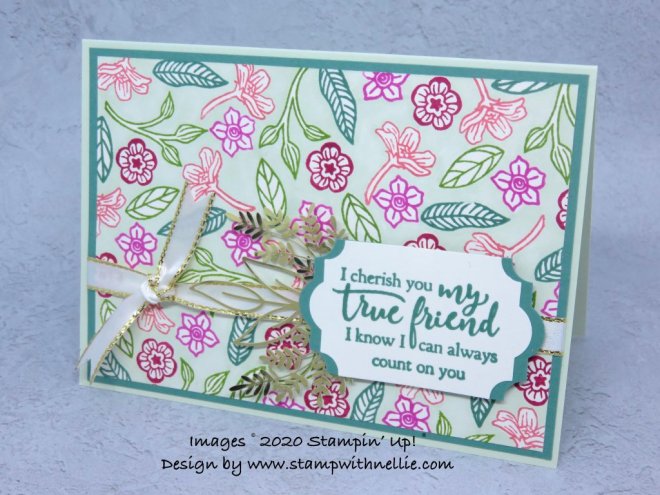
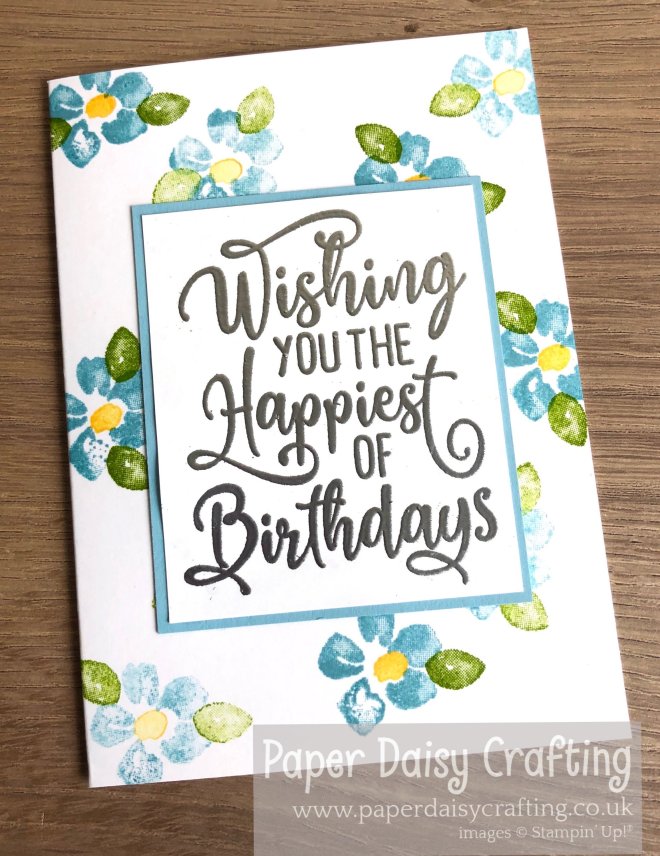
Jill has combined this beautiful large heat embossed sentiment with the Blossoms in Bloom stamp set.
I hope you are all well and ready for the week ahead.
Just a quick reminder that the Free Bundle joining offer ends tomorrow, (30th June). You don’t want to miss this deal! There’s a link at the bottom of this post!
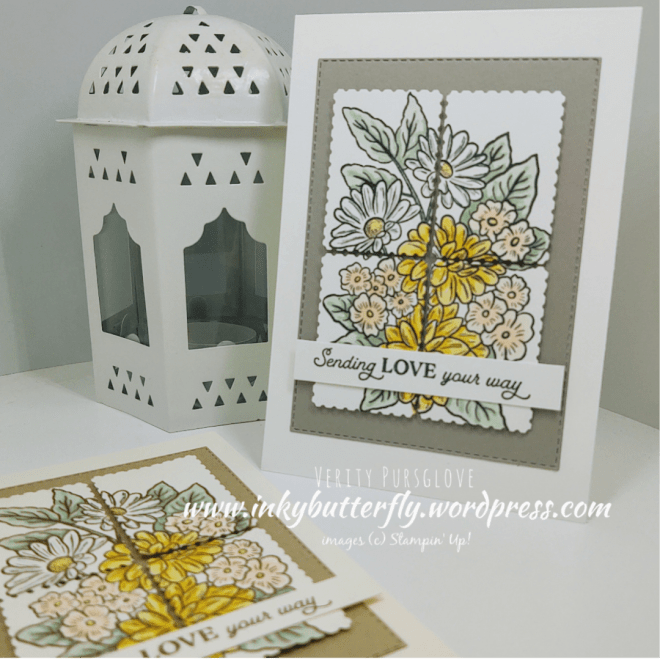
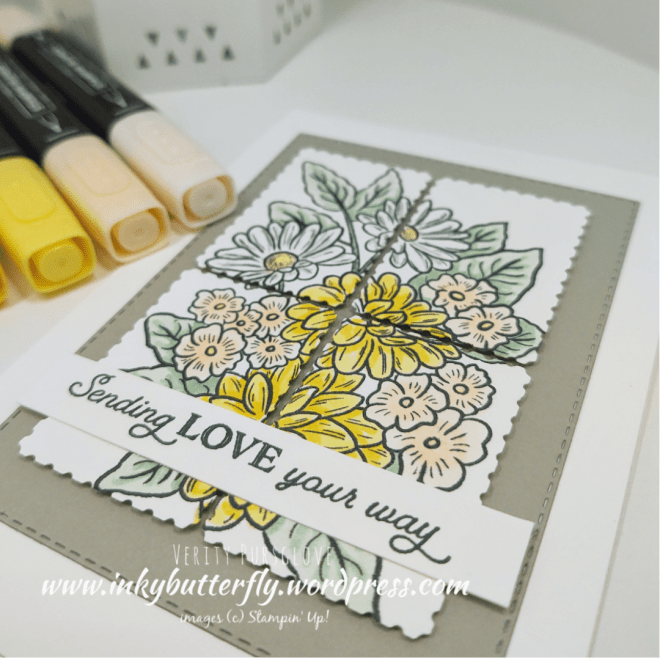
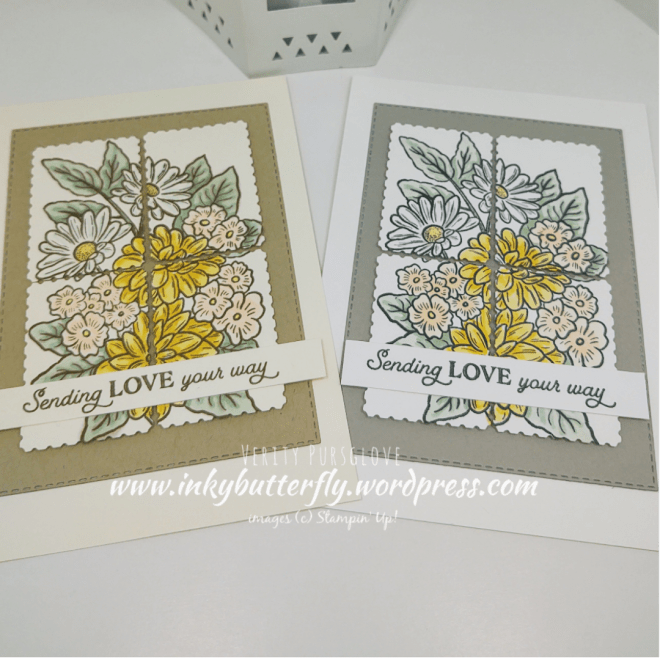
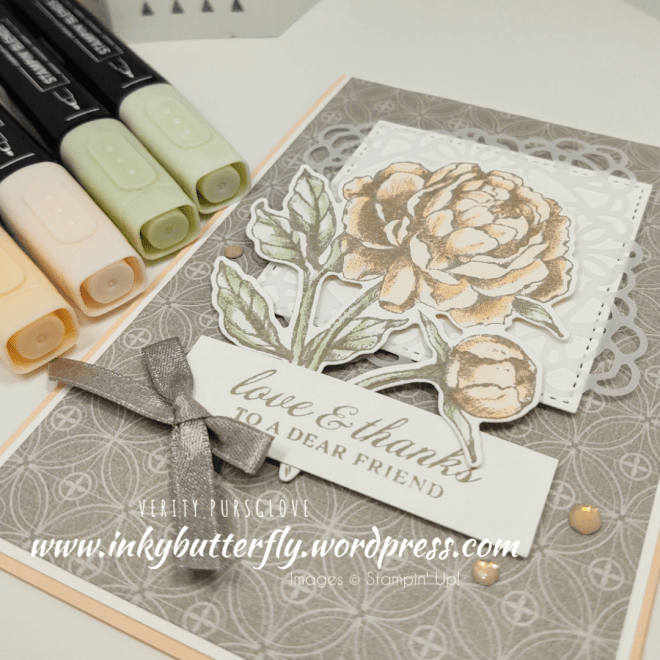
For today’s card I’m going for a vintage look. I stepped up the original card, adding more stamping and the ribbon detail.
See how I made this card in my video tutorial;
Stamping with Early Espresso ink on Very Vanilla card stock adds to the vintage look of this card.
I love the texture of the Forever Fern Trim.
I hope you enjoyed this project.
The supplies used are listed and linked to the online store below.
If your order is less than £150, use the Hostess Code VKY3SPC7 when placing your order to get an extra gift from me!
Spend £200 and get an extra £20 of rewards to spend on whatever you want!
I would love to be your demonstrator.
Would you like to join my Stampin’ Up! team?
Choose an additional free bundle when you join during June!
Welcome to this week’s Project Share. As always my friends have created some lovely work. Please use the links to visit their blogs and read more about their projects.
This week we all took part in a blog hop using our new favourite products from Stampin’ Up!’s 2020 Annual Catalogue.
Jill has used one of my personal favourites for her single layer floral card.
Today’s post is accompanied by a longer video than usual while a talk to all of you out there that don’t know where to start will papercraft and cardmaking!
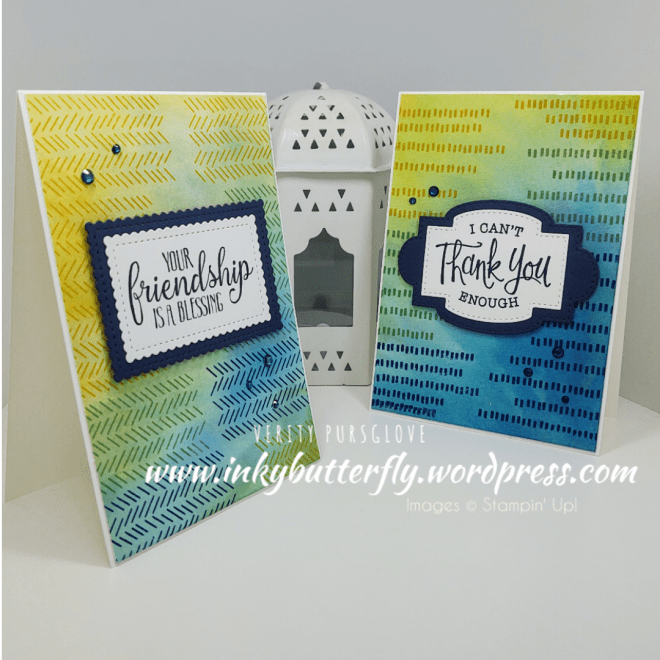
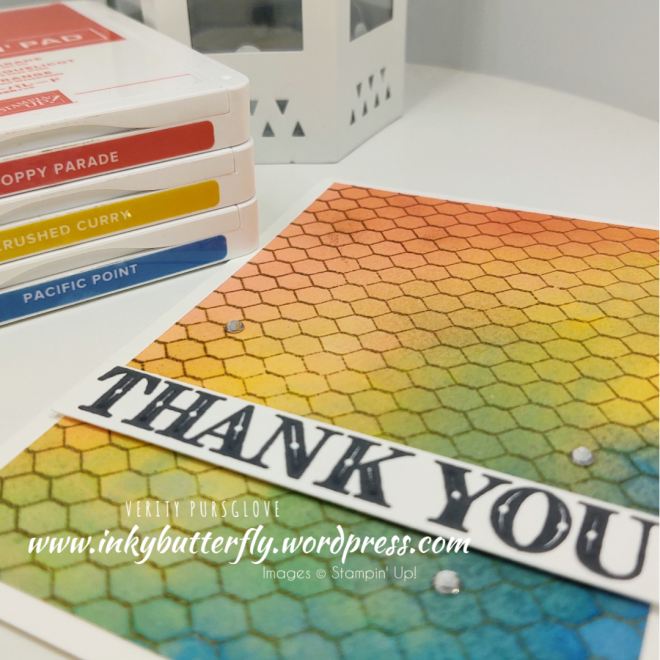
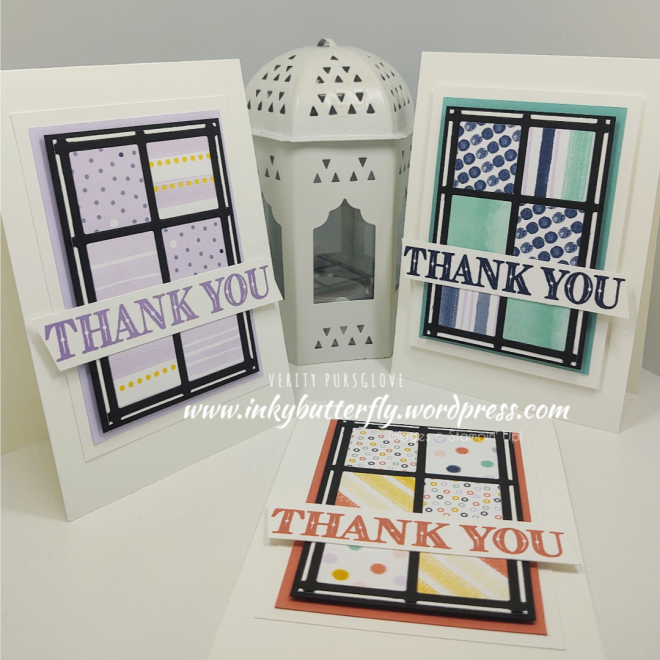
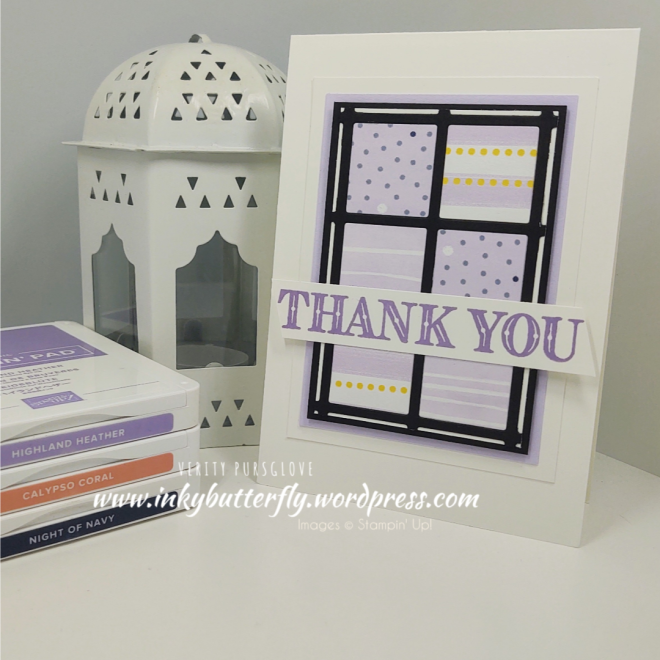
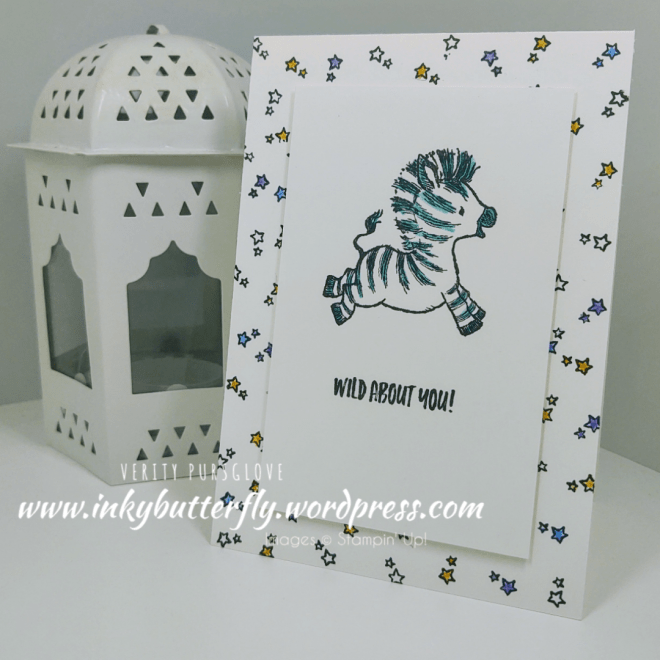
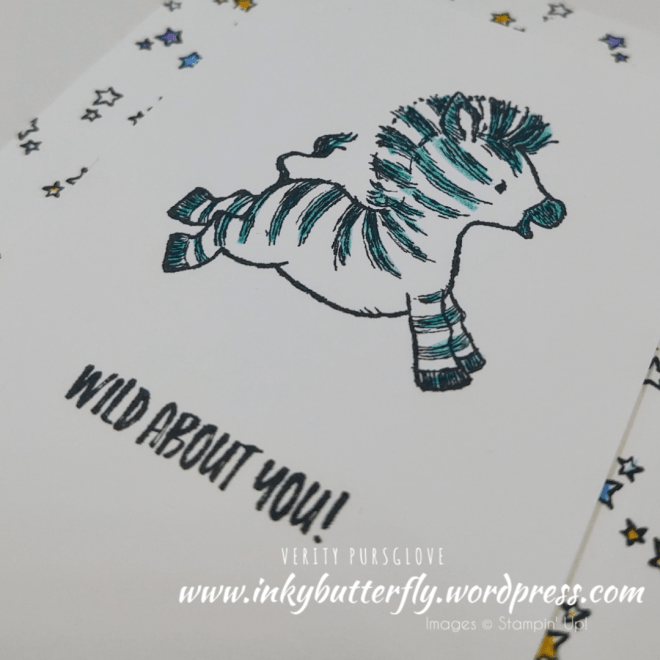
I present the Zany Zebras Product Collection and suggest some additional items to add to a your collection, or a Starter Kit.
I have added direct links to these products in my online shop below.
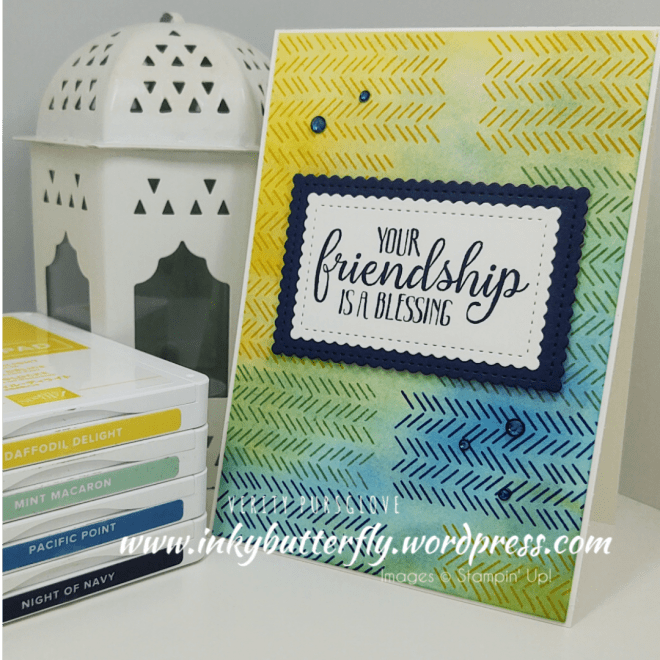
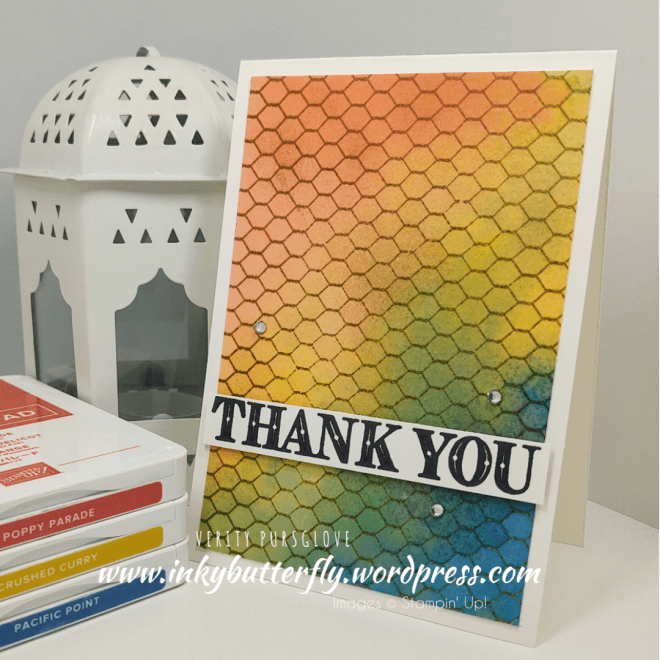
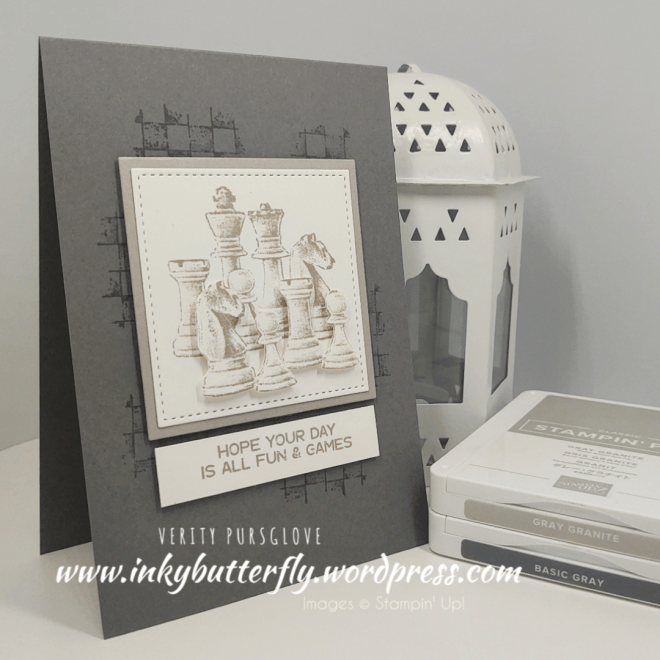
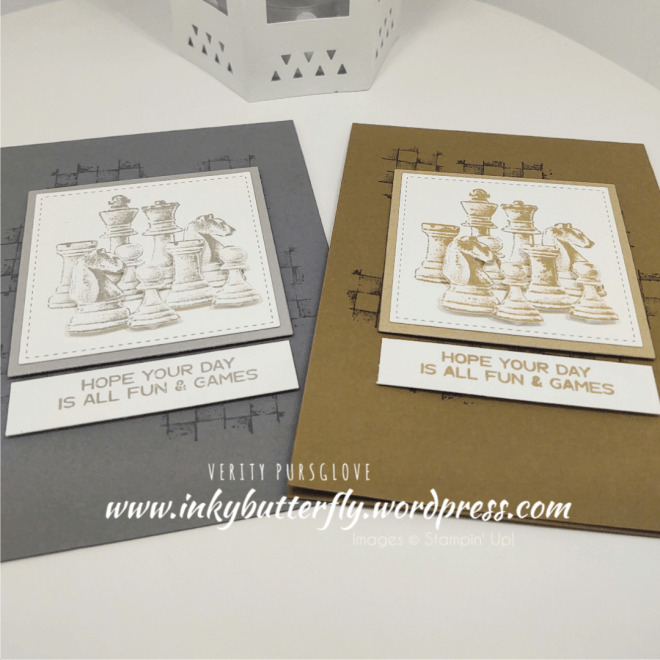
In the video, I make these cards. The first uses only products supplied in the collection.
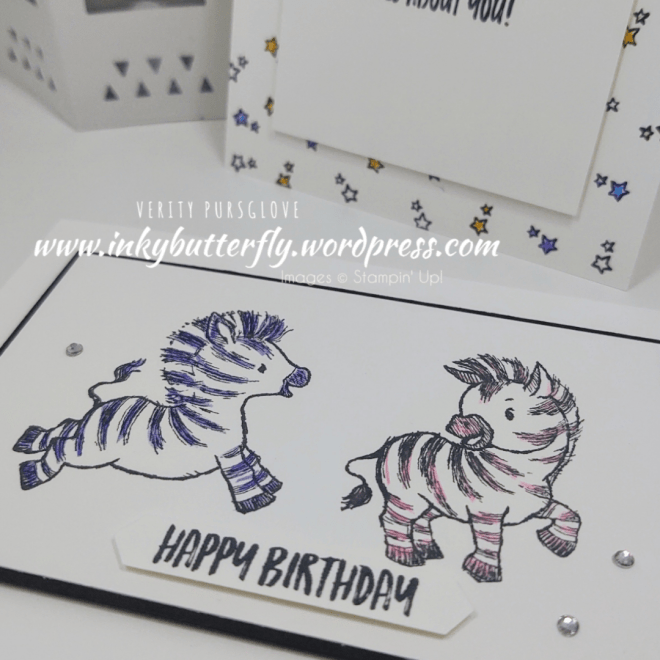
The seconds adds some black card, the classic label punch and some rhinestones.
Watch the video here!
I hope you enjoyed this project.
The supplies used are listed and linked to the online store below.
If your order is less than £150, use the Hostess Code VKY3SPC7 when placing your order to get an extra gift from me!
Spend £200 and get an extra £20 of rewards to spend on whatever you want!I would love to be your demonstrator.
Would you like to join my Stampin’ Up! team?
Choose an additional free bundle when you join during June!


")
")


")


")


")


")
")


")


")


")
")


")


")


")