Good Morning,
The retiring product list for 2018 has been released! Stock is already flying out the door. See the list here!

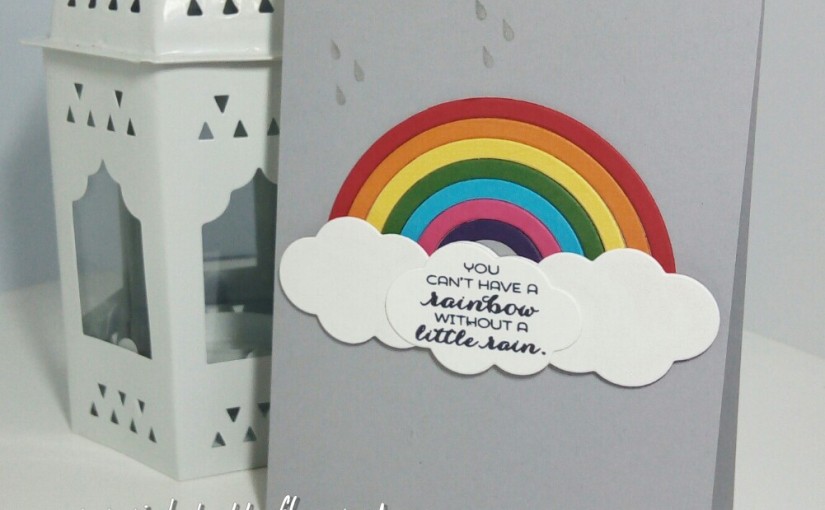
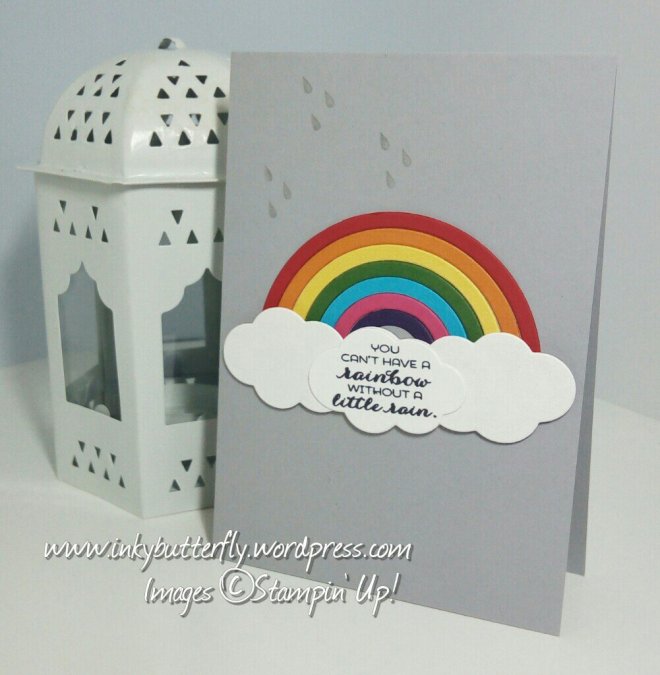
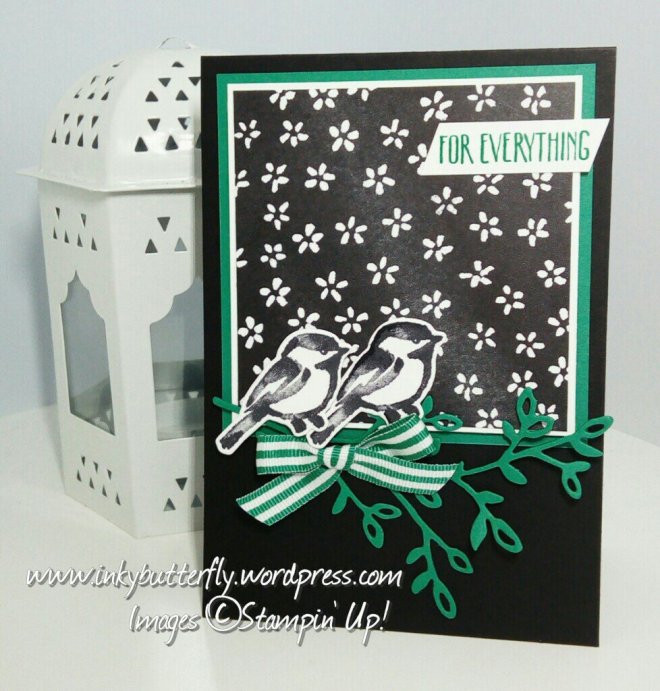
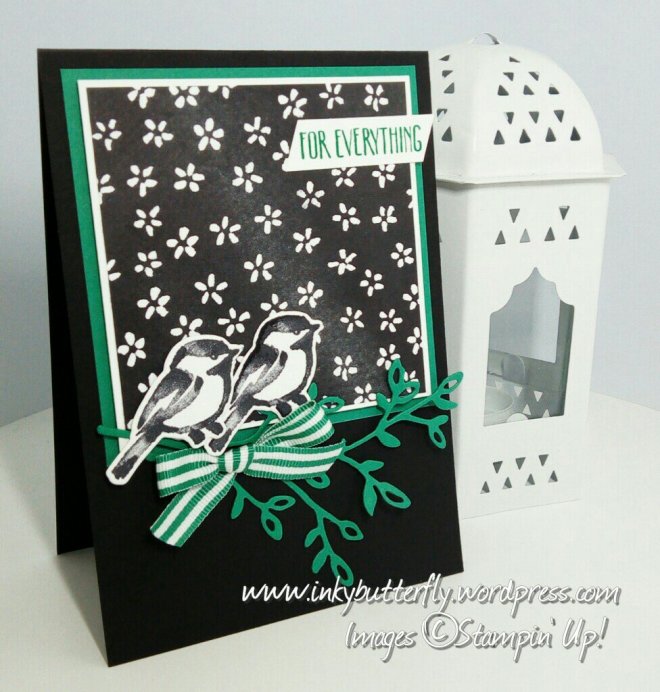
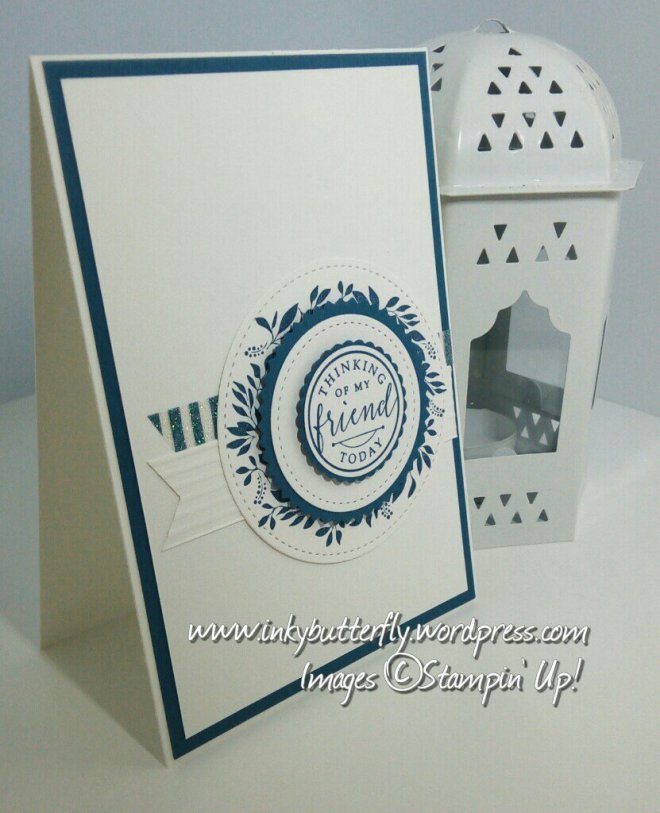
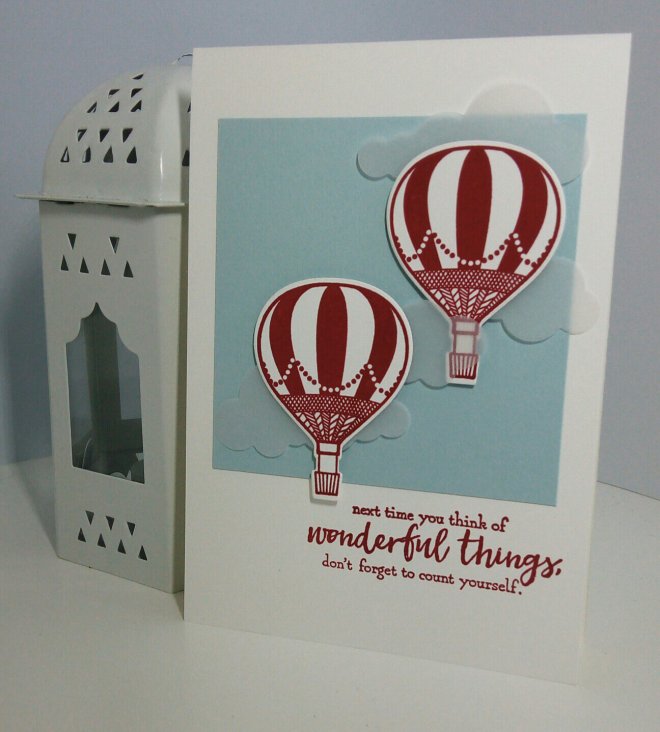
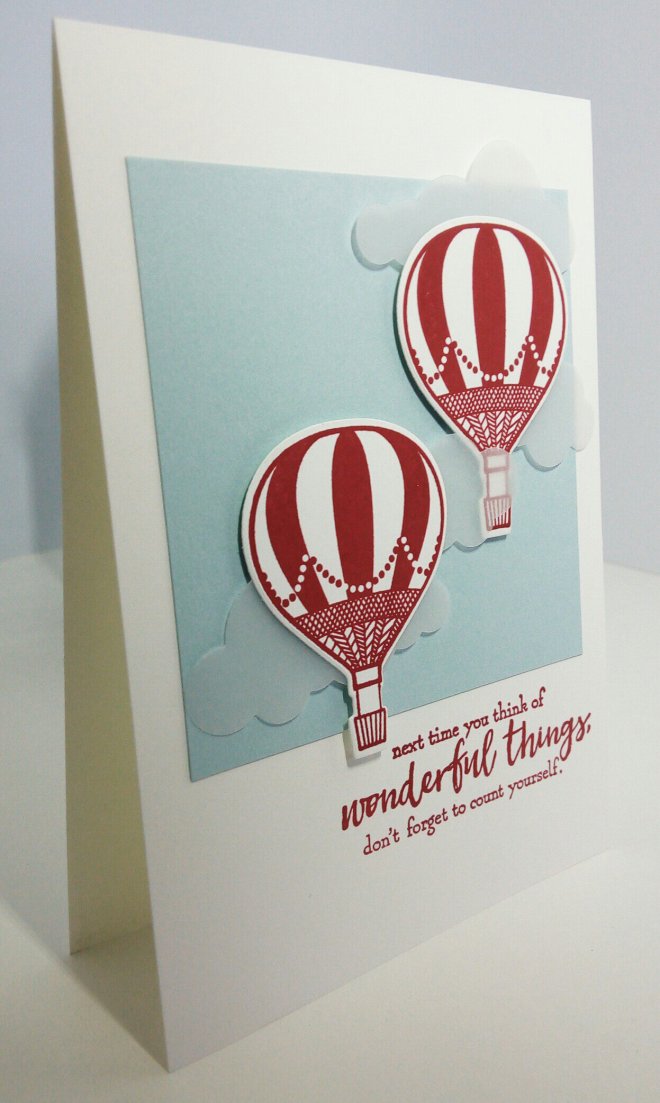
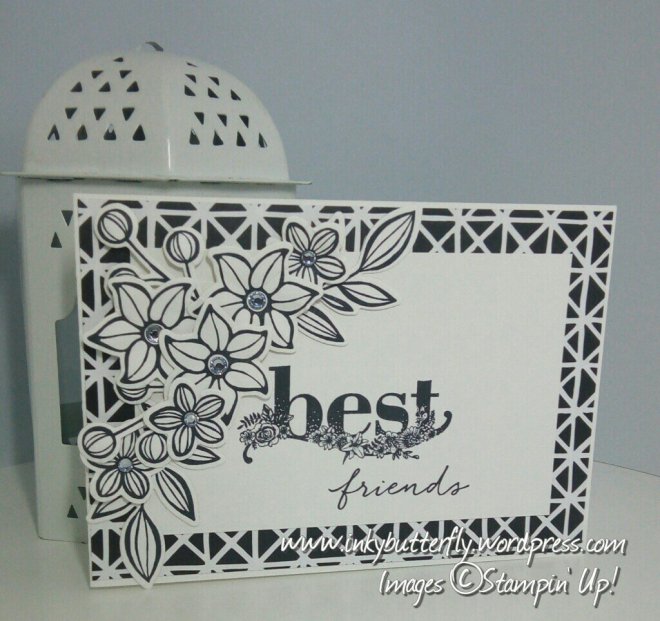
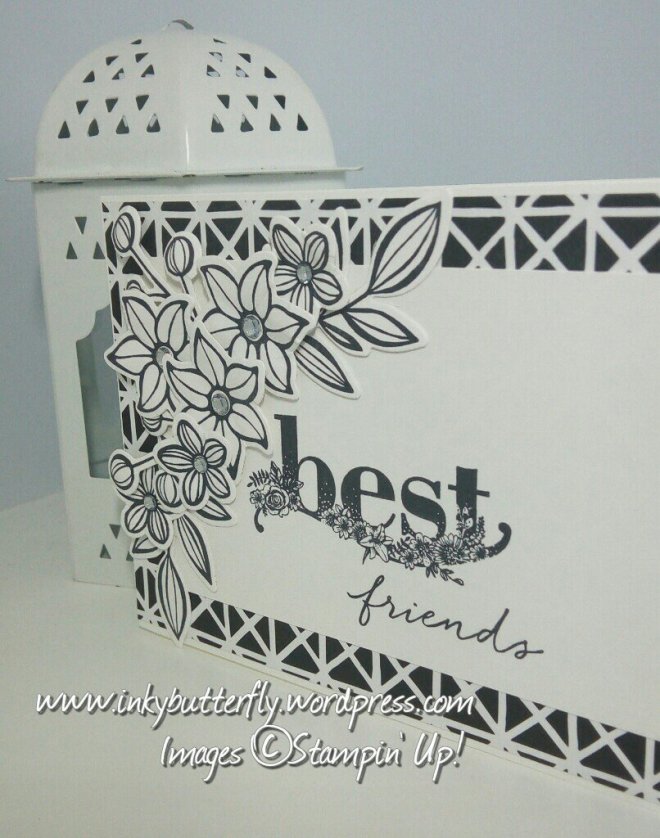
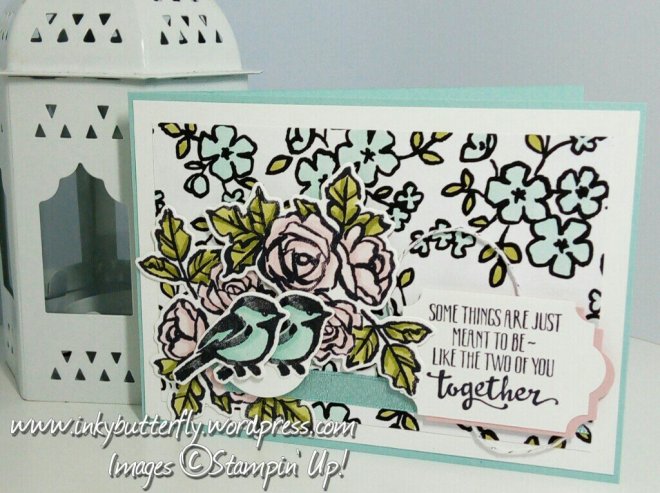
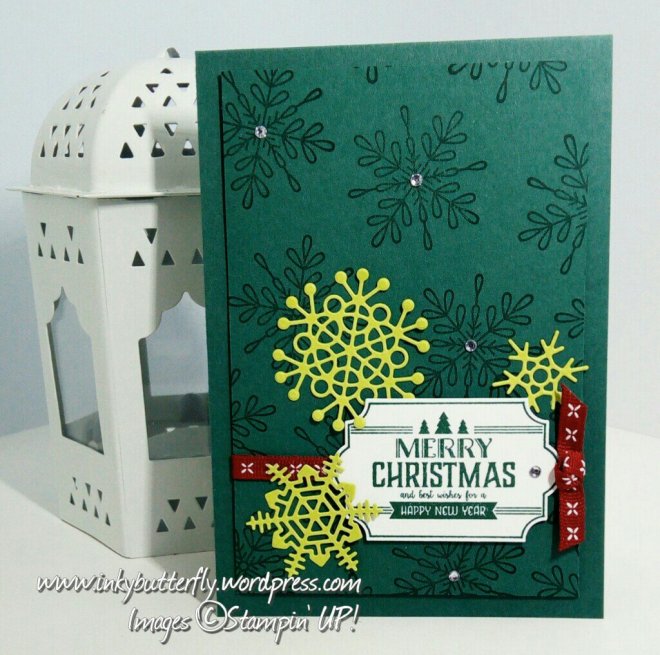
Today’s card uses Marina Mist card stock, really gonna miss this colour.
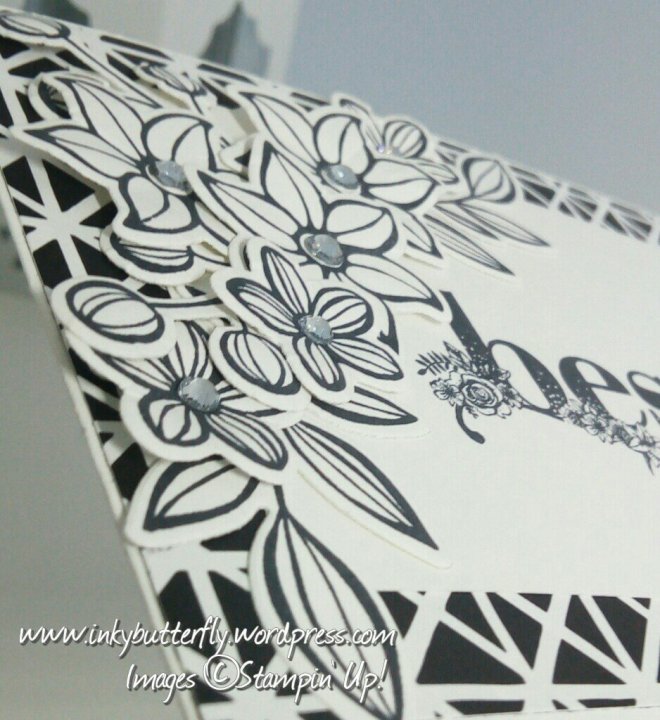
A piece of Whisper White card stock was stamped using Timeless Textures. I chose Soft Sky, Marina Mist and Dapper Denim.
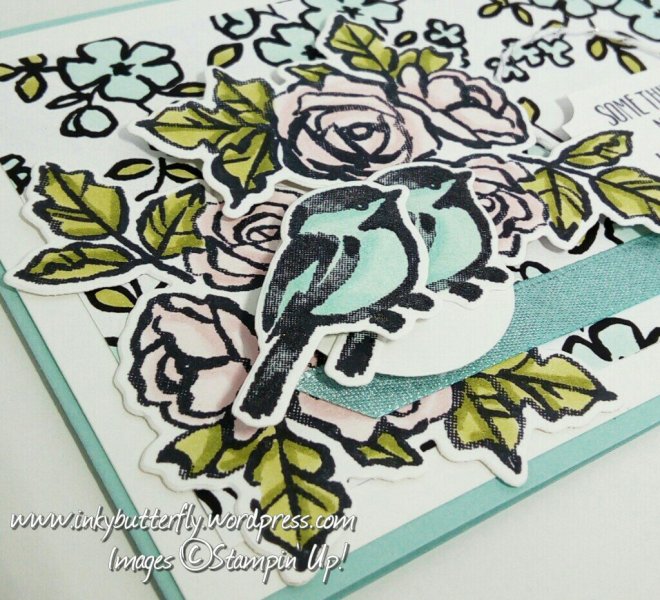
This was adhered to Dapper Denim card stock. Some striped grosgrain ribbon was wrapped around the card stock before adhering to the card base with dimensionals.
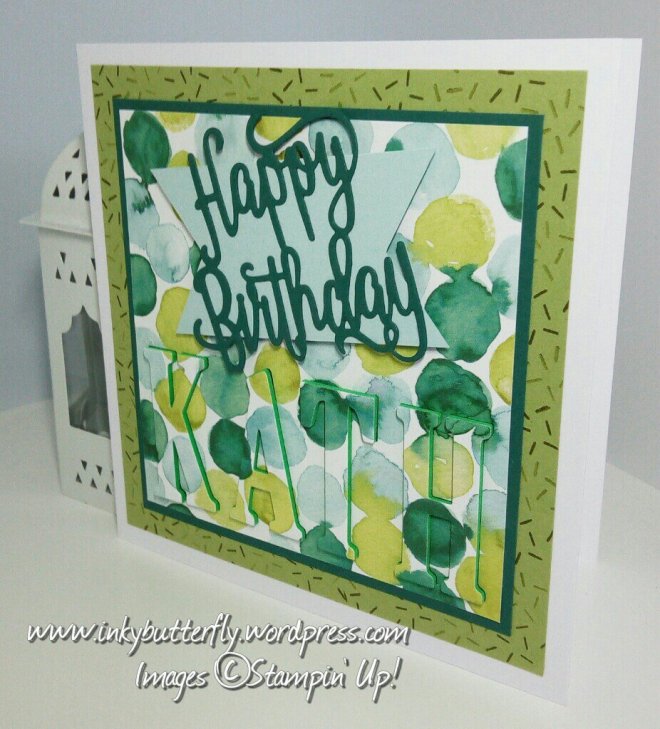
The Large Letter dies were used to cut the word Dad. This was adhered using multipurpose glue.
The ‘Happy Birthday’ was taken from the Thoughtful Banners stamp set and stamped using Dapper Denim ink.

I hope you enjoyed this project. The supplies used are listed and linked to the online store below – just click on the image.
Thanks for stopping by and Happy Stampin’!
Verity x
Product List

|
||

|

|

|

|

|