Good Morning Everyone,
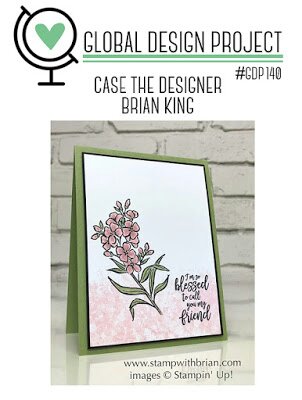
The Global Design Project this week has a colour challenge going on.
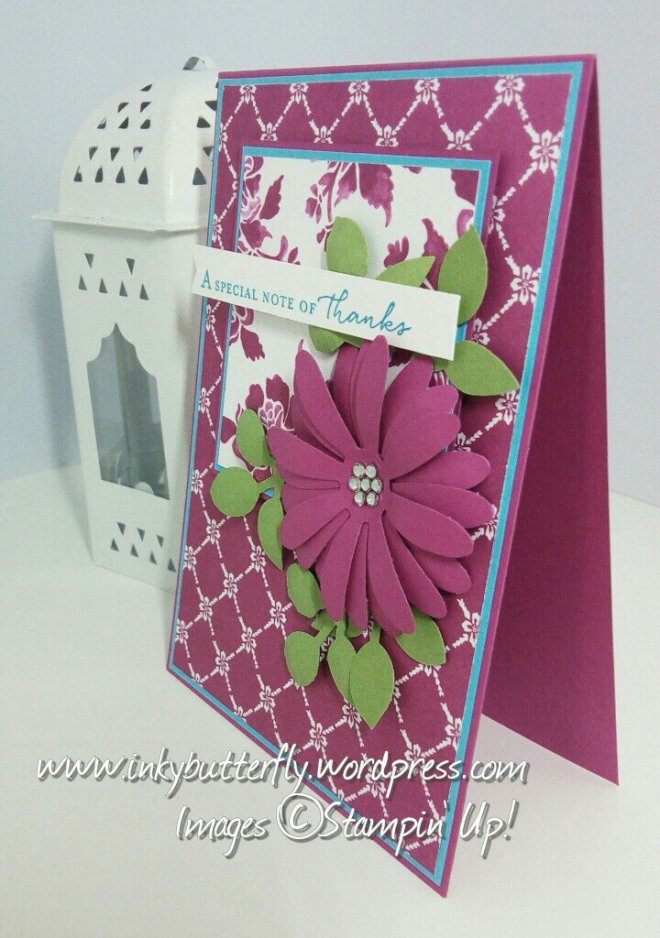
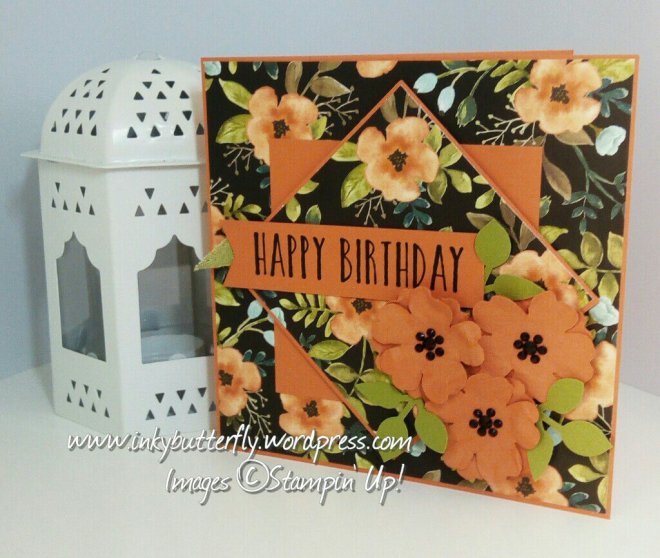
The Design Team have created some stunning samples that can be seen here!

I thought these colours were very autumnal, so I pulled out the Rooted in Nature stamp set.
I opted to use Rich Razzleberry as the base for the card.
A white layer was embossed with the Petal Burst embossing folder.
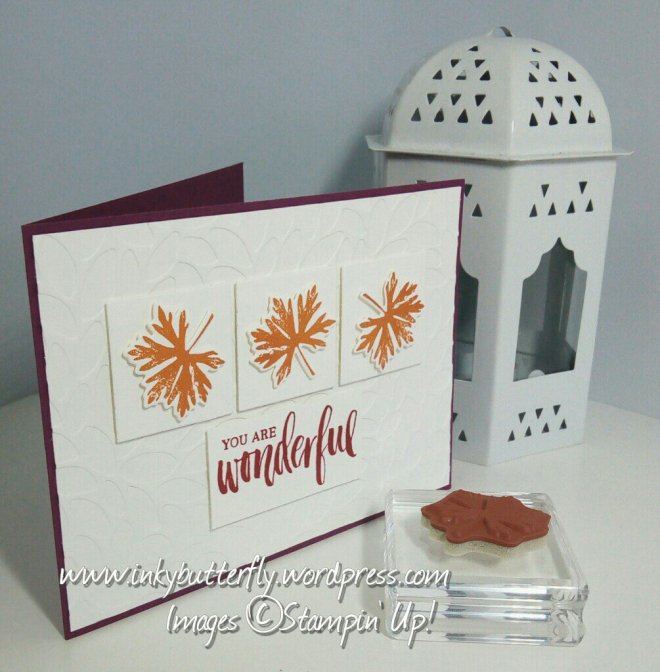
Three leaves were stamped with Pumpkin Pie ink and die cut.
Three squares were also die cut from white card stock, these could also be cut using a trimmer.
The sentiment was stamped with Real Red ink and trimmed down to get an even border.

The elements were arranged on the front of the card and secured with dimensionals.
I hope you enjoyed this project. The supplies used are listed below.
Thanks for stopping by today and Happy Stampin’!
Verity x
Product List
|
|
||
|
|
|
|
|
|
|
|


June Hostess Code: 4QCQ4HPT