Wildly Happy

Hello Everyone,

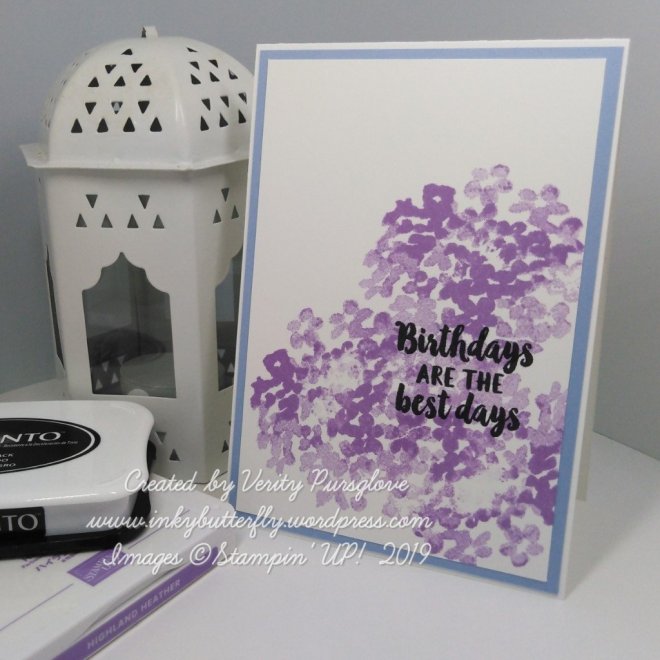
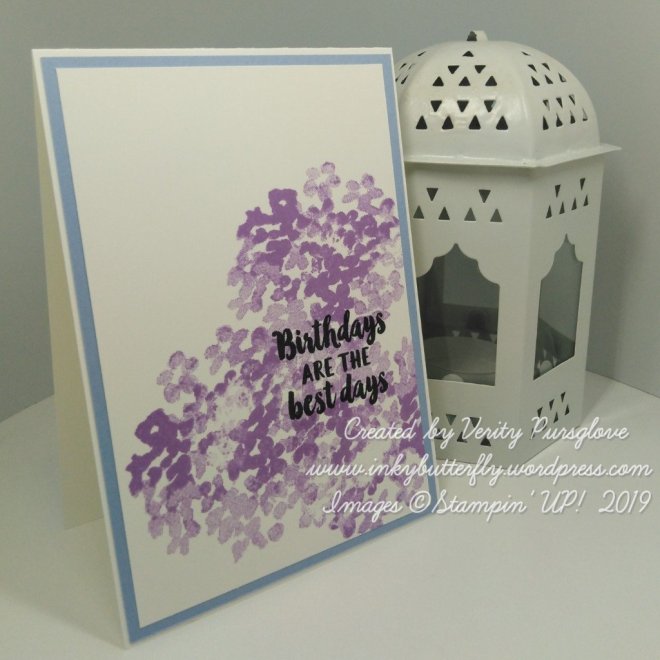
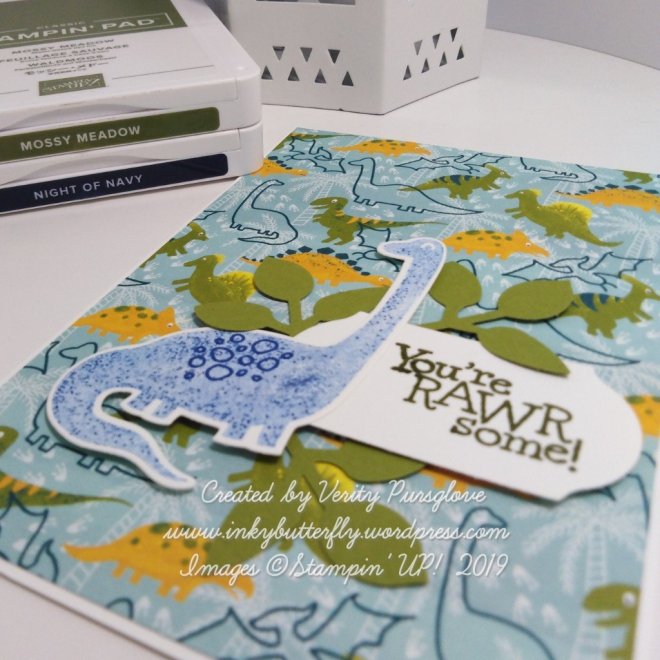
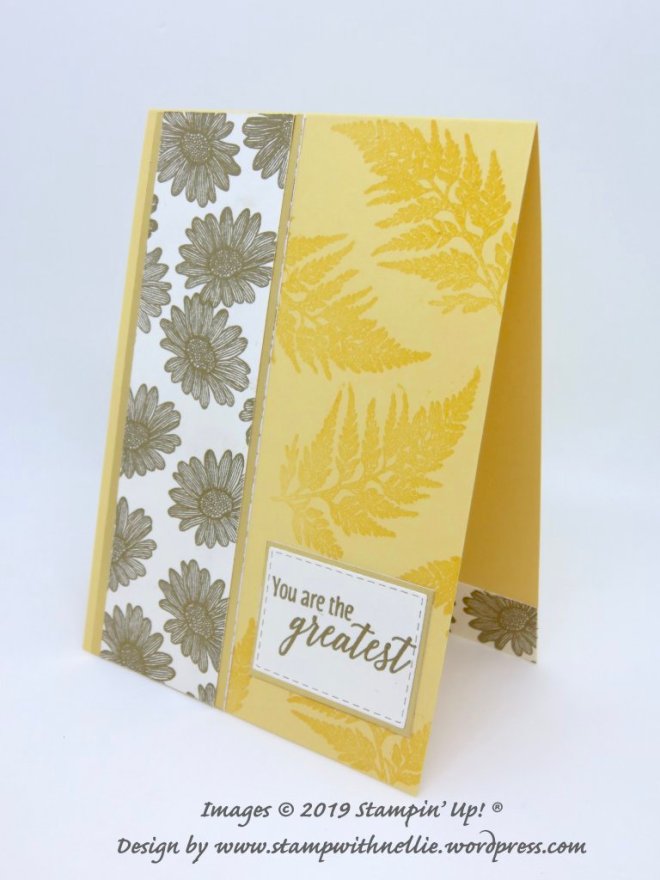
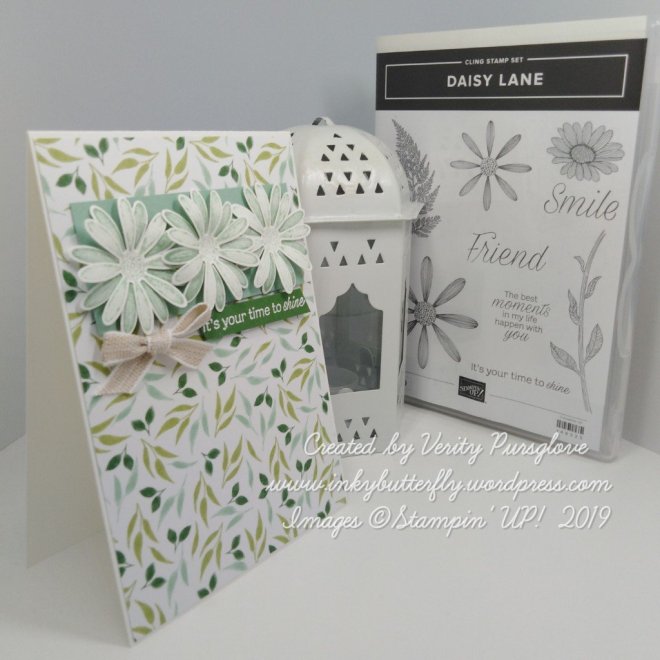
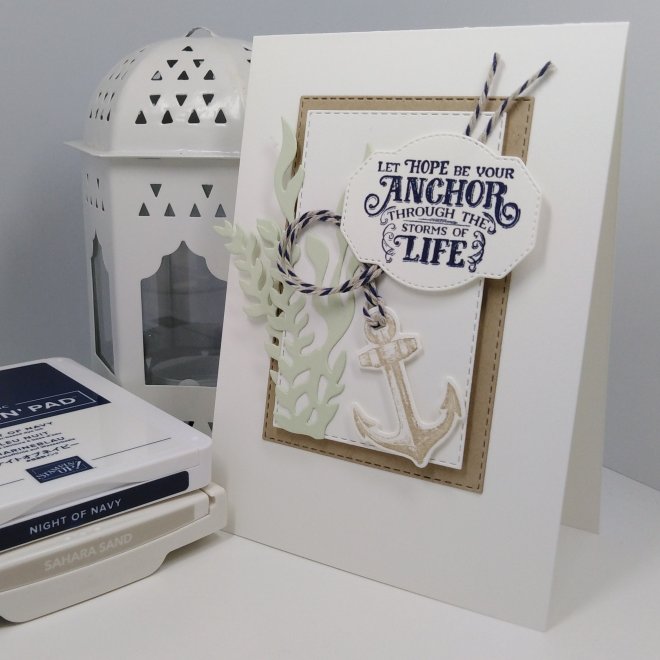
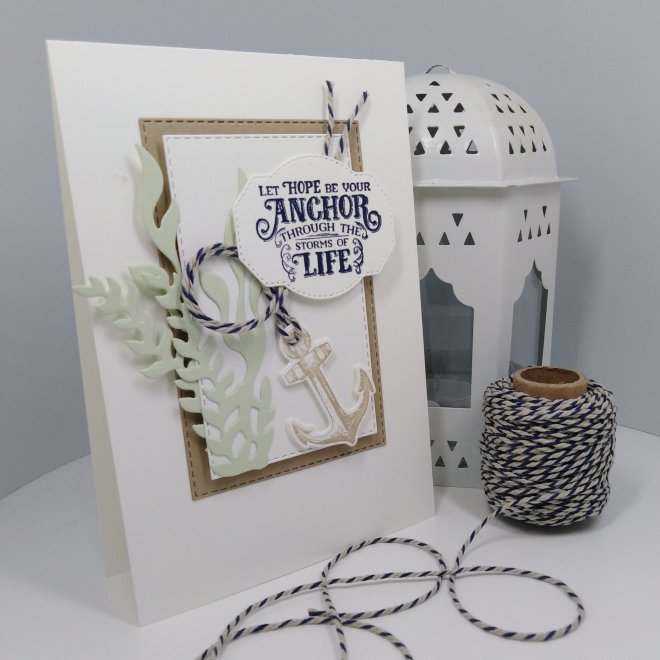
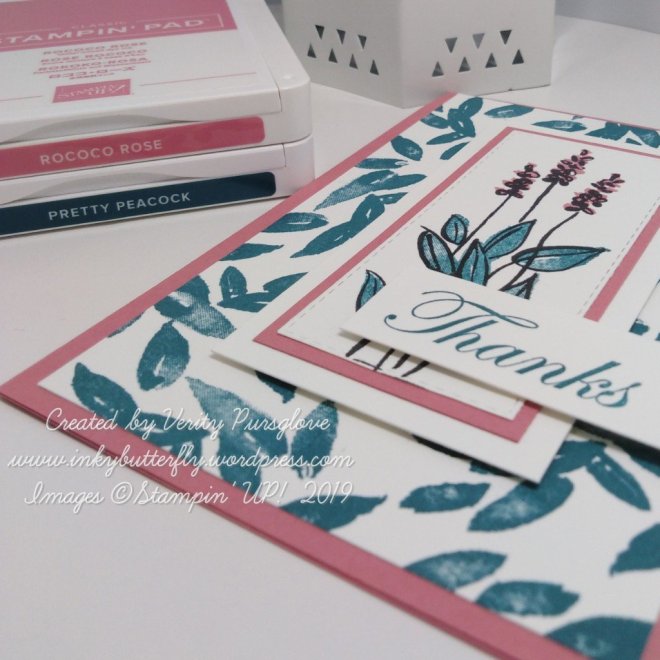
Isn’t this the most adorable stamp set?

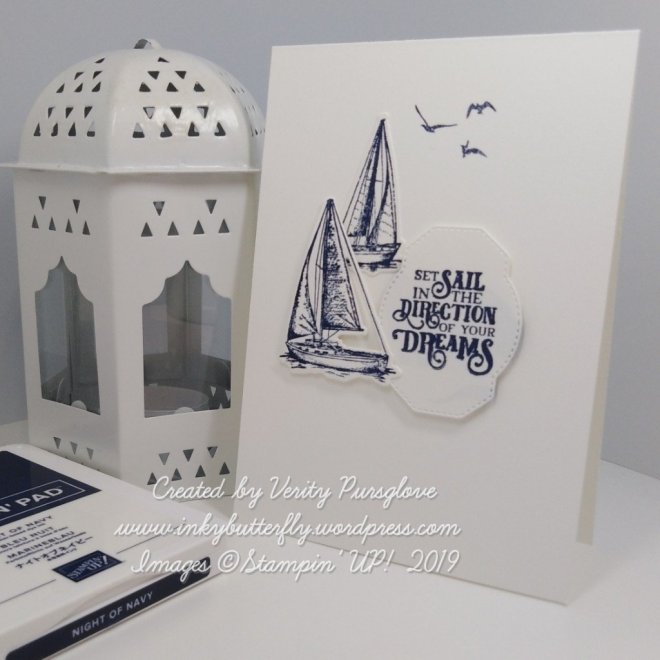
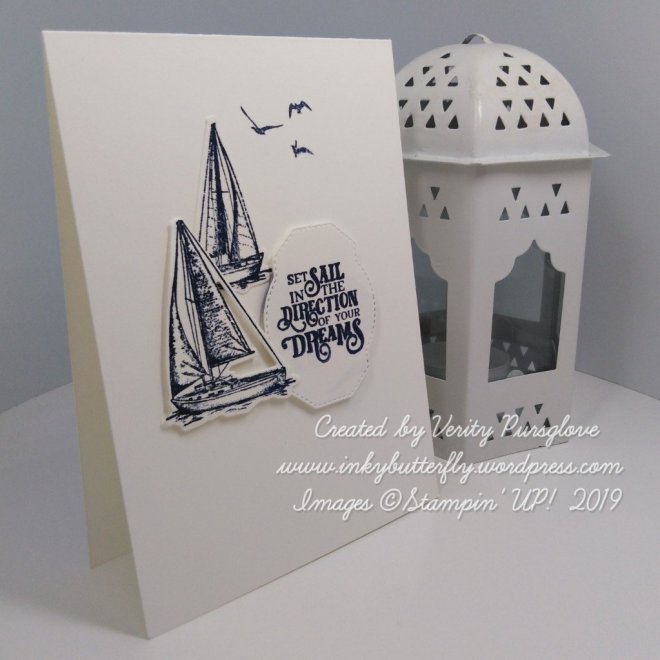
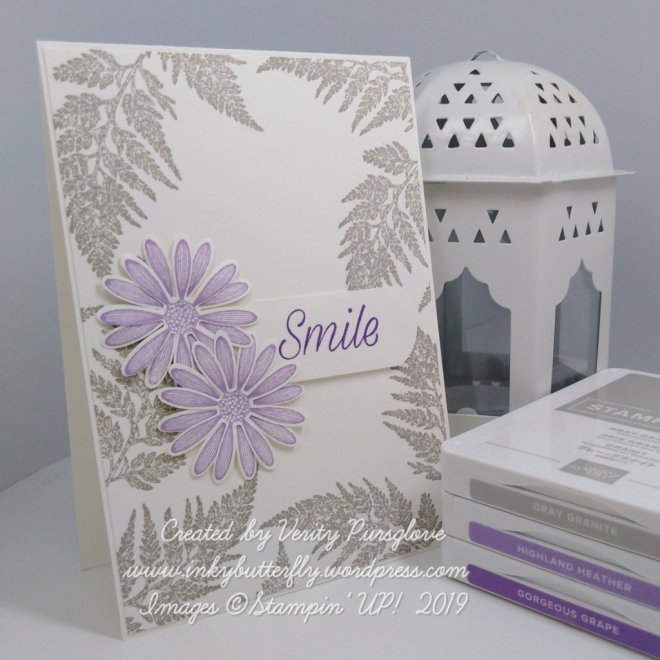
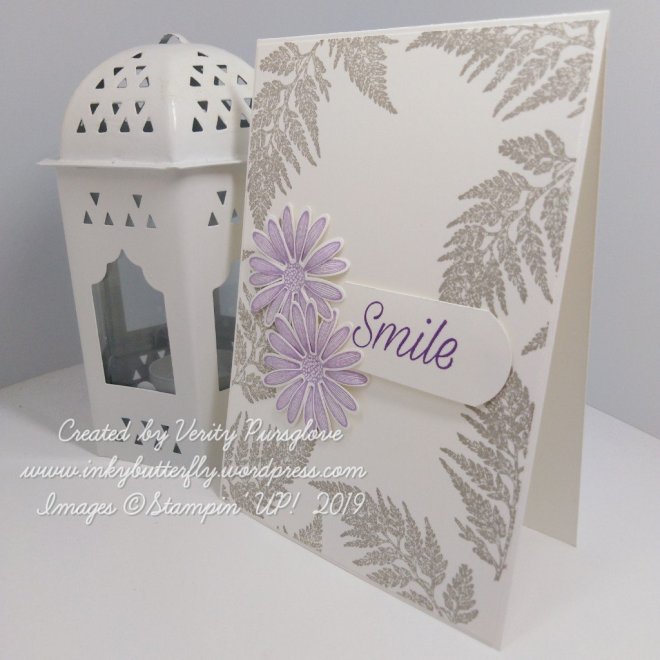
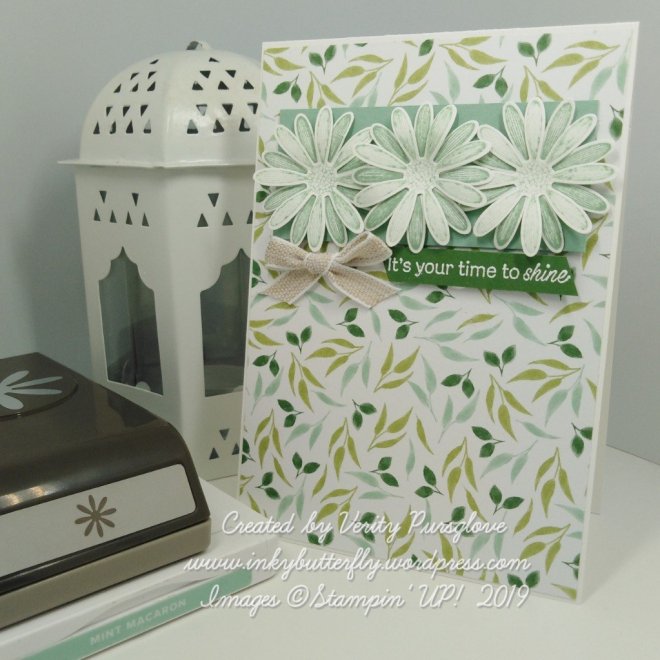
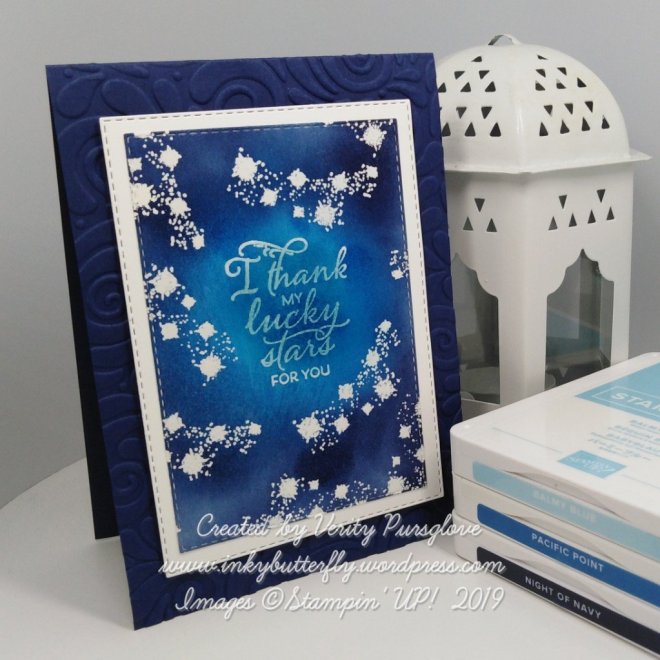
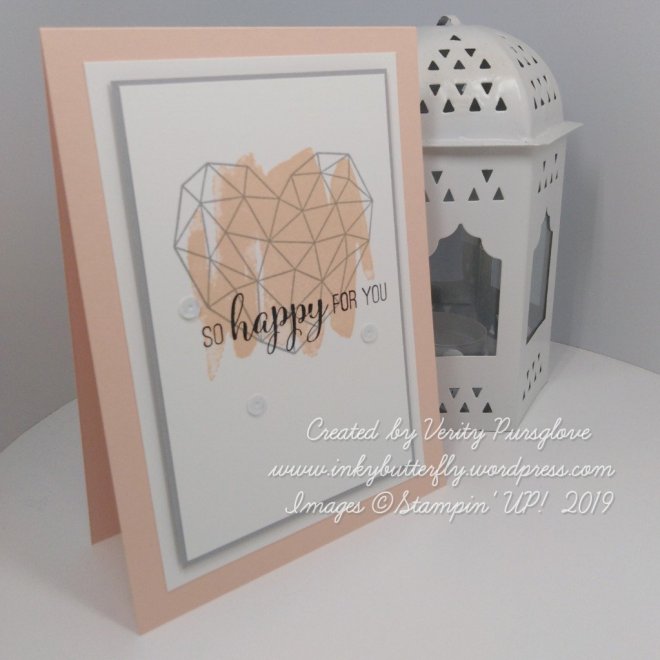
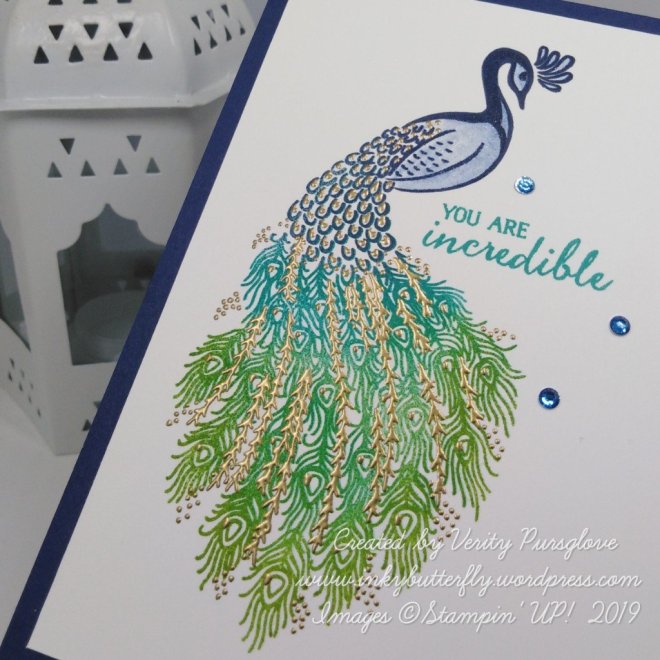
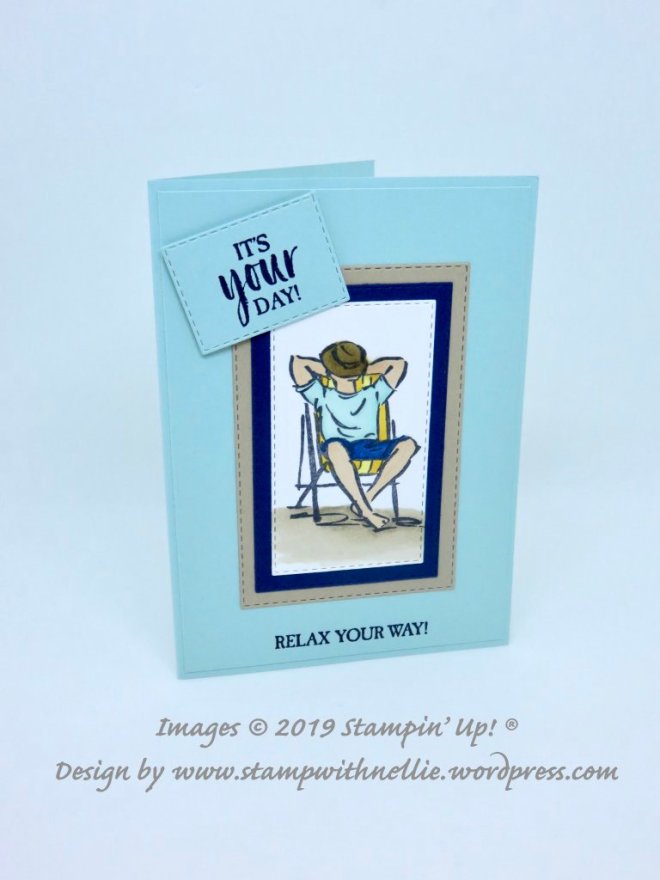
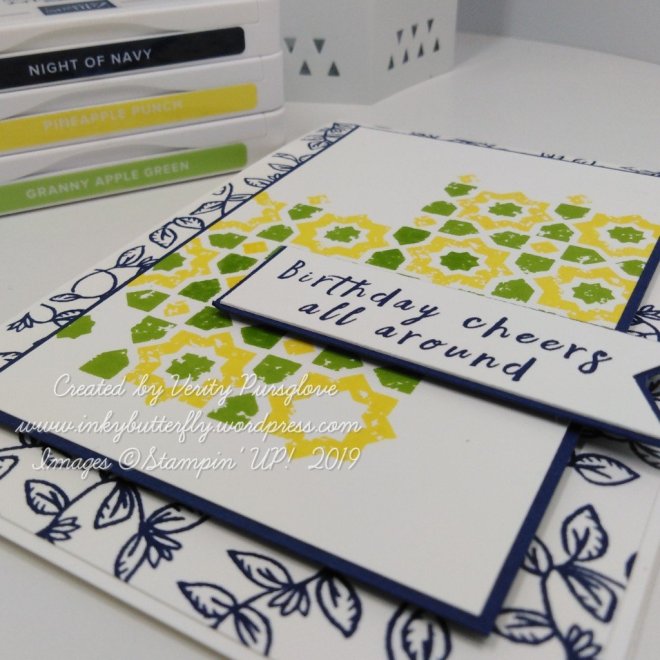
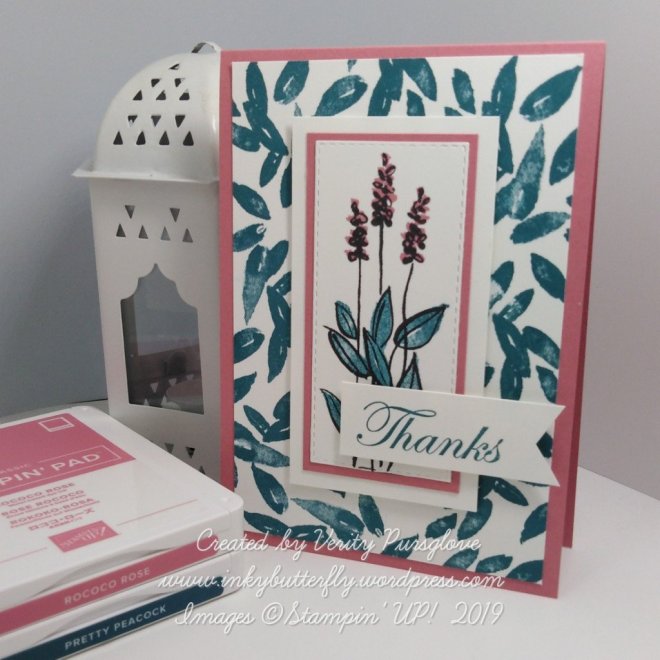
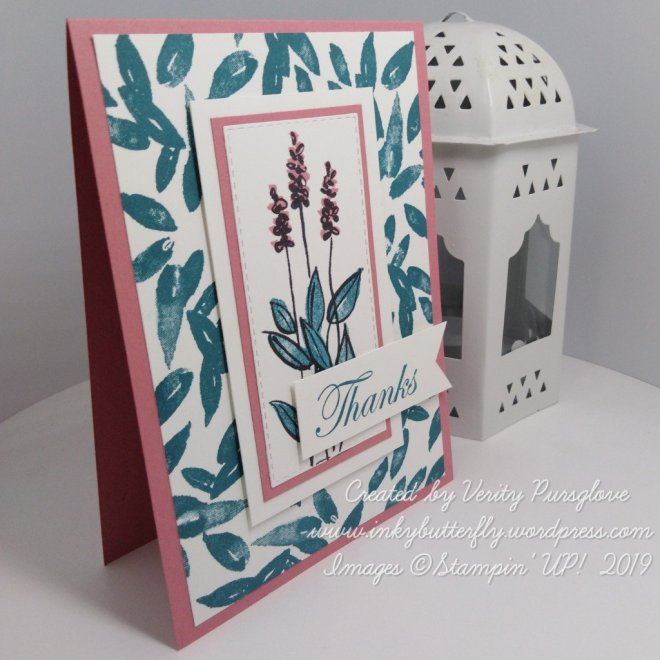
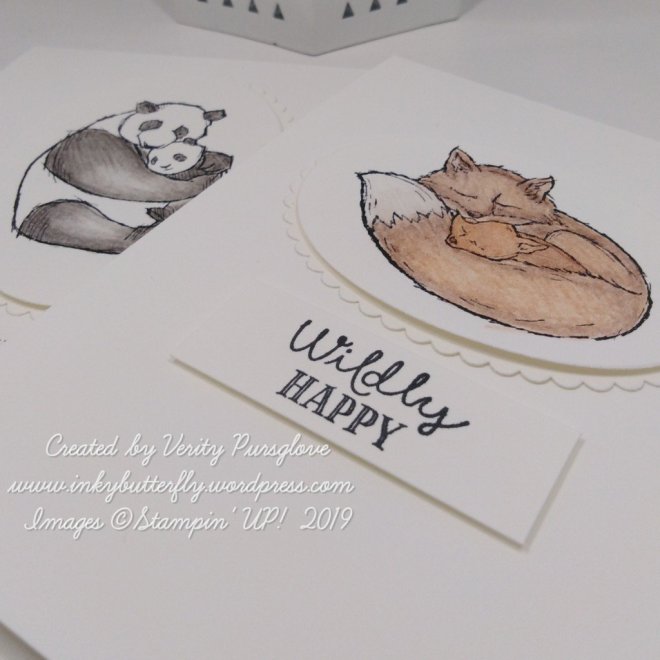
I couldn’t decide which was my favourite so I used them all to create these simple cards.

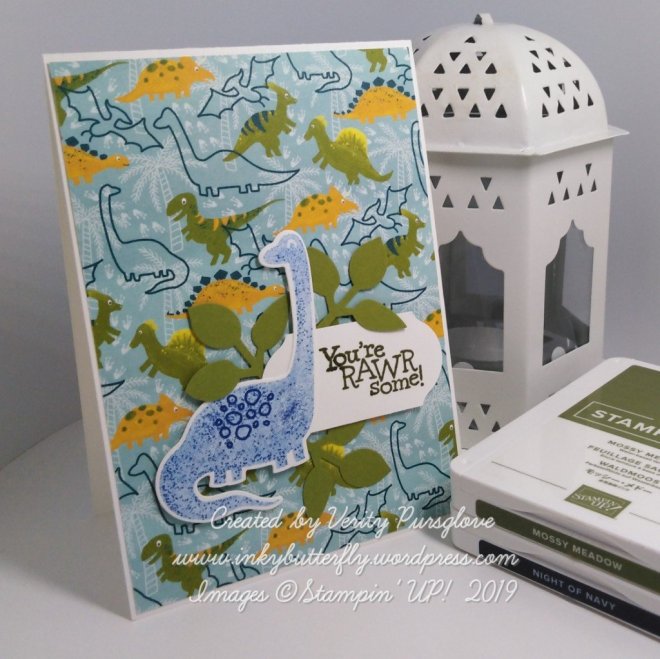
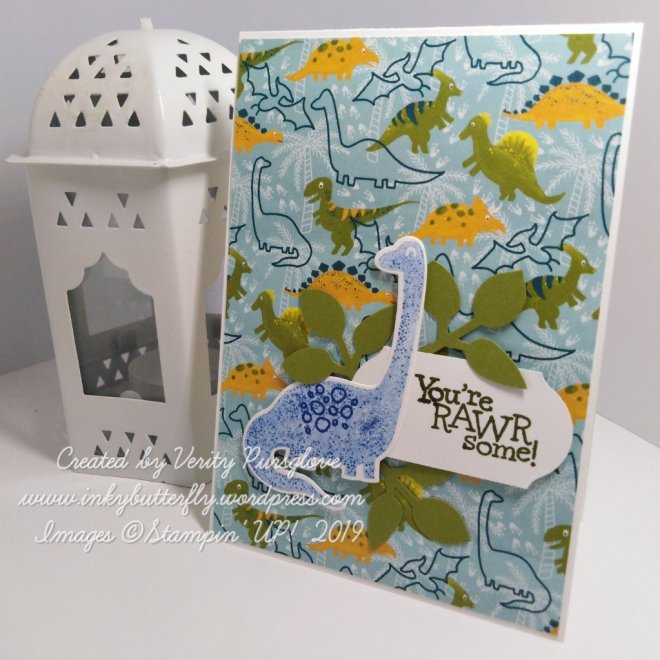
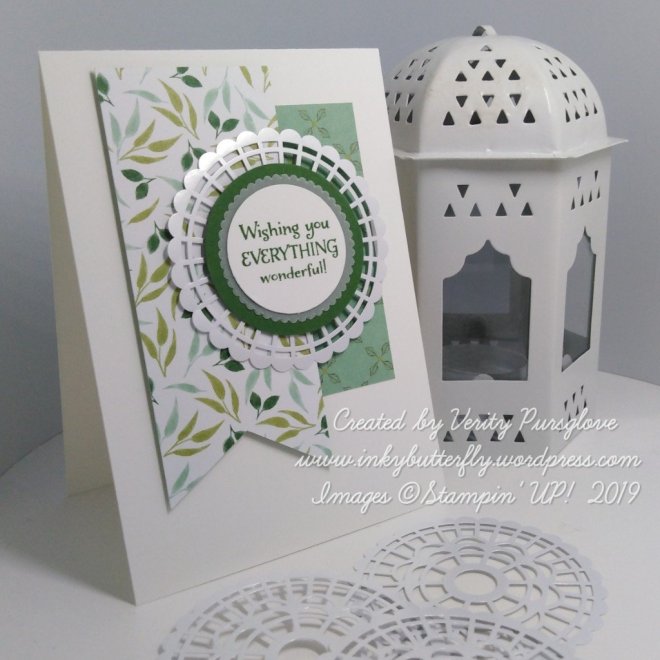
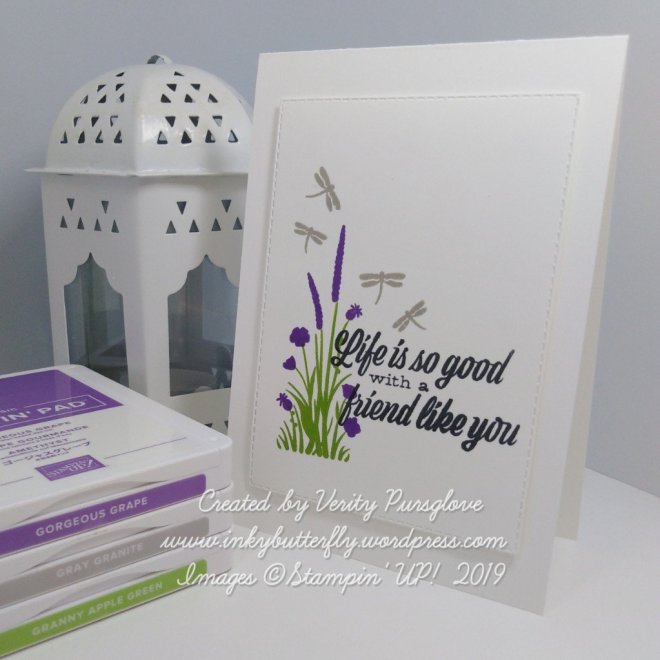
The images were coloured using watercolour pencils and blender pens.

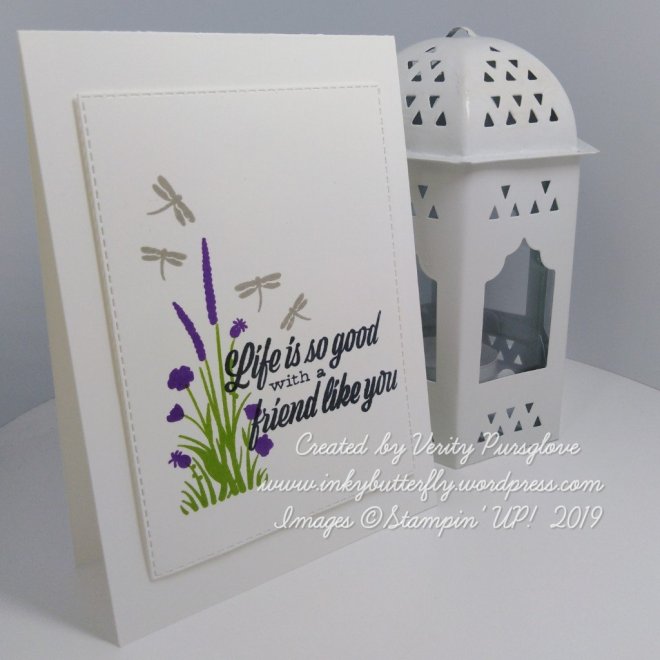
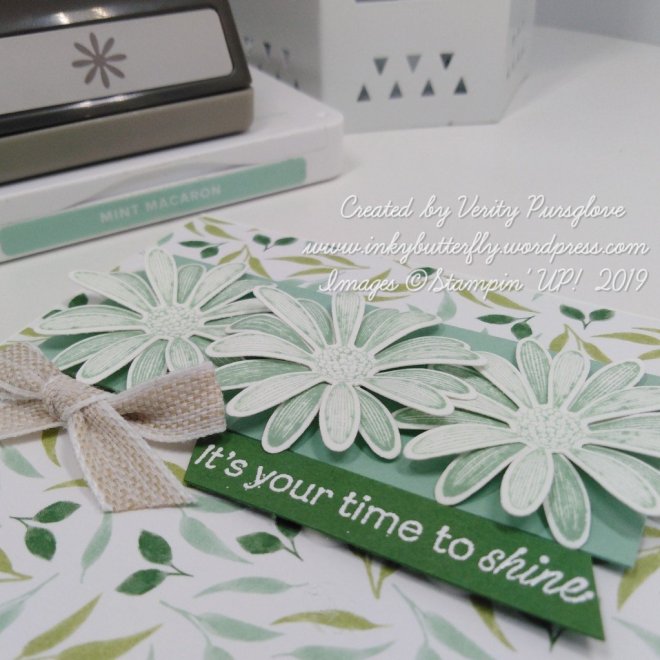
Each was die cut with a Layering Ovals Die and adhered to a corresponding Scalloped Oval.

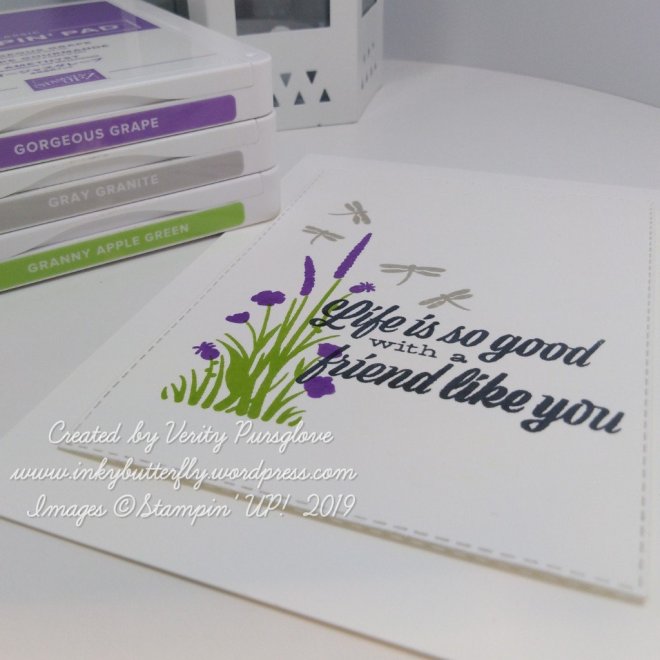
A sentiment was stamped with black ink and trimmed to size.

The elements were adhered to a white card base.

I hope you enjoyed this project. The supplies used are listed and linked to the online store below.

I would love to be your demonstrator.

Why not join my team and enjoy discounted prices on your favourite Stampin’ supplies!

Thanks for stopping by today and happy Stampin’!

Verity xx

Product List

Blender Pens

[102845]

£11.25

Best Days

Hello Everyone,

This card has gone back to basics, no punches or die cuts… Just simple stamping and layering.

The large hydrangea was stamped three times using Highland Heather Ink.

Black ink was used to add the sentiment across the image.

This was layered with Purple Posy card stock before adhering to a Whisper White card base.

I hope you enjoyed this project. The supplies used are listed and linked to the online store below.

I would love to be your demonstrator.

During July you can also take advantage of Bonus Days!

Why not join my team? There is even more to gain when you become a demonstrator during July…. No pressure to sell, just enjoy shopping your favourite products at a discount!

Thanks for stopping by today and happy Stampin’!

Verity xx

Product List

Rawrsome!

Hello Everyone,

Today I am sharing this rawrsome card… This stamp set is so cute!

Some designer series paper was adhered to a white card base.

Mossy Meadow ink was used to stamp the sentiment which was cut with the Timeless Label punch.

The dinosaur was stamped with seco d generation Night of Navy ink and die cut. This, was adhered to the card overlapping the sentiment.

Some punched leaves were finished the project.

I hope you enjoyed this project. The supplies used are listed and linked to the online store below.

I would love to be your demonstrator.

Why not join my team? There is even more to gain when you become a demonstrator during July…. No pressure to sell, just enjoy shopping your favourite products at a discount!

Thanks for stopping by today and happy Stampin’!

Verity xx

Product List

Leaf Punch

[144667]

£15.00

Cards in a Flash

Hello Everyone,

Have you seen all the amazing Designer Series Papers in this years catalogue?

These cards use the See a Silhouette collection…. They are so pretty, I didn’t want to cover them up!

I simply added sentiments that were stamped with black ink. For contrast, these were mounted on black card stock before adhering to the cards with dimensionals.

It was so easy, I made two… This pattern is the reverse of the first.

Each 12 by 12 inch sheet can make 6 standard cards in this way… with 12 sheets in a pack, that’s a lot of cards!

I hope you enjoyed this project. The supplies used are listed and linked to the online store below.

I would love to be your demonstrator.

Thanks for stopping by today and happy Stampin’!

Verity xx

Product List

InspireINK Blog Hop – June Sketch Challenge

Good Morning Everybody,

Welcome to this month’s InspireINK blog hop. This time we have a sketch challenge to play with.

Please be sure to click through all the projects in the hop by clicking at the bottom of this post.

I reached for the beautiful Garden Lane Designer Series Paper to build the background layers. The banner was lifted on dimensionals.

The circular focal point was made by layering punched and die cut shapes on to a pearlized Doily.

The sentiment from the On To Adventure stamp set was stamped with Garden Green ink.

Click here for the other projects in the hop!

You are invited to the Inlinkz link party!

Click here to enter

I hope you enjoyed this project. The supplies used are listed below.

Thanks for stopping by today and happy Stampin’!

Verity xx

Product List

Thanks So Much

Hello Everyone,

You know when you remember you need a card the night before the event? This is the kind of design that still looks elegant but really fast to do.

I chose blue tones with copper…. What combination would you use?

I used images from the A Big Thank You stamp set working from largest to smallest, lightest to darkest.

The sentiment was heat embossed with copper powder and cut with the Pretty Label Punch.

I hope you enjoyed this project. The supplies used are listed and linked to the online store below.

I would love to be your demonstrator.

Thanks for stopping by today and happy Stampin’!

Verity xx

Product List

Project Share Project

Hello Everyone,

Welcome to this week’s Project Share. As always my friends have created some lovely work. Please use the links to visit their blogs and read more about their projects.

Jill has used a touch of watercolour on these pretty flowers from the Perennial Essence stamp set.

Visit Jill’s blog here

Heather has used the Daisy Lane stamp set combining clear and gold embossing for her card.

Visit Heather’s blog here

Gez is making the most of the beauty of Designer Series Paper to make her card. Less is so often more.

Visit Gez’s blog here

I hope you enjoyed these projects. The supplies used are listed and linked to the online store below.

I would love to be your demonstrator.

Thanks for stopping by today and happy Stampin’!

Verity xx

Product List

Life is So Good

Hello Everyone,

I love the flexibility that two-step Stamping offers…. These flowers could be any colour to suit any recipient.

I originally stamped the images on to a Whisper White card layer starting with the foliage.

The flower heads were added next, these were easy to line up by looking through the clear block.

The sentiment was stamped next with Memento black ink. Once this was in place, I added the little dragonflies.

I opted to die cut the images with a Stitched Rectangle Die. I adhered this to a white card base with dimensionals.

I hope you enjoyed this project. The supplies used are listed and linked to the online store below.

I would love to be your demonstrator.

Thanks for stopping by today and happy Stampin’!

Verity xx

Product List

Simply Set Sail

Hello Everyone,

I made this card to show what can be done with minimal supplies.

I chose to use Night Of Navy ink to stamp the boats and the sentiment on to Whisper White card stock.

Once the images were die cut it was easy to position them on to a Whisper White card base.

Finally, the birds were stamped with 2nd generation ink.

I hope you enjoyed this project. The supplies used are listed and linked to the online store below.

I would love to be your demonstrator.

Why not join my team and enjoy shopping with a discount. Click below to find out more!

Thanks for stopping by today and happy Stampin’!

Verity xx

Smile

Hello Everyone,

I really love the combination of purple and grey, so I have put them together for today’s project with the Daisy Lane stamp set and medium dIsy punch.

Gray Granite ink was used to stamp the leaves around the edge of a Whisper White card layer.

The Daisy was stamped 4times with Highland Heather Ink. These were punched and layered together.

Gorgeous Grape ink was used to stamp the sentiment which I cut with the Timeless Label Punch.

I hope you enjoyed this project. The supplies used are listed and linked to the online store below.

I would love to be your demonstrator.

Thanks for stopping by today and happy Stampin’!

Verity xx

Product List

Daisy Trio #GDP194

Hello Everyone,

This week is a sketch challenge at the Global Design Project!
See what the Design Team have created here.

……. And this is my project…..

For this project, I have used the Daisy Lane bundle and teamed this with the Garden Lane Designer Series Paper.

The greens within the pattern inspired the use of Mint Macaron to stamp my daisies. These were punched out and shaped with a large ball stylus and adhered to a small piece of Mint Macaron card stock.

The DSP was adhered to a white card base, and the Daisy panel was secured towards the top.

The sentiment from the same stamp set was stamped on to Garden Green card stock, (a colour also featured in the paper) and heat embossed in white.

A small bow was tied from the Magnolia Lane Ribbon Combo to complete the card.

I hope you enjoyed this project. The supplies used are listed below.

Thanks for stopping by today and happy Stampin’!

Verity xx

Product List

Inspire.Create #045

Hello Everyone,

Welcome to my blog. Every other Monday I share my project that I have used as my entry for the Inspire.Create challenge.

This time it’s a theme challenge.

The design team have made some wonderful samples as inspiration. You can see them here.

I have used the emboss resist technique for my project;

I picked out the Stargazing stamp set…. I thought the stars would be perfect for this technique.

First, I applied Balmy Blue ink to some white card stock where the sentiment would be. I then used versamark ink to stamp the images. These were embossed with clear powder.

I then added Pacific Point and Night of Navy ink over the top. A damp cloth rubbed away the excess ink.

The panel was die cut with a Stitched Rectangle and layered on to Whisper White card stock.

A Night of Navy card base was embossed with the Swirls & Curls embossing folder before adding the topper with dimensionals.

I hope you enjoyed this project. The supplies used are listed and linked to the online store below.

I would love to be your demonstrator.

Thanks for stopping by today and happy Stampin’!

Verity xx

Product List

Modern Heart

Hello Everyone,

A really quick and simple card for today…… Featuring the Modern Heart stamp set.

The large images in this set re so easy to stamp and layer together. The style means there isn’t a “wrong way” to do it…… perfect if you are new to stamping!

This card is really finished with the layering. Using the matching card stocks ties the images together whilst framing the focal point.

Black ink makes the sentiment stand out, enhanced by some white self adhesive sequins.

I hope you enjoyed this project. The supplies used are listed and linked to the online store below.

I would love to be your demonstrator.

Thanks for stopping by today and happy Stampin’!

Verity xx

Product List

Royal Peacock

Hello Everyone,

When I first saw the new catalogue back in April, this suite was top of my wish list. I couldn’t wait for it to arrive and start playing with it!

I wanted to showcase the stamp set alone with this card, there are many more stunning items in the suite which I shall use in future projects… Watch this space!

I used the Stamparatus to stamp the main image so I could use several colours and repeat stamp. Sponge daubers allowed me to apply the ink where I wanted it to achieve a gradient.

The complimentary stamp was positioned on to the main image and stamped with versamark ink so that these details could be heat embossed with gold powder.

A touch of Wink of Stella pulled ink in to colour the bird’s body. The sentiment was added with Bermuda Bay ink and embellished with blue rhinestones.

I hope you enjoyed this project. The supplies used are listed and linked to the online store below.

I would love to be your demonstrator.

Thanks for stopping by today and happy Stampin’!

Verity xx

Product List

Project Share Project

Hello Everyone,

Welcome to this week’s Project Share. As always my friends have created some lovely work. Please use the links to visit their blogs and read more about their projects.

Jill has combined bright colours with white embossing, made all the more striking by using a black background!

Visit Jill’s blog here

Heather has made this lovely card using her Stampin.’ Blends to colour the focal image. The Stitched Rectangle dies frame it perfectly.

Visit Heather’s blog here

Gez has used tone on tone layering to make this great Father’s Day card. Mixing and matching several sets of dies really extends their use.

Visit Gez’s blog here

I hope you enjoyed these projects. The supplies used are listed and linked to the online store below.

I would love to be your demonstrator.

Thanks for stopping by today and happy Stampin’!

Verity xx

Product List

Birthday Cheers #GDP193

Hello Everyone,

This week is a colour challenge at the Global Design Project!


See what the Design Team have created here.

……. And this is my project…..

I have used the Verdant Garden stamp set to create the backgrounds on each of the Whisper White panels.

The smaller panel was layered on to Night Of Navy card stock and adhered to the card with dimensionals.

The sentiment was taken from the Perennial Birthday stamp set and stamped with Night Of Navy ink.


I hope you enjoyed this project. The supplies used are listed below.

Thanks for stopping by today and happy Stampin’!

Verity xx

Product List

Your Anchor

Hello Everyone,

I hope you are enjoying seeing the new Stampin’ Up! products….. All of which you can purchase in my online store, links are at the bottom of this post!

Today’s featured set is Sailing Home and coordinating dies.

To make the topper, two of the seaweed die cuts were adhered to a Stitched Rectangle. This was layered with a larger rectangle cut from Crumb Cake card stock with dimensionals.

The anchor was stamped with Sahara Sand ink. This was die cut and some baker’s twine attached. The anchor was secured to the card. The twine was left loose.

The sentiment was stamped with Night of Navy ink and die cut. The trailing twine was then held in place with this die cut.

I hope you enjoyed this project. The supplies used are listed and linked to the online store below.

I would love to be your demonstrator.

Thanks for stopping by today and happy Stampin’!

Verity xx

Product List

Great Places

Hello Everyone,

I was very fond of the Lift Me Up stamp set and was really sad to see it retire….. But just look what’s new…. Above the Clouds! And it has a wonderful coordinating punch too.

If you haven’t seen the new catalogue and would like a free copy please let me know.

The small balloons were stamped first on to a Whisper White card stock panel. This was layered on to Purple Posy card stock and added to a card base.

Two large balloons were stamped and punched as the focal image with a sentiment added to one side.

I hope you enjoyed this project. The supplies used are listed and linked to the online store below.

I would love to be your demonstrator.

Thanks for stopping by today and happy Stampin’!

Verity xx

Product List

Soft Spring

Hello Everyone,

A new annual catalogue means lots of brand new products and long shopping list.

The stamp set I have used today is a hostess set which can be purchased with orders over £150.

Club together with your friends or host a party. Find out more here

My card today used the Soft Spring host stamp set with two new In Colours. This is a two-step stamp set allowing images to be layered together.

I started by stamping a background with Pretty Peacock ink and adhering this to Rococo Rose card base.

The flowers were stamped in Memento Ink and “coloured” with the coordinating stamps from the set.

This was cut with a Stitched Rectangle die and layered with Rococo Rose and Whisper White card stock and adhered with dimensionals.

The sentiment was added with Pretty Peacock ink.

I hope you enjoyed this project. The supplies used are listed and linked to the online store below.

I would love to be your demonstrator.

If you would like a Free copy of the new Stampin’ Up! catalogue please contact me.

Thanks for stopping by today and happy Stampin’!

Verity xx

Product List