Good Morning,
Today I am taking part in the Just Add Ink challenge.
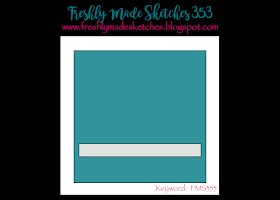
This week’s sketch has been designed by Kim. As usual, the Design Team have done an amazing job with the samples. You can see them all here.

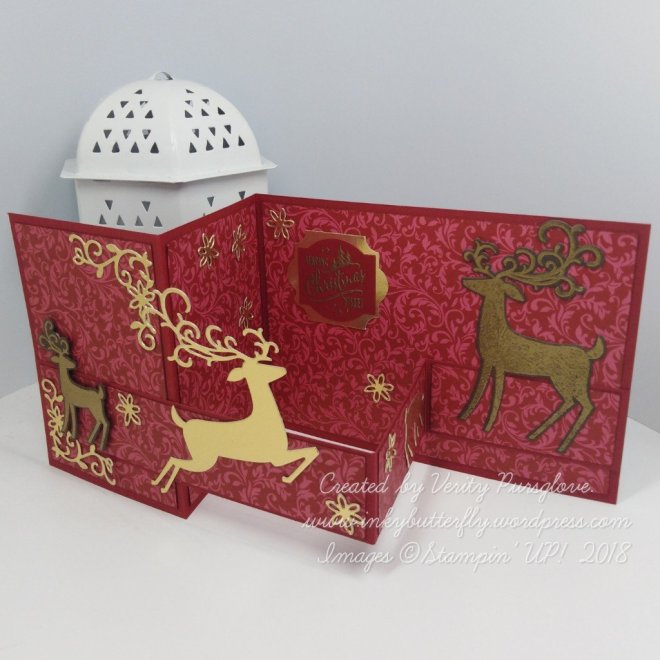
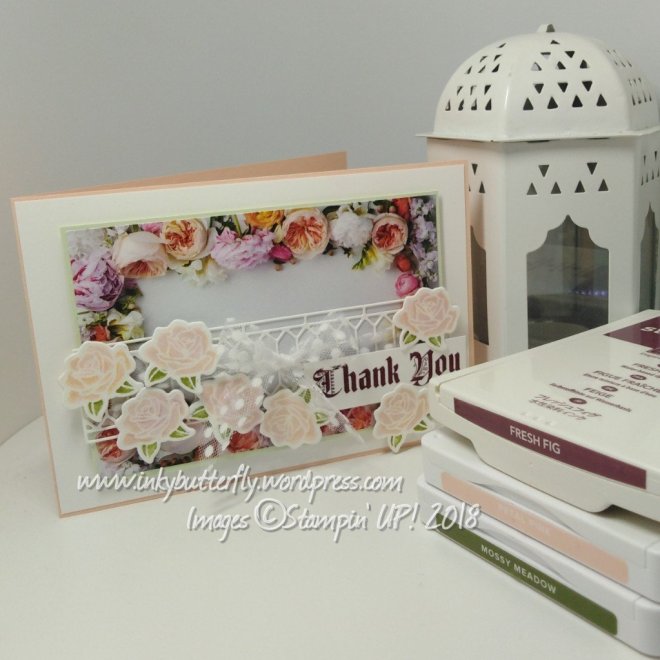
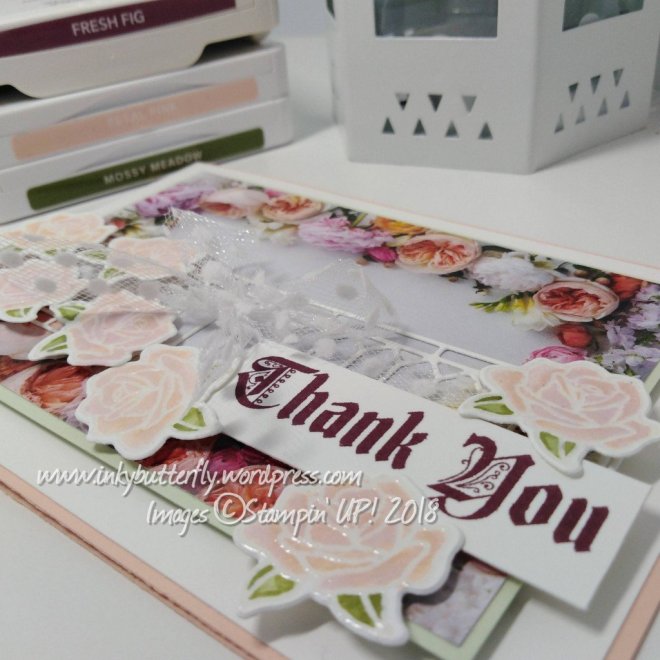
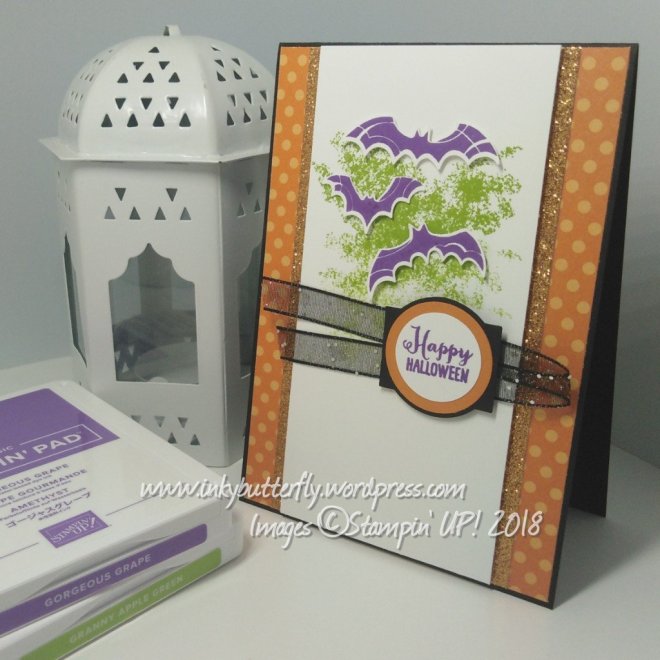
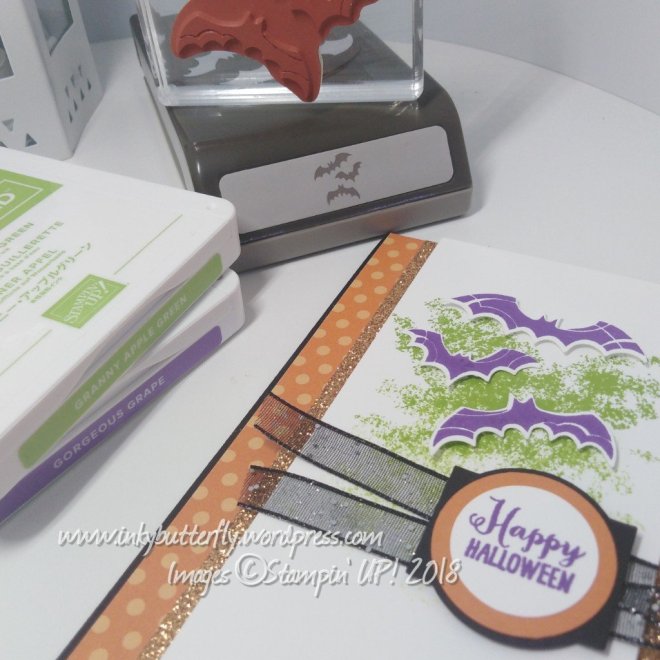
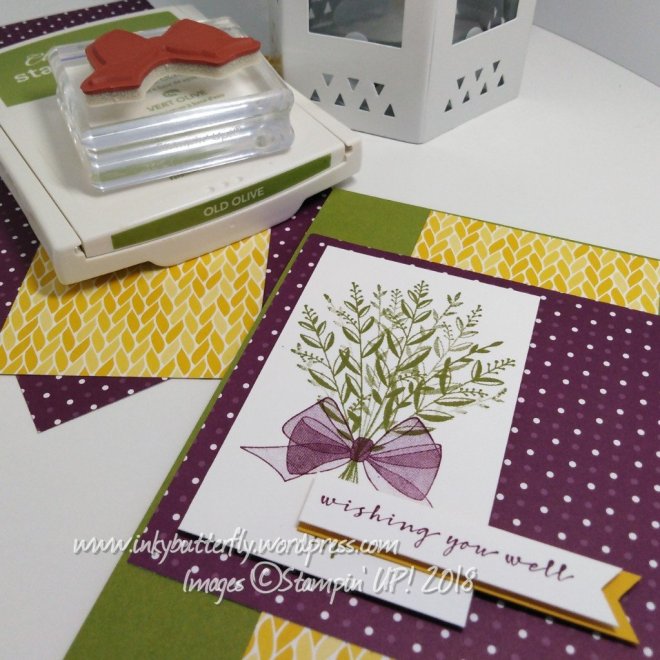
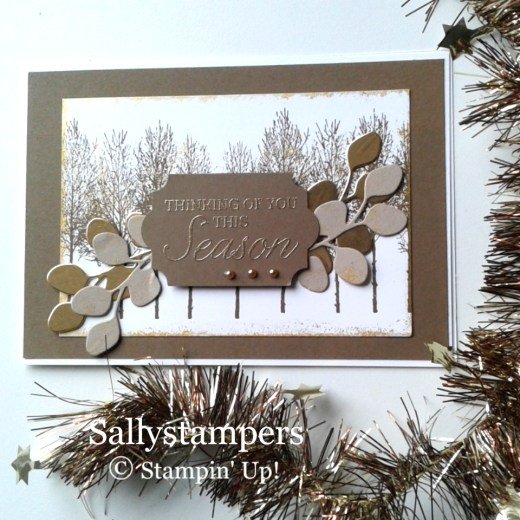
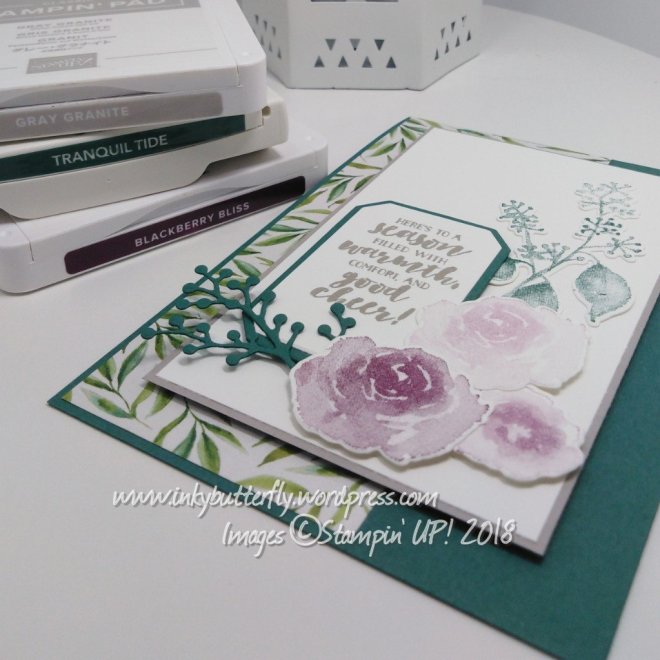
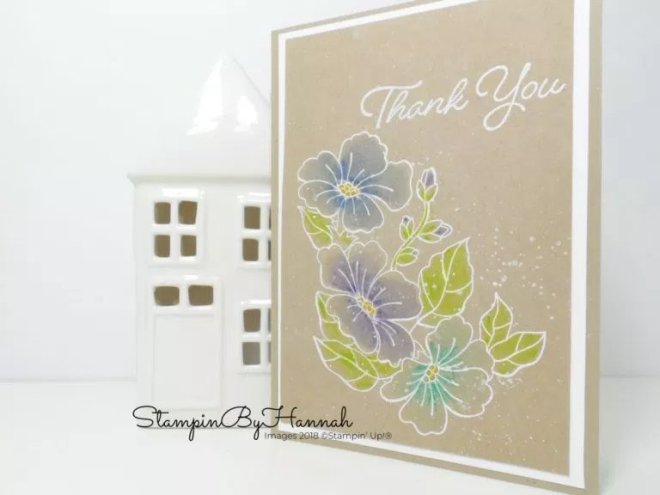
I have used Feathers & Frost for my card.
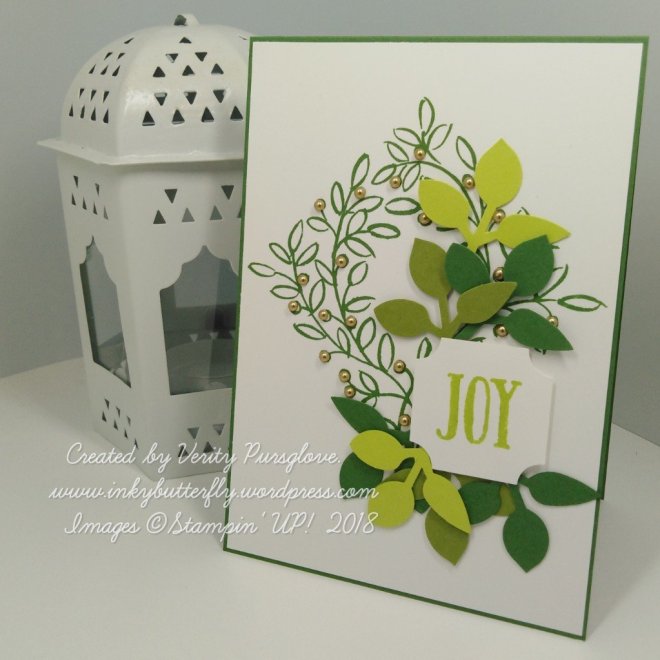
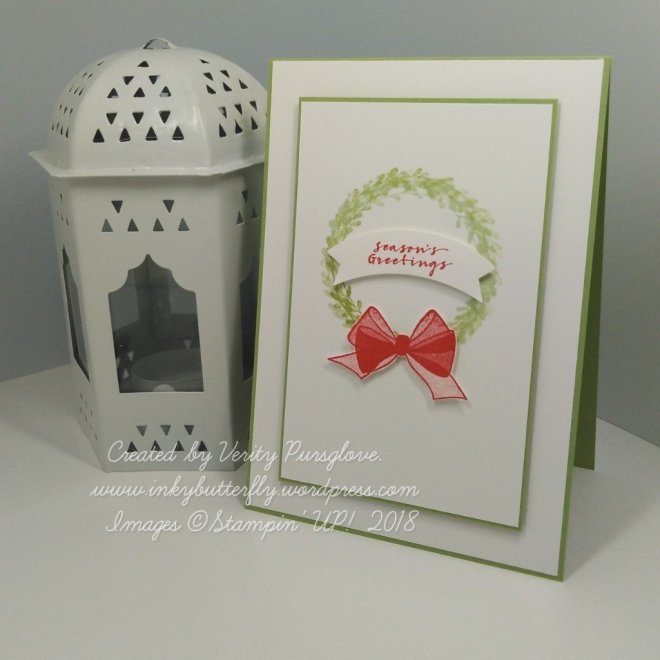
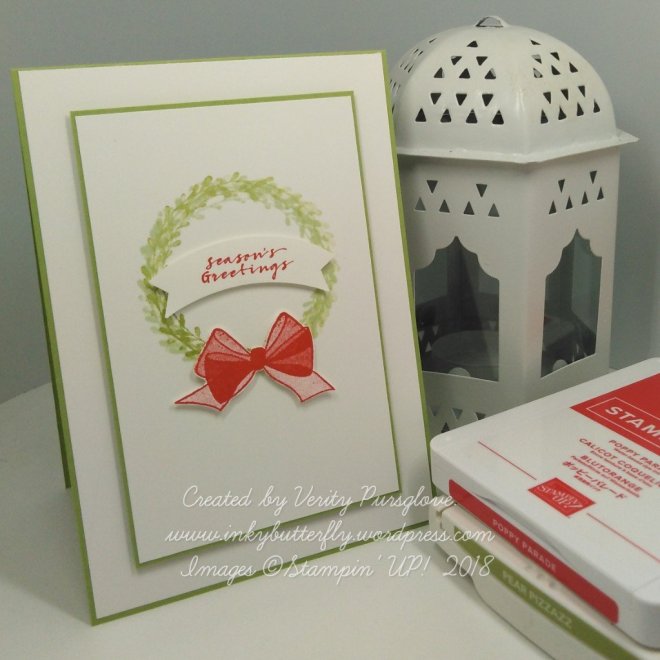
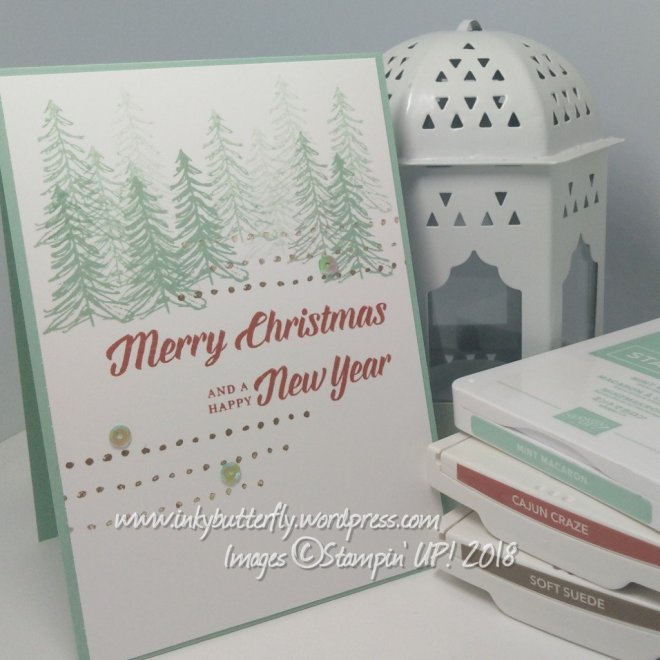
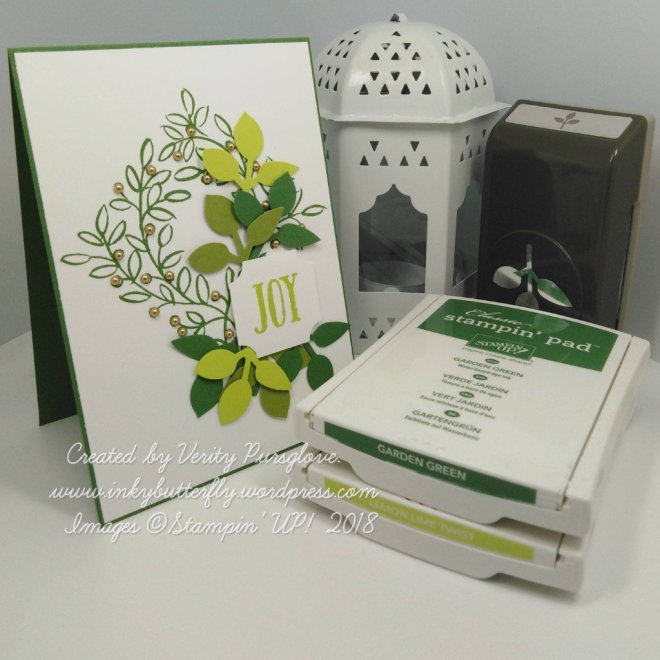
The leafy frame was stamped first on to a card layer using Shaded Spruce ink. This was adhered to a Shaded Spruce card base.
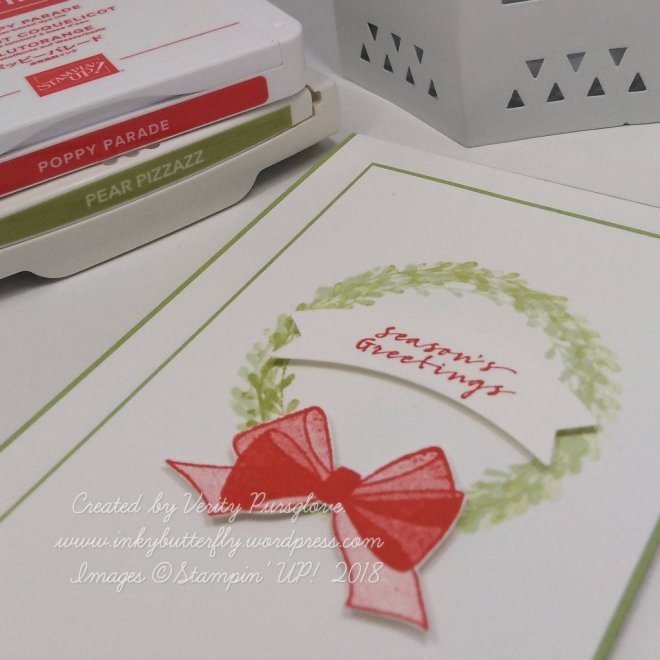
The sentiment was stamped separately with Lemon Lime Twist ink and cut with the Darling Label punch. This was added with dimensionals.
Hold metallic pearls were used to embellish the frame.
The Leaf Punch was used to cut several green leaves.

I hope you enjoyed this project. The supplies used are listed below.
Thanks for stopping by today and happy Stampin’!
Verity xx
Product List
|
|
|
|
|
|
|
|