Hello Everyone,
This week’s Just Add Ink challenge is……

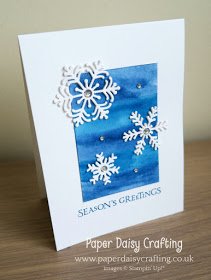
As always the design team have made some wonderful samples. Take a look here and get inspired.
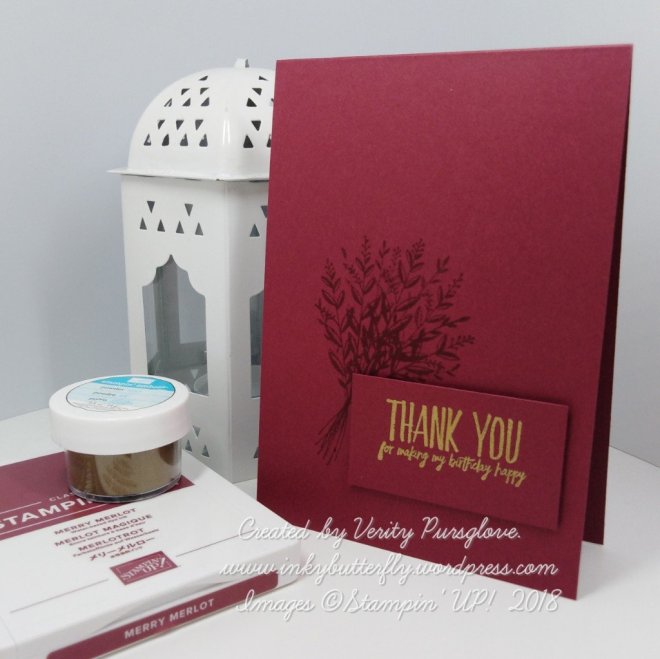
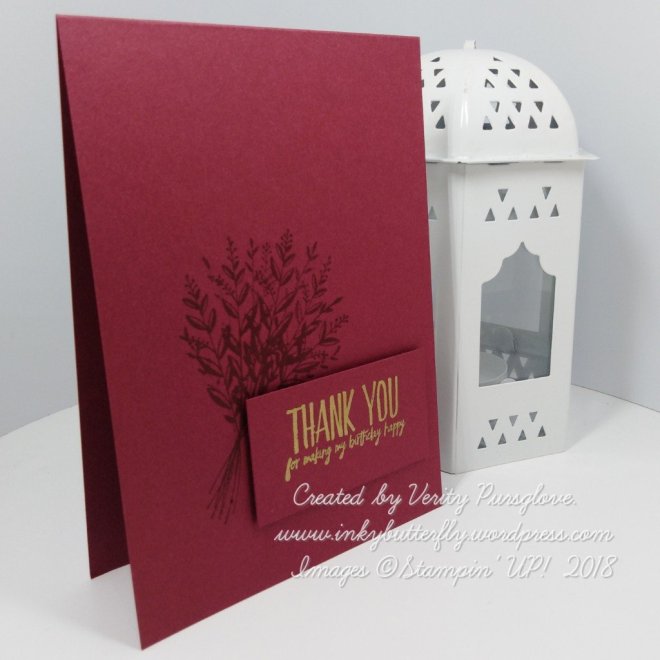
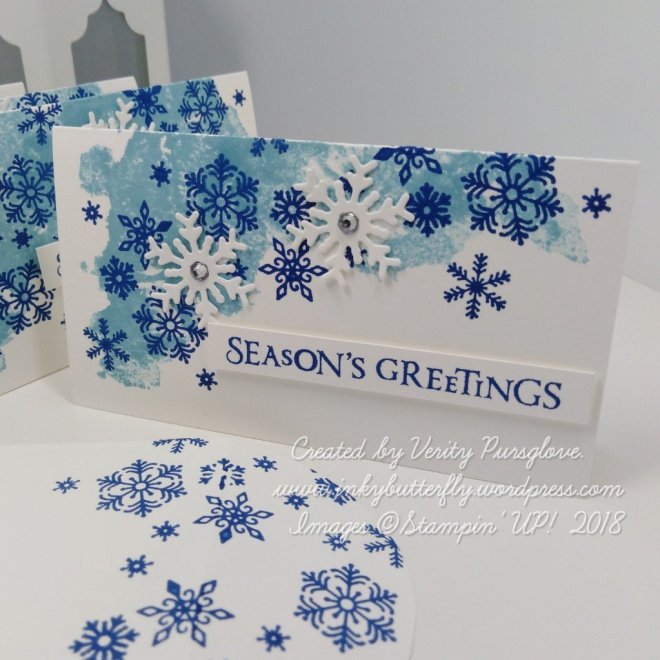
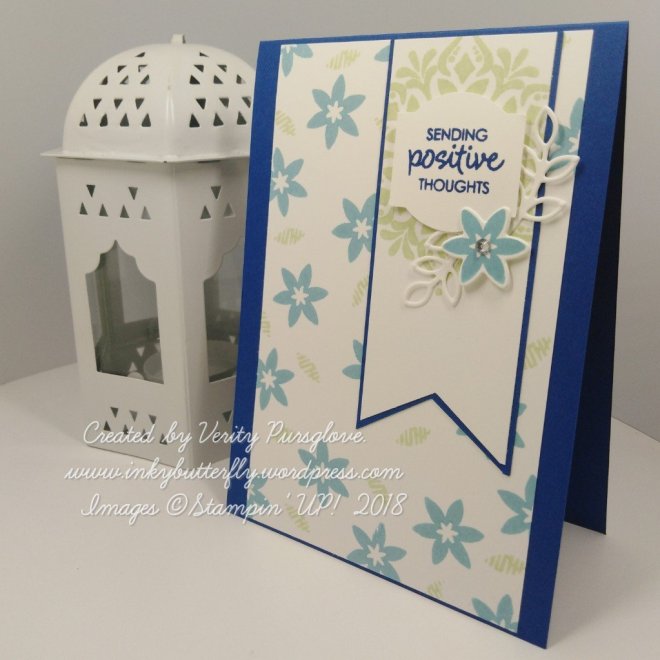
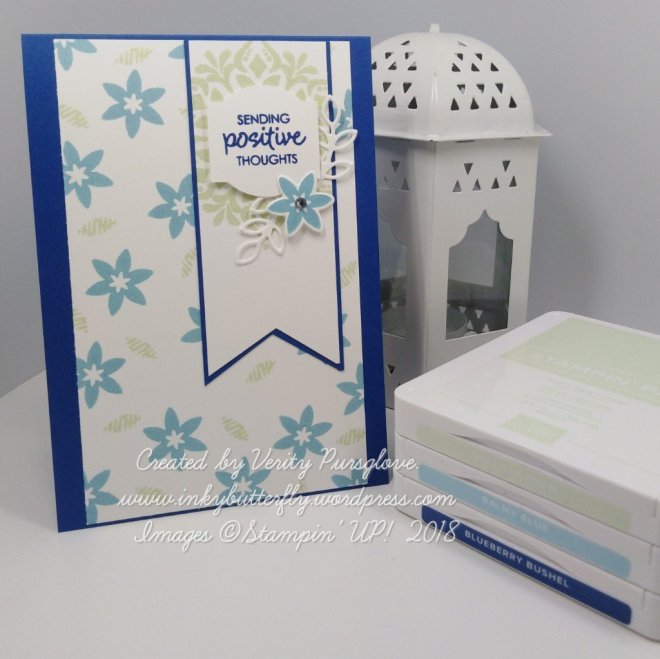
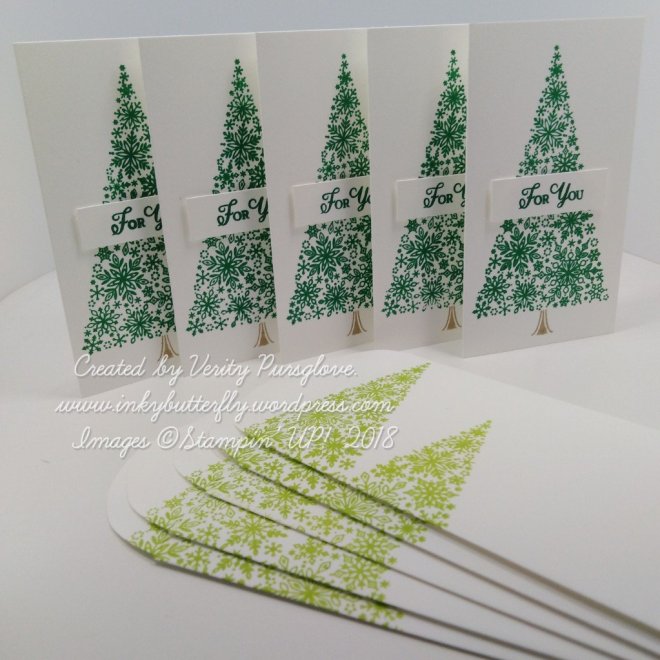
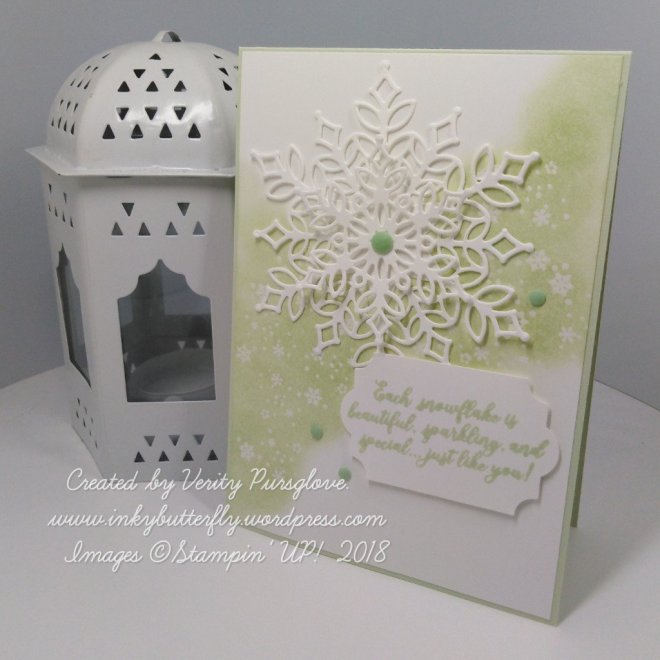
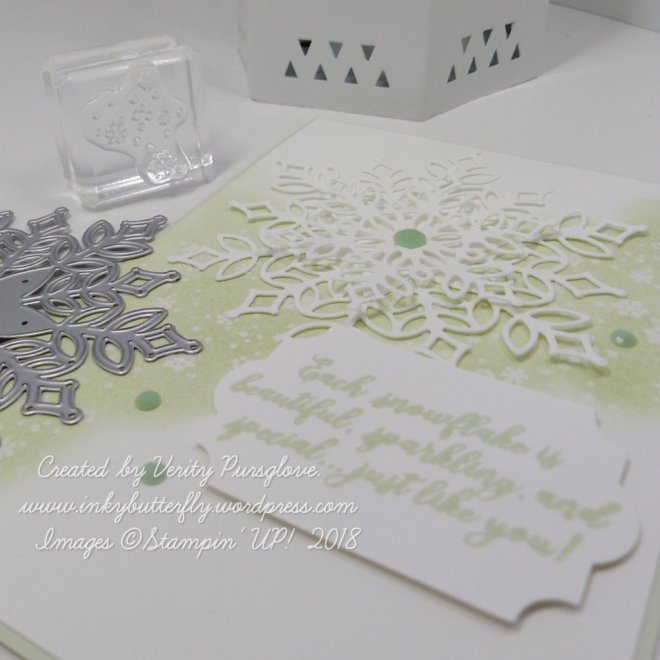
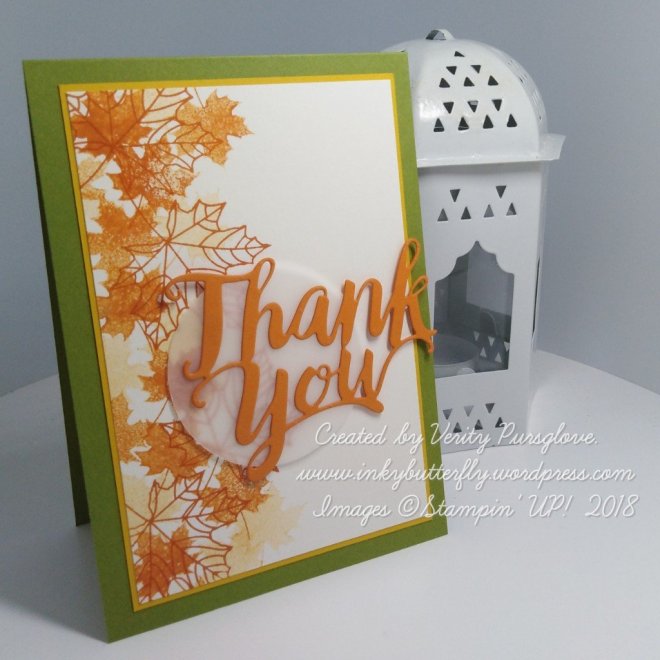
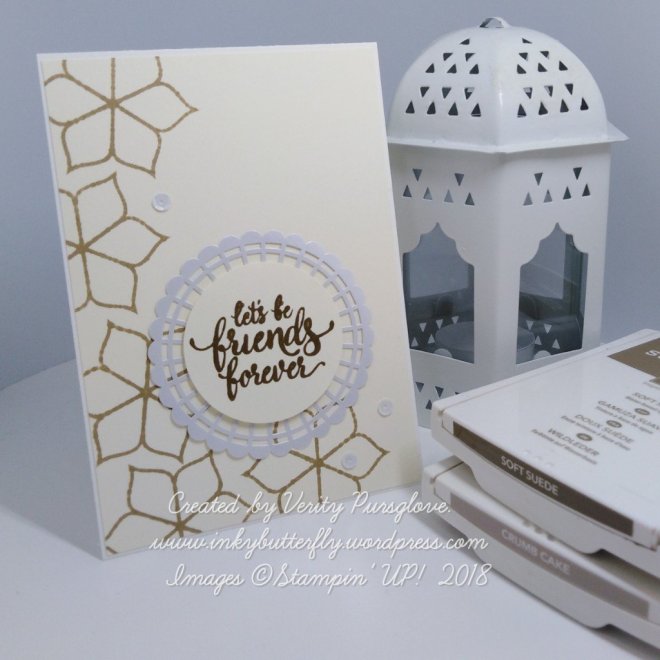
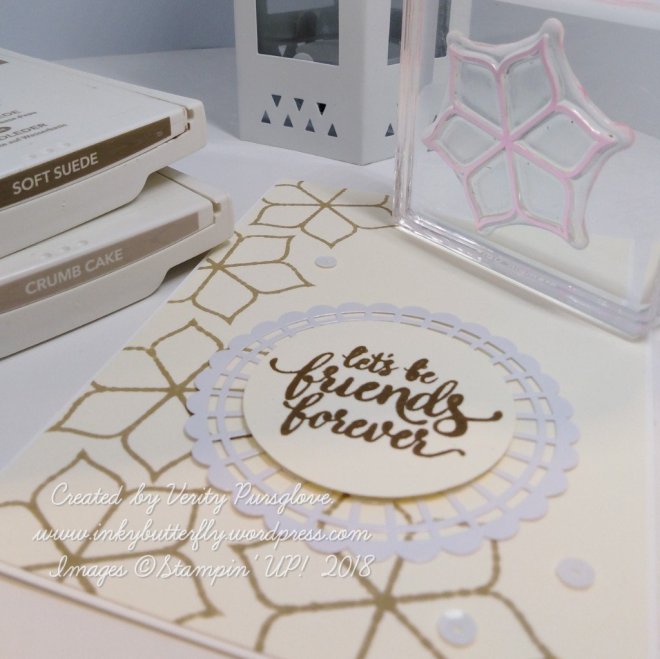
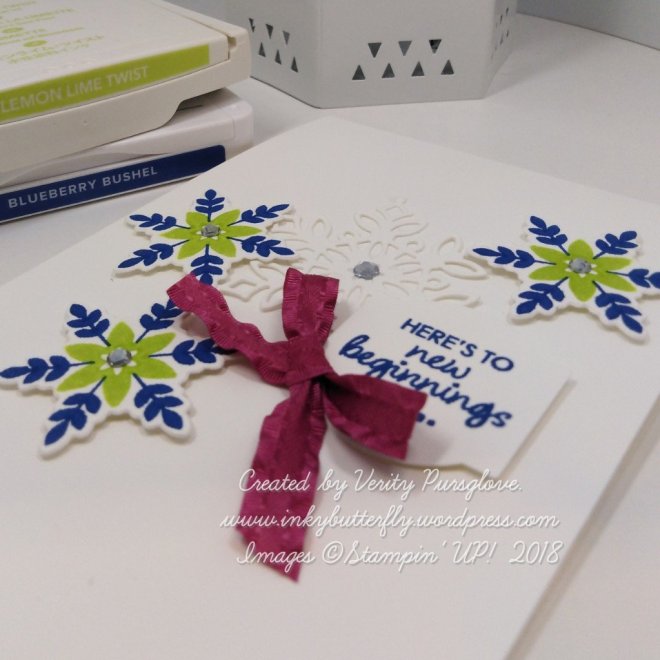
This is my project.
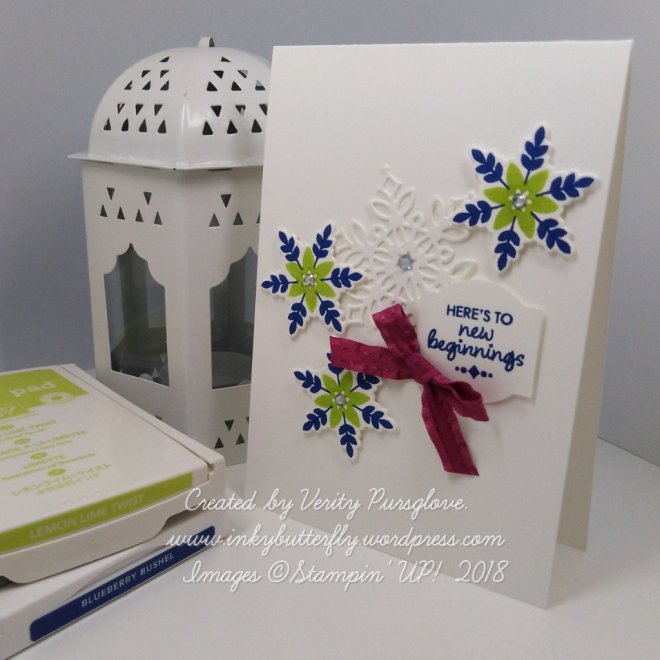
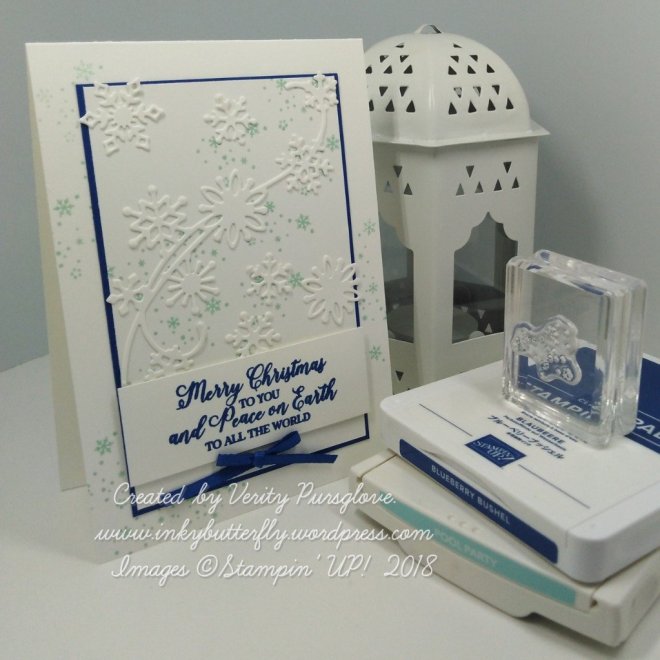
I have left plenty of white space on this design to really make the challenge colours pop.
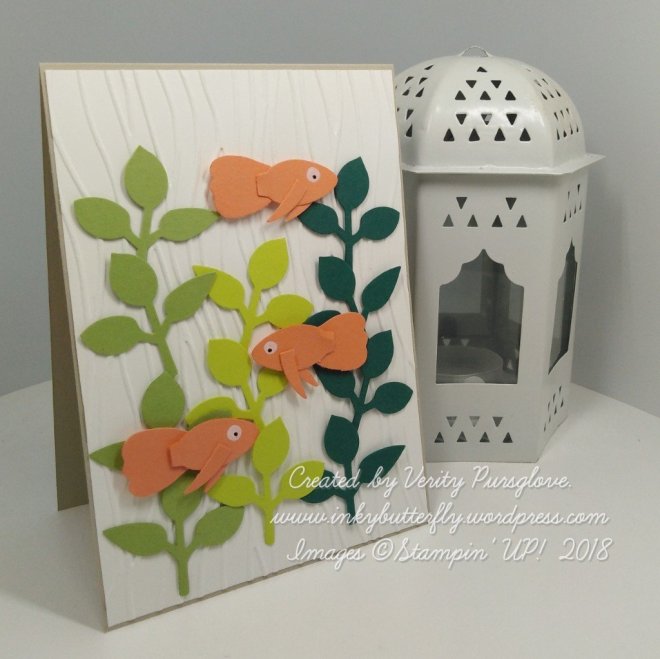
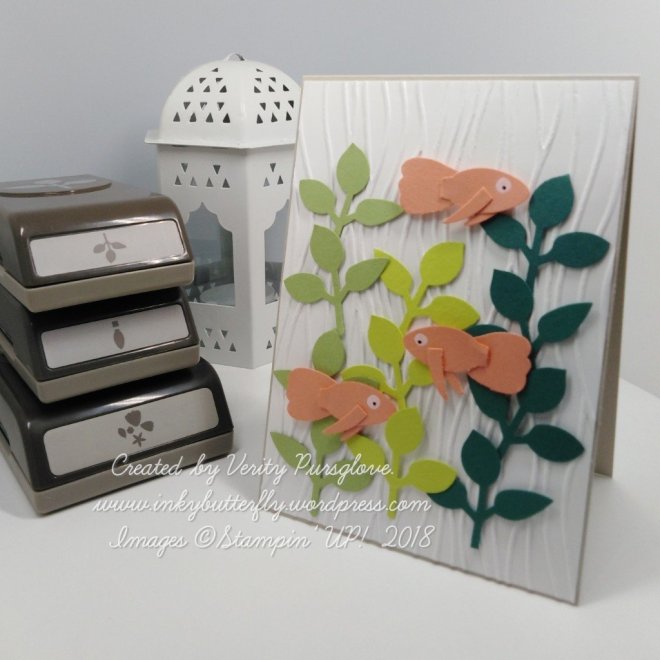
Using lemon Lime Twist and Blueberry Bushel inks I created the lovely unique snowflakes. These were die cut along with the medium snowflake.

The sentiment was cut with the Christmas Traditions Punch and the bow added some extra texture.
I hope you enjoyed this project. The supplies used are listed below.
Thanks for stopping by today and happy Stampin’!
Verity xx
Product List
|
|
|
|