Welcome to my blog! It’s time for another Inspire.Create.Challenge.
The rest of the design team have made some wonderful samples as inspiration. You can see them here.
Why not give it a go? We’d love to see your creations!
It’s funny, I could make whatever I wanted for this challenge, but somehow that made it harder to decide what to use!
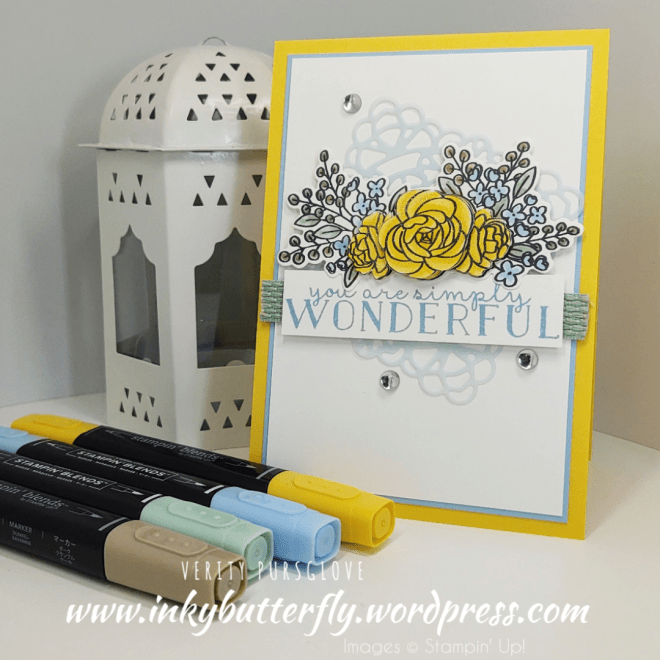
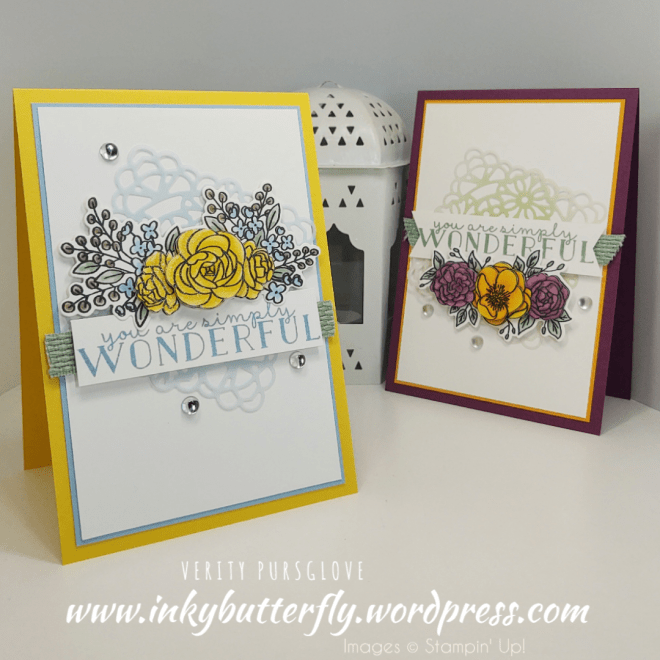
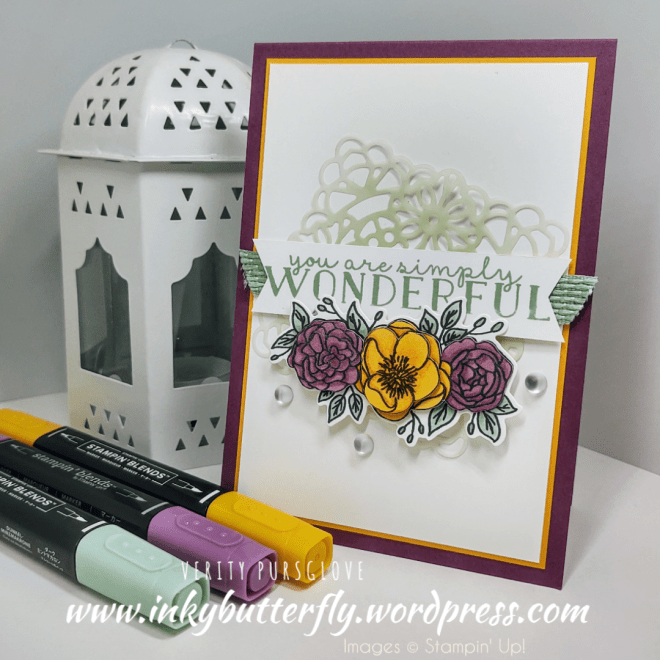
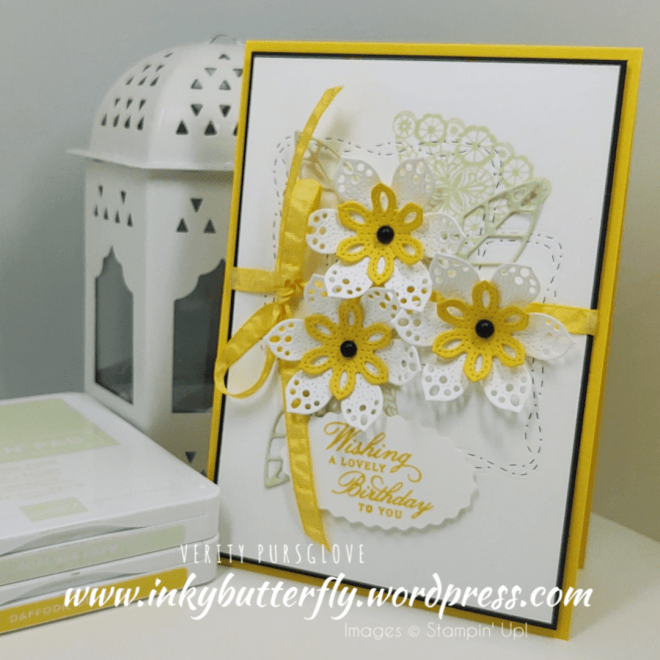
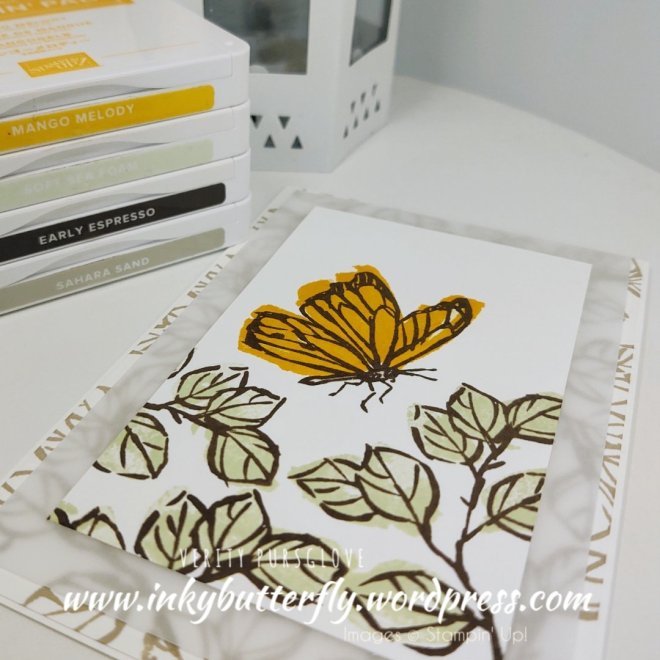
In the end, I chose the Delicate Petals bundle. This set makes incredibly detailed dimensional florals.
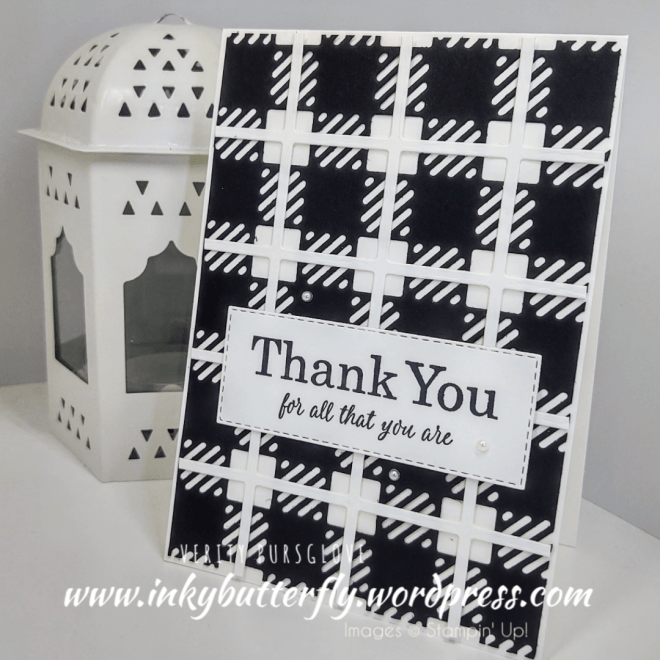
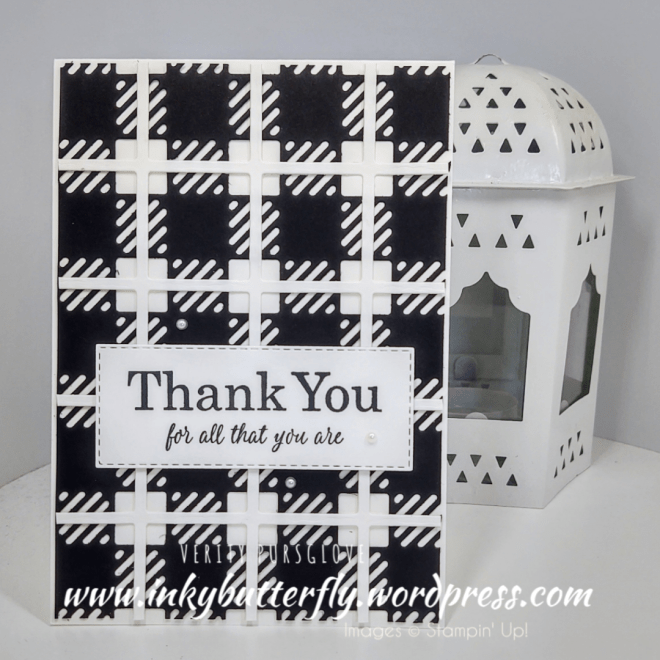
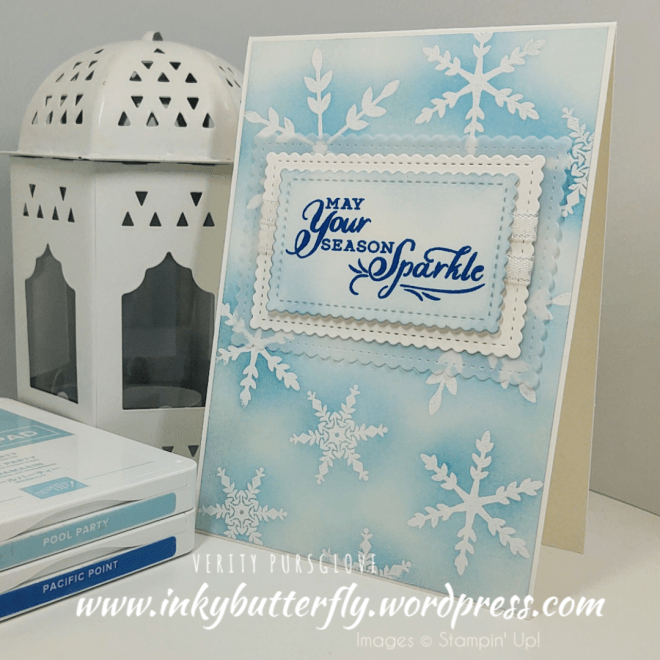
The background was easier to stamp than it looks.
I used the Lovely Labels Pick a Punch to cut the sentiment.
A matte black dot completed the card!
I hope you enjoyed this project.
The supplies used are listed and linked to the online store below.If your order is less than £150, use the Hostess Code UYZ33U2J when placing your order to get an extra gift from me!
You will find loads of ideas to use your new mini catalogue products, just follow the links by clicking on the blue button below! There are two pages of links so be to check them all!
I chose to make my project using these fantastic products!
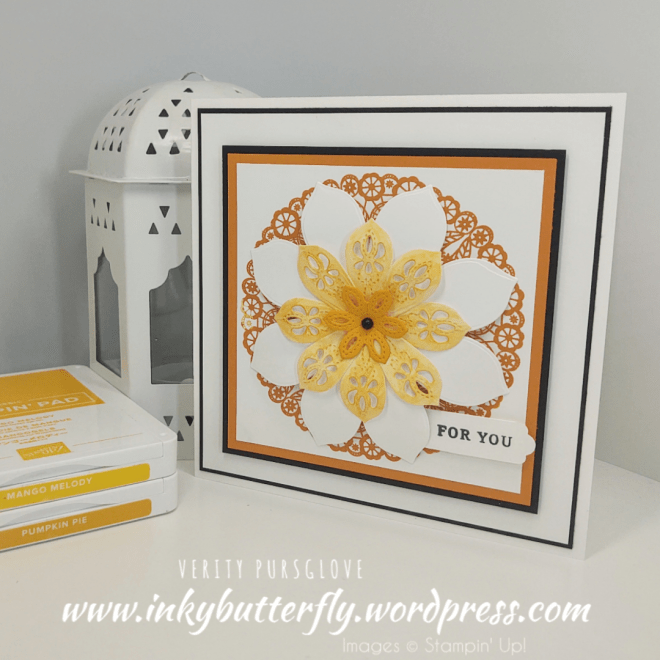
The Stitched with Whimsy dies added stunning detail to my background layer. The set has 6 dies, 3 squares and 3 rectangles!
The layer was matted with black cardstock. Daffodil Delight ribbon was added before adhering to a Daffodil Delight card base with dimensionals.
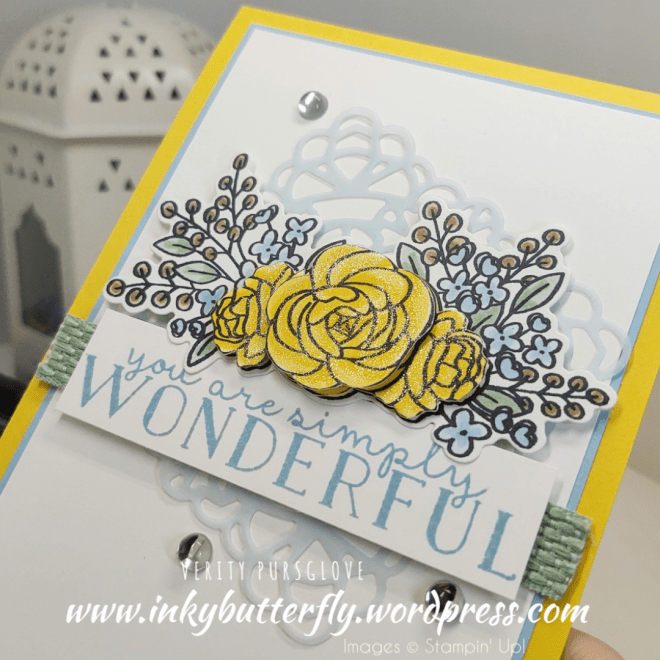
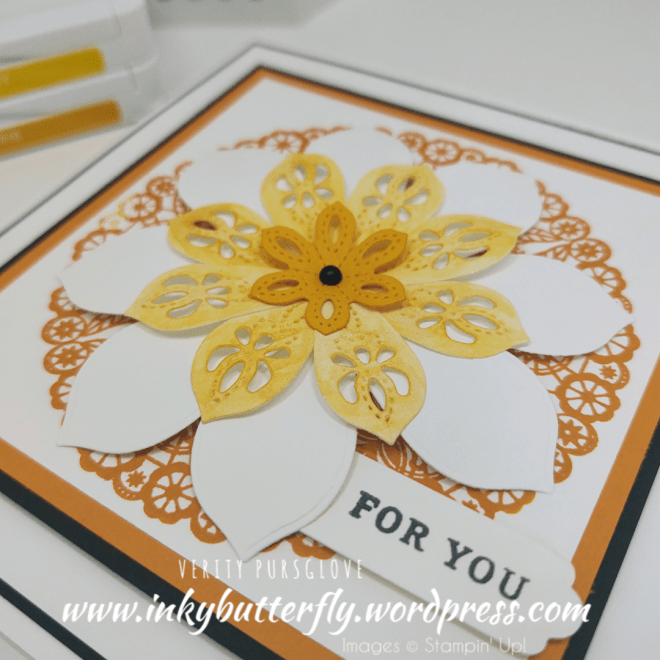
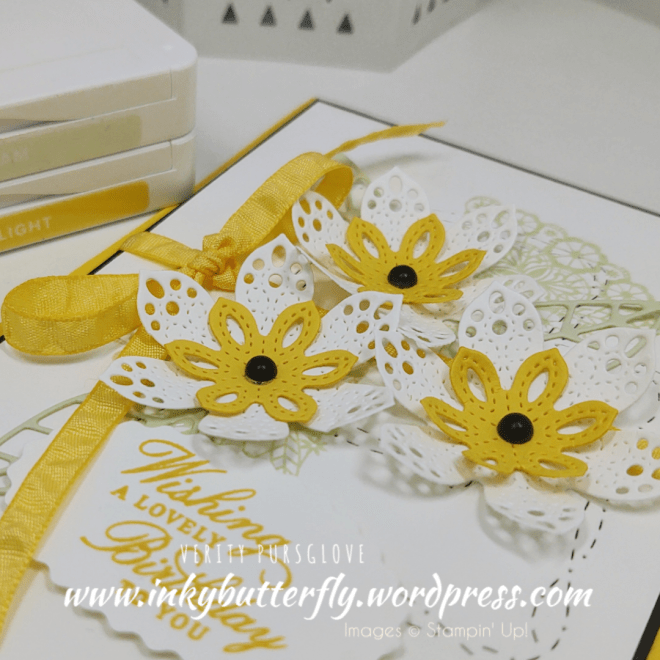
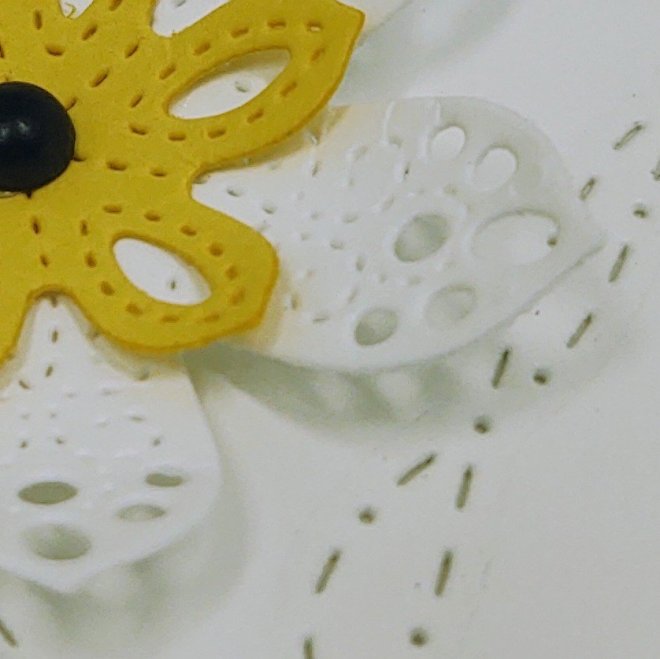
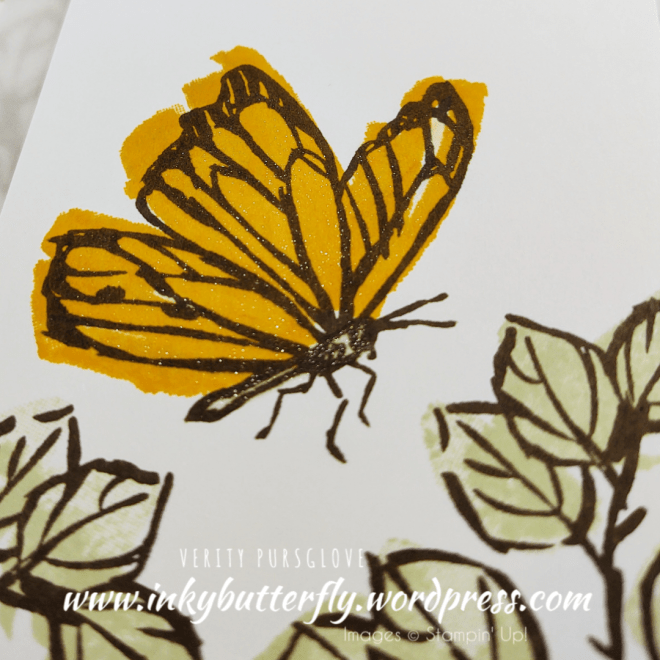
The Delicate Petals bundle has some beautiful stamps, but the dies are amazing! The dimensional flowered were easy to create with Basic White and Daffodil Delight cardstock. The stitched lacy details are incredible.
Soft Sea Foam ink was used to stamp over the background too.
The sentiment was stamped in Daffodil Delight ink. This fitted nicely in the Double Oval punch. I love the wavy edge rather than a scallop.
I used the Black Matte Dots for the centres which pulled in the black layering. The matte finish makes these perfect for male cards too.
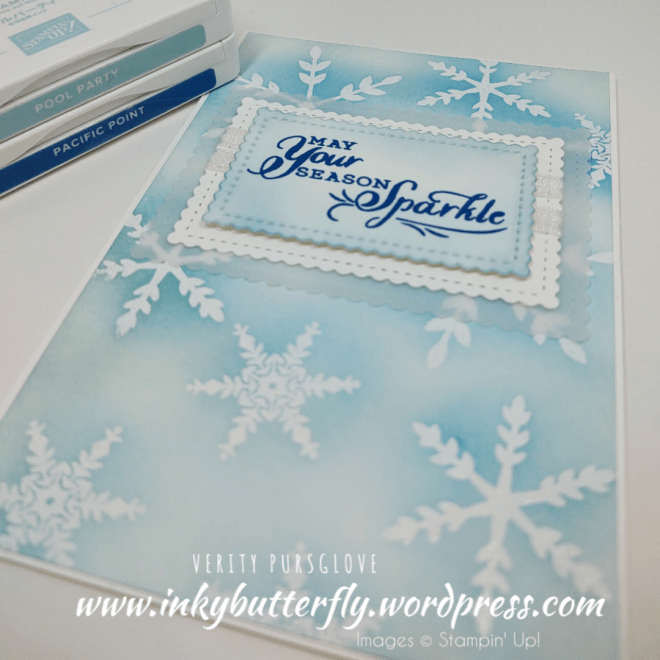
Here’s a close up of those stitched details!
I hope you enjoyed this project.
The supplies used are listed and linked to the online store below.
If your order is less than £150, use the Hostess Code UYZ33U2J when placing your order to get an extra gift from me!
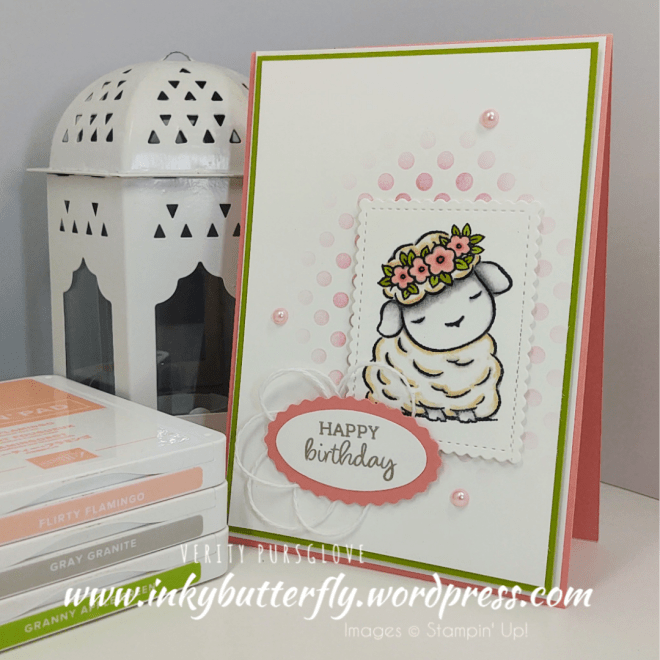
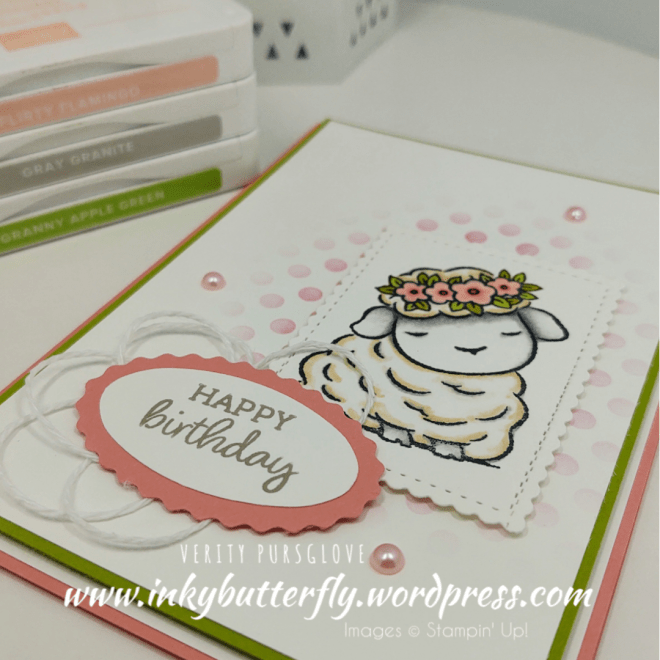
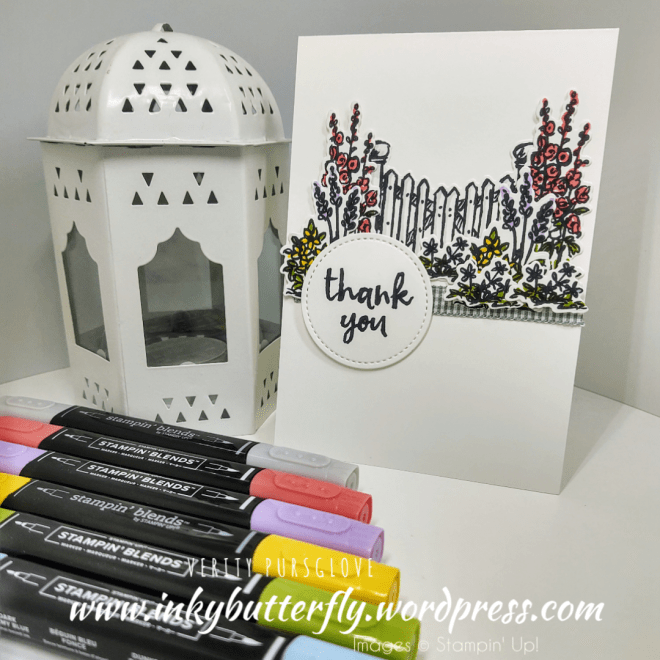
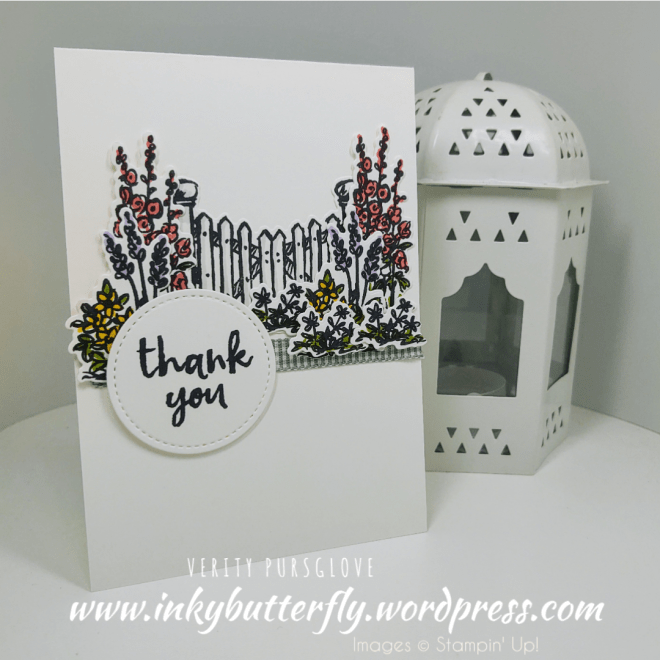
I chose to work with the Springtime Joy stamp set and the Oval Occasions bundle to create an oh so cute and bright birthday card!
The sweet little lamb was coloured with Stampin’ Blends, but of course, there are other colouring mediums to choose from. I did go back to a favourite staple item in the Stitched So Sweetly dies.
I used the new blending brushes to add Flirty Flamingo ink to the background using a mask.
Gray Granite ink was used for the sentiment, which I punched with the fabulous coordinating Double Oval punch. This was layered with Flirty Flamingo over some white twine loops.
The new Pastel Pearls were the perfect finishing touch to the design, and I couldn’t resist a bit of Wink of Stella on the flowers!
I hope you enjoyed this project.
The supplies used are listed and linked to the online store below.
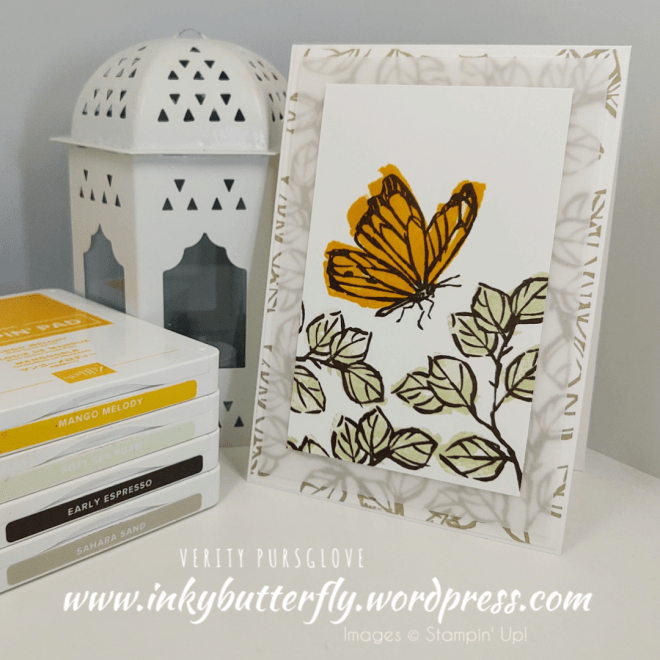
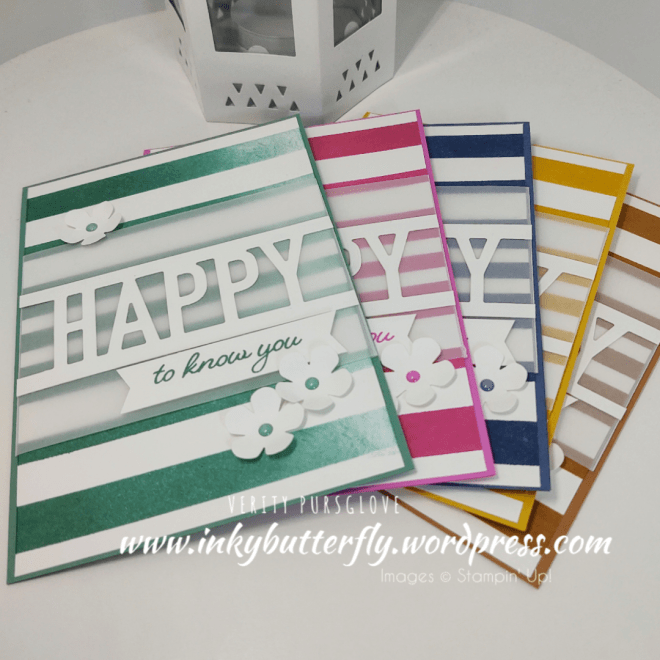
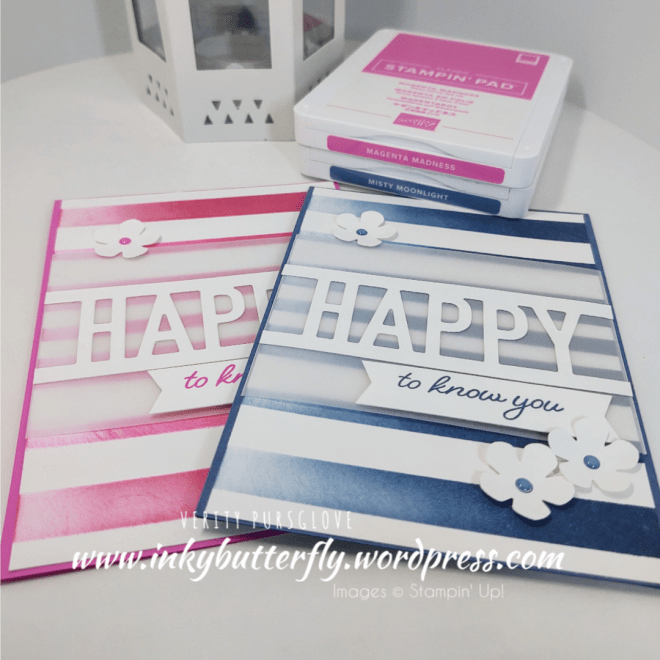
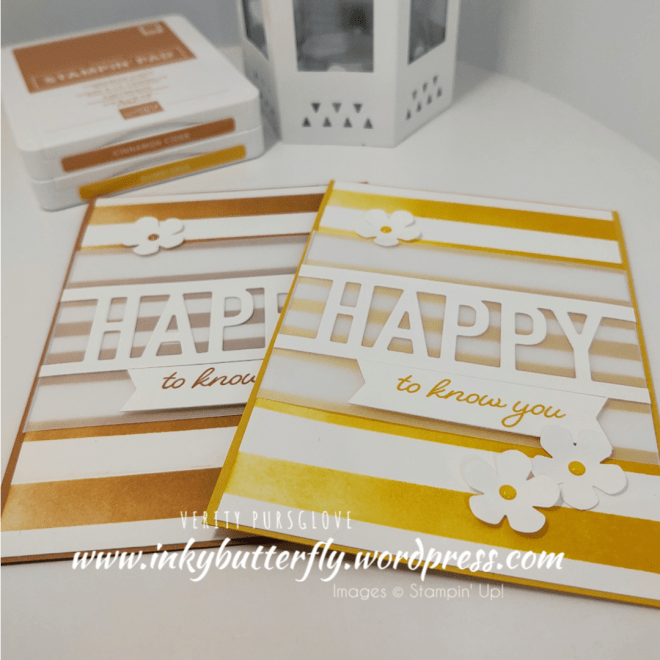
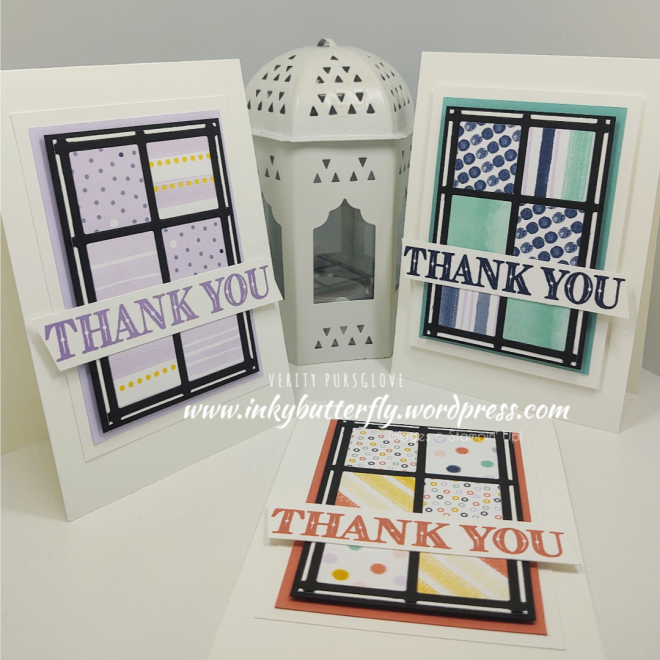
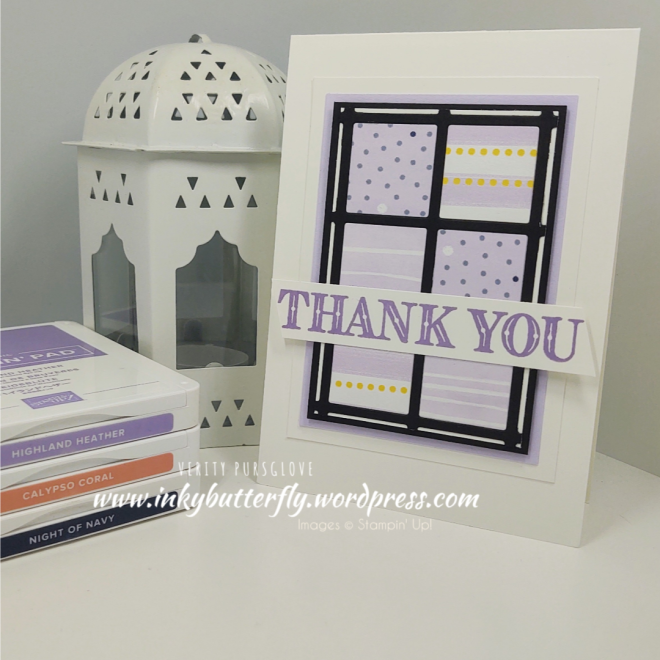
I’m working with this amazing paper pack called Flower and Field. The pack has two each of six double sided designs, there’s something for the guys too!
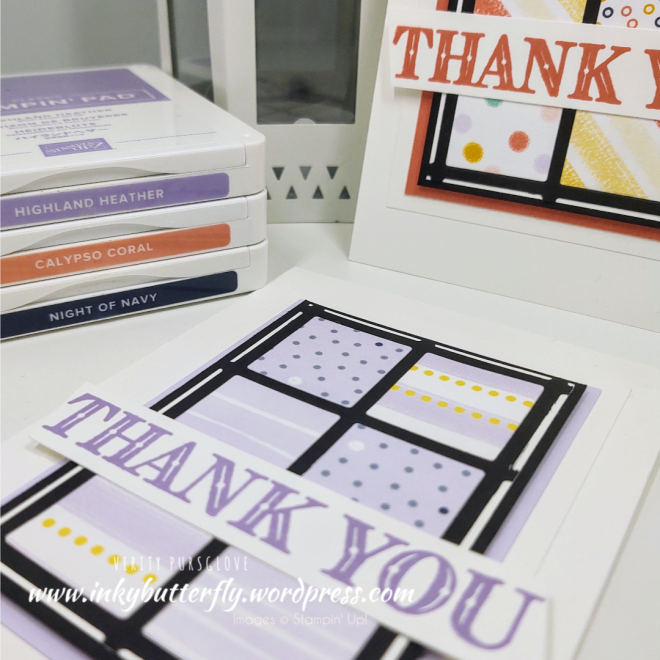
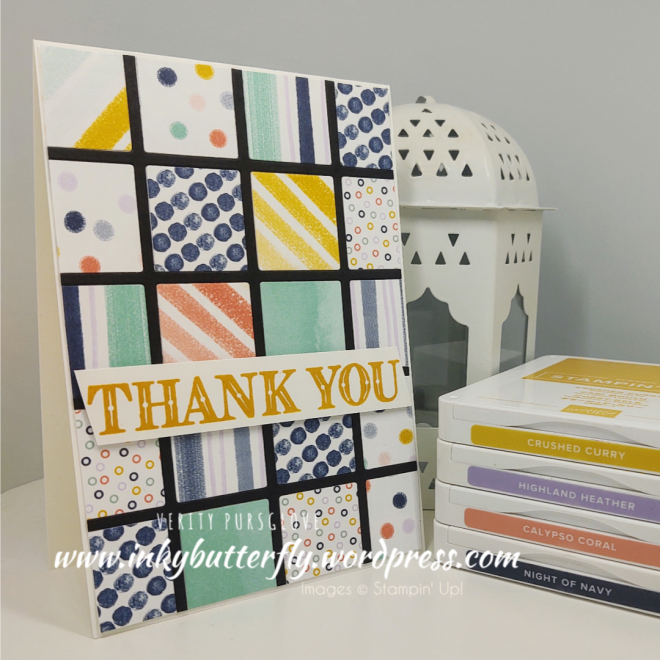
I call these inside out cards. I’ve use both sides to make each card!
I added a sentiment from the A Touch of Ink stamp set, (also free!) using a coordinating ink colour!
I think this one is my favourite!
I hope you enjoyed this project.
The supplies used are listed and linked to the online store below.
If your order is less than £150, use the Hostess Code W7ZJNXEV when placing your order to get an extra gift from me!
Welcome to this month’s Project Share Project blog hop.
This month everyone is making their projects using Sale-a-bration products. These can be earned with qualifying orders beginning on 5th January, but, as demonstrators, we were able to get hold of ours early!
Links to the other projects in this blog hop are listed below, or click the next button at the bottom of this post!
Welcome to this week’s Project Share. As always my friends have created some lovely work. Please use the links to visit their blogs and read more about their projects.
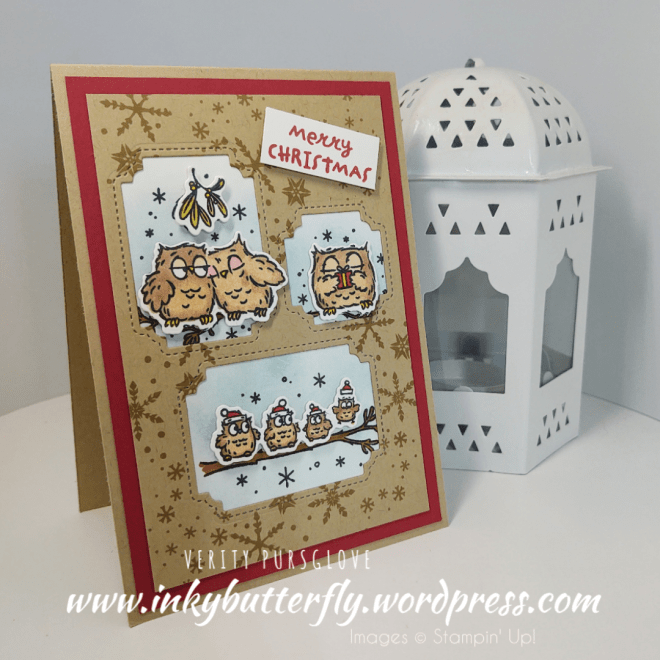
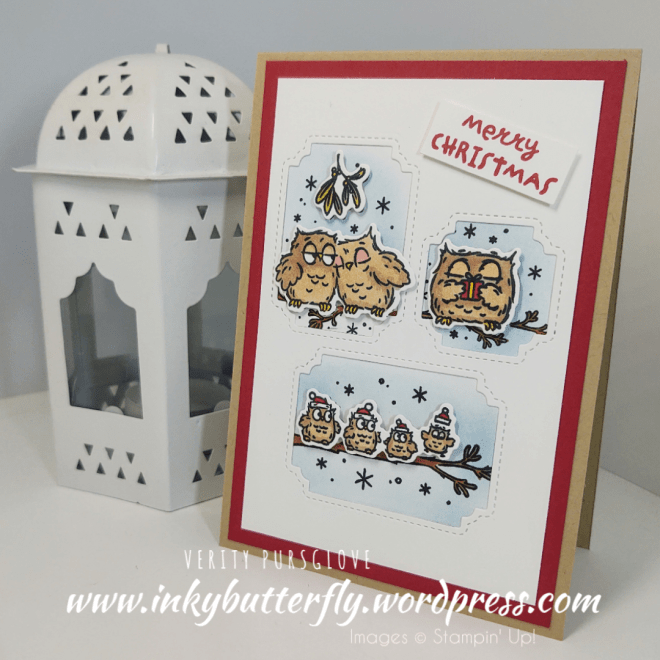
This week we all took part in a team blog hop showcasing products from the August December Mini Catalogue.
There is so much to chose from, and all the ladies have used completely different products in completely different ways!
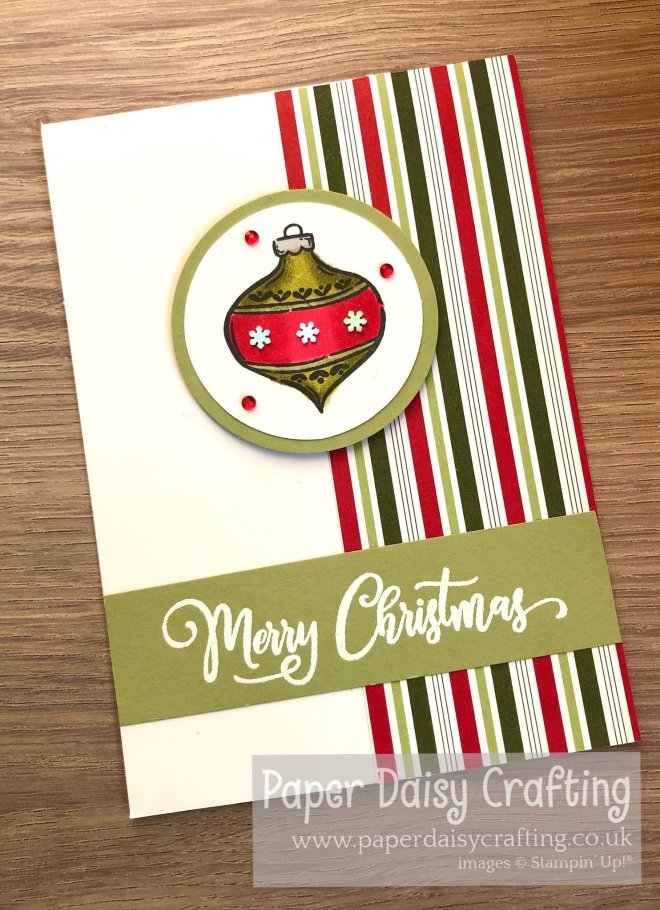
Jill’s card is very traditional, using reds and greens to colour her Christmas ornament! The shading makes it appear 3D!
This month we are showcasing the new delights of the 2020 Stampin’ Up! Annual Catalogue!
Please be sure to click through all the projects in the hop by clicking on the link at the bottom of this post.
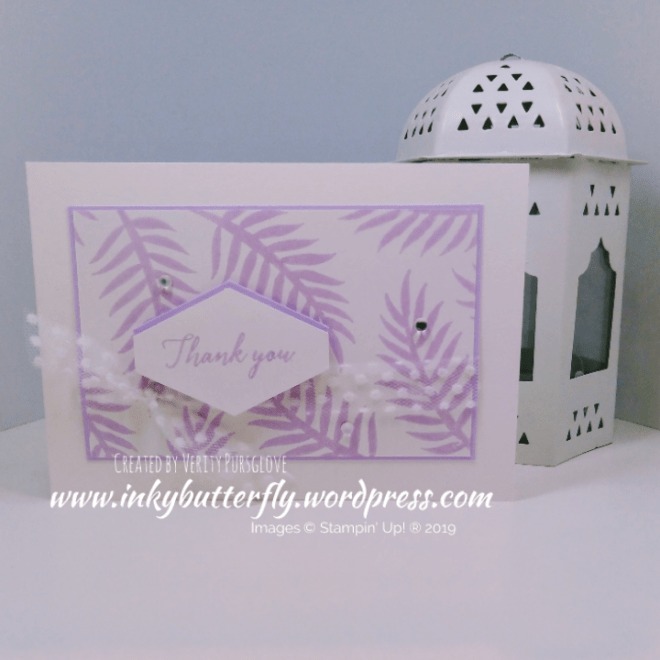
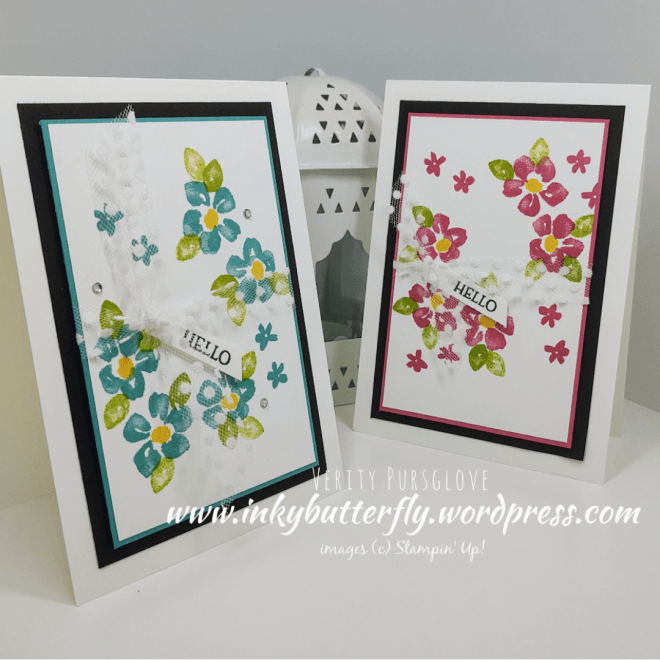
I am featuring the Blossoms in Bloom bundle.
This wouldn’t normally be something I would go for, but I have made so many cards already, I thought I would share another.
This is really easy for a beginner stamper too. Use the colours you have to make your own version of this card.
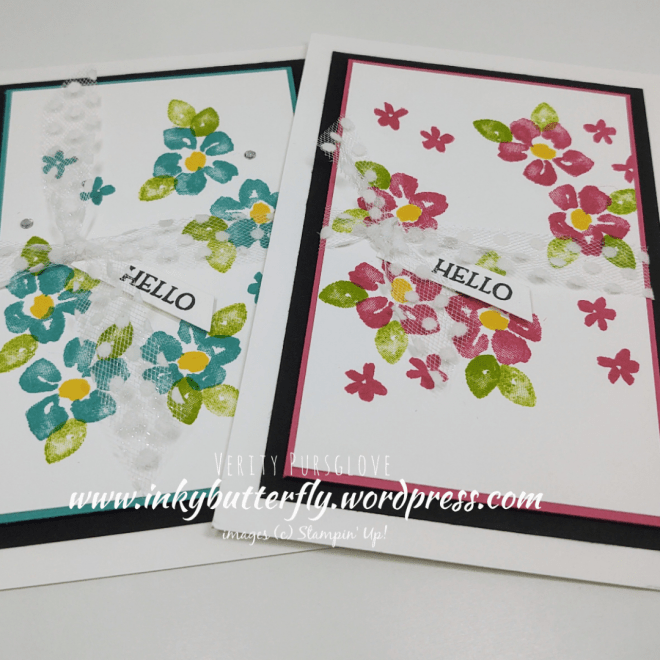
By using an odd number of images, the card design remains balanced. The stamps have details within them that gives a watercolour effect without the mess.
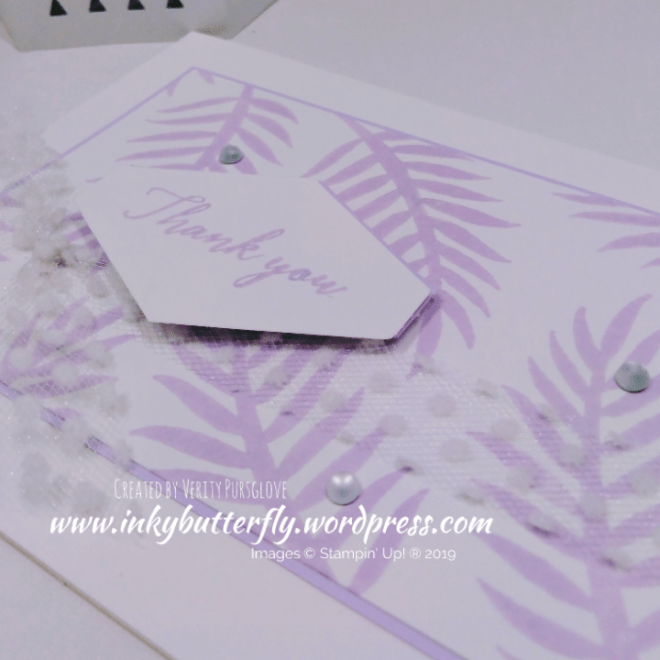
The Whisper White Tulle adds some soft texture. The sentiment tucks in under the knot nice and neatly.
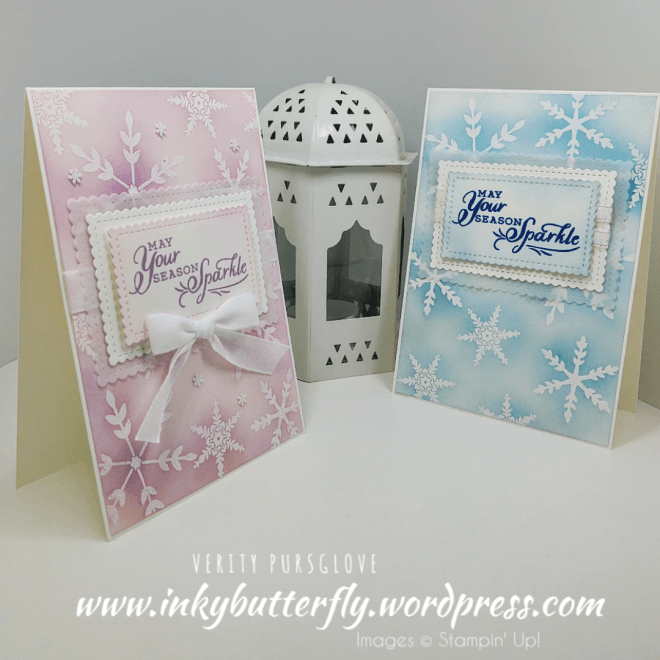
And here is a closer look at the Melon Mambo version.
Here we are blog hopping again with the Pootlers Team! The theme is the new Mini Catalogue and Sale-a-bration!
There is a blue box at the end of this post with a link to all the other featured projects. There are so many entries that the links cover two pages! Please take a look, like and subscribe!
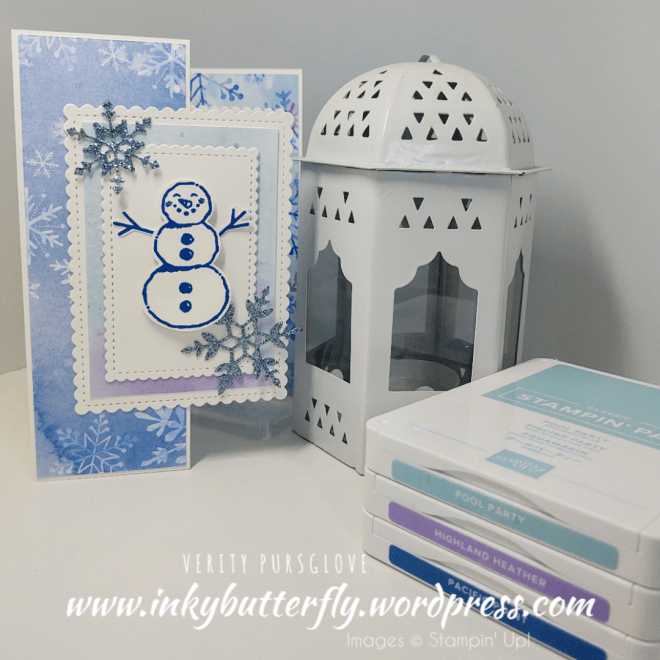
I have chosen to work with the Heartfelt bundle to make this layered card.
The card base is made with Real Red card stock. Layers of Whisper White and Flirty Flamingo card stock were adhered with Snail adhesive.
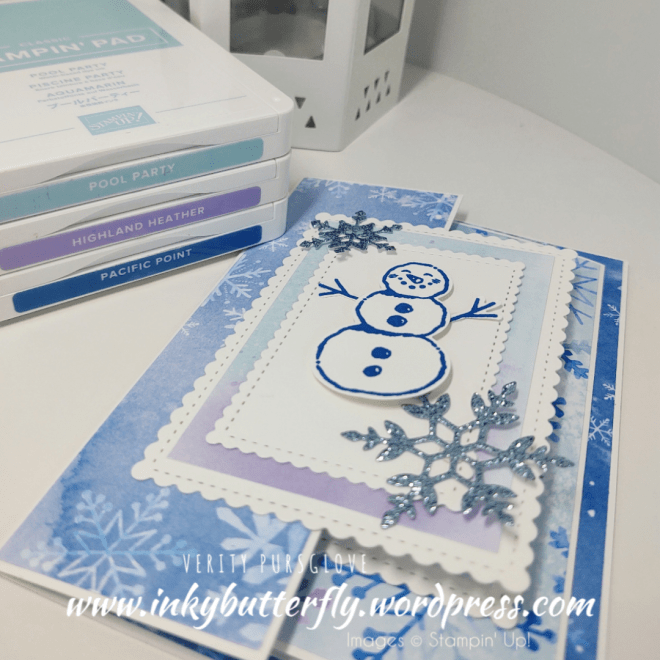
The next layer was cut with the largest rectangular die from the Stitched So Sweetly set. Two vellum hearts were attached toward the top and bottom of the die cut. This was then adhered with dimensionals.
The heart punches were used to cut Real Red and Whisper White card stock.
Two red hearts were sandwiched together with dimensionals.
A sentiment was stamped on to the white heart with Flirty Flamingo ink and added to the others.
I hope you enjoyed this project. The supplies used are listed and linked to the online store below.


")


")
")


")


")


")


")


")


")


")


")


")

")


")