Hello Everyone,
I hope you are having a great weekend.
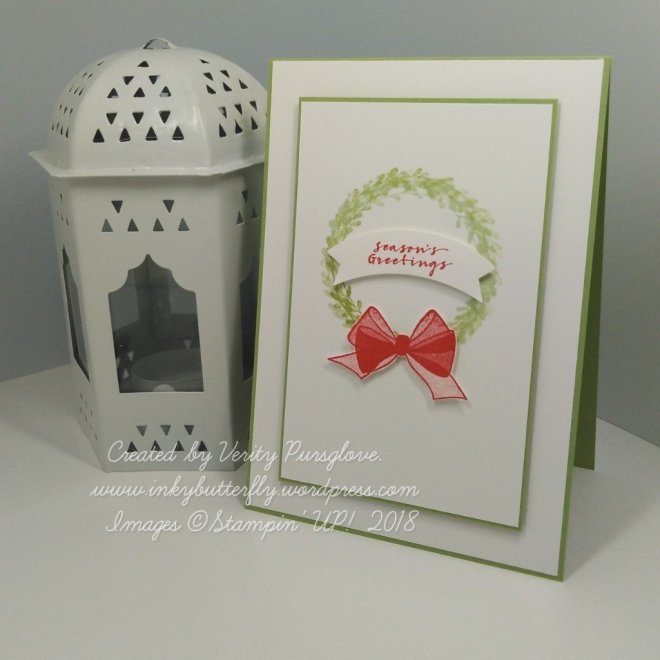
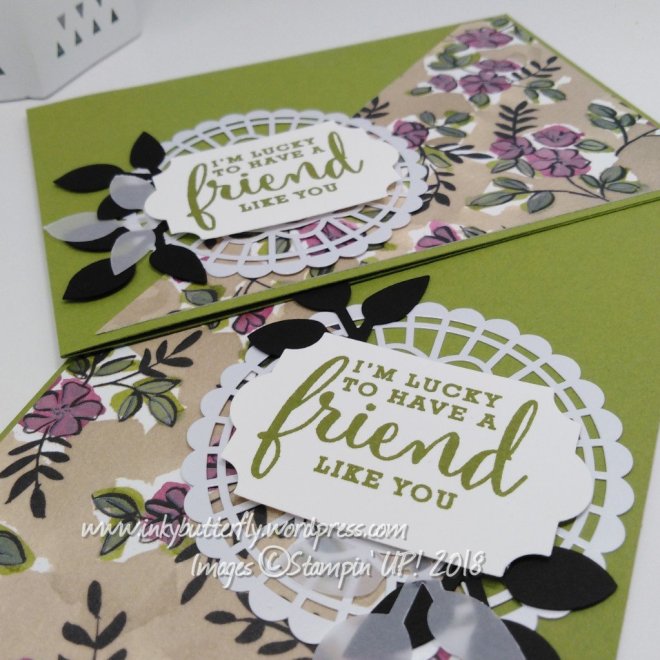
I am making another super simple project this time featuring the Takeout Treats bundle.
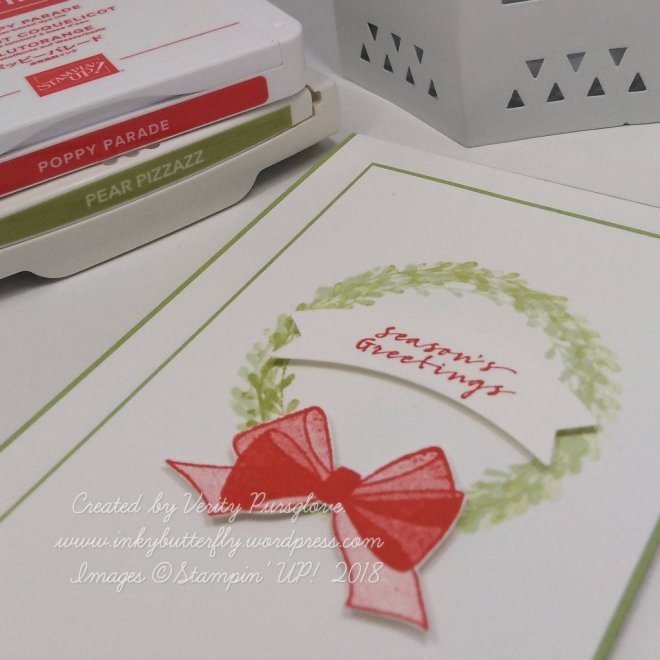
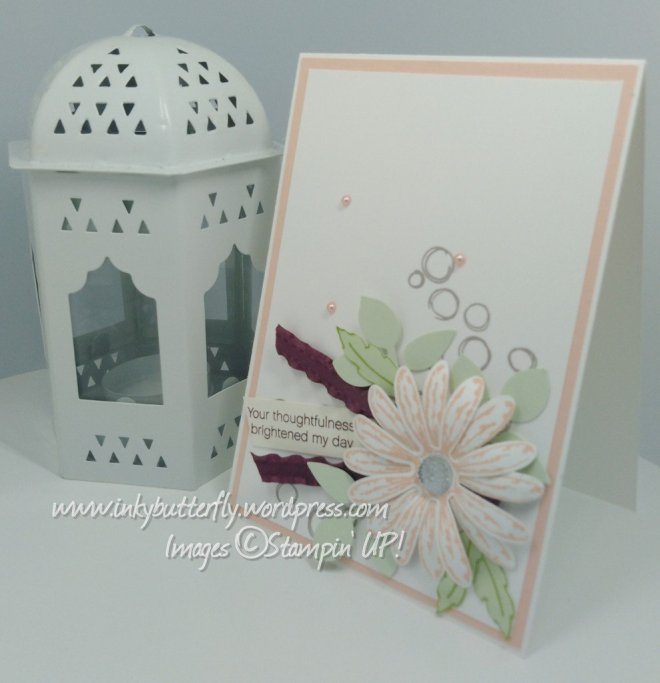
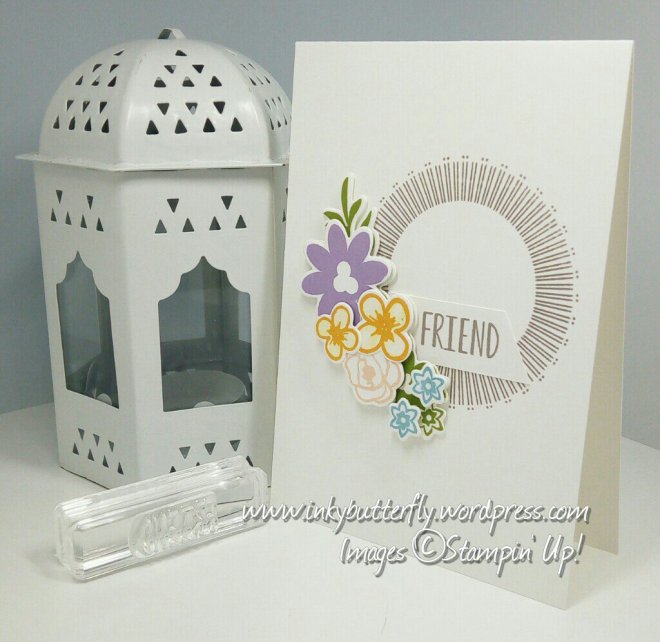
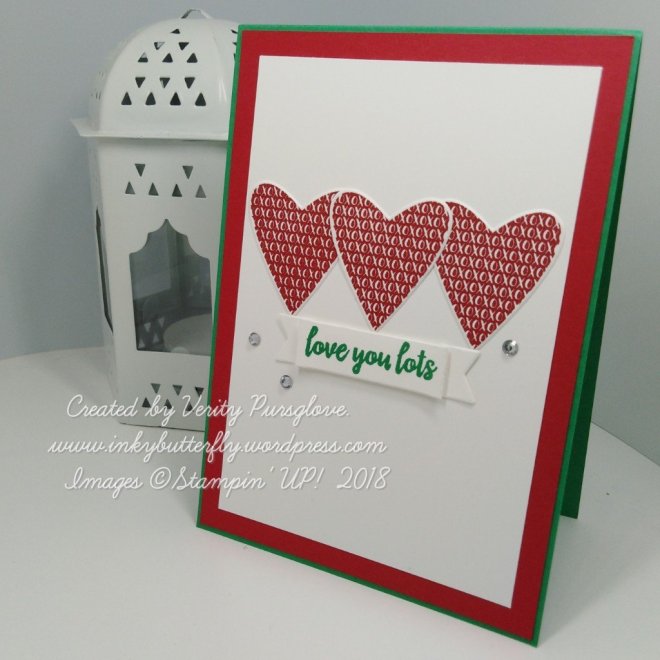
For the card, I used Real Red ink to stamp the cute hearts which were then die cut. These were adhered flat on to a white card layer.
The banner die is included in the set and was used to cut the sentiment. I used Call Me Clover ink for this.
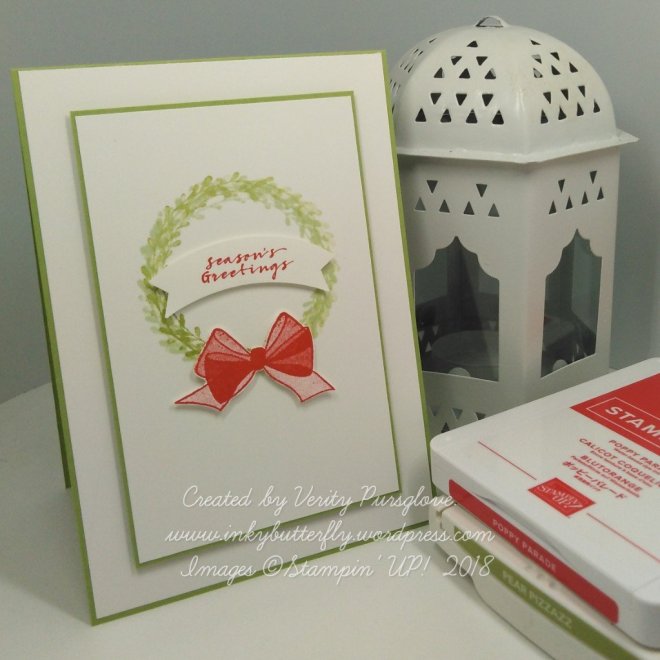
The card was layered with Real Red card stock and mounted on to a Call Me Clover card base.
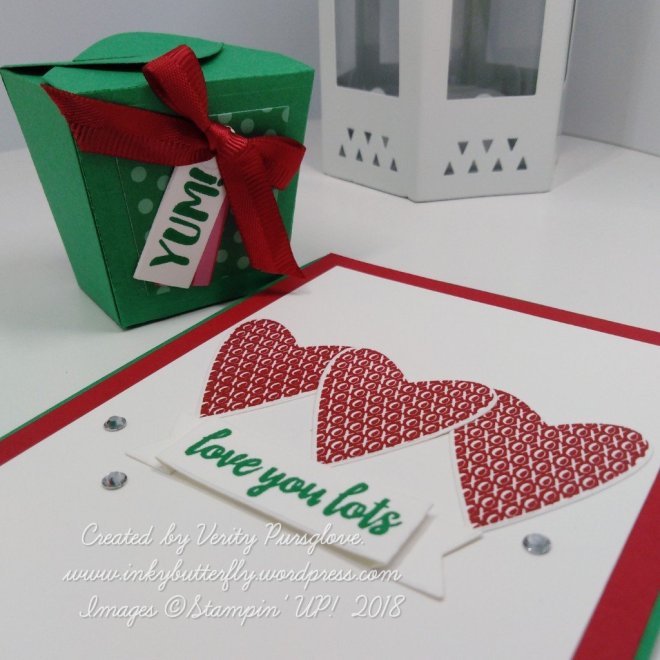
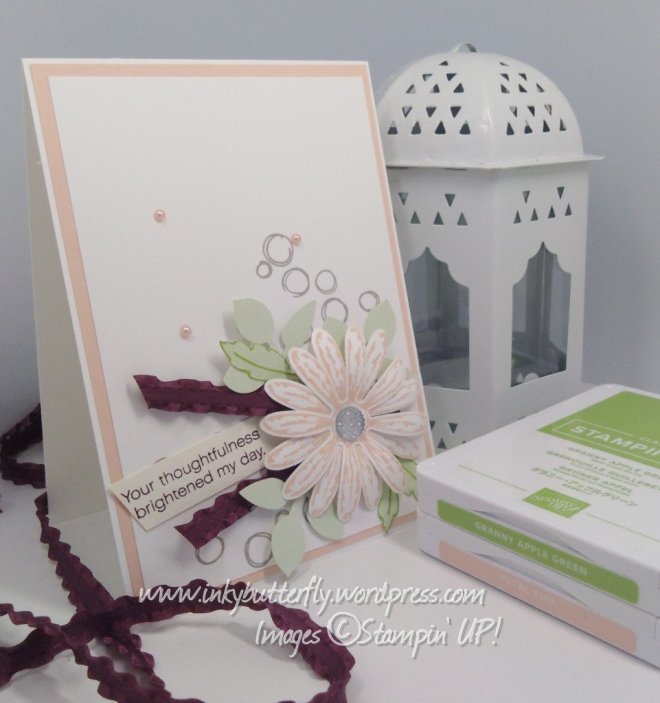
I decided to make up the little box too. The dies make this very easy to do.
This was simply decorated with designer series paper and die cut tags from the set. Some red satin ribbon finished it off.
I hope you enjoyed this project. The supplies used are listed and linked to the online store below.
I would love to be your demonstrator.
Thanks for stopping by today and happy Stampin’!
Verity xx
Product List

|

|

|

|

|

|

|